Install and configure your NAS server with Unraid 6.9.2
- NAS
- Unraid
- 21 November 2025 at 13:38 UTC
-

- 2/5

5. Booting from UNRAID USB key
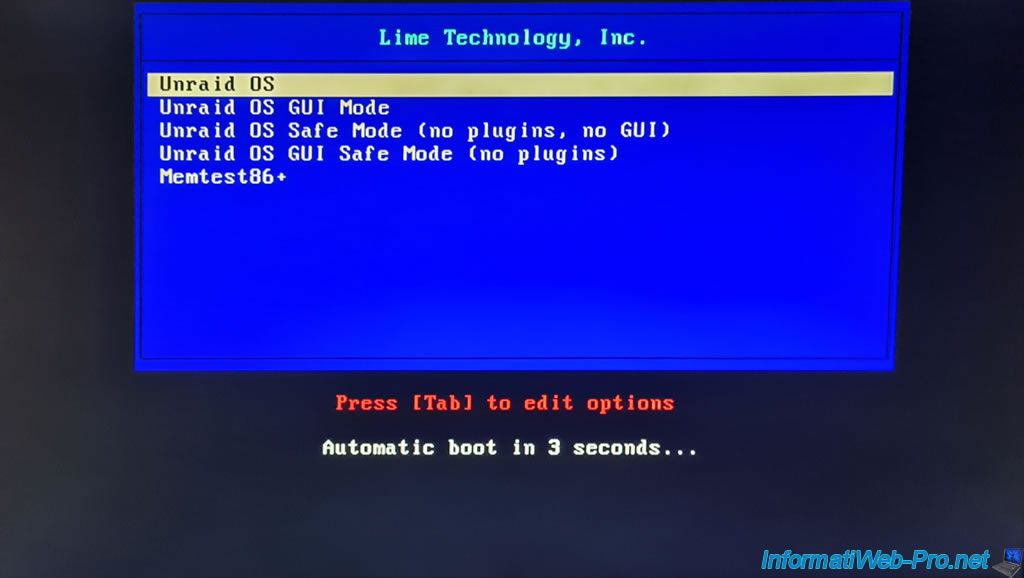
Your server reboots and the Unraid boot menu appears (if a screen is connected to your server):
- Unraid OS: start Unraid in normal mode, similar to a Linux distribution installed in server mode.
Once Unraid is started, a console will appear (if a screen is connected to your server). Otherwise, Unraid will run in headless mode (without a screen).
This mode consumes fewer system resources, but will require the use of a second computer (or device: tablet, smartphone, etc.) to manage your Unraid server. - Unraid OS GUI Mode: allows you to load a lightweight Linux desktop with a web browser, allowing you to manage your Unraid server directly from it. This eliminates the need for a server and a computer at home, but will consume slightly more resources.
However, in the event of a network problem with your server, this mode will make it easier to repair your Unraid server. - Unraid OS Safe Mode (no plugins, no GUI): in case of stability or startup issues with your Unraid server, this option will allow you to start Unraid without user-installed plugins.
Once Unraid starts, only the console will be displayed (as with the "Unraid OS" option). - Unraid OS GUI Safe Mode (no plugins): same as the previous option, but a lightweight Linux desktop will load after Unraid starts, and a web browser will allow you to manage your Unraid server to try to find which plugin is causing the problem.
- Memtest86+: this option will only work properly if you start your server in "LEGACY BIOS" mode and will allow you to test your RAM sticks.
This is very useful if you are experiencing stability issues with your server. Important: If you have ECC RAM (which is especially true for real servers), you will need to disable the ECC feature in your motherboard BIOS before running Memtest86+.
Otherwise, Memtest86 may falsely detect errors with your ECC (Error-Correcting Code) RAM.
If you're unsure what to choose, use the default option (which is also the most commonly used): Unraid OS.
If you do nothing, this option will be automatically selected after 5 seconds.
Note: Lime Technology, Inc. is the company behind Unraid.
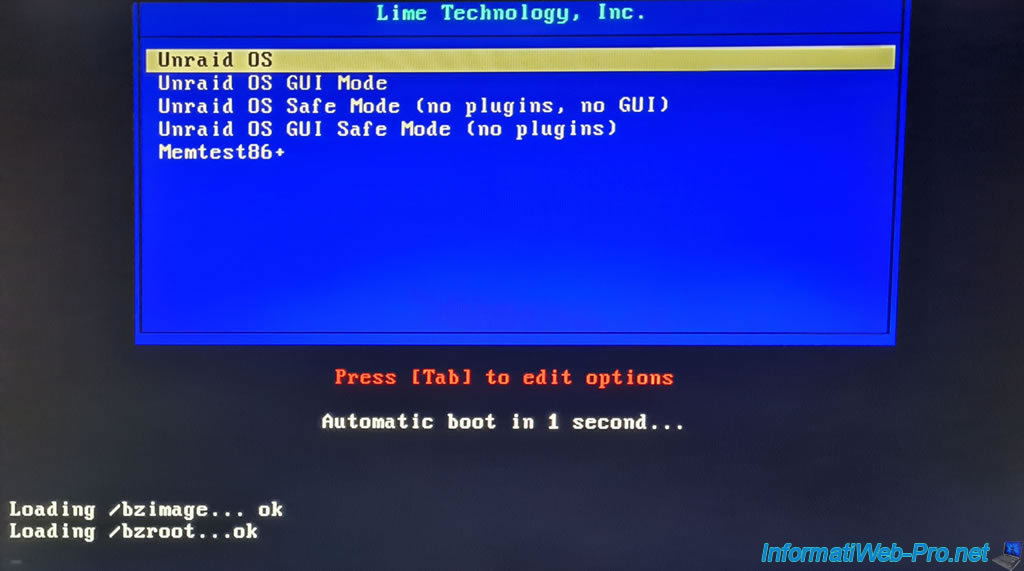
Boot begins and these lines appear at the bottom of the screen:
Plain Text
Loading /bzimage... ok
Loading /bzroot...ok
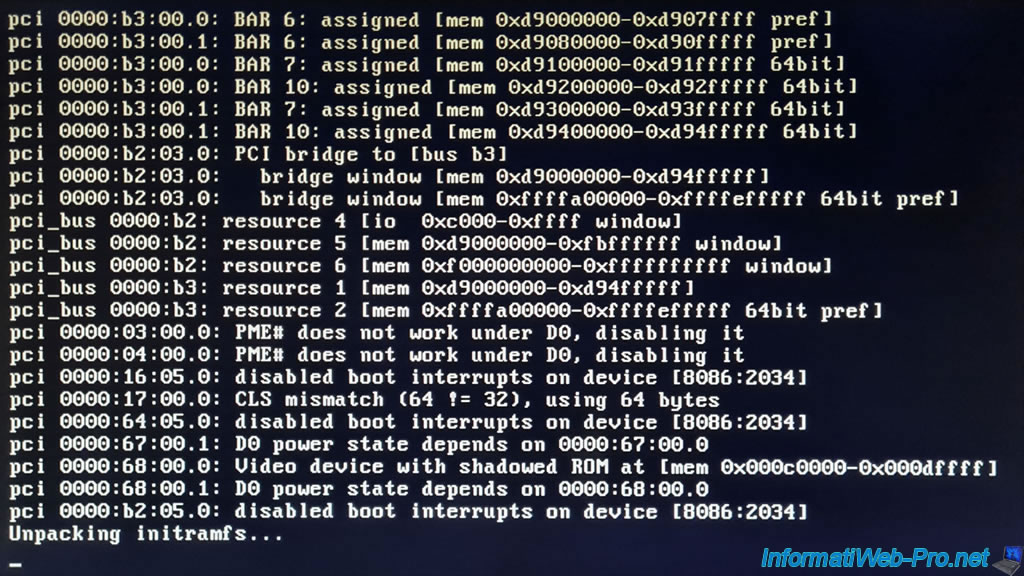
Many lines of text will appear during Unraid boot (as with any Linux distribution, for that matter).
Once Unraid has finished booting, you will see the Unraid version appear, as well as its IP address(es) (IPv4 and/or IPv6):
Plain Text
unRAID Server OS version: 6.9.2
IPv4 address: 10.0.0.20
IPv6 address: not set
As a screen is connected to our server, a console is also displayed by a RAID:
Plain Text
Tower login:
Note that by default, the "root" account is not password protected.

6. Obtain an evaluation license for Unraid
To use Unraid, you must obtain a trial license.
To obtain one, connect to your Unraid server's web interface by typing: http://[IP address of the server]/
The other option indicated in their documentation is to use the address "http://tower/" (although this didn't work in our case).
Then, go to: Tools -> Registration.
As you can see on this "Registration" page, your server will only be usable once you have purchased a license or installed a 30-day trial key.
The trial key will allow you to access all the features of the Pro version (the largest edition) for 30 days.
As explained previously, the Unraid license will be linked to the unique identifier (GUID) of your USB flash drive.
Unraid therefore displays it here (Flash GUID).
Click on: Get trial key.
Please note: as Unraid specifies on its "Getting Started" page, using an ad blocker (such as Adblock or any other similar extension) may prevent various parts of the Unraid web interface from loading, thus causing various issues and errors.
It's therefore strongly recommended that you uninstall these extensions if you have them installed in your favorite web browser.

Accept Unraid's End-User License Agreement and Privacy Policy by checking the box "By using this software, you agree with our End-User License Agreement ..." and click: Start trial.
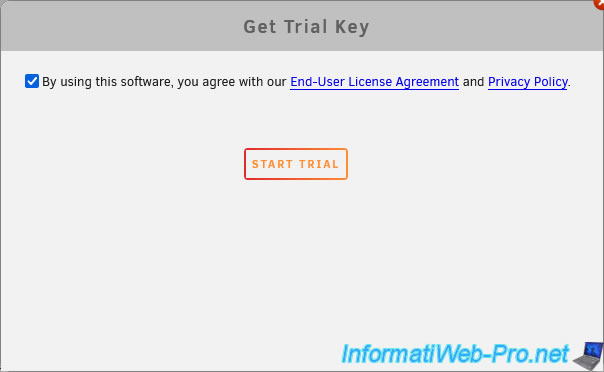
An evaluation license will be automatically created from the Lime Technology server and applied to your Unraid server.
Then, this message will appear:
Plain Text
Trial started
Thank you for registering USB Flash GUID XXXX-XXXX-...

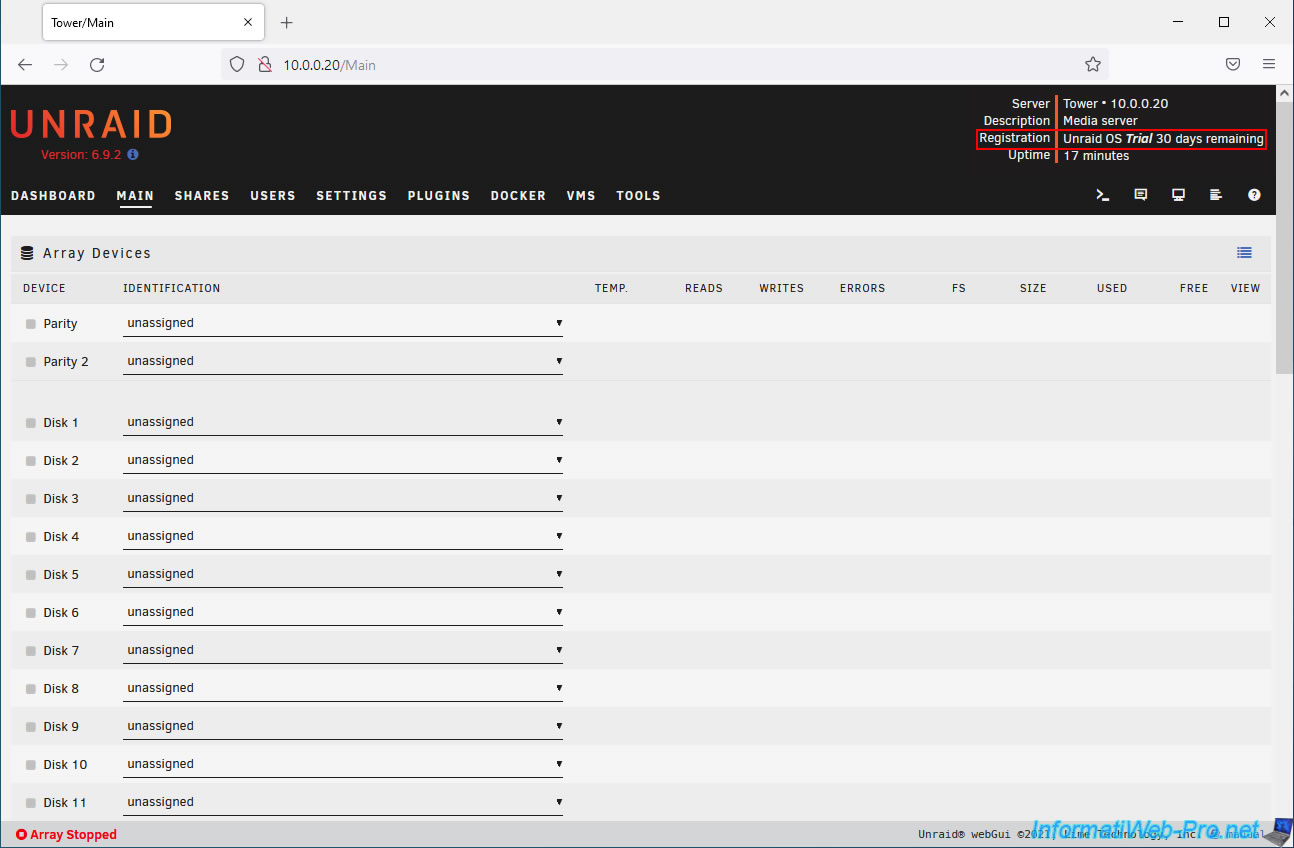
At the top right of the Unraid web interface, you will see the words "Registration: Unraid OS Trial 30 days remaining".
7. Create the Array
7.1. How does the Unraid Array system work?
Unraid works using a hard drive array that you create using hard drives, at least one of which must be selected as a parity disk to ensure the protection of your data.
Indeed, thanks to the parity disk, Unraid will be able to rebuild the missing hard drive if one of the hard drives in this array fails.
Note: although the term "array" may make you think of creating a RAID volume, this is not the case here.
A file system will be created on each hard drive in the array, and the data you store on your Unraid server via the various shares (which you will see later) will be physically distributed across the different drives based on several parameters (allocation methods, partition level, manual inclusion or exclusion of certain hard drives, ...). It's therefore quite possible that one of your hard drives will fill up more than the others depending on these different parameters, unlike in a RAID volume where the data would be evenly distributed.
The disks (hard drives or SSDs) are therefore independent of each other and can be accessed separately (if necessary). This is unlike in a RAID volume where you need all the disks to access your data.
Furthermore, this allows you to only spin up the disks that Unraid currently needs, and the others can be shut down when not in use. This saves you electricity.
Source : What are the advantages of unRAID over similar products?
Important : to benefit from all of Unraid's features, you should connect your hard drives and/or SSDs directly to your motherboard's SATA ports or to an HBA controller.
Using an HBA controller allows you to use hard drives or SSDs with SATA or SAS connectivity (if supported by your HBA controller).
In both cases, Unraid will be able to access the S.M.A.R.T. information (health information) of your hard drive or SSD, as well as their temperature sensors.
This will not be the case if you use a RAID logical drive (or RAID volume) created on a physical RAID controller.
Source : Unraid - BIOS and Booting Up.
7.2. Configure the Array for Unraid
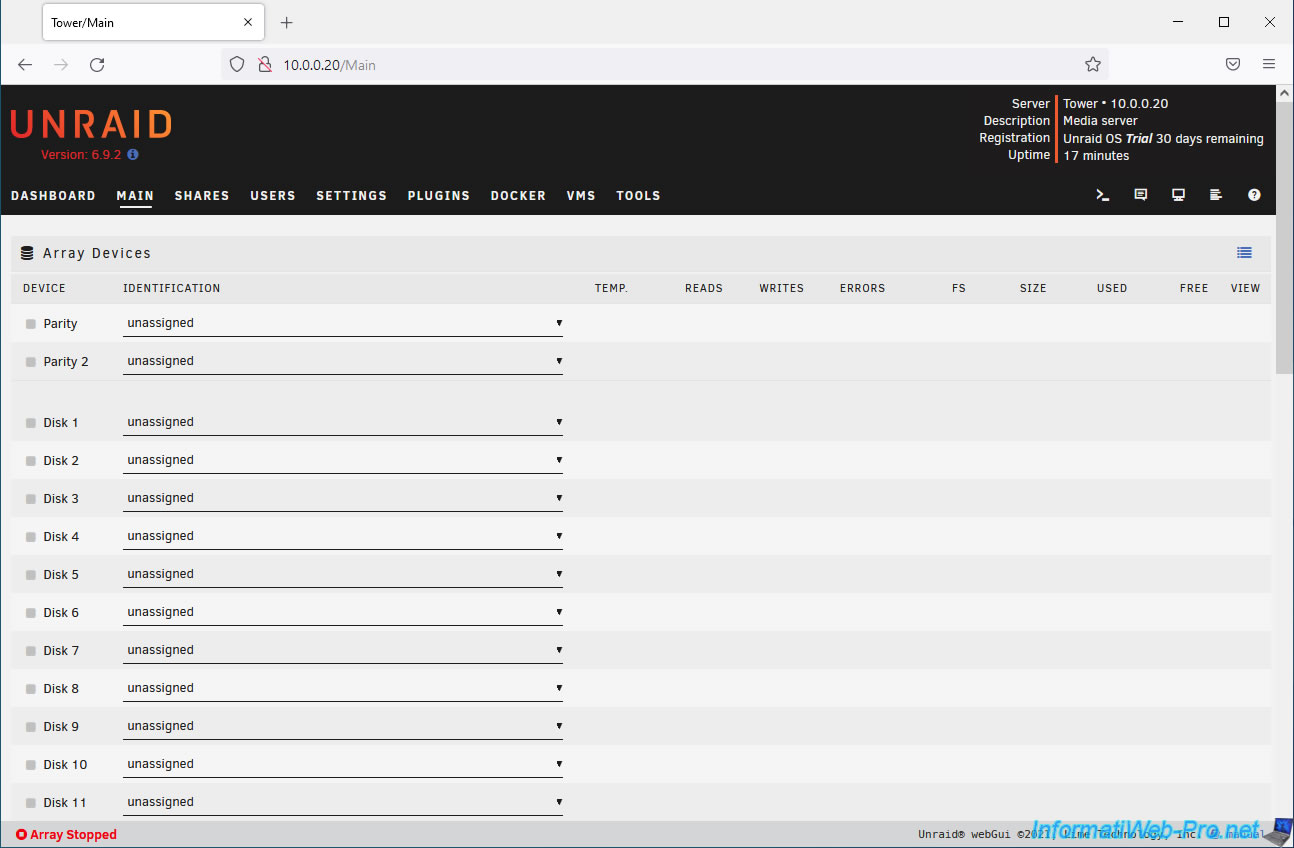
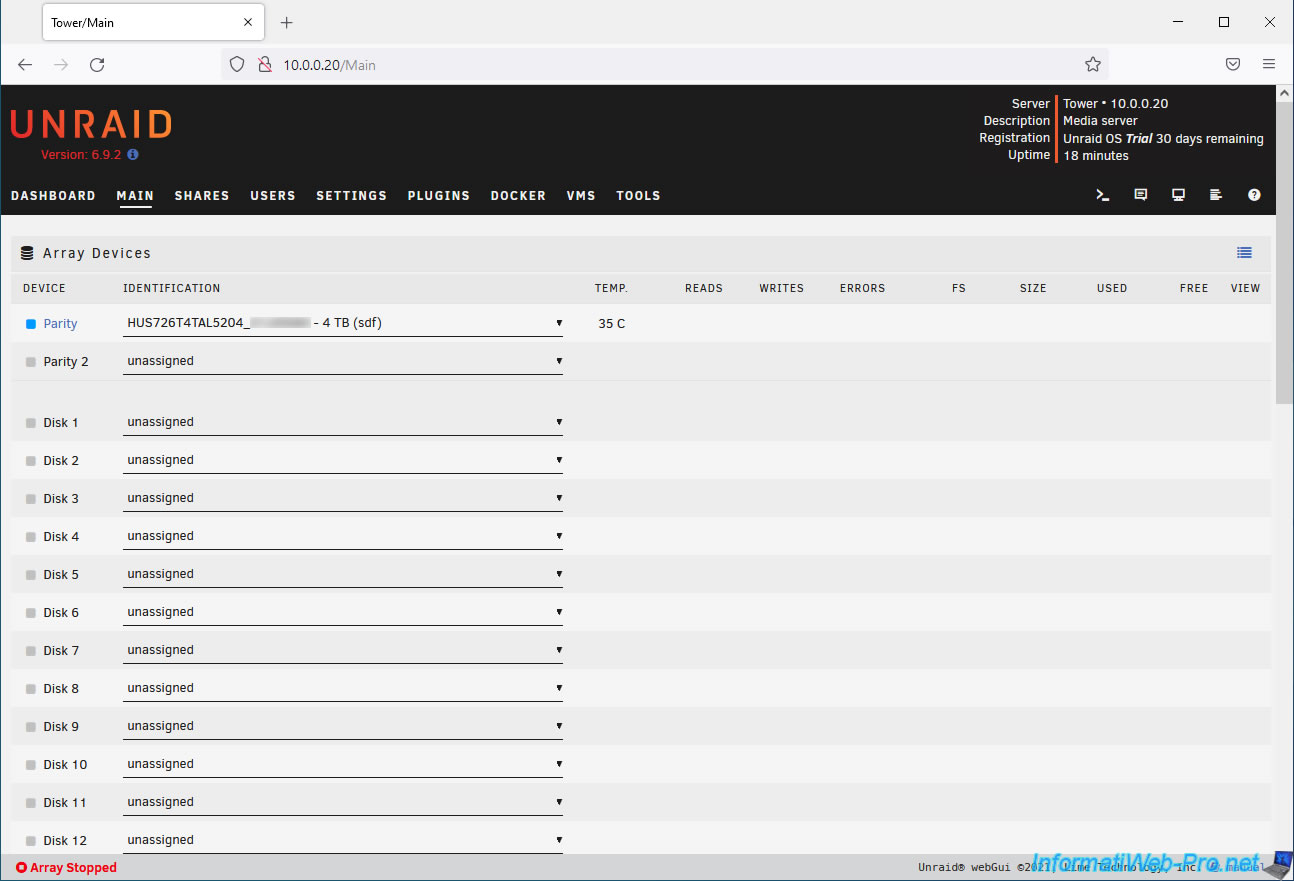
To create this array, go to the "MAIN" tab in Unraid.
On this page, you'll first find an "Array Devices" section where you can select at least one hard drive for parity and your other hard drives as storage drives (Disk 1, Disk 2, ...).
Warning : SSD support is experimental for the array and is discouraged by Unraid. Using SSDs as parity drives or storage drives for the array could produce unpredictable and/or unwanted results.
However, this does not apply to the creation of pools (e.g., cache pools) located further down this page.
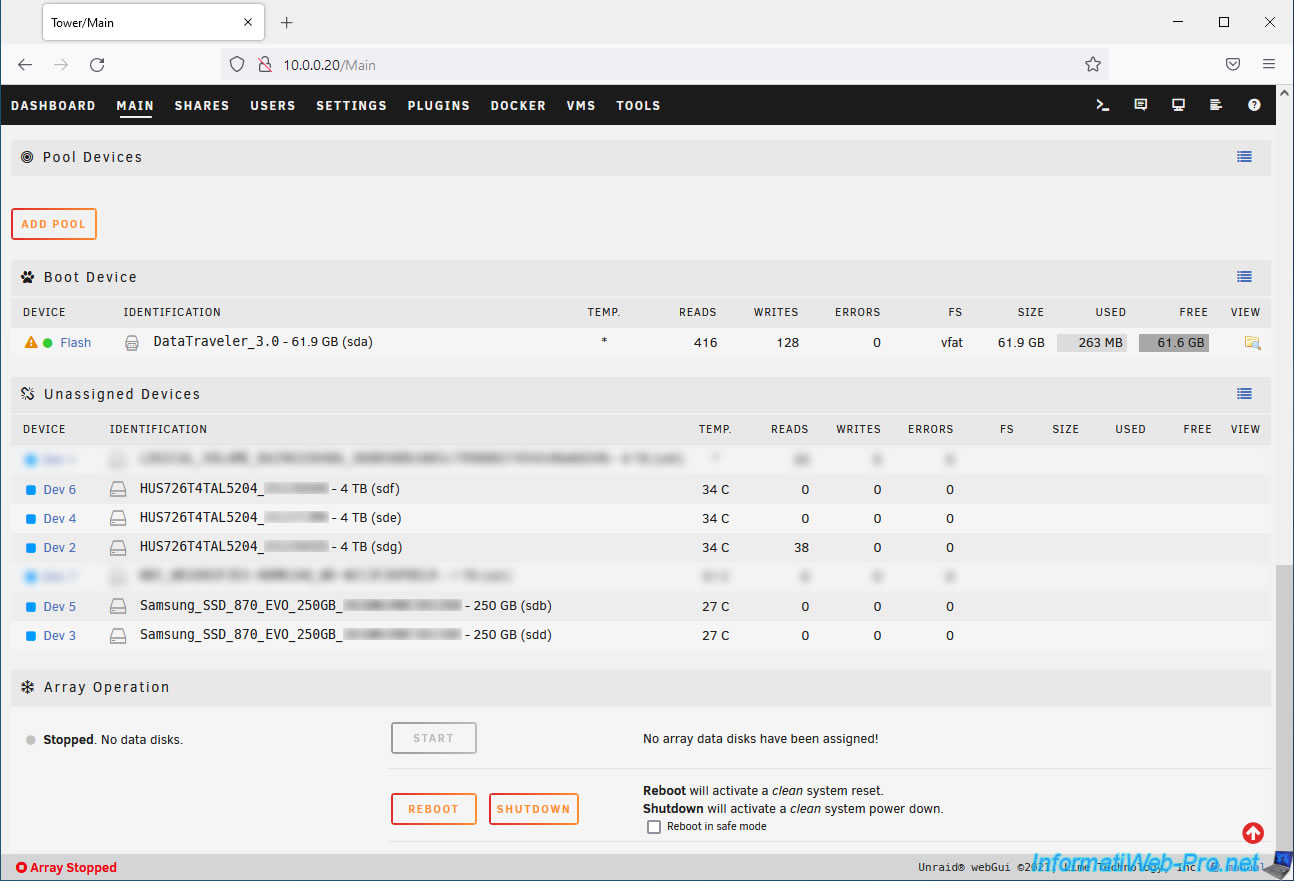
Below, you will also find other sections:
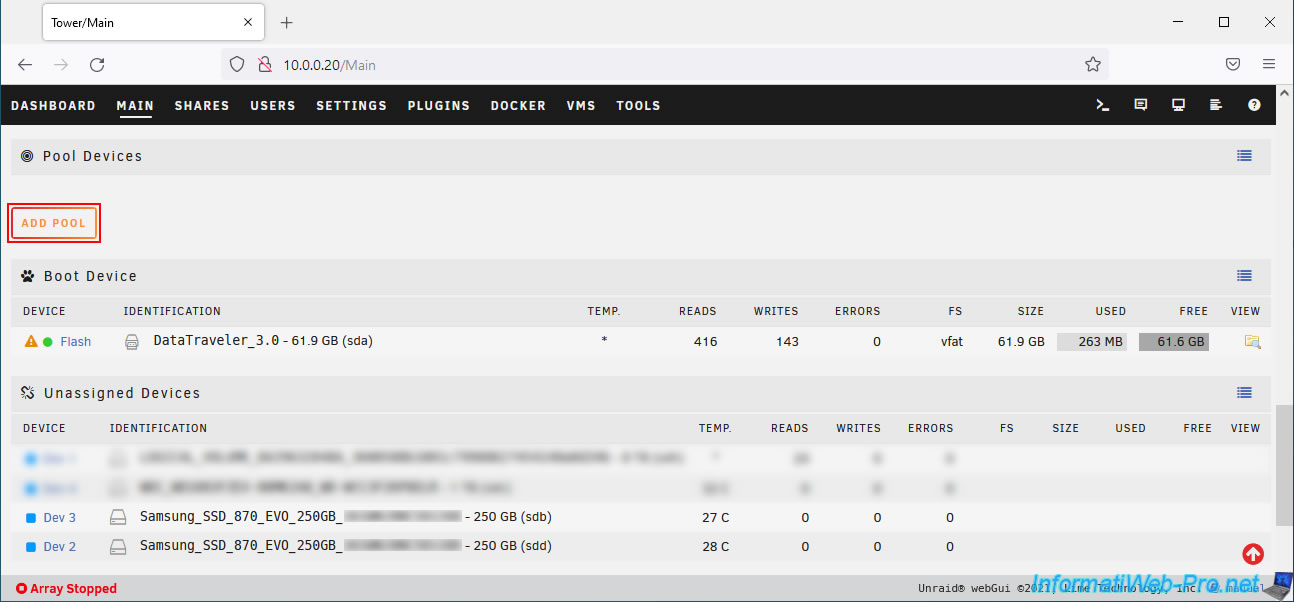
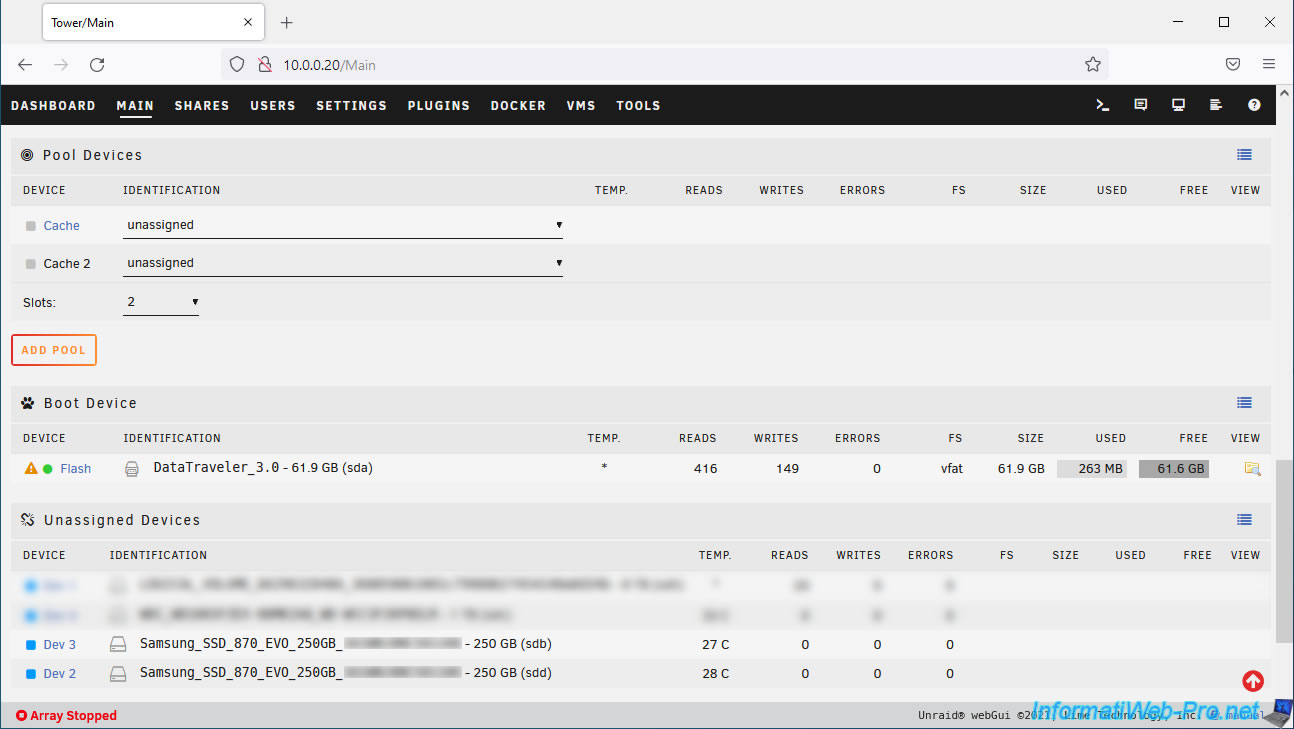
- Pool Devices: allows you to add a pool of faster disks (usually SSDs) as cache disks.
This improves your array's performance by redirecting write operations to SSDs (or pools of SSDs since Unraid version 6). - Boot Device: information about the USB key on which Unraid is installed.
In this case, our 64 GB (61.9 GB) "DataTraveler 3.0" USB key.
As you can see, by default, Unraid weighs only 263 MB (for version 6.9.2).
Note: the orange triangle to the left of this "Flash" device simply indicates that by default, the contents of this USB key are publicly accessible and read/write from the local network.
Which isn't great. - Unassigned Devices: the list of hard drives and/or SSDs that are not part of your array. However, note that you can also intentionally leave certain disks "unassigned" so that you can later use them directly from a virtual machine (for example).
- Array Operation: allows you to manage the startup and shutdown of the array, the creation of parity, the formatting of disks that cannot currently be mounted (Unmountable disks), the startup and shutdown of disks, the shutdown and restart of your Unraid server, ...
To properly protect your array, it is essential to define at least one hard drive as a parity disk.
Furthermore, this hard drive must have a capacity equal to or greater than the largest drive you wish to use in your array.
This parity disk will only contain parity data and will only be used in the event of a hard drive failure in your array.
Thanks to the parity data on this disk, Unraid will be able to reconstruct the data from the failed hard drive.
In our case, we will use:
- 3 SAS hard drives : Western Digital Ultrastar DC HC310 4 To. Whose reference is : HUS726T4TAL5204.
- 2 SSDs : Samsung 870 EVO SATA 2,5" SSD 250 Go. Whose reference is : MZ-77E250B/EU.
For our array, we selected one of our SAS hard drives (HUS726T4TAL5204).
Note: the name indicated for each drive is composed of the hard drive or SSD part number, its serial number (blurred in the image below), its capacity (size), and its name assigned by Linux (the operating system on which Unraid is based).
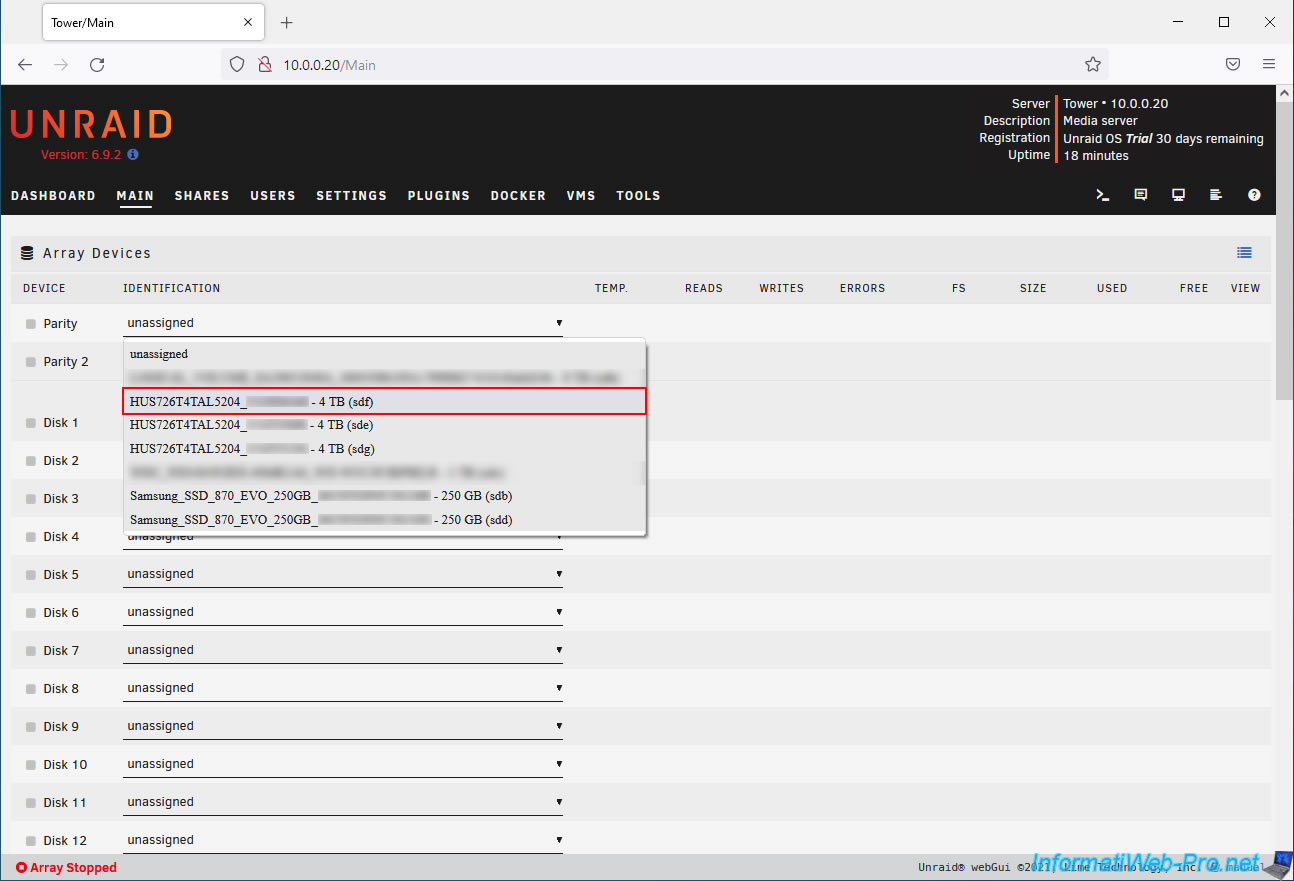
The hard drive chosen as parity disk has been successfully added to our array.
Now, select the hard drives you want to use as storage disks.
In our case, our other two SAS hard drives (HUS726T4TAL5204).
Note that our three SAS hard drives are identical, and therefore their capacity is also identical.
However, you can use hard drives of different brands and capacities if you wish, as long as the parity disk has a capacity equal to or greater than the capacity of the largest hard drive added to your array.
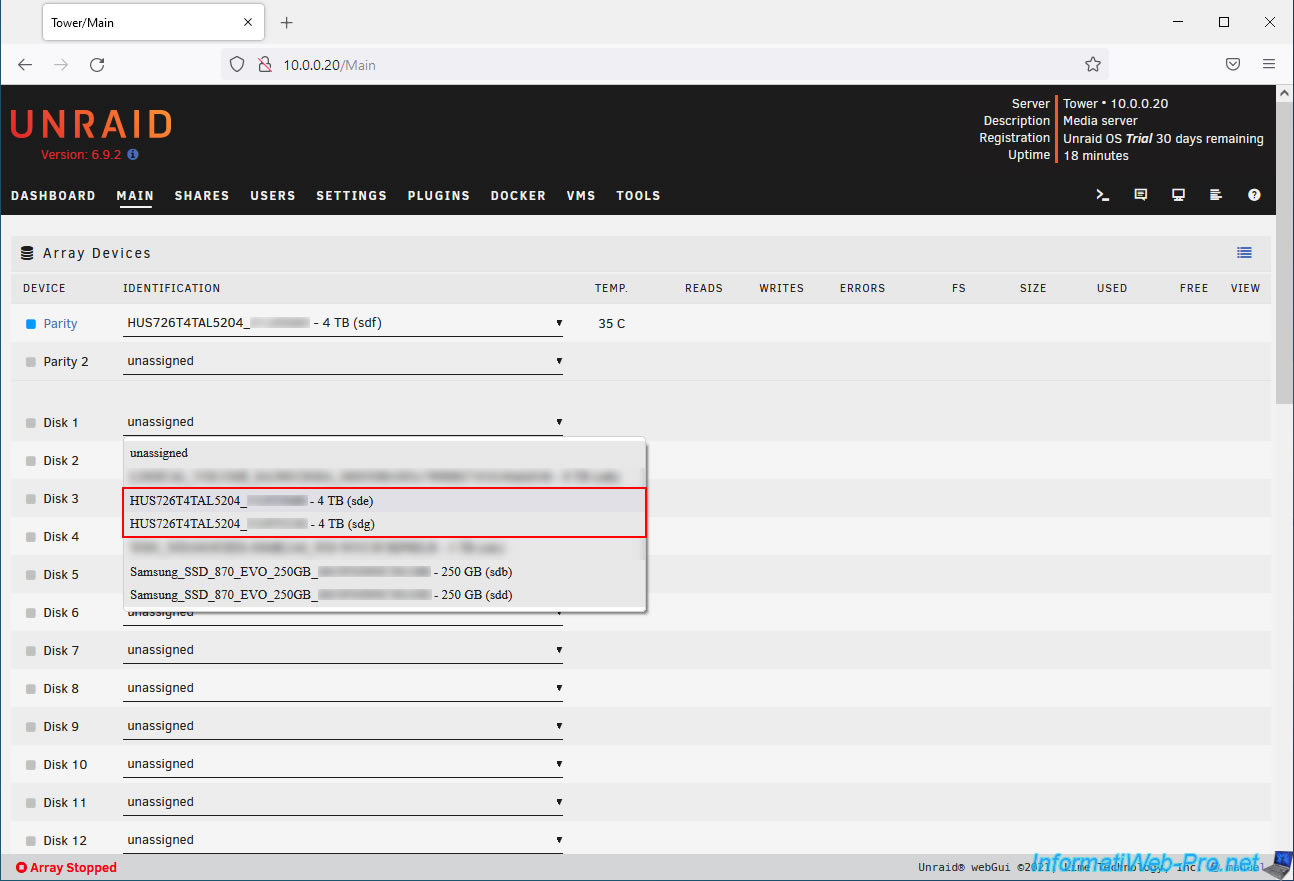
Our 2 SAS hard drives selected as storage drives appear.

In the "Pool Devices" section at the bottom of the disk list, you can add a disk pool (preferably SSDs or faster hard drives).
Previously, before version 6.9.0, this section was named "Cache Devices" because there was only one pool named "cache."
However, since Unraid version 6.9.0, you can now create multiple pools and choose a name for each one. Hence the renaming of this section to "Pool Devices."
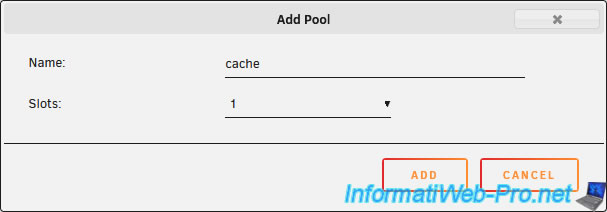
Click "Add Pool" to create a new disk pool (SSDs).
As you can see, the default name for creating your first disk pool is cache.
However, you now have the option to change this name if you wish.
In our case, we'll leave the default value: cache.
By default, the number of slots is set to 1.
However, you can create a pool of 1 disk or multiple disks:
- Single disk (single device mode): this allows you to create a pool consisting of a single fast disk (SSD).
However, if this disk fails, you will lose the data on it. Unless Unraid's "Mover" previously moved the data from this disk to your array, which is protected by a parity disk.
Indeed, it's important to know that pools are located outside the array (array), and the parity disk therefore does not protect the contents of the disks in your disk pools (SSDs).
The only advantage of creating a pool of a single disk is that you can choose a file system other than BTRFS if you wish. However, selecting a file system other than BTRFS will prevent you from adding other disks to your pool in the future. - Multiple disks (multi-device mode): this allows you to create a pool consisting of several fast disks (SSDs).
The main advantage is the protection of your data thanks to a specific BTRFS implementation of RAID 1 (mirrored disks).
That said, in this case, you can mix disks of different sizes and speeds, which is not the case with a traditional RAID system.
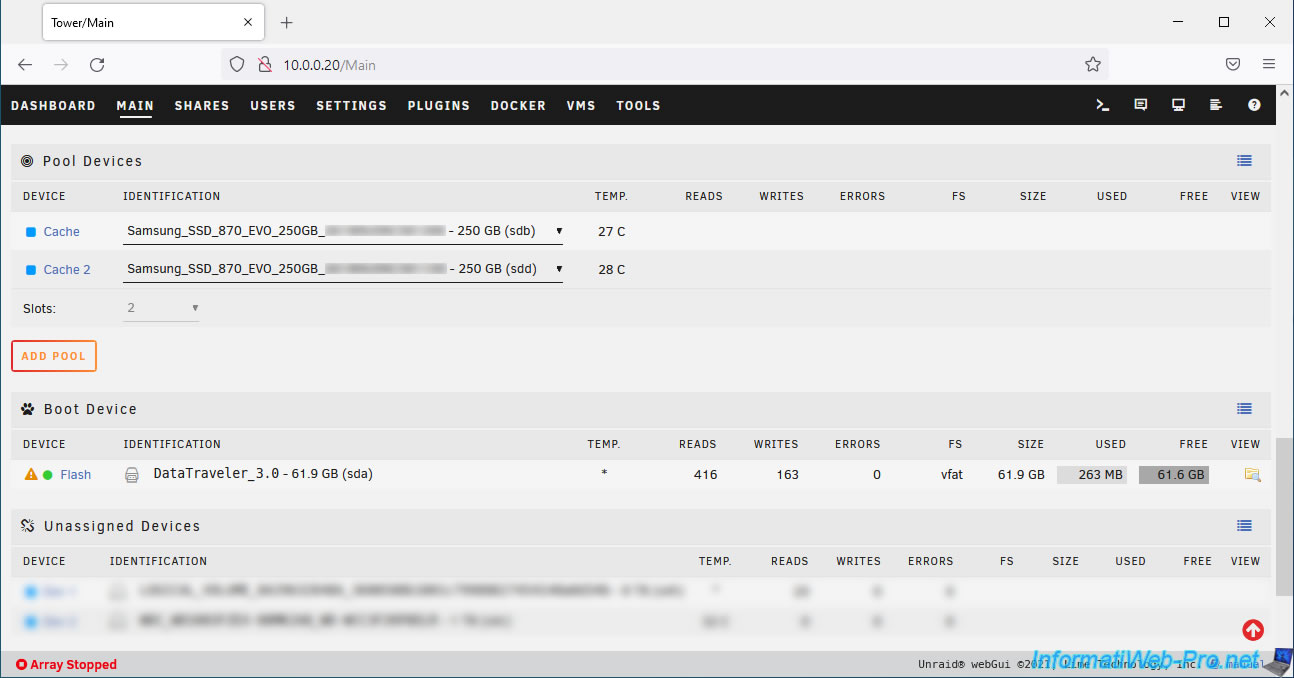
In our case, we therefore select "Slots: 2" to protect the data in this pool against the loss of a disk (SSD).

As you can see, Unraid allows us to select 2 disks (SSDs) for our "cache" pool.
We add our 2 SSDs (Samsung_SSD_870_EVO_250GB) as "Cache" and "Cache 2".

Our 2 disks (SSDs) are added to our "cache" pool.
Share this tutorial
To see also
-
NAS 1/8/2026
Unraid 6.9.2 - Add a storage disk
-
NAS 3/11/2026
Unraid 6.9.2 - Presentation of Dynamix plugins (sys info, ...)
-
NAS 5/27/2026
Unraid 6.9.2 - SWAG - Use a DDNS client (Duck DNS)
-

NAS 7/1/2026
Unraid 6.9.2 - SWAG - Use a personal domain with a dynamic WAN IP
No comment