Install and configure your NAS server with Unraid 6.9.2
- NAS
- Unraid
- 21 November 2025 at 13:38 UTC
-

- 5/5

Paste this link into the "Key file URL" box and click: Install key.
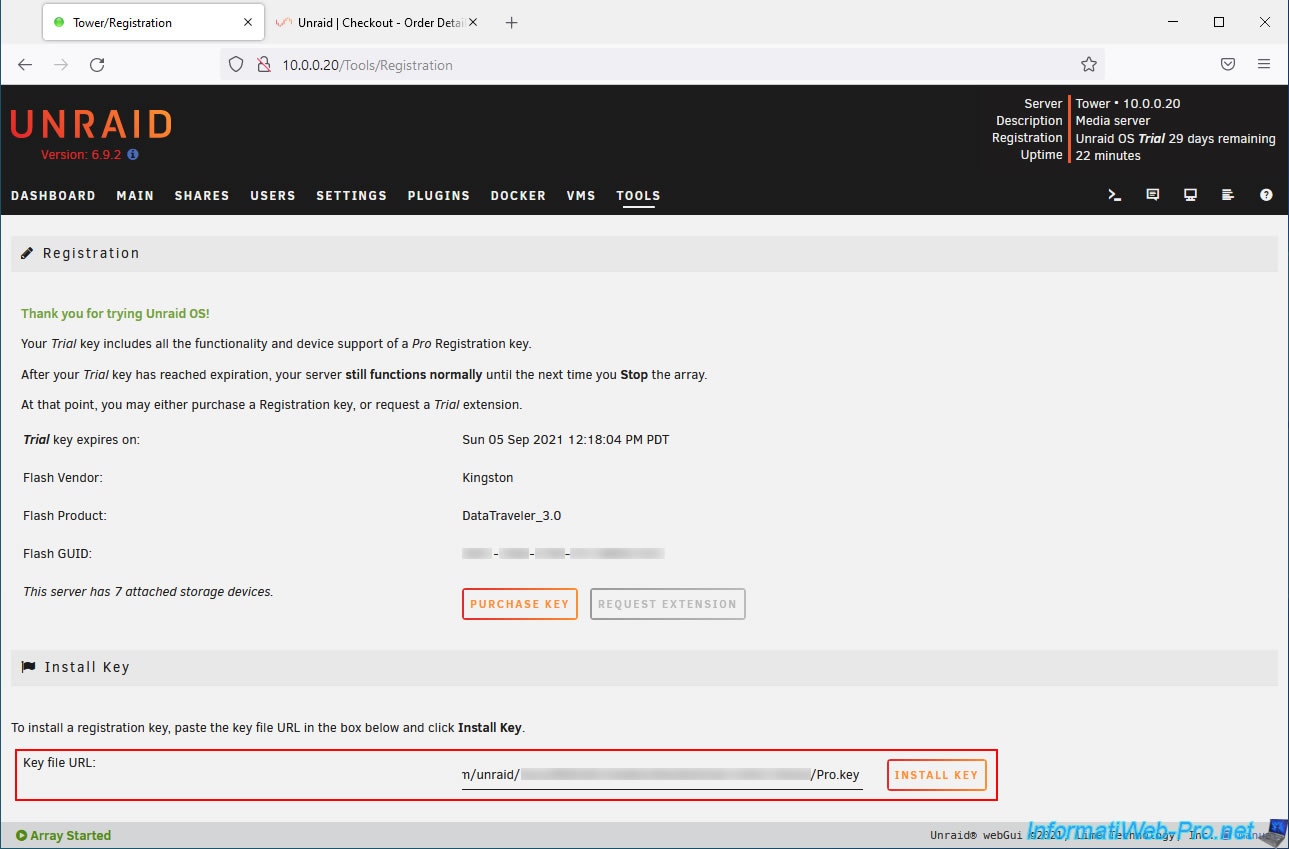
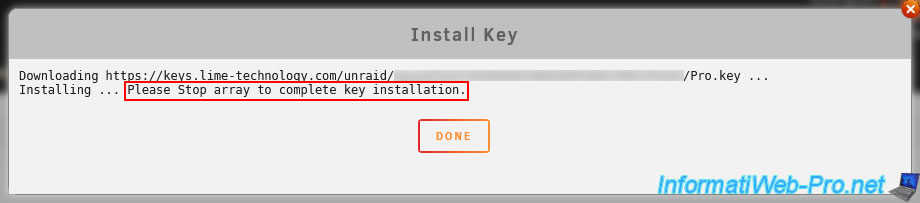
Your Unraid server will download this license file and apply it to your server.
Note that Unraid will prompt you to shut down your array to complete the license key installation.
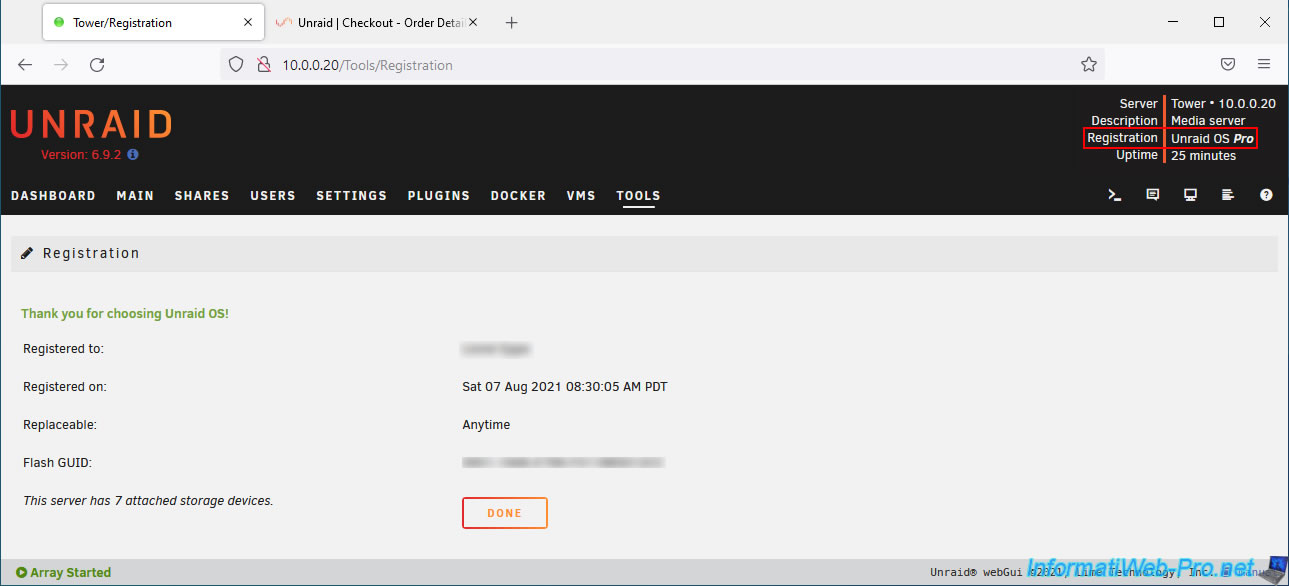
Click Done.
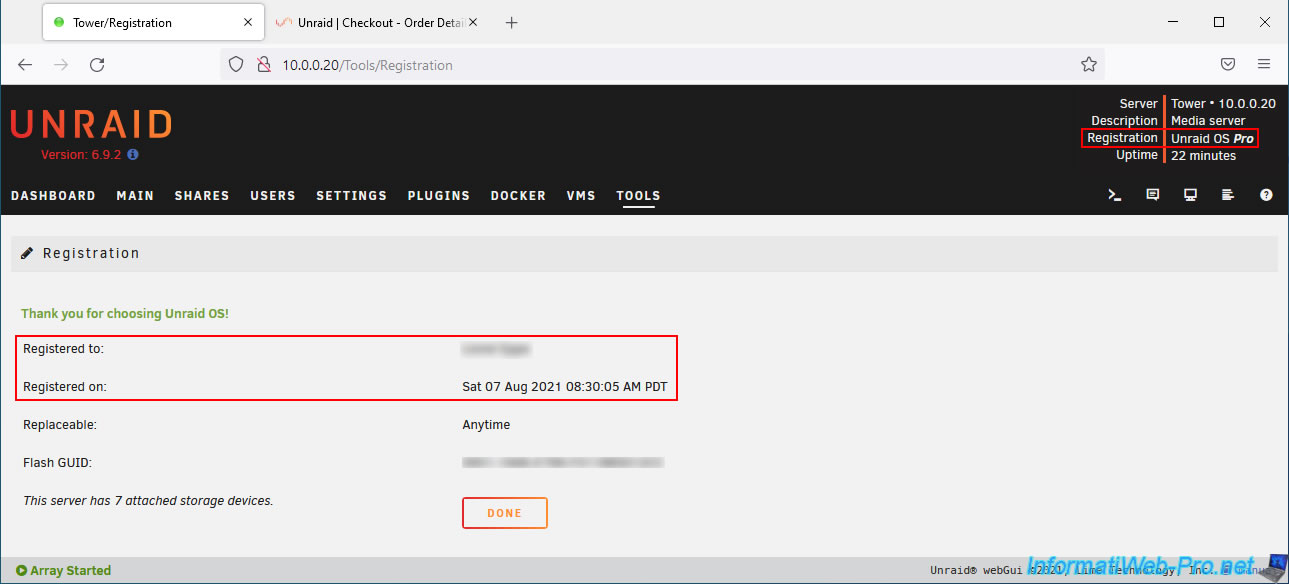
Once the license is applied, you'll see your edition listed in the top right corner (in our case, Unraid OS Pro).
You'll also see:
- Registered to: your name
- Registered on: the date of registration.
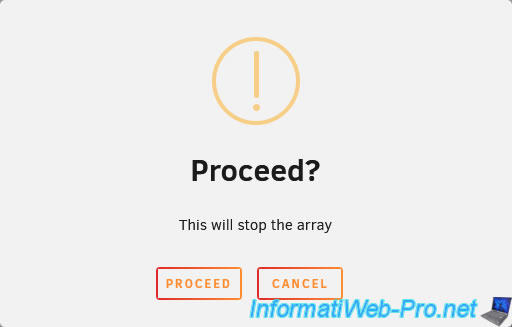
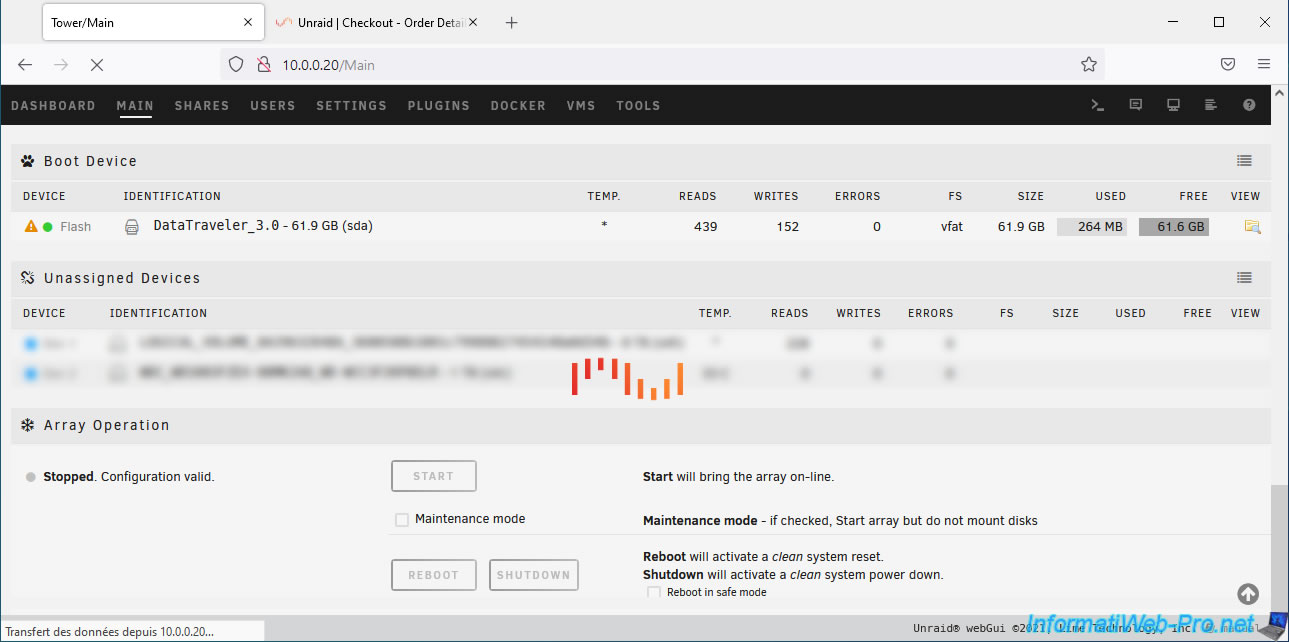
As requested by Unraid, stop your array by going to the "Main" tab and clicking Stop.

Confirm the array shutdown by clicking Proceed.
Please wait while it stops.

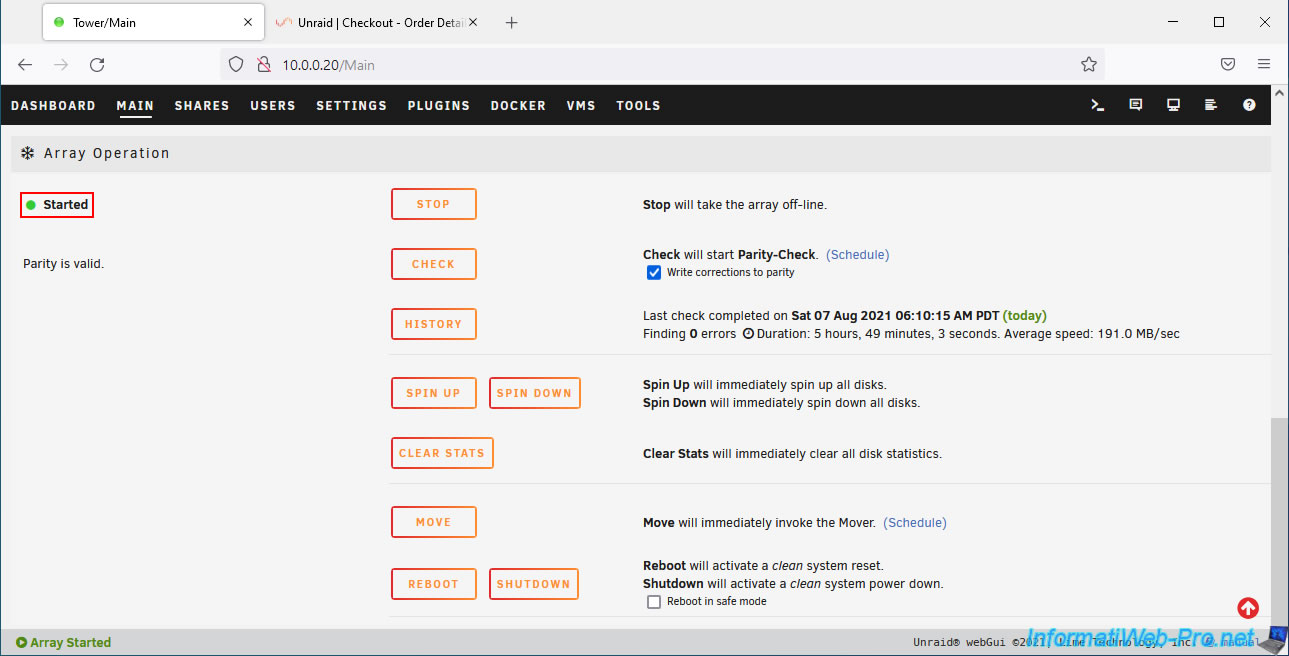
Once the array is stopped, start it again by clicking Start.

Please wait while it starts.
Your array is restarted.
Your license is now correctly installed.
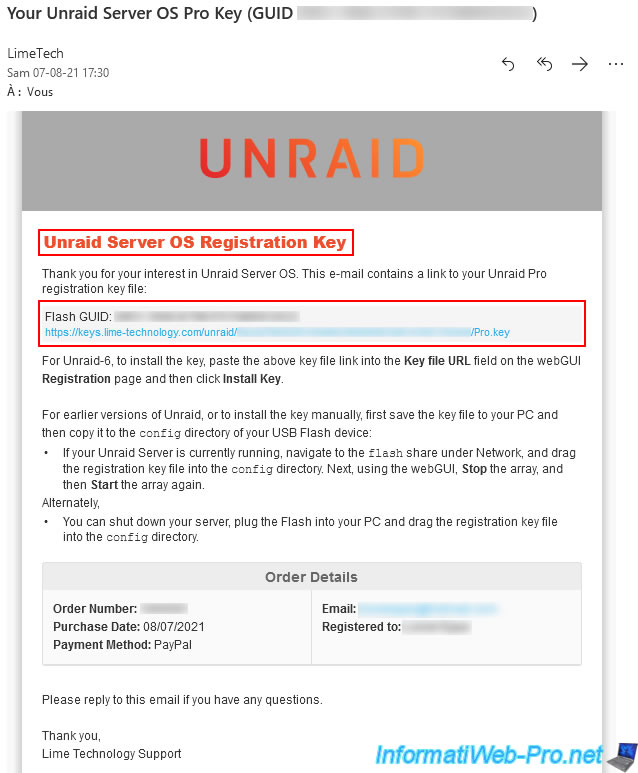
If you check your inbox, you'll see that you've received several emails from LimeTech, including one with a link to your license file.
We recommend manually downloading this license file and keeping it in a safe place so you can manually restore your license later.
Indeed, as indicated in this email, it's also possible to manually place this key file in the "config" folder of your USB key to reactivate your Unraid license on the same USB key (since this license file is linked to it).
11. Information about your Unraid server
In the "Dashboard" tab, you'll find a summary of your hardware and some of Unraid's features.
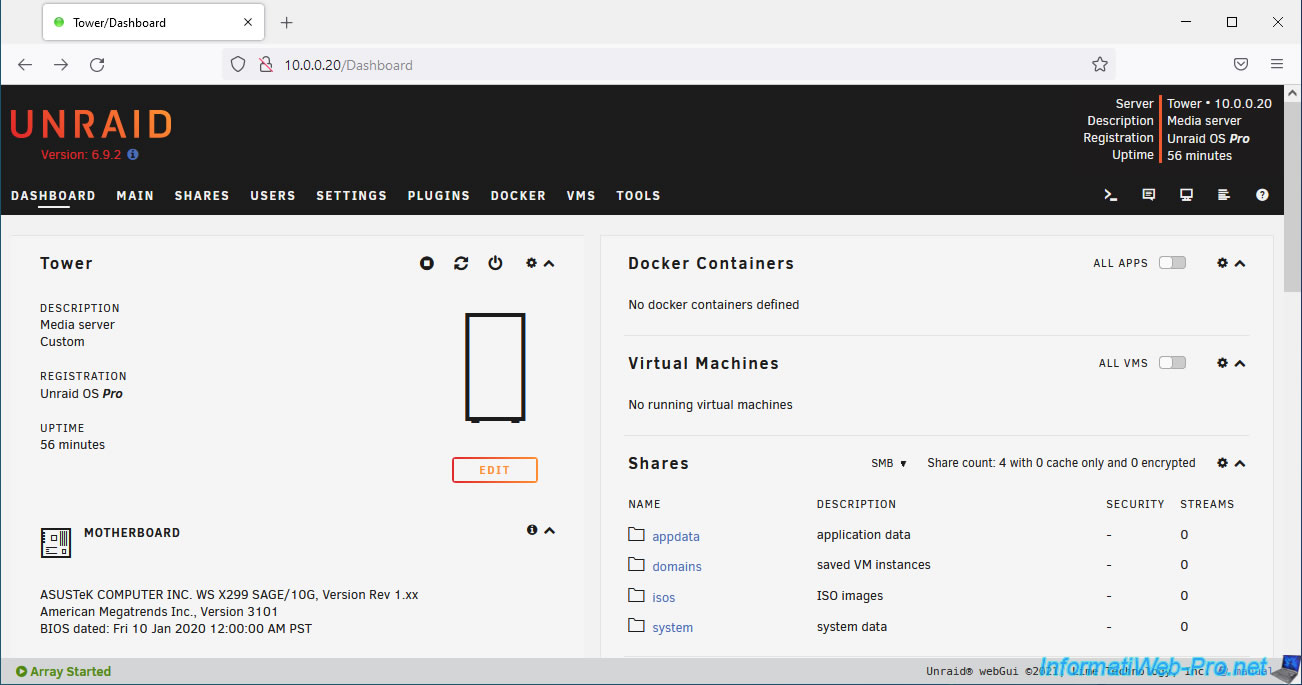
To begin, in the "Tower" section, you'll find:
- Tower: the name of your server. Note that you can change this name (when your array is shut down).
- Description: its description. Default: Media server.
- Custom: the template used.
- Registration: the license currently in use. In our case: Unraid OS Pro.
- Uptime: the time your server has been booted. In our case: 56 minutes.
- Tower image: you can change this image if you wish and replace it with different tower images, server images, ...
In the "Motherboard" section, you will find:
- the exact brand and model of your motherboard. In our case: ASUSTeK COMPUTER INC. WS X299 SAGE/10G, Version Rev 1.xx.
- the brand and version of its BIOS. In our case: American Megatrends Inc., Version 3101.
- the date of this BIOS (BIOS dated). In our case: Fri 10 Jan 2020 12:00:00 AM PST.
In the "Docker Containers" section, you will find the list of Docker containers (applications running in Docker containers) installed on your Unraid server.
In the "Virtual Machines" section, you will find the list of virtual machines created on your Unraid server.
In the "Shares" section, you will find the list of shares on your Unraid server, including:
- Name: their name
- Description: their description
- Security: the security setting applied (public, secure, or private).
- Streams: the number of active connections on this share
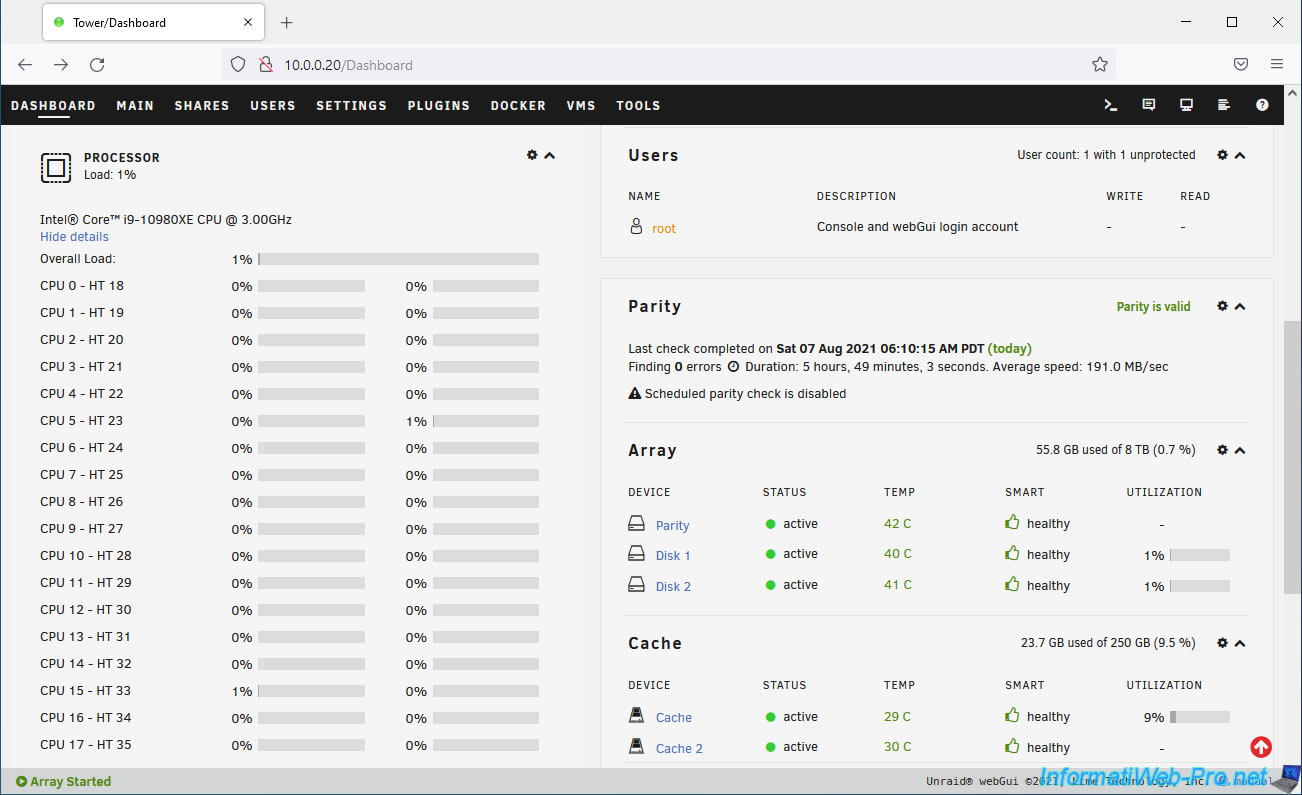
In the "Processor" section, you will find:
- Load x%: the overall utilization rate of your processor (CPU) in numerical format.
- the brand, model, and base frequency of your processor (CPU). In our case: Intel Core i9-10980XE CPU @ 3.00 GHz.
- Overall Load: the overall utilization rate of your processor (CPU) in graphical format.
- CPU X: the utilization rate of this processor core.
- HT X: same, but for the one created via Hyper-Threading.
In the "Users" section, you will find the list of users created on your server (including the "root" account) with:
- Name: their name
- Description: their description
- Write: indicates only the number of shares on which this user has write permissions.
- Read: same as the previous option, but for read permissions.
In the "Parity" section, you will find information regarding the previously calculated parity:
- Parity is valid: indicates whether the parity is currently valid or not.
- Last check completed on: indicates when the parity was last checked.
- Finding x errors: indicates the number of errors detected in the parity (if any).
- Duration: indicates how long it took to calculate the parity.
- Average speed: indicates the average speed at which this parity was calculated.
- Scheduled parity check is disabled: indicates that, by default, parity checking is not scheduled.
In the "Array" section, you will find the utilization rate of your array, as well as the list of disks present in your array with:
- Device: the name assigned by Unraid for this disk. Parity or Parity X for the parity disk(s). And "Disk X" for disks used as storage disks.
- Status: indicates whether the disk's status is good or not.
- Temp: indicates the current temperature of the disk.
If the temperature does not appear, make sure the disk is connected directly to your motherboard or to an HBA controller.
If it is a RAID logical disk (which is not supported), it is normal for the disk's temperature not to appear. - SMART: indicates the "S.M.A.R.T." status of this disk, or in other words, its health.
S.M.A.R.T. is a technology integrated into all hard drives and SSDs that allows you to quickly determine whether a hard drive or SSD is dying or not. This technology isn't 100% reliable, but it does exist. - Utilization: the utilization rate of each of these disks.
Note that the utilization rate is not indicated for parity disks since they are not intended to be used for data storage.
In the "Cache" section, you'll find the same type of information, but for the disks in your cache pool.
If you've created a pool with multiple disks (SSDs), as is our case, the first disk will be used to store data, while the others will be mirrored disks synchronized from the first disk using a RAID 1 system supported by the BTRFS file system.
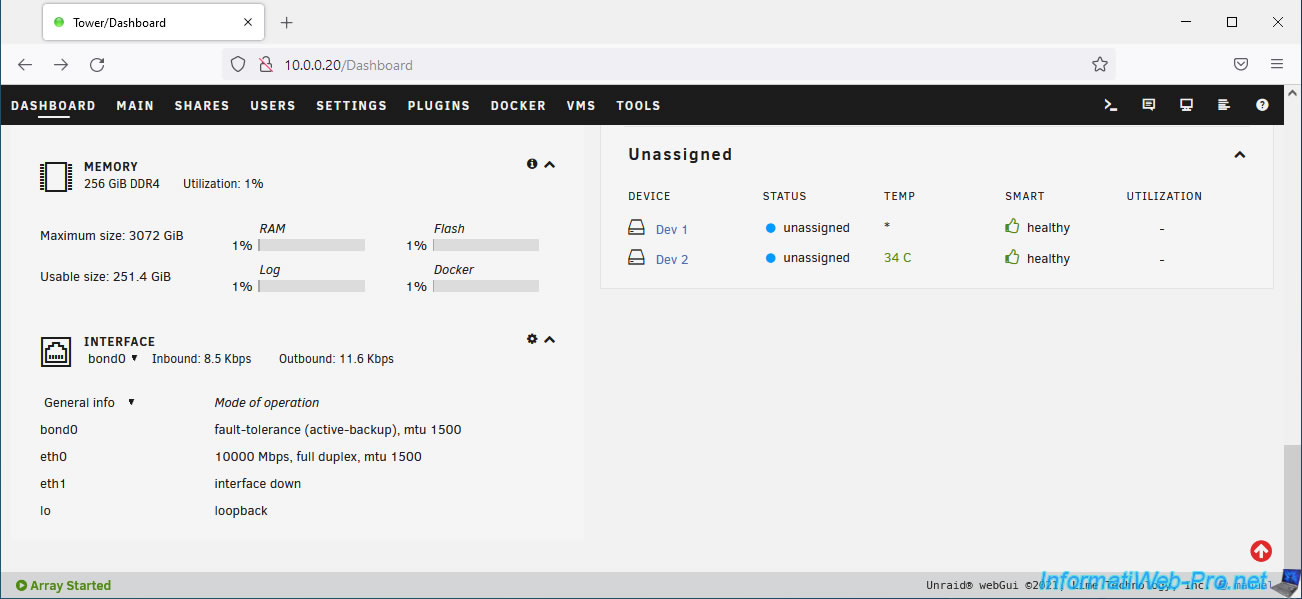
In the "Memory" section, you will see:
- The total amount of RAM installed in your server, as well as its generation. In our case: 256 GiB DDR4.
- Utilization: the usage rate of this RAM.
- Maximum size: no information about this value.
- Usable size: amount of RAM currently available (not currently in use).
- RAM: overall RAM usage rate.
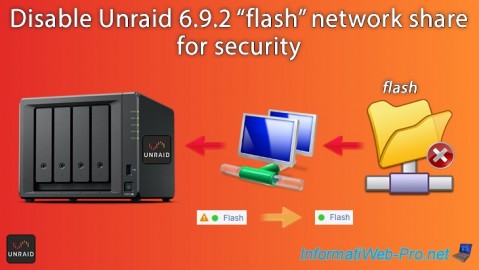
- Flash: memory usage rate of your boot device (Boot Drive), whose contents are accessible via the "flash" share created by default and which is publicly accessible (by default) from the network.
- Log: usage rate via log files.
- Docker: RAM usage rate of your Docker containers.
In the "Interface" section, you will find:
- Inbound / Outbound: the current inbound/outbound network transfer speed for the network interface (default: bond0) selected on the left.
- bond0: by default, this network interface (bond0) uses "active-backup" mode, which provides fault tolerance by automatically activating your second network card (if applicable) when the first (currently active) fails.
- eth0: the first wired network card (Ethernet) with its operating mode.
- eth1: same, but for the second wired network card (Ethernet). In our case, it is not used. Unraid therefore displays "interface down".
- lo: network loopback interface
In the "Unassigned" section, you will find the list of disks that are not assigned to the array or to a pool (cache for example) with:
- Device: their name assigned by Unraid
- Status: their status. Default: unassigned.
- Temp: their current temperature.
- SMART: their health status, as determined by their SMART data.
- Utilization: not displayed, as these drives are not intended to be used.
12. Change the root account password
Finally, secure your Unraid server by setting a password for the root account, which is not password-protected by default.
To do this, go to the "Users" tab and click on the "root" account.

The "Edit User" page appears.
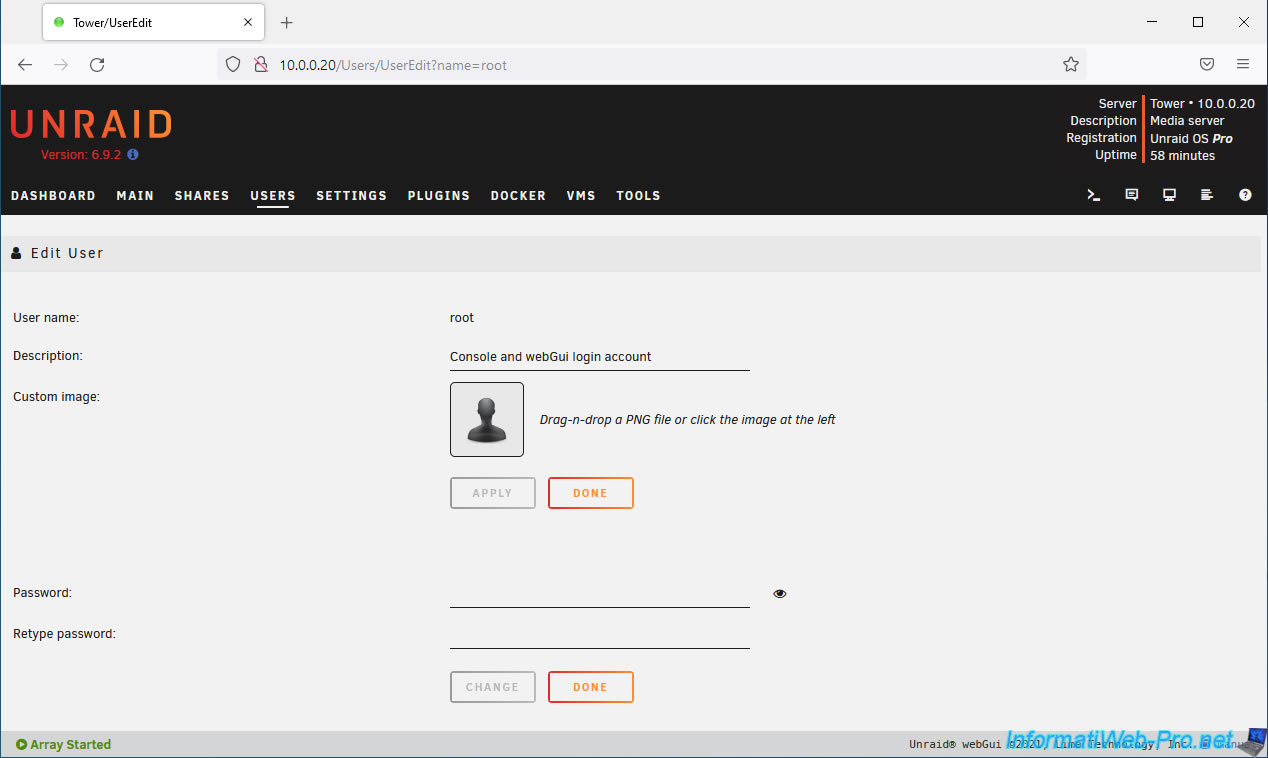
Enter a password twice in the "Password" and "Retype password" boxes and click Change.
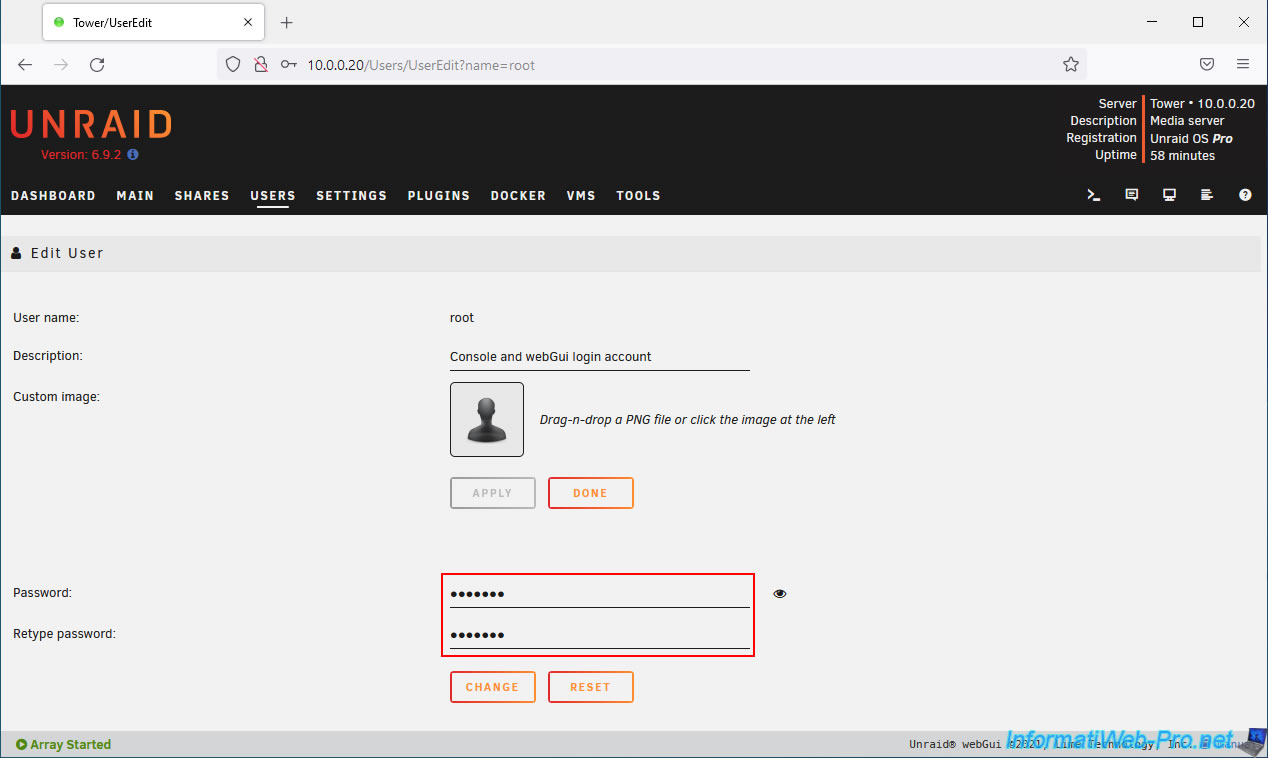
The changes are saved.

The Unraid login page will then appear.
Log in with the "root" account, entering the password you just set for it, and click Login.
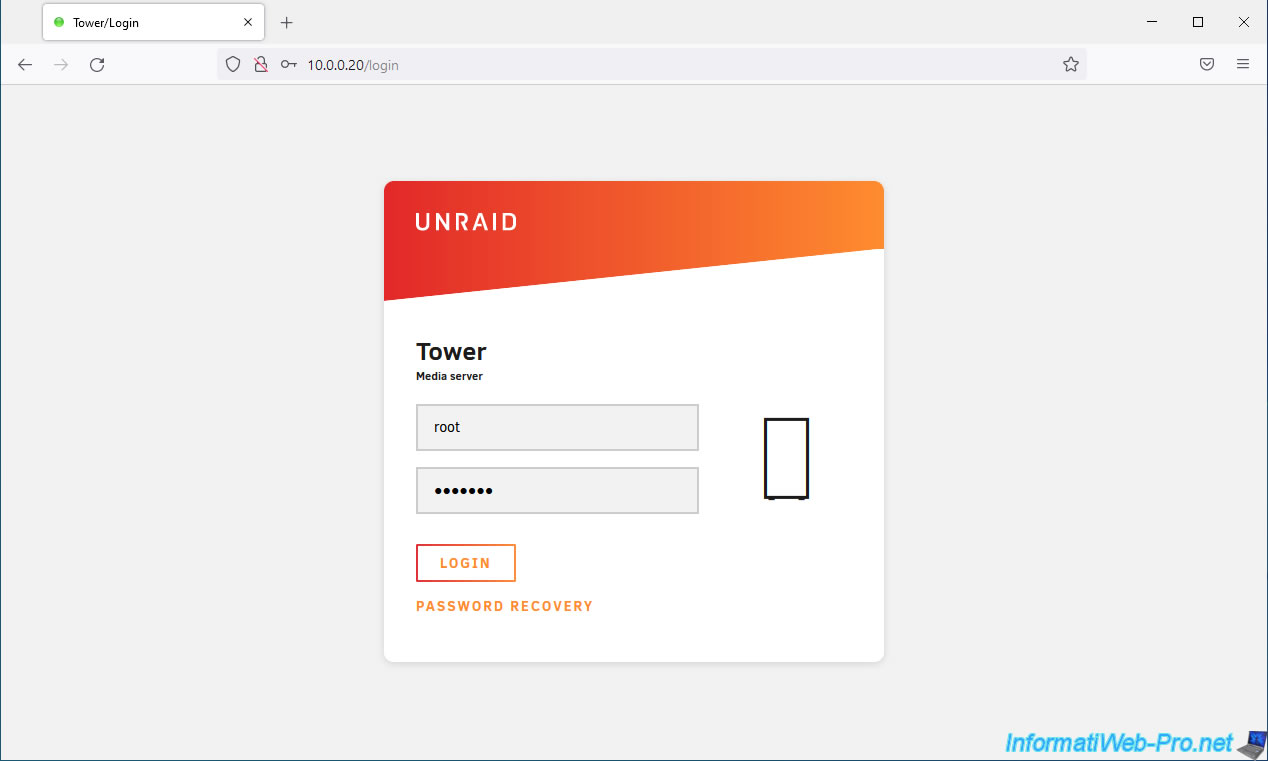
And there you have it, your server is installed, configured and password protected.

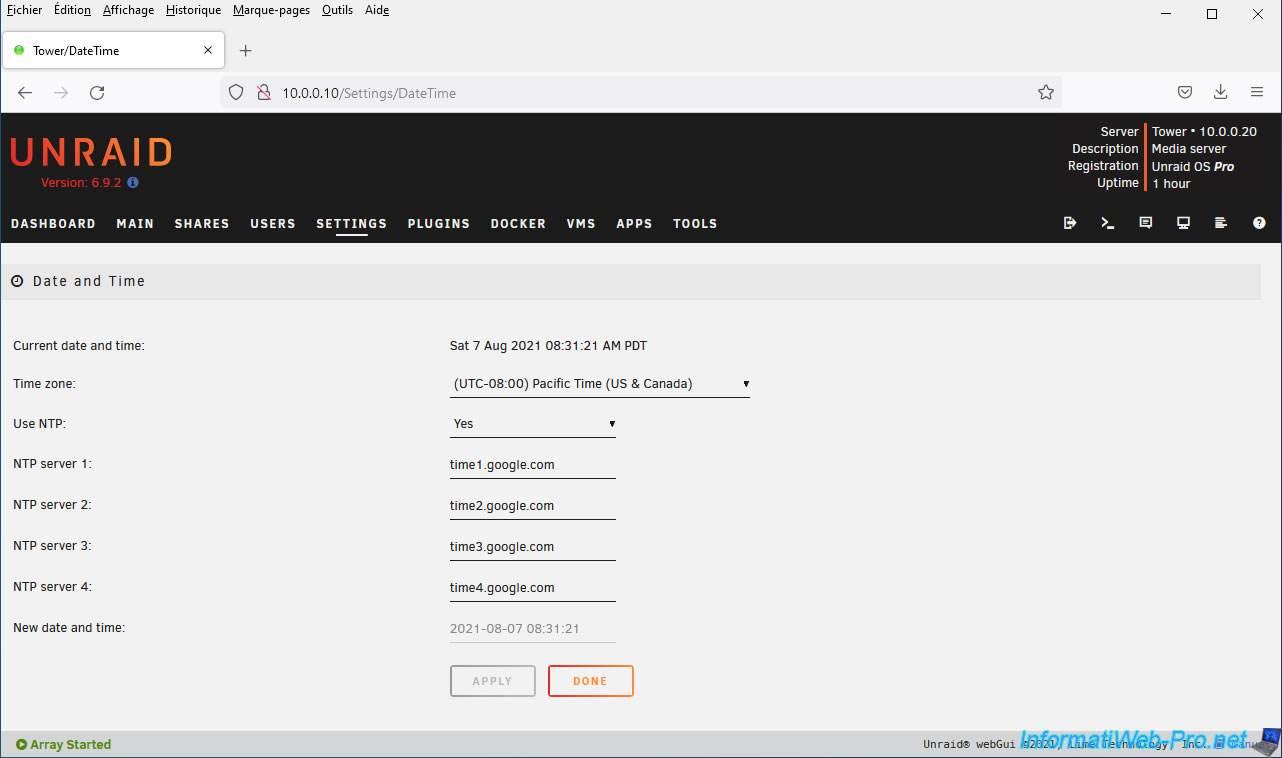
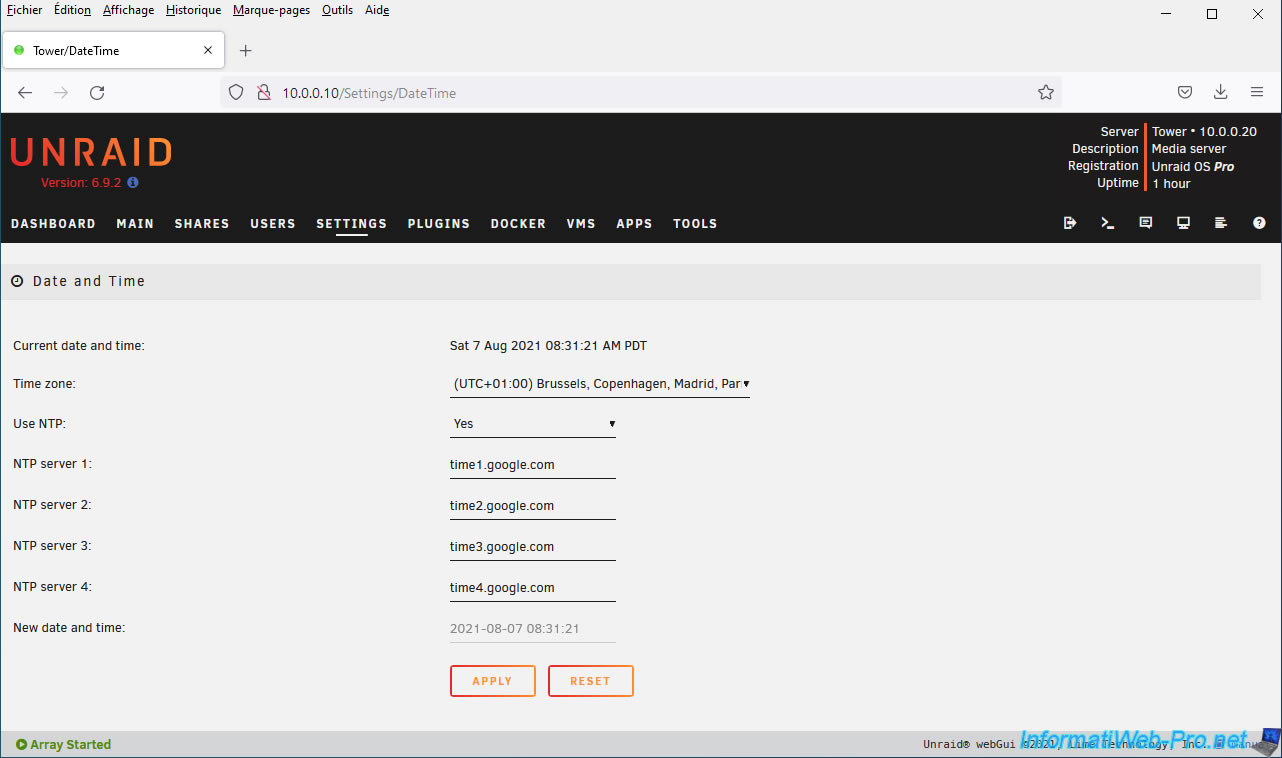
13. Change the time zone used
To ensure the displayed date/time matches the current date/time in your country, you must select the correct time zone in Unraid's settings.
To do this, go to Settings -> Date and Time.
As you can see, the default time zone is "(UTC-08:00) Pacific Time (US & Canada)".
If you live in France or Belgium, select the time zone "(UTC+01:00) Brussels, Copenhagen, Madrid, Paris".
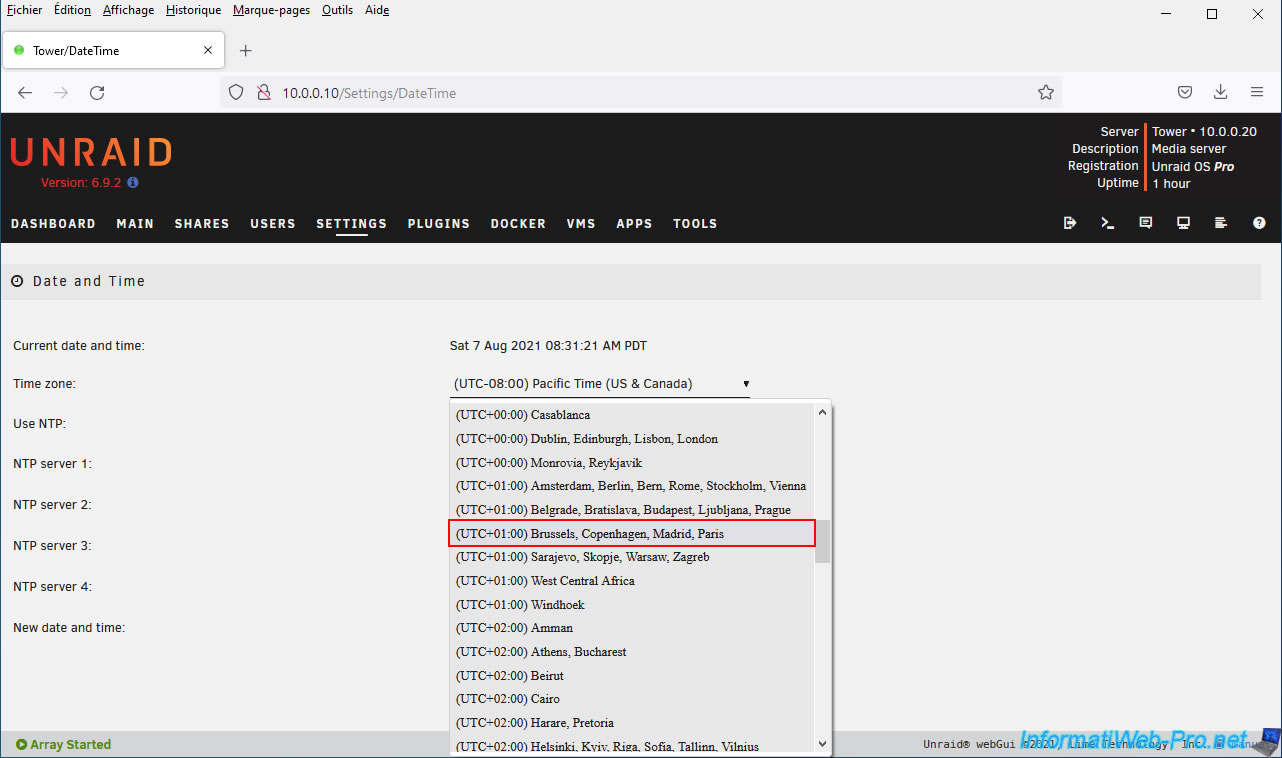
Then, click on: Apply.
Share this tutorial
To see also
-
NAS 1/1/2026
Unraid 6.9.2 - Disable flash network sharing
-

NAS 4/23/2026
Unraid 6.9.2 - Docker - Install a media server (Plex)
-
NAS 6/24/2026
Unraid 6.9.2 - Docker - Install the office suite (Collabora) for Nextcloud
-
NAS 5/6/2026
Unraid 6.9.2 - SWAG - Install a reverse proxy (SWAG)
No comment