- NAS
- Unraid
- 30 January 2026 at 12:44 UTC
-

- 1/4

Unraid is a solution that allows you to create your own NAS, whose storage is accessible through a array and share system (accessible locally and/or from the network).
To properly organize your files on your Unraid server and access them from Docker containers, virtual machines, ..., you will need to create shares.
These can be simple Linux mount points or shares that are also accessible from the network (publicly or with a specific user account).
- Global sharing settings
- Create a public user share
- Create password-secured network shares
- Manage user rights on different shares
- Create and access a hidden network share
- Create a share accessible locally only
- Delete a user share
1. Global sharing settings
To get started, go to: Settings -> Global Share Settings.
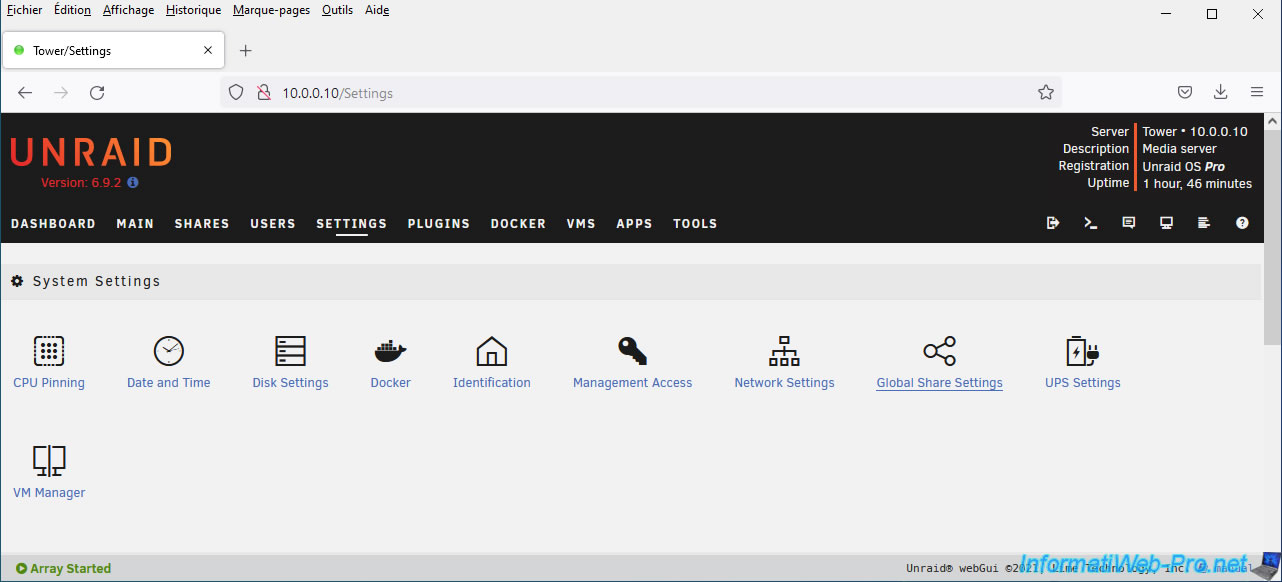
On this "Global Share Settings" page, you will see that there are 2 types of shares on Unraid:
- Disk shares: allows access to files and folders located on a physical storage drive.
- User shares: allows you to create shares (accessible locally and/or from the network) whose files will be distributed or not across your various physical storage drives.
The distribution or not of the files you store in this share will depend on its configuration.
However, be aware that disk shares and user shares are two different views of the same file system.
So, if you add or delete a file via a user share, it will also be reflected in the relevant disk share (and vice versa).
2. Create a public user share
2.1. User sharing configuration
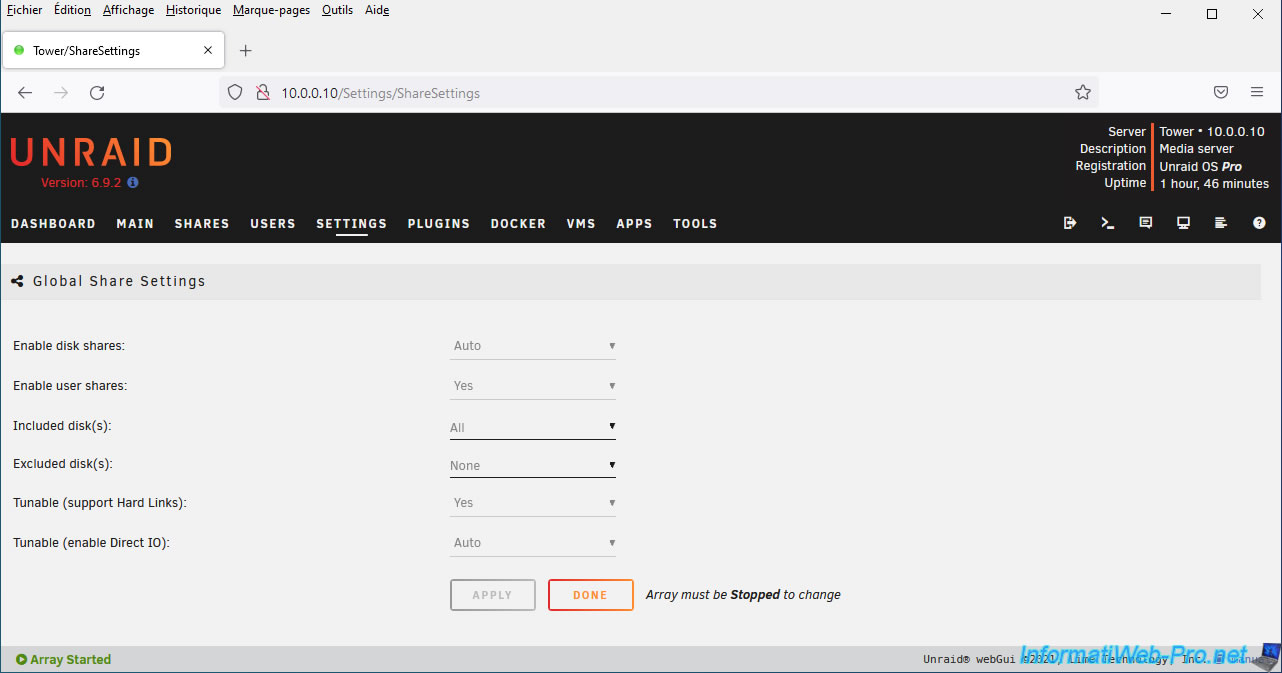
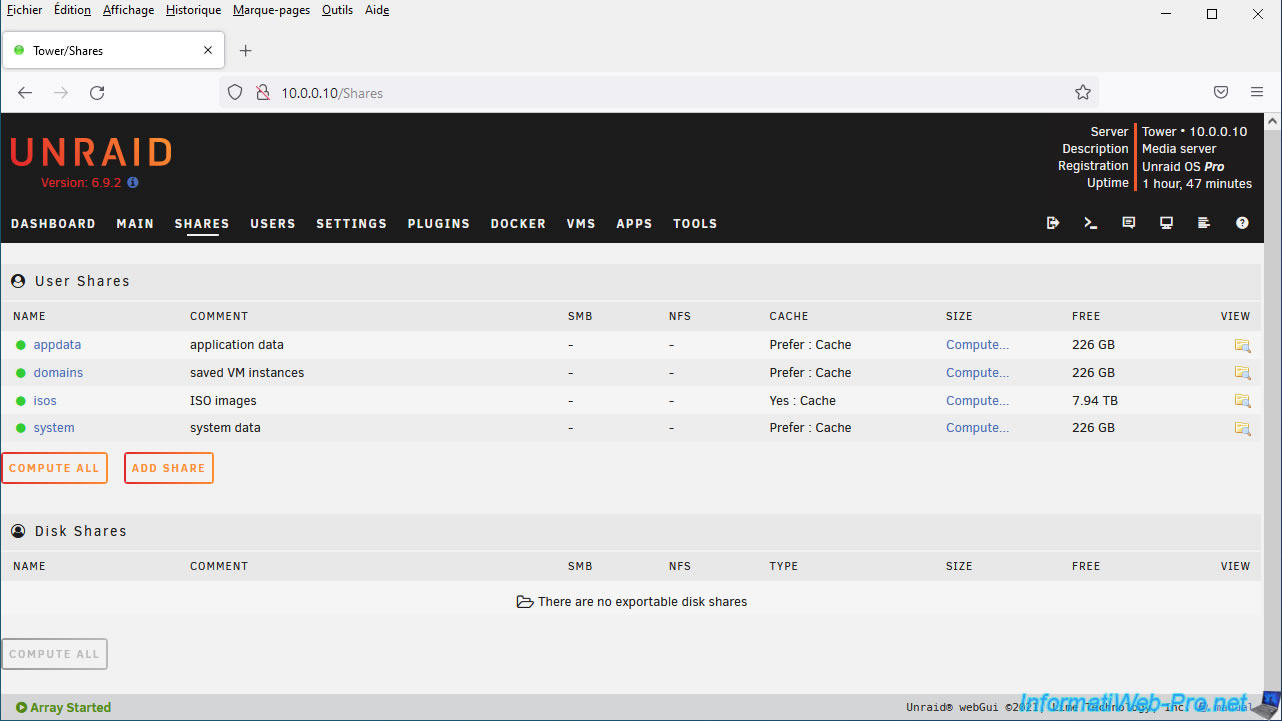
To create a user share, go to the "Shares" tab of your Unraid server.
As you can see, by default, there are four user shares already created:
- appdata: contains the files related to the various Docker containers you will install on your Unraid server.
- domains: contains the various virtual hard drives of the virtual machines you will create on your Unraid server.
- isos: contains the various ISO images you want to use with your virtual machines. For example: ISOs for Windows installations, Windows Server, or Linux distributions (such as Debian or Ubuntu).
- system: contains the binary files for the various Docker containers, as well as the virtual machine XML templates.
Click on: Add share.
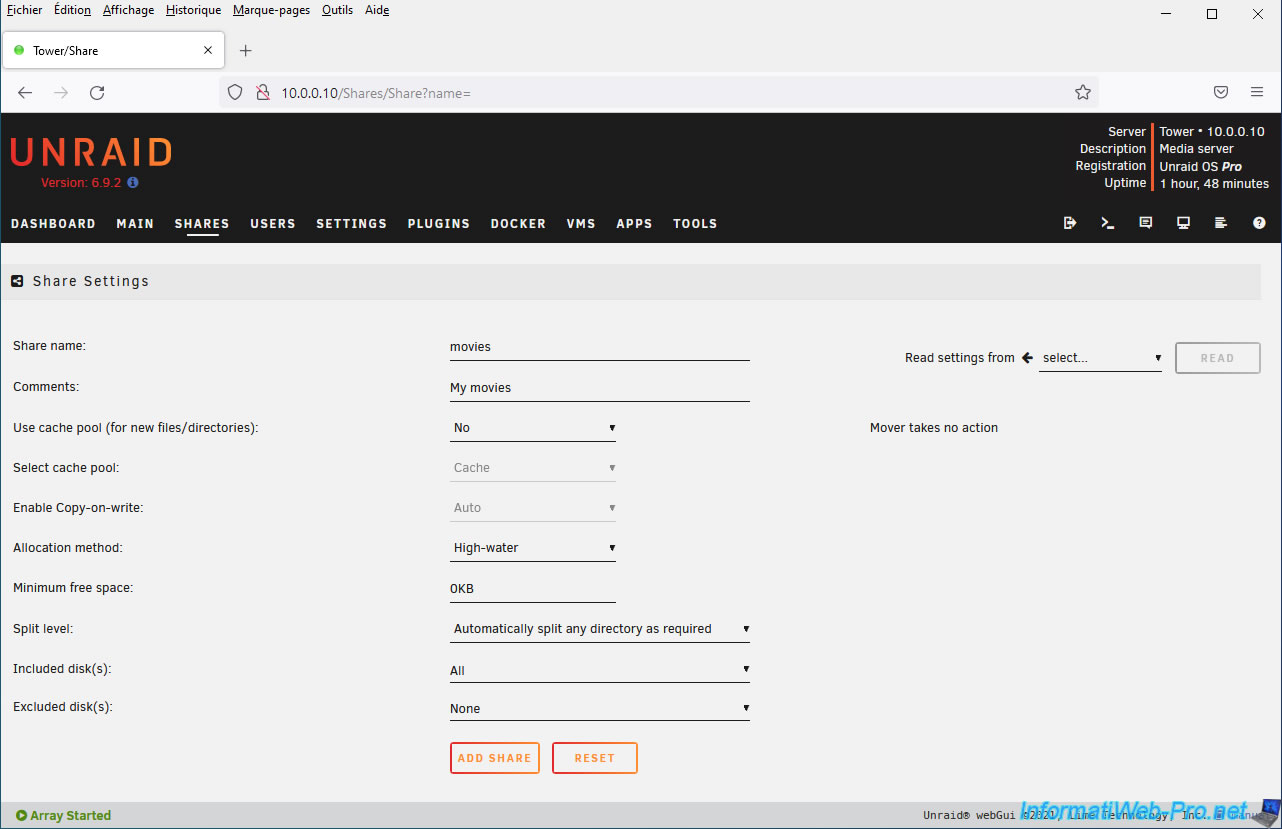
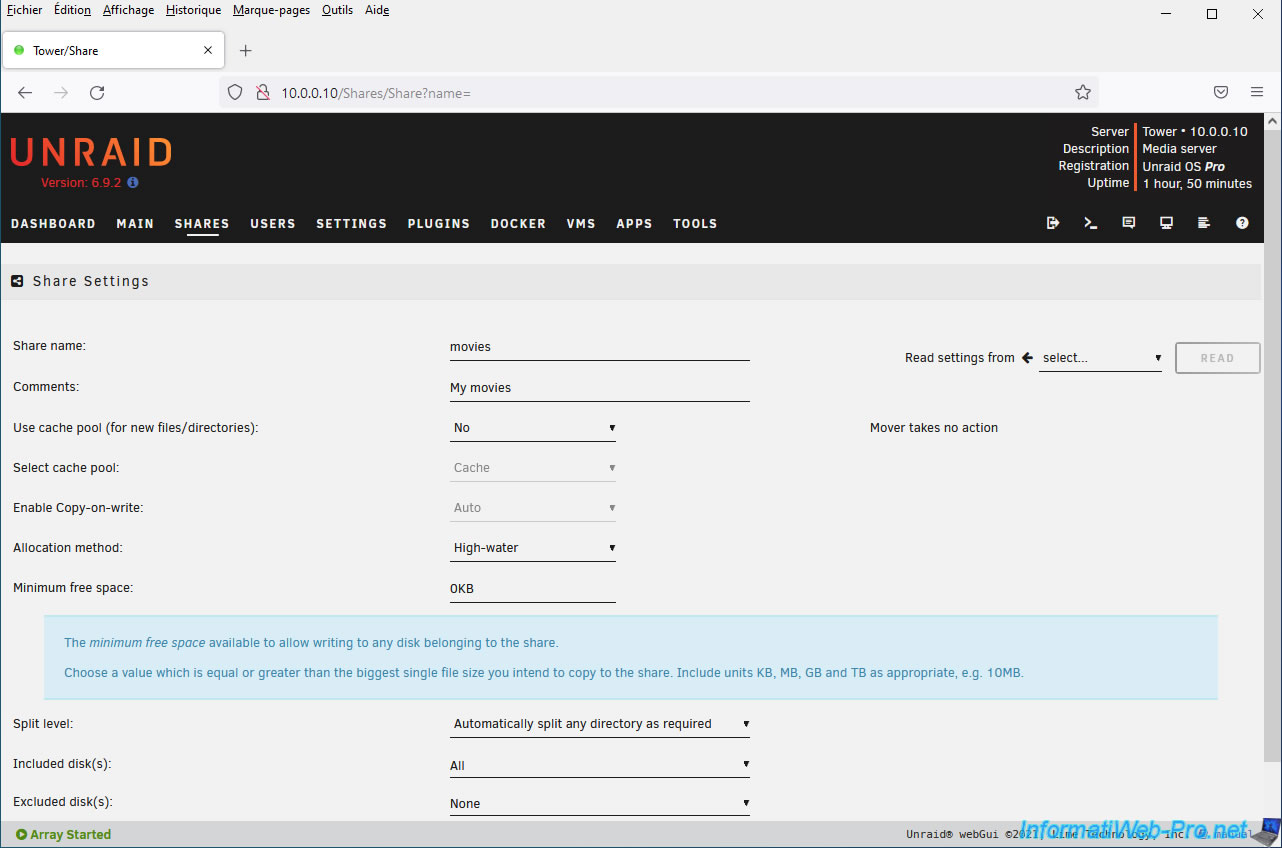
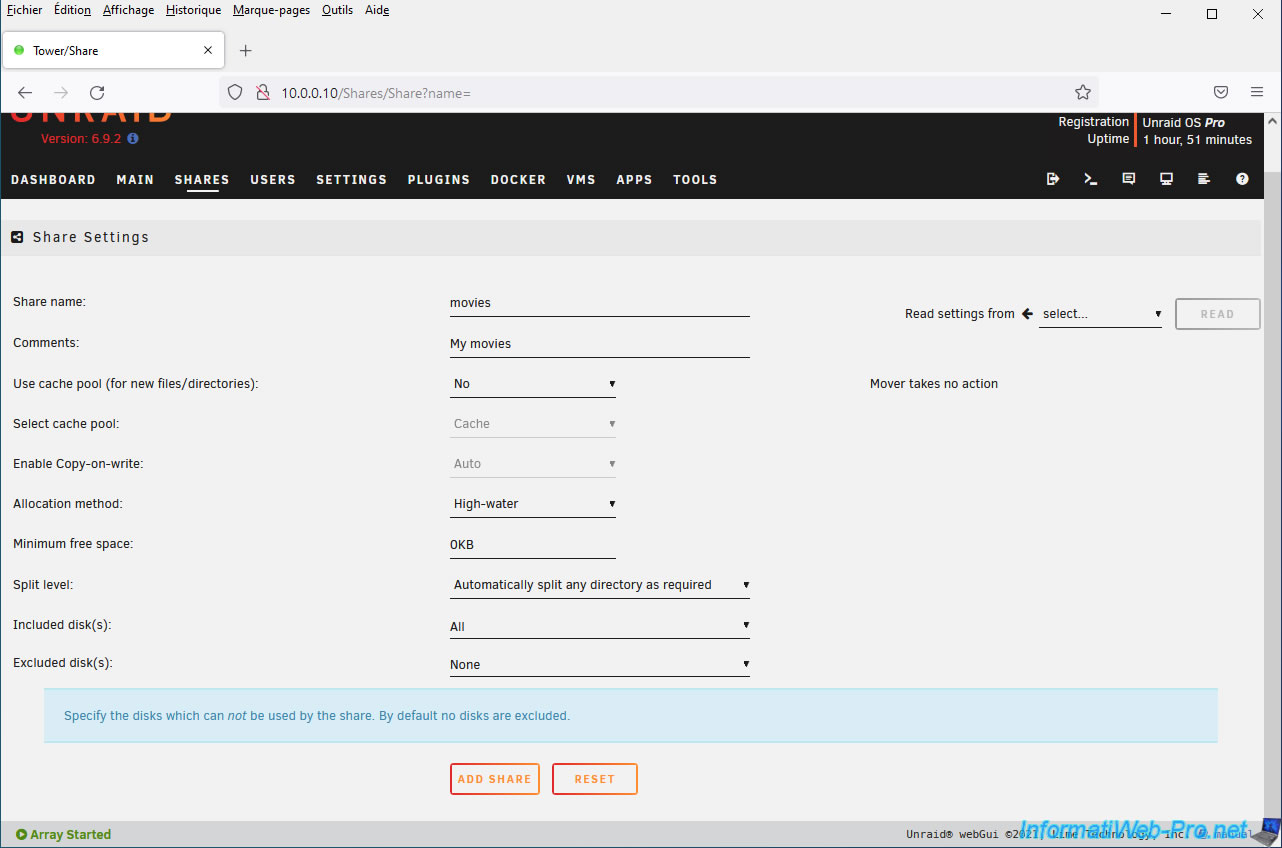
On the "Share Settings" page that appears, specify:
- Share name: the name under which this share will appear in various locations within Unraid and on the network.
- Comments: a comment for this share.
For the parameters offered by Unraid, you can always view detailed information about them by simply clicking on the name of the desired parameter.
By default, the cache disk (or cache pool) is not used.
The "Use cache pool (for new files/directories)" setting allows you to:
- No: do not use the cache. This means that files and folders created in this user share will never be stored (even temporarily) on a cache disk.
- Yes: always use the cache. This means that new files and folders will be created on a cache disk if possible. Otherwise, they will be created on a disk in the array.
Then, when the "Mover" is invoked, the data will be moved from the cache to the array.
This improves performance when writing data, but later (transparently) transfers the data from the cache disk to the array to reclaim space on the cache disk. - Only: only use the cache. This means that new files and folders can only be created on a cache disk.
However, if the required disk space on the cache disk is not sufficient, writing this data will fail, even if there is enough space available on the disks in your array. - Prefer: similar to the "Yes" option, but with an additional action. This option also attempts to move files from a disk in the array back to the cache disk (when possible) when the "Mover" is invoked.
Please note that using the cache is only possible if at least one disk (preferably SSD) has been assigned as a cache disk via the "Main" tab of Unraid.
Also, note that at least two disks must be assigned as cache disks to ensure data redundancy and to protect cached data against disk loss.
The "Mover" is a program in Unraid that automatically moves data from a cache disk or cache pool to one or more disks in the array (and vice versa for the "Prefer" option) when invoked.
However, it's worth noting that this program will never move files that are in use. This means that files in a Docker container or virtual machine (VM) may never be moved. To resolve this issue, you will need to stop the VM Manager and Docker service, and then manually invoke the "Mover" via the "Move" button in the "Main" tab of Unraid.

The "Select cache pool" parameter allows you to select the cache pool to use.
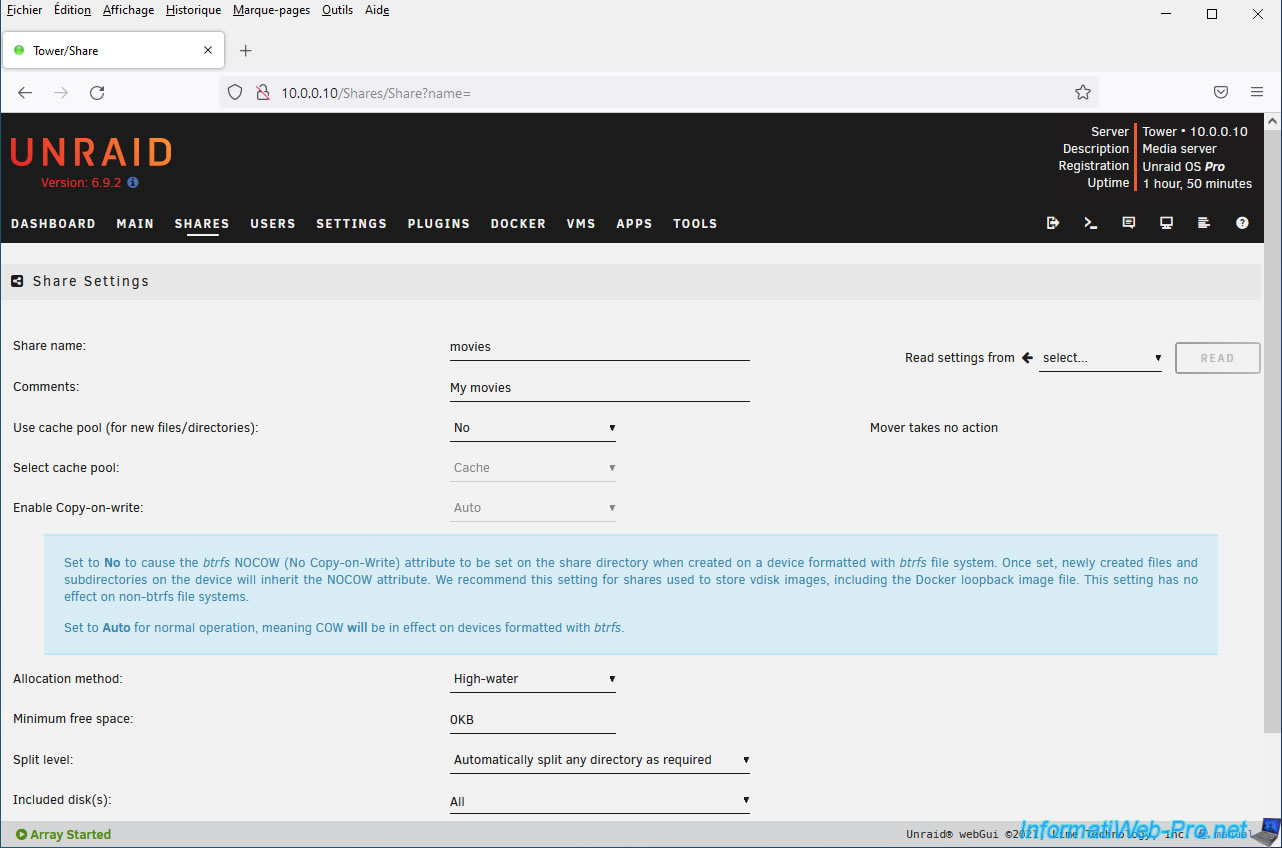
The "Enable Copy-on-Write" parameter allows you to choose whether or not the "Copy-on-Write" feature of the "btrfs" file system should be used for this share.
This "Copy-on-Write" feature allows you to use the same (read-only) database for storage. This is often the case with Docker containers, as a portion of the database is always shared between them.
Then, when a Docker container needs to modify one of the files in this common, read-only database, the file will be copied to another location in the btrfs file system. This copy will then be modified and used by this specific Docker container.
This "Copy-on-Write" feature is therefore useful if this share is used to store Docker containers.
However, this option only makes sense if the file system used on your physical disks is "btrfs". Otherwise, it will have no effect.
Source : Unraid manual - The Engine.
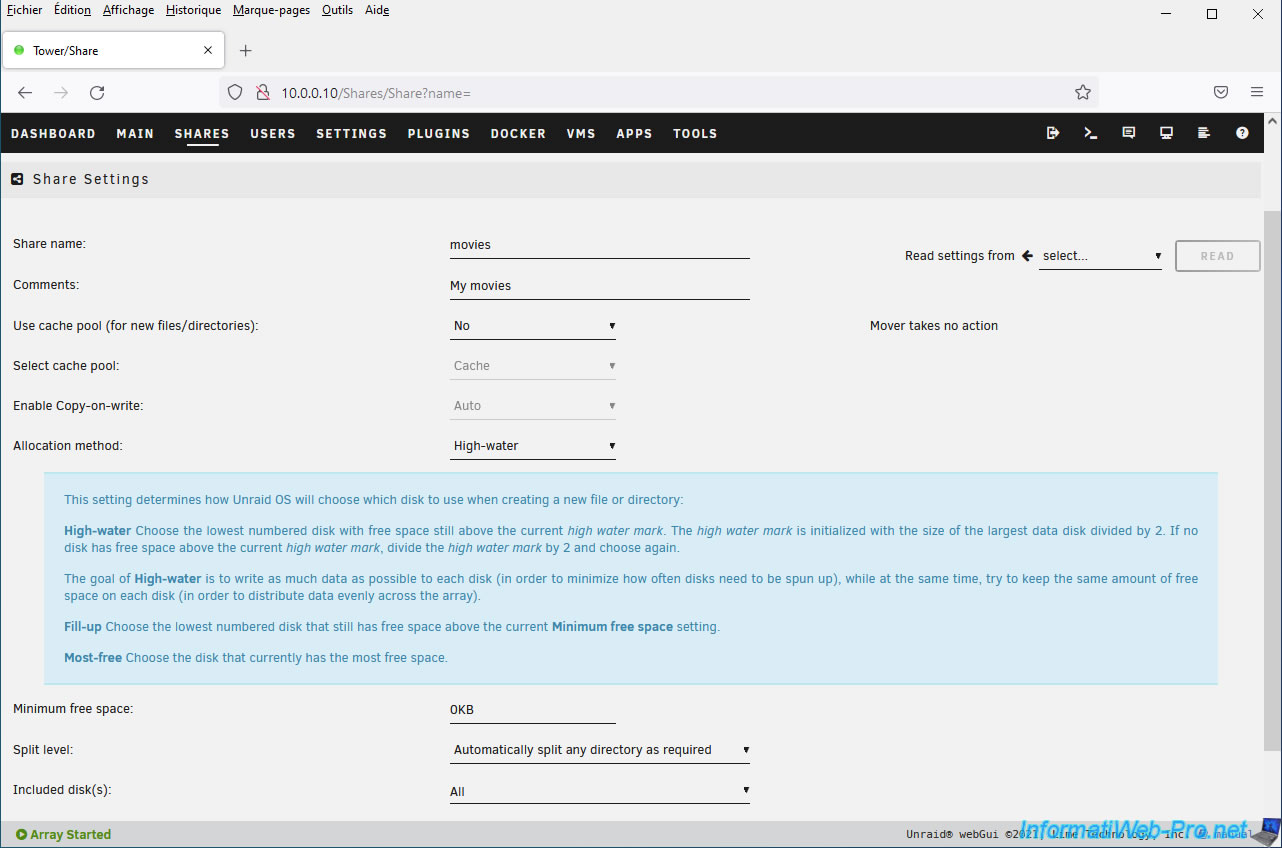
The "Allocation method" parameter allows you to choose how Unraid should choose the physical disk on which it should create the folders and files you create in this share.
- High-water: fills each hard drive one by one in stages so that all disks that can be used for this share can be completely filled.
This technique has the advantage of using one physical disk at a time, thus saving you energy by leaving the other hard drives idle. - Fill-Up: fills each physical disk one by one, starting with the disk with the lowest number (the number indicated in Unraid's "Main" tab).
For this allocation method, Unraid will stop filling a disk when the minimum free space (defined by the "Minimum free space" parameter) can no longer be met. - Most-free: when you create folders and files in this share, Unraid will always choose the physical disk with the most free space.
However, this can quickly cause all your disks to boot, since the available free space will decrease on each disk each time you store multiple files on it.
While the "Fill-Up" and "Most-Free" allocation methods are relatively easy to understand, the "High-Water" allocation method takes longer to explain.
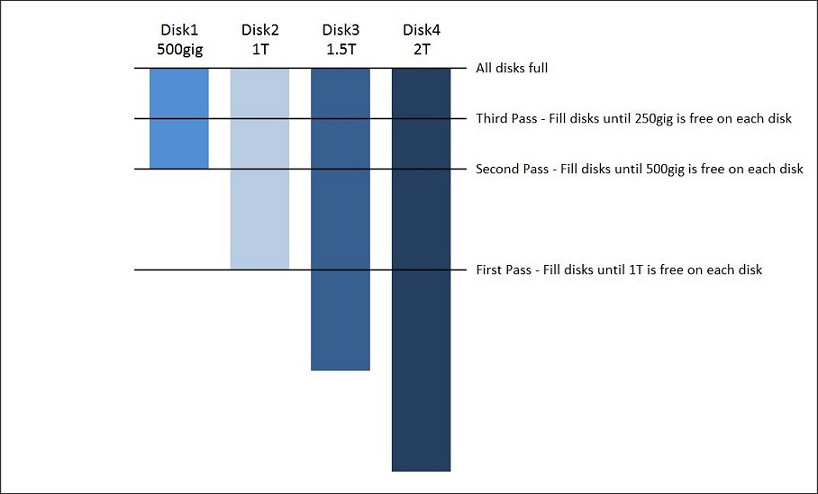
We've therefore retrieved the official Unraid diagram to explain it to you.
As you can see in this diagram, Unraid uses the example of a array with four disks, each with a different capacity (size):
- Disk 1: 500 GB capacity.
- Disk 2: 1 TB capacity.
- Disk 3: 1.5 TB capacity.
- Disk 4: 2 TB capacity.
As previously mentioned, the "High-water" allocation method allows disks to be filled one by one in tiers.
The tiers used by Unraid are calculated relative to the disk with the largest capacity.
In this example, the disk with the largest capacity is disk 4 with a capacity of 2 TB.
Each tier will correspond to the minimum free space that must remain on each disk before moving on to the next disk.
To obtain the value of each tier, simply divide the capacity of the largest disk by 2, then repeat the same procedure each time.
In other words, since the largest capacity in the example below is "2 TB", the tiers will be:
- the first tier will be 1 TB (2 TB / 2).
- the second tier will be 500 GB (1 TB / 2).
- the third tier will be 250 GB (500 GB / 2).
- the following tiers will be progressively smaller as you continue to divide by 2.
On the first pass, Unraid will fill each disk until 1 TB of free space remains.
Unraid will therefore store 500 GB on disk 3, then 1 TB on disk 4.
Nothing will be stored on disks 1 and 2 at this time, as the remaining free space is already less than or almost equal to 1 TB.
On the second pass, Unraid will fill each disk until 500 GB of free space remains. Unraid will therefore store 500 GB on disk 2, then 500 GB on disk 3, and finally 500 GB on disk 4.
Nothing will be stored on disk 1, as the free space is already very slightly less than 500 GB.
On the third pass, Unraid will fill each disk until 250 GB of free space remains. Unraid will therefore store 250 GB on each disk in this order: disk 1, disk 2, disk 3, then disk 4.
Unraid will continue to divide this value by 2 and fill each disk a little more, one by one.
The "Minimum Free Space" parameter allows you to specify the amount of free space that must remain on a disk before moving to the next one.
This parameter must be specified if you are using the "Fill-Up" allocation method to avoid errors if you attempt to store a file that is too large on this share.
Indeed, if the disk being filled no longer has enough free space for this file, a "disk full" error could occur.
To understand this, you should know that Unraid does not know in advance the size of the file you are trying to store on this share.
Unraid may therefore mistakenly select a physical disk that does not have enough free space for this file. Hence the importance of specifying a value here, which should be equal to or greater than the size of the largest file you would like to store on this share. The official Unraid documentation even states that the value specified here should be twice the largest file you would like to store on this share to ensure that the "disk full" error does not occur.
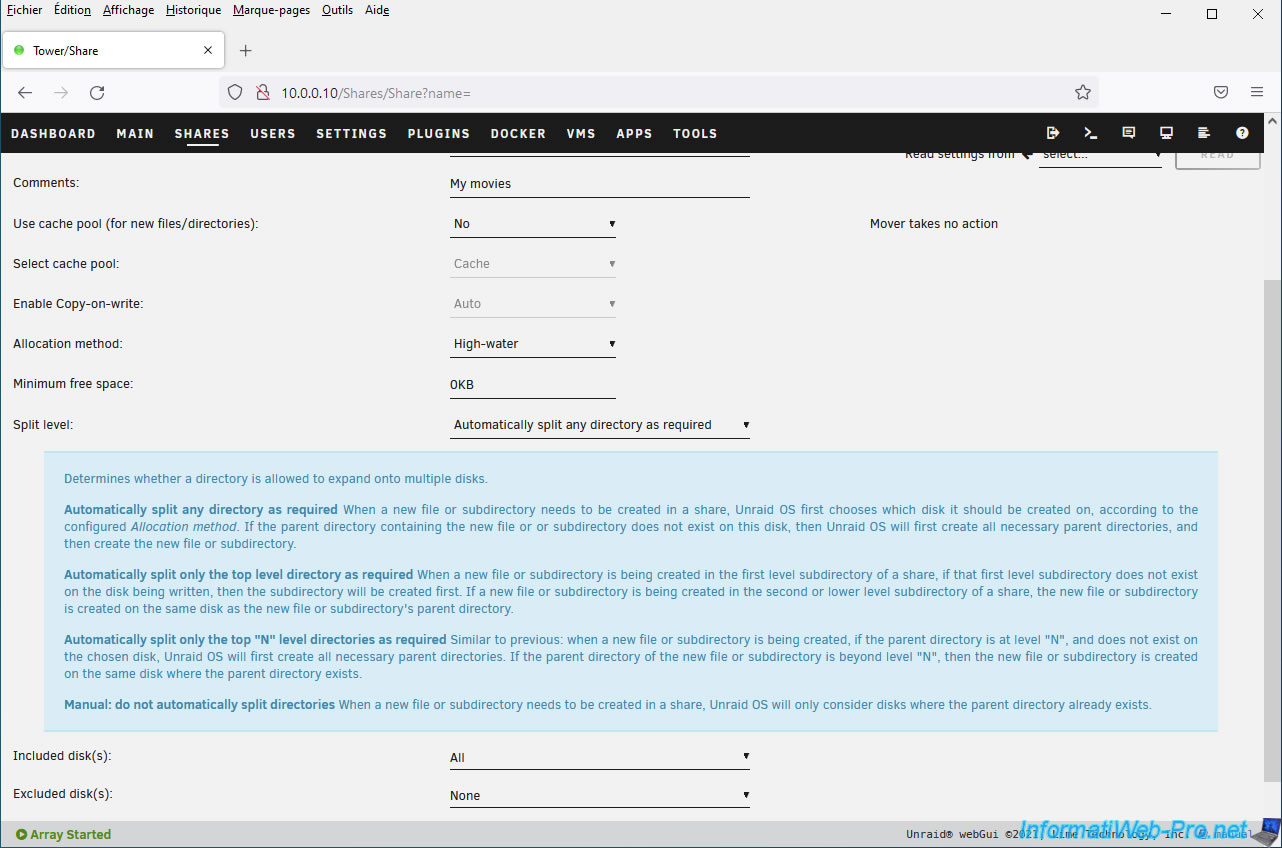
The "Split Level" setting allows you to choose how the different folders will be distributed across your different drives.
The goal is to be able to distribute data across different drives while storing related data (such as all episodes of the same TV series) on the same physical drive.
Note that if this setting is used incorrectly, it can cause "insufficient free space" errors even if one of the drives still has enough free space.
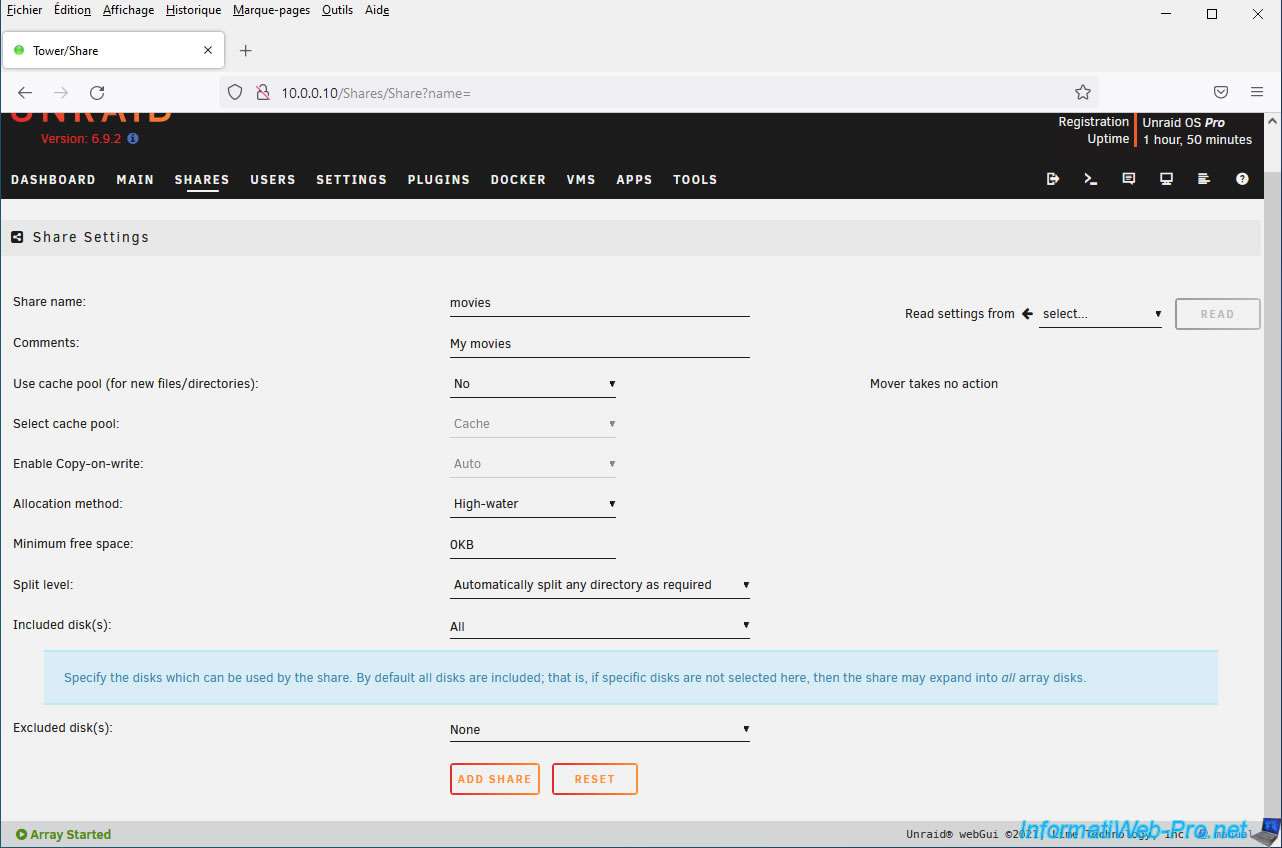
The "Included disk(s)" parameter lets you tell Unraid that you want files stored on this share to be stored only on certain disks.
By default, Unraid will be able to store files on all your disks, respecting the desired allocation method and the minimum amount of free space to keep on each disk.
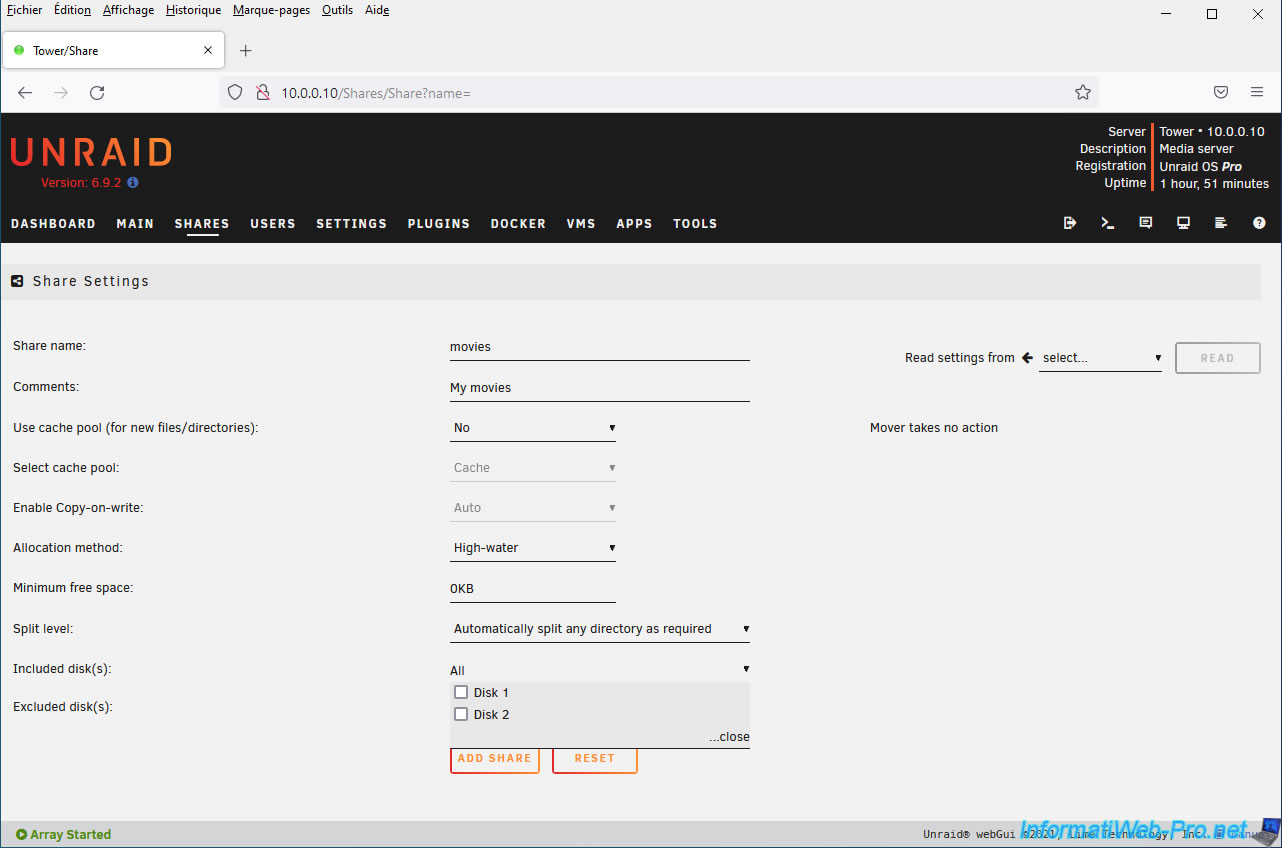
To use only specific disks, open the list and check the boxes for the disks you want to use for this share.
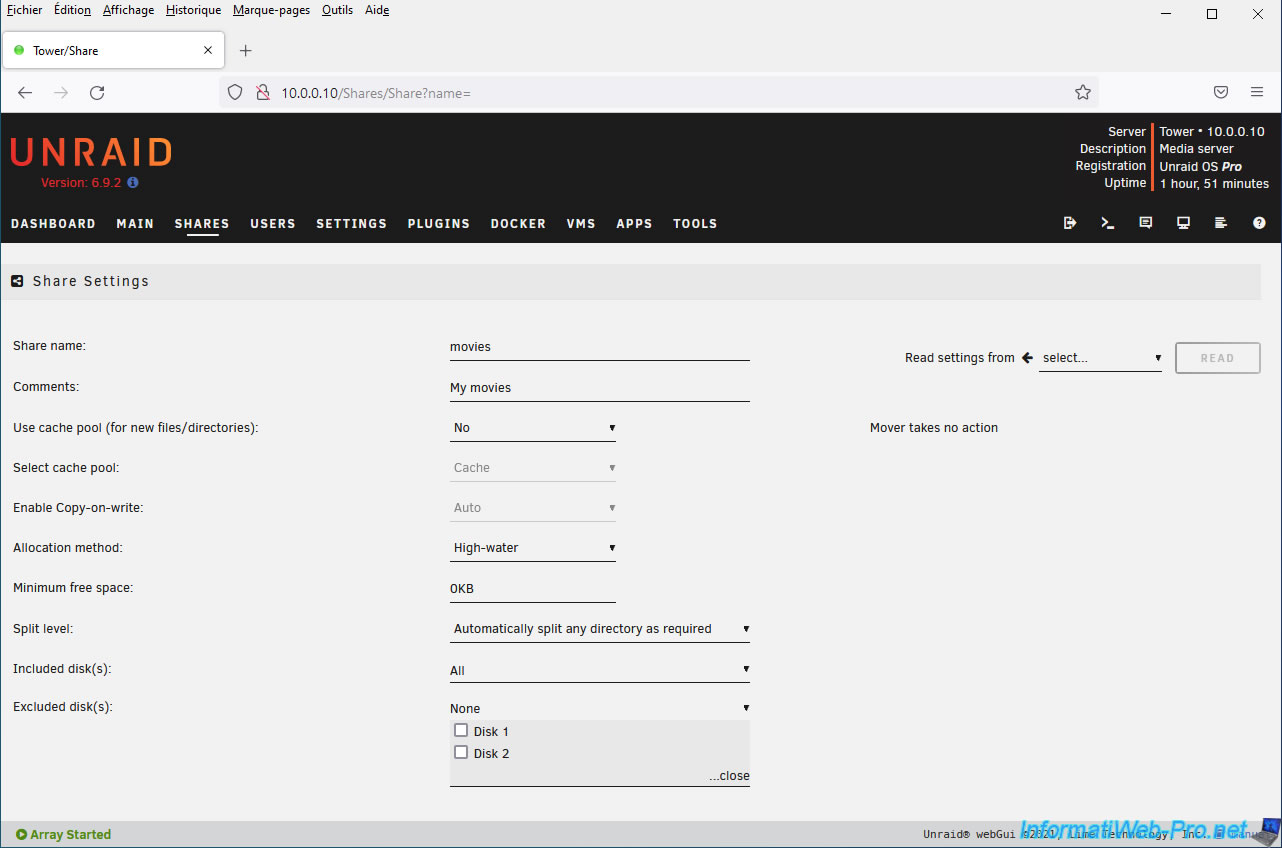
The "Excluded disk(s)" parameter is the opposite of the previous one and allows you to exclude the desired disks from this share.
Unraid will therefore be able to store the files in this share on any disk except those selected here.
By default, no disks are excluded.
To exclude a disk for this share, open the list and check the boxes of the disks you do not want to use for this share.
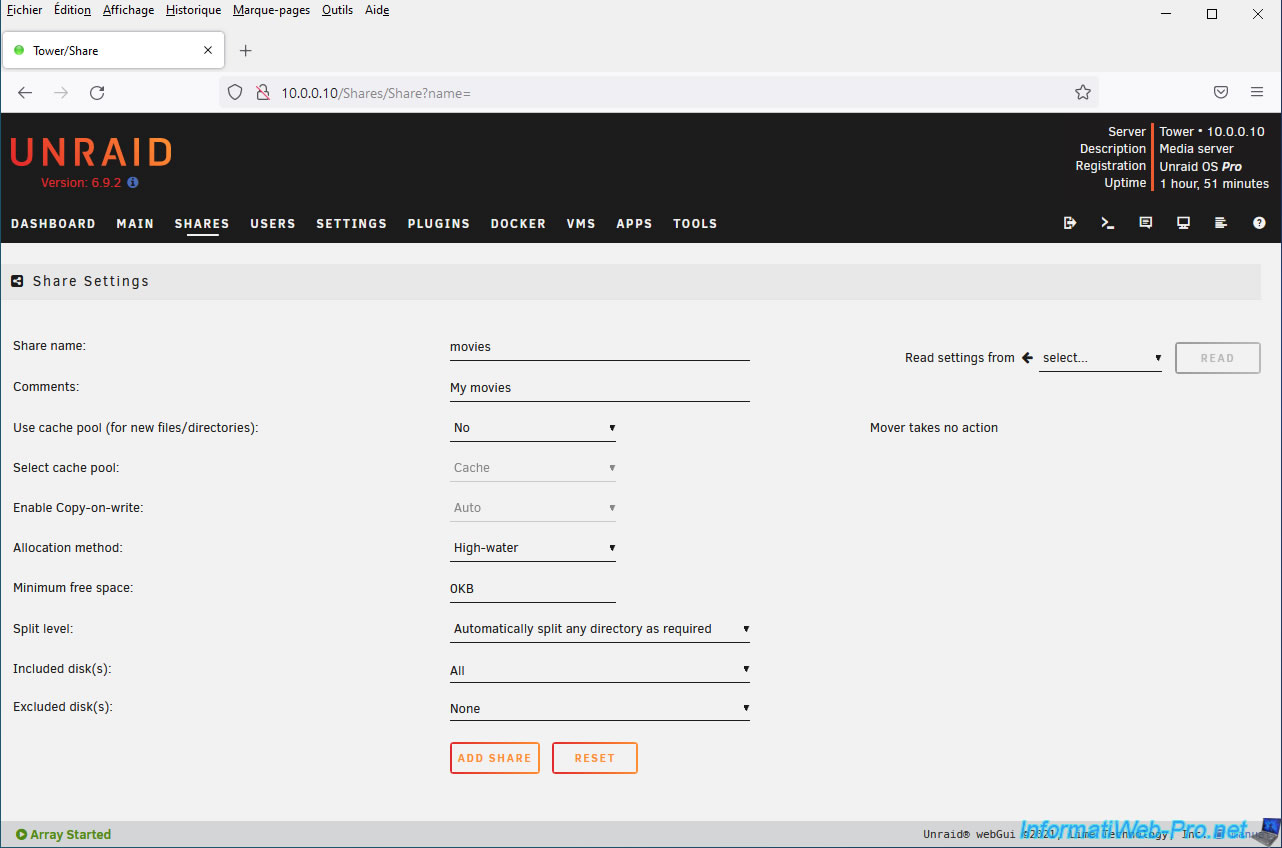
Finally, click on: Add share.
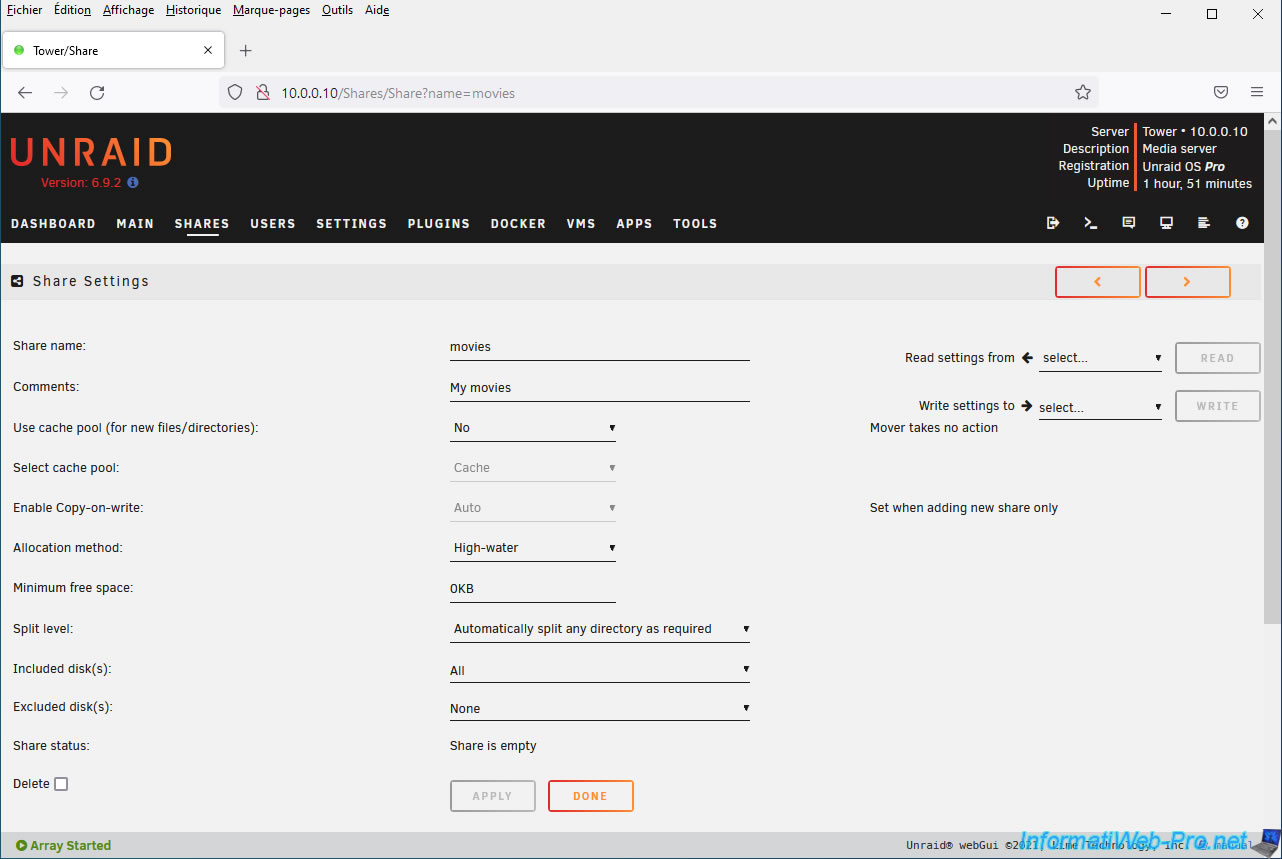
Sharing has been added.
Share this tutorial
To see also
-
NAS 1/8/2026
Unraid 6.9.2 - Add a storage disk
-
NAS 1/15/2026
Unraid 6.9.2 - Change the parity disk
-
NAS 1/1/2026
Unraid 6.9.2 - Disable flash network sharing
-
NAS 3/4/2026
Unraid 6.9.2 - Install the "Community Applications" plugin (old version)
You must be logged in to post a comment