Create network shares and user shares on Unraid 6.9.2
- NAS
- Unraid
- 30 January 2026 at 12:44 UTC
-

- 3/4

3.3. Secure network shares
3.3.1. Create a secure network share
Unraid also allows you to create secure network shares.
This means that guests will have read-only permissions, while users created on your Unraid server will have the permissions you wish to grant them.
To do this, in the "Shares" tab of the Unraid web interface, click Add Share.
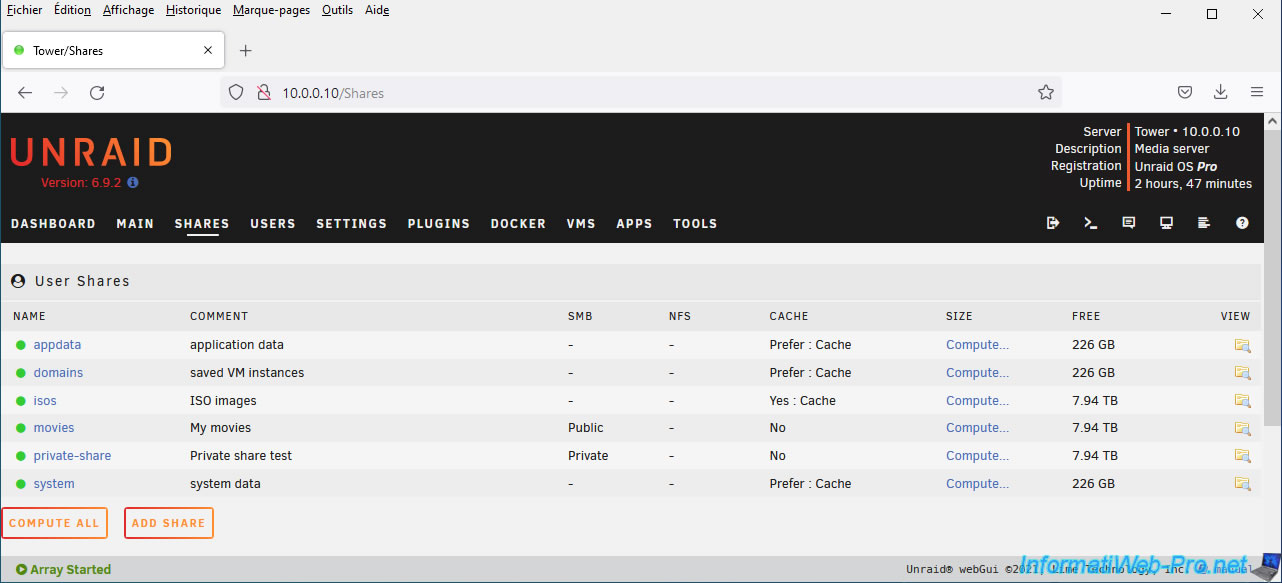
Enter a name for this network share. For example: secure-share.
Then, click Add Share.
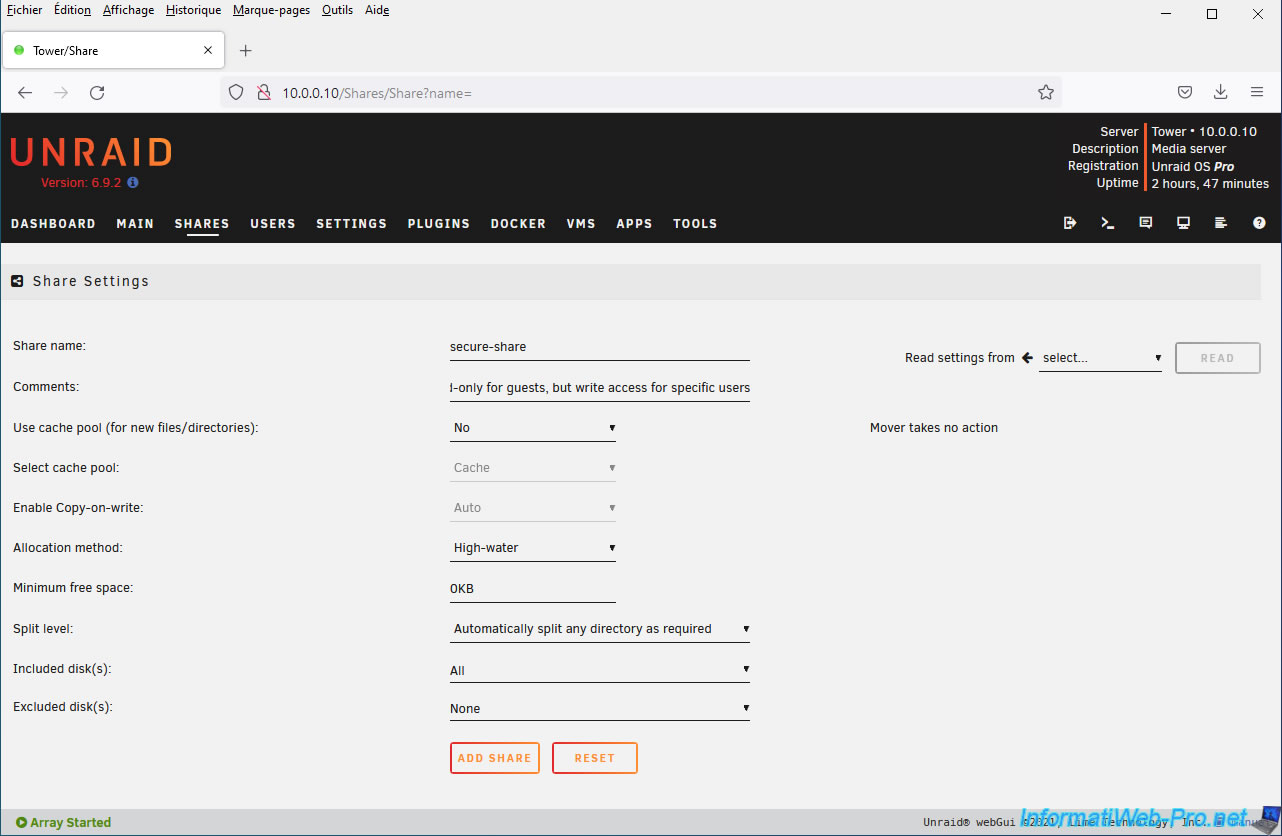
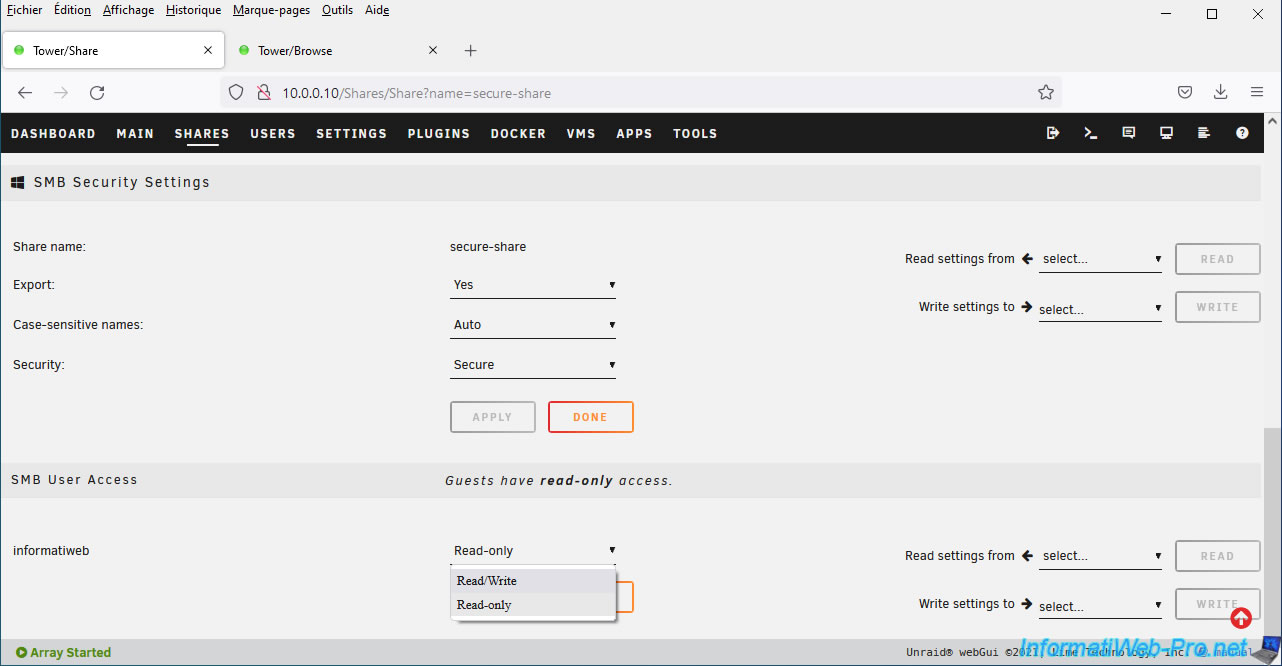
In the "SMB Security Settings" section that appears just below, select "Security: Secure" and click Apply.
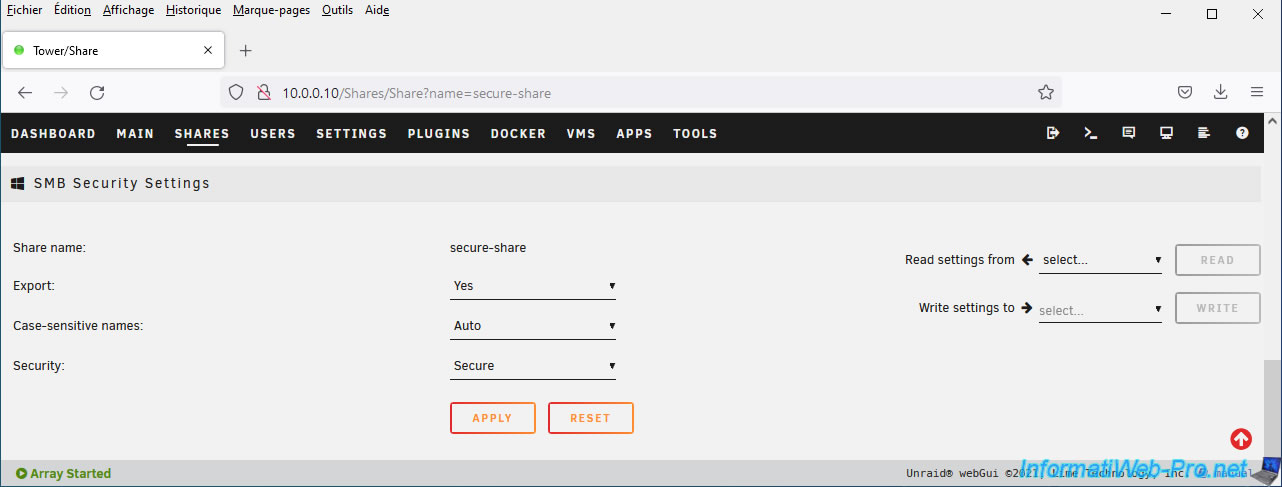
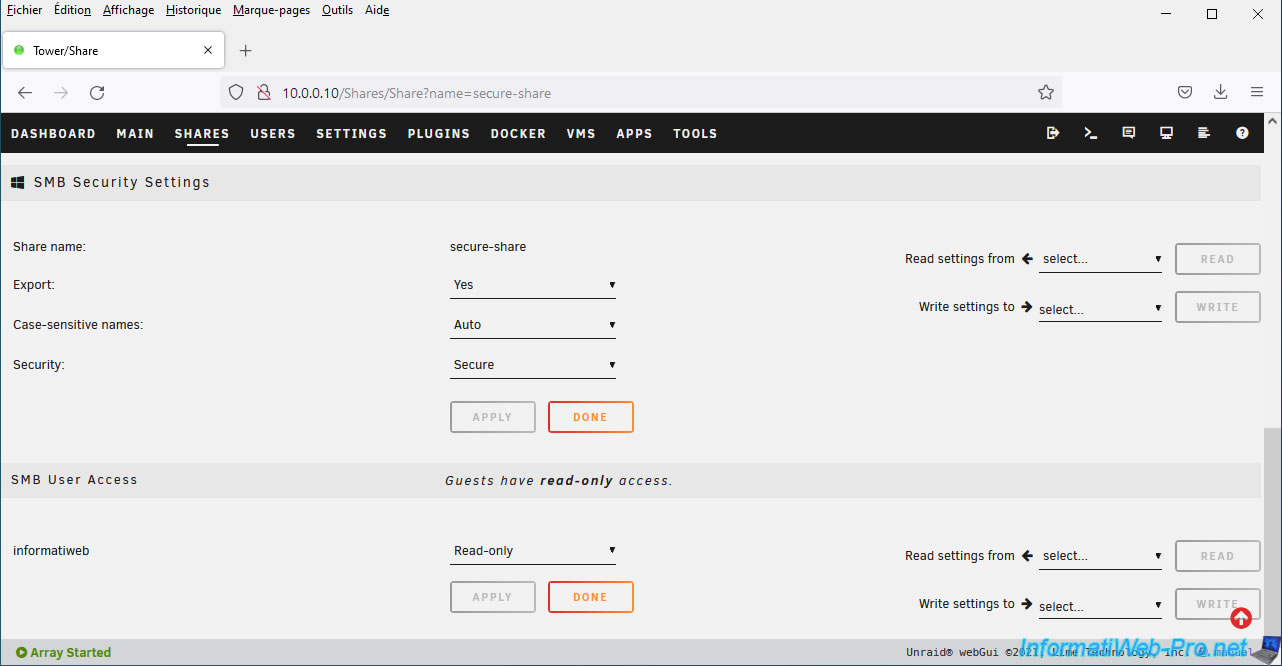
Then, an "SMB User Access" section will appear below again.
3.3.2. Access secure network share as guest
By default, Windows always attempts to access network shares as a guest.
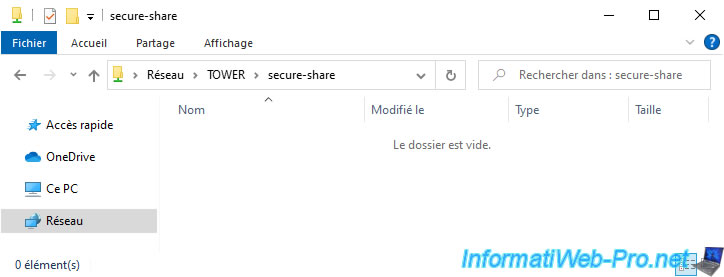
In this case, we're trying to access our secure share.
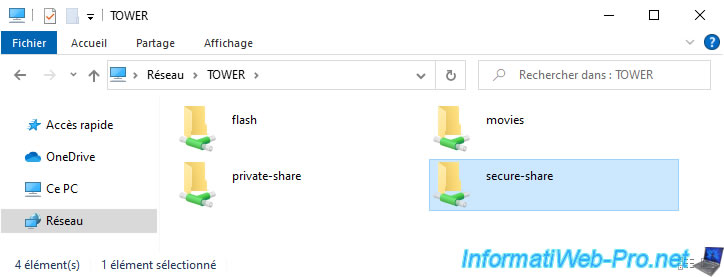
As expected, we can enter as guests since guests have read-only permission on secure shares.
We are trying to create a file in this network share.
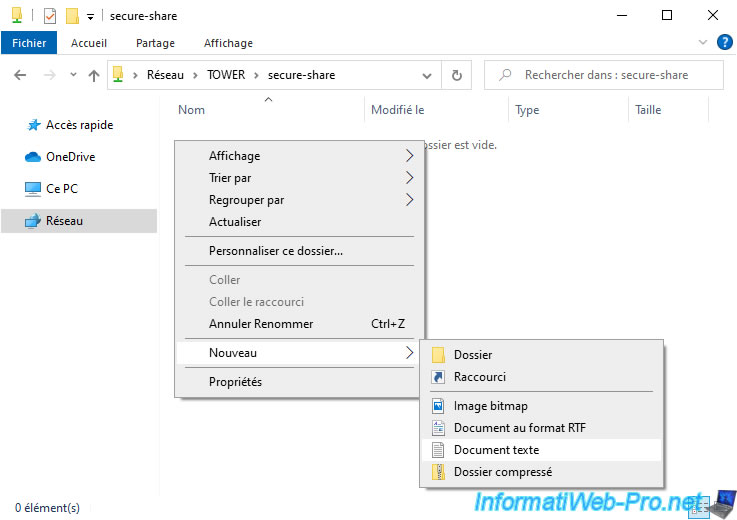
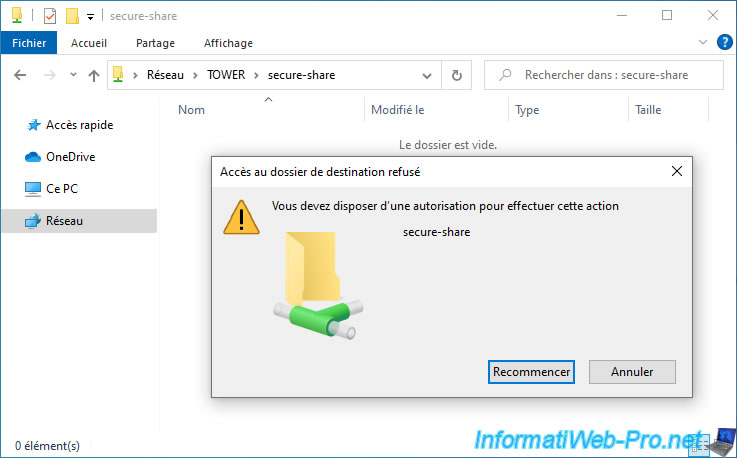
But this fails.
This is because guests only have read-only permissions and therefore cannot write to this network share.
Hence the error "You must have permission to perform this action" that appears.
3.3.3. Grant read and write permission to the share and access it
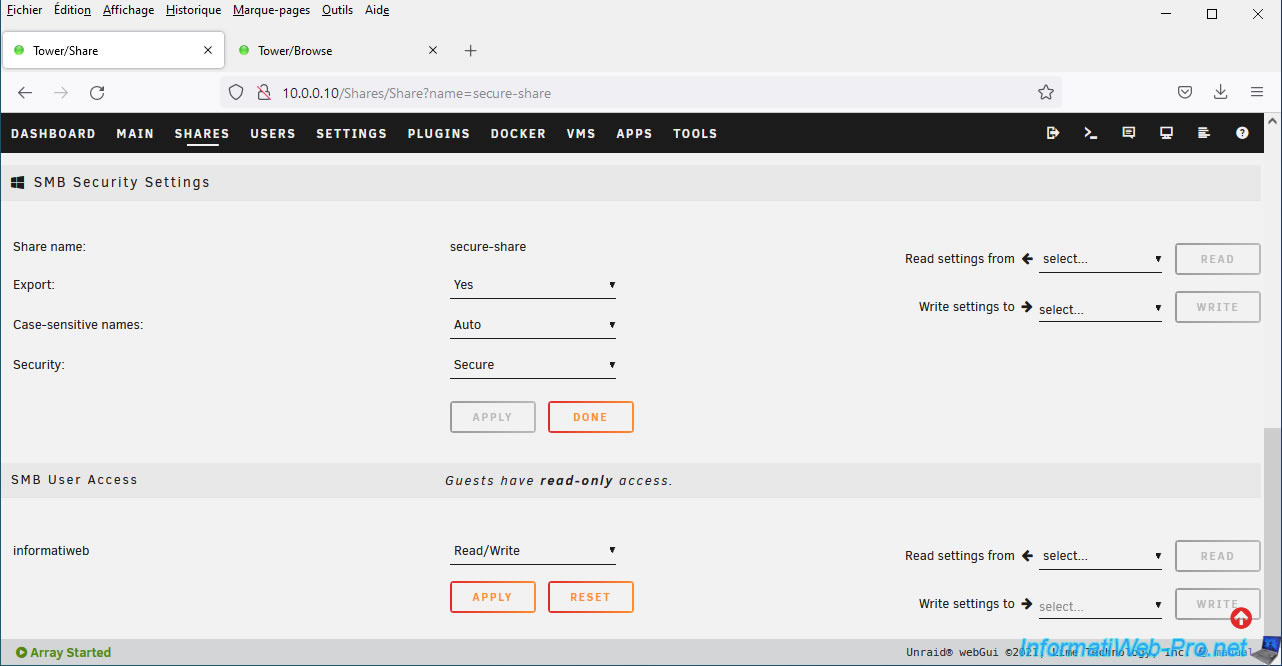
To be able to write to this secure network share, grant read and write rights to the user created previously by selecting the "Read/Write" right.
Then, click on: Apply.
The problem is that on Windows, while guest (unauthenticated) access is possible, you won't be able to access this network share by manually specifying the credentials of a user with additional rights to the same share.
The only option available natively on Windows is to map a network drive to this secure network share.
To do this, simply right-click "Map Network Drive" on this secure network share.
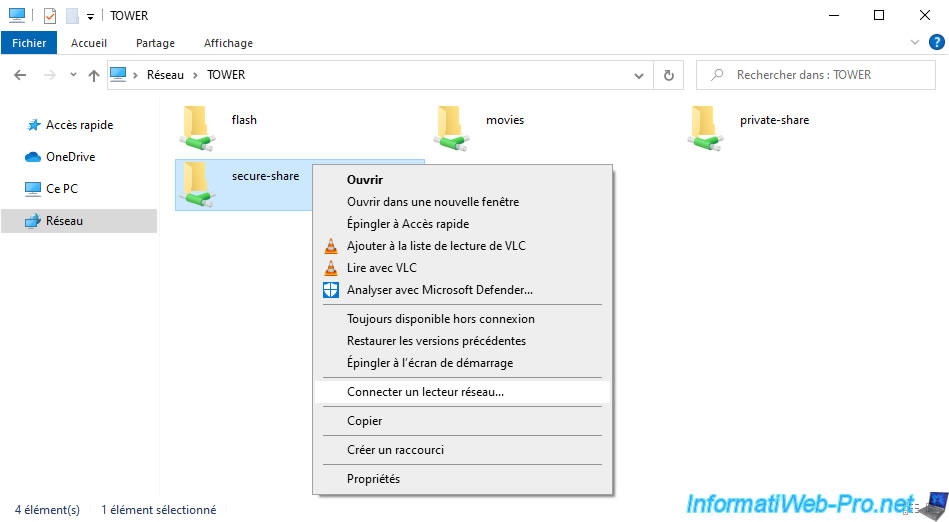
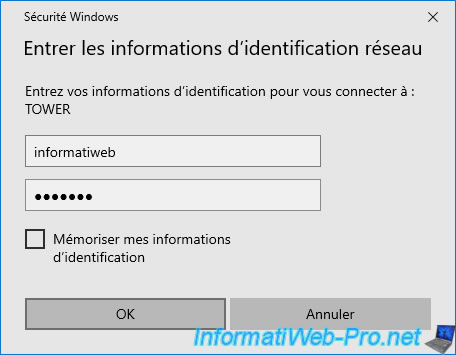
Then, check the box "Log in using different credentials" and click: Finish.
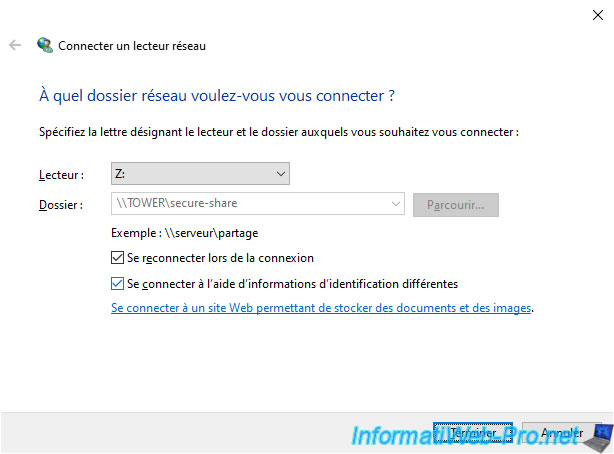
This time, Windows will ask you for a username and password.
Enter the username and password for the user account you previously added to your Unraid server and click OK.
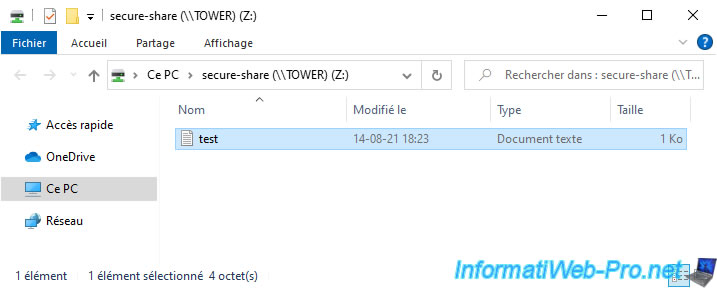
As expected, you can access this network share via a network drive.
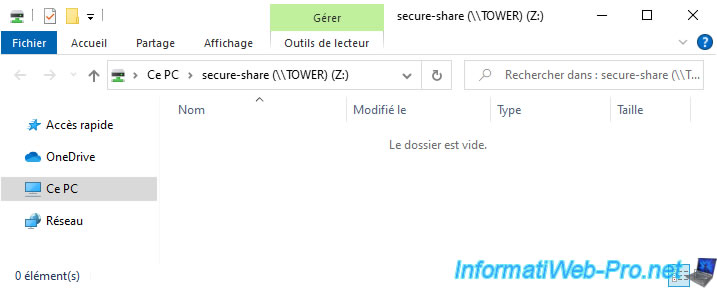
But, this time, you have the option to create files and folders inside if you want.
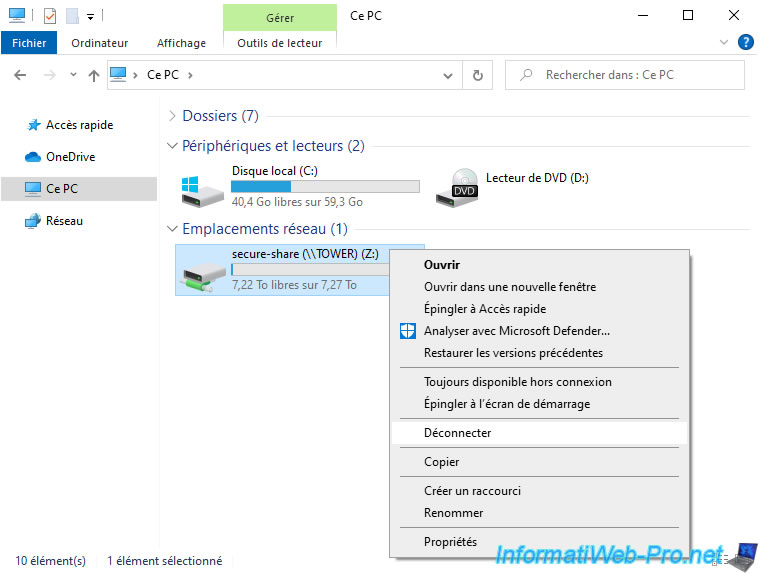
To remove the network drive from your computer, simply go to the "This PC" (or "Computer") section of File Explorer and right-click "Disconnect" on it.
Share this tutorial
To see also
-
NAS 3/25/2026
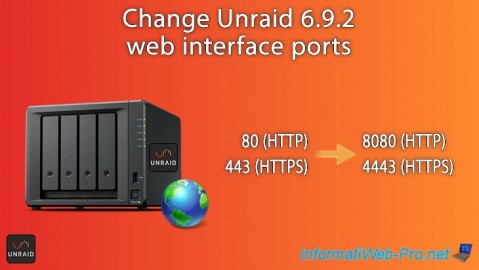
Unraid 6.9.2 - Change web interface ports
-
NAS 12/4/2025
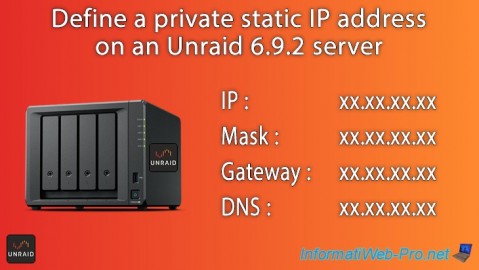
Unraid 6.9.2 - Define a private static IP address
-
NAS 3/4/2026
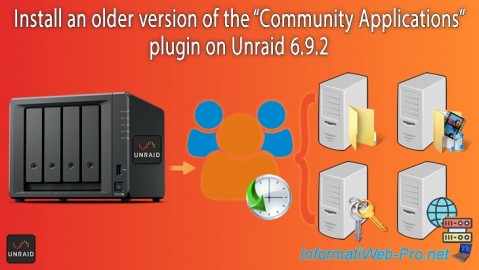
Unraid 6.9.2 - Install the "Community Applications" plugin (old version)
-
NAS 5/27/2026
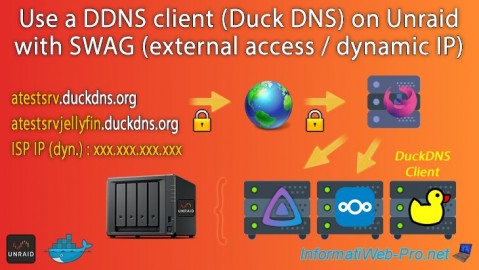
Unraid 6.9.2 - SWAG - Use a DDNS client (Duck DNS)
No comment