Create network shares and user shares on Unraid 6.9.2
- NAS
- Unraid
- 30 January 2026 at 12:44 UTC
-

- 2/4

2.2. Manage SMB security settings for this share
Below the "Share Settings" form, you will now find an "SMB Security Settings" section with the name of this share and 3 settings.
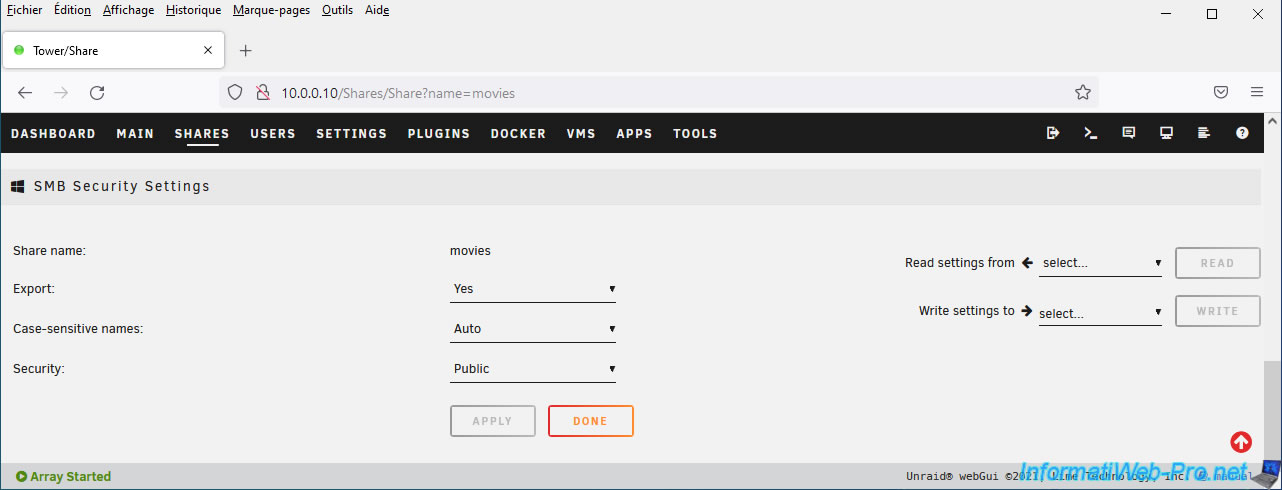
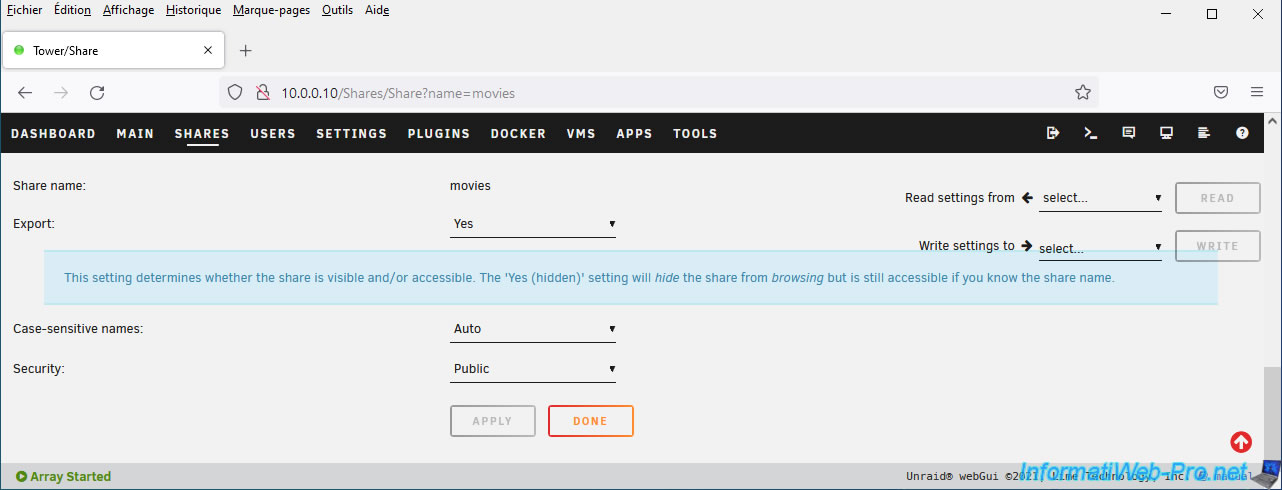
To begin, you can choose whether or not to export this share using the "Export" parameter:
- Yes: this share will be exported. This means it will be visible from the network.
- Yes (hidden): this share will be exported, but hidden. This means it will be accessible (publicly or not, depending on the "Security" parameter value) if the user knows the name of this network share.
- No: this share will not be exported. This means it will not be visible or accessible via the network.
This is useful for specifying this user share locally (when adding a Docker container, using a local ISO file from a virtual machine, ...).
The Linux file system used by Unraid is case-sensitive, but SMB network shares are not case-sensitive on Windows.
This means that if you create a "test" folder and another "TEST" folder locally (e.g., from the command line), Windows will only see one of the two folders.
The contents of the other folder with the same name but a different case will therefore not be visible or accessible. This is problematic.
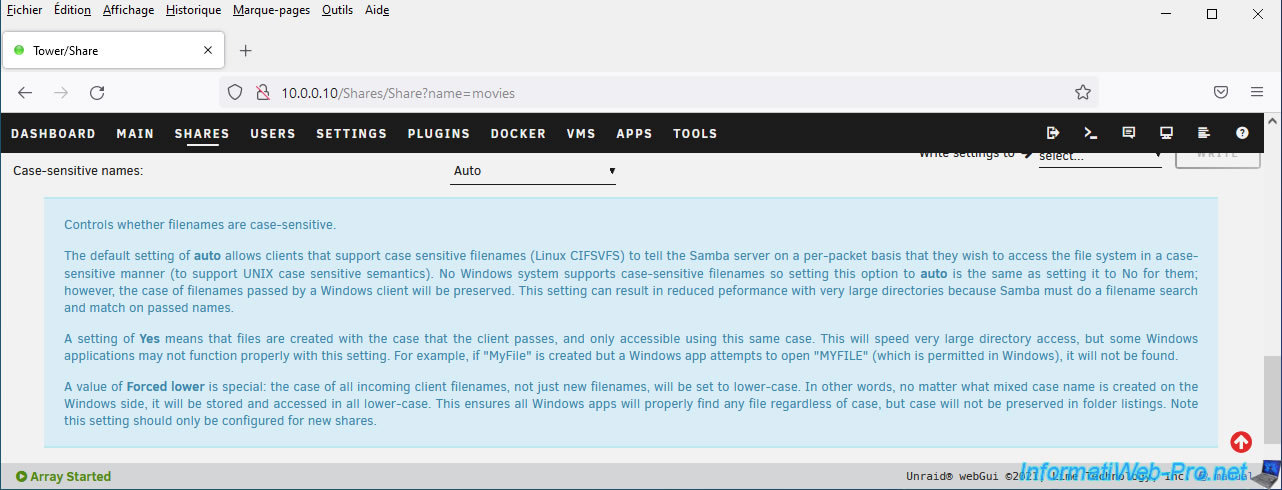
With the "Case-sensitive names" parameter, you can specify whether or not this network share should be case-sensitive for Linux clients.
Again, Windows does not support case sensitivity, so this parameter will be of no use to you if you only have Windows client PCs.
The possible values for this parameter are:
- auto: allows compatible Linux clients to access files on this network share in a case-sensitive manner.
However, this option will reduce the performance of this network share if it contains many files.
Therefore, it is important to enable this feature only if you really need it and if you have compatible Linux clients. - yes: ensures that case is respected. However, this can cause problems with some Windows applications.
- forced lower: forces file names to be written in lowercase. All files stored or to be stored on this network share will therefore have their names written in lowercase.
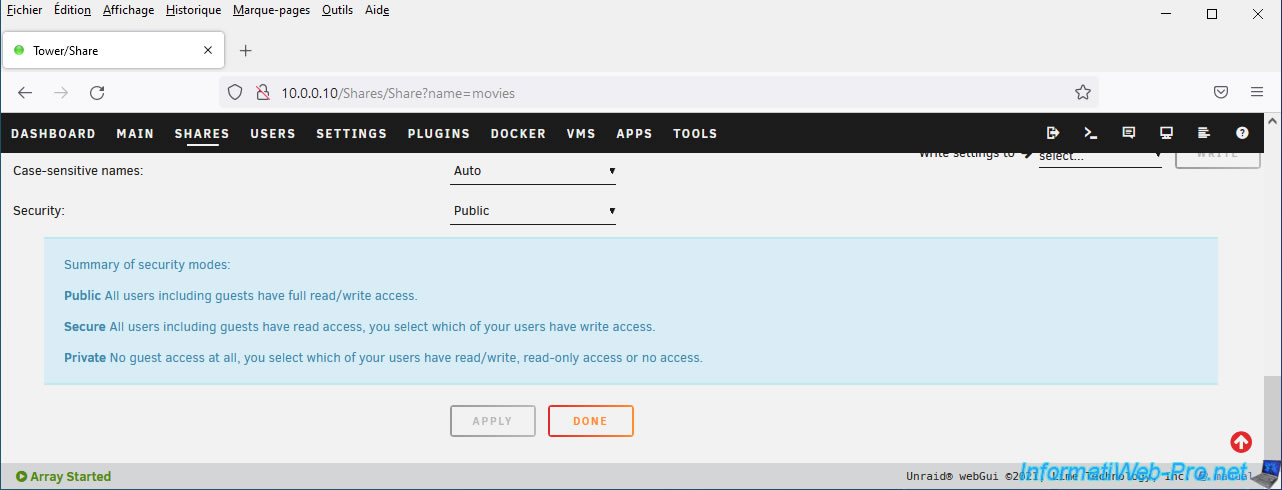
Finally, you can choose a security mode using the "Security" parameter:
- Public: this network share will be publicly accessible (including guests) for read/write access.
- Secure: this network share will only be accessible for read-only access by guests and for read/write access by users to whom you have granted read/write access.
- Private: this network share will only be accessible by users to whom you have granted read-only or read/write access.
2.3. Accessing sharing from the network
If network discovery is enabled on your Windows computer, or if the network type selected in Windows is "Private" (or formerly "Home"), you will be able to find your server in the "Network" section of File Explorer.
In our case, our server is named "Tower" (which is the default name for the Unraid server).
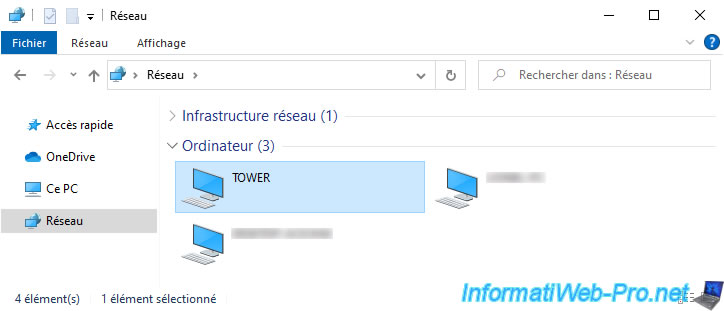
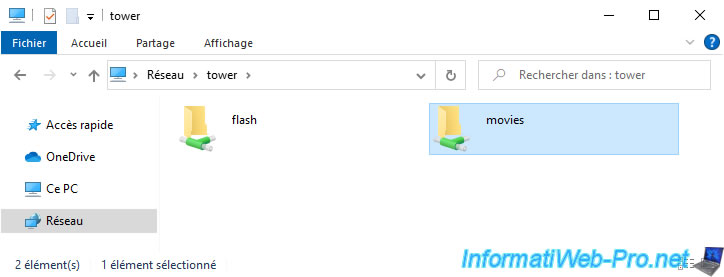
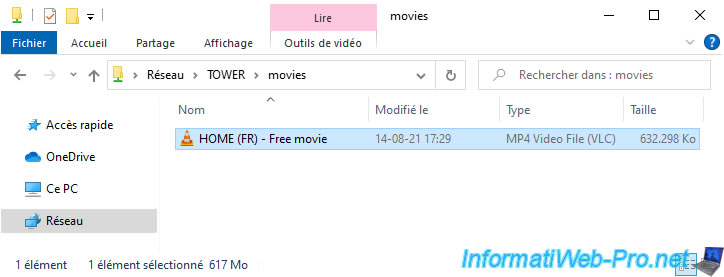
As you can see, the public "movies" share we just created is visible from the network for this server.
And its content is visible and editable by anyone.
2.4. Information about user shares on Unraid
In the "Shares" tab, you can view information about the user shares configured on your Unraid server.
Any folder created at the root of any physical disk in your array will be considered a new user share, and Unraid will grant it permissions by default.
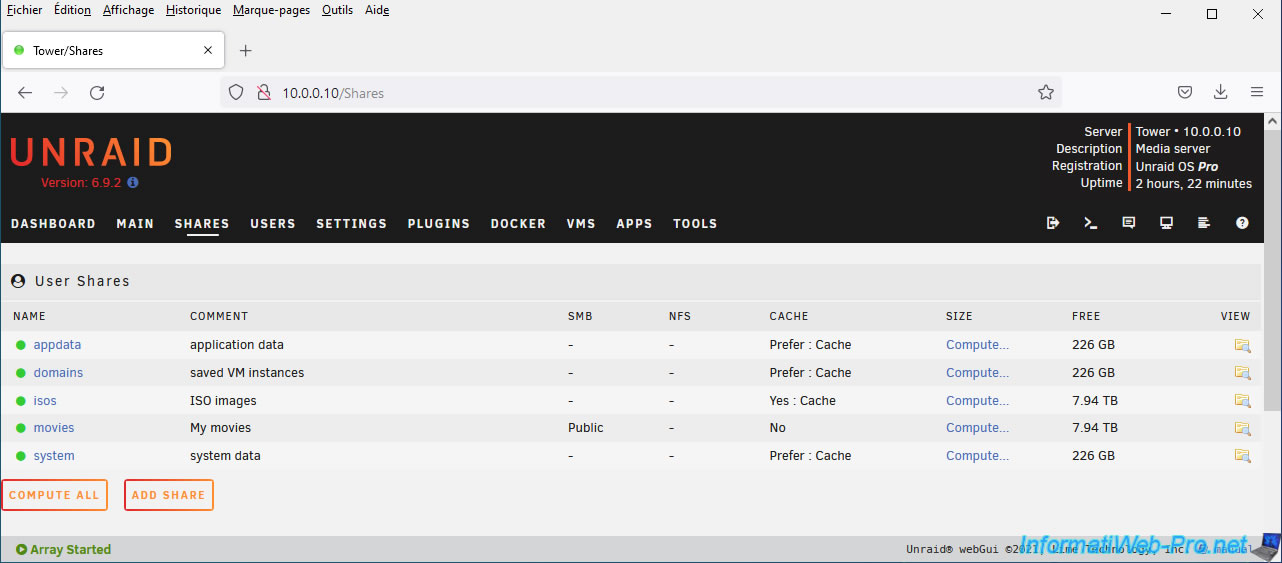
For each share, you can click on the "Compute" link to find out which disks the data for this share is currently distributed on and how much space these files take up on the different disks.
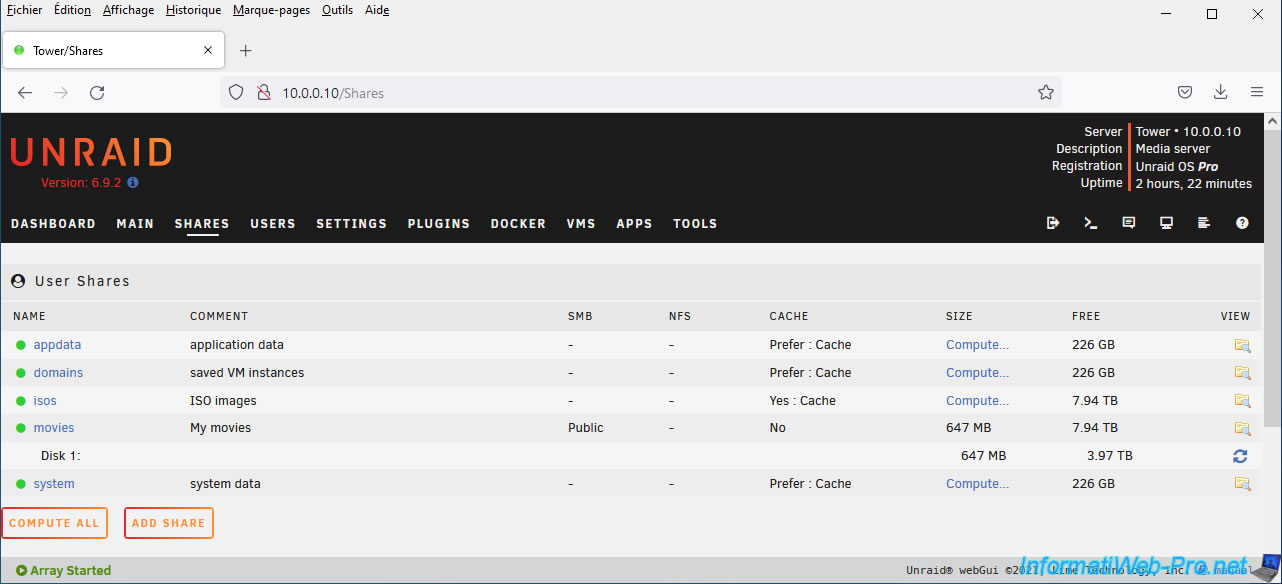
To view the contents of a user share from the Unraid web interface, simply click on the folder icon to the right of each share.
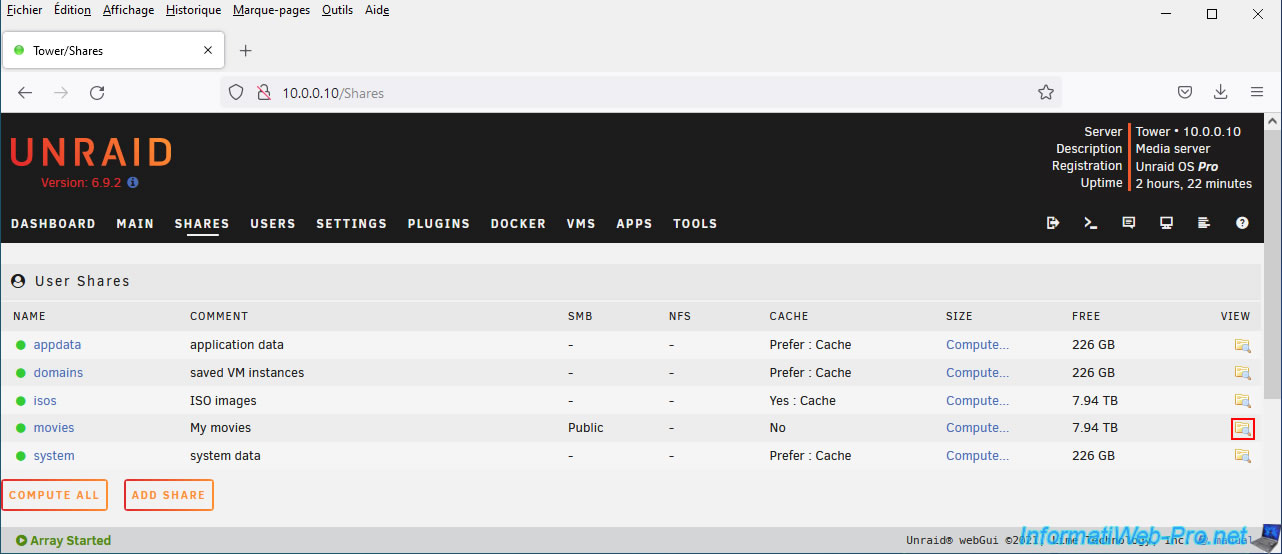
The list of files in the desired share will appear.
You'll see that user shares are referenced at the location: /mnt/user/
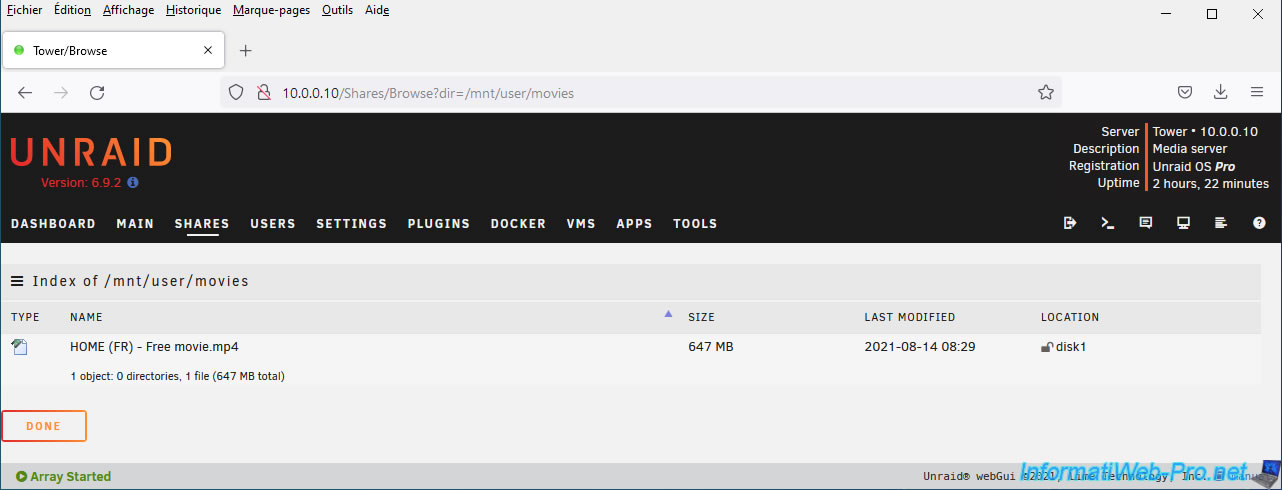
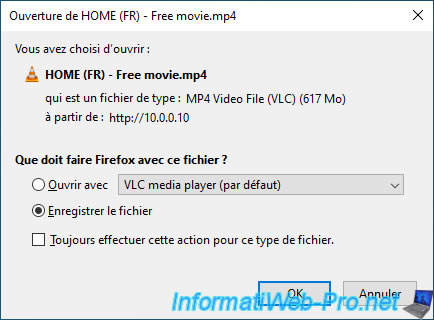
If you wish, you can even download a file from this share by clicking on its name.
3. Create password-secured network shares
3.1. Create new SMB users
To create secure network shares on your Unraid server, you will need to create new user accounts on it.
However, note that the "root" account is the only one that can manage your Unraid server's configuration (via the web interface, console, ssh, ...). As you will see later in this tutorial.
Indeed, the users created here via the Unraid web interface will only be used for SMB access to network shares and will not have any access to your Unraid server's management tools.
Moreover, these users will not have a real account on your server either.
Source : Unraid - Server Management - Users.
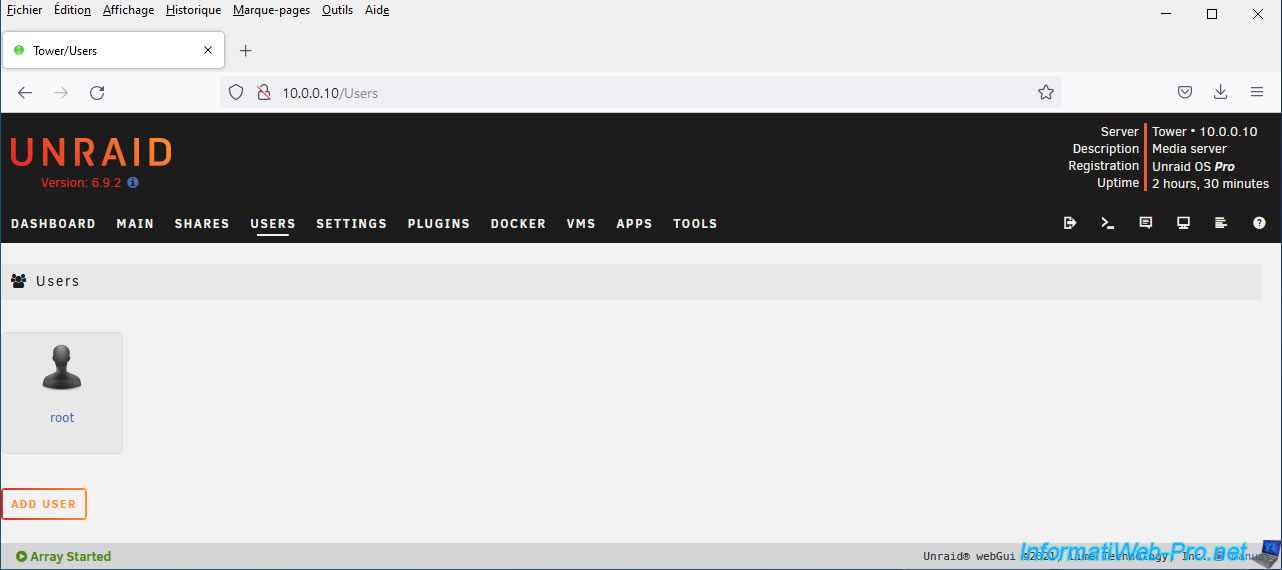
To create new users, go to the "Users" tab of the Unraid web interface and click Add user.
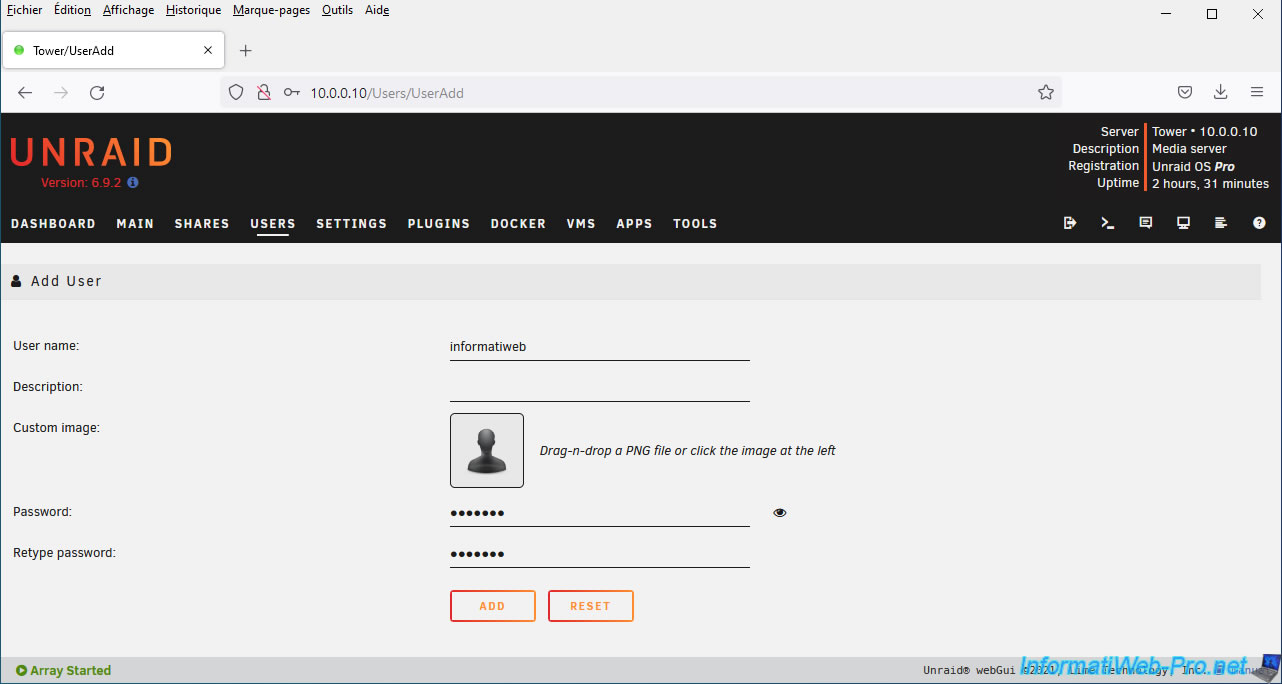
Enter a username and password for this user, then click Add.
Note: if you want to add an avatar for this user, you must use a PNG file. Unraid does not support other image formats.
The desired user has been added.
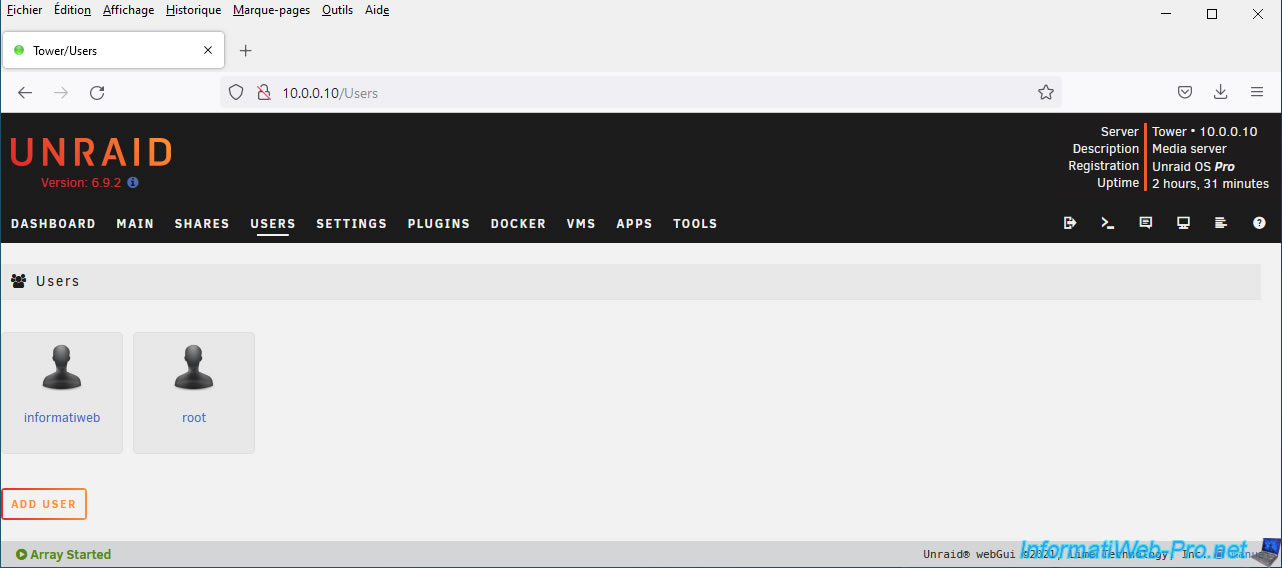
As explained previously, these users will only be used to access your Unraid server's network shares.
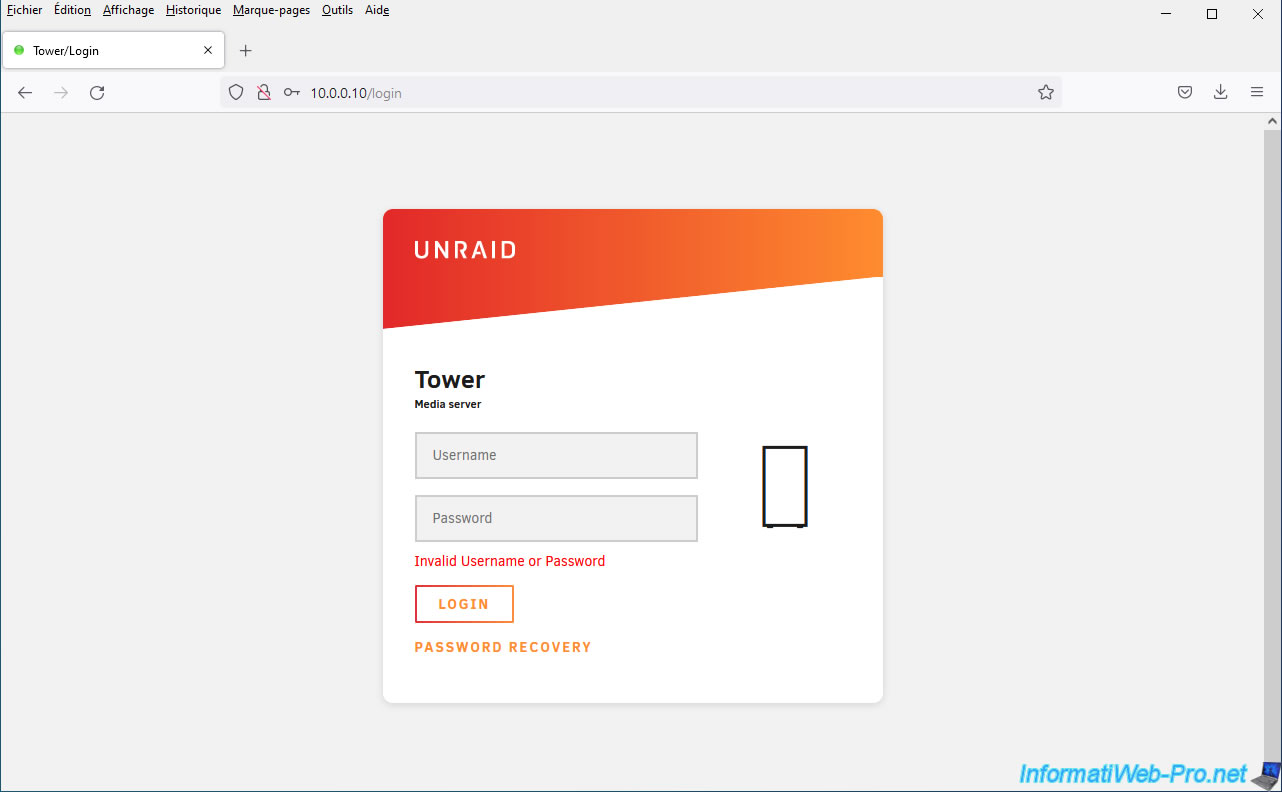
To prove this, we tried logging into the Unraid web interface with the new user we just created.
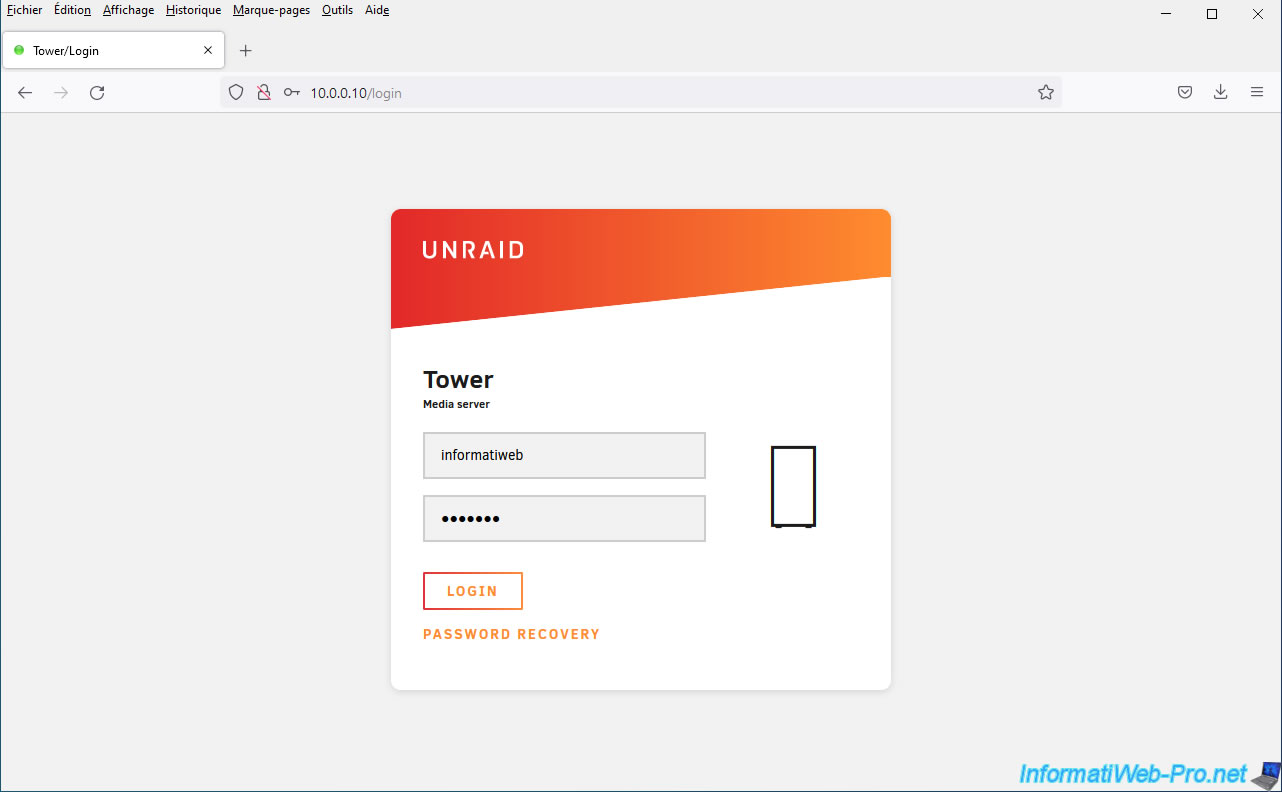
As expected, an "Invalid Username or Password" error occurred. This means that Unraid assumes that this additional user does not exist.
3.2. Private network shares
3.2.1. Create a private network share
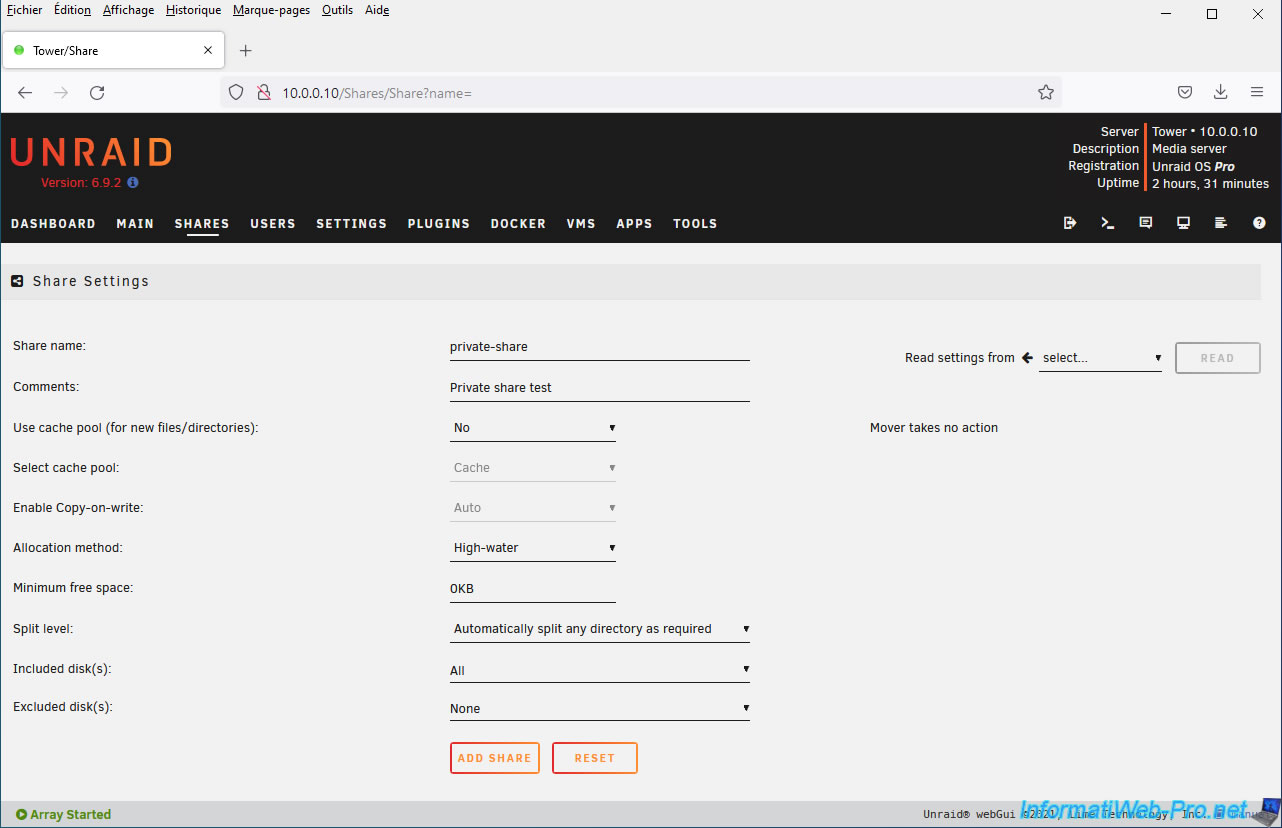
To create a private network share, go to the "Shares" tab and click the "Add share" button.
Next, enter a name (e.g., private-share) for this share and click Add share.
In the "SMB Security Settings" section, select:
- Export: Yes. This will allow you to view the name of this network share from the network.
- Security: Private. This will allow you to restrict access to this network share to only the desired users and with the rights you wish to grant them.
Then, click on: Apply.
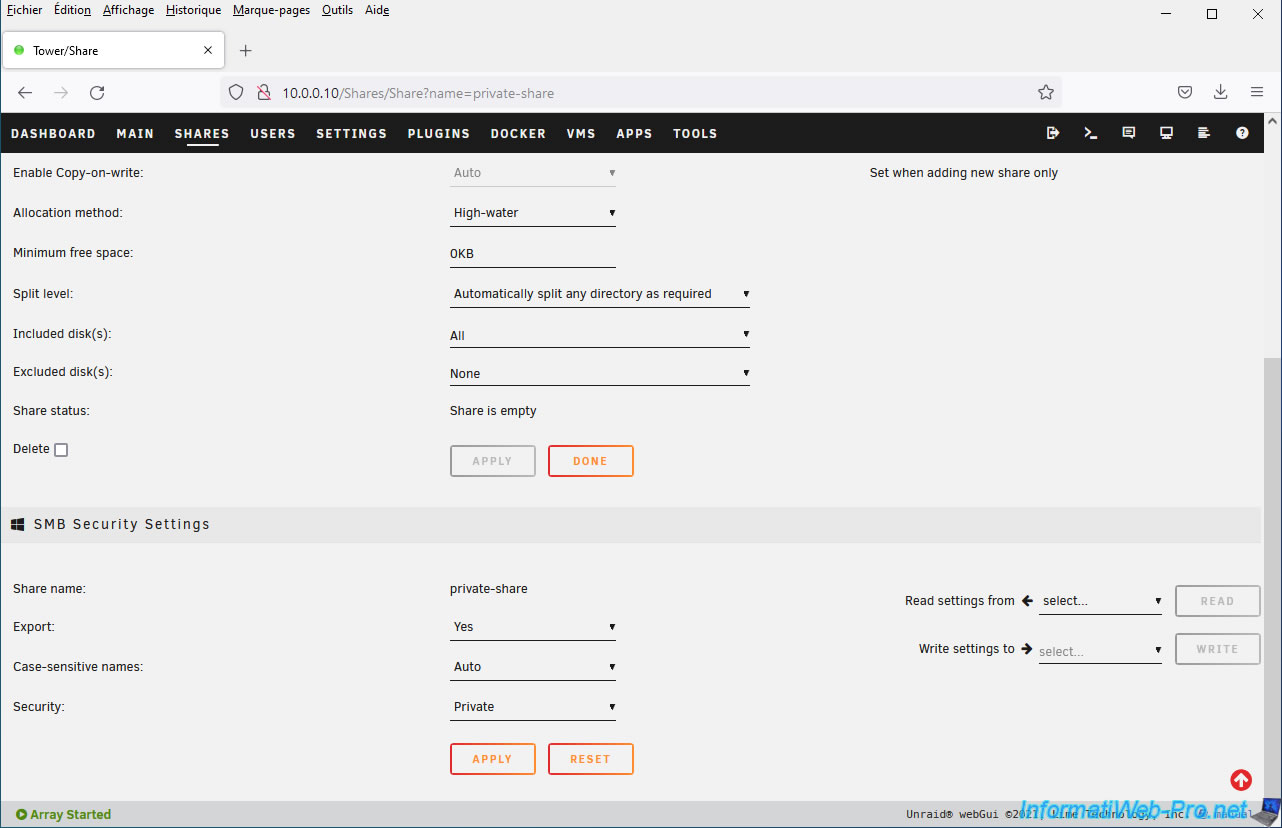
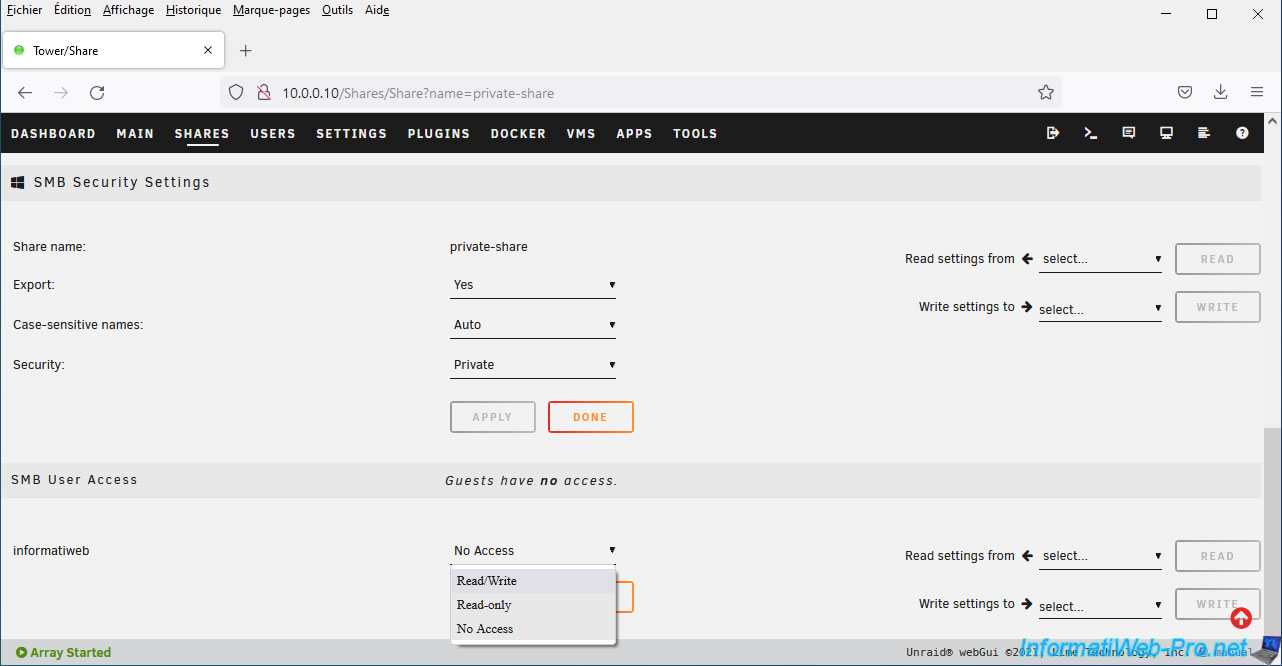
In the "SMB User Access" section that appears, you'll see your new user.
As you can see, users created on your Unraid server have no access rights to the created share by default.
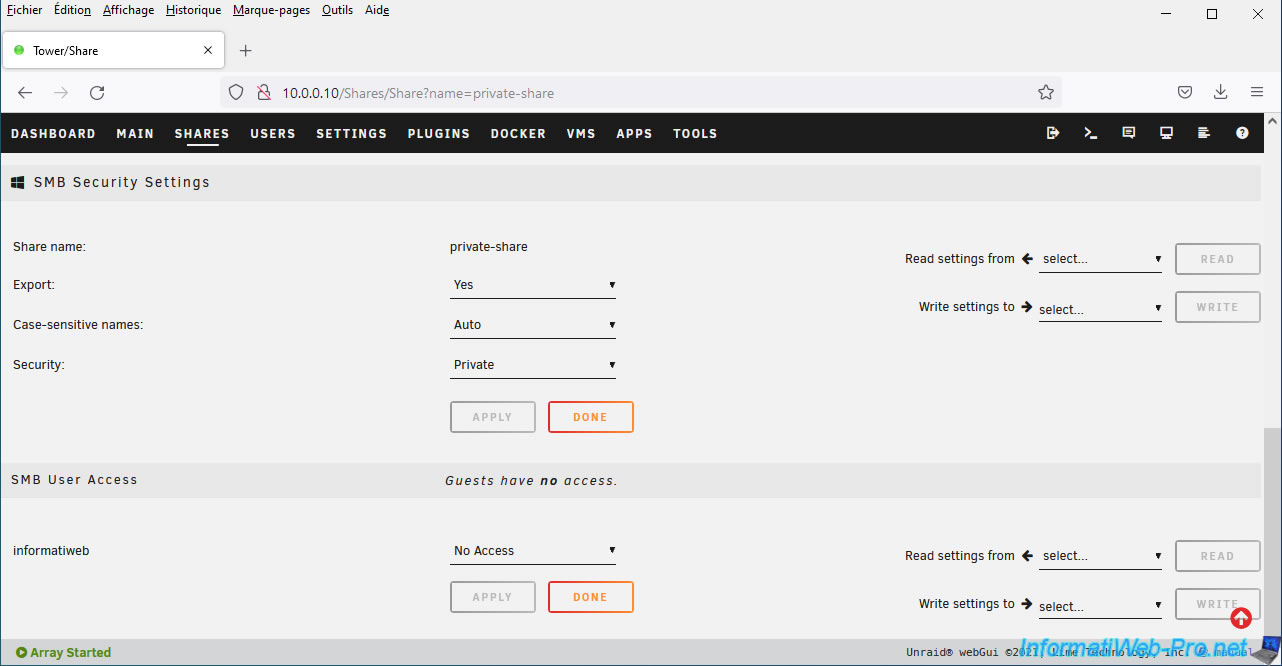
For each user, you can grant the desired level of rights:
- Read/Write.
- Read-only.
- No Access.
Guests (who will therefore not provide credentials when connecting to this network share) will have no rights to this network share and will therefore not be able to enter it.
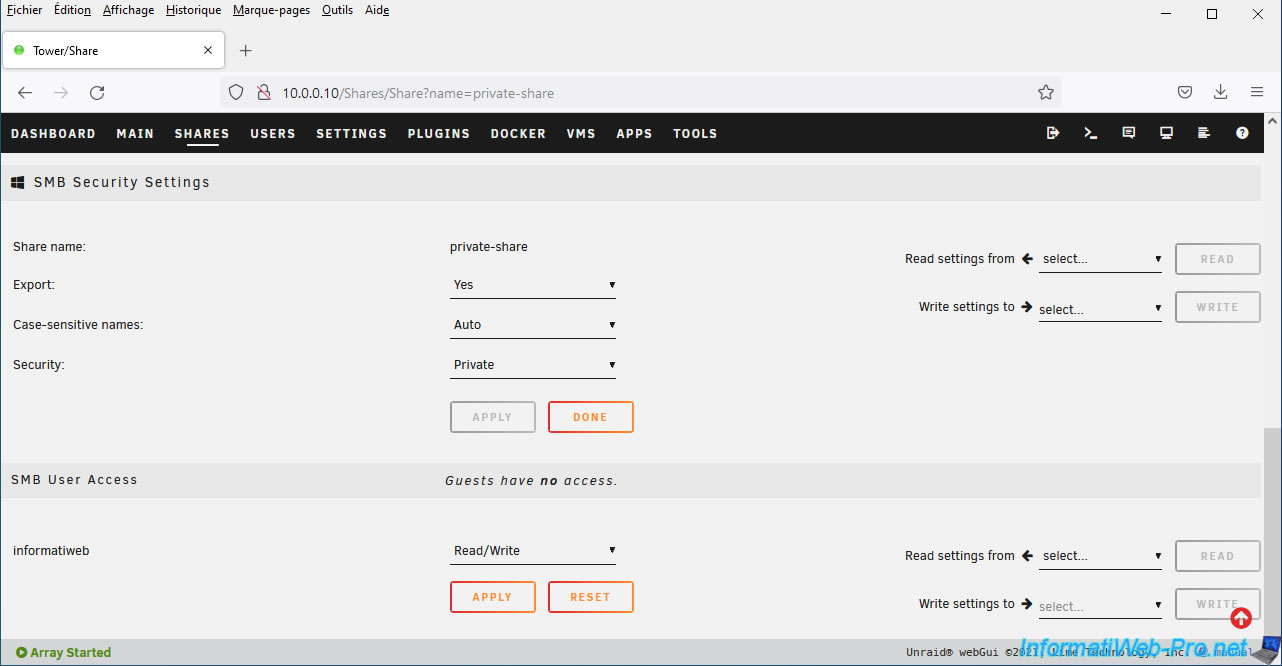
Once you have selected the desired rights for your different users, click on: Apply.
3.2.2. Access private network sharing
Since the "Export" parameter is set to "Yes," you will be able to see the name of this network share from the network.
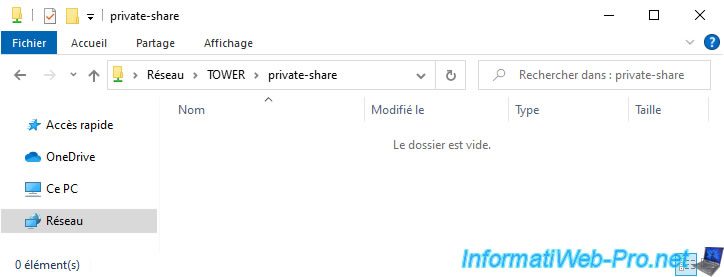
Double-click on this "private-share" network share to enter it.

Your computer will ask you to specify a username and password since guests (those who are not authenticated) cannot access it.
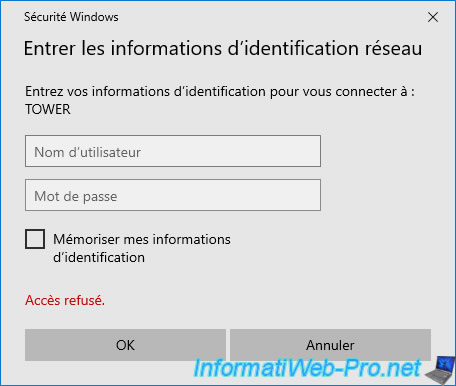
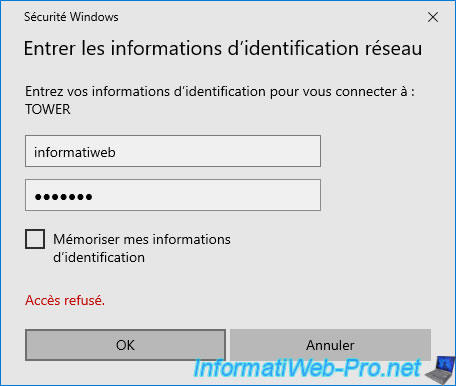
Enter the username and password of the user account you just created on your Unraid server and click OK.
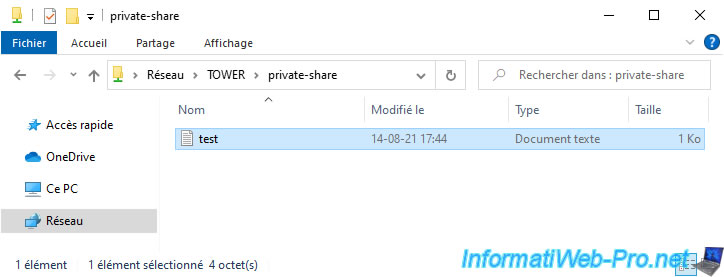
As expected, you have access to this network share.
Since we have granted Read/Write permissions for our user account, we can create files and folders inside it without any problems.
Share this tutorial
To see also
-
NAS 1/1/2026
Unraid 6.9.2 - Disable flash network sharing
-
NAS 4/15/2026
Unraid 6.9.2 - Docker - Install a file server (Nextcloud)
-

NAS 4/23/2026
Unraid 6.9.2 - Docker - Install a media server (Plex)
-
NAS 5/13/2026
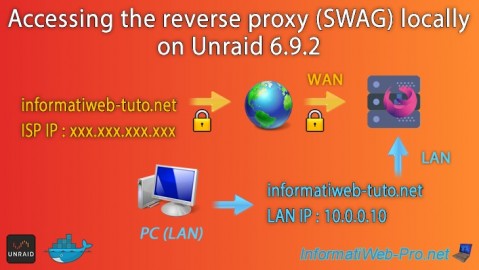
Unraid 6.9.2 - SWAG - Locally access the reverse proxy (SWAG)
No comment