- Firewall
- pfSense
- 12 September 2025 at 10:59 UTC
-

- 1/3

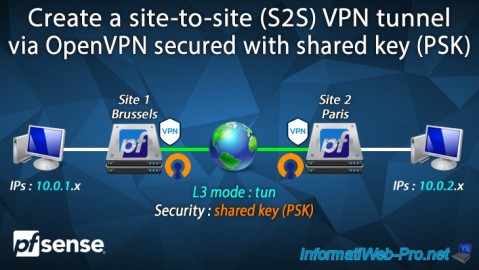
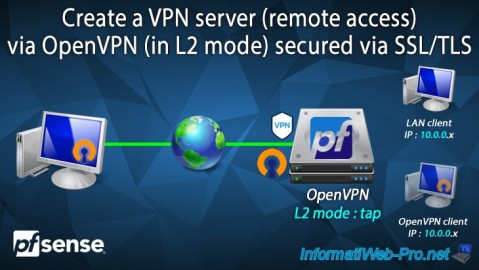
To connect 2 physical sites, to access local network resources, as well as remote network resources securely and transparently, you can create an IPsec VPN tunnel.
But, in this tutorial, we will use OpenVPN instead of IPsec. The goal remains the same.
Warning : to more easily learn how to configure a site-to-site OpenVPN tunnel, we will use a shared key.
However, as noted on the "OpenVPN Site-to-Site Configuration Example with Shared Key | pfSense Documentation" page, you should use SSL certificates and not a shared key. But, the use of certificates adds complexity to understanding the configuration of OpenVPN.
If you want to secure the connection with these SSL certificates, refer to our tutorial : pfSense 2.6 - Create a site-to-site (S2S) VPN tunnel via OpenVPN secured with SSL/TLS (L3 mode).
Note: as for the IPsec tunnel in our previous tutorial, we have virtualized an infrastructure with 2 sites: site 1 (Brussels) with the network ID "10.0.1.0/24" and site 2 (Paris) with the network ID " 10.0.2.0/24".
- Configure site 1 in Brussels for OpenVPN
- Configure site 2 in Paris for OpenVPN
- Check OpenVPN tunnel status
- View logs for OpenVPN
- Testing ping via the OpenVPN tunnel
- Testing access to a website from a remote site
- Add the OpenVPN widget to the pfSense dashboard (optional)
1. Configure site 1 in Brussels for OpenVPN
1.1. Allow private networks on the WAN interface of site 1 (Brussels)
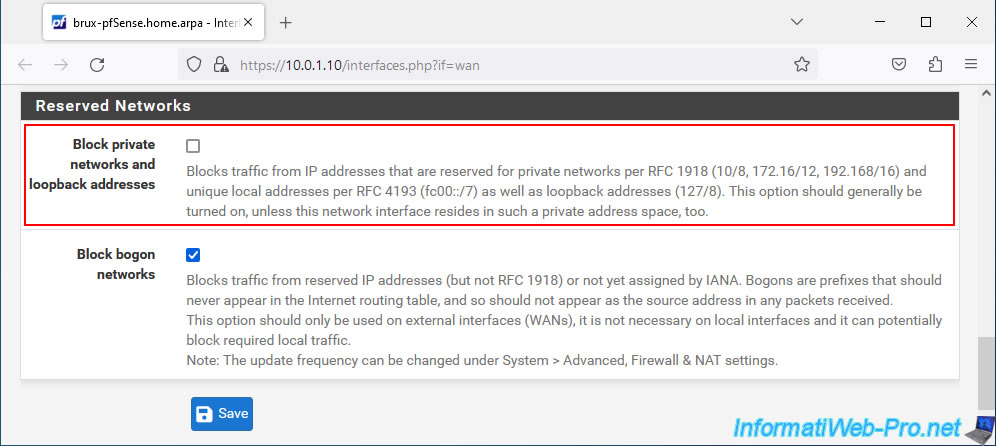
If a private (local) IP address is assigned to your WAN interface, network traffic will be blocked by default.
Which would also block the connection between the OpenVPN client and the OpenVPN server.
If this is your case, go to "Interfaces -> WAN" and uncheck the "Block private networks and loopback addresses" box located at the bottom of the page.
Next, click "Save", then "Apply Changes" (at the top of the page).
1.2. Add the OpenVPN server to the company headquarters (site 1 - Brussels)
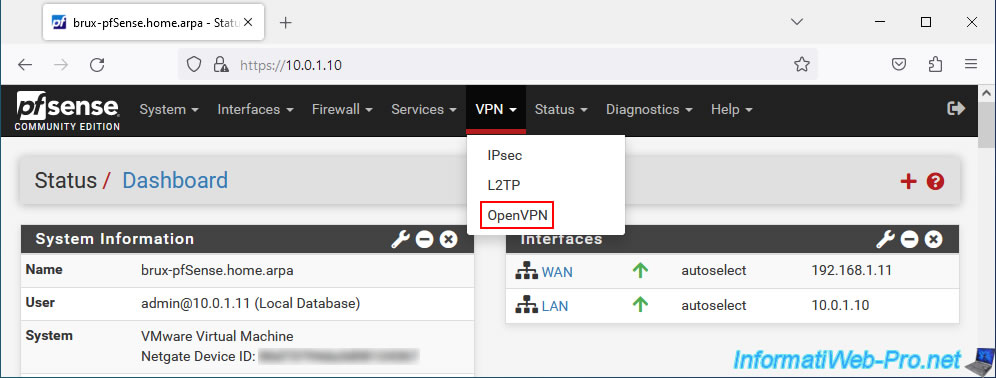
On site 1 (Brussels), go to: VPN -> OpenVPN.
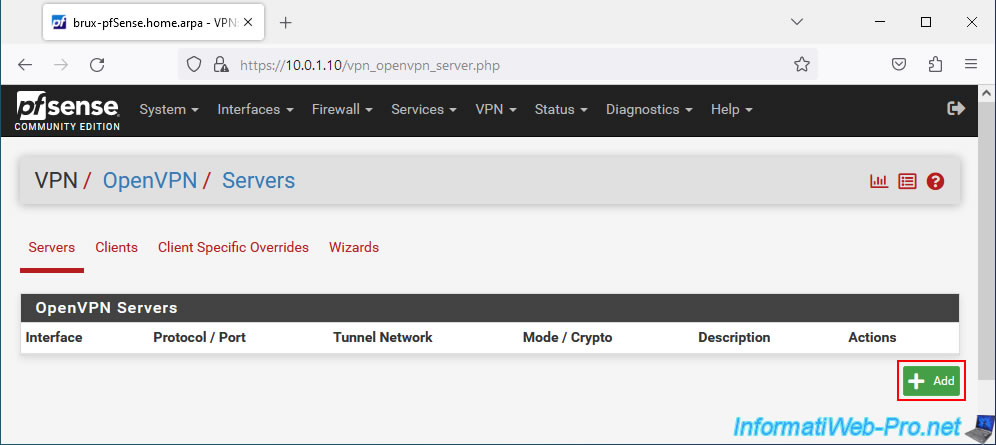
On the "VPN / OpenVPN / Server" page that appears, click: Add.
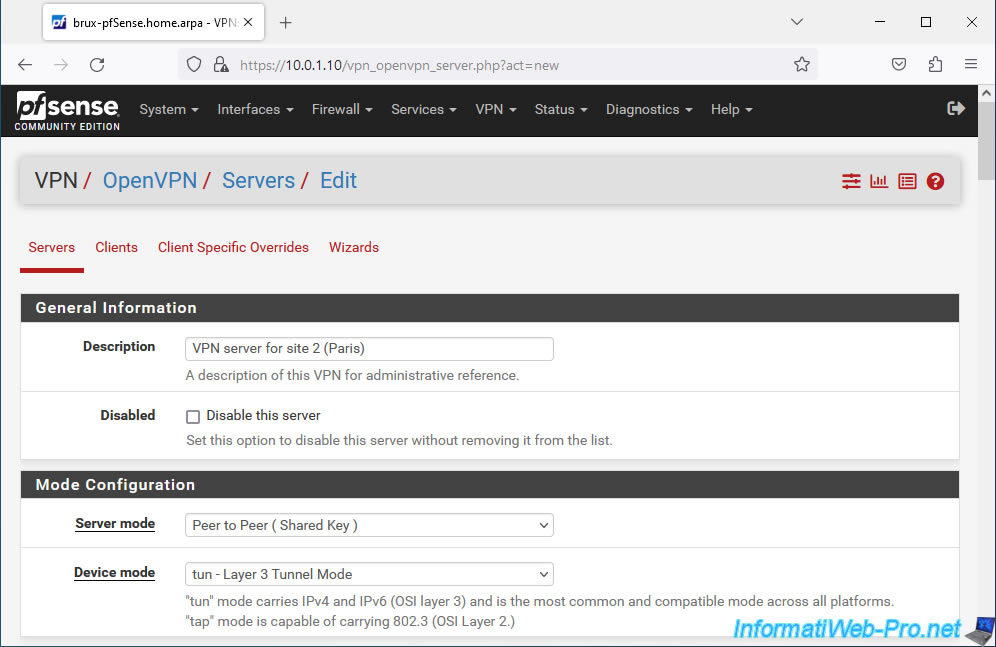
On the OpenVPN server creation page, specify:
- Description: a name for this VPN server. This value is purely indicative.
In our case: VPN server for site 2 (Paris). - Server mode: Peer to Peer (Shared Key). Allows you to create a site-to-site VPN tunnel with a shared key (which greatly simplifies OpenVPN setup).
- Device mode: tun - Layer 3 Tunnel Mode. This L3 mode allows the use of different network IDs on each physical site (in our case: 10.0.1.0/24 on site 1 in Brussels and 10.0.2.0/24 on site 2 in Paris) by allowing the machines to one network to access the resources of the other network transparently.
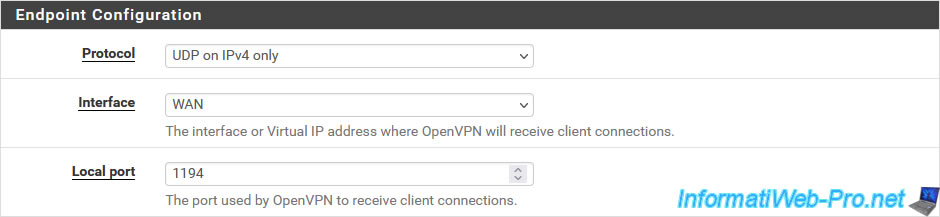
For the "Endpoint Configuration" section, indicate:
- Protocol: UDP on IPv4 only.
Indeed, OpenVPN uses UDP port 1194 and we have 2 IPv4 networks in our case (1 IPv4 network on each site and the external IP address of our 2 sites is an IPv4 address). - Interface: WAN. The OpenVPN tunnel will be established via the Internet between your 2 physical sites.
- Local port: 1194. This is the port used by default by OpenVPN.
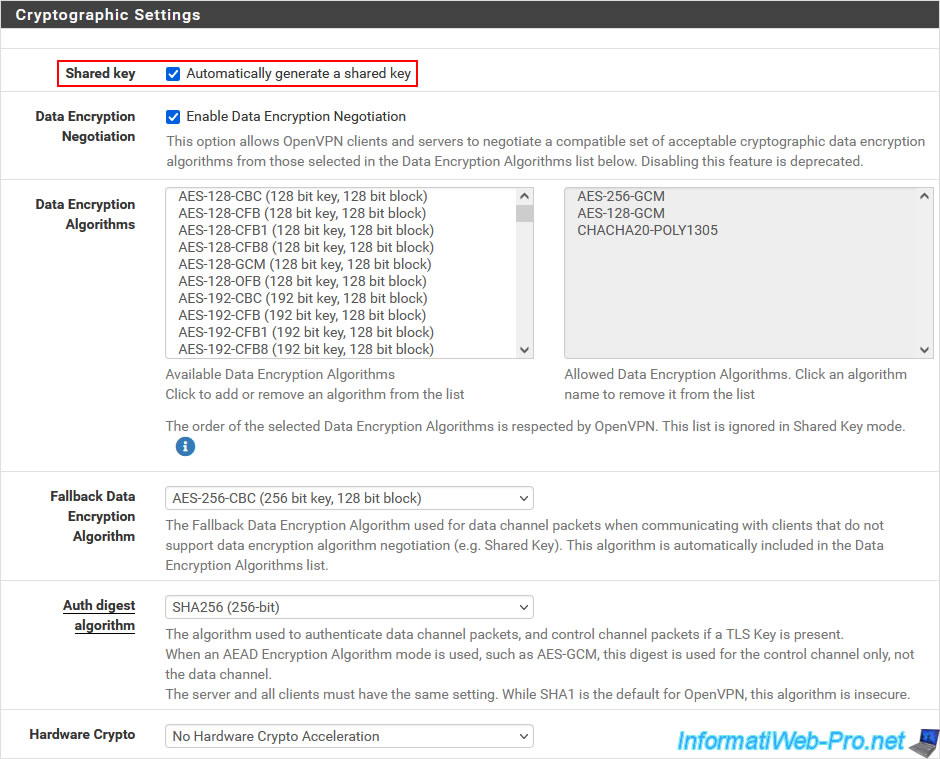
For the "Cryptographic Settings" section, leave the encryption settings at default and make sure to leave the "Automatically generate a shared key" box checked so that OpenVPN generates a new shared key.
The shared key generated by OpenVPN for the OpenVPN server must then be copied/pasted when configuring the OpenVPN client on the other physical site (in our case: site 2 in Paris).
Unlike IPsec, OpenVPN uses a subnet for its VPN tunnel.
The network ID used for the VPN tunnel doesn't really matter. The most important thing is that it is not used by any pfSense interface on the source site AND on the destination site so that there are no conflicts.
Indeed, the network ID that you indicate here for the OpenVPN tunnel must be the same on the OpenVPN server (of site 1) and on the OpenVPN client (of site 2).
This network ID will only be used to assign an IP address to OpenVPN peers. So, only 2 IP addresses will be used (1 IP for the pfSense machine hosting the OpenVPN server and 1 IP for the one hosting the OpenVPN client).
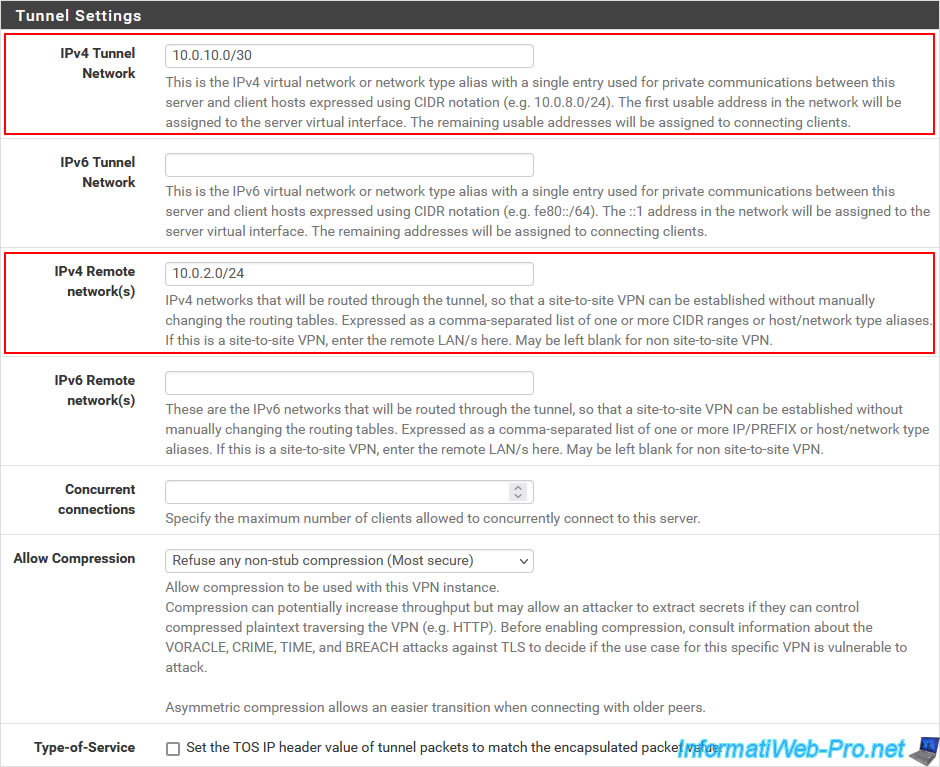
- IPv4 Tunnel Network: 10.0.10.0/30. In our case, we use the network ID "10.0.10.0/30". The subnet mask (in CIDR notation) "/30" means that only 2 IP addresses "10.0.10.x" (in this case) can be assigned for the subnet used for the OpenVPN tunnel.
- IPv4 Remote Network: 10.0.2.0/24. The network ID used at the remote site. In our case, site 2 (Paris) uses the "10.0.2.0/24" network.
If multiple network IDs are used at the remote site, separate them with a comma.
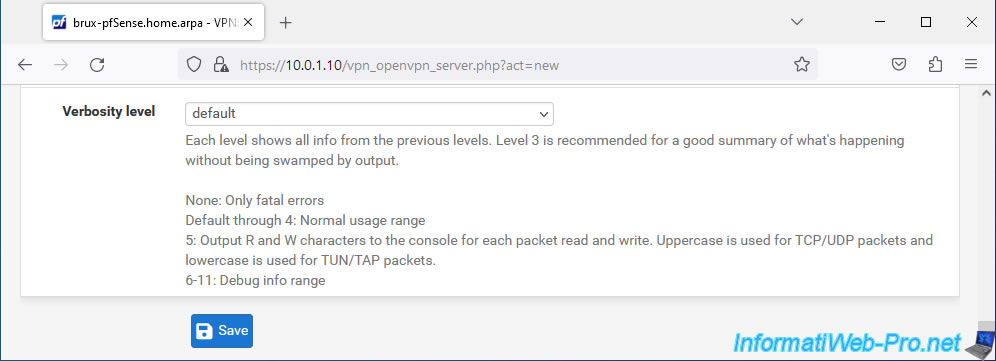
At the bottom of the page, click Save.
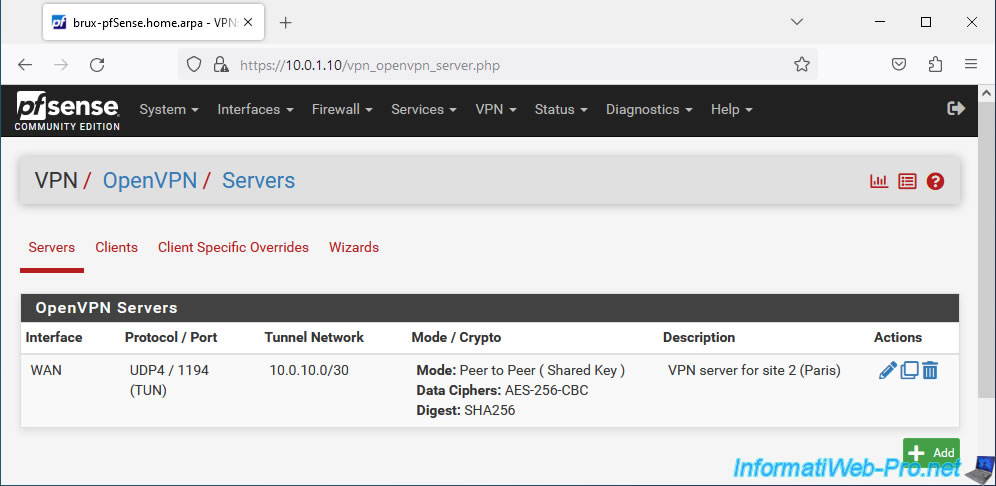
Your OpenVPN server on site 1 (Brussels) is created.
1.3. Allow access to the OpenVPN server from the WAN interface on site 1 (Brussels)
So that the remote site (in our case: site 2 in Paris) can connect to the OpenVPN server at site 1 in Brussels, you must add a rule in the pfSense firewall.
To do this, on site 1 (Brussels), go to "Firewall -> Rules".
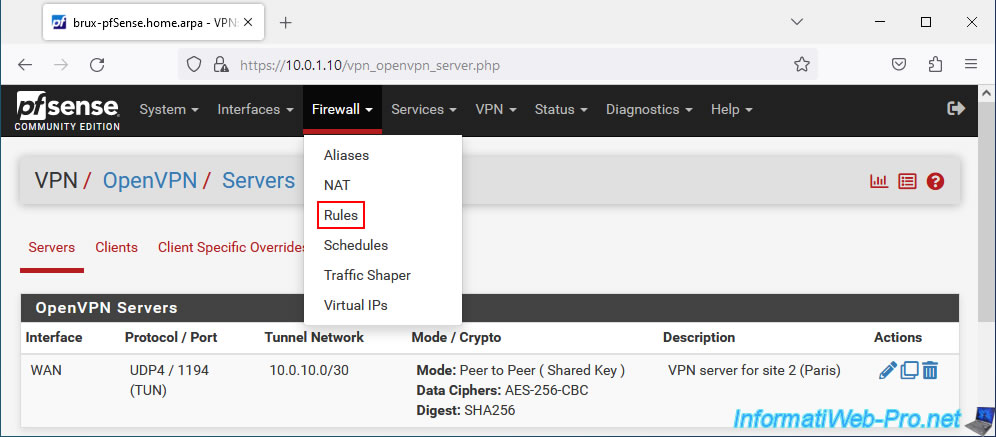
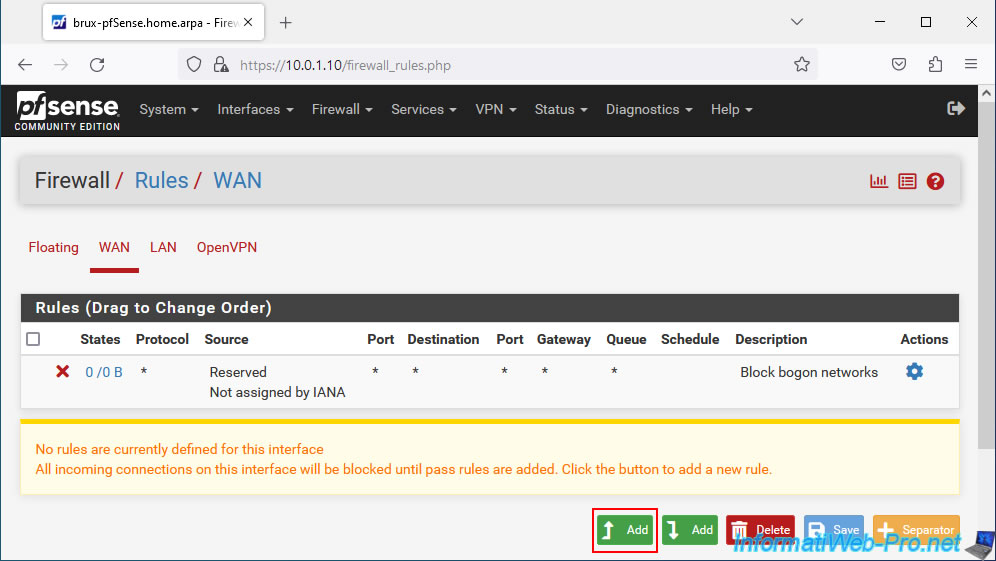
Then, go to the "WAN" tab and click: Add.
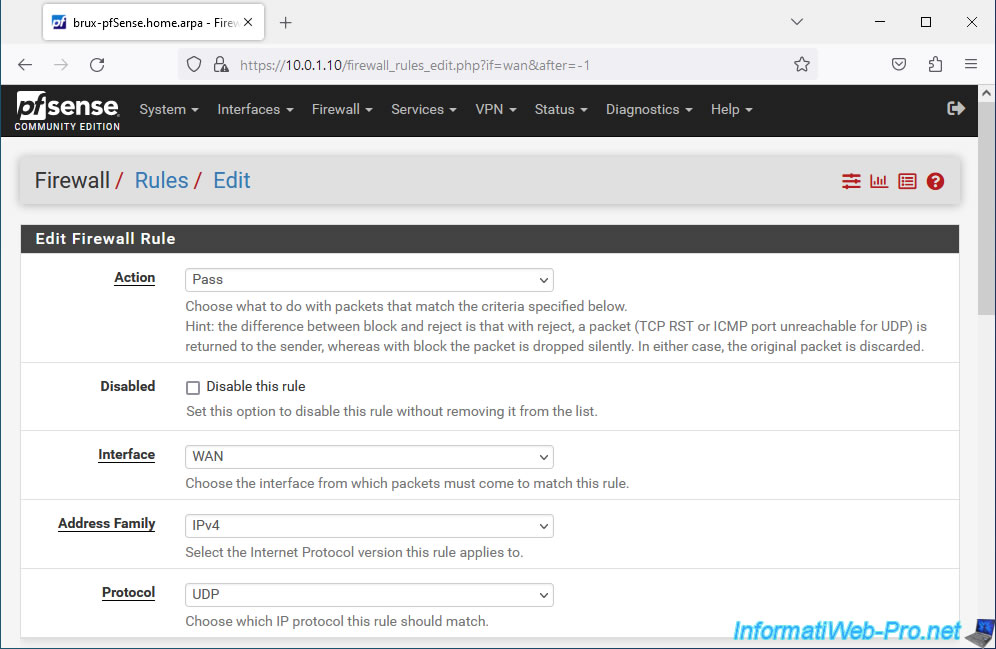
Configure the firewall rule like this:
- Action: Pass. To allow network traffic.
- Interface: WAN. Since the remote site (Paris site 2) will connect to the OpenVPN server of the site where you are (Brussels site 1) by accessing the WAN interface of site 1
- Address Family: IPv4. The remote site's OpenVPN client will connect to the public IPv4 address of the site you are at.
- Protocol: UDP. OpenVPN uses UDP port 1194.
Next, configure:
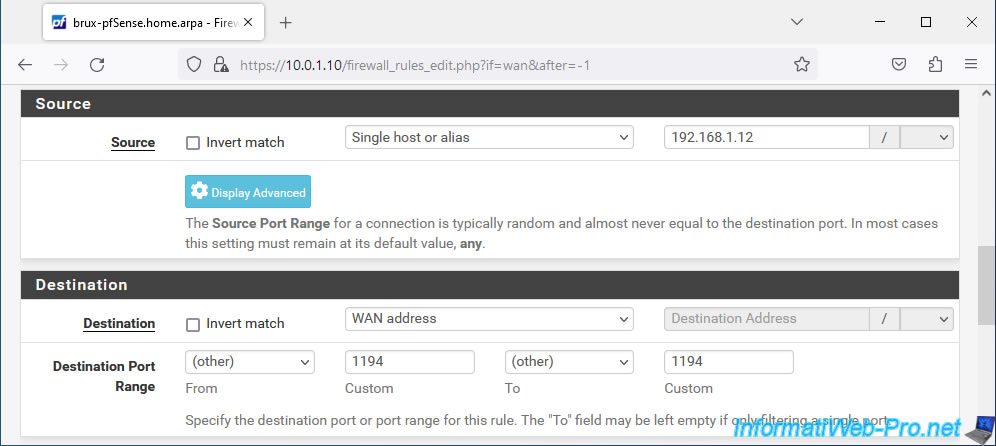
- Source: if the public (external) IP address of the remote site is fixed, select "Single host or alias" and indicate its address in the box on the right.
In our case, we are testing this in a virtual environment and the IPv4 WAN address of pfSense at the remote site is "192.168.1.12".
But in business, this address would be the public IPv4 address of the remote site provided by your ISP. - Destination: the destination is the pfSense WAN IP address at the site you are at since the OpenVPN client at the remote site will connect to your OpenVPN server from the Internet.
So, select "WAN address". - Destination Port Range: enter "1194" in both boxes. Which corresponds to the port used by OpenVPN.
Or select "OpenVPN (1194)" from the available lists.
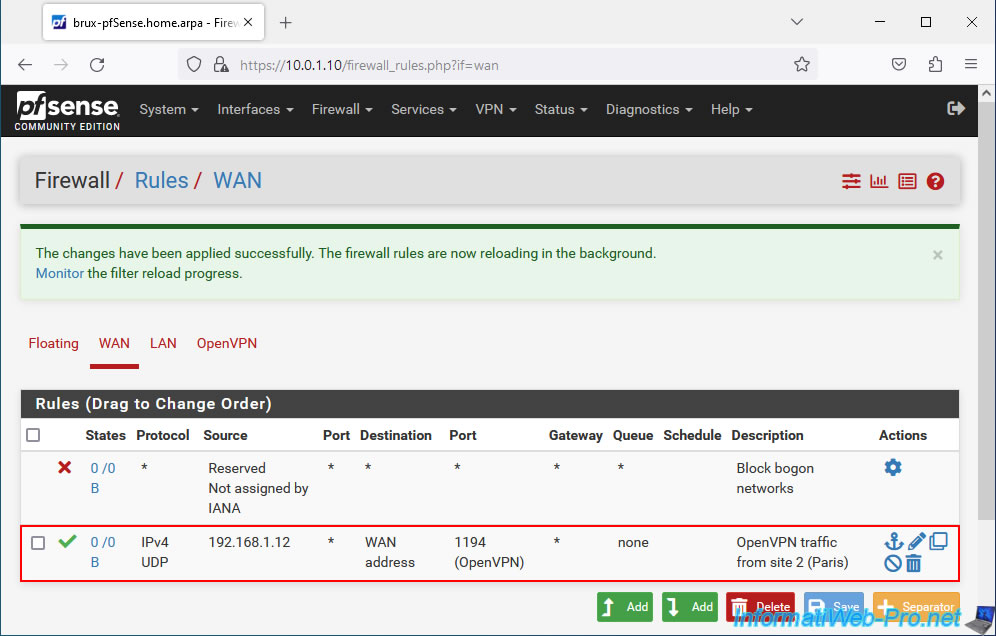
Enter "OpenVPN traffic from site 2 (Paris)" as the description and click Save.
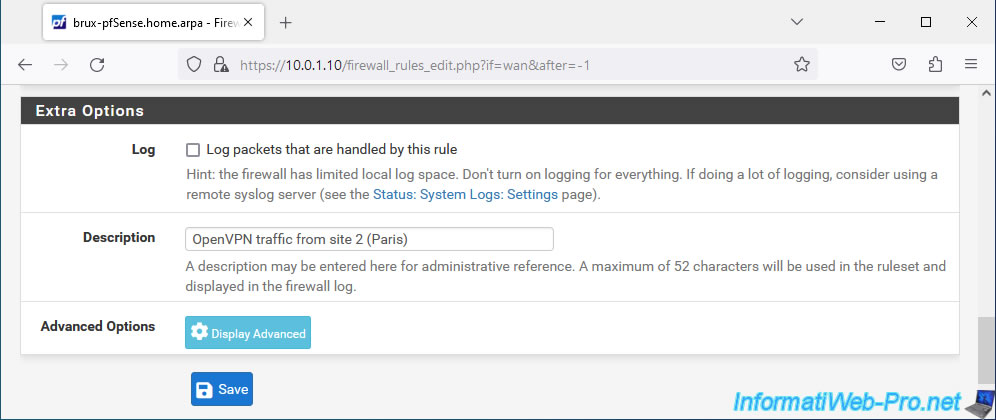
Click: Apply Changes.
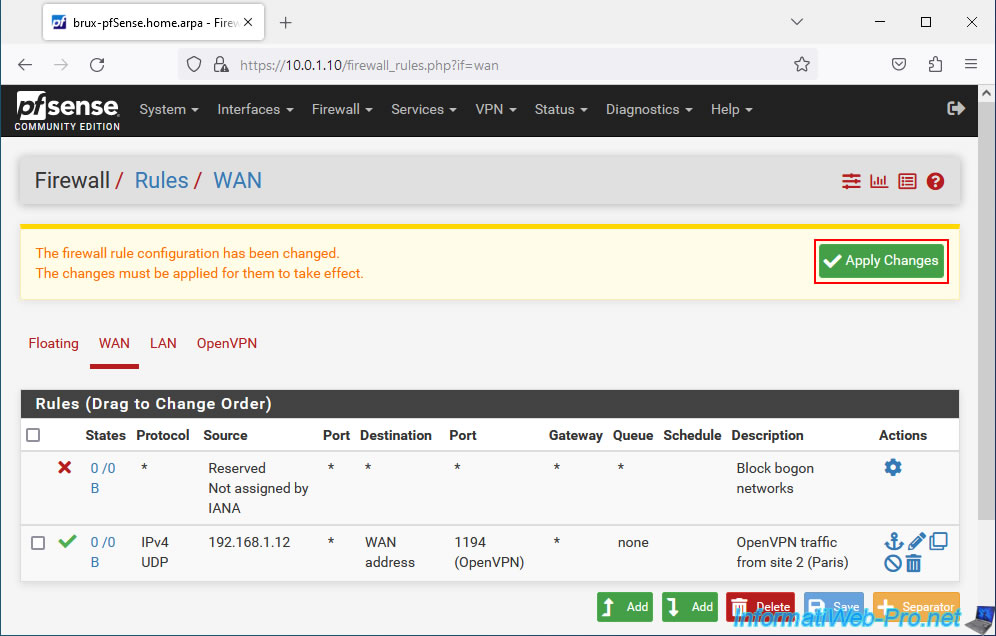
The rule has been created.
1.4. Allow network traffic in OpenVPN tunnel
For network traffic to pass through the OpenVPN tunnel, you need to go to the "OpenVPN" tab of the firewall and add a new rule.

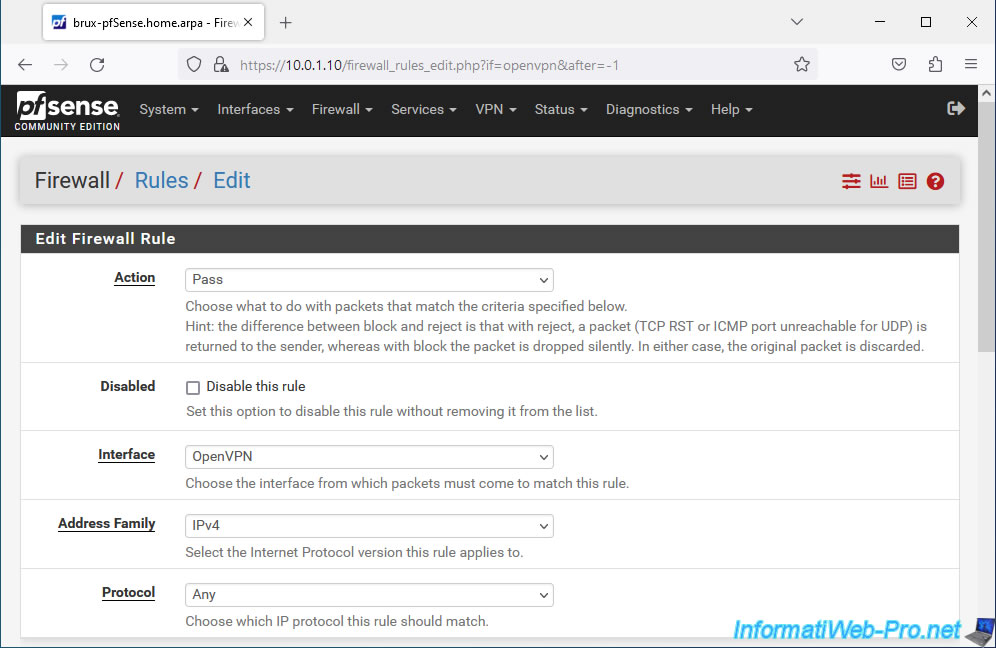
Configure this rule like this:
- Action: Pass. Allows network traffic in the OpenVPN tunnel.
- Interface: OpenVPN. Corresponds to network traffic passing through an OpenVPN tunnel.
- Address Family: IPv4. IPv4 network traffic in the VPN tunnel.
- Protocol: Any. Allows all network protocols (TCP, UDP, ICMP, ...) in this VPN tunnel.
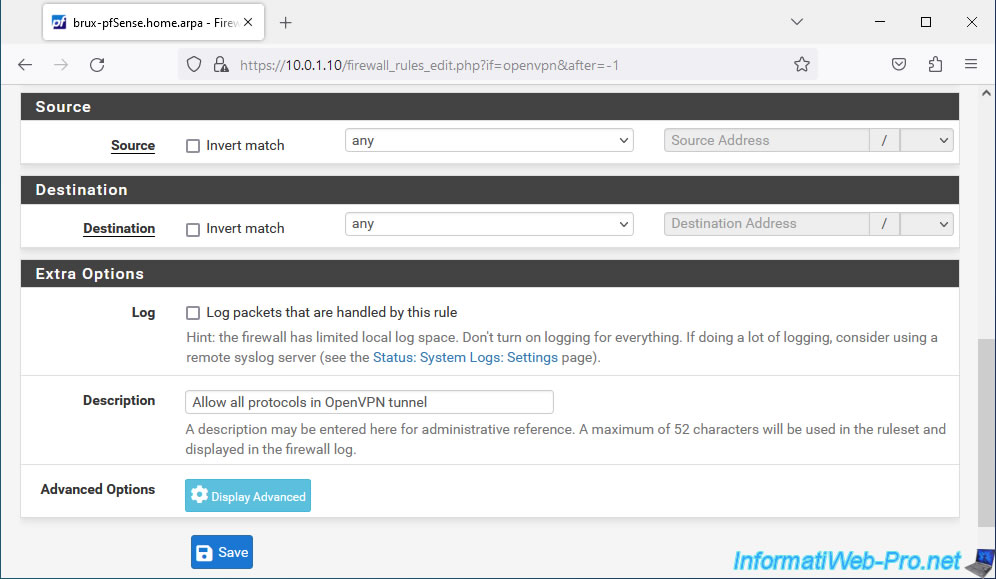
In our case, we will allow all network traffic into this OpenVPN tunnel, regardless of the source and destination (which are internal IP addresses of the source or destination network).
So, select "any" for the source and for the destination.
Specify "Allow all protocols in OpenVPN tunnel" as the description.
Then, click Save.
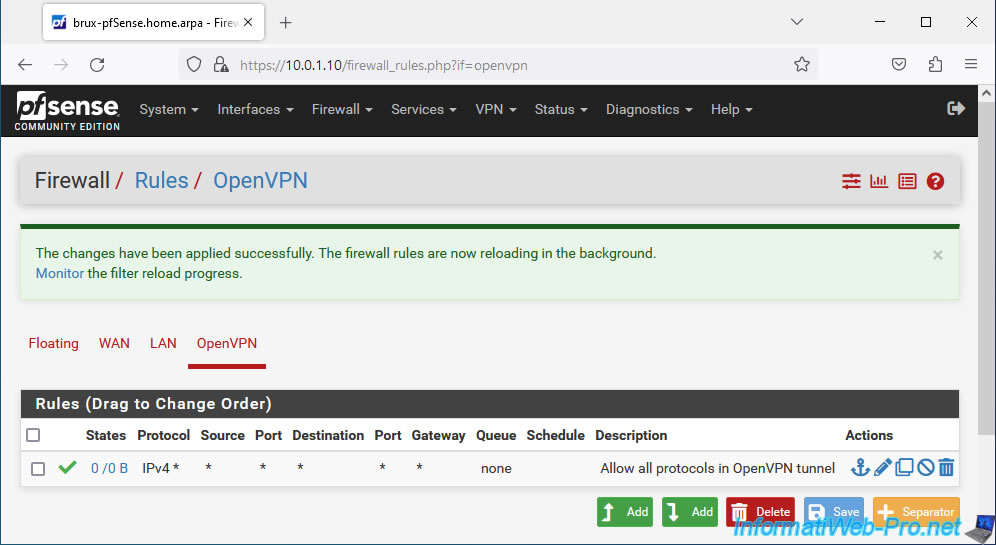
Click: Apply Changes.

Network traffic is allowed in the OpenVPN tunnel.
Share this tutorial
To see also
-

Firewall 7/30/2025
pfSense 2.6 - Backup and restore configuration
-
Firewall 9/10/2025
pfSense 2.6 - Create a VPN server (remote access) via OpenVPN (L2 mode)
-

Firewall 5/23/2025
pfSense 2.6 - Network interfaces
-

Firewall 6/13/2025
pfSense 2.6 - Schedule a rule in the firewall
You must be logged in to post a comment