- Firewall
- pfSense
- 20 June 2025 at 11:05 UTC
-


By default, computers and/or servers located behind a gateway are not accessible from the Internet (WAN).
However, thanks to port forwarding, it's possible to make a server accessible on a specific port from the outside.
- Create port forwarding on pfSense
- Allow network traffic on a WAN interface with a private (local) IP address
- Testing access to the local server from the Internet
1. Create port forwarding on pfSense
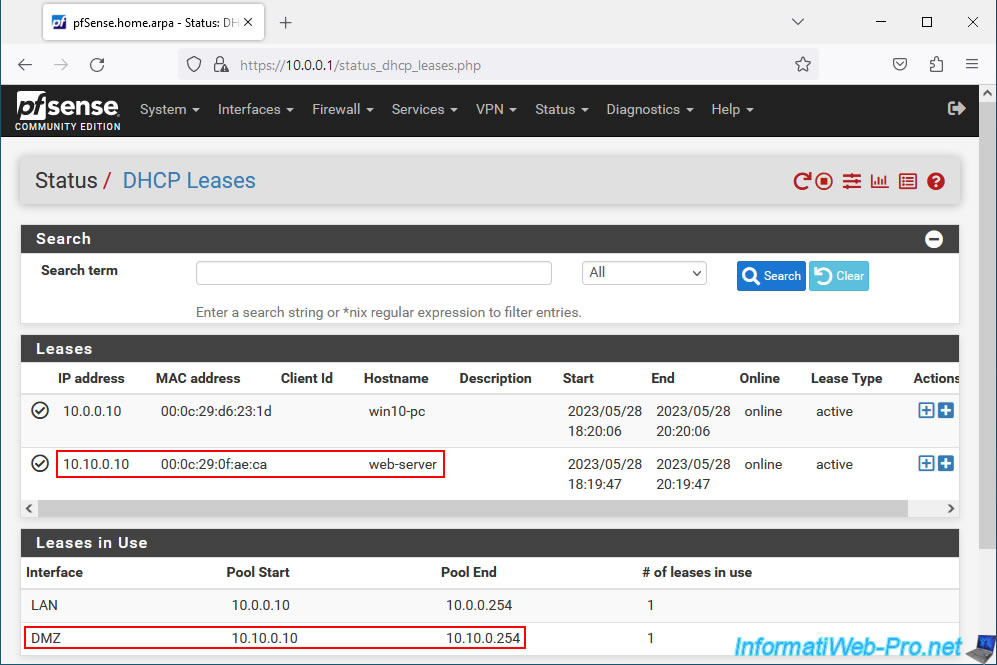
In this tutorial, we installed a web server in our DMZ. But, the principle would be the same if it were the LAN network.
As you can see, this web server has the local IP address "10.10.0.10".
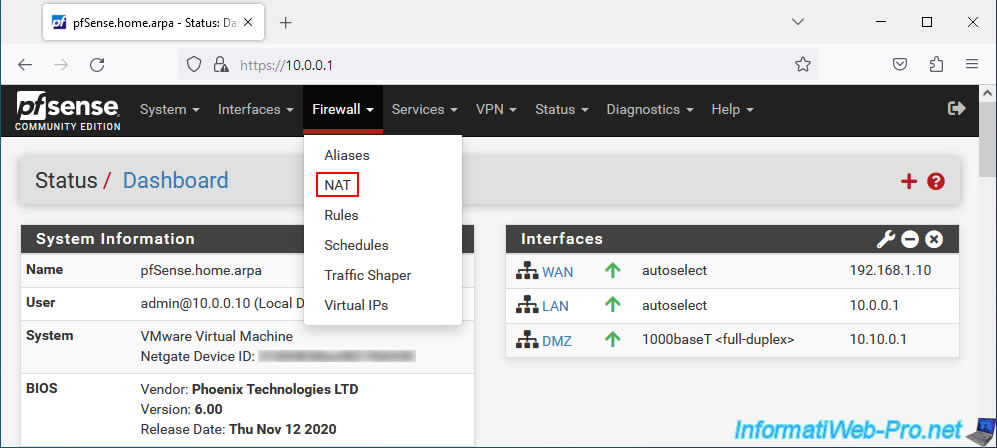
To create port forwarding via NAT on pfSense, go to: Firewall -> NAT.
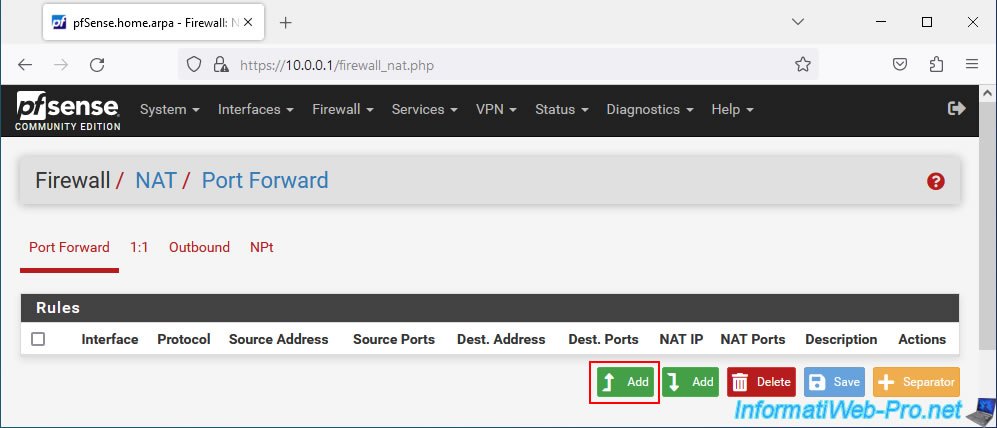
In the "Port Forward" tab, click: Add.
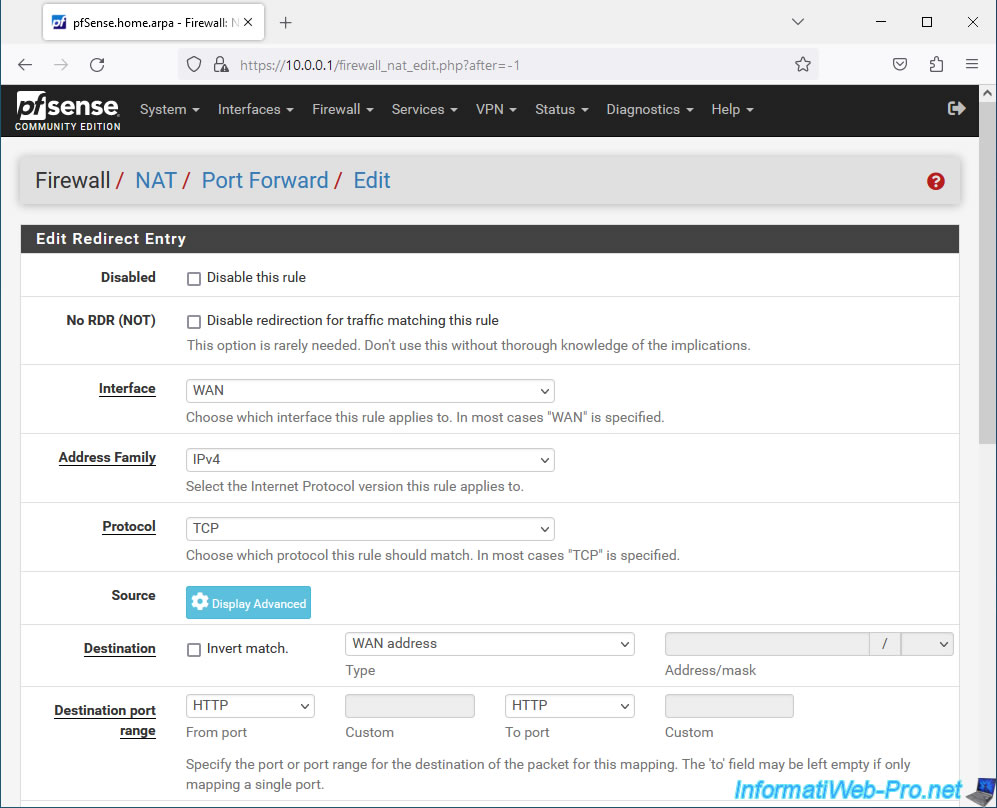
On the "Edit Redirect Entry" page that appears, you can configure the settings:
- Disabled: allows you to disable this port forwarding by checking the "Disable this rule" box.
- No RDR (NOT): useful in rare cases. Allows you to cancel a port forwarding carried out, for example, via "1:1 NAT" when the conditions match.
- Interface: the interface on which to perform this port forwarding.
Typically, port forwarding is used on the WAN interface. But pfSense can allow you to create dual WAN and therefore select another WAN interface here. - Address Family: allows you to choose the Internet protocol used (IPv4, IPv6 or both).
- Protocol: the protocol used. Ex: TCP, UDP, ...
- Source: by default, all source addresses are allowed.
But, you could also activate this port forwarding only for certain IP addresses present on the Internet for security reasons. - Destination: the destination address for port forwarding corresponds to the external IP address (i.e. that of the WAN interface) which you will access from a computer on the Internet.
- Destination port range: the port(s) of the WAN interface that you will access from the Internet.
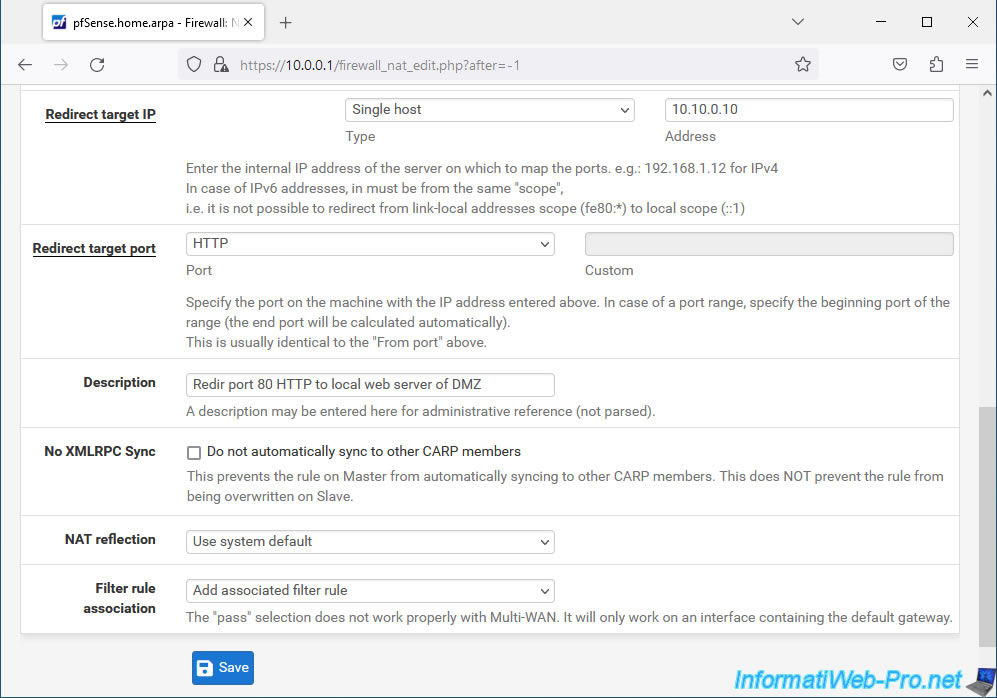
- Redirect target IP: the local IP address of the server or computer you want to access from the outside.
Note that this server or computer may be on the pfSense LAN, in the pfSense DMZ, or any other local network known to pfSense.
The options available are:- Single host: to specify the IP address of a local server or computer.
- WAN address: corresponds to the IP address of the pfSense WAN interface.
- LAN address: same, but for its LAN interface.
- DMZ address: same, but for its DMZ interface.
- Redirect target port: the port of the server or local computer to access.
- Description: a description for this port forwarding for informational purposes only.
- No XMLRPC Sync: this option is only useful when you configure high availability (HA) on pfSense to not synchronize this rule to other nodes in the pfSense HA cluster.
To disable synchronization of this rule with other nodes in the HA pfSense cluster, check the "Do not automatically sync to other CARP members" box. - NAT reflection: by default, routers do not allow access to the external IP address (WAN) from the local network (LAN).
However, on pfSense, it's possible to activate this option to make this possible.- Use system default: use the value configured by default under pfSense. Which means "NAT reflection" will be disabled.
To change the global value of this setting, go to "System -> Advanced -> Firewall & NAT" and locate the "Network Address Translation" section. In this section you will find the "NAT Reflection mode for port forwards" setting. - Enable (NAT + proxy): allows you to enable "NAT reflection" using a proxy system.
Which means the source will be the pfSense IP address.
Additionally, this option only supports the TCP protocol and therefore does not work with UDP. - Enable (Pure NAT): allows you to activate "NAT reflection" only on NAT rules and supports all protocols, unlike the previous option.
- Use system default: use the value configured by default under pfSense. Which means "NAT reflection" will be disabled.
- Filter rule association: when you create a redirect, it is necessary that the firewall also allows the corresponding traffic.
By default, the "Add associated filter rule" option is therefore selected.- None: do not create an associated rule in the firewall.
- Add associated filter rule: allows you to automatically create a new rule in the pfSense firewall to allow network traffic corresponding to this port forwarding.
Note that the binding created between the NAT port forwarding and the rule in the firewall allows the rule in the pfSense firewall to be automatically updated when you change your NAT port forwarding. - Add unassociated filter rule: similar to the previous option, but there will be no link between the NAT port forwarding and the rule that will be created in the firewall.
The rule created previously in the firewall will therefore not be updated when you later modify this NAT port forwarding. - Pass: allows network traffic on this port forwarding without creating a corresponding rule in the pfSense firewall.
Warning: This does not work when using pfSense in Multi-WAN mode.
For access to our web server from the WAN (Internet) interface, configure these settings:
- Interface: WAN.
- Address Family: IPv4. If you also want to support IPv6, choose "IPv4+IPv6".
- Protocol: TCP. A web server uses TCP port 80 for HTTP.
- Source: leave the default configuration to allow any address on the Internet to access your local web server via this port forwarding.
- Destination: select "WAN address" since we want to access our local web server via the external IP (WAN) address of pfSense.
- Destination port range: select "HTTP" for "From port" and "To port" since our local web server listens on port 80 (HTTP) by default.
Specifying 2 port numbers allows you to specify a port range. But in our case, we only redirect port 80 corresponding to our local web server. - Redirect target IP: select "Single host" and specify the local address of your web server that you want to be able to access from the Internet.
- Description: provide a description for this rule if desired.
In our case: Redir port 80 HTTP to local web server of DMZ. - Filter rule association: leave the "Add associated filter rule" option selected to have pfSense automatically allow network traffic matching this port forwarding into its firewall.
Then click: Save.
Sources :
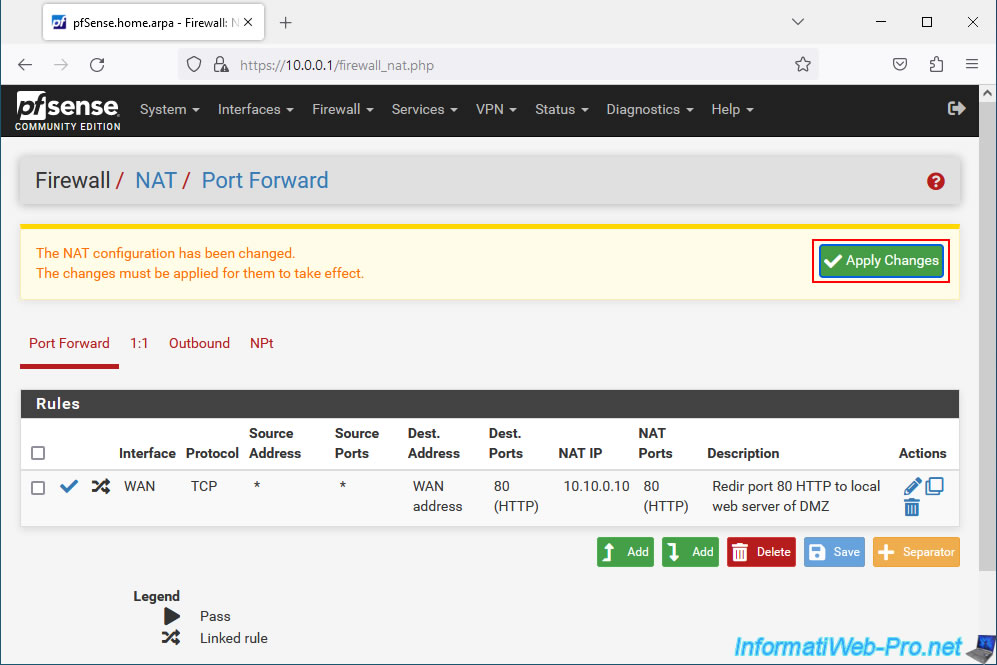
The created rule appears.
Click "Apply Changes" to apply the changes.
Plain Text
The NAT configuration has been changed.
The changes must be applied for them to take effect.
Port forwarding is effective.
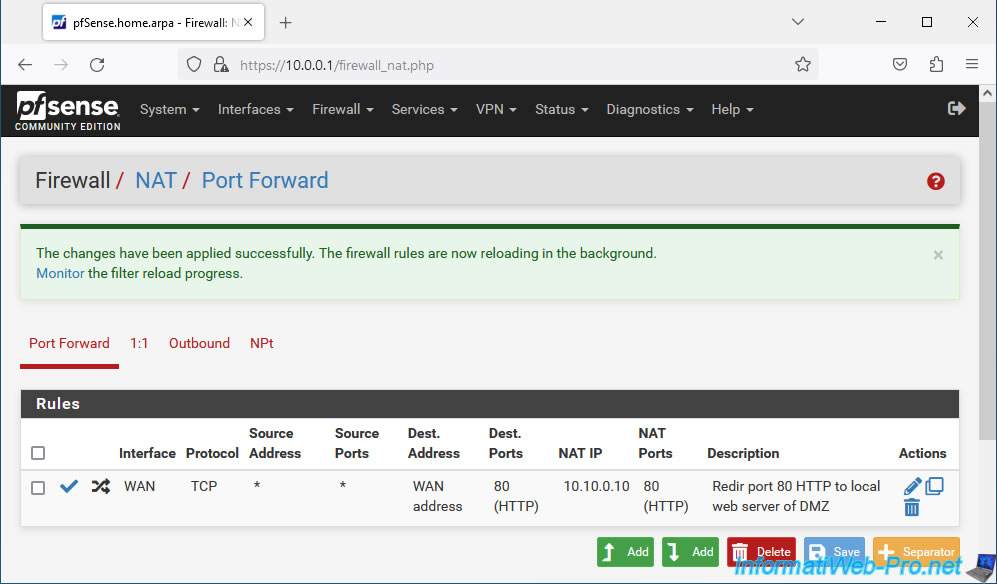
If you go to "Firewall -> Rules -> WAN", you will see that a rule has been created in the pfSense firewall to allow network traffic with the same values (same source, same destination, same port, . ..).

2. Allow network traffic on a WAN interface with a private (local) IP address
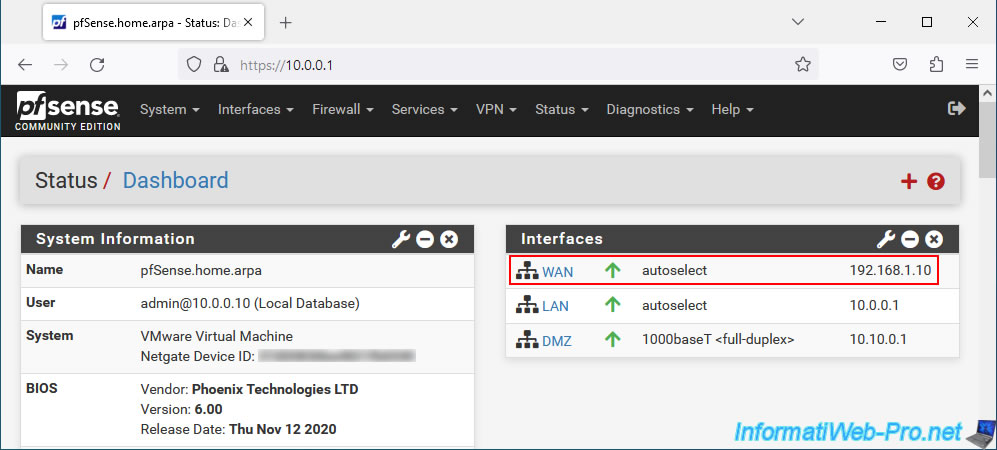
Display the pfSense dashboard by clicking on the pfSense logo at the top left.
As you can see, in our case our WAN address uses a private (local) IP address.
If this is also your case, then make sure to allow access to the pfSense WAN interface from a private (local) IP address. Ex: 10.0.0.x, 192.168.1.x, ...
To do this, go to "Interfaces -> WAN".
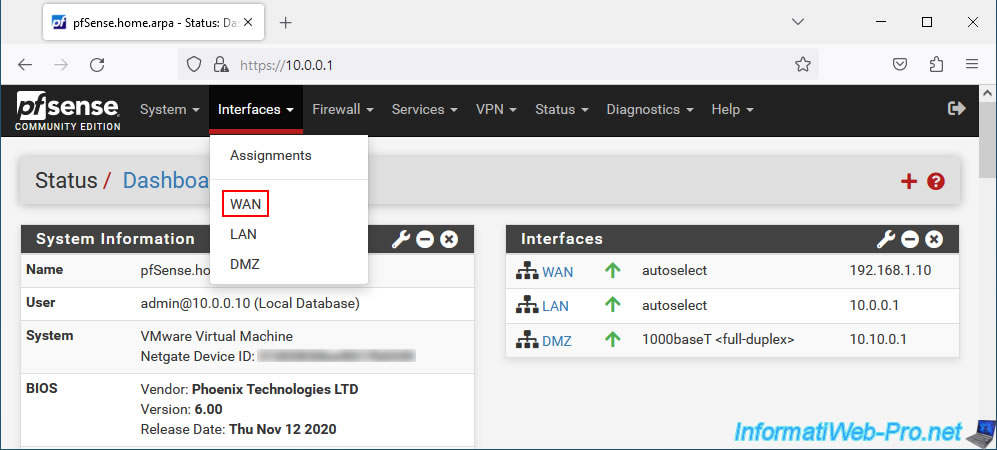
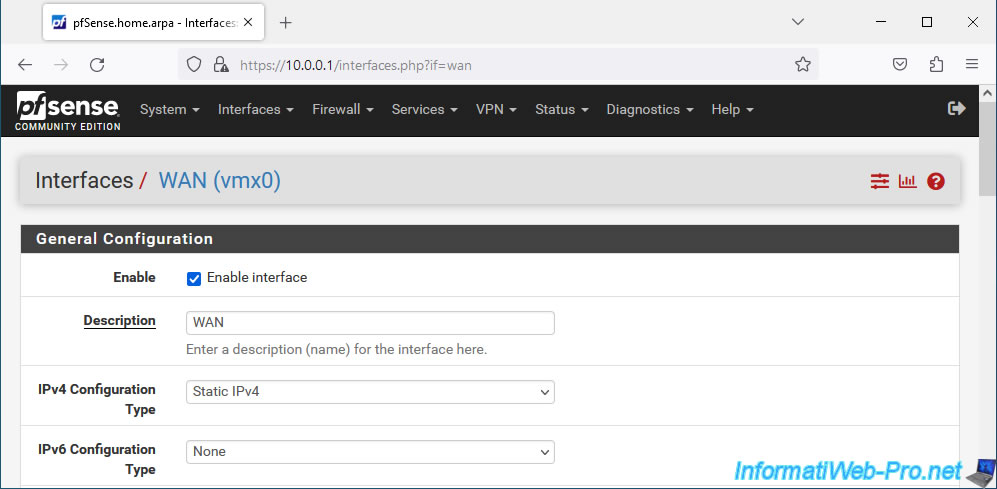
The "Interfaces / WAN" page appears.
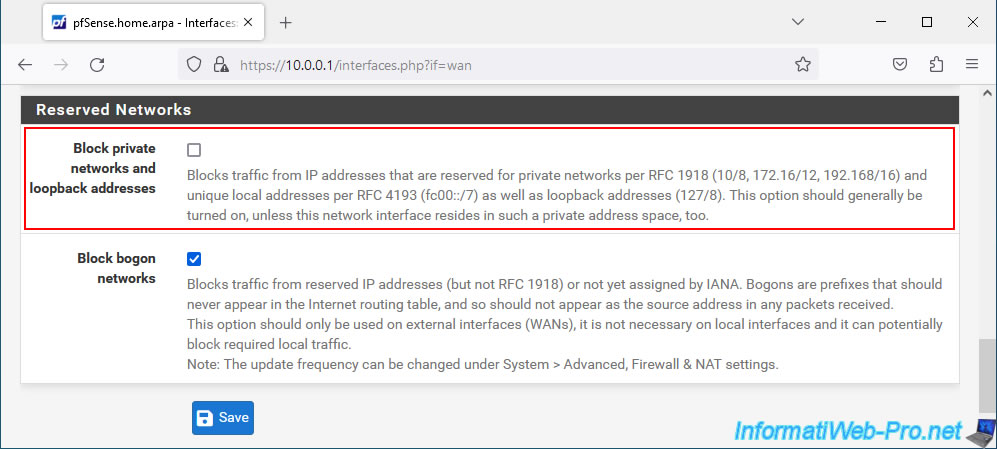
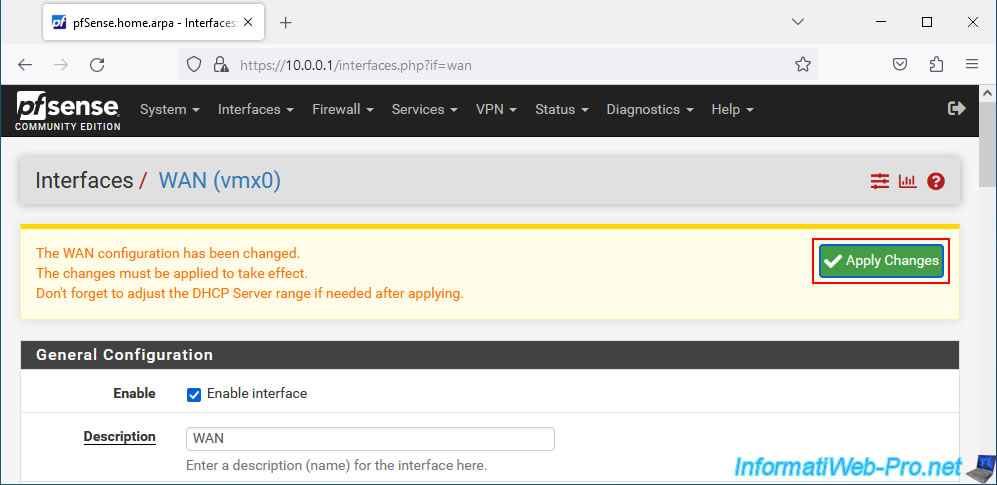
At the bottom of the page, make sure to uncheck the "Block private networks and loopback addresses" box.
Note: disabling this option will remove the "Block private networks" rule from the pfSense firewall which by default blocks network traffic on the WAN interface coming from "RFC 1918 networks".
Then, at the top of the page, click "Apply Changes".
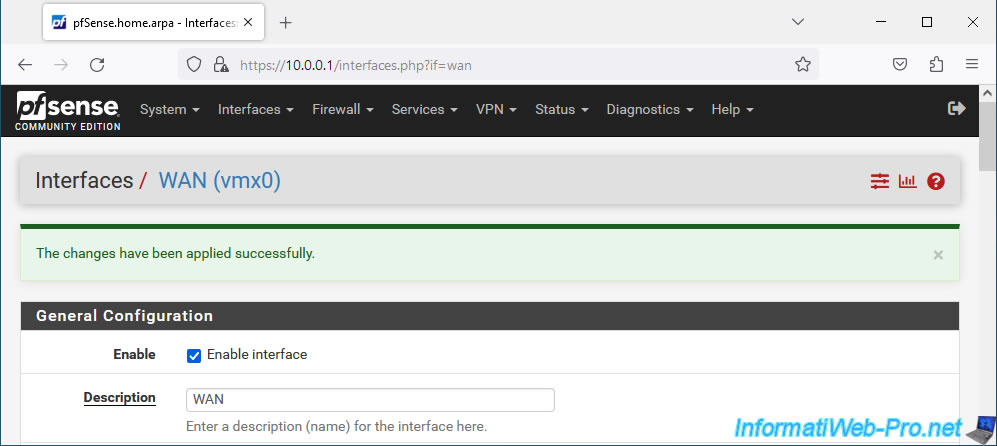
Modifications have been saved.
3. Testing access to the local server from the Internet
From a computer located on the Internet or connected to the pfSense WAN network (if applicable), enter the pfSense WAN IP address in your web browser.
As expected, the default IIS page (hosted by our local web server on Windows Server) appears.

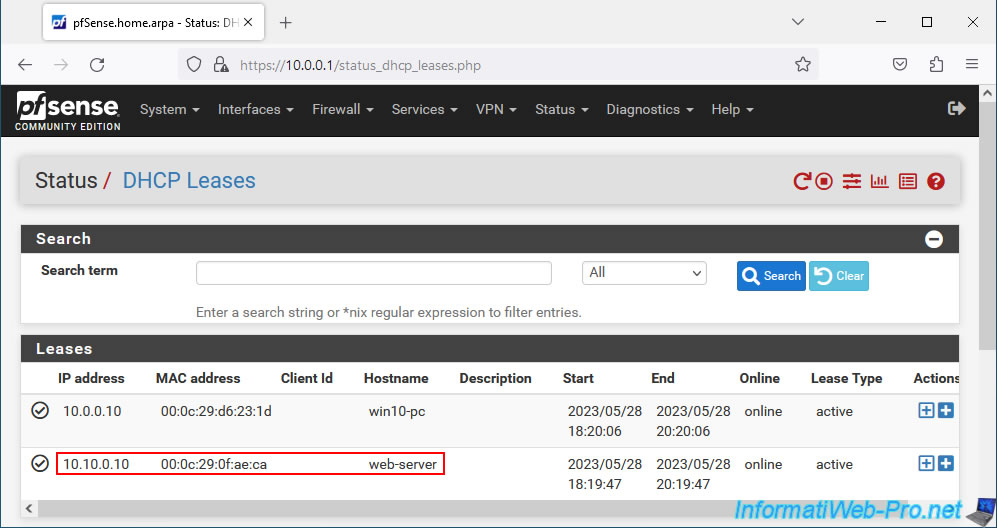
As a reminder, pfSense redirects network traffic from its WAN address on port 80 to port 80 of the local IP address "10.10.0.10".

The IP address "10.10.0.10" corresponding in our case to our local web server.
Share this tutorial
To see also
-
Firewall 5/21/2025
pfSense 2.6 - Access to the web interface via the WAN interface
-
Firewall 6/11/2025
pfSense 2.6 - Create a DMZ and configure the firewall
-
Firewall 5/23/2025
pfSense 2.6 - Network interfaces
-
Firewall 6/13/2025
pfSense 2.6 - Schedule a rule in the firewall
You must be logged in to post a comment