Create a site-to-site (S2S) VPN tunnel via OpenVPN secured with a shared key (PSK) on pfSense 2.6
- Firewall
- pfSense
- 12 September 2025 at 10:59 UTC
-

- 2/3

2. Configure site 2 in Paris for OpenVPN
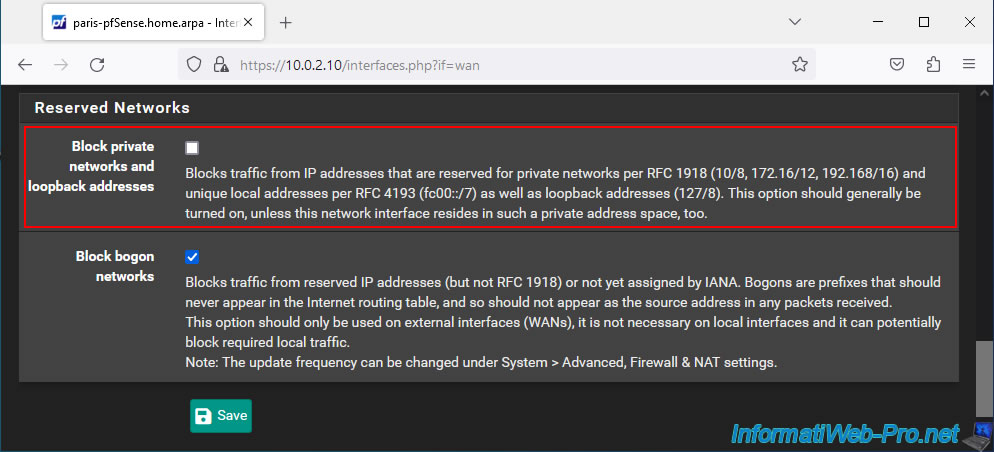
2.1. Allow private networks on the WAN interface of site 2 (Paris)
As for site 1, if a private (local) IP address is assigned to the pfSense WAN interface on site 2, then go to "Interfaces -> WAN" and disable the "Block private networks and loopback addresses" option. at the bottom of the page.
Next, click "Save", then "Apply Changes" at the top of the page.
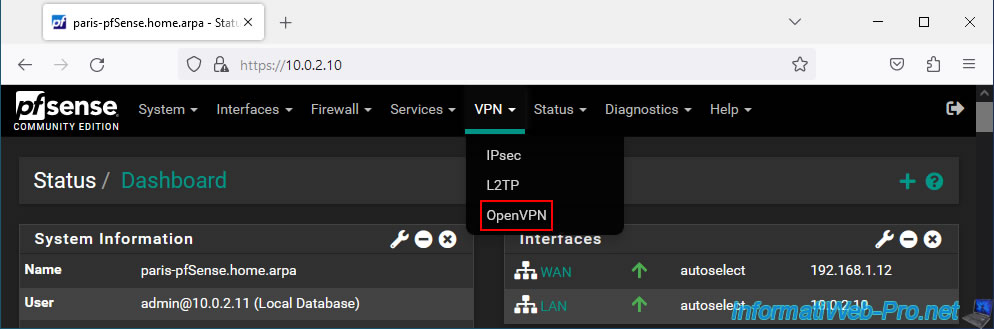
2.2. Add the OpenVPN client to a company office (site 2 - Paris)
To add an OpenVPN client on pfSense, go to: VPN -> OpenVPN.
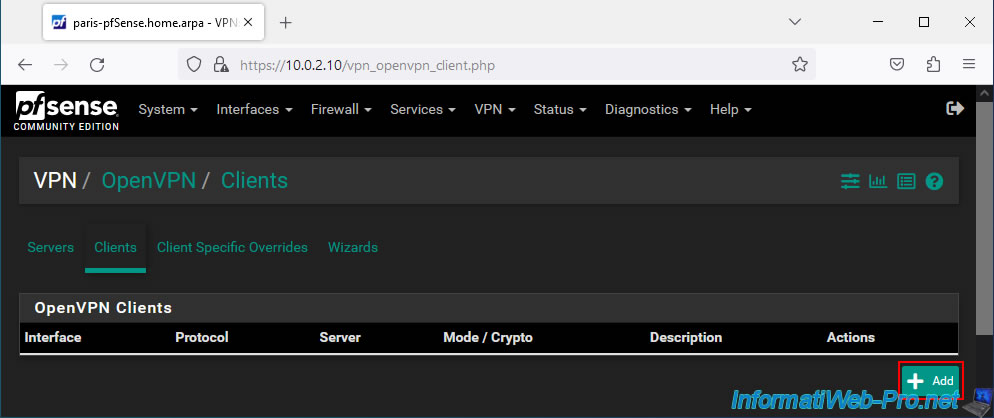
Go to the "Clients" tab of the "VPN / OpenVPN" page that appears and click on: Add.
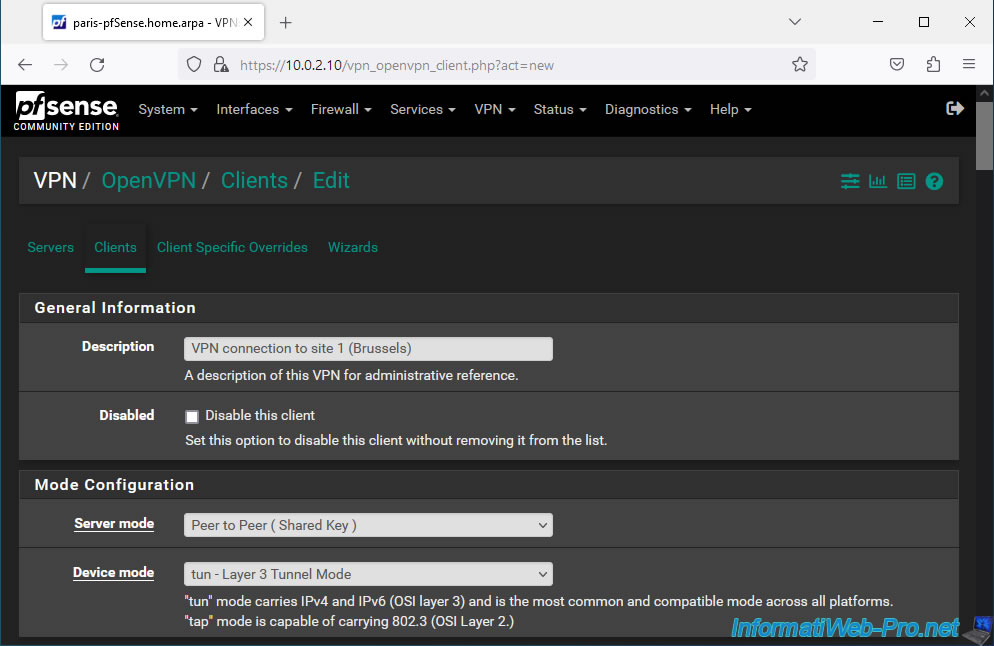
Configure your OpenVPN client like this:
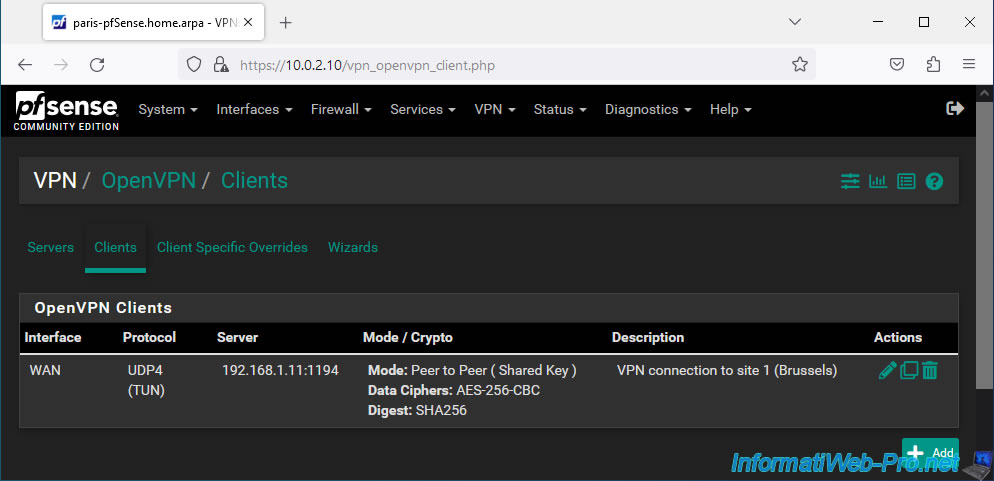
- Description: VPN connection to site 1 (Brussels).
- Server mode: Peer to Peer (Shared Key). Allows you to create a site-to-site VPN tunnel using a shared key.
- Device mode: tun - Layer 3 Tunnel Mode. Allows you to create a VPN tunnel between 2 different subnets so that they can communicate together transparently.
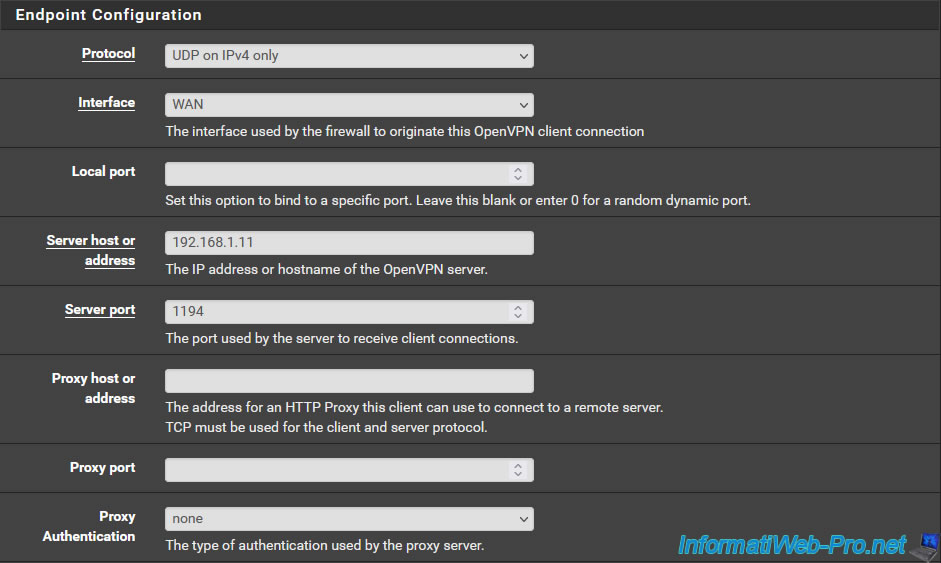
For the "Endpoint Configuration" section, enter the same parameters as for the VPN server.
The only information that changes is the IP address of the OpenVPN server to contact.
- Protocol: UDP on IPv4 only.
- Interface: WAN.
- Server host or address: public IP address of site 1.
In our case, we are testing this virtually, so we indicate the pfSense WAN IP address of site 1 (Brussels).
Namely: 192.168.1.11. - Server port: 1194. Which corresponds to the port number used by OpenVPN.
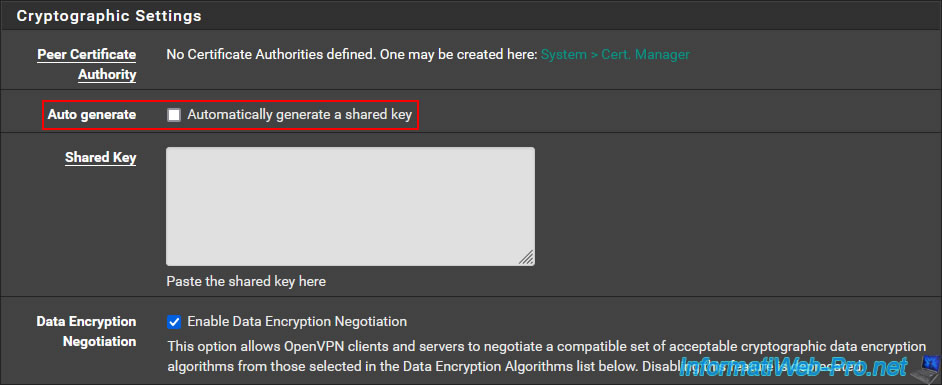
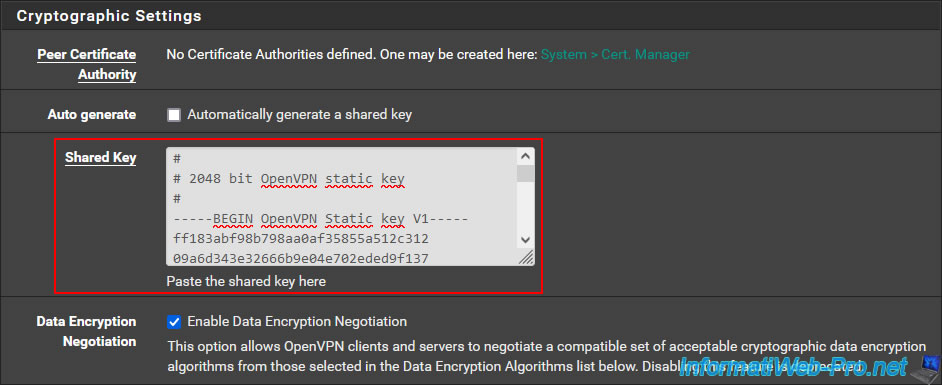
Important : in the "Cryptographic Settings" section, uncheck the "Automatically generate a shared key" box.
Which will display the "Shared Key" box where you can indicate the shared key of the OpenVPN server to contact.
On site 1 where you created your OpenVPN server, go to "VPN -> OpenVPN -> Servers" and modify the configuration of your VPN server.
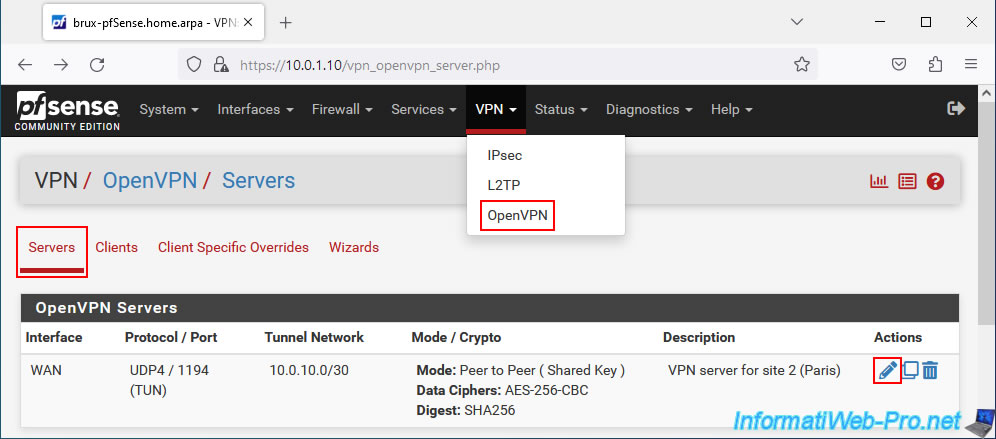
On the page that appears, locate the "Cryptographic Settings" section and copy the displayed Shared Key.
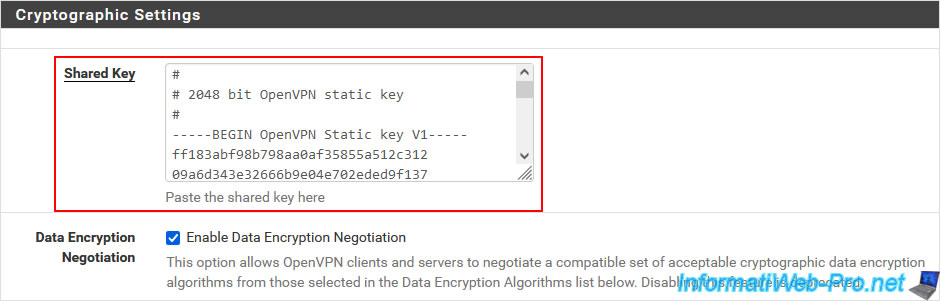
Then, paste this shared key into the "Shared Key" box of your future OpenVPN client.
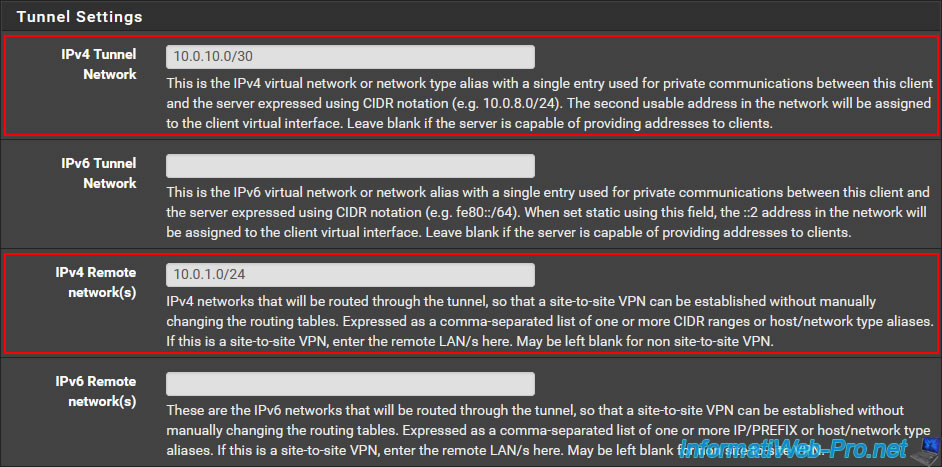
In the "Tunnel Settings" section, indicate:
- IPv4 Tunnel Network: the network ID used exclusively for the OpenVPN tunnel.
The network ID specified here must be the same as the one configured when creating your OpenVPN server. - IPv4 Remote network(s): indicate the network ID used on site 1 (Brussels). In other words, the network used on the site where your OpenVPN server is located.
In our case, the OpenVPN server is located on site 1 (Brussels) and the network used on this site is "10.0.1.0/24".
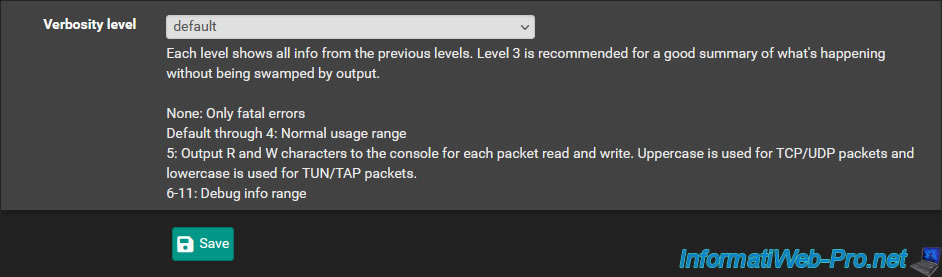
At the bottom of the page, click Save.
Your OpenVPN client is created on site 2 (Paris).
2.3. Allow machines from site 1 (Brussels) to access resources from site 2 (Paris)
So that the machines (computers / servers) of site 1 (Brussels) can access the resources of site 2 (Paris) via the OpenVPN tunnel, you must add an additional rule in the firewall of site 2 (Paris).
To do this, go to: Firewall -> Rules.
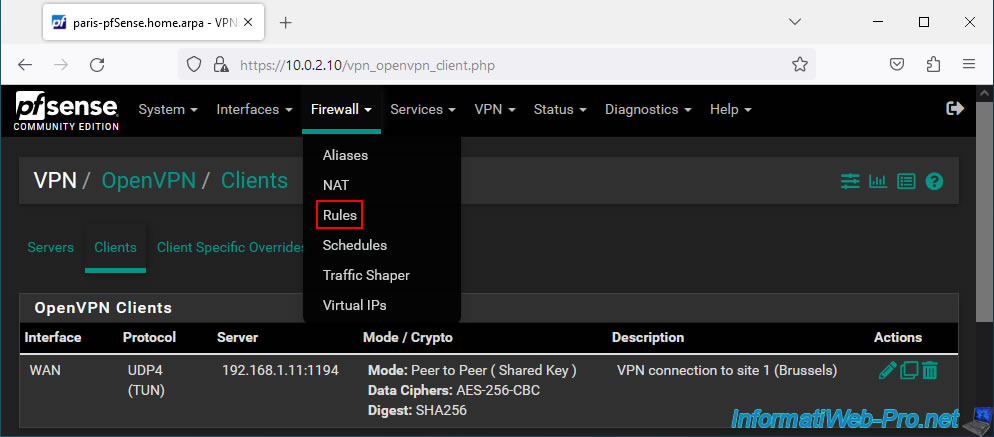
Next, go to the "OpenVPN" tab and click: Add.

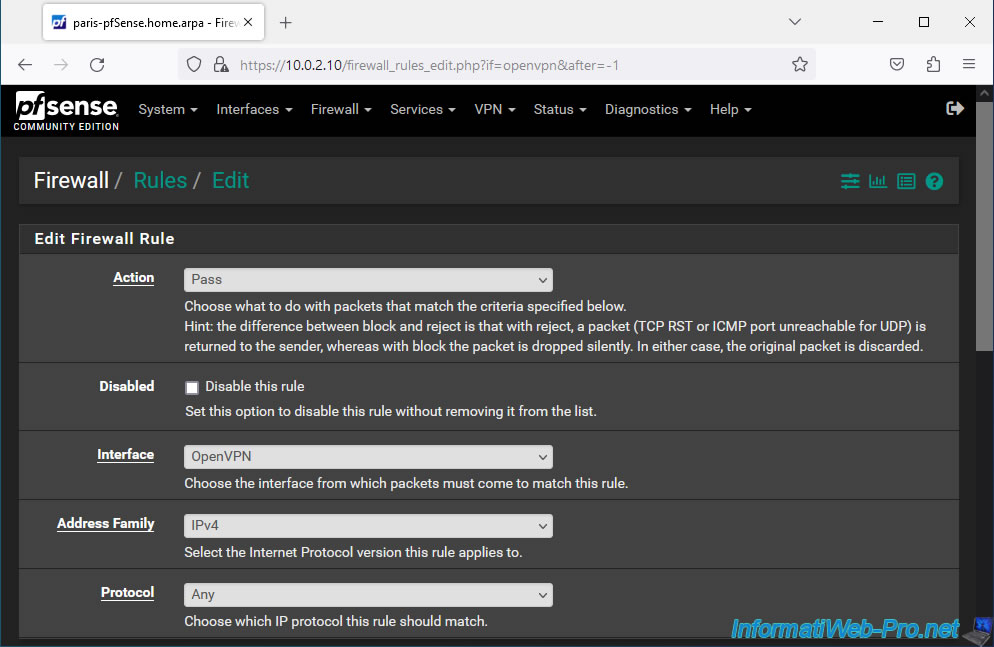
On the page that appears, configure this rule like this:
- Action: Pass. To allow network traffic.
- Interface: OpenVPN. Since this concerns network traffic passing through the OpenVPN tunnel.
- Address Family: IPv4. In our case, our internal networks only use IPv4.
- Protocol: Any. Allows all protocols (TCP, UDP, ICMP, ...) via the OpenVPN tunnel.
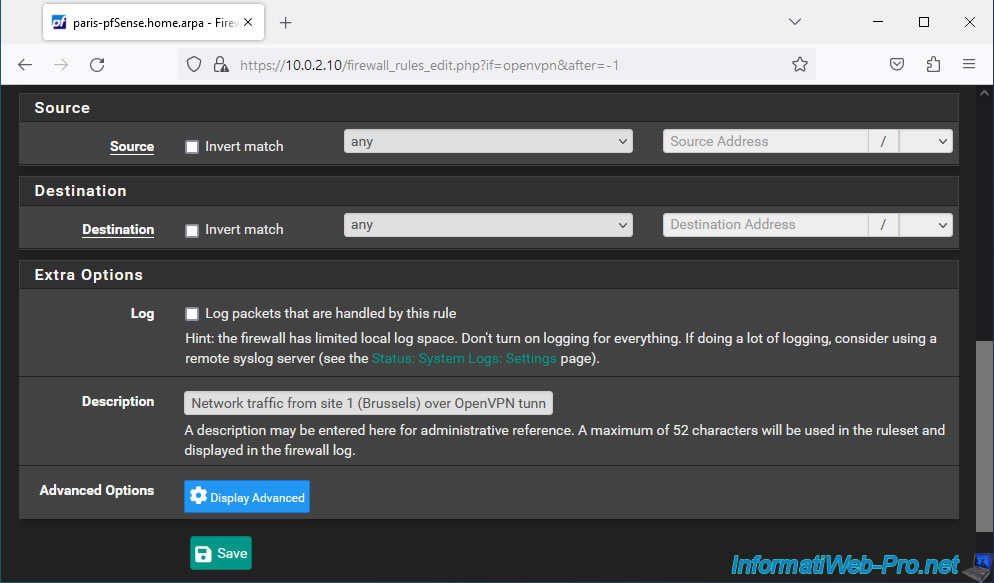
For simplicity, allow all network traffic in this OpenVPN tunnel. It does not matter the source and destination which will necessarily be an internal IP address of the source or destination network.
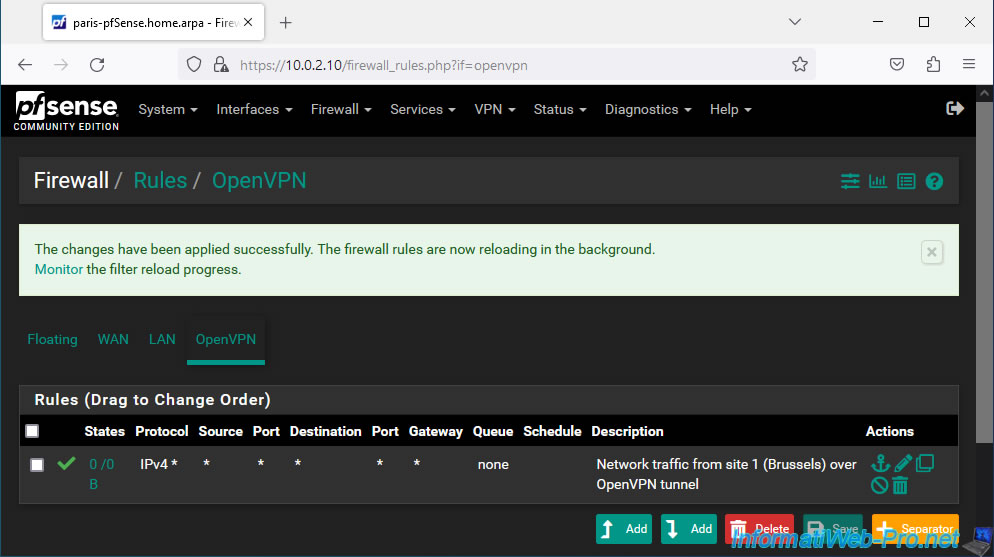
Next, enter "Network traffic from site 1 (Brussels) over OpenVPN tunnel" as the description and click Save.
Click: Apply Changes.
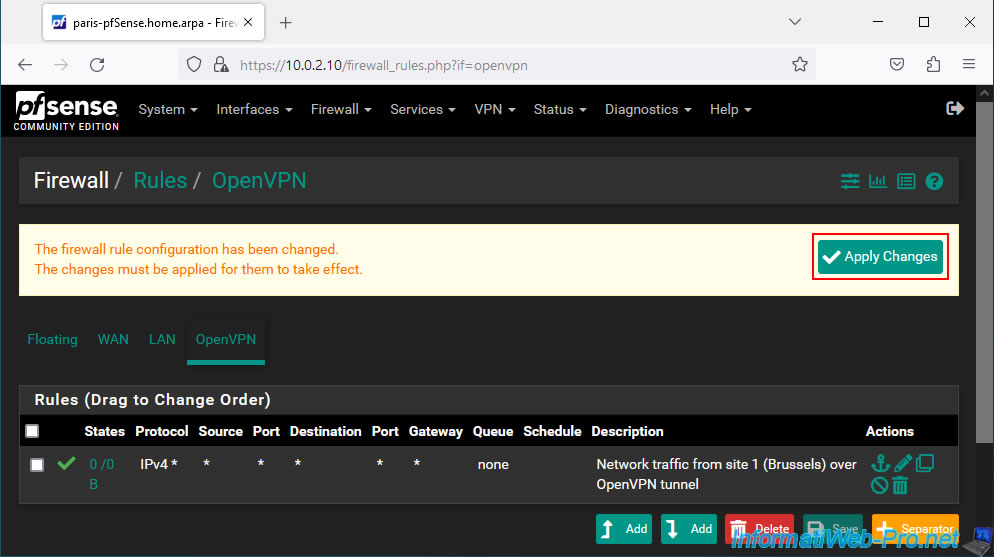
Your rule was created for network traffic passing through the OpenVPN tunnel.
Share this tutorial
To see also
-

Firewall 5/21/2025
pfSense 2.6 - Access to the web interface via the WAN interface
-

Firewall 9/19/2025
pfSense 2.6 - Create a site-to-site (S2S) VPN tunnel via OpenVPN secured with SSL/TLS (L2 mode)
-

Firewall 5/28/2025
pfSense 2.6 - Create and use VLANs
-
Firewall 6/13/2025
pfSense 2.6 - Schedule a rule in the firewall
No comment