- Articles
- 19 November 2025 at 16:00 UTC
-

- 1/3

As a computer geek, it can be beneficial to have two desktop PCs, or even a standard desktop PC and a real physical server (probably purchased second-hand), depending on your needs.
You could also buy a simple mini PC that's powerful enough for your needs (such as the "Intel Skull Canyon (NUC6I7KYK)") if you don't have room for a second physical PC.
Indeed, from the moment you want to learn virtualization for the professional world (using VMware ESXi or Hyper-V, for example), you will necessarily need a second physical PC to install the desired hypervisor.
Although it is currently possible to easily virtualize all the most popular hypervisors (including Hyper-V since Windows Server 2016), it is strongly recommended to install them on a physical PC to benefit from better performance.
Otherwise, it may be very slow. Unless you virtualize a Type 1 hypervisor (bare metal) on another Type 1 hypervisor, as in our tutorials "Virtualize VMware ESXi 6.7.0" and "Virtualize Hyper-V (nested virtualization)",
In this case, performance can be very good for a lab environment depending on the performance of the physical PC and the resources allocated to the virtualized hypervisors. This is also the technique we used for our courses on VMware ESXi and VMware vSphere.
In short, usually, to be able to use your two computers, you would need two monitors, two keyboards, and two mice.
However, with a KVM, you can use multiple computers and thus view the server console (VMware ESXi, Hyper-V, or other) and use your client computer (Windows, Linux, ...) using the same monitor, keyboard, and mouse.
In our case, we purchased a KVM with 4 ports, which allows you to simultaneously use up to four computers (PC, mini PC, server, and even a virtual machine if you have the option to enable GPU passthrough).
Note: a physical KVM box has no connection to the KVM hypervisor available natively on Linux.
- Unboxing the Lindy KVM Switch Classic HDMI USB 2.0
- Connect the console (mouse, keyboard and screen)
- Connect PC 1 to the KVM
- Connect PC 2 to the KVM
- Connect KVM power
- Turn on PC 1
- Turn on PC 2
- Use the 3rd USB port (optional) of the physical KVM
- Enable audio (optional) from physical KVM
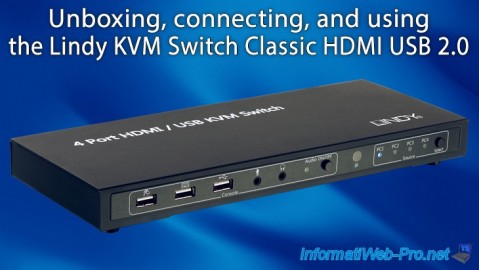
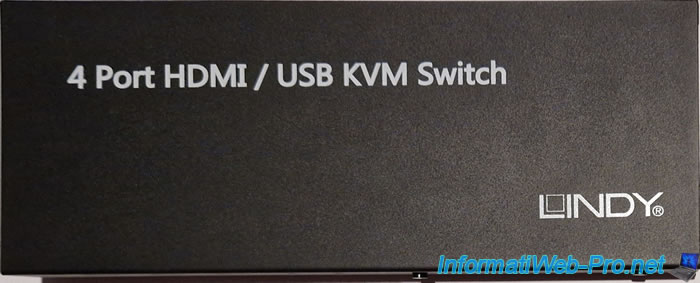
1. Unboxing the Lindy KVM Switch Classic HDMI USB 2.0
As you can easily see on the top of the box, the "Lindy KVM Switch Classic HDMI USB 2.0" is a KVM with 4 ports (= allows you to control 4 PCs) and use the following connectors:
- HDMI: for the connection between the KVM and your display, but also between the KVM and your graphics card (even if it's the CPU's via your motherboard's graphics port).
If your graphics card doesn't have an HDMI port, use an HDMI to DisplayPort or HDMI to DVI-X adapter (depending on the connector available on your graphics card: DVI-D (digital), DVI-I (digital and analog), or DVI-A (analog)).
Avoid using an HDMI (digital) to VGA (analog) adapter unless you absolutely have to, as the quality will always be better with digital (newer) than analog (older) devices. - USB: for connecting your keyboard, mouse, and any optional USB device (e.g., a USB flash drive, ...) to the currently selected PC.
Warning: Changing the selected PC on this KVM disconnects all USB devices connected to it and connects them to the newly selected PC. So, if you connect a storage device to the KVM's third USB port, make sure you finish transferring files before switching to another PC.
Otherwise, connect the USB drive directly to the desired PC rather than to the KVM. - Audio: allows you to connect a headset, headphones, or microphone via a 3.5mm (female) jack.
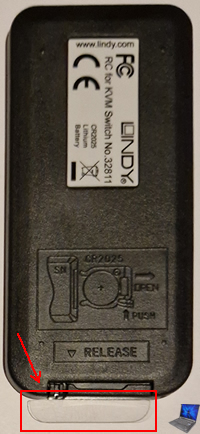
The barcode for this item is "4002888328111" and the product number is "32811".
Important : this product is currently discontinued and has been replaced by the new reference "32810" (4 Port HDMI 4K60, USB 2.0 & Audio KVM Switch).
This is essentially the same KVM, but with a higher maximum resolution (4K) and the infrared port (and therefore the remote control) has been removed.
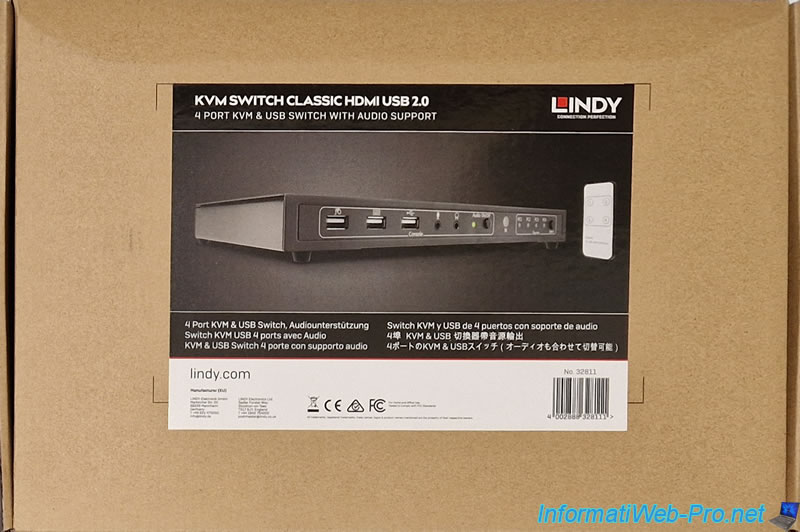
On this box, you will also find a small label with simply a code and the name of the KVM already mentioned previously.

Inside the box, you will find the KVM itself, as well as a multi-country compatible transformer, the tips for which are included in the box.
![]()
Under the plastic with the KVM and power supply, you will find a separation cardboard.
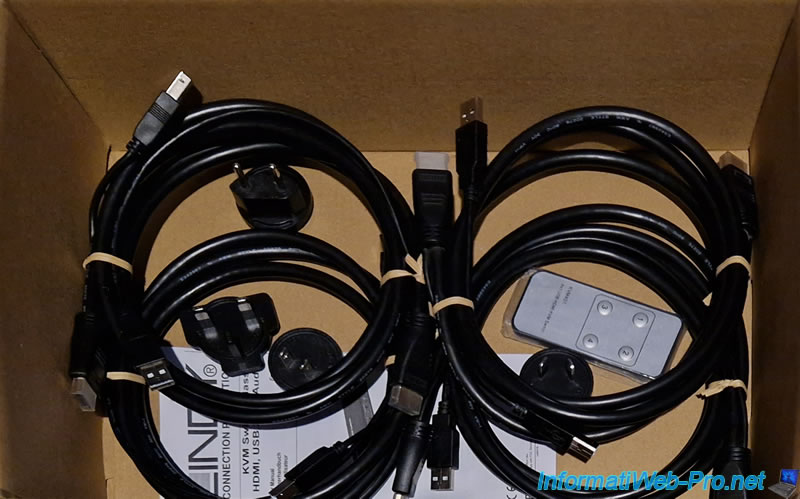
Finally, at the bottom of the box, you will find:
- 4 dedicated cables with HDMI/USB-A connectors on one end for your computers and HDMI/USB-B connectors for the KVM ports.
- Power adapters.
- A remote control to easily select the desired PC remotely (if desired).
Although it's also possible to simply use the "Select" button on the front of the KVM.
This eliminates the need to change the remote control battery after a while. - A user manual, which is also available on the Lindy website.
On the top of the KVM, it simply says "4 Port HDMI / USB KVM Switch" and "Lindy" (the brand).
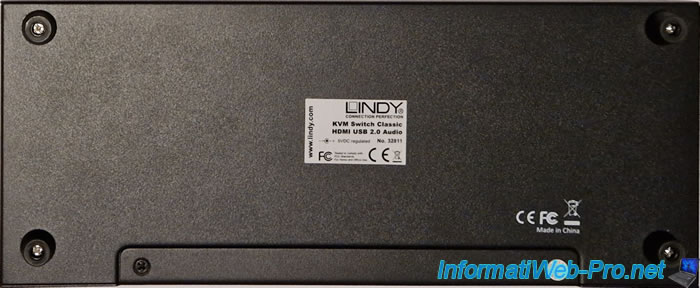
Below the KVM, you'll find the usual legal markings, including the CE marking.
But also, the KVM's brand, its name (mentioned above), and its article number: 32811.
On the front of this "Lindy KVM Switch Classic HDMI USB 2.0", you will find:
- The first USB port is for connecting your mouse.
- The second USB port is for connecting your keyboard.
- The third USB port (optional) is for connecting any USB device (e.g., a USB flash drive, an external hard drive, or any other USB device).
- A 3.5mm jack on the left (optional) is for connecting a microphone.
- A second 3.5mm jack on the right (optional) is for connecting speakers, earphones, or headphones (e.g., a headset).
- An LED and an "Audio ON/OFF" button allow you to enable or disable the sound via the two 3.5mm jacks mentioned above.
- Note that sound can also be output via the HDMI cable without needing to enable this "Audio" option.
Therefore, you could also plug your headphones into the 3.5mm jack on your monitor if you have one. - IR: the infrared sensor that allows you to remotely select a PC using the remote control included with the KVM.
Note that the remote control must be pointed at this "IR" dot for this to work, as it's the same (older) technology used for your TV remote. - PC1, PC2, PC3, and PC4: the position of the lit LED indicates which PC is currently selected.
If you've just connected your KVM and your computers and the screen doesn't turn on even though the selected PC is turned on, simply press the "Select" button four times.
This allows you to quickly switch PCs and return to the PC you were on. This will resolve the issue.
Once the PC is selected, there are no more issues with it or the others. This issue only occurs randomly when the KVM is powered on.

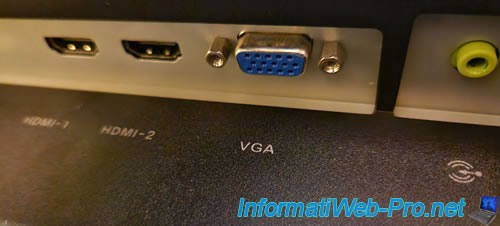
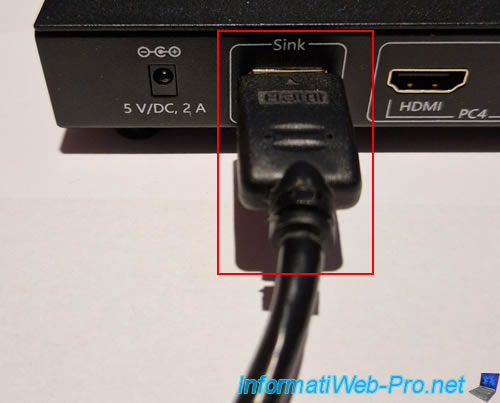
On the back of this "Lindy KVM Switch Classic HDMI USB 2.0", you will find:
- The 5V power connector on the left to power the KVM.
- An HDMI connector labeled "Sink" that must be connected to your display.
- A source section with 4 PCs, each of which you will need to connect:
- the HDMI port on the included cable.
- the USB-B (square) port located right next to the HDMI port on the same cable.

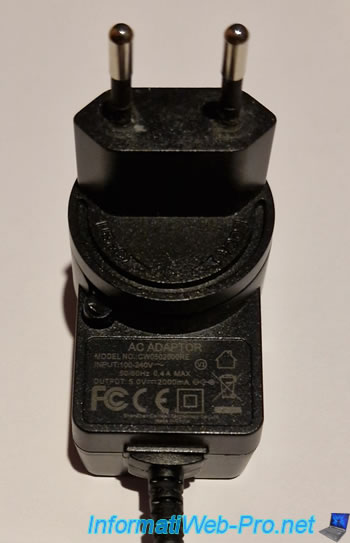
Inside the box, you will find a transformer to power your KVM with 5V DC (continuous).
![]()
In the box, you will also find 4 adapters to be able to connect this KVM in Europe (France, Belgium, ...), as well as in the United States, the United Kingdom and Australia.

To attach the correct power adapter for your country, simply place it on the transformer's round part and twist it slightly to lock it in place.
Note: there is a small button protruding slightly from the round part that you can press to remove the adapter you just attached.
This is handy if you make a mistake or are going on vacation.

Once clipped, this is what it looks like for Europe.
In the box, you will also find a remote control to quickly select the desired PC.

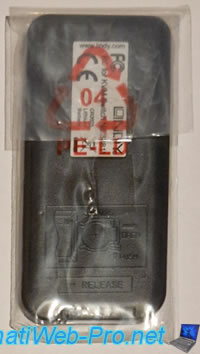
On the back, you'll easily see how to change the battery in the future.
Warning : a plastic tab prevents the battery from making contact with the remote control by default.
If you wish to use this remote control, remember to remove this plastic tab.
This is to prevent the battery from draining on its own while this KVM is in stock.
In the box, you will also find the manual for this KVM.
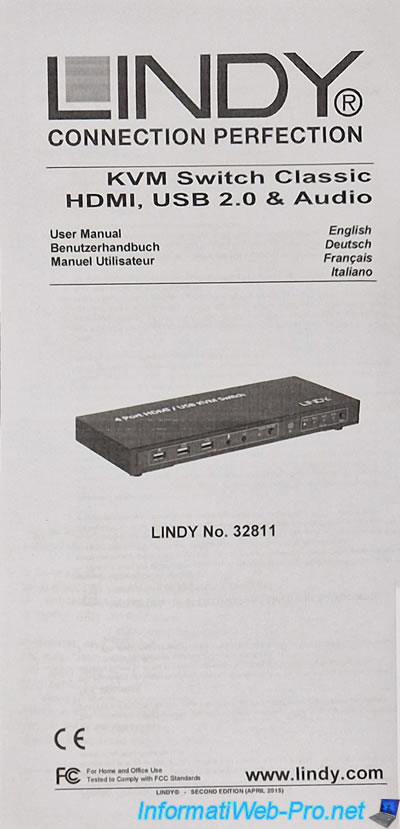
Again, this user manual is available by clicking on the "User Manual" link located on the right side of this KVM's sheet.

To connect your PCs to this KVM, you will need to use the special cables provided which have 4 connectors (2 different USB and 2 HDMI) per cable.
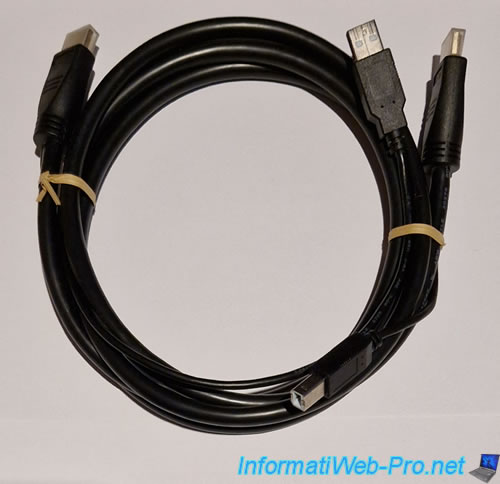
On one side of this special cable, you will find:
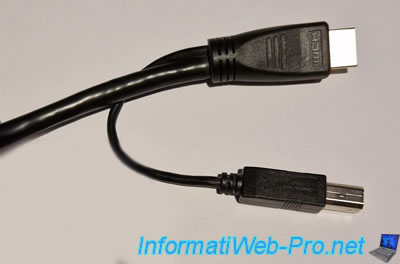
- an HDMI connector to connect to the KVM's HDMI port for the desired PC number.
- an USB-B connector (square) to connect to the KVM's USB-B port located next to it for the same PC number.
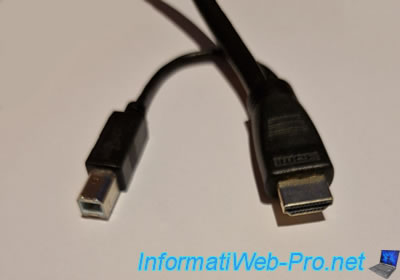
On the other side of this special cable, you will find:
- an HDMI connector to connect to your graphics card (or to your motherboard, if you don't have a physical graphics card)
- an USB-A connector (rectangular) to connect to a USB port on your PC.
Note that the keyboard and mouse connected to the KVM are therefore connected to the selected PC via a single USB cable.
2. Connect the console (mouse, keyboard and screen)
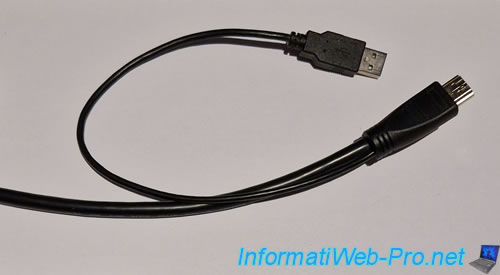
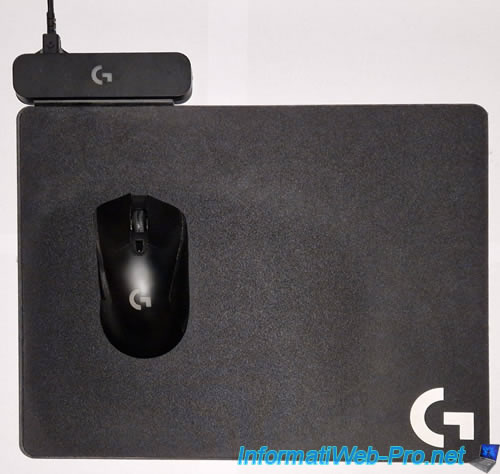
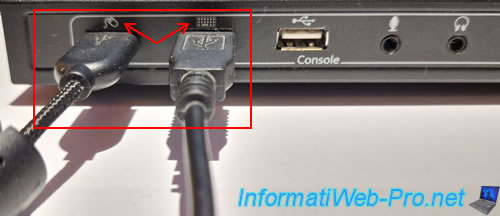
To begin, you need a mouse that can be connected via USB.
Note: in our case, the mouse is wireless and communicates with a compatible mouse pad, which is connected via USB.
From an USB keyboard.
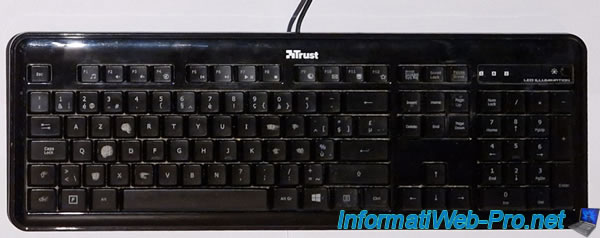
Connect these, observing the mouse and keyboard icons on the front left of the KVM.
Note: internally, this KVM uses an "USB Receiver" device for the mouse and a "USB Keyboard" device for the keyboard.
You will also need a screen.

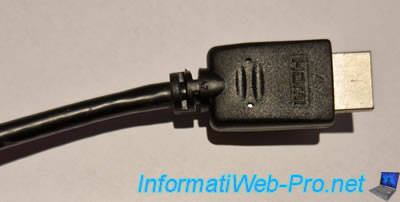
To do this, use your usual HDMI cable (not supplied).
The HDMI plug looks like this and is present on both sides of the cable.
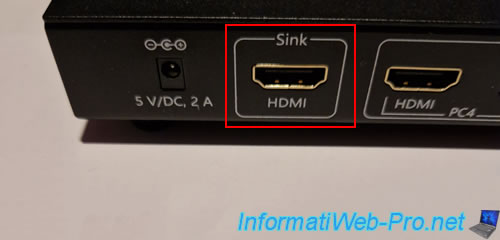
The HDMI cable coming from your display should be plugged into the HDMI "Sink" port on the back of your KVM.
Share this tutorial
To see also
-
Articles 1/1/2018
Dell Wyse 1010 Zero Client - Unboxing
-
Articles 12/19/2017
Informations about thin clients
-

Articles 9/8/2023
What is encryption and how does it work ?
-
Articles 5/1/2018
Why deploy DNSSEC on your DNS server ?
You must be logged in to post a comment