- VMware
- 16 November 2022 at 10:28 UTC
-

- 1/2

To learn how to use VMware ESXi, test different configurations, or create VMware ESXi hypervisor proof of concept, it may be useful to be able to virtualize one or more VMware ESXi instances on a physical VMware ESXi hypervisor.
Thus, with a single powerful physical server, you will be able to virtualize as many VMware ESXi hypervisors as you want depending on the performance of your computer / physical server. What is called nested virtualization.
Important : you should not use this technique in production.
Indeed, when creating the virtual machine, VMware will clearly indicate to you that they don't support this type of configuration in a production environment.
Although it works very well technically.
- Create a virtual machine to install VMware ESXi on it
- Install VMware ESXi 6.7.0 in the virtual machine
- Create a nested virtual machine on your virtualized VMware ESXi hypervisor
- Internet not accessible from virtual machine virtualized through nested VMware ESXi host
- Change the network configuration used by the virtual machines of the physical VMware ESXi host
- Internet access available
1. Create a virtual machine to install VMware ESXi on it
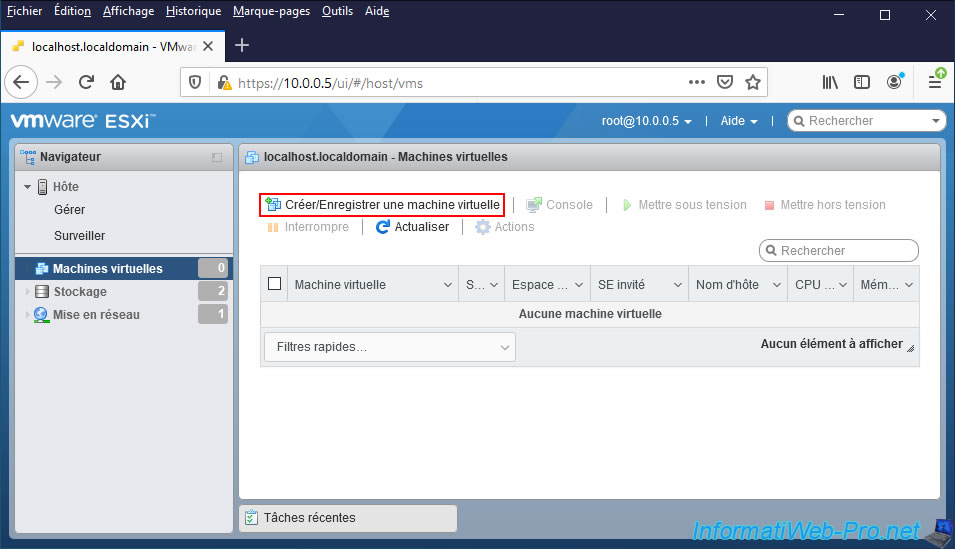
Access the web interface of your physical VMware ESXi hypervisor and go to : Virtual Machines.
Then, click on : Create / Register VM.
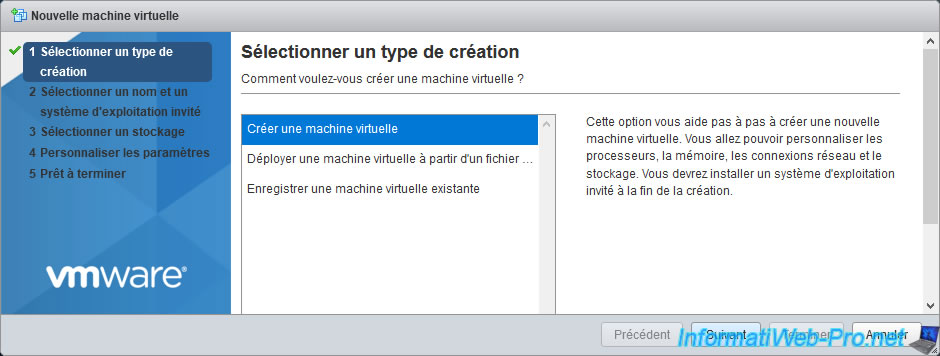
Select "Create a new virtual machine" and click Next.
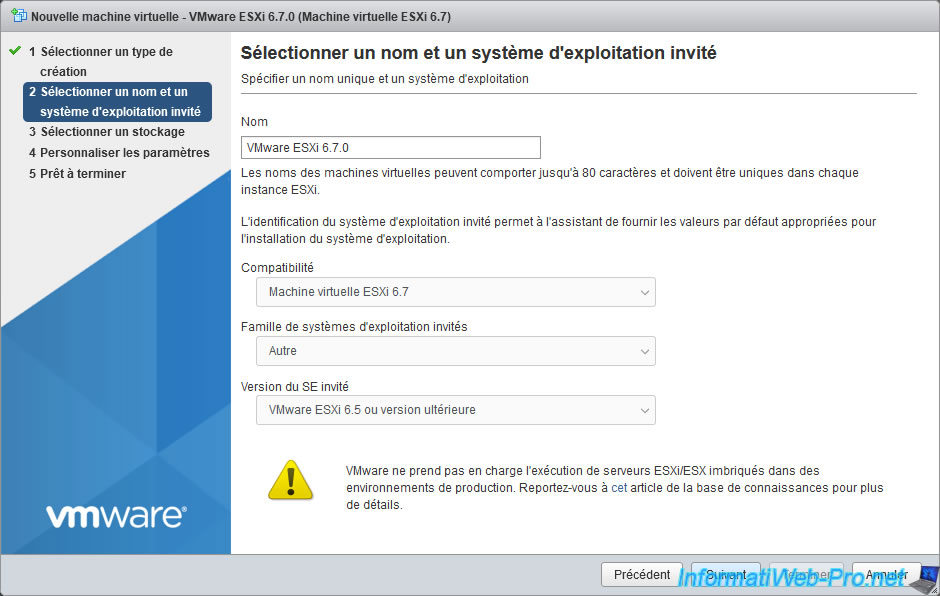
Provide a name for this virtual machine, select "Other" for the guest OS family, and then select the version of VMware ESXi that best matches the version of VMware ESXi that you want to virtualize.
In our case, on VMware ESXi 6.7.0, we can select "VMware ESXi 6.5 or later" as the version of the guest OS.
Note that as soon as you select "VMware ESXi ..." as "Guest OS", this warning will be displayed :
Plain Text
VMware does not support running nested ESXi/ESX servers in production environments. Please see this KB article for more details.
Which means that it will technically work, but you will not be able to contact VMware support if there is an issue with a virtualized VMware ESXi hypervisor (nested virtualization).
As explained in the article referenced in this disclaimer : Support for running ESXi as a nested virtualization solution.
Click on Next.
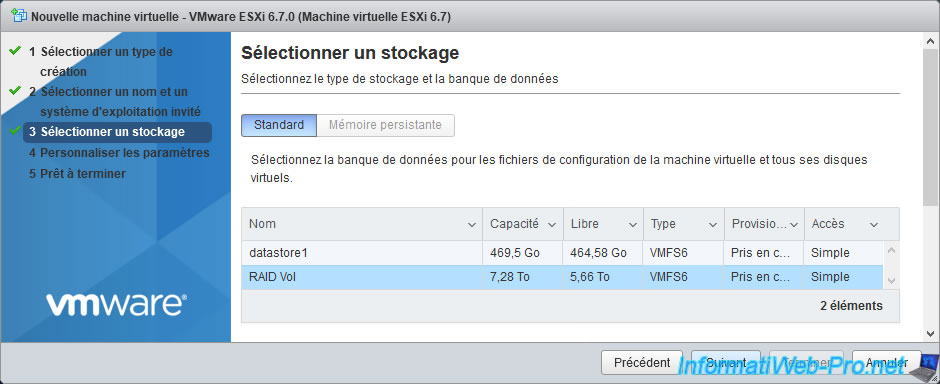
Select the datastore where to store the ESXi server to virtualize.
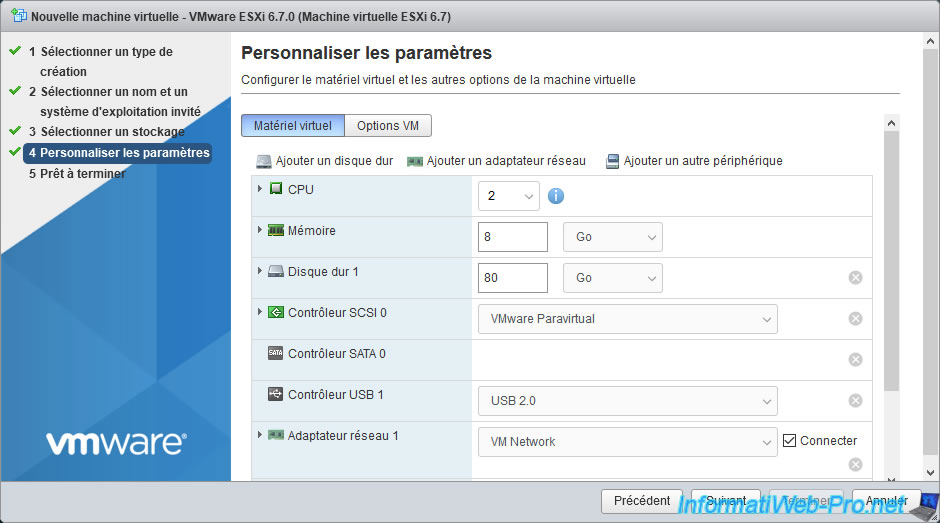
For virtual hardware :
- make sure to assign at least 2 processors (or processor cores) to this virtual machine as this is a prerequisite for installing VMware ESXi
- assign sufficient amount of random access memory (RAM) to run VMware ESXi, as well as run virtual machines on it.
In our case, we have therefore assigned 8 GB. This will allow you to easily virtualize a Windows virtual machine. - indicate a sufficient size for the virtual hard disk of this virtualized VMware ESXi server to be able to store one or more virtual machines
Deploy the "CPU" node and select the "Expose hardware assisted virtualization to the guest OS" box to make processor virtualization available to the virtualized VMware ESXi server.
Note that this is again a prerequisite for installing VMware ESXi.

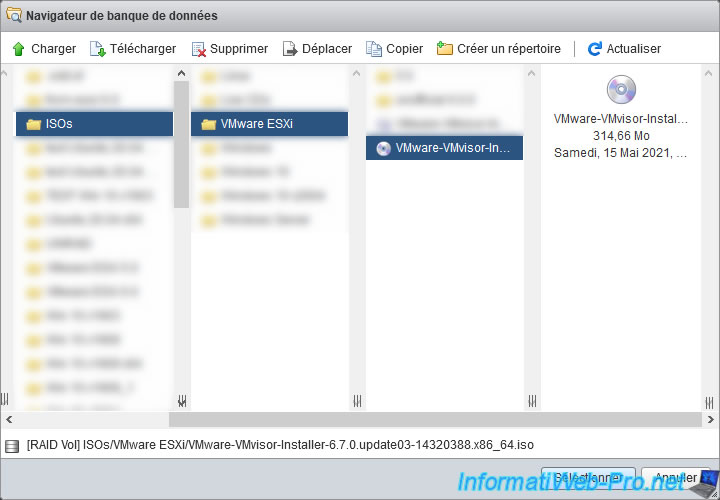
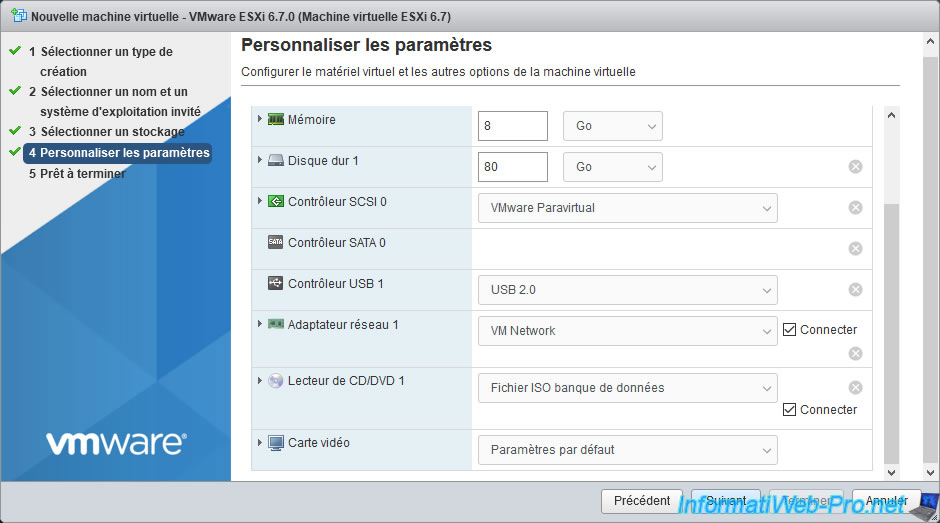
Finally, for the CD/DVD drive, select "Datastore ISO file".

Load the VMware ESXi iso file into one of your datastores, if it's not already loaded, then select it and click : Select.
Now, click on Next.
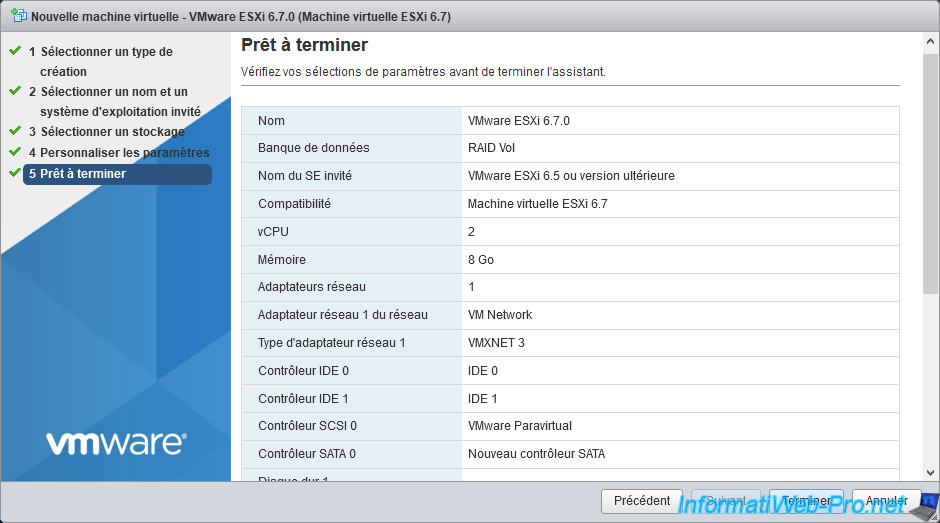
A summary of your virtual machine configuration appears.
Click on Finish.
2. Install VMware ESXi 6.7.0 in the virtual machine
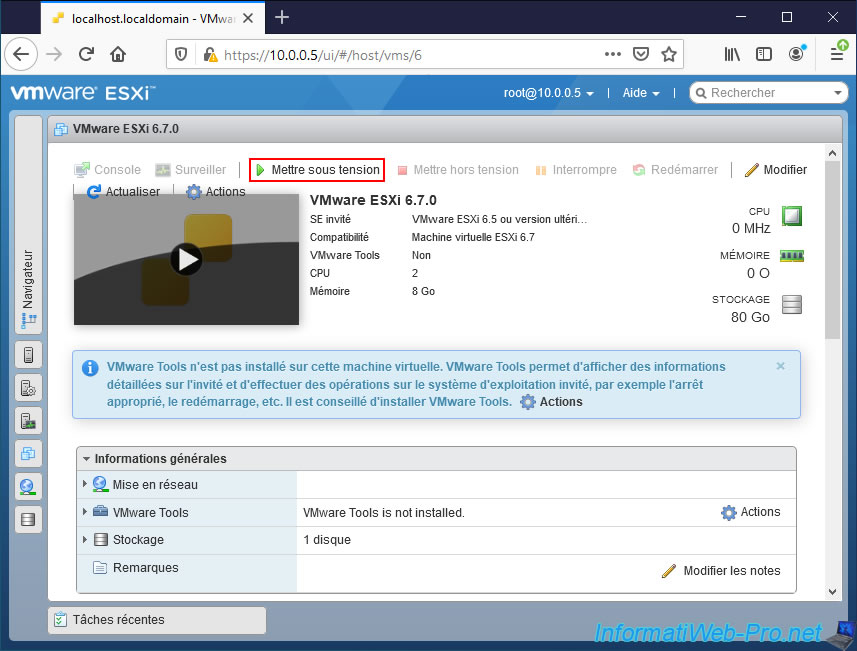
Start your "VMware ESXi" virtual machine by clicking on "Power on".
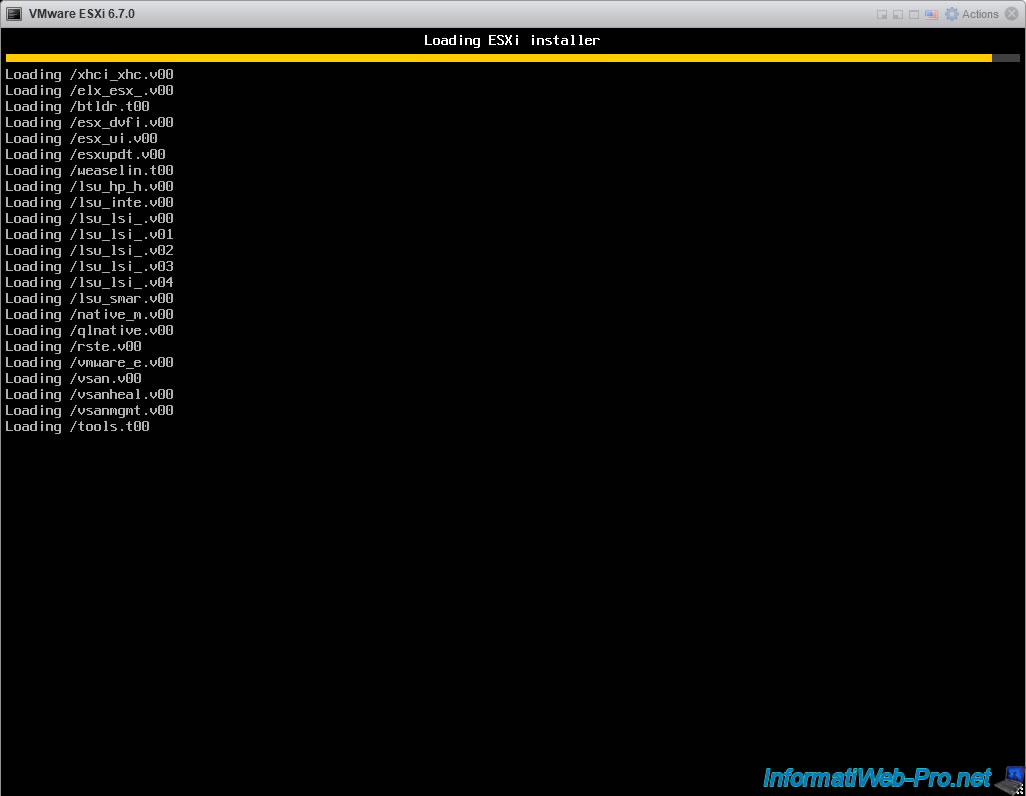
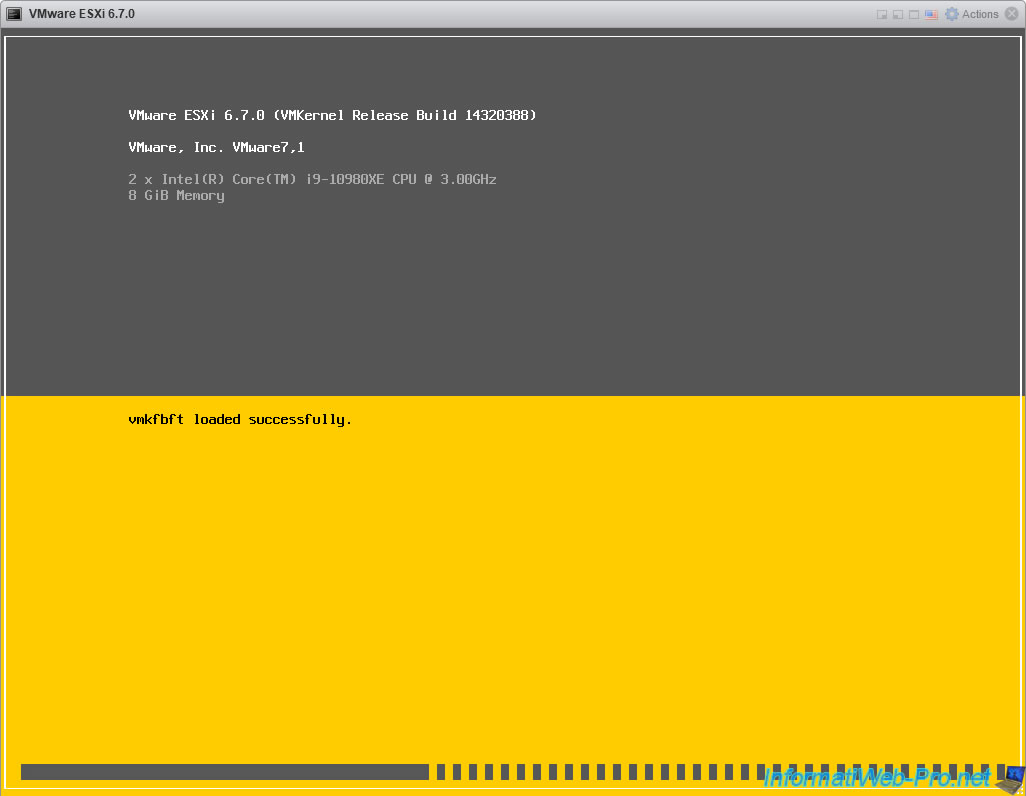
The VMware ESXi installer appears.

Then, the VMware ESXi installer loads the necessary files.
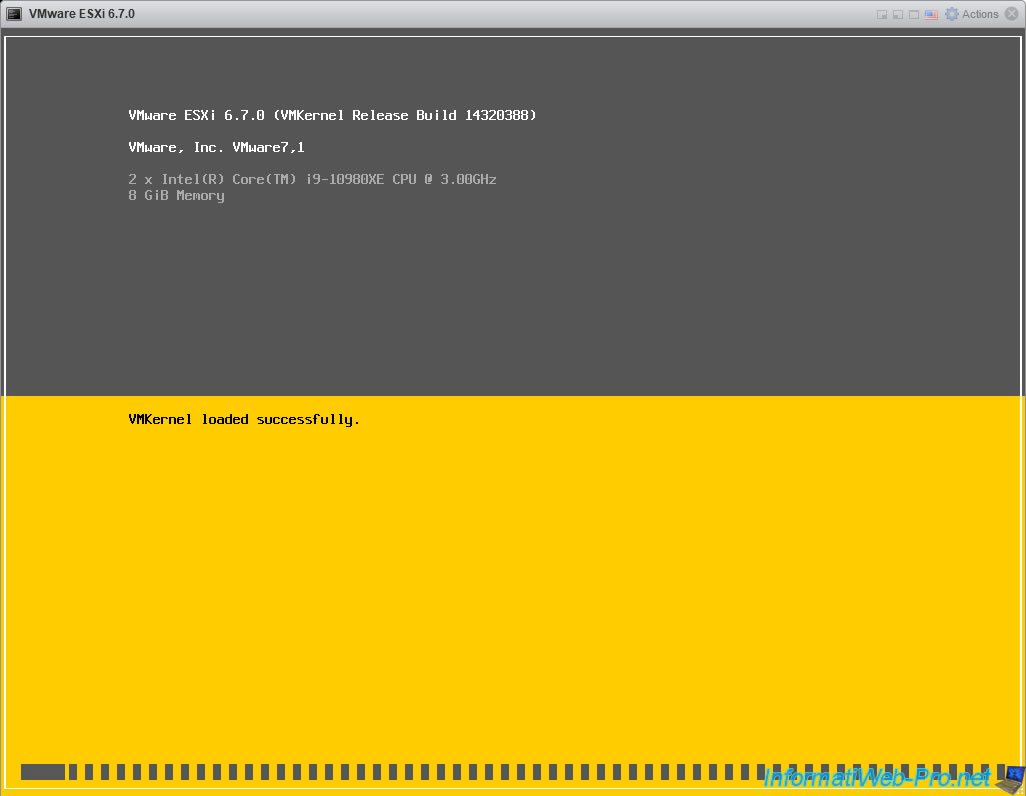
The installation program continues to start.
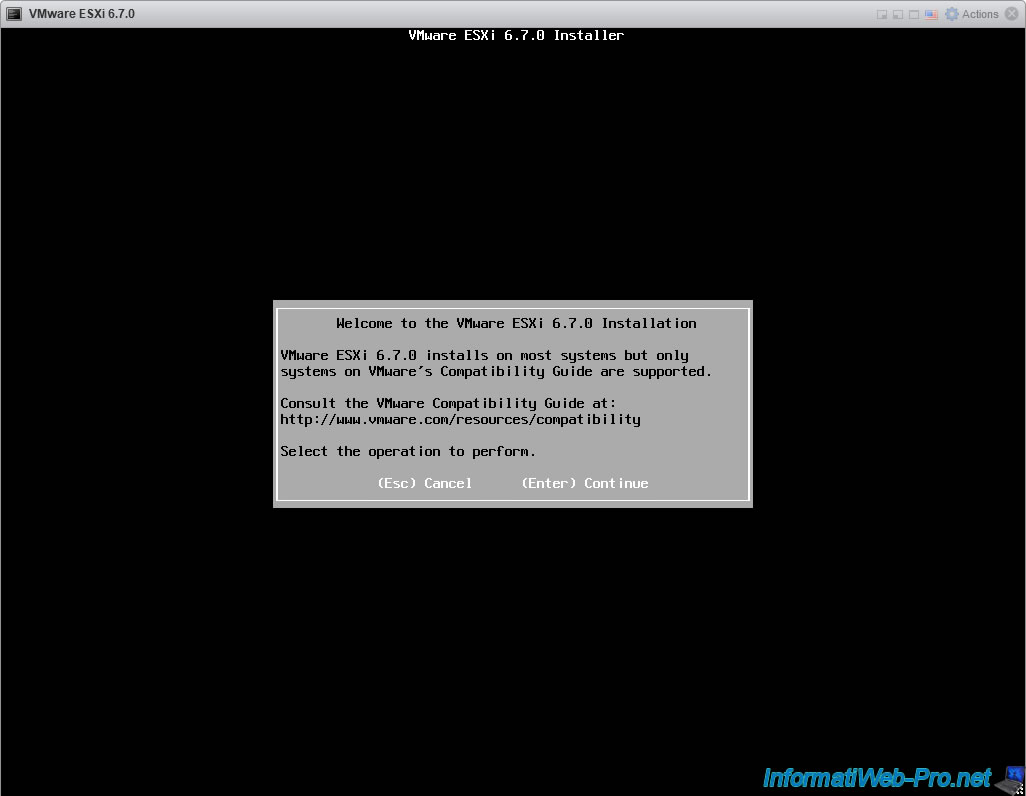
The VMware ESXi installer appears.
Press Enter.
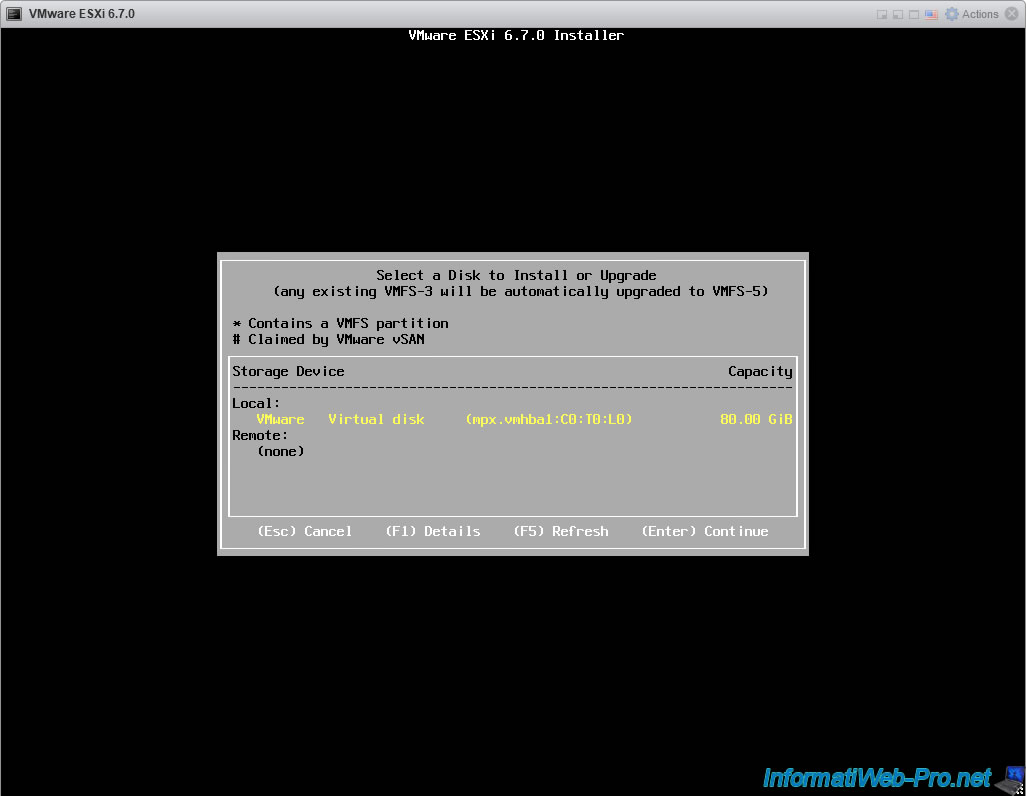
Select the "VMware Virtual disk" virtual hard disk that appears in the list and press Enter.
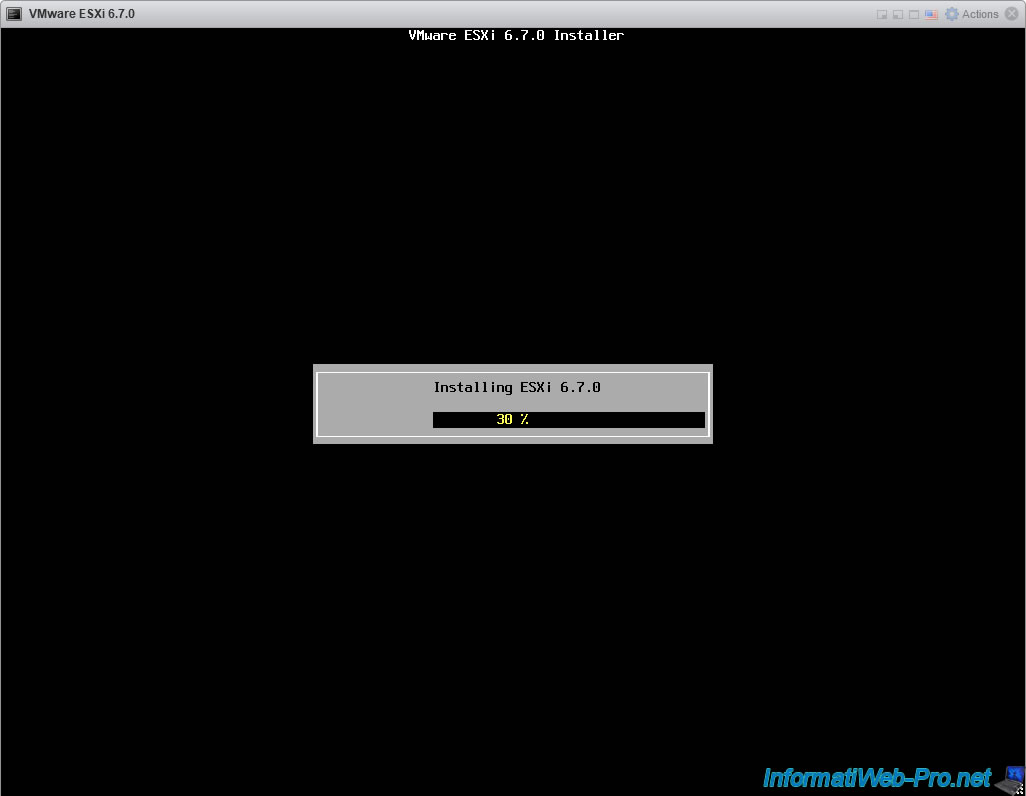
VMware ESXi installs without problem.
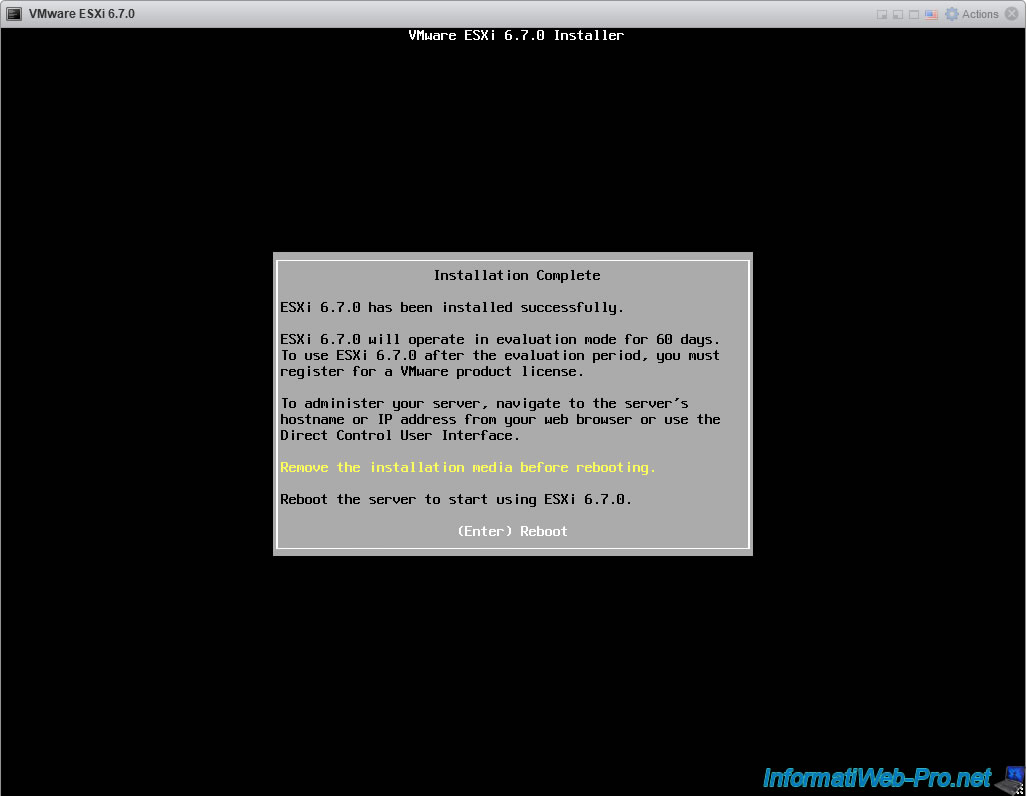
The "Installation Complete" message appears.
Press Enter to restart the virtual machine.
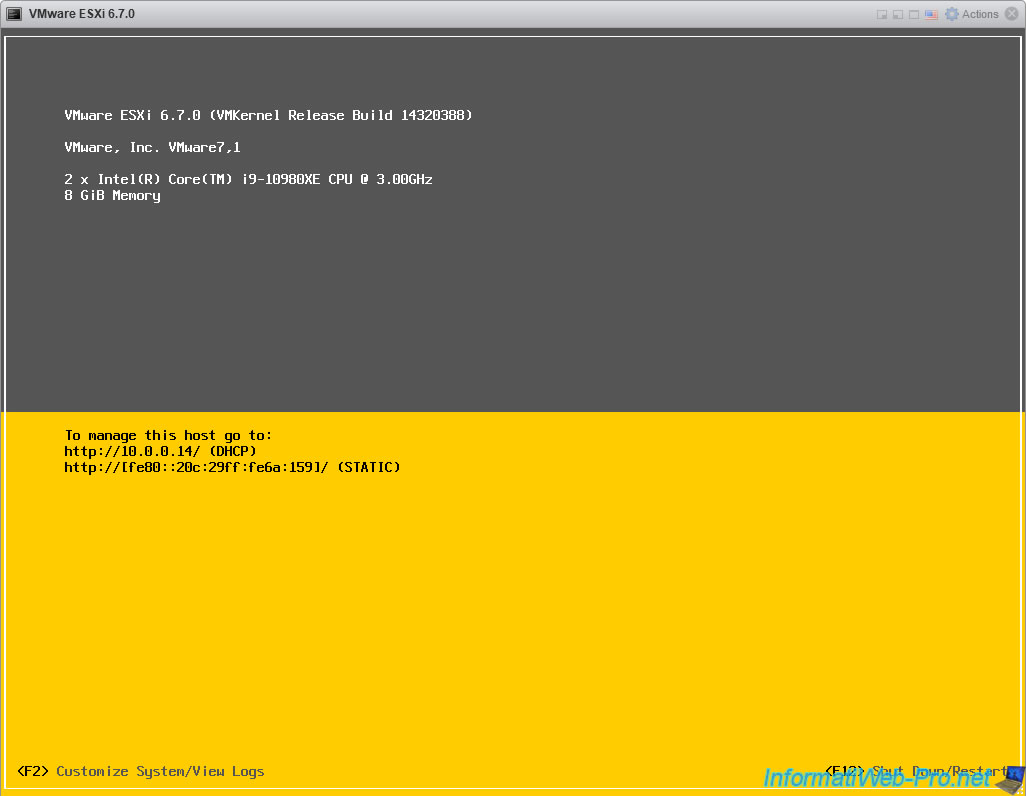
The virtual machine restarts on the virtual hard disk where VMware ESXi is installed.
As you can see, VMware ESXi runs smoothly in the created virtual machine.
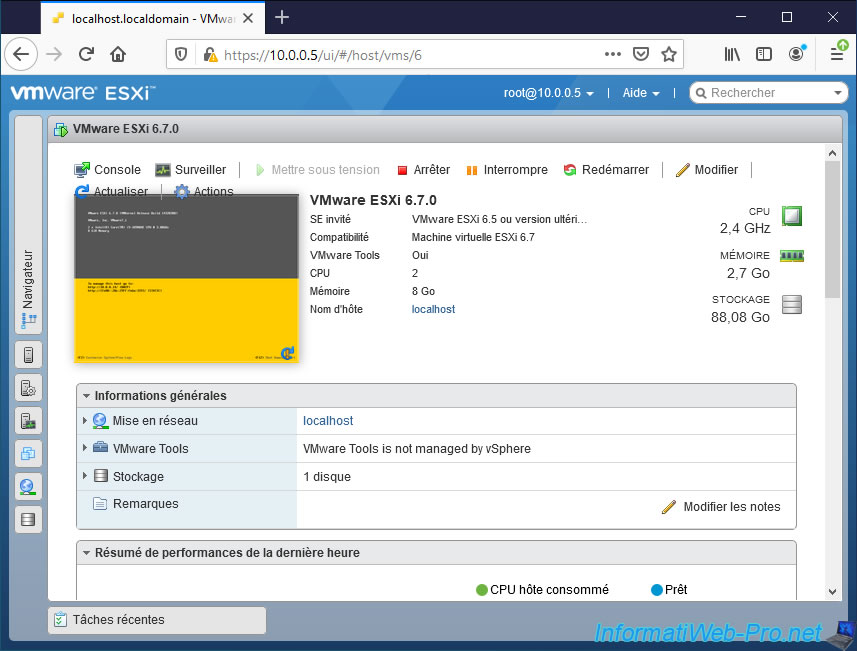
For VMware Tools, you will see that VMware ESXi tells you that VMware Tools are not managed by VMware vSphere (VMware Tools is not managed by vSphere).
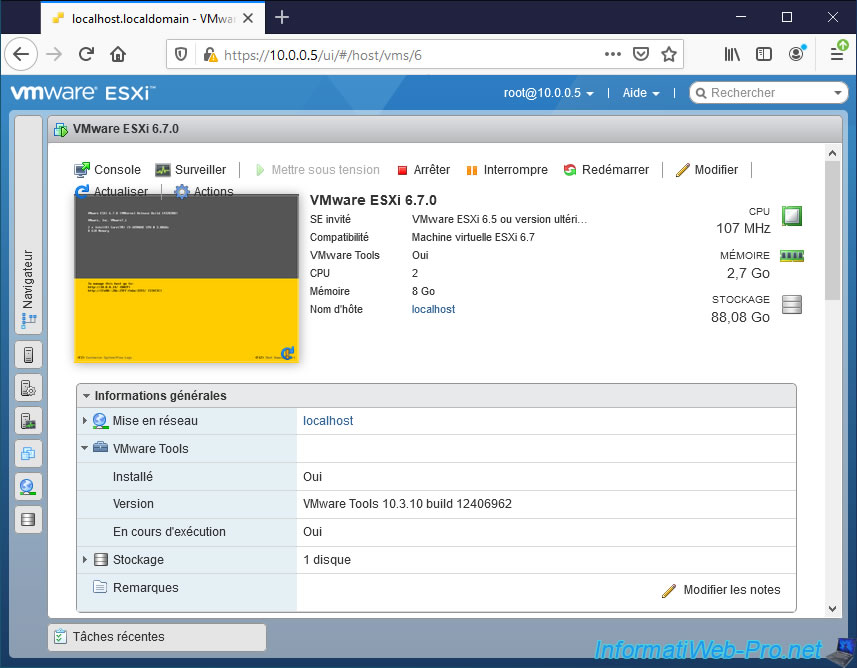
However, if you deploy this "VMware Tools" node, you will see that VMware ESXi tells you that these are installed and running.
So, you don't need to install them yourself.
3. Create a nested virtual machine on your virtualized VMware ESXi hypervisor
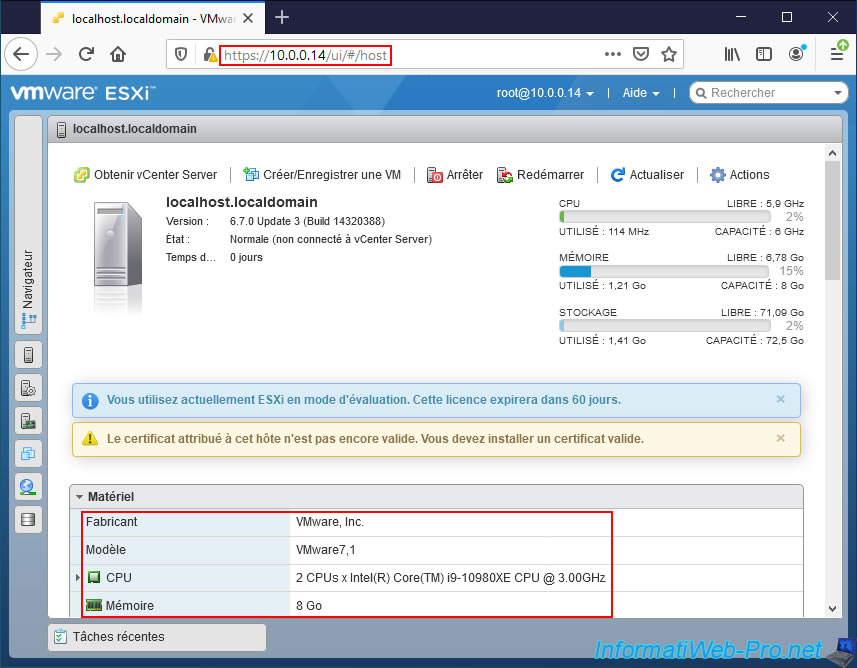
To create a virtual machine on your virtualized VMware ESXi hypervisor, go to its web interface and you will see that the hardware has changed :
- Manufacturer : VMware, Inc.
- Model : VMware7,1
- CPU : 2 CPUs x Intel(R) Core(TM) ...
- Memory : 8 Go
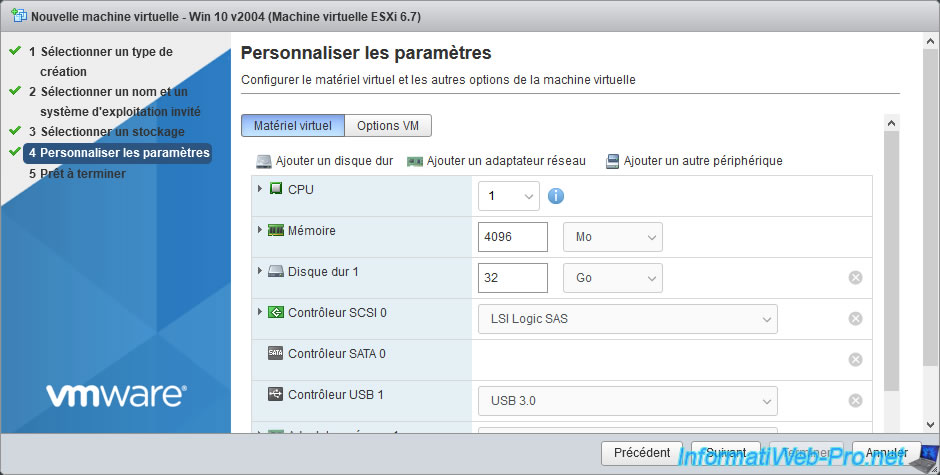
Create a virtual machine and adapt the number of processors, its RAM and the disk space to be allocated to it according to what you had allocated to your virtualized VMware ESXi hypervisor.
If you have allocated the same resources as those we indicated previously, you can for example create a virtual machine on Windows 10 by assigning it :
- 1 CPU
- 4096 MB (4 GB) of random access memory (RAM)
- 32 Go storage space for its virtual hard drive
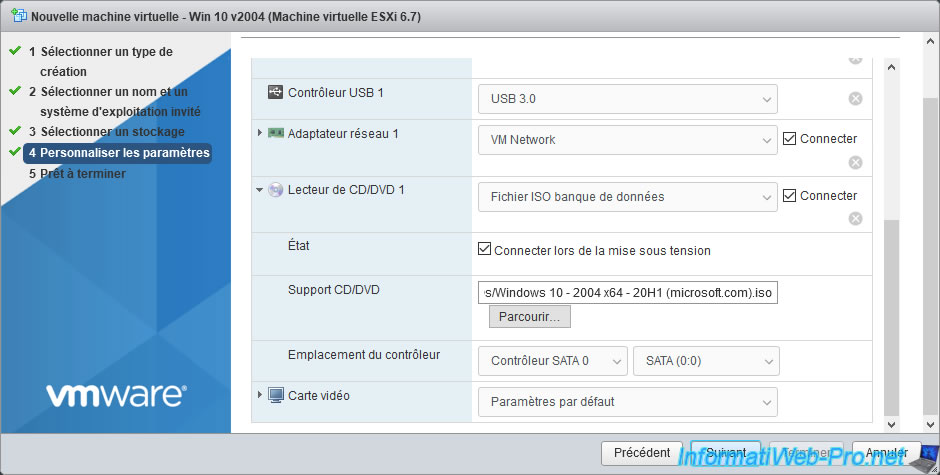
Select "Datastore ISO file", send the Windows iso to the virtualized VMware ESXi hypervisor datastore, then select it here.
Then, click on Next.
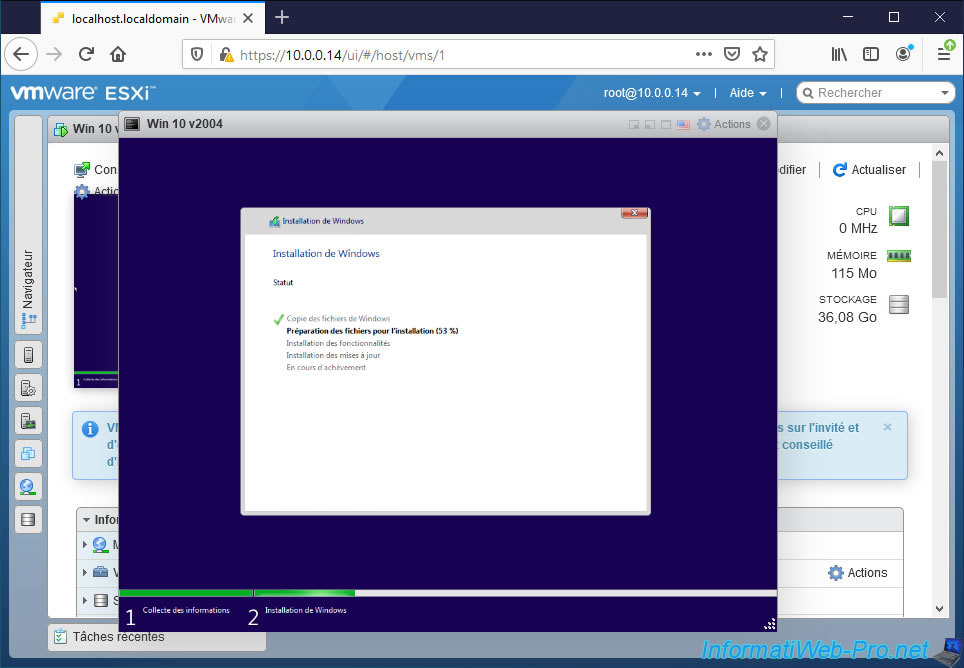
Start the virtual machine created on the virtualized VMware ESXi hypervisor and start the installation of Windows 10 in it.
As you can see, it works.
Once Windows is installed in this nested virtual machine, install the VMware Tools in it.

Share this tutorial
To see also
-
VMware 4/14/2023
VMware ESXi 6.7 - Best practices for creating a VM
-
VMware 2/17/2023
VMware ESXi 6.7 - Configure your virtual machines settings
-
VMware 6/2/2023
VMware ESXi 6.7 - Connect a smart card reader to a VM
-
VMware 10/19/2022
VMware ESXi 6.7 - DirectPath I/O (PCI passthrough)
You must be logged in to post a comment