- VMware
- 09 November 2022 at 09:44 UTC
-

- 1/2


It's known, the virtualization of Hyper-V has always been complicated, or impossible, depending on the virtualization solutions used.
However, on VMware ESXi 6.7, this is possible, with 2 small modifications that you will see in this tutorial.
- Create a virtual machine to install Hyper-V on it
- Install Windows Server 2016, 2012 R2 or 2012
- Install Hyper-V in the VMware virtual machine
- Hyper-V nested virtual machine
- Internet not accessible from virtual machine virtualized through Hyper-V
- Change the network configuration used by VMware ESXi virtual machines
- Enable MAC address spoofing in VMs on Hyper-V
1. Create a virtual machine to install Hyper-V on it
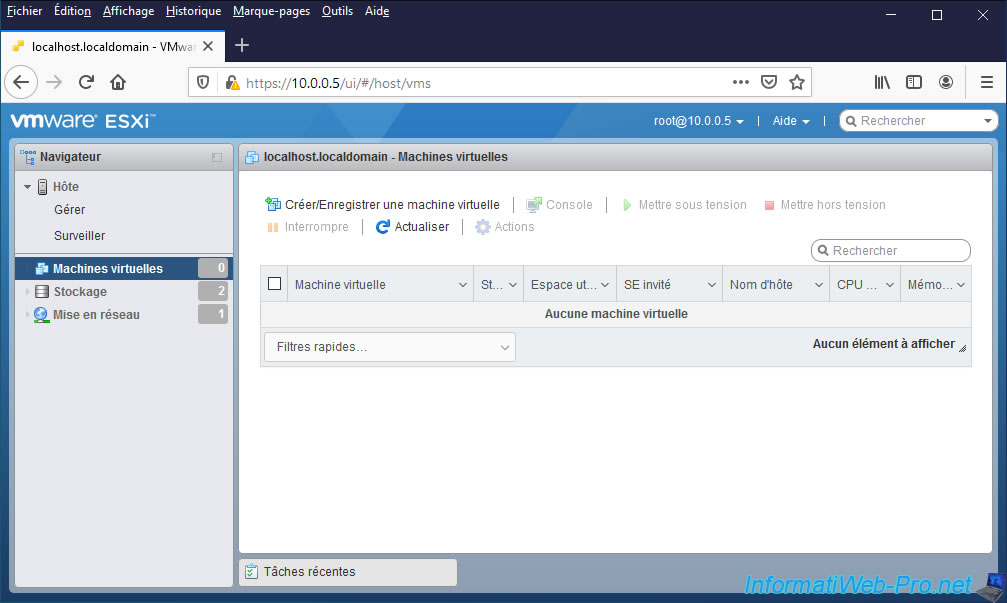
To begin, go to "Virtual Machines" and click on : Create / Register VM.
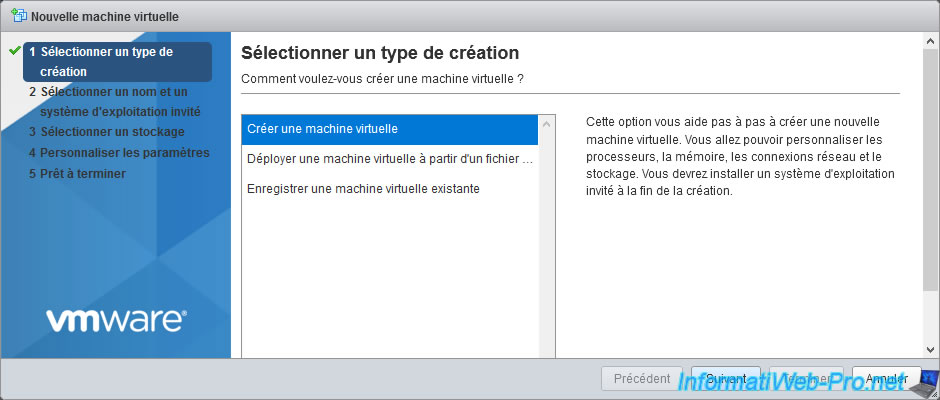
Select "Create a new virtual machine" and click Next.
Provide a name for your virtual machine, select the desired compatibility level, as well as the family and version of the operating system you are going to install.
Note : for Windows Server 2012 R2, select "Microsoft Windows Server 2012 (64 bits)" since the 2012 R2 version is not in the proposed list.

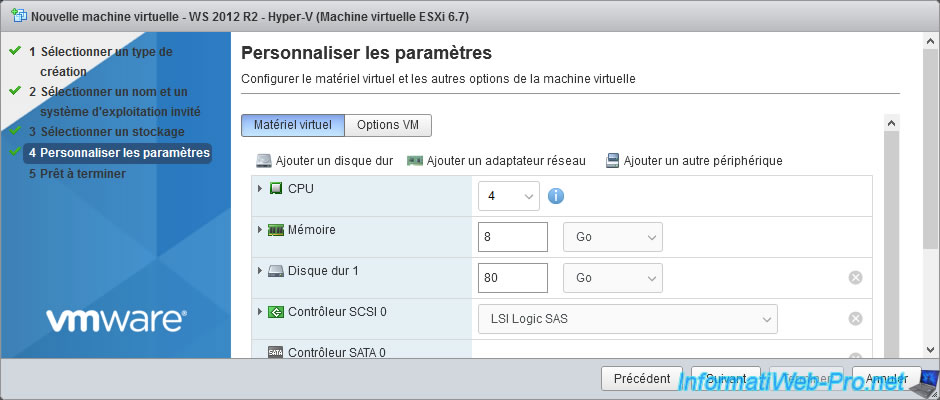
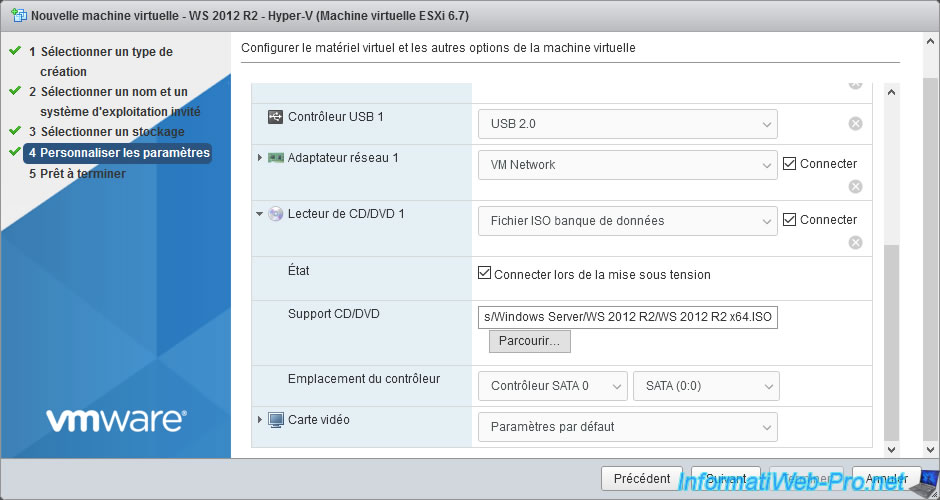
For virtual hardware, assign a sufficient number of processor cores and RAM to be able to run virtual machines on Hyper-V.
For example : 4 processor cores (CPU), 8 GB of RAM and 80 GB for the Hyper-V server.
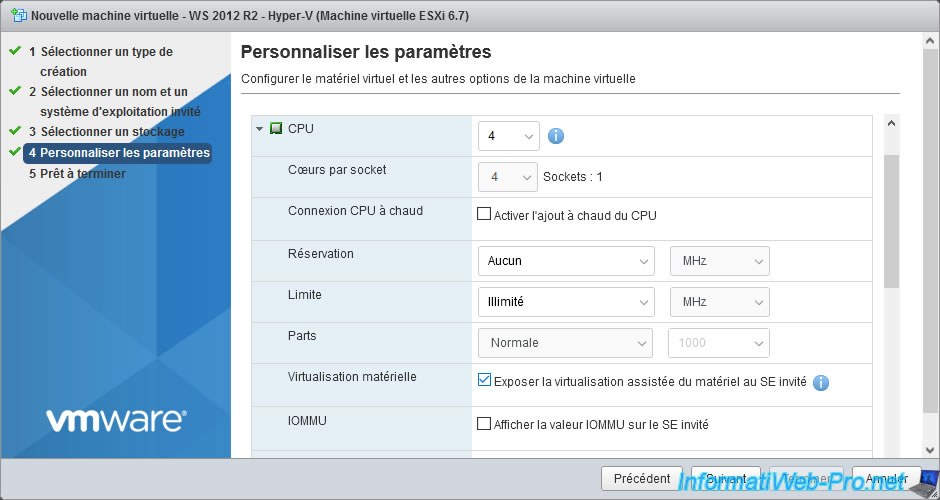
In the "CPU" section of virtual hardware, check the "Expose hardware assisted virtualization to the guest OS" box so that Hyper-V can use processor virtualization (Intel VT-x / AMD-V).
Insert the ISO file for the version of Windows Server that you want to install into the VMware virtual machine.
Then, go to the "Options VM" tab and expand the "Advanced" section.
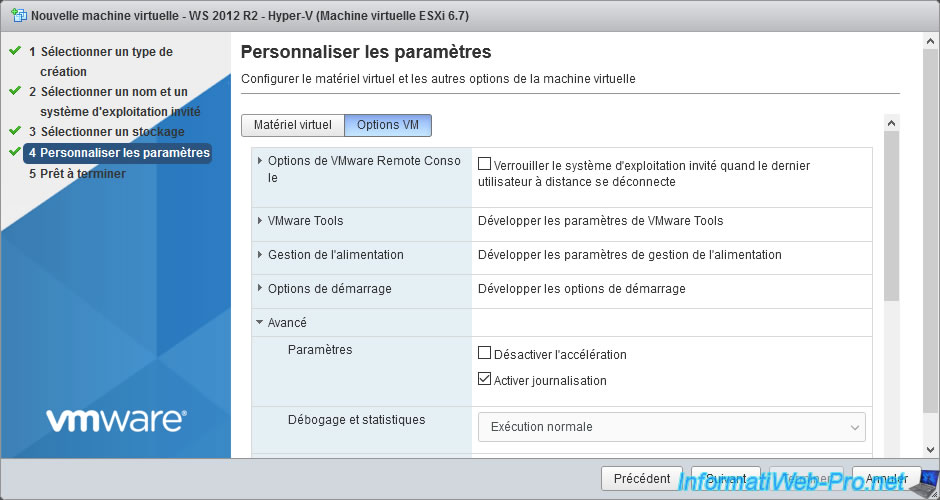
In the "Advanced" section, click on the "Edit Configuration" button.

Click on "Add parameter".
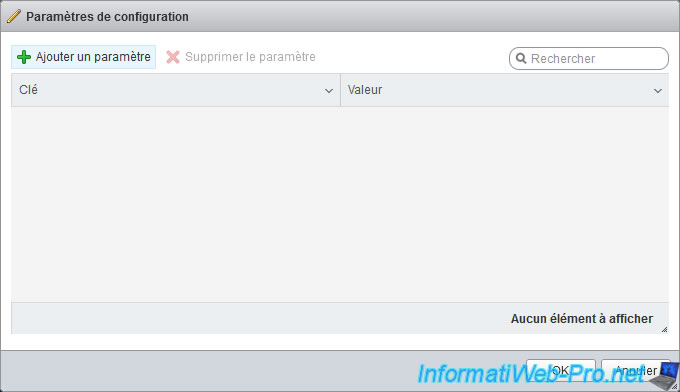
Add the "hypervisor.cpuid.v0 : FALSE" parameter and click OK.
Note : this setting is used to hide the presence of VMware ESXi in Hyper-V. Thus, Hyper-V will accept to install itself in your VMware virtual machine.
Source : Running Nested VMs - VMware Technology Network VMTN.
Note that with Windows Server 2016, this parameter is not required since the "hypervisor is already running" error will not occur, even when this parameter is not added here.

Finally, click on Next.

A summary of the virtual machine configuration appears.
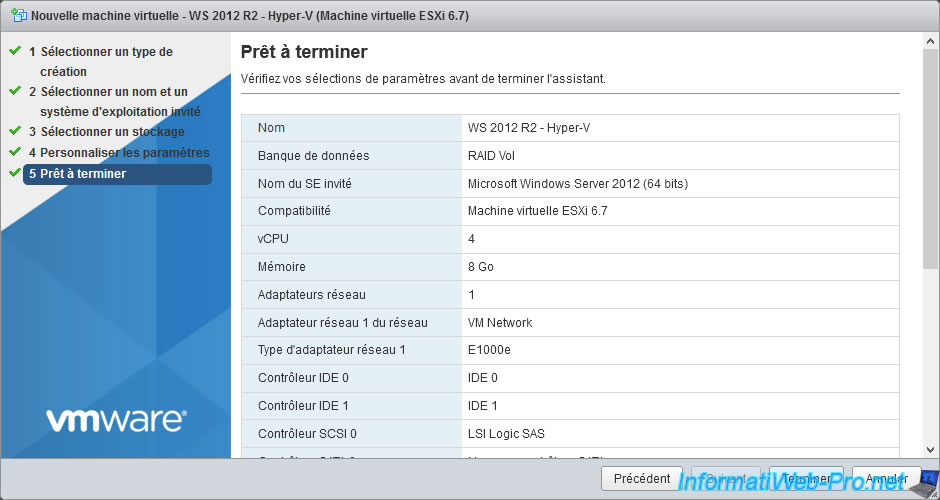
Your virtual machine is ready to be started.
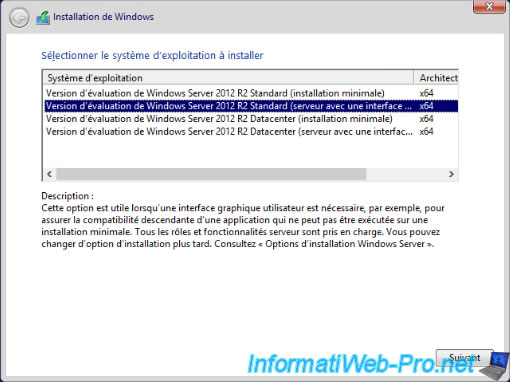
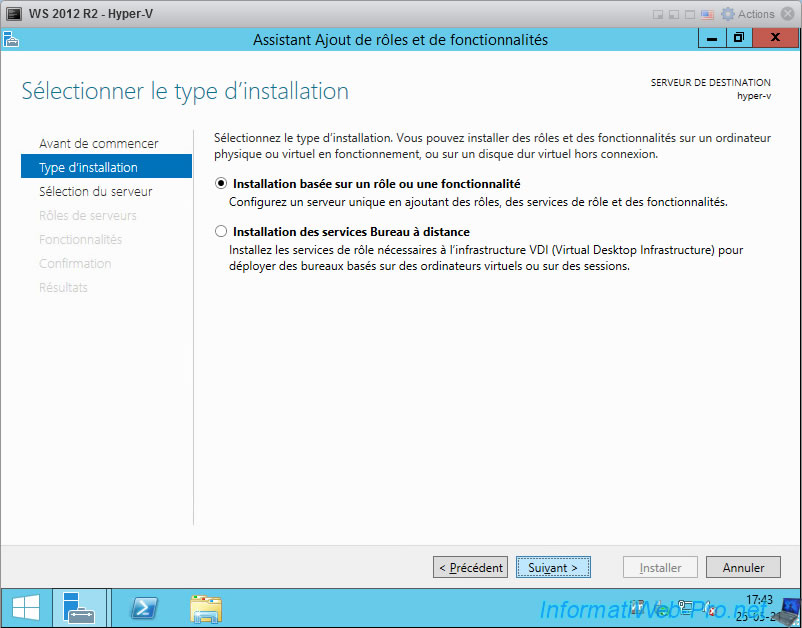
2. Install Windows Server 2016, 2012 R2 or 2012
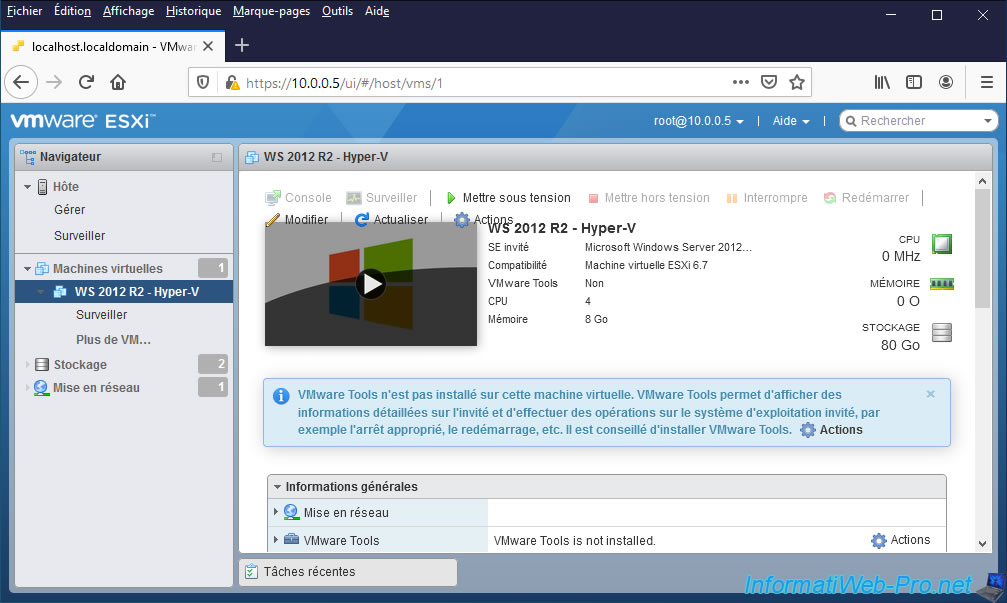
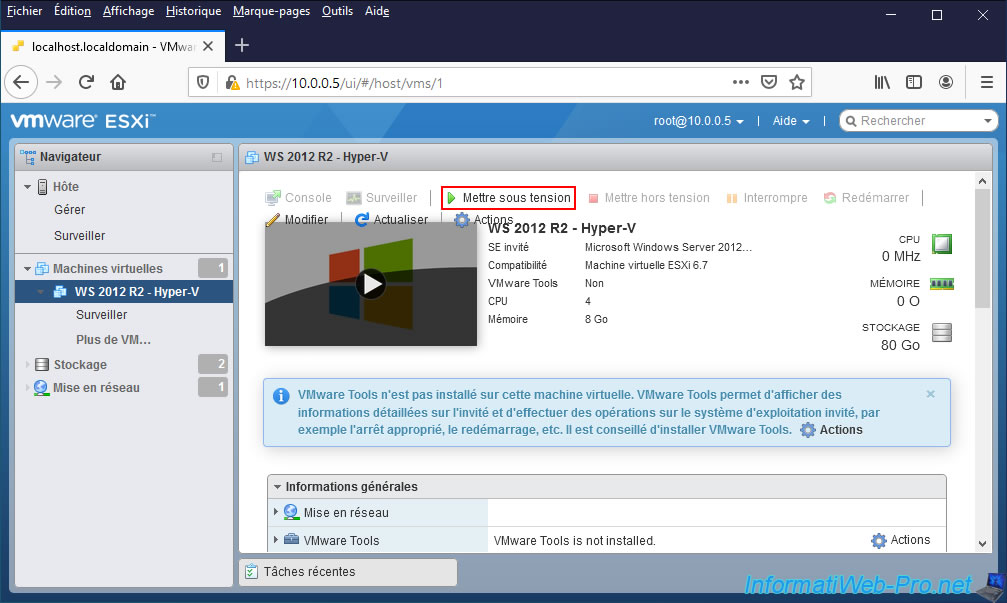
Start your virtual machine by clicking on : Power on.
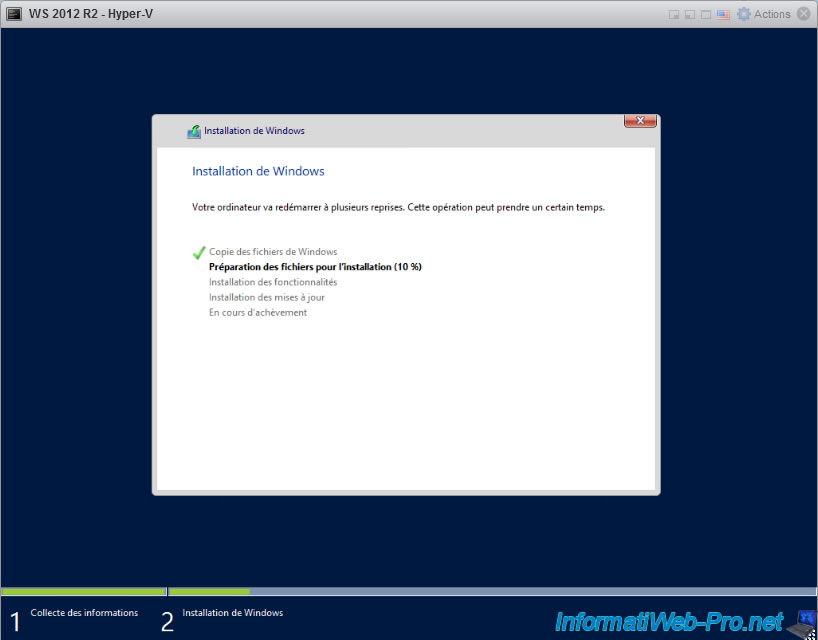
No particularity for the installation of Windows Server, except that we will install it with a graphical interface.
Windows Server is installed.
3. Install Hyper-V in the VMware virtual machine
In your VMware virtual machine with Windows Server 2016, 2012 R2, or 2012 as guest operating system, launch Server Manager and select "Role-based of feature-based installation".
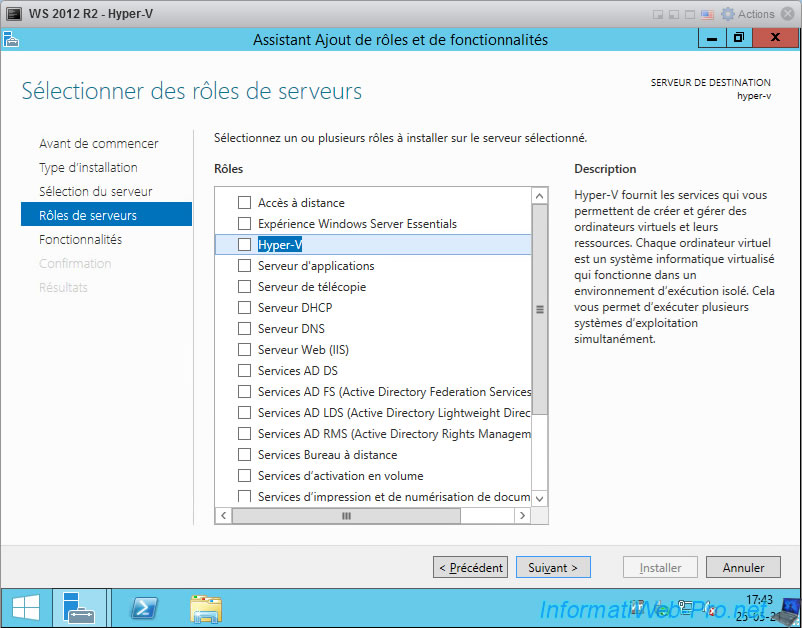
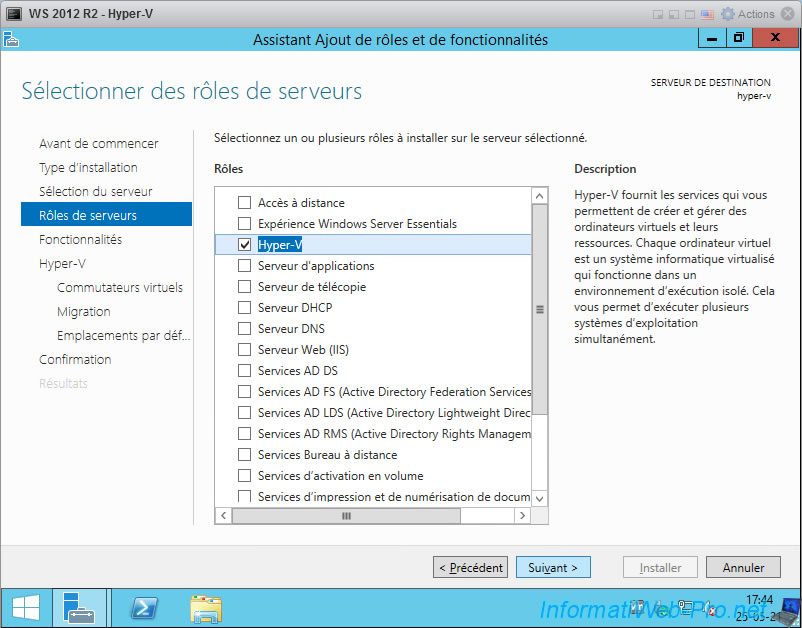
In the "Server Roles" step, check the "Hyper-V" box.
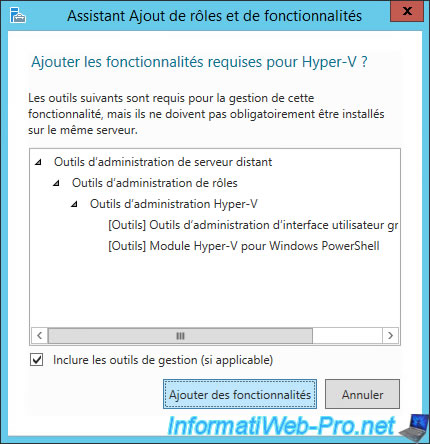
Accept the addition of required features for Hyper-V.
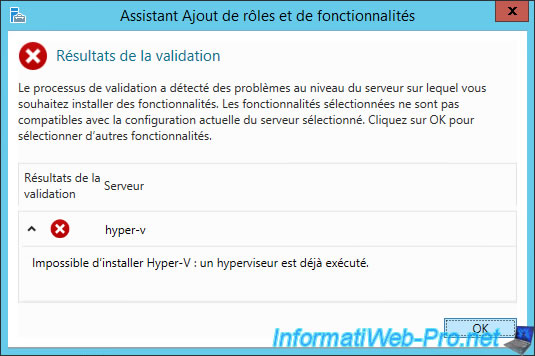
Without the "hypervisor.cpuid.v0 = FALSE" parameter added in the configuration of the virtual machine, the wizard would have refused the installation of the "Hyper-V" server role by displaying the error: "Hyper-V cannot be installed: A hypervisor is already running".
As you can see, we were able to check the "Hyper-V" box without a problem.
Click on Next.
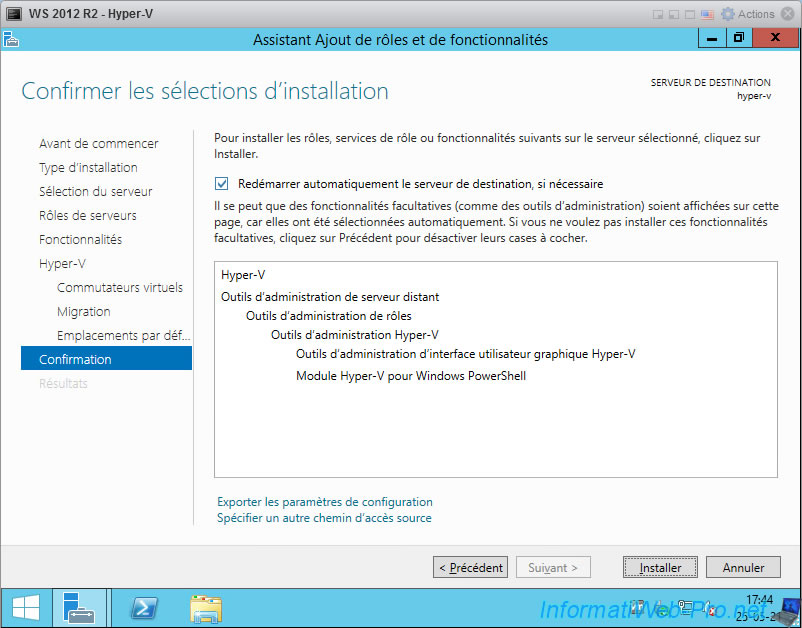
Check the "Restart the destination server automatically if required" box since the installation of the Hyper-V role will require at least one restart. Then, click on Install.
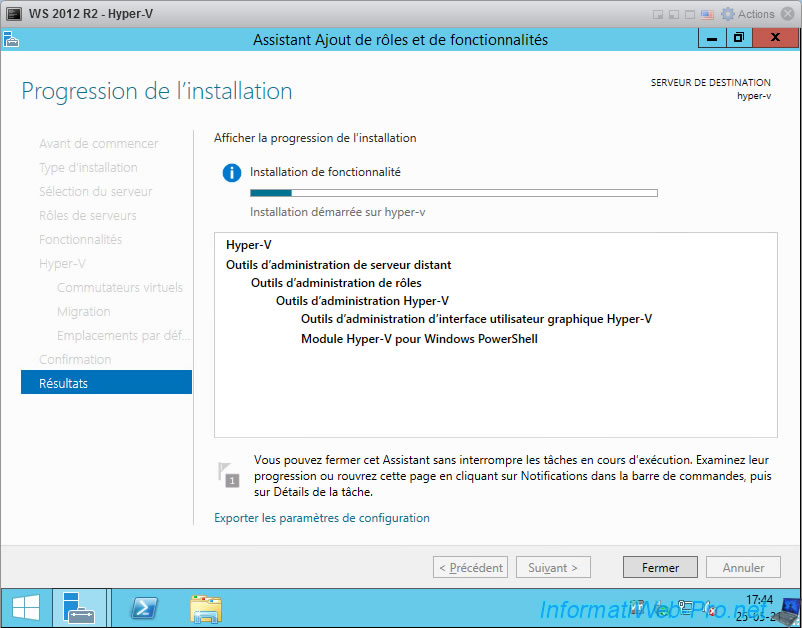
The installation of the Hyper-V role starts.
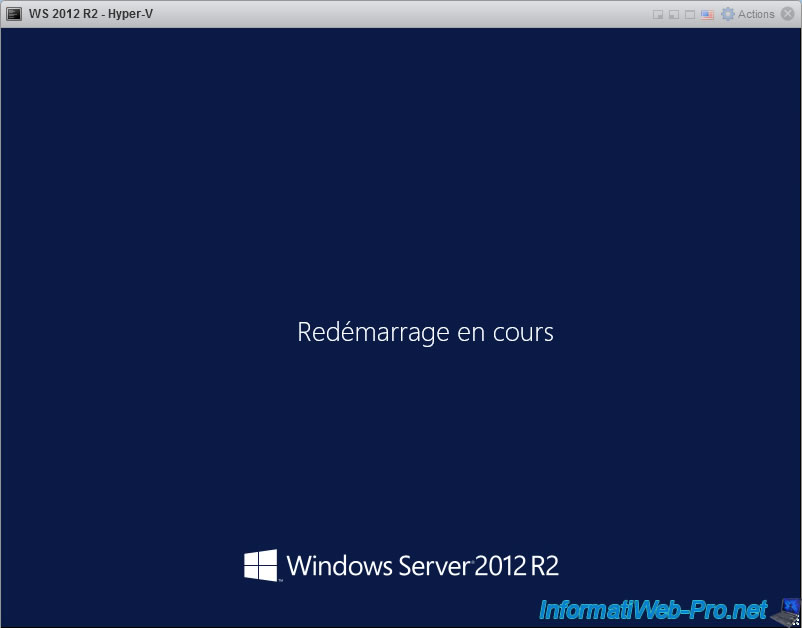
During the installation of Hyper-V, your virtual machine will restart and the "Using features" message will appear.
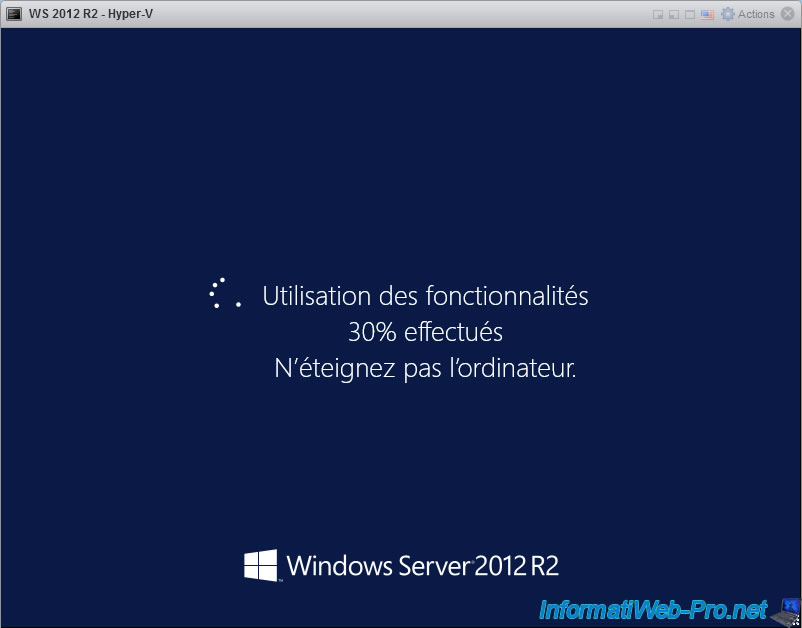
Then, the "Restarting" message will appear.
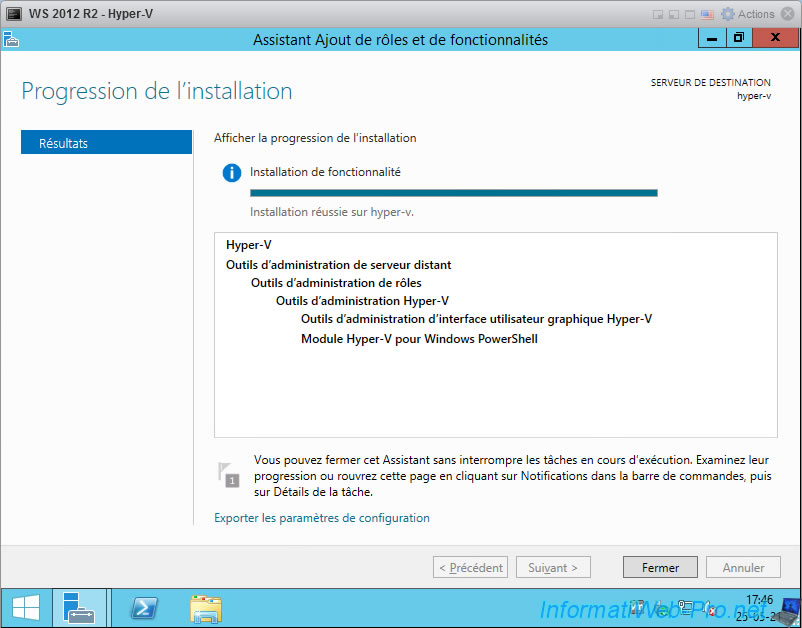
Once the restart is complete, the Add Roles and Features Wizard will reappear automatically and the "Installation successful on hyper-v" message will appear.
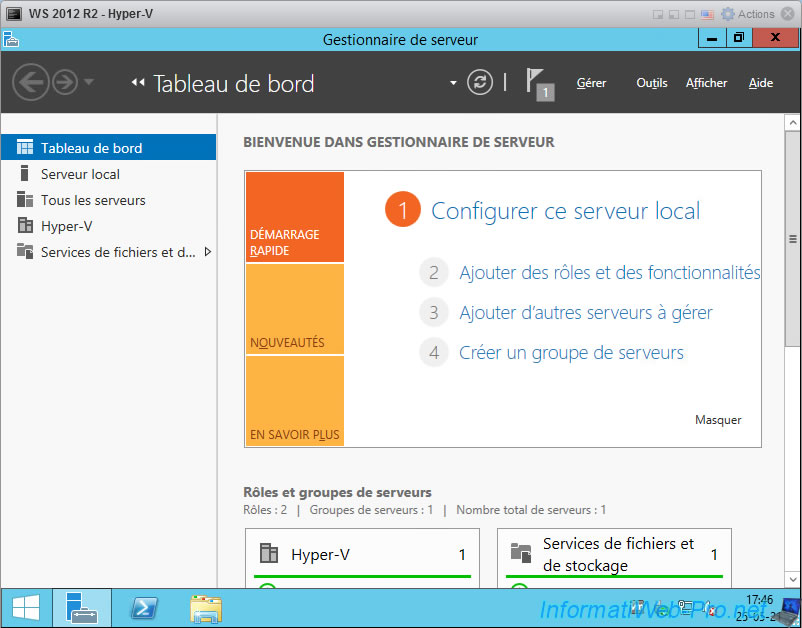
In the server manager, you will see on the left that the Hyper-V role has been installed.
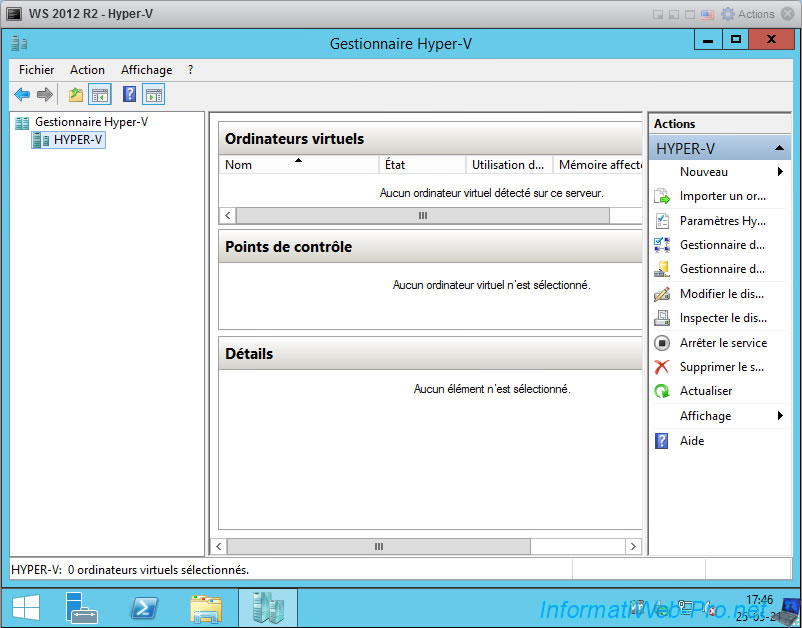
The Hyper-V manager is working correctly.
Share this tutorial
To see also
-
VMware 4/14/2023
VMware ESXi 6.7 - Best practices for creating a VM
-
VMware 2/17/2023
VMware ESXi 6.7 - Configure your virtual machines settings
-
VMware 6/2/2023
VMware ESXi 6.7 - Connect a smart card reader to a VM
-
VMware 10/19/2022
VMware ESXi 6.7 - DirectPath I/O (PCI passthrough)
You must be logged in to post a comment