- VMware
- 14 July 2023 at 18:03 UTC
-

- 1/2

Although VMware Workstation Pro 17 still doesn't support booting a virtual machine on an USB key (in LEGACY BIOS mode), it's still possible to do so via the Plop boot manager.
However, since version 17 of VMware Workstation Pro, it's necessary to use version 6 of Plop Boot Manager 6 (PBM6) to start a virtual machine on an USB key in LEGACY BIOS mode.
Indeed, if you use version 5 of Plop Boot Manager, the virtual machine will freeze at startup and nothing else will happen. While this version 5 of Plop Boot Manager worked fine on older versions of VMware Workstation Pro.
As you can check on our tutorial : VMware Workstation 16 / 15 - Boot on an USB key.
- Booting from an USB device not supported by default (LEGACY BIOS)
- Download Plop Boot Manager 6 (PBM6)
- Boot to Plop Boot Manager 6 (PBM6)
- Use the USB key as a physical disk
- Boot to USB device from UEFI firmware
1. Booting from an USB device not supported by default (LEGACY BIOS)
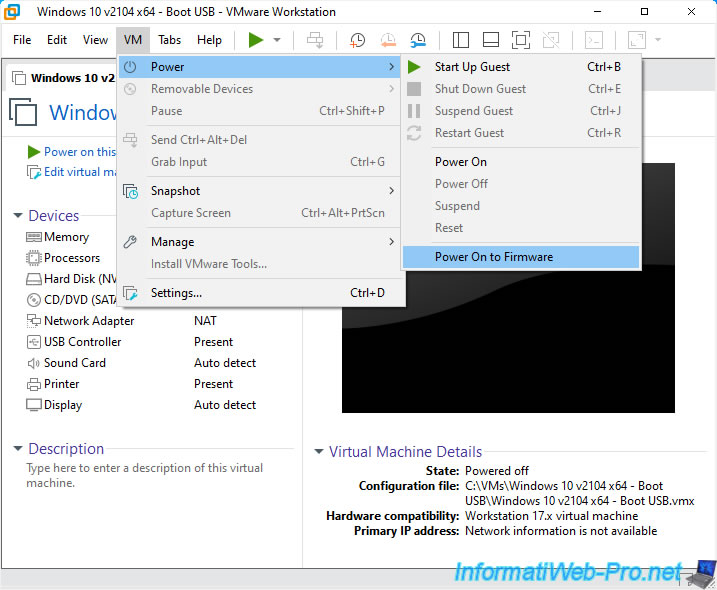
On a virtual machine configured to use the PhoenixBIOS (LEGACY BIOS), go to the menu : VM -> Power -> Power On to Firmware.
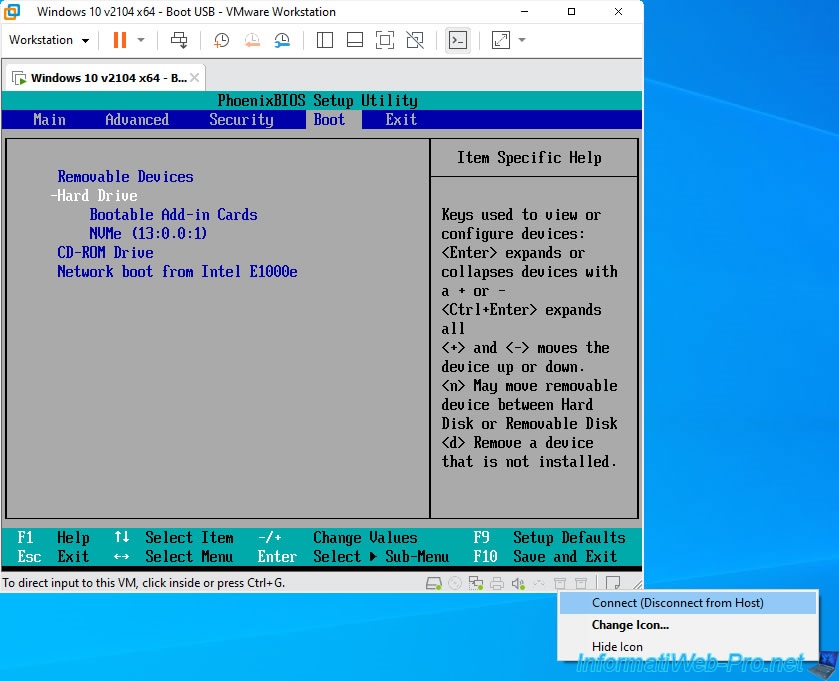
The PhoenixBIOS of your VMware virtual machine appears.
Connect your bootable USB key (created beforehand) and you will see that it will never appear in the "Boot" tab of this BIOS.
Indeed, this old BIOS doesn't support starting a virtual machine from an USB device.
Exit this BIOS.
2. Download Plop Boot Manager 6 (PBM6)
To overcome this problem, the trick to use is very similar to the one we explained to you for previous versions of VMware Workstation Pro.
Namely, use the third-party boot manager "Plop Boot Manager" which has the advantage of supporting booting on a USB device.
However, since version 17 of VMware Workstation Pro, you will have to use version 6 of this startup manager so as not to have a freeze problem when starting the virtual machine.
To get started, download Plop Boot Manager 6 (PBM6).
Important : you should only use this technique if your bootable USB key is configured to boot in LEGACY BIOS mode.
If it's configured to boot in EFI mode, you will need to configure your virtual machine to use EFI firmware instead of LEGACY BIOS and skip to step "5. Boot to USB device from UEFI firmware".
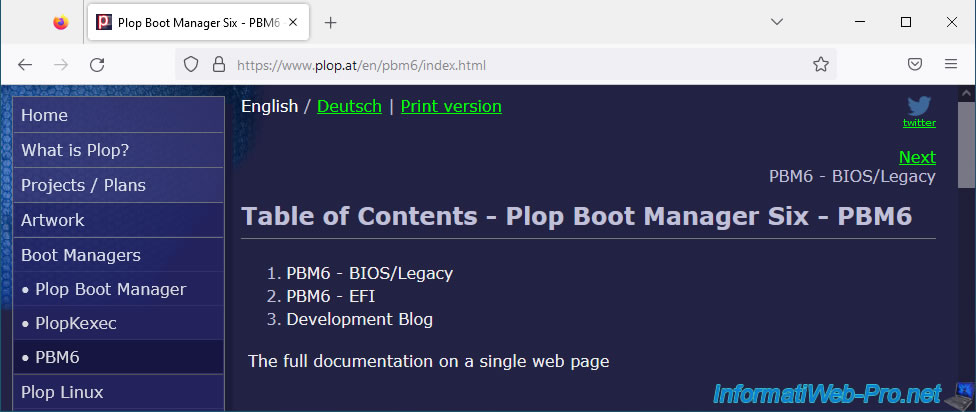
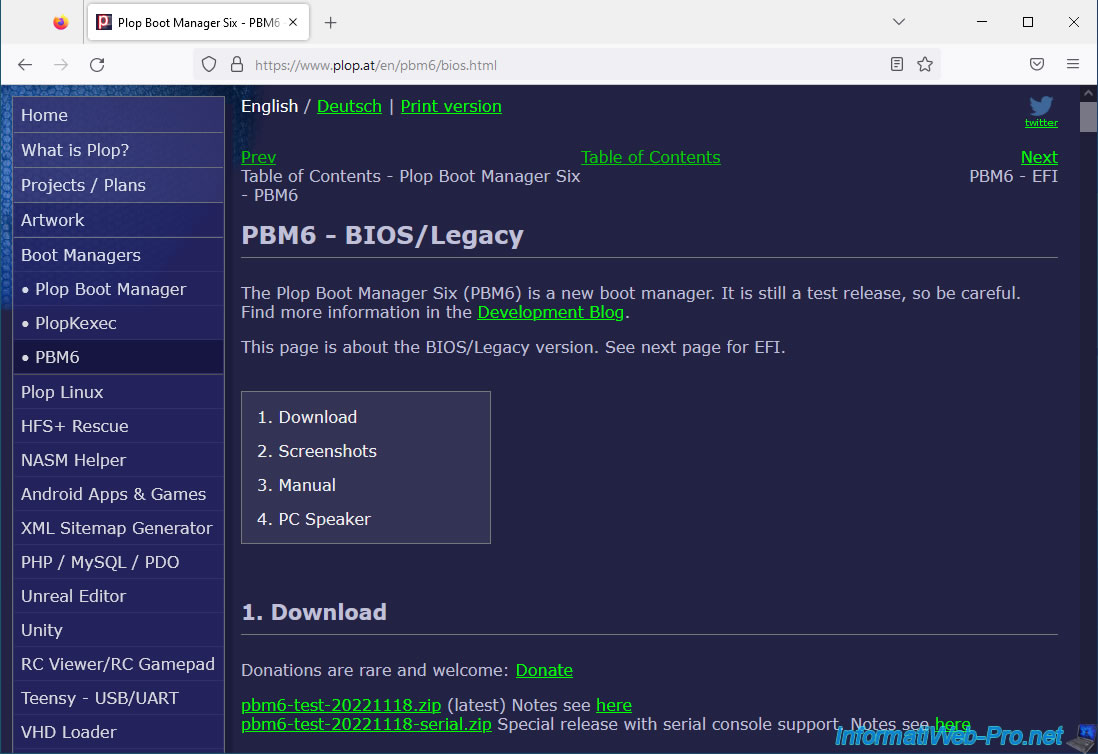
In the "1. Download" section of the "PBM6 - BIOS/Legacy" page, click on the "pbm6-test-xxxxxxxx.zip" download link.
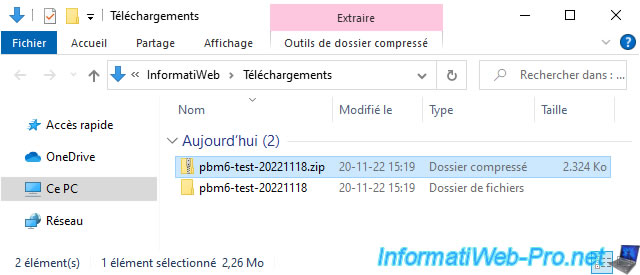
Once the "pbm6-test-xxxxxxxx.zip" file is downloaded, unzip it.
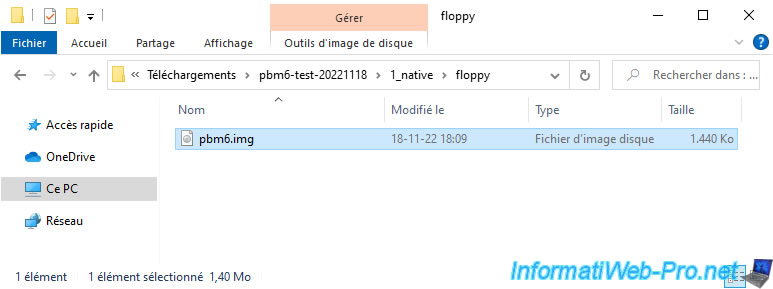
In the extracted files, you will find 2 images of this boot manager :
- 1_native\cdrom\pbm6.iso : the ISO image of the PBM6 boot manager to boot on it from a CD/DVD drive.
- 1_native\floppy\pbm6.img : PBM6 boot manager floppy image to boot from a floppy disk drive.
This has the advantage of leaving the CD/DVD drive free (if necessary), but has the disadvantage of requiring the addition of a floppy drive (which is generally not present by default).

3. Boot to Plop Boot Manager 6 (PBM6)
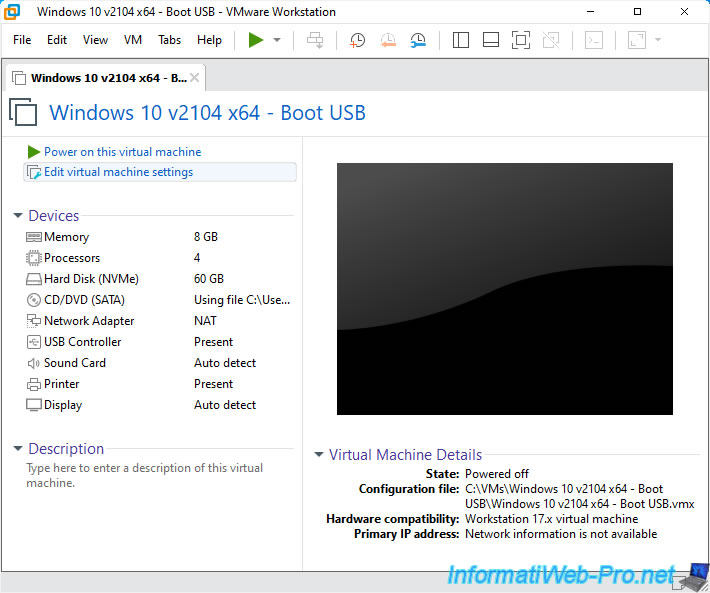
To start your virtual machine on this Plop Boot Manager 6 (PBM6) boot manager, click on : Edit virtual machine settings.
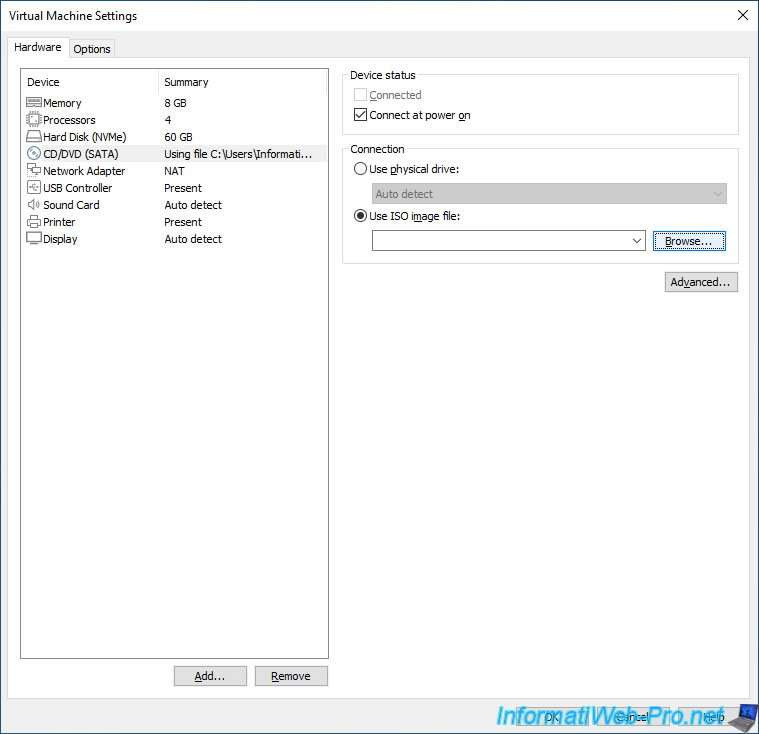
In the virtual hardware of your virtual machine :
- select CD/DVD drive
- check the "Connect at power on" box
- select the "Use ISO image file" option
- click on "Browse"
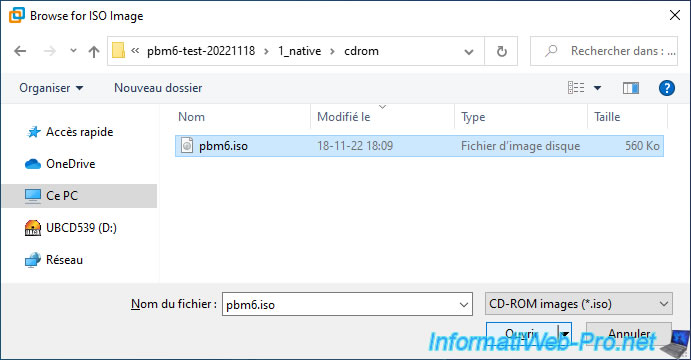
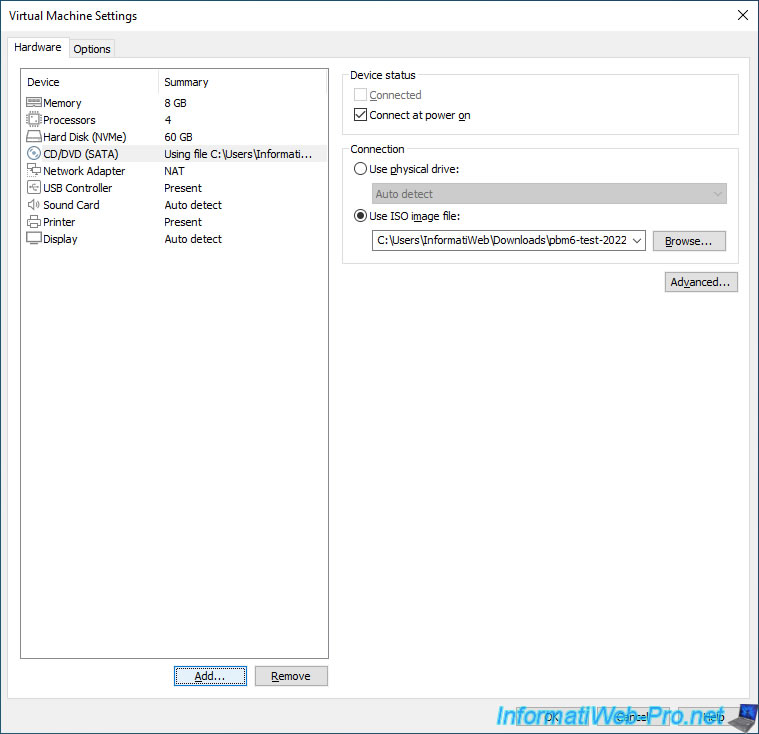
Select the "pbm6.iso" file found in the "1_native\cdrom" folder and click Open.
Your virtual machine will boot to your Plop Boot Manager 6 (PBM6) boot manager from its virtual CD/DVD drive.
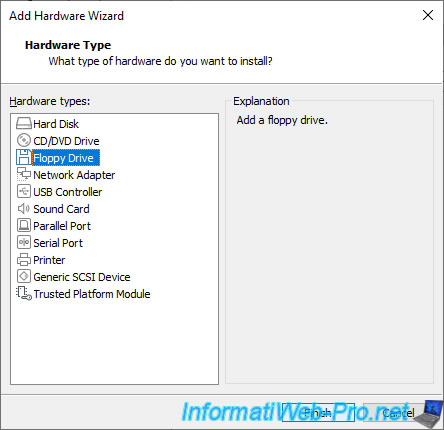
If you want to use its floppy version instead, click on the "Add" button at the bottom of the window.
In the "Add Hardware Wizard" window that appears, select the floppy drive and click Finish.
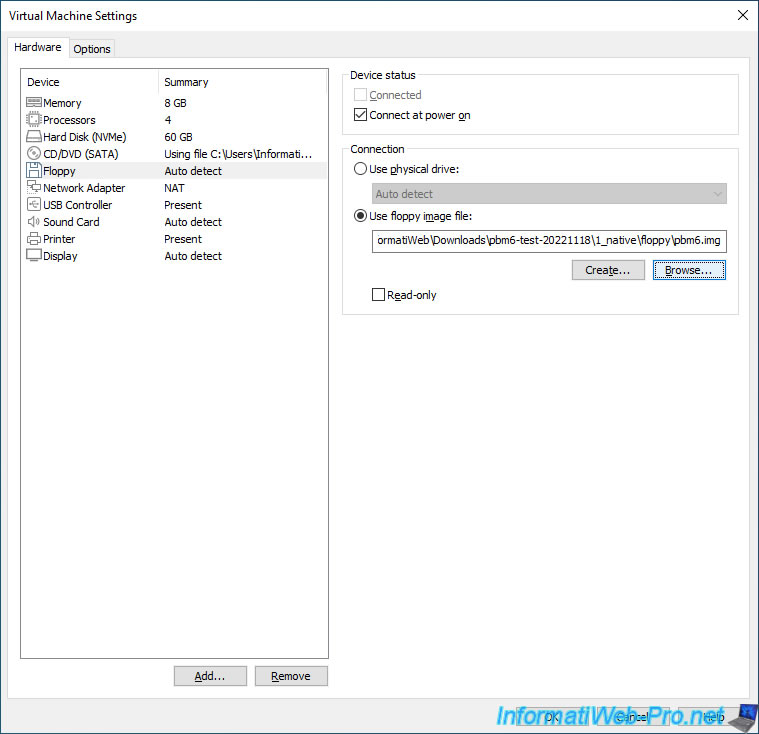
In the floppy drive added :
- check the "Connect at power on" box
- select the "Use floppy image file" option
- click on "Browse"
- select the "pbm6.img" file found in the "1_native\floppy" folder
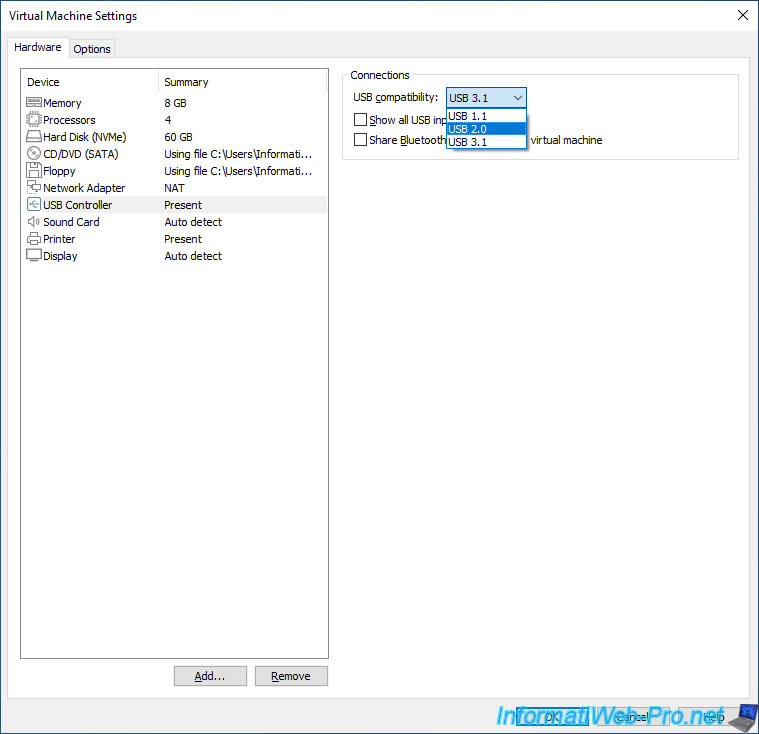
Important : Plop Boot Manager 6 only supports USB 1.1, 2.0 and 3.0.
If your virtual machine uses an USB 3.1 controller, this will not work. The USB key connected to the virtual machine will never appear in the PBM6 boot manager.
To solve the problem, select the USB controller and select "USB 2.0" (or "USB 1.1" for a very old OS).
Source: Plop Boot Manager Six - PBM6 - Manual.
Save the changes by clicking OK.
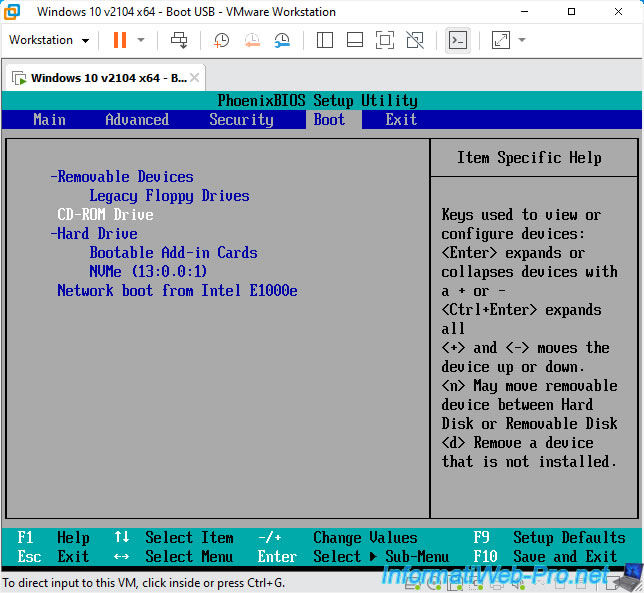
Start your virtual machine on its BIOS by clicking on : VM -> Power -> Power On to Firmware.

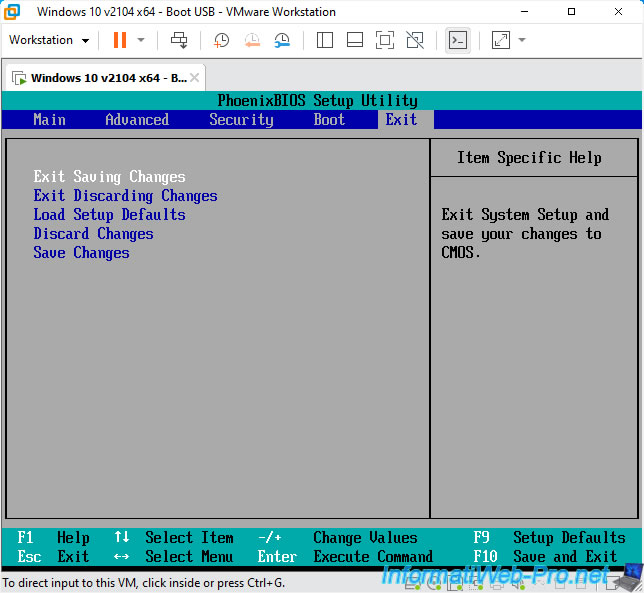
Go to the "Boot" tab of the Phoenix BIOS and bring up one of these options to boot to the "Plop Boot Manager 6 (PBM6)" boot manager :
- CD-ROM Drive : to boot to PBM6 from the CD/DVD drive.
- Removable Devices\Legacy Floppy Drives : to boot to PBM6 from floppy drive.
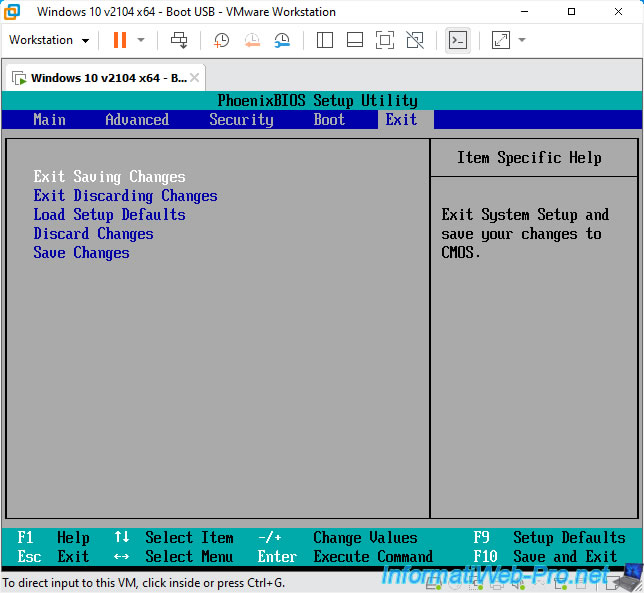
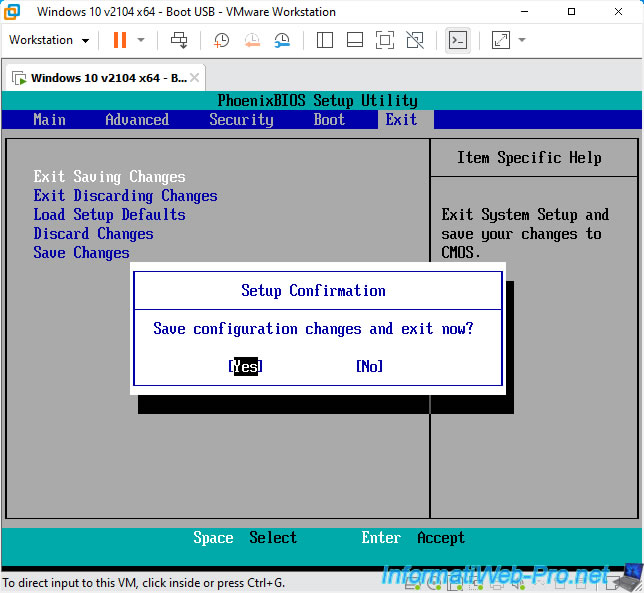
Save the changes by going to the "Exit" tab and using the "Exit Saving Changes" option or using the keyboard shortcut F10 (Save and Exit).
Select the answer "Yes" and press Enter.
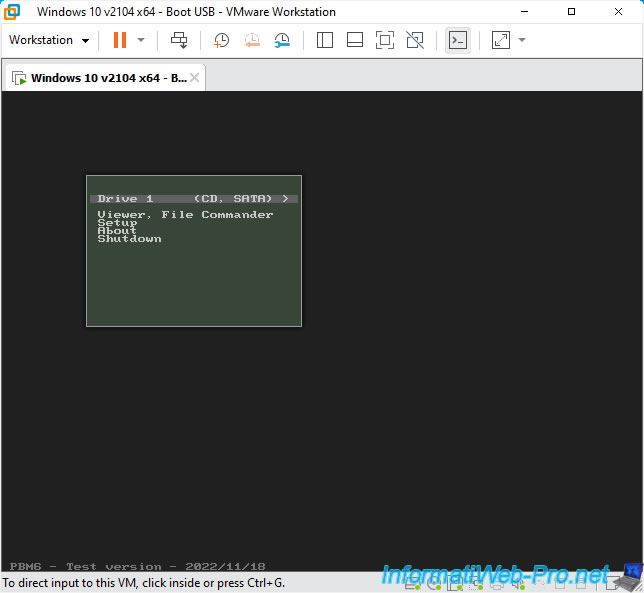
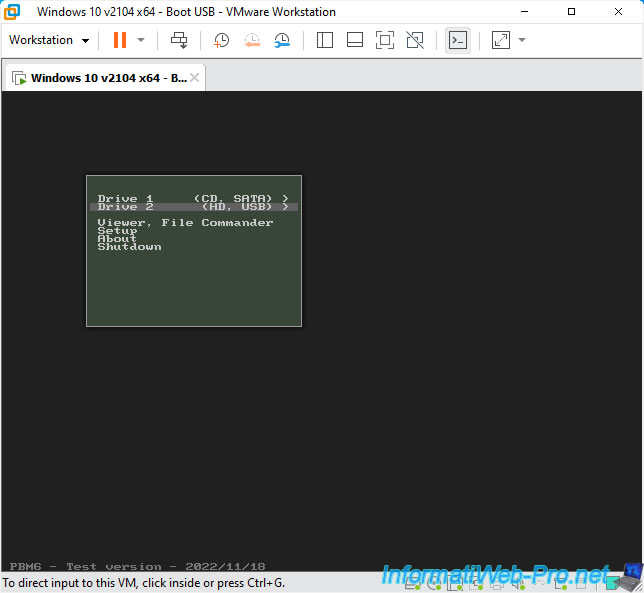
The Plop Boot Manager 6 (PBM6) boot manager appears.
As you can see, currently, the only option offered corresponds to the CD/DVD drive of our virtual machine : Drive 1 (CD, SATA).
Connect your physical USB key to your virtual machine by clicking on its icon at the bottom right, then click on : Connect (Disconnect from Host).
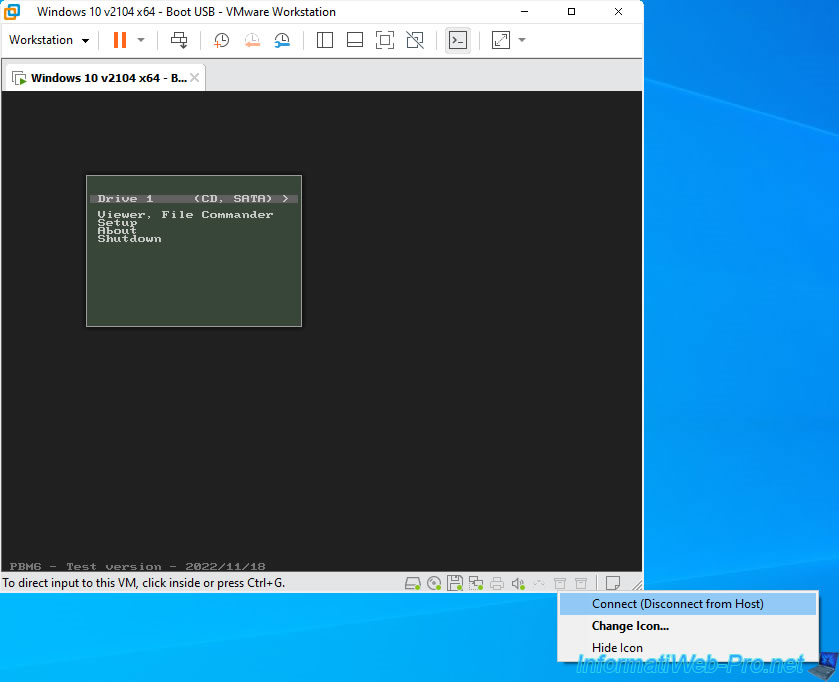
Your USB key appears in the Plop Boot Manager 6 (PBM6) : Drive 2 (HD, USB).
Select this option with the "down" arrow and press Enter to boot to your USB key.
Note : in case of problem, know that it's possible to boot on the USB key or one of its partitions specifically by pressing the right arrow.
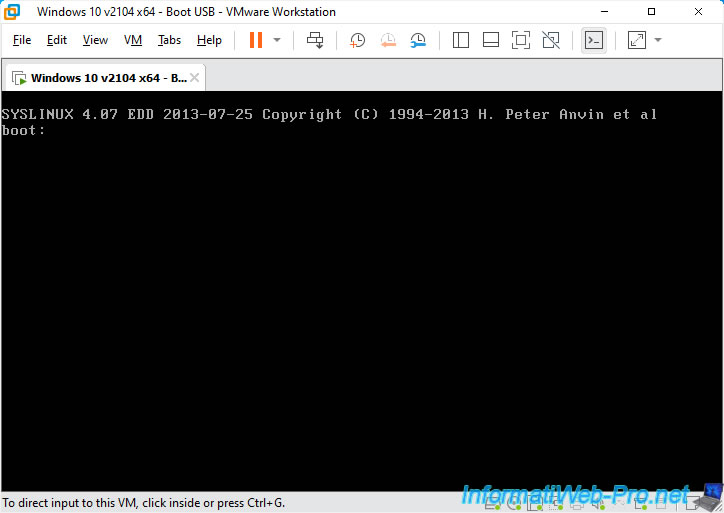
In case the syslinux "boot:" screen appears (which depends on the times and what you created as a bootable USB key), just press Enter once or twice and the virtual machine will boot correctly on your bootable USB key.
Note that PBM6 is still under development.
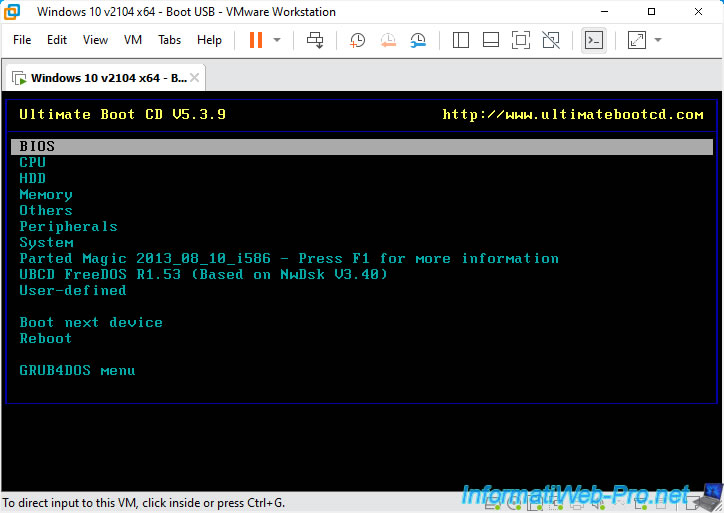
As expected, our virtual machine boots without issue on our Ultimate Boot CD bootable USB key.
Share this tutorial
To see also
-

VMware 3/16/2013
VMware Workstation - Boot a VM on the BIOS / EFI firmware
-

VMware 2/7/2020
VMware Workstation 15 - Installation on Linux
-

VMware 12/24/2021
VMware Workstation 15 - Slice the virtual hard disk of a VM
-

VMware 12/10/2021
VMware Workstation 15.5 - Convert a Virtual PC virtual machine to a VMware VM
You must be logged in to post a comment