Convert a Virtual PC virtual machine to a VMware Workstation virtual machine using VMware vCenter Converter Standalone
- VMware
- 10 December 2021 at 12:21 UTC
-

- 2/2

4. Install VMware Tools
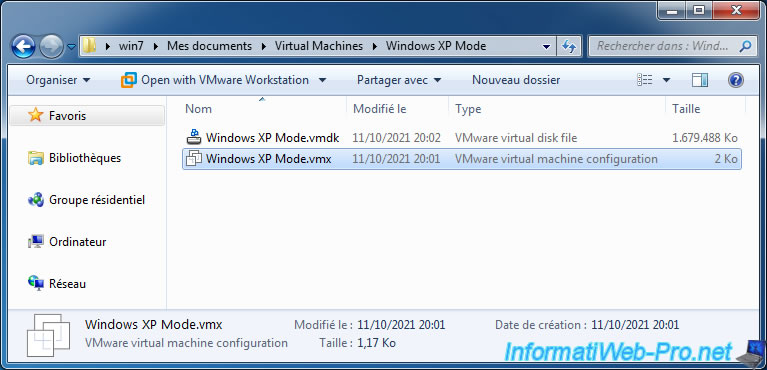
If you look in the destination folder specified previously in the conversion wizard, you will see that 2 files are there :
- a ".vmx" file : the configuration file for your new virtual machine in VMware format.
- a ".vmdk" file : its virtual hard disk in VMware format.
To open this new virtual machine, double-click on its configuration file (.vmx).
Note that other files usually used by VMware Workstation will be automatically generated by VMware Workstation when you start using this new virtual machine.
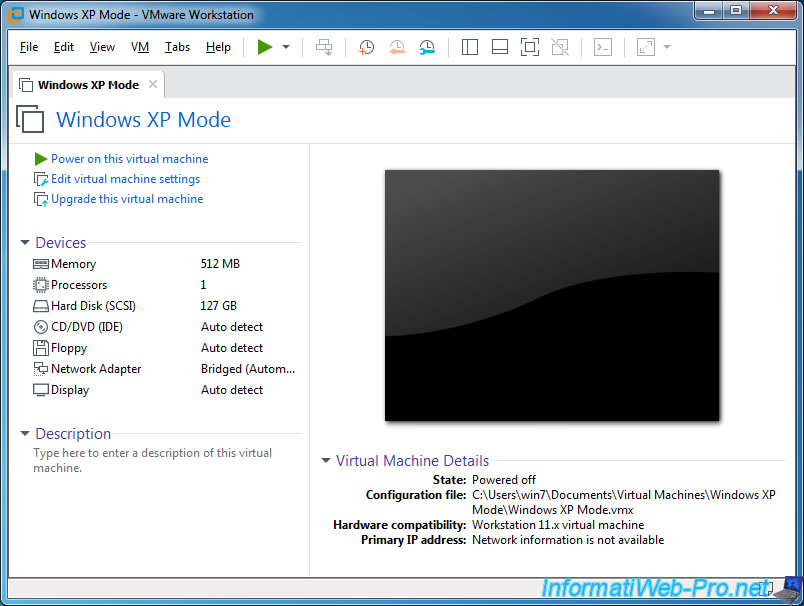
This virtual machine appears in VMware Workstation Pro.
Start it.
The virtual machine starts up.
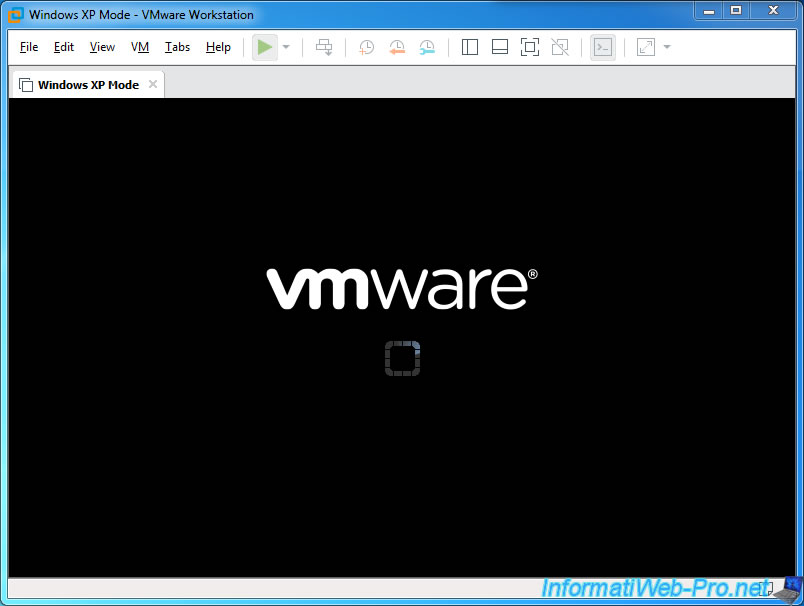
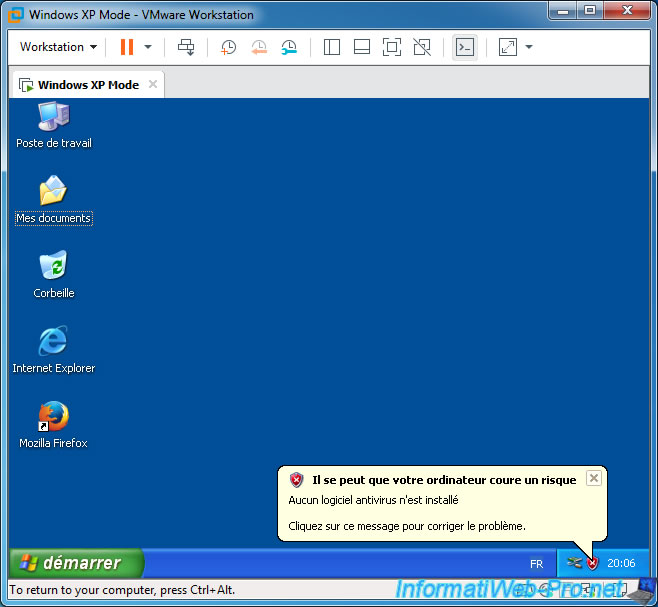
The guest operating system (in our case : Windows XP) starts up.

As you can see, you arrive at the Windows logon screen.
If you have converted your "Windows XP Mode" virtual machine, you will notice that you arrive on the Windows XP logon screen and that the proposed user is : XPMUser (by default).
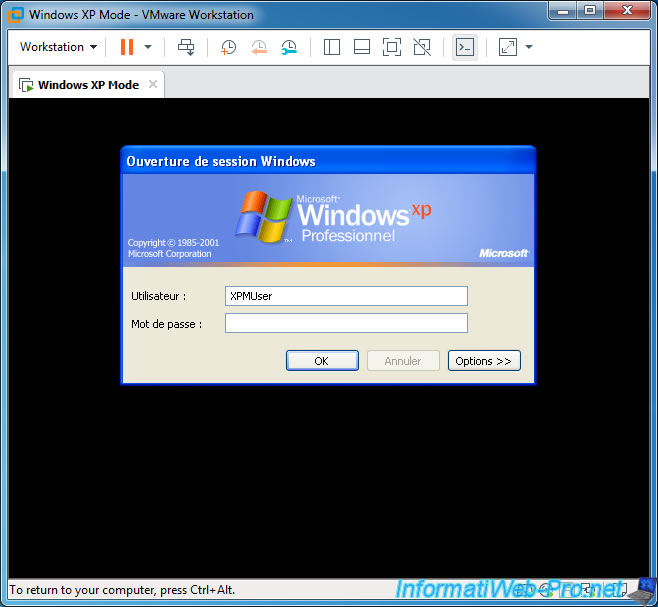
In our case, we specify the password of this user and we click on OK.

As expected, we will find the programs and data that we created in our "Windows XP Mode" virtual machine.
This was not the case with the import of XP mode that you could launch from the "File" menu of VMware Workstation.
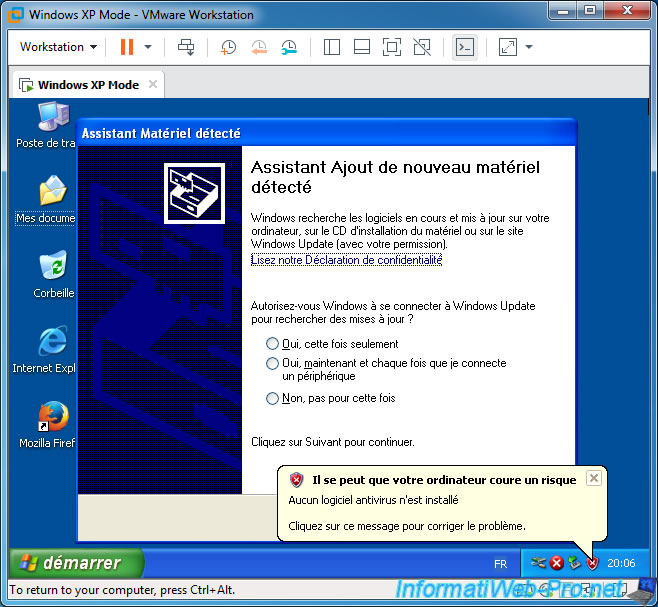
Since the virtual hardware used by VMware is obviously not the same as that used by Windows Virtual PC, the guest operating system (Windows) will detect new hardware.
Skip these wizards if they appear since the drivers must be installed through the installation of VMware Tools.
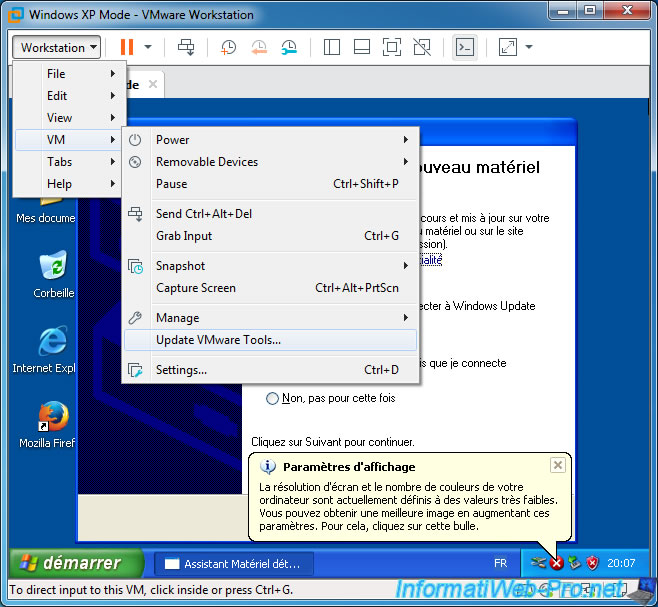
Start the installation of VMware Tools in the guest operating system via the menu : VM -> Update VMware Tools.
If the window is too small, this menu will be accessible via the "Workstation" button located at the top left.
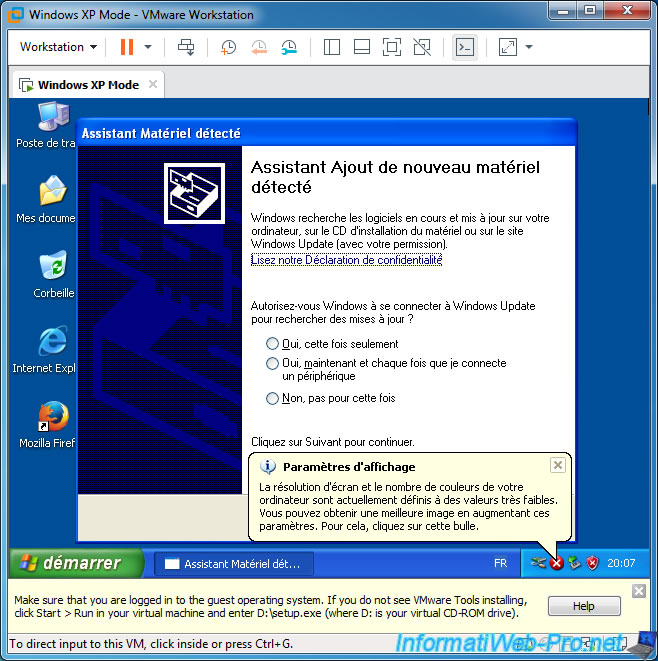
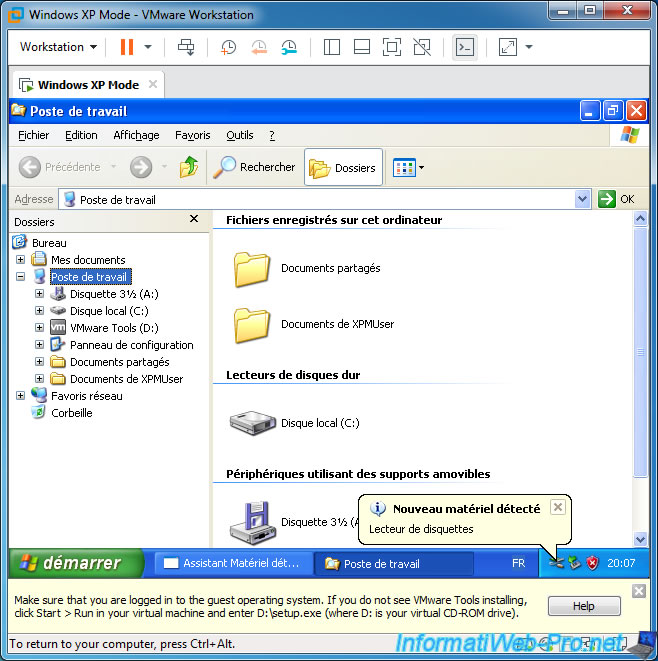
A yellow banner appears at the bottom of the window. This indicates that the VMware Tools virtual CD (suitable for the guest operating system used) has been inserted into the virtual CD/DVD drive of your virtual machine.
Open the File Explorer by pressing "Windows + E" keys on your keyboard.
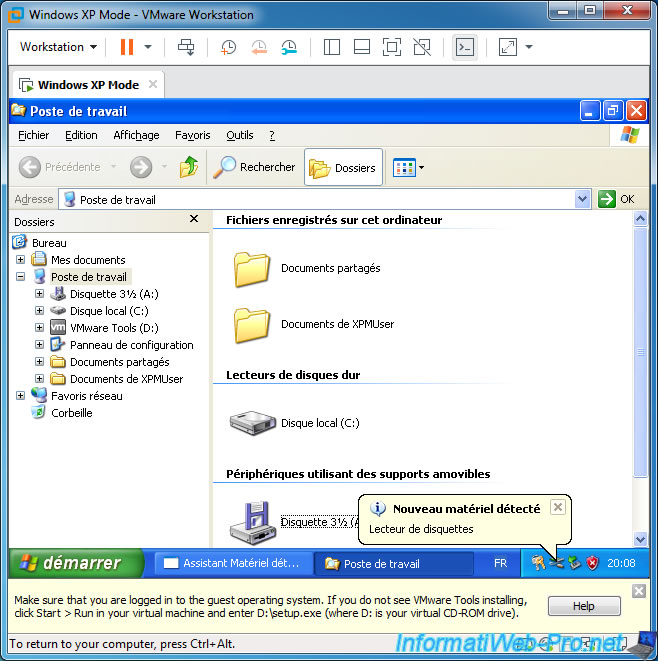
By default, the selected item is "My Computer" (in the left column).
To switch to the right column of this window, use the "Tab" key on your keyboard.
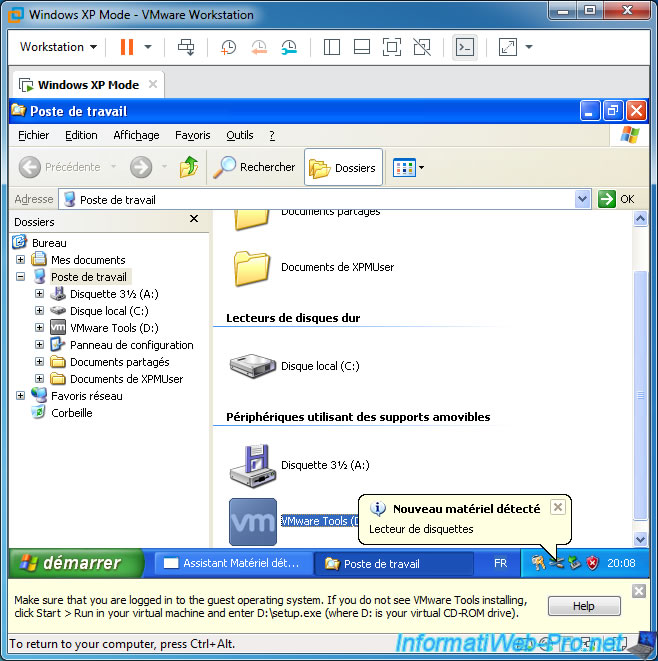
Then, use the arrows on your keyboard to select your CD/DVD drive (whose name is : VMware Tools).
Now, press Enter to launch the VMware Tools installation wizard.
Note : if Windows enters the CD/DVD drive instead of launching the VMware Tools installation wizard, then use the arrows on your keyboard to select the "setup.exe" file (for 32-bit OS) or "setup64.exe "(for 64-bit OS), then press Enter.
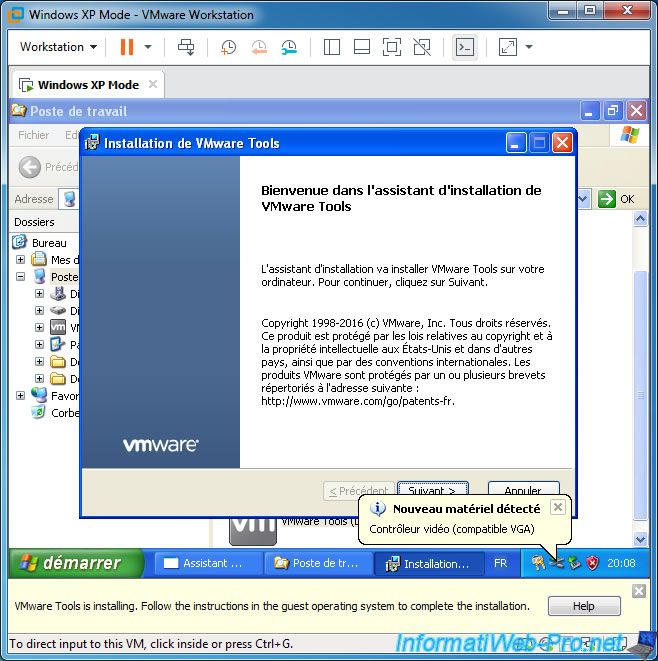
The VMware Tools installation wizard starts.
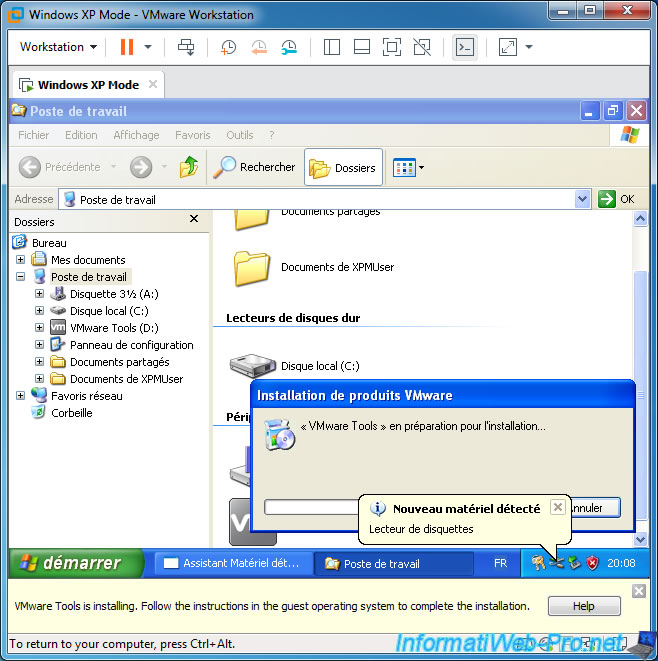
The "VMware Tools Setup" wizard appears.
Press Enter (since the "Next" button is already selected by default).
By default, the "Typical" element will be selected.
Use the "Tab" key on your keyboard to select the "Next" button.
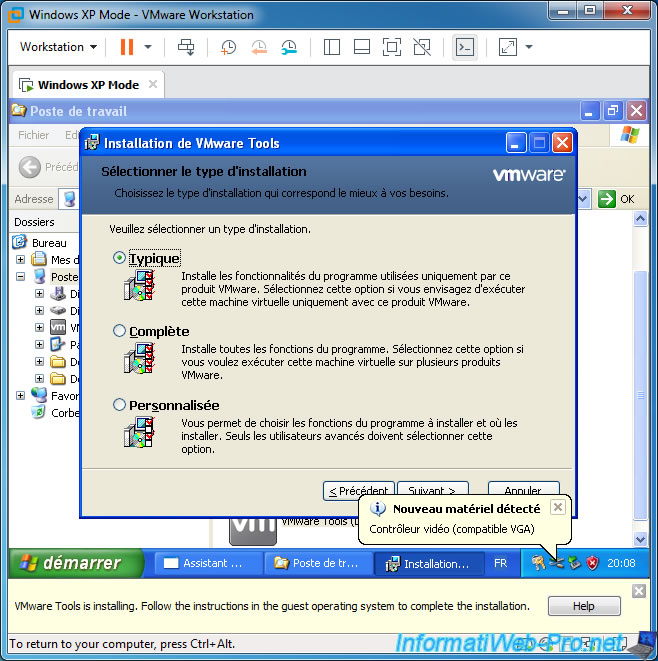
Once you have selected this "Next" button using your keyboard, press Enter.

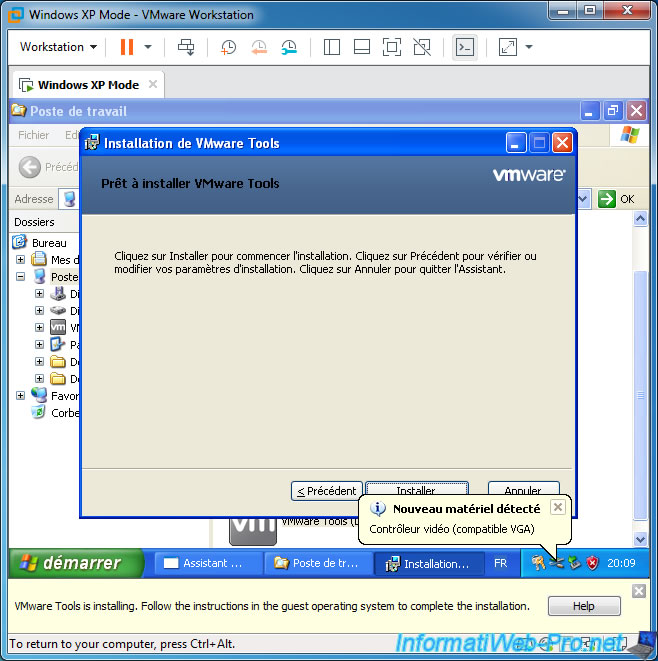
Press Enter again to start the installation of VMware Tools.
Wait while the VMware Tools install.
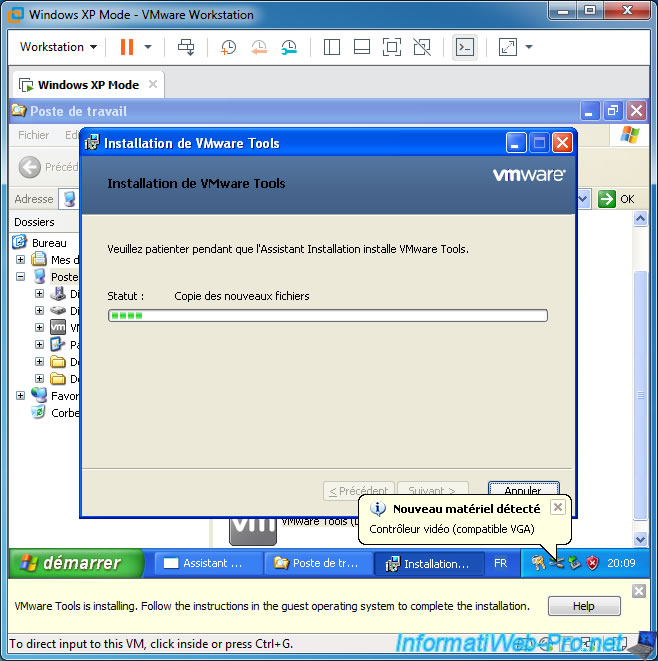
Once the VMware Tools are installed, press Enter and wait a few seconds.
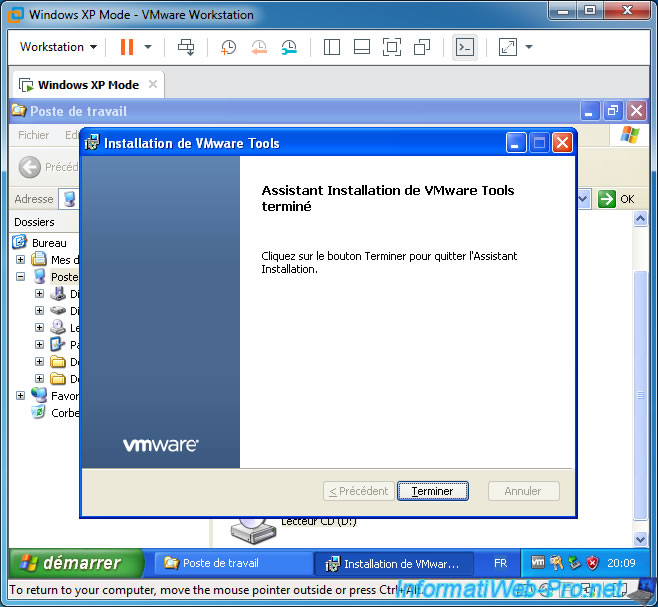
An "VMware Tools Setup" window will appear.
Select the "Yes" button and press Enter.
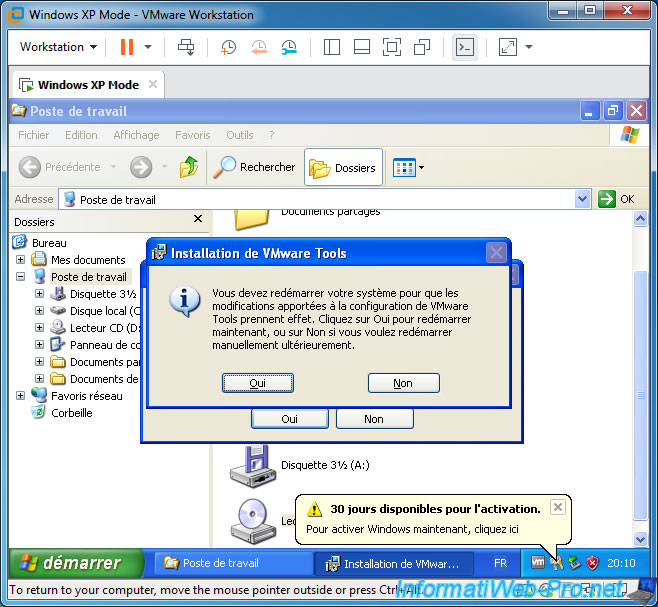
The virtual machine restarts.
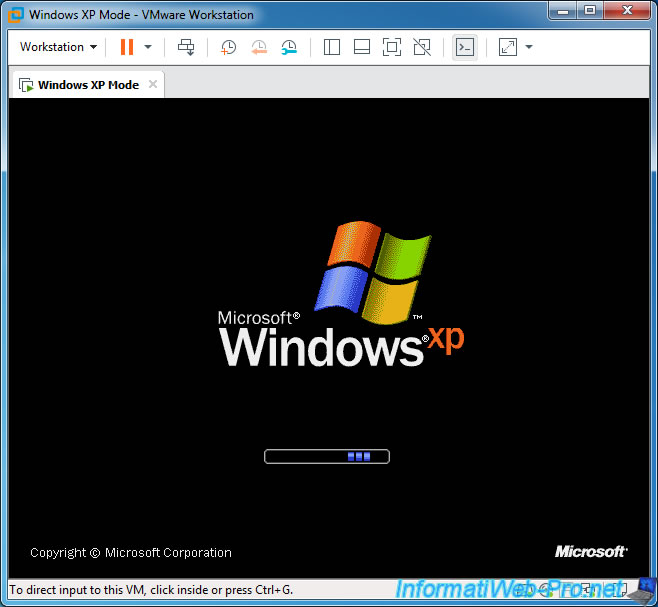
Enter your password again.

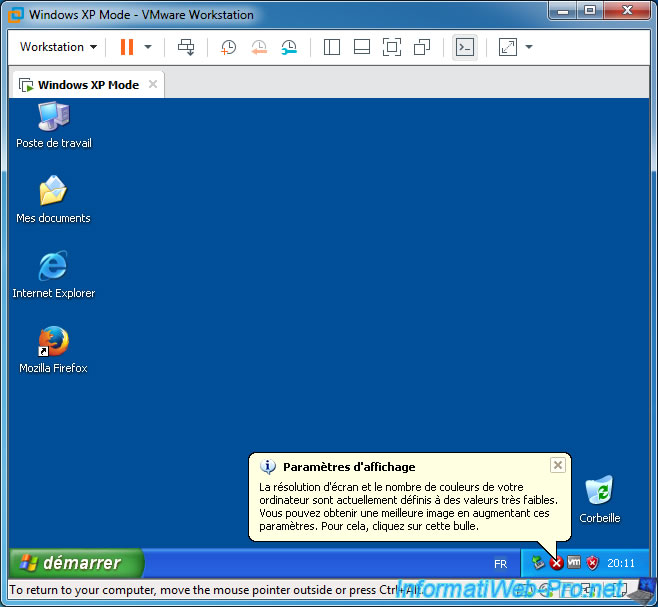
VMware Tools have been installed.
You can also check it thanks to the gray "VM" icon that appears in the Windows taskbar.
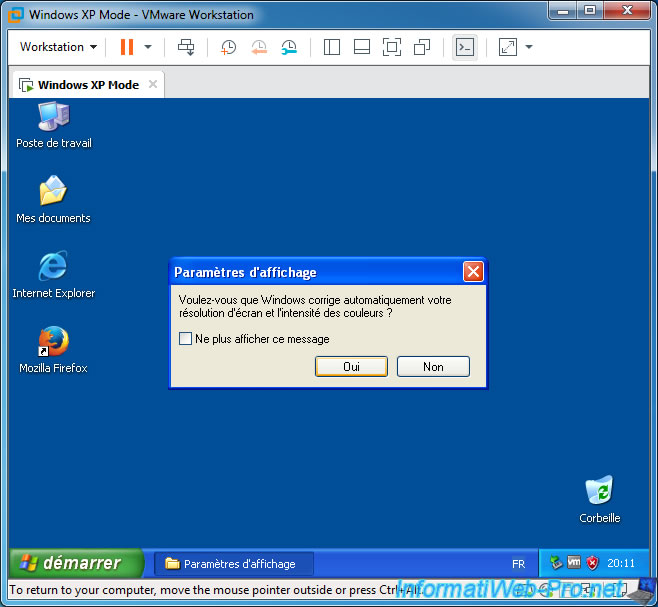
Note : for Windows XP, it's possible that a bubble about the display settings appears.
If so, click on it so that it disappears permanently.
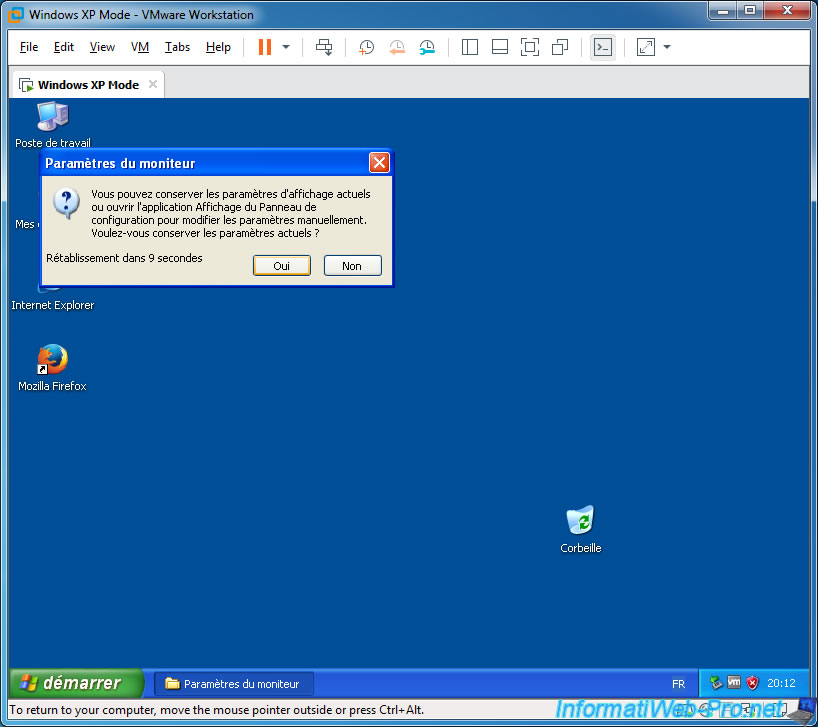
Then, answer "Yes" to the question that appears.
And again "Yes" to keep the changes made.
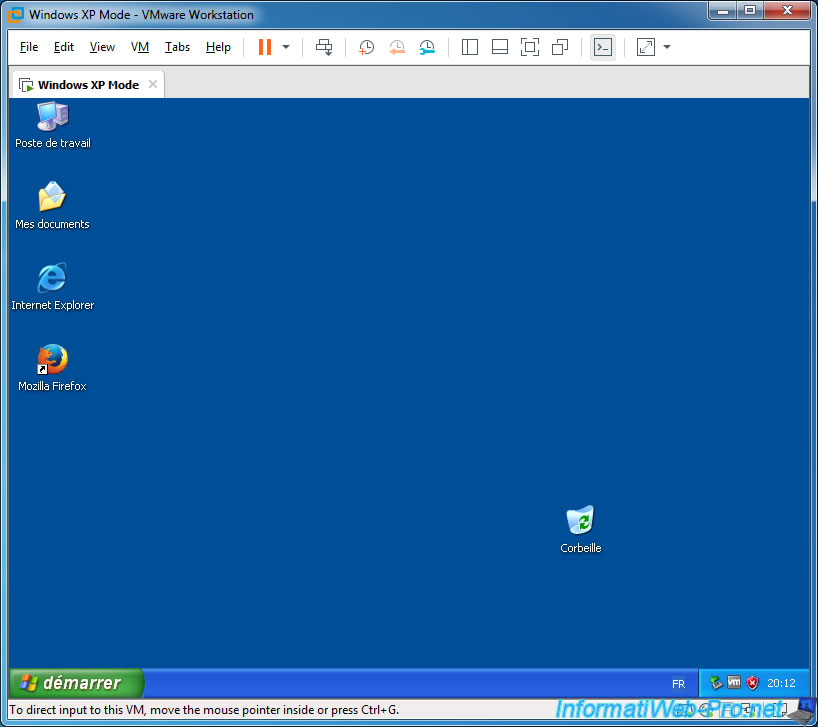
Your virtual machine converted to a VMware virtual machine is now fully functional.
Just for information, right click "Manage" on "My Computer" (or "This PC" depending on the version of Windows that was installed in the source virtual machine).
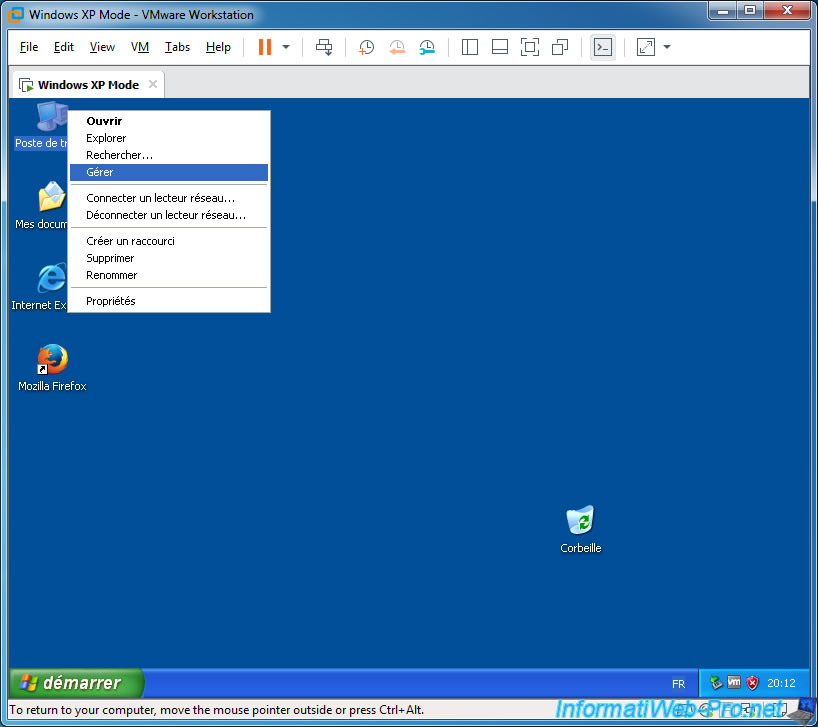
If you go to Device Manager, you will see that the virtual hardware used is now the VMware virtual hardware.
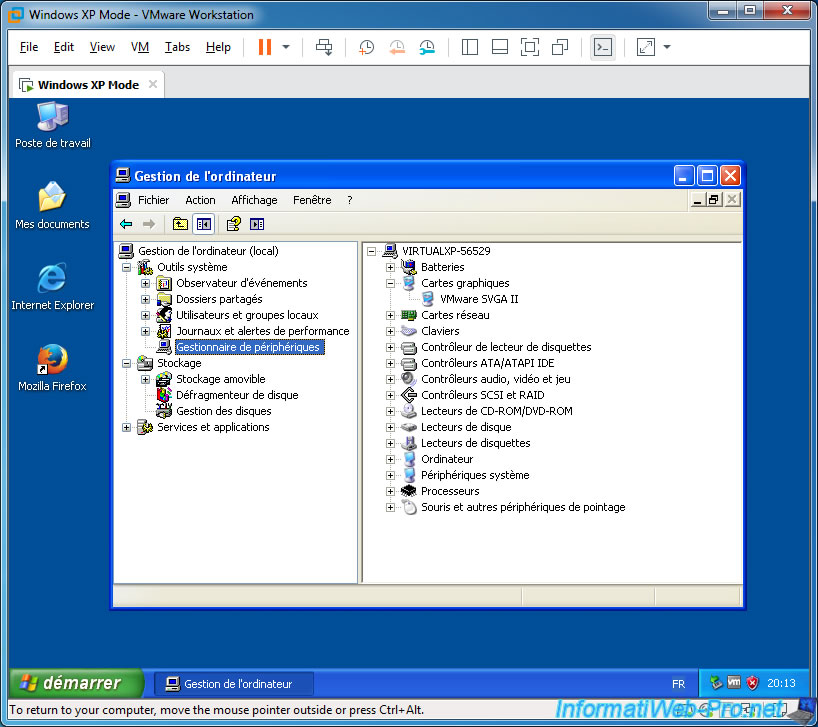
Note that changing the virtual hardware used will void the activation of Windows installed as a guest operating system.
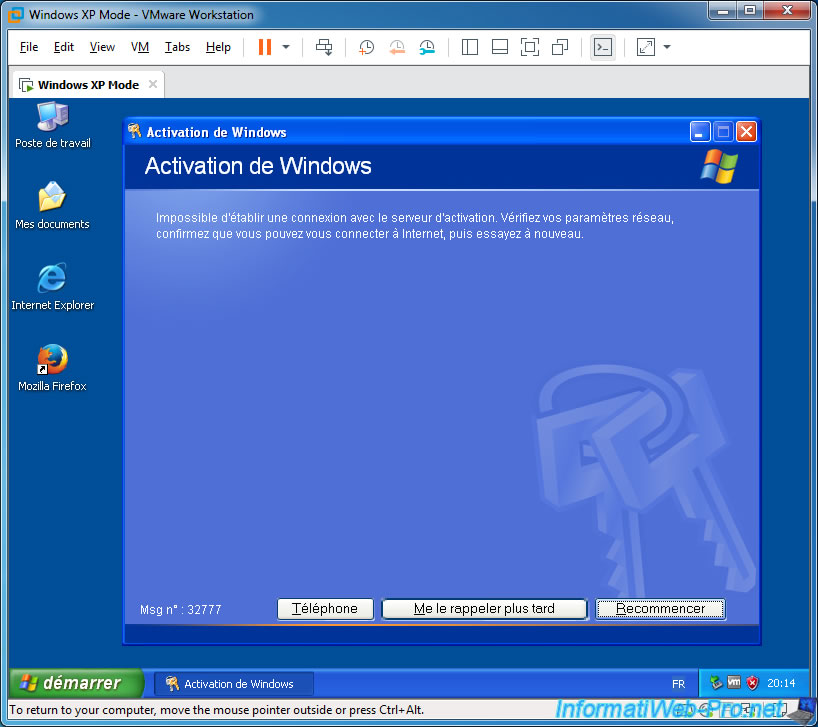
You will therefore have to reactivate it (with the same serial number) via the Internet or by telephone.
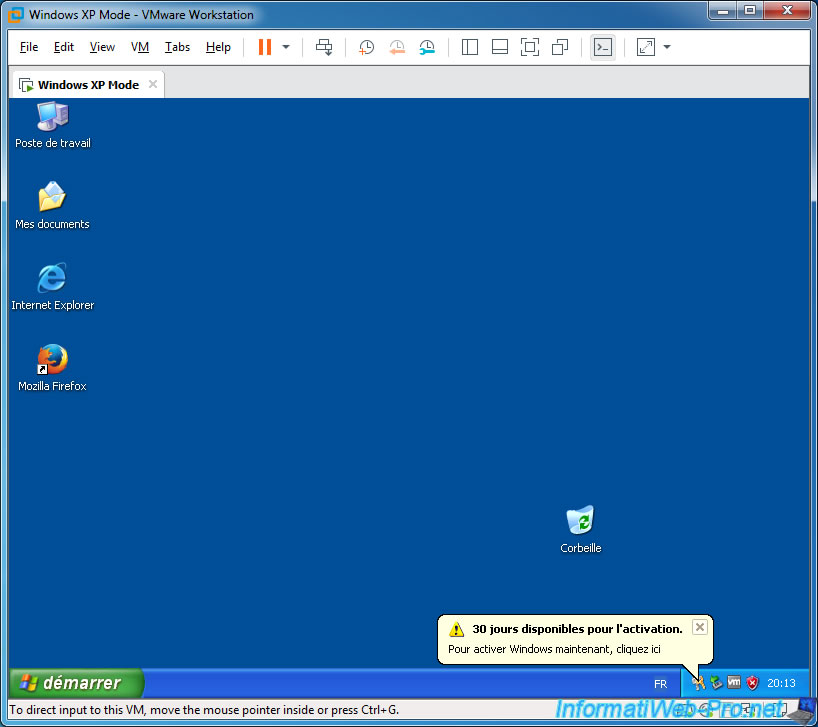
However, note that the activation server for Windows XP is no longer reachable.
If you need to reactivate your Windows XP license, you will have to use the telephone method.
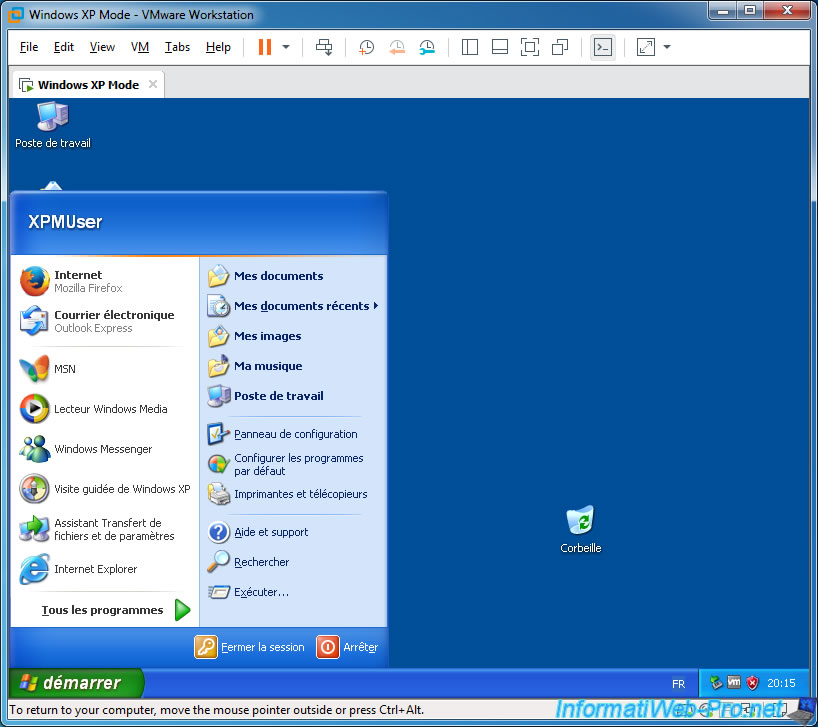
Note that the start menu may have changed slightly from the source virtual machine since Windows Virtual PC integration services are obviously not present in VMware Workstation.
You can therefore shut down Windows properly from its start menu.
In the case of Windows XP, you will then have the "Shut Down Windows" window.
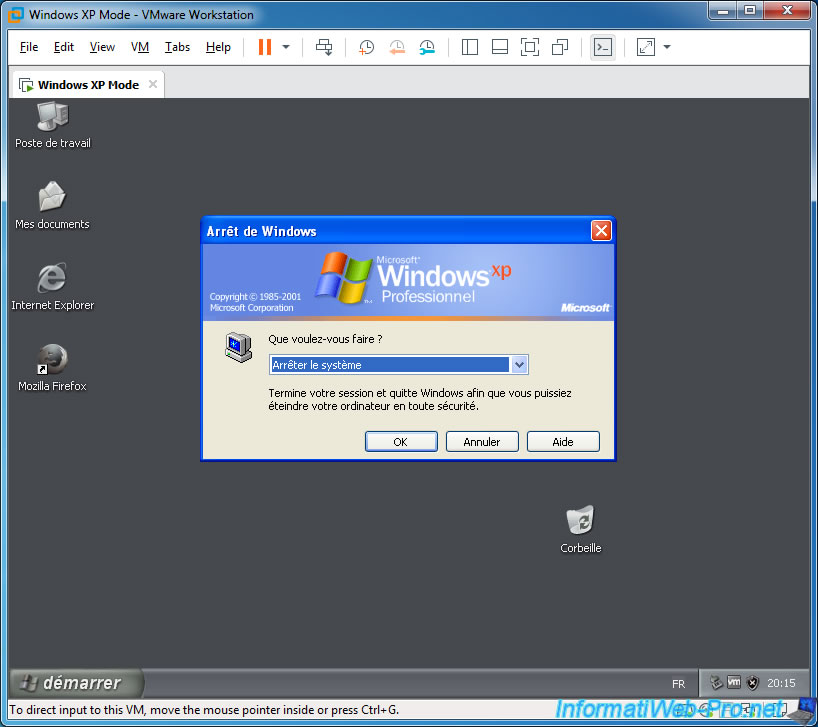
The virtual machine is stopped.
5. Upgrade virtual machine virtual hardware
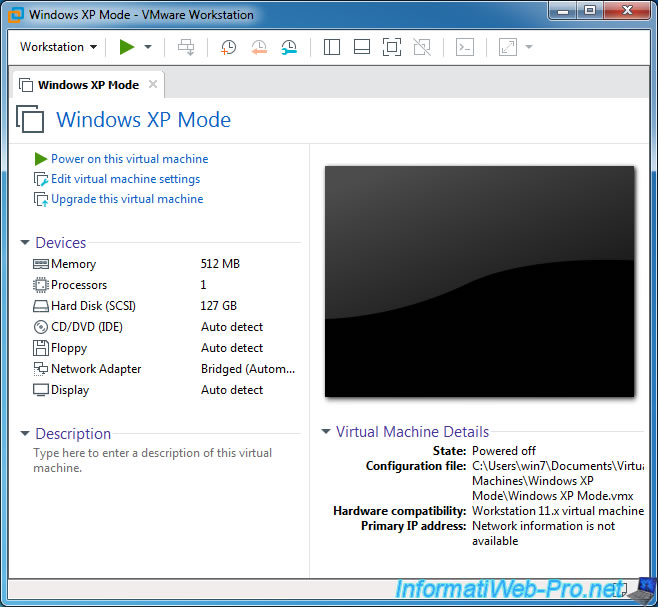
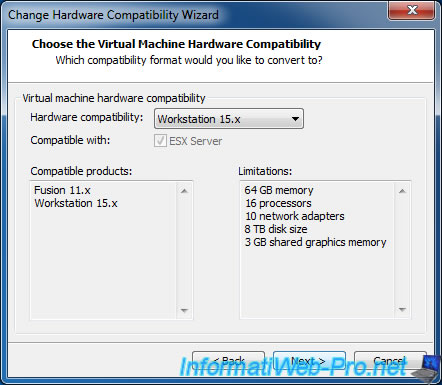
As you may have noticed, VMware vCenter Converer uses VMware virtual hardware version 11.x by default.
However, you can easily upgrade it from VMware Workstation Pro if you want.
To do this, click on the "Upgrade this virtual machine" option.

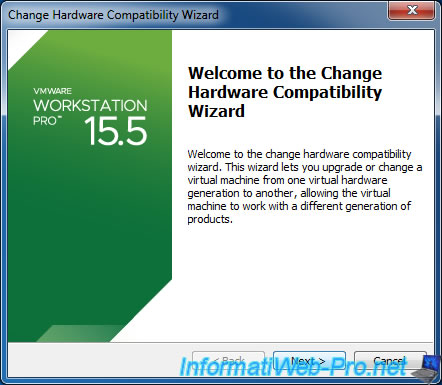
The "Change Hardware Compatibility Wizard" appears.
Click on Next.
Select the latest version available.
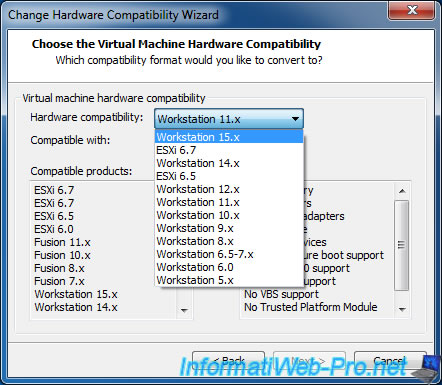
Then, click on Next.
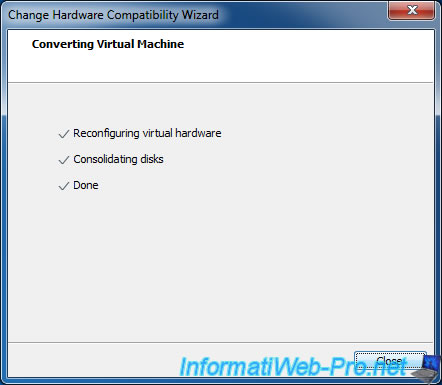
Select "Alter this virtual machine", then click Next.

Virtual hardware has been reconfigured.
Click on Close.
As you can see, the Hardware compatibility level has been updated (Workstation 15.x virtual machine).
Start the virtual machine.

And Windows starts up without any problem.

As expected, everything works as before.

Share this tutorial
To see also
-

VMware 3/16/2013
VMware Workstation - Boot a VM on the BIOS / EFI firmware
-

VMware 2/7/2020
VMware Workstation 15 - Installation on Linux
-

VMware 12/24/2021
VMware Workstation 15 - Slice the virtual hard disk of a VM
-
VMware 11/20/2020
VMware Workstation 15.5.5 / 15.5.6 - Installation on Windows 7
No comment