Virtualize Hyper-V using nested virtualization with VMware Workstation 16 or 11
- VMware
- 31 July 2020 at 11:45 UTC
-

- 2/2

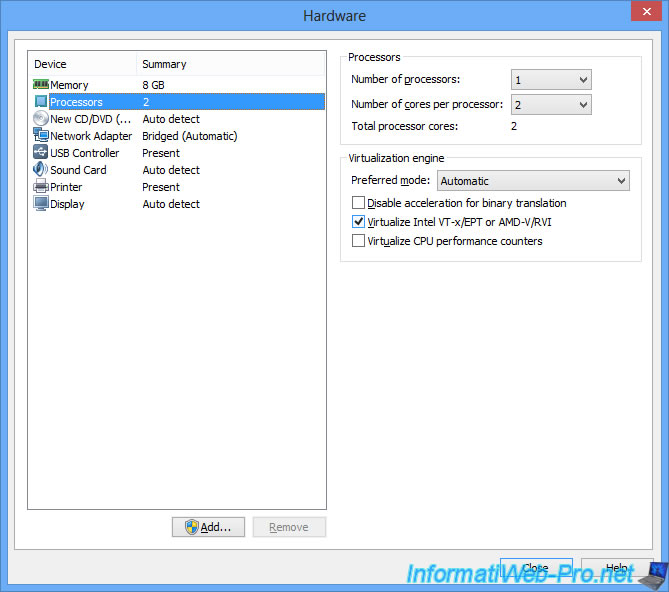
In the "Processors" section, check the "Virtualize Intel VT-x/EPT or AMD-V/RVI" box.
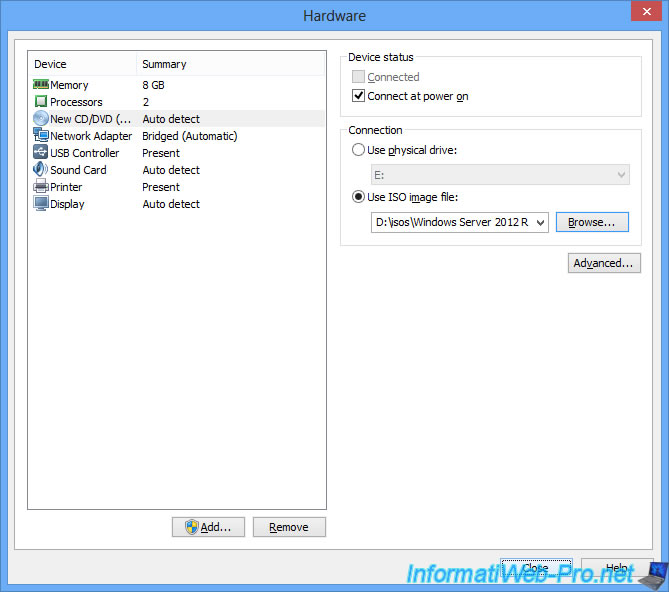
In the "New CD/DVD ..." section, select the Windows Server 2012 R2 iso file.
Then, click on Close.
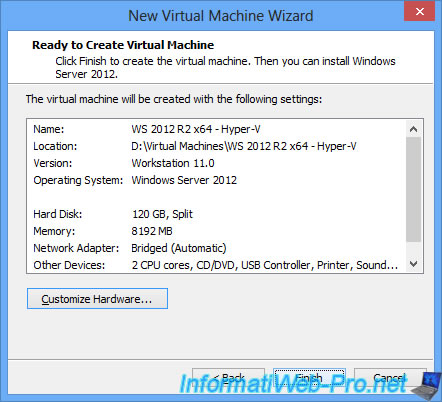
Click Finish to close the wizard.
Close the "[Name of your virtual machine]" tab in VMware Workstation or simply close the VMware Workstation program.
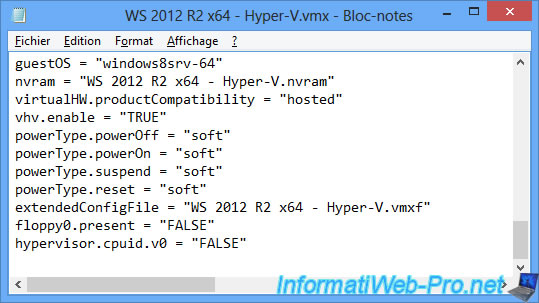
Then, open the ".vmx" file of your virtual machine with Notepad.
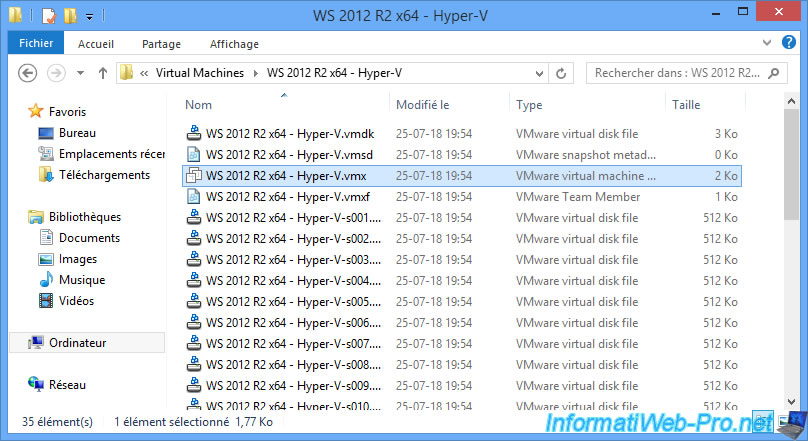
At the end of the file, add this line followed by a line break :
Plain Text
hypervisor.cpuid.v0 = "FALSE"
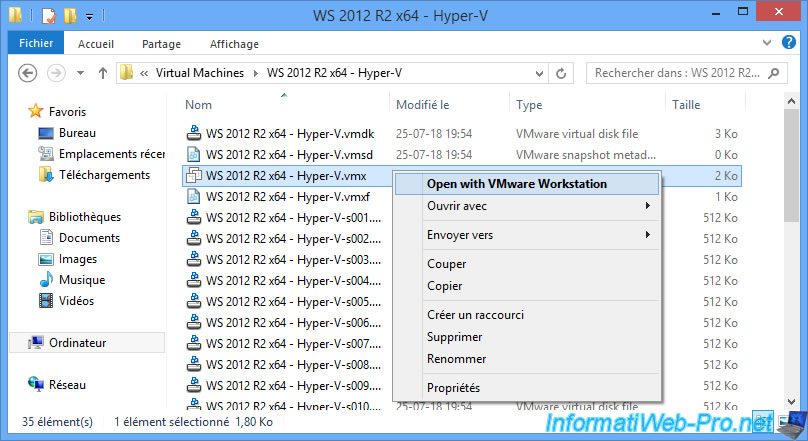
Once saved, double-click on this file or right-click "Open with VMware Workstation" on it.
Note : this will force VMware Workstation to read again the configuration file and thus take into account the new line that has just been added.
4. Install Windows Server 2012 R2 and Hyper-V
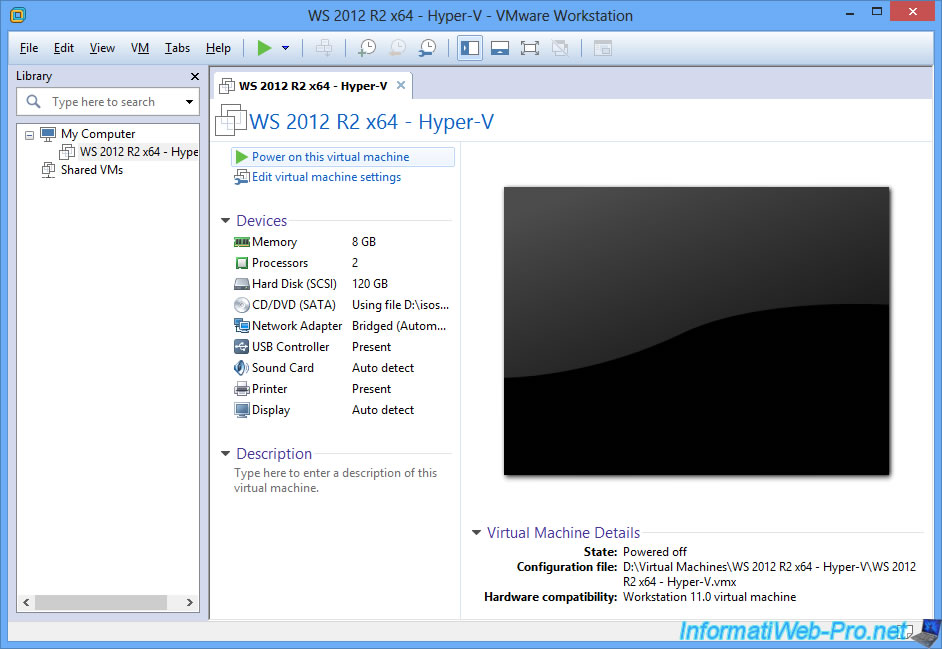
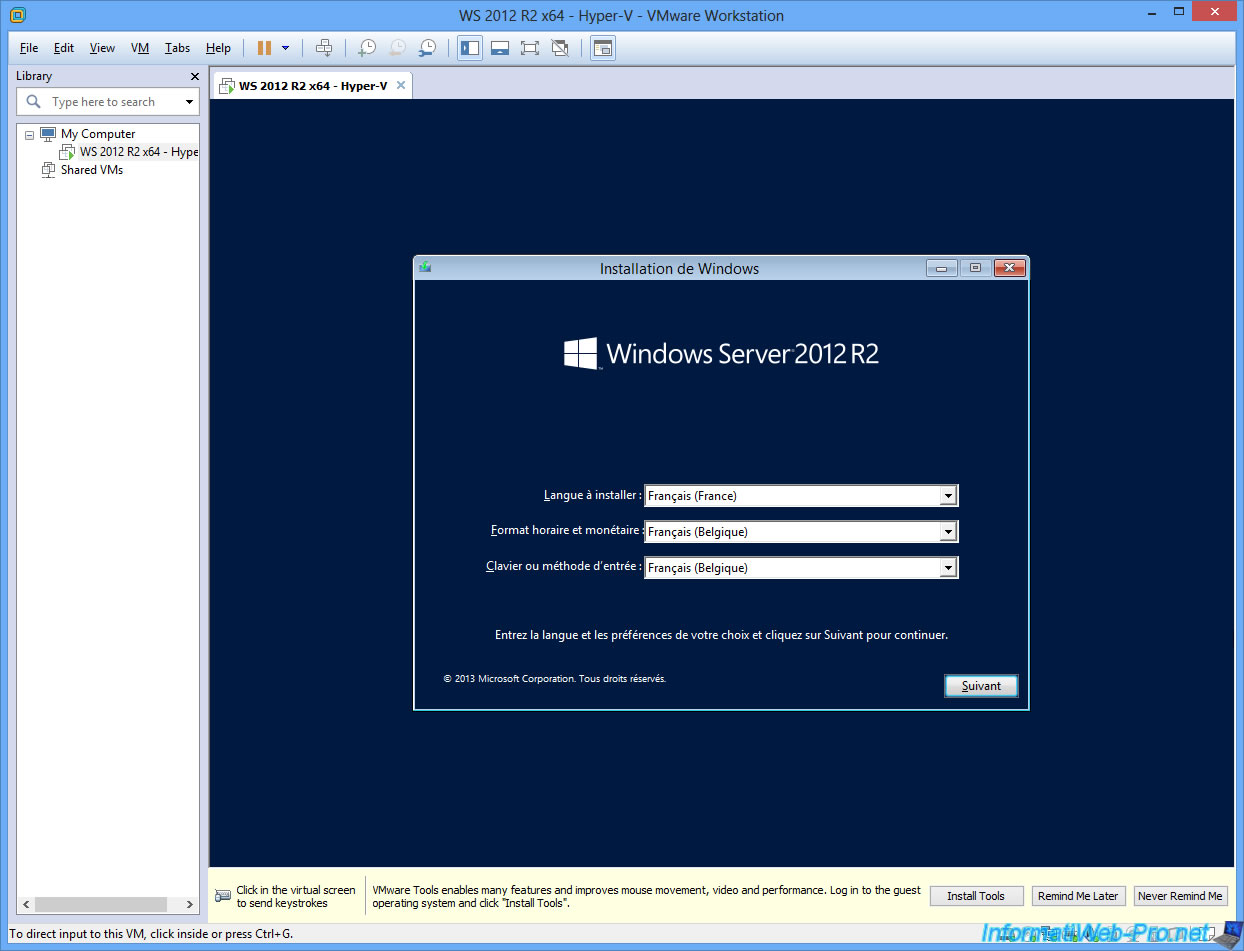
Start your virtual machine.
Install Windows Server 2012 R2 normally.
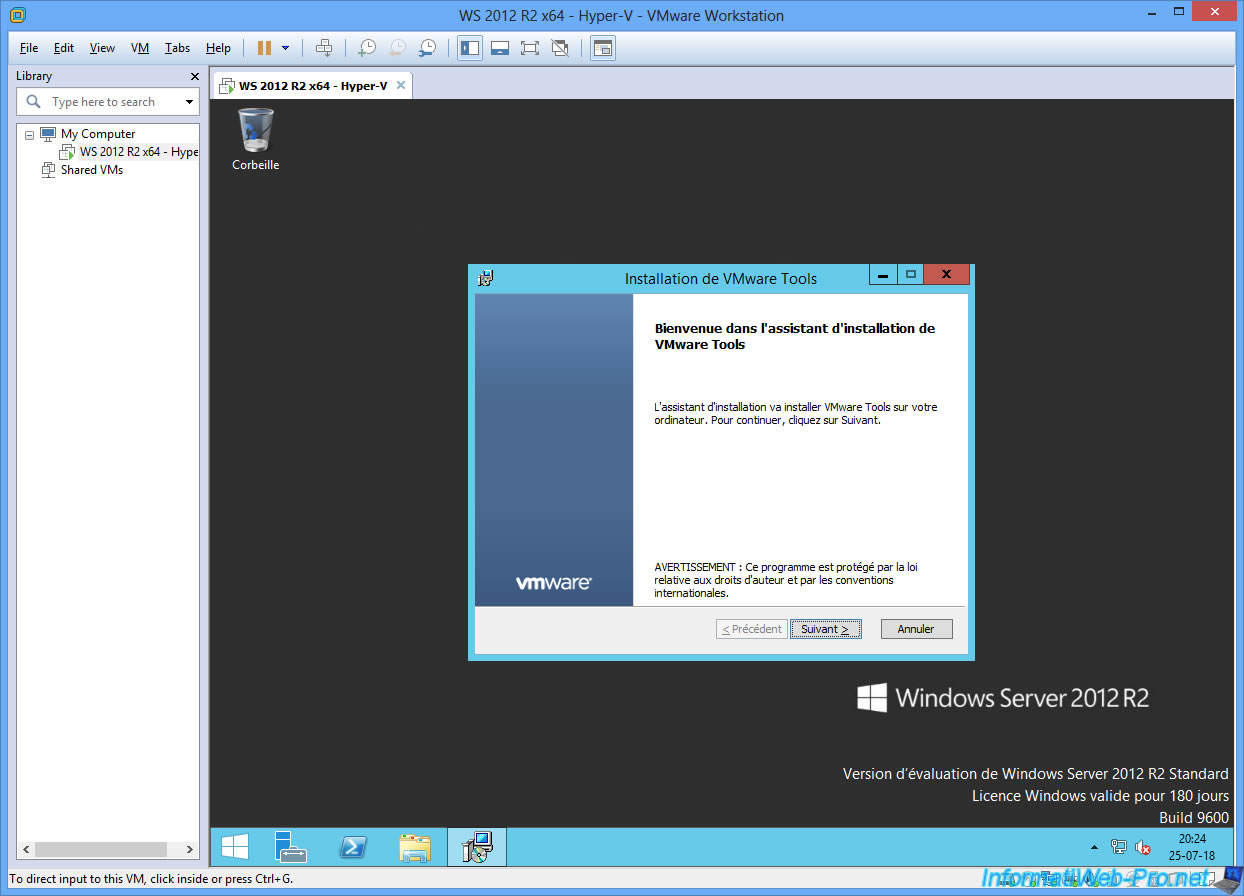
Install the VMware Tools (as usual).
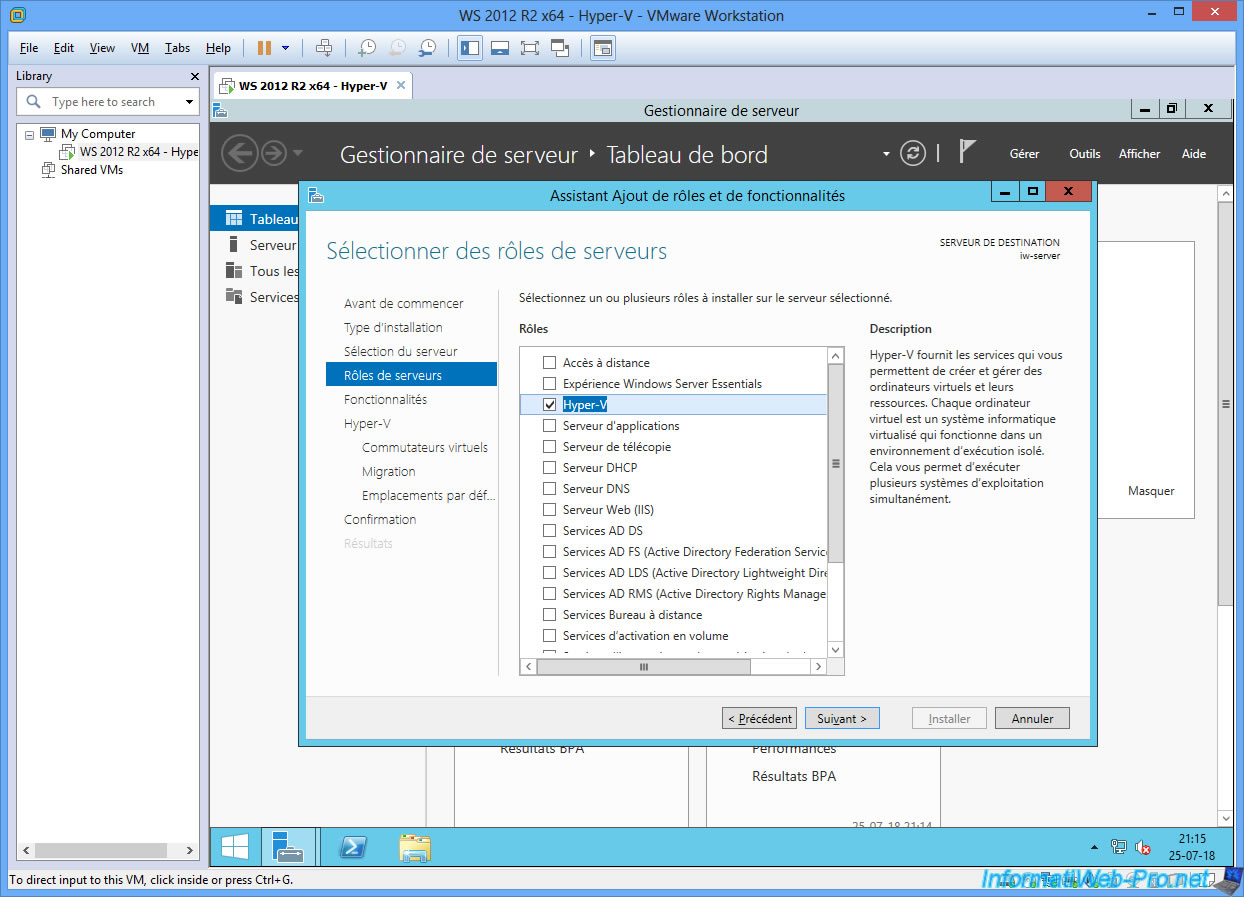
Launch the Add Roles and Features Wizard and check the "Hyper-V" box in the "Server Roles" step.
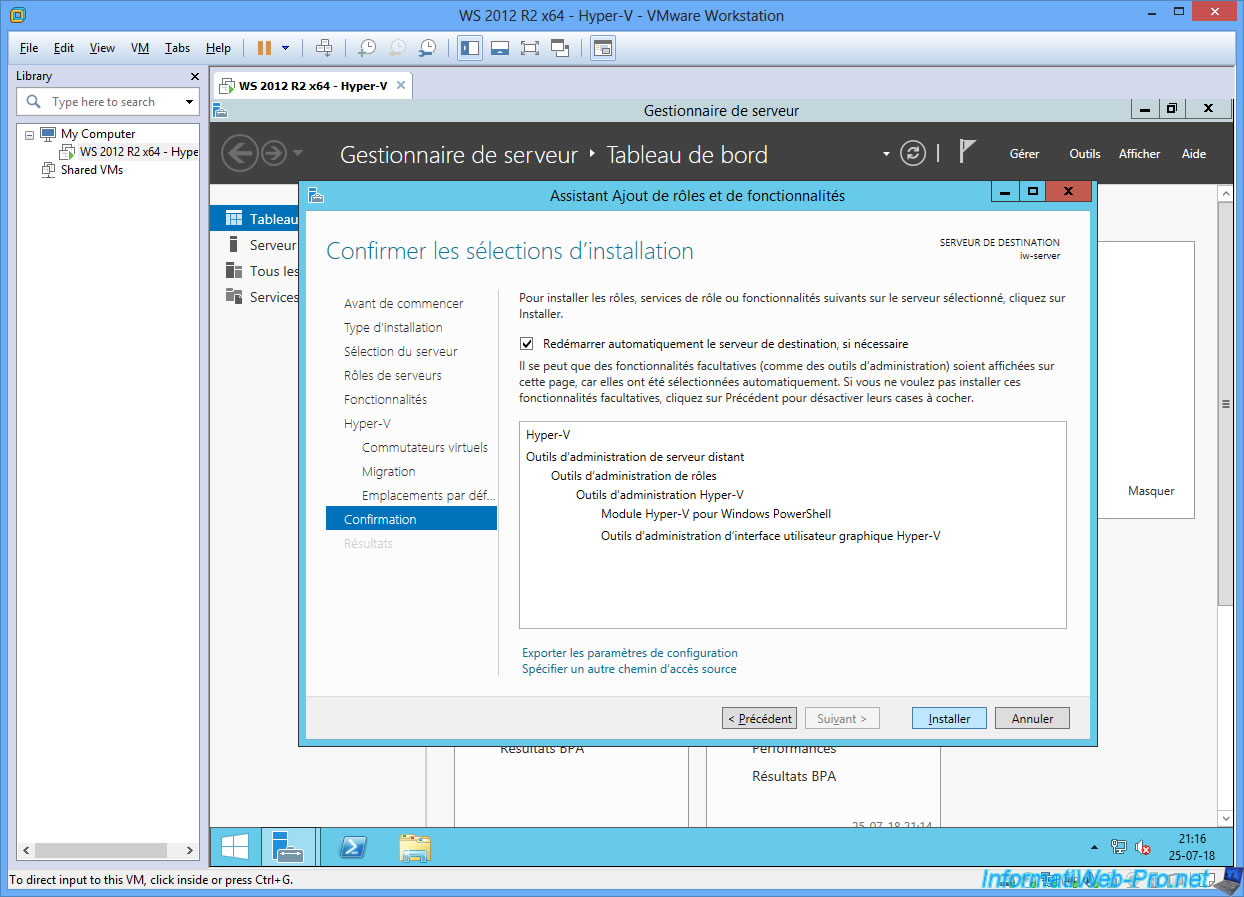
At the end of the wizard, check the "Restart the destination server automatically if required" box.
During the reboot, you will see that Windows Server continues to configure features.
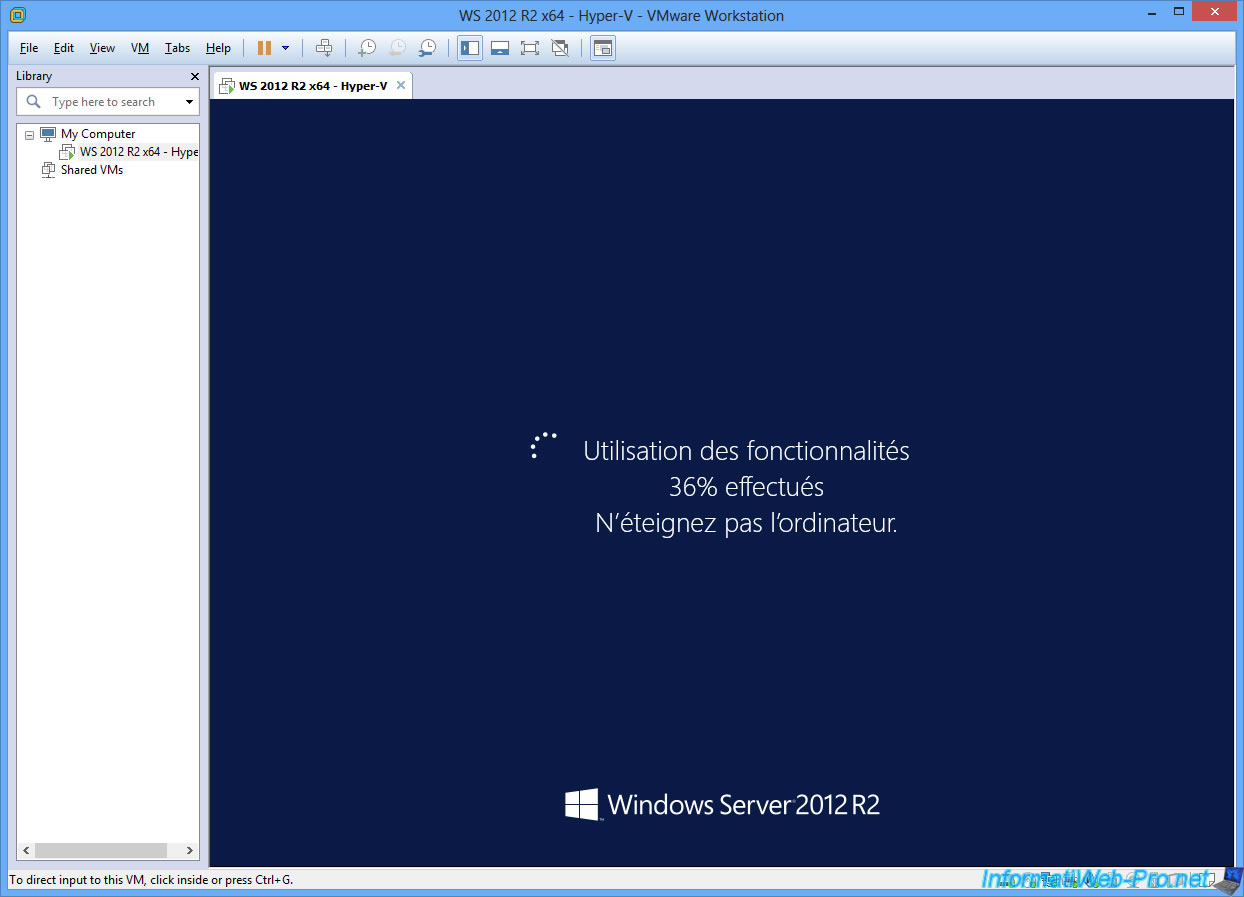
Then, the server will restart.

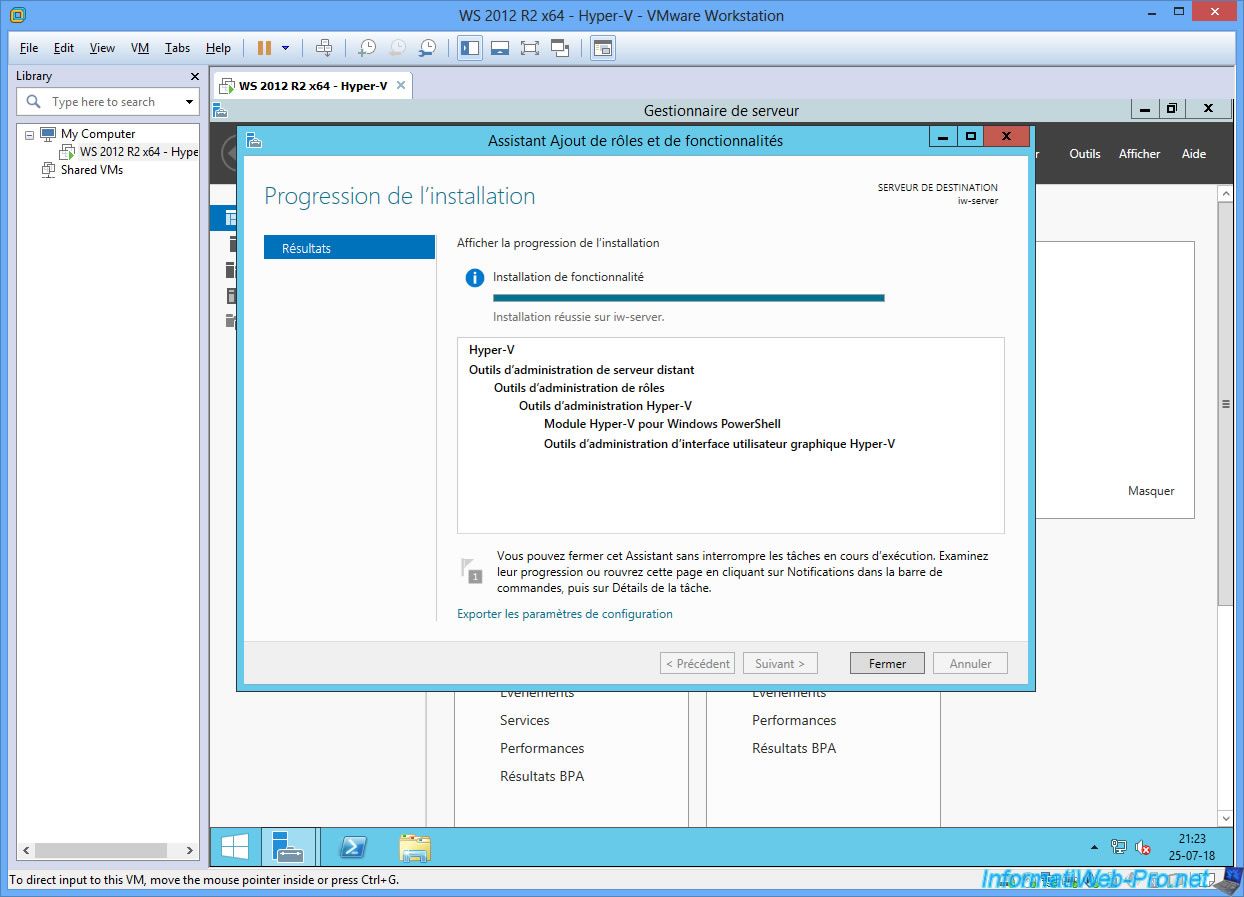
After rebooting, log back in with the same user account (in our case : the Administrator account).
The wizard will reappear automatically and you will see that the installation of Hyper-V has succeeded.
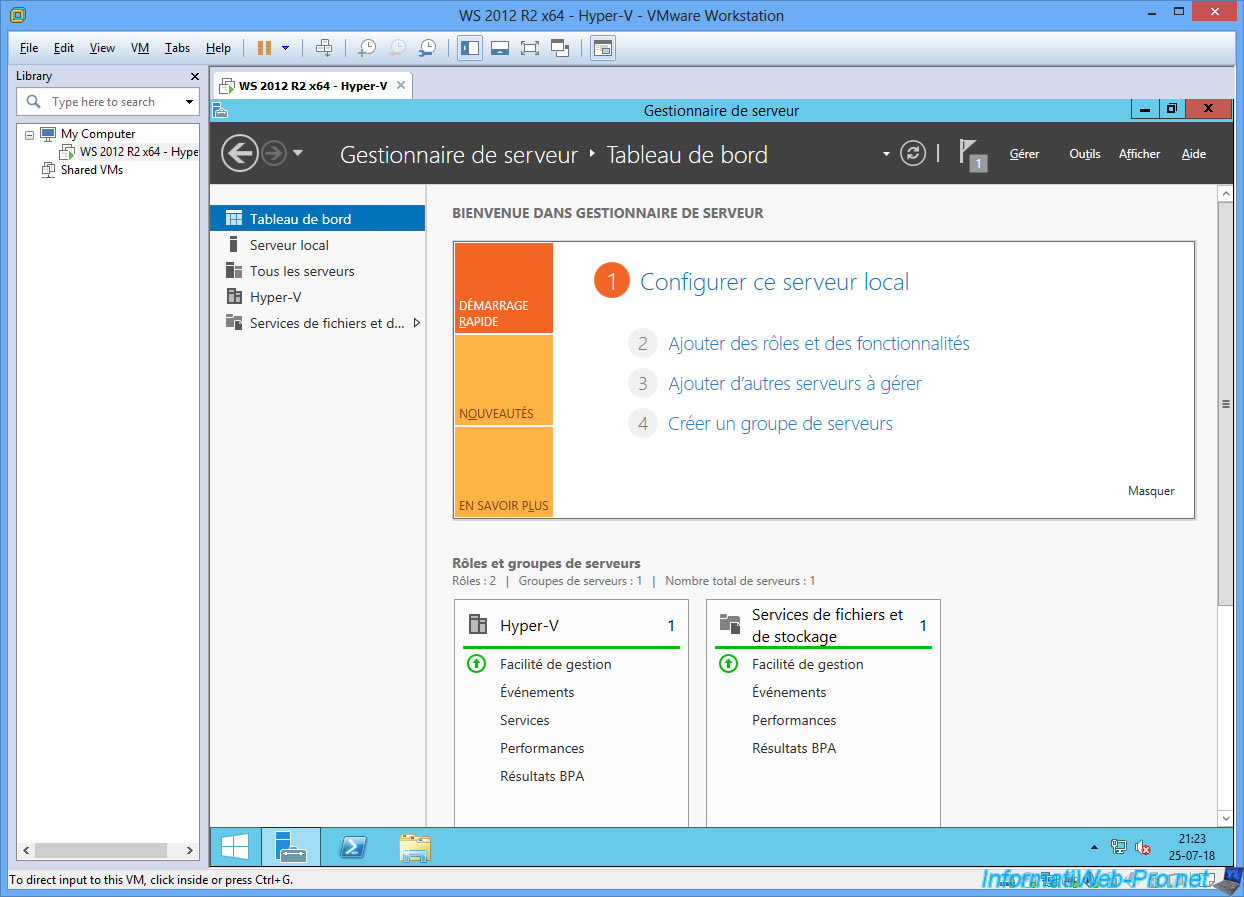
In the server manager, you will see that the Hyper-V role is available.
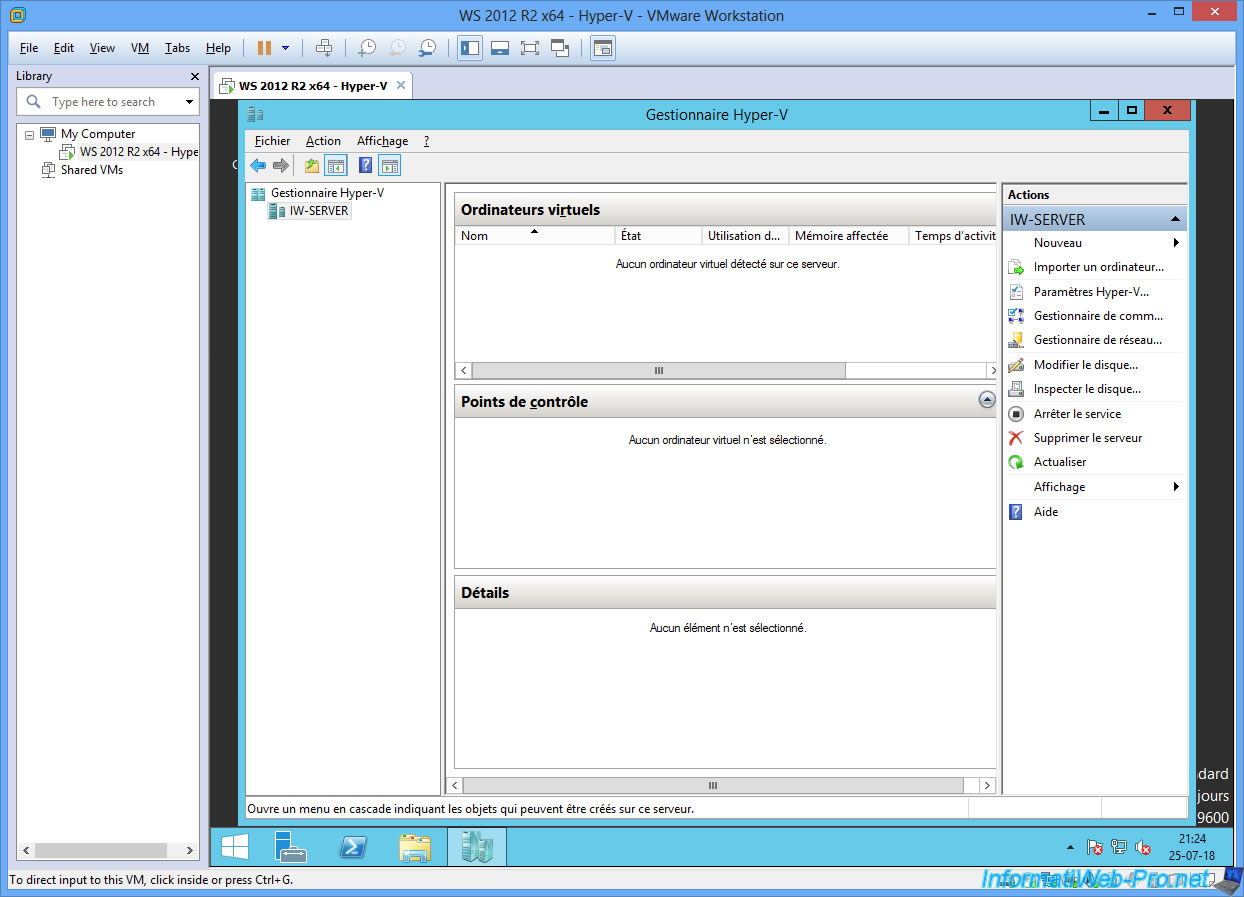
You will have trouble-free access to the Hyper-V Manager.
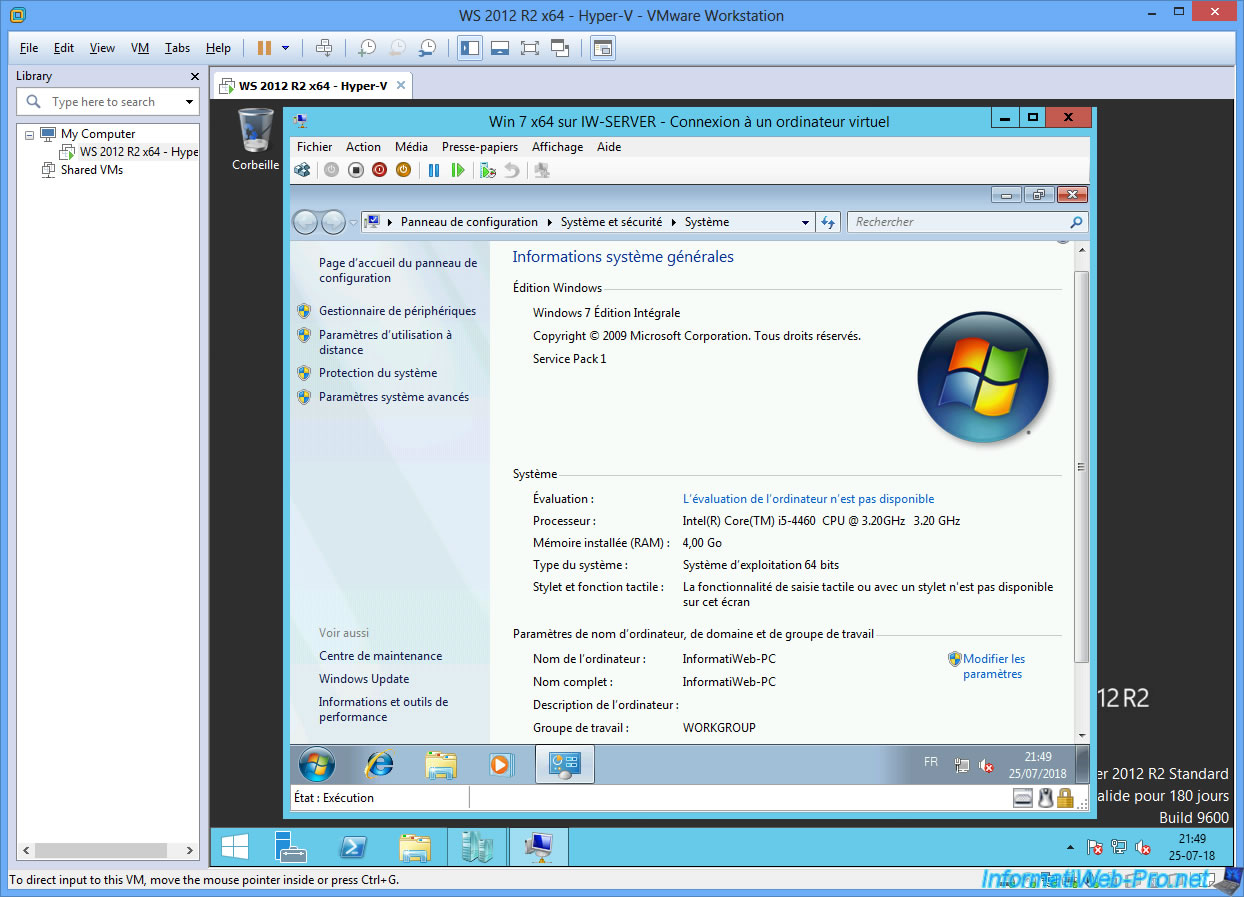
And you can create and use virtual machines without problems (if your host PC is sufficiently powerful, of course).
Share this tutorial
To see also
-
VMware 2/24/2016
VMware Workstation - Remotely access to a VM over VNC
-

VMware 3/25/2013
VMware Workstation / Player - Install Windows 95
-
VMware 1/31/2020
VMware Workstation 10 - Import Windows XP Mode of Microsoft
-
VMware 1/31/2020
VMware Workstation 11 / 10 - Virtualize Windows XP to make it fluid
No comment