- VMware
- 31 January 2020 at 09:38 UTC
-

- 1/3
On Windows 7, Windows XP SP3 can be legally virtualized for free in a few clicks thanks to Windows XP Mode of Microsoft.
However, if you want to uninstall Windows Virtual PC to migrate Windows XP Mode to a VMware Workstation virtual machine for better performance, here's how.
Note that this is only possible with an older version of VMware Workstation (in this case : VMware Workstation 10).
Indeed, Windows XP has become very slow with new versions of VMware Workstation.
Important : Windows XP support is no longer supported by Microsoft since 2014. It is therefore vulnerable to various hacker attacks.
- Dependency not specified (Important)
- Preparing the Windows XP Mode machine managed by Virtual PC
- Importing Windows XP Mode into VMware Workstation
- Proof and fix dependency not specified by VMware
- Import a Virtual PC virtual machine into VMware Workstation
1. Dependency not specified (Important)
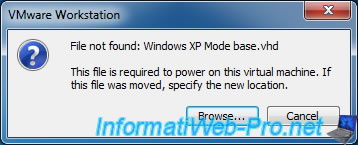
Warning : although VMware Workstation will appear to import Windows XP Mode for conversion to a VMware virtual machine, it will still depend (even if it's not specified) on the base virtual hard disk of Windows XP Mode.
It's therefore very important to keep the virtual hard disk "Windows XP Mode base.vhd" created by the "WindowsXPMode_fr-fr.exe" installer and stored by default in the "C:\Program Files\Windows XP Mode" folder.
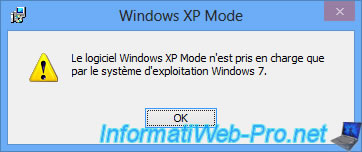
And since Windows XP Mode is intended for Windows 7, you will not be able to reinstall this virtual hard disk with another version of Windows.
2. Preparing the Windows XP Mode machine managed by Virtual PC
To begin, start Windows Virtual PC from the start menu.
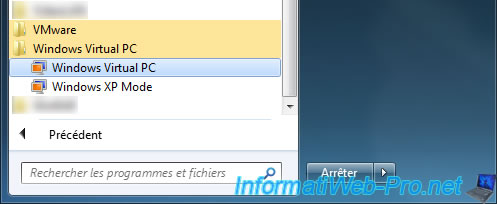
As you can see, by default, Windows XP Mode is in hibernation when you close it instead of being completely shut down.
Select the "Windows XP Mode" virtual machine and click Settings.
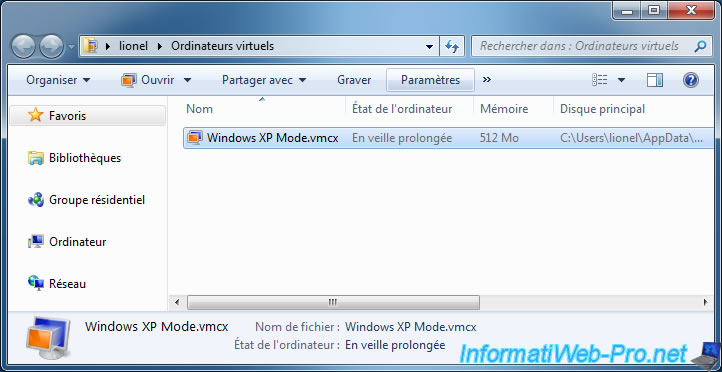
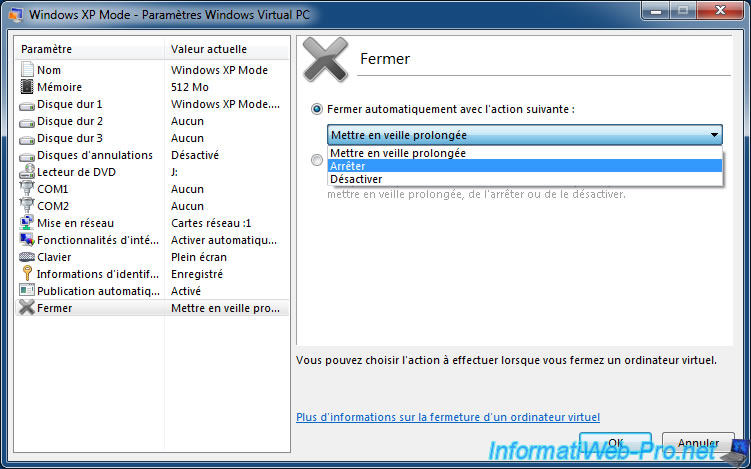
In the settings of this virtual machine, go to the "Close" section and select "Automatically close with the following action : Shut Down".
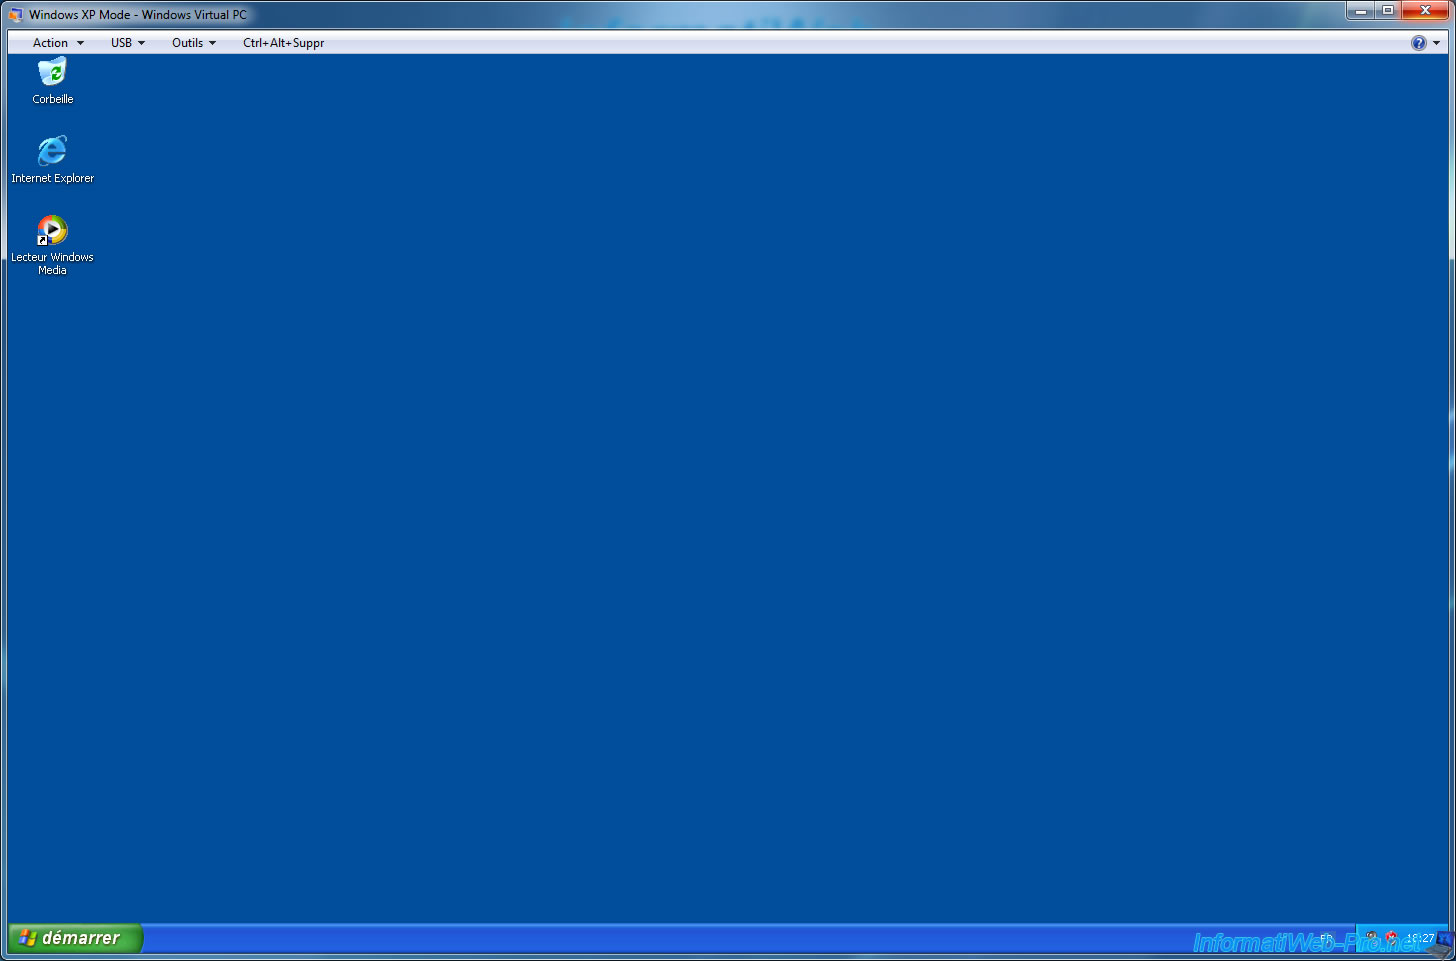
Start the virtual machine (to wake it from hibernation).

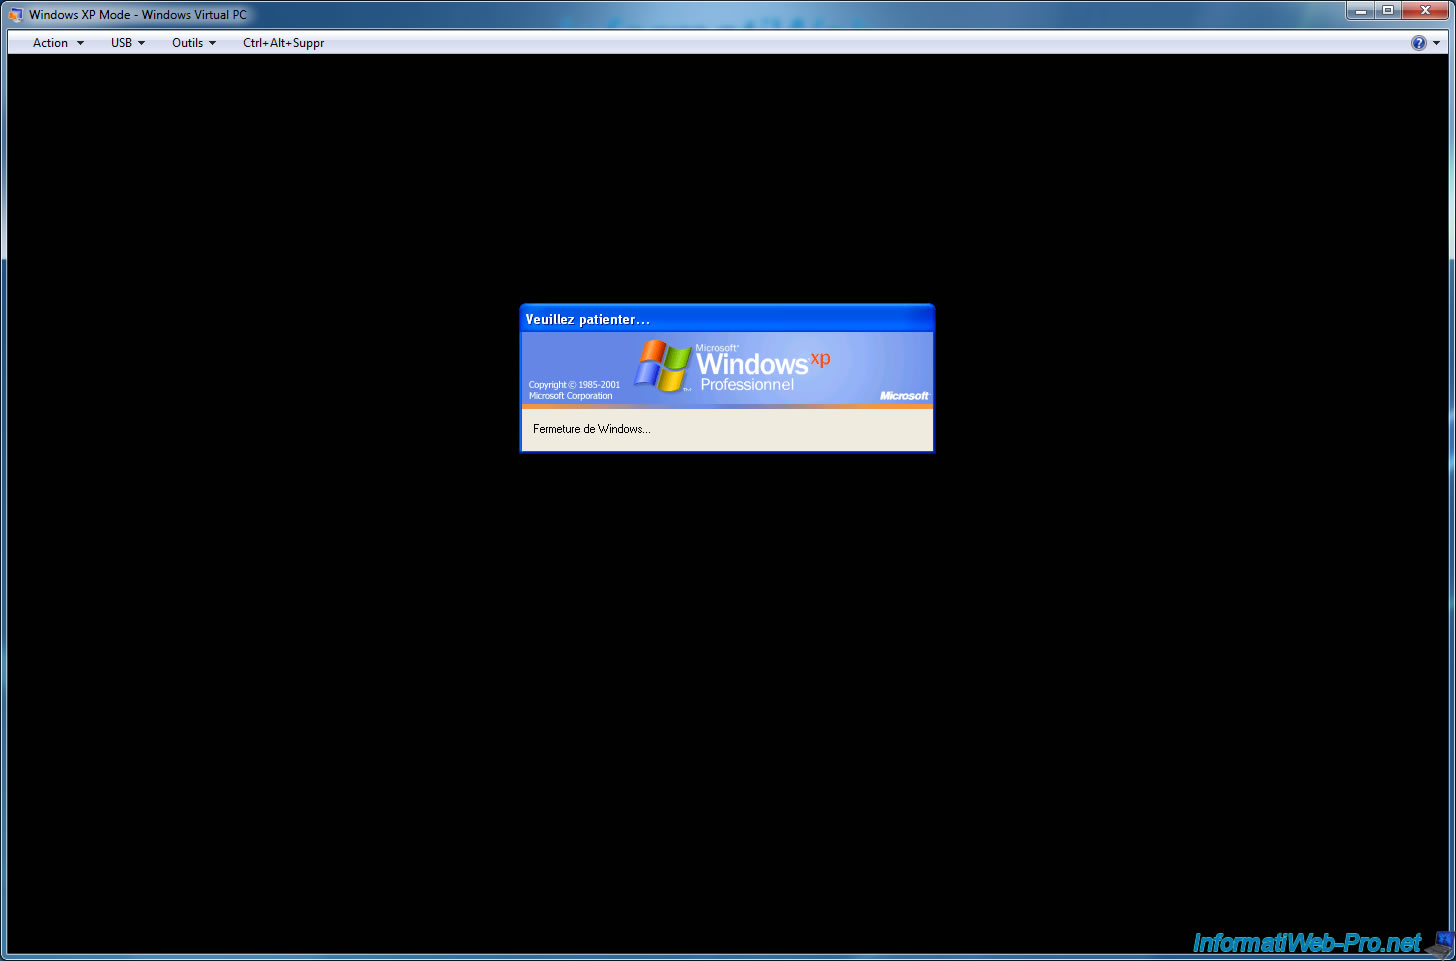
After the virtual machine starts, close the window to shut it down properly.
Windows XP stops.
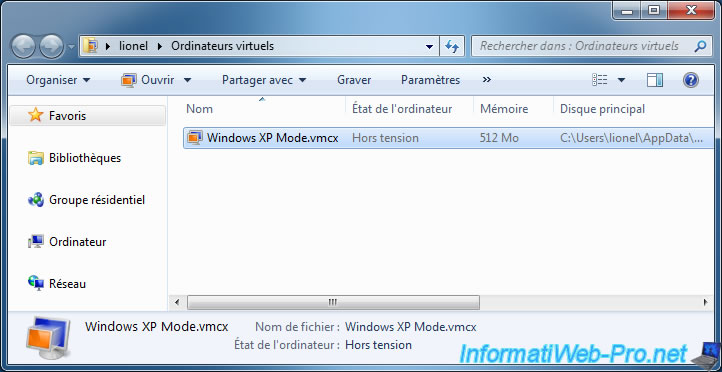
Now, the "Windows XP Mode" virtual machine is powered off.
3. Importing Windows XP Mode into VMware Workstation
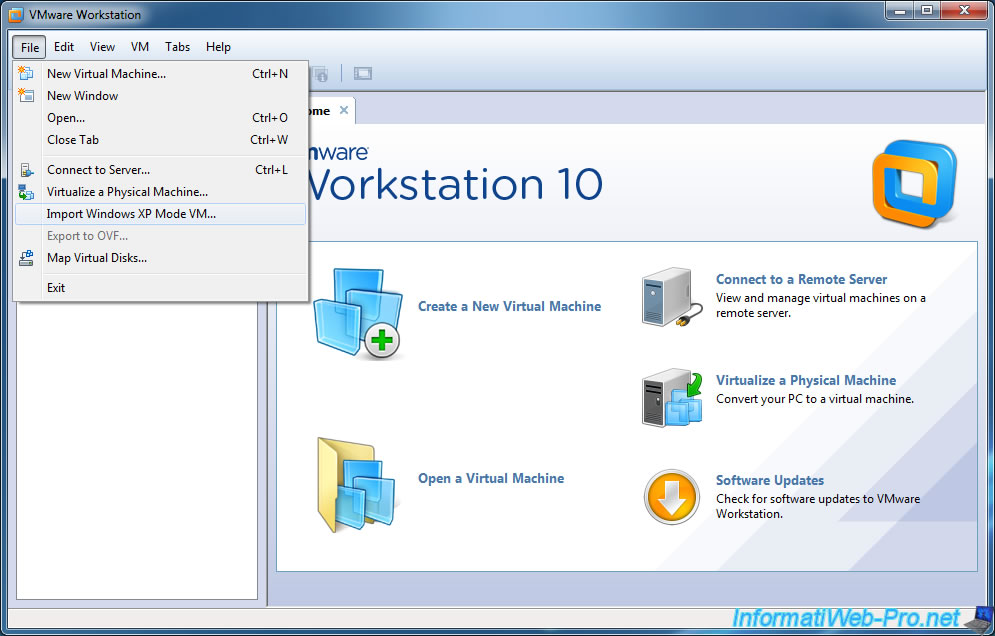
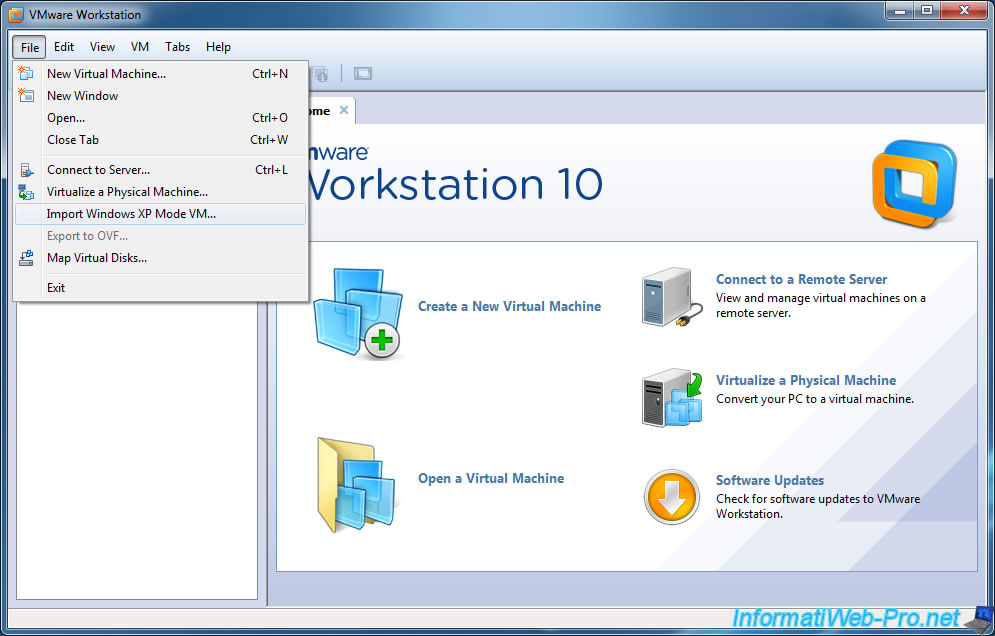
To import Windows XP Mode into VMware Workstation, go to the File menu and click : Import Windows XP Mode VM.
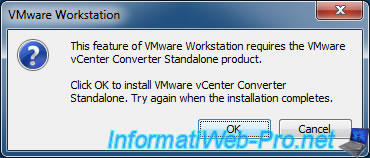
As specified by VMware, this feature requires the installation of the "VMware vCenter Converter Standalone" product.
Click OK to install it.
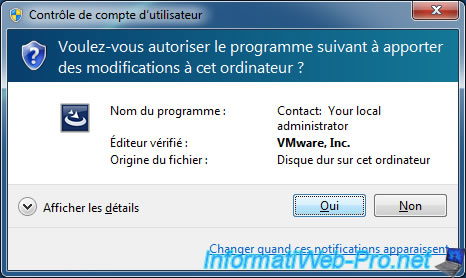
Click Yes.
The installation of VMware vCenter Converter Standalone starts.
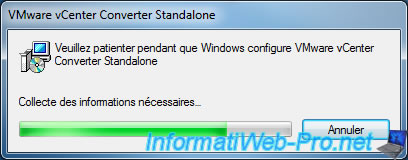
When the installation is complete, click again : File -> Import Windows XP Mode VM.
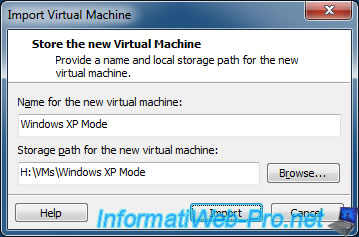
This time, an "Import Virtual Machine" window appears.
Provide a name and a location for the VM to import and click Import.
Wait while importing Windows XP Mode.

Once the import is complete, the "Windows XP Mode" virtual machine will appear in VMware Workstation.
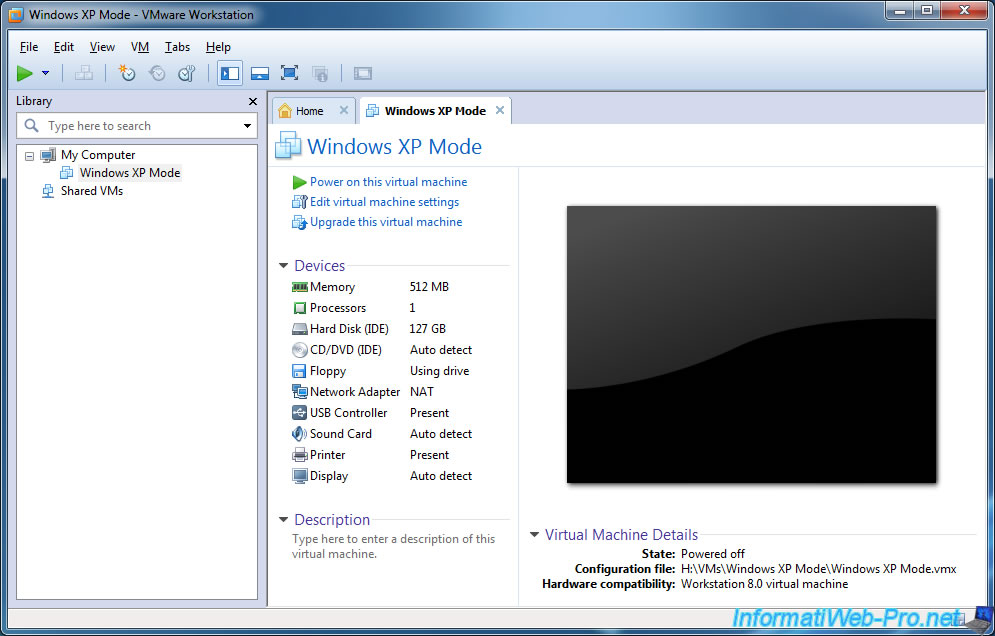
The virtual machine starts correctly.
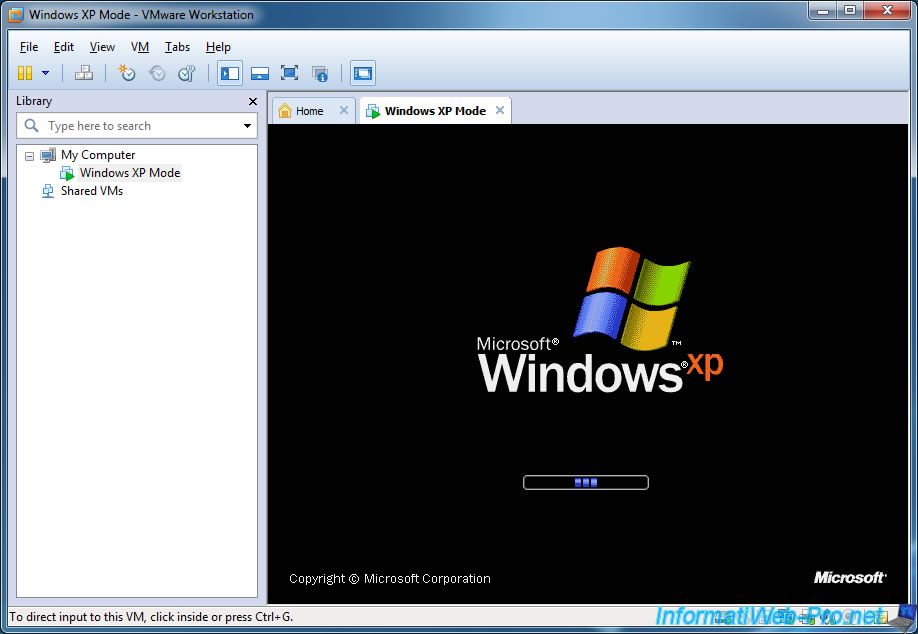
And a mini installation (due to the use of sysprep by Microsoft) appears.
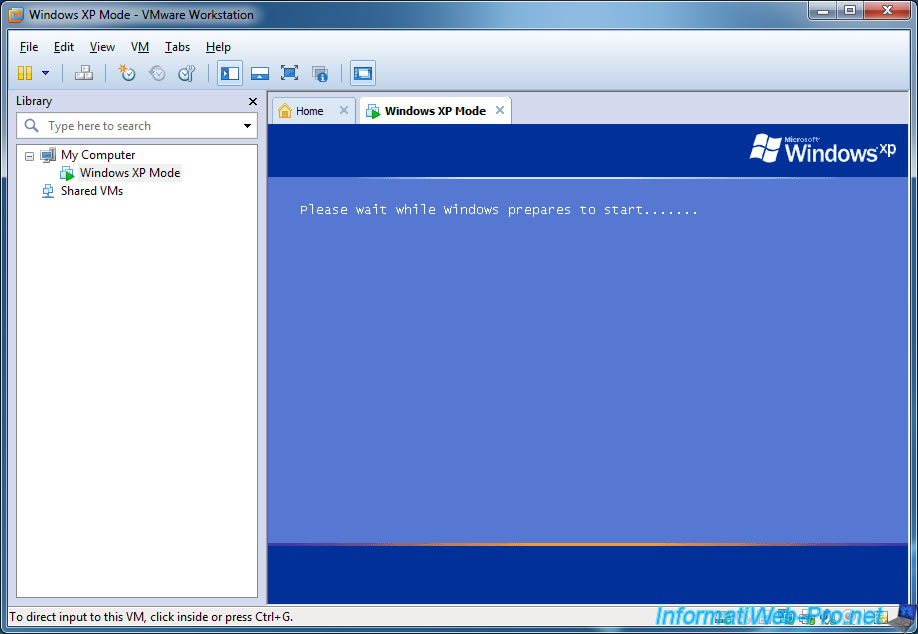
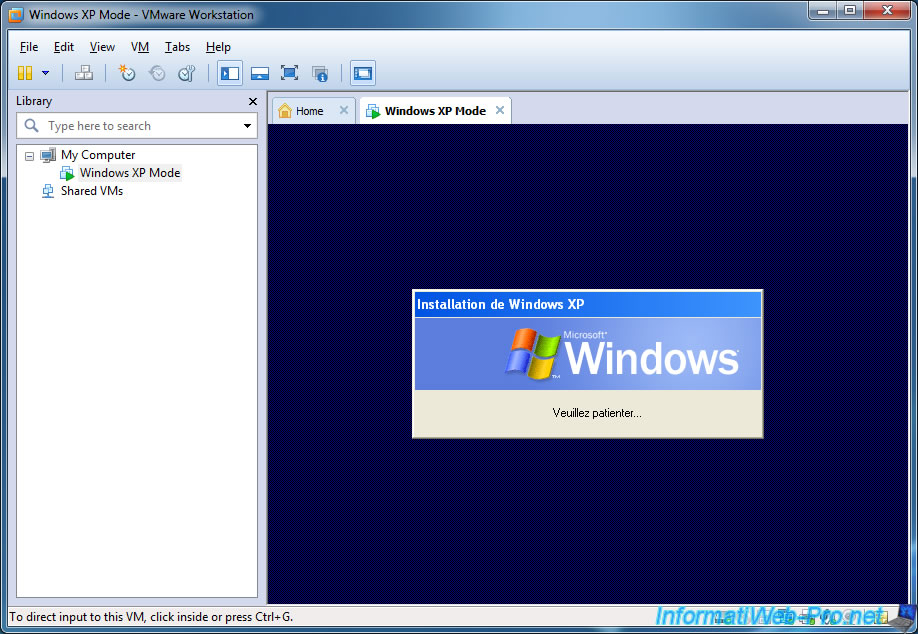
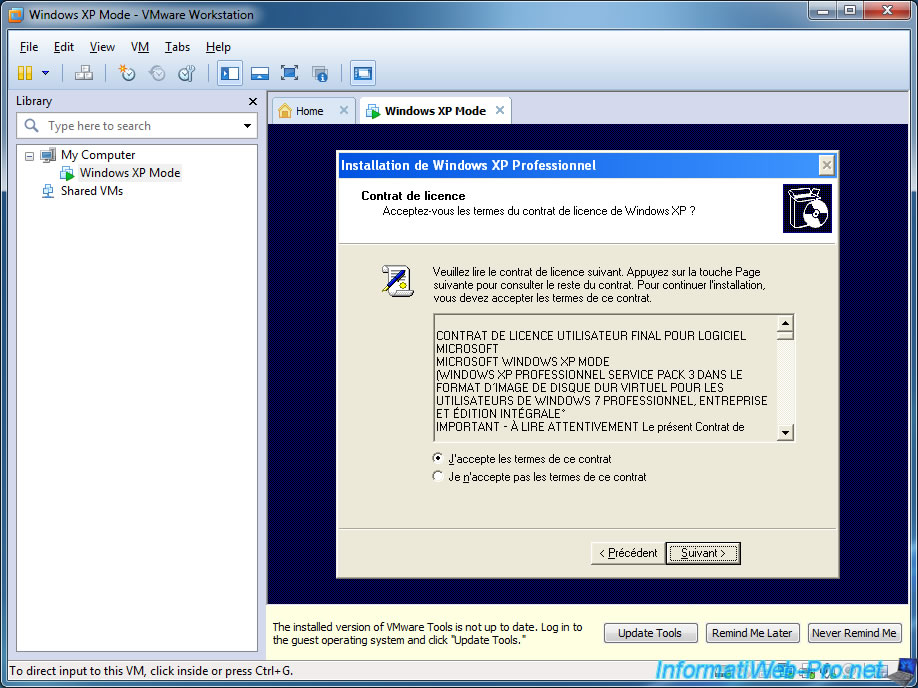
Accept the license agreement.
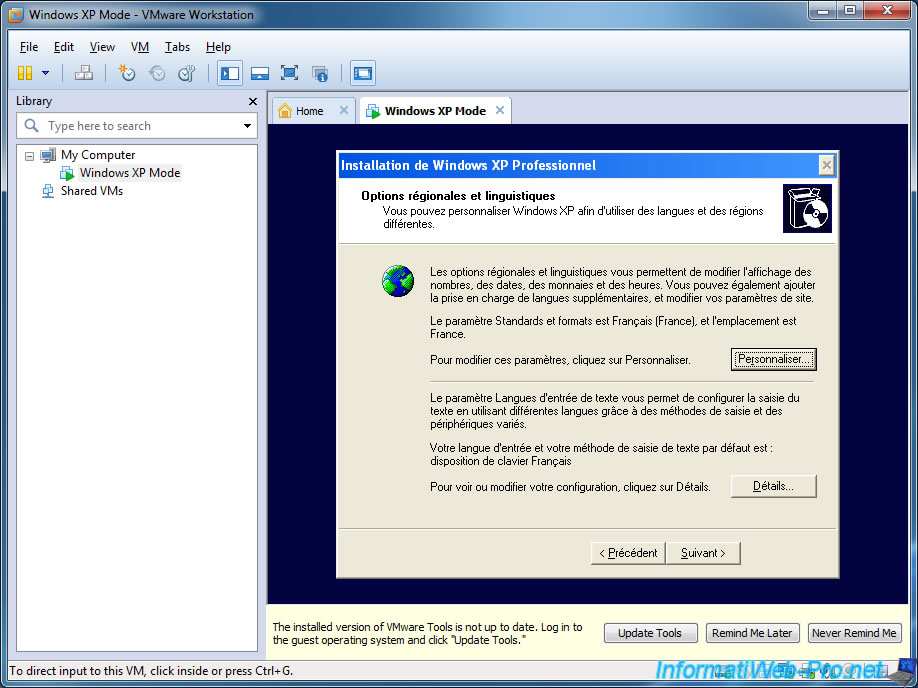
Configure the language settings of Windows XP.
This is very important for the keys on your keyboard to be properly configured for use in this virtual machine.
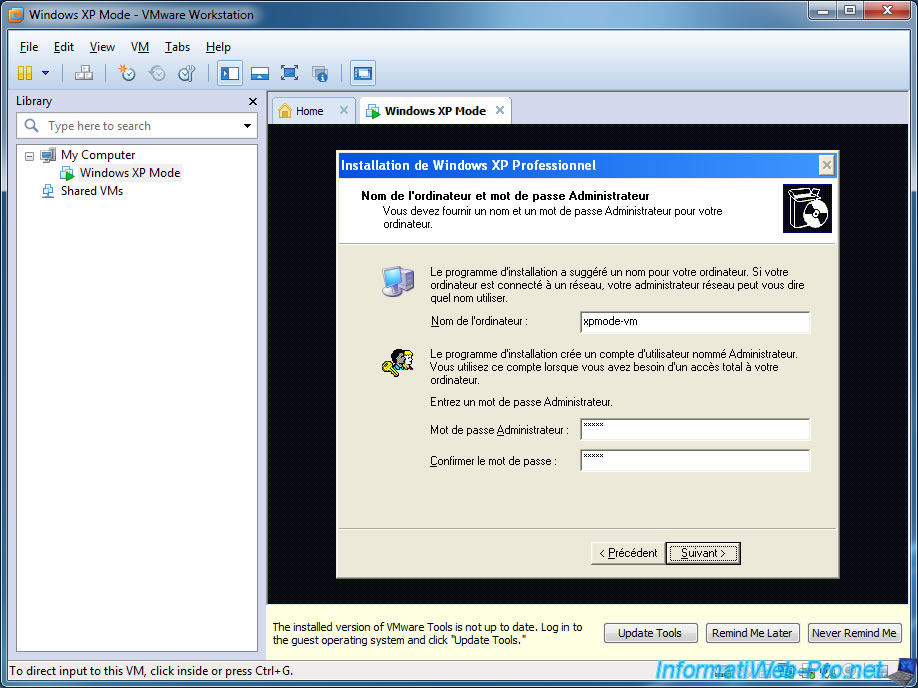
Provide a name for this virtual machine on the network and set a password for the administrator if you wish.
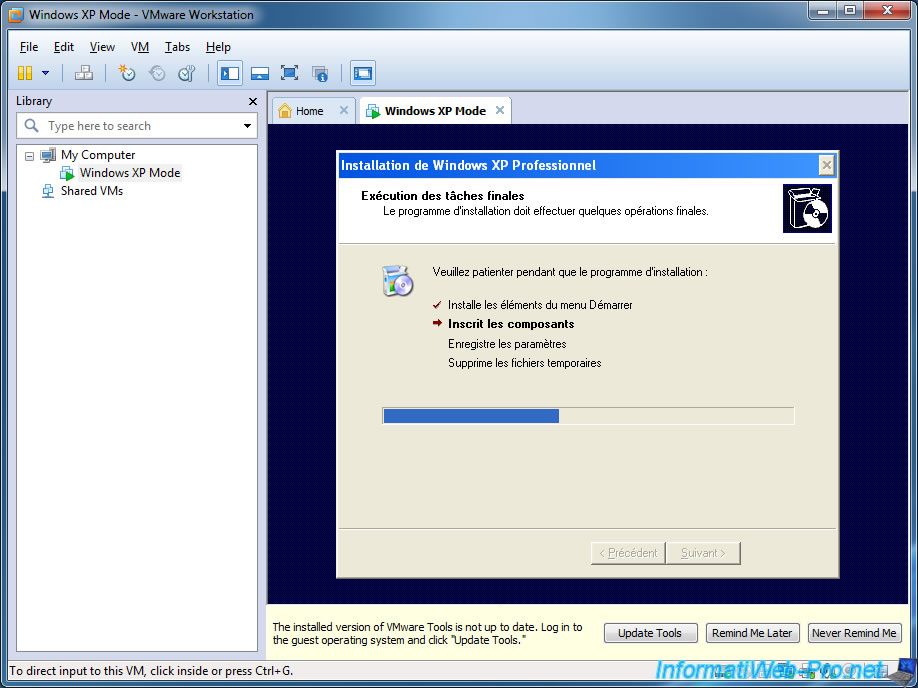
The rest of the installation will be done without your intervention.
Share this tutorial
To see also
-
VMware 2/24/2016
VMware Workstation - Remotely access to a VM over VNC
-

VMware 3/25/2013
VMware Workstation / Player - Install Windows 95
-
VMware 1/31/2020
VMware Workstation 11 / 10 - Virtualize Windows XP to make it fluid
-
VMware 8/14/2020
VMware Workstation 12 / 11 / 10 - Virtualize Citrix XenServer 6.5.0

You must be logged in to post a comment