Virtualize VMware ESXi 6.5 or 6.7 with VMware Workstation 17.5.1, 16, 11 or 10
- VMware
- 07 August 2020 at 08:56 UTC
-

- 2/2

3. Creating a virtual machine on the VMware ESXi server
We access our ESXi server virtualized with VMware Workstation simply by typing the IP address of this server in the address bar of our web browser.
If a security warning appears, ignore it or refer to the tutorial mentioned earlier to fix this problem.
Then, log in as root.
Create a new virtual machine.

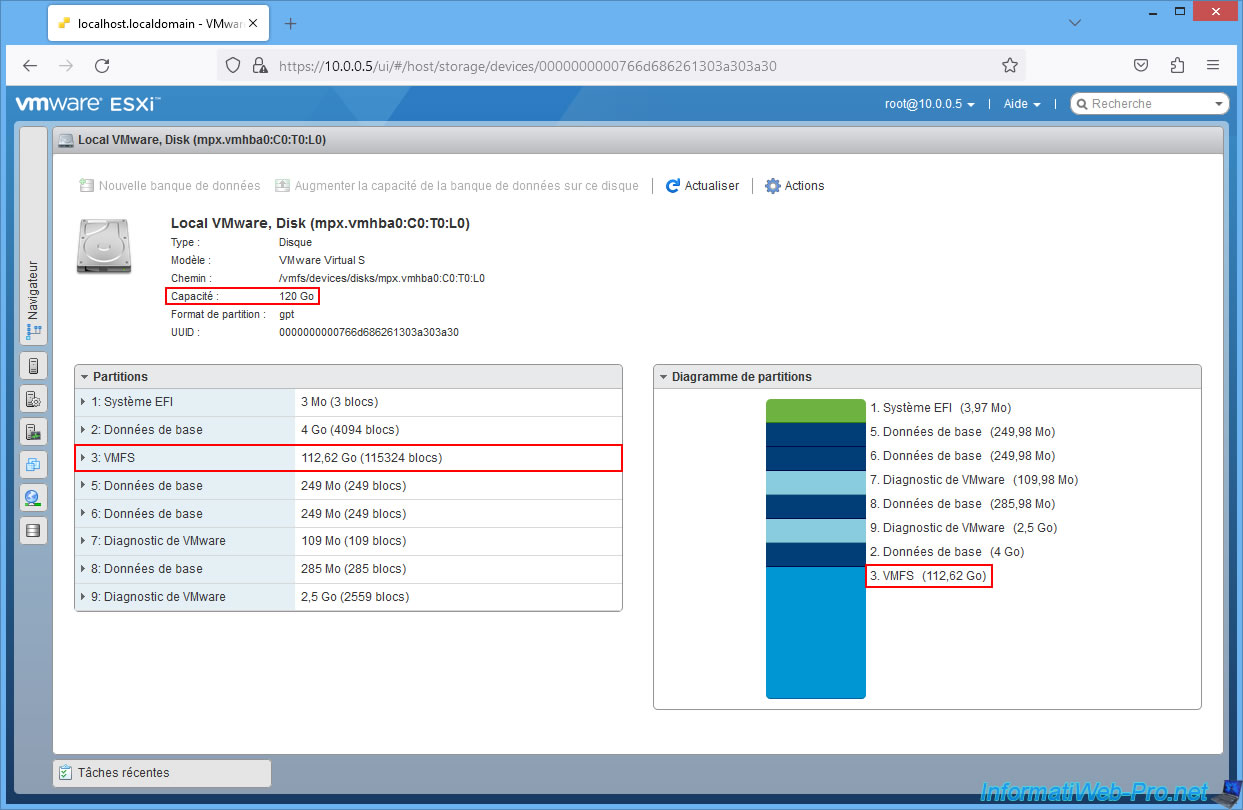
Once logged in as "root", if you go to the "Storage -> Devices" section and click on the name of your virtual disk (Local VMware, Disk (mpx.vmhba0:C0:T0:L0)), you will notice that VMware ESXi tells you that the capacity of the disk is "120 GB".
However, the VMFS partition created by default on it has a size of 112.62 GB in this case. In other words, you only lose about 8 GB for the "VMware ESXi" operating system on VMware ESXi 6.5 and 6.7.
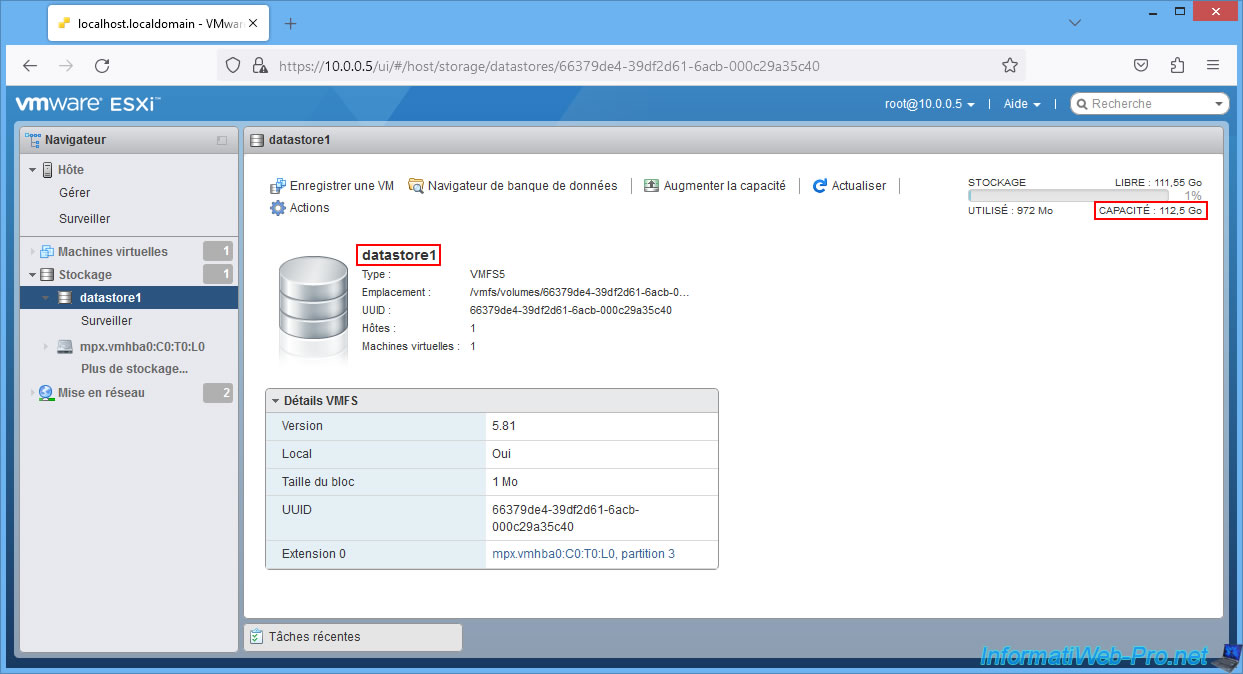
If you go to the "Storage -> Datastores" section, you will see that the capacity of your "datastore1" datastore automatically created during the installation of VMware ESXi is approximately 112 GB in this case.
Which corresponds to the size of the VMFS partition visible in the previous image.
With VMware ESXi, you can therefore use almost all disk space for this "datastore1" default datastore.
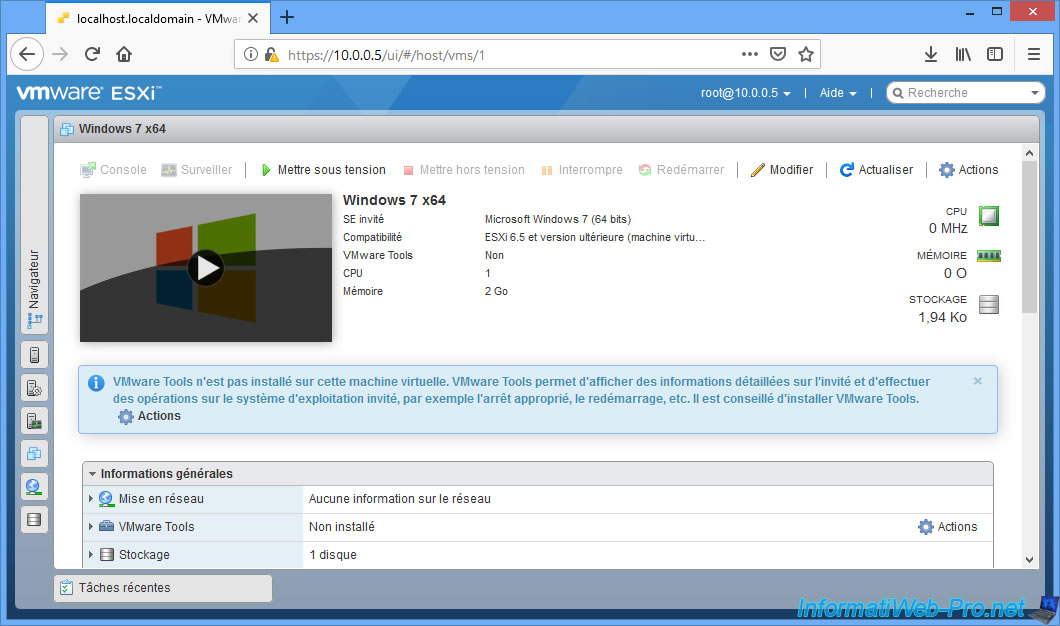
The "Windows 7 x64" virtual machine is created.
For ease, we will use the ESXi server's CD drive to install the guest OS in the virtual machine created on our ESXi server.
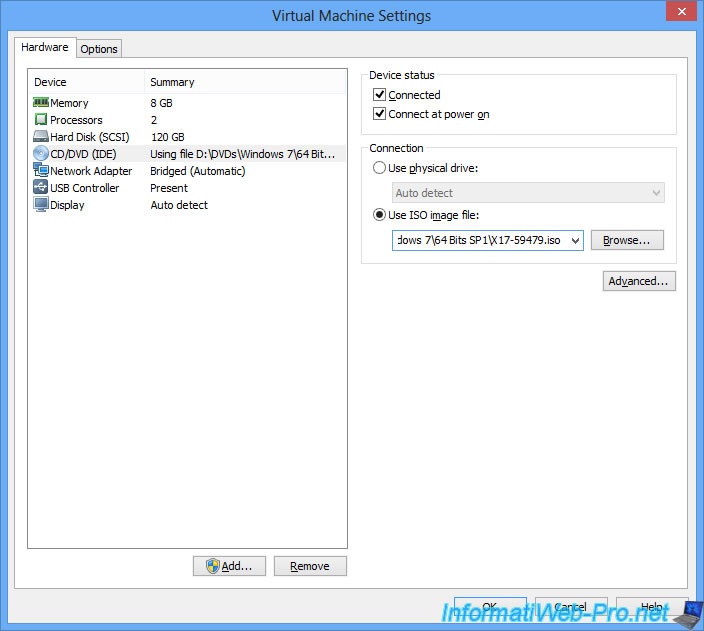
To do this, go to the settings of the ESXi virtual machine created in VMware Workstation, and insert the installation DVD of the OS to install (in our case : Windows 7 x64).
PS : don't forget to check the "Connected" box which was normally unchecked at the end of the installation of VMware ESXi.
Start the virtual machine from the VMware ESXi web interface.
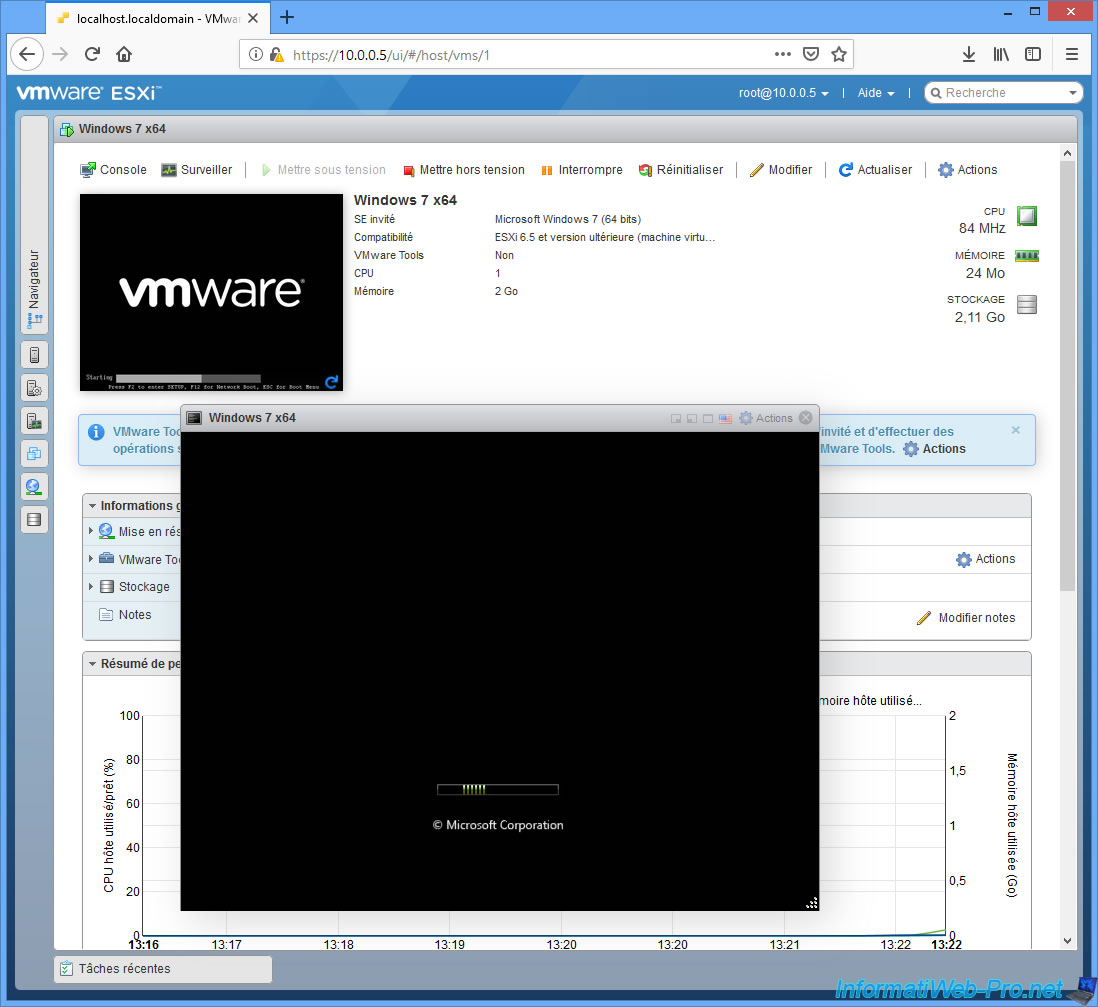
And it starts without problems on the installation of Windows 7.
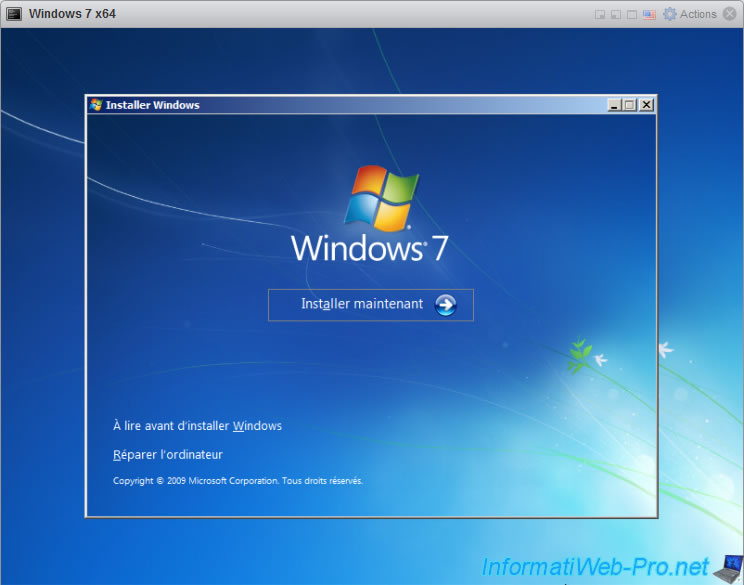
Wait while installing Windows 7.
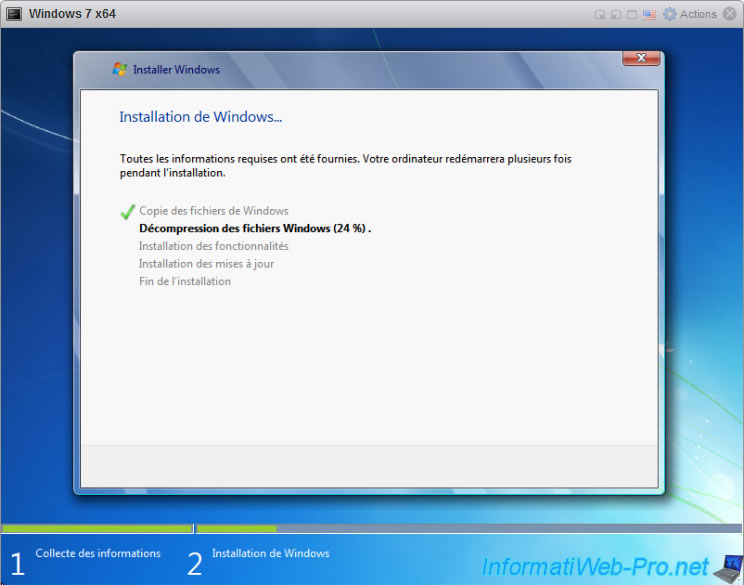
Windows 7 is installed.
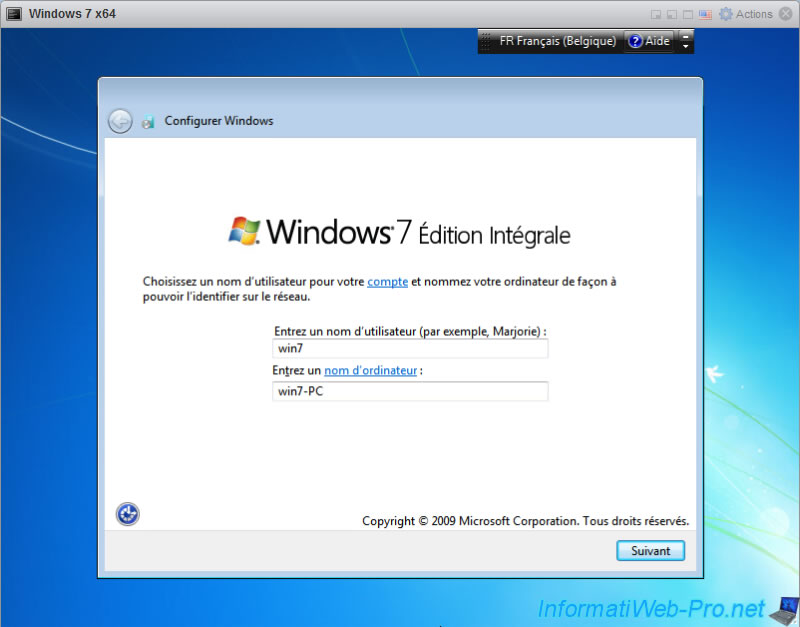
Once on the Windows desktop, don't forget to install the VMware Tools provided by VMware ESXi.
As you can see, Windows 7 runs quite smoothly despite running in a virtual machine created on a virtualization server itself virtualized.
With VMware ESXi 6.5 and 6.7 you will get this.

Share this tutorial
To see also
-
VMware 2/24/2016
VMware Workstation - Remotely access to a VM over VNC
-

VMware 3/25/2013
VMware Workstation / Player - Install Windows 95
-
VMware 1/31/2020
VMware Workstation 10 - Import Windows XP Mode of Microsoft
-
VMware 1/31/2020
VMware Workstation 11 / 10 - Virtualize Windows XP to make it fluid
No comment