- VMware
- 22 October 2025 at 14:40 UTC
-


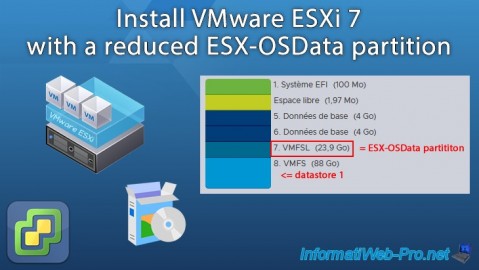
Since VMware ESXi 7, a new "ESX-OSData" partition (with a VMFS-L file system) has appeared.
The problem is that this new partition can take up to 138 GB. Although it generally takes up to 120 GB maximum.
In the case of a lab, if you are limited by storage space on your test computer, or even a mini PC (which generally only contains an SSD), it may be worth reducing the size of this partition.
Note: To do this, you will need to specify the "systemMediaSize" option before installing VMware ESXi 7 on the desired disk.
If VMware ESXi 7 is already installed in your case, the partition is already created and you will therefore not be able to modify it.
Note that you can also add the "systemMediaSize=min" option to the "boot.cfg" file located at the root of the ISO file and also located in the "EFI\boot" folder of the same ISO file.
As we already demonstrated in our tutorial: Create a bootable USB key to install VMware ESXi 7.0.
- Install VMware ESXi 7 with a shrunk ESX-OSData partition
- VMware ESXi 7 installed with a shrunk ESX-OSData partition
1. Install VMware ESXi 7 with a shrunk ESX-OSData partition
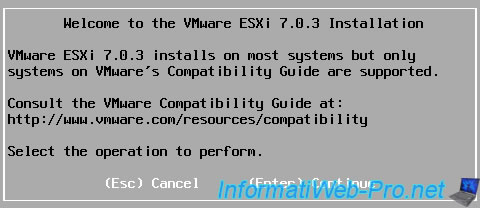
Boot your computer or mini PC to the VMware ESXi 7 installation CD and press "SHIFT + O" before the 5-second timer reaches 0.
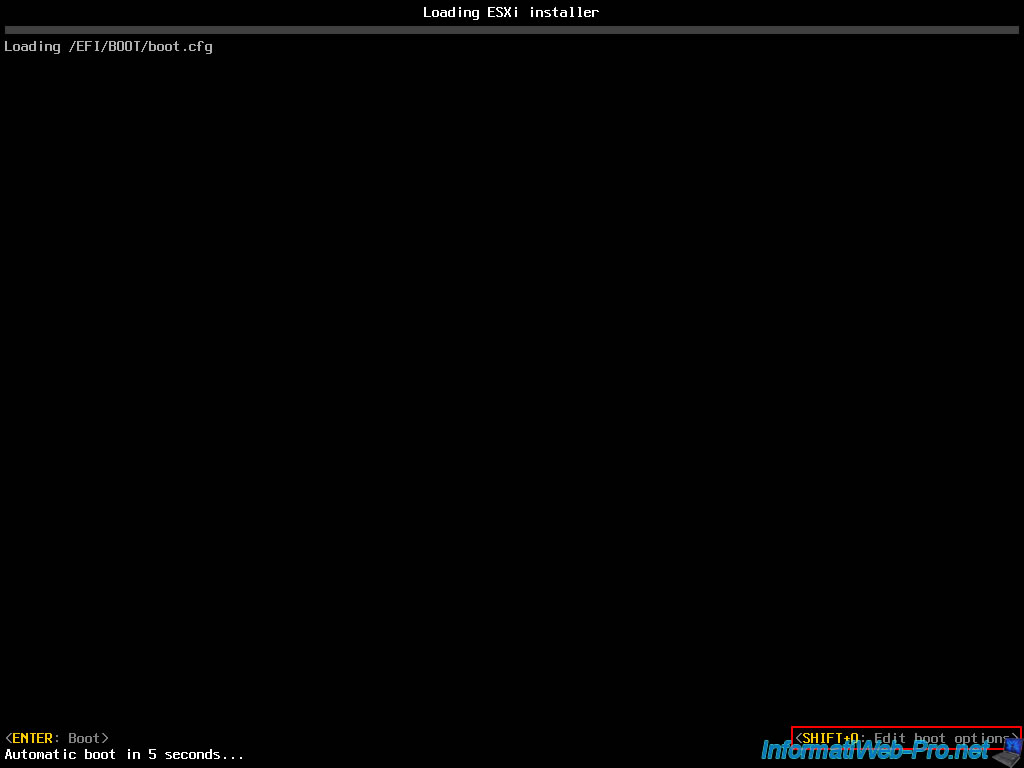
As you can see, by default, the boot options for the VMware ESXi 7 installer are:
Plain Text
runweasel cdromBoot

Add the "systemMediaSize=min" option to use the minimum required size (approximately 33 GB according to Broadcom documentation) instead of the default size of approximately 138 GB.
Once the option is added, press "Enter" to start the VMware ESXi 7 installation.
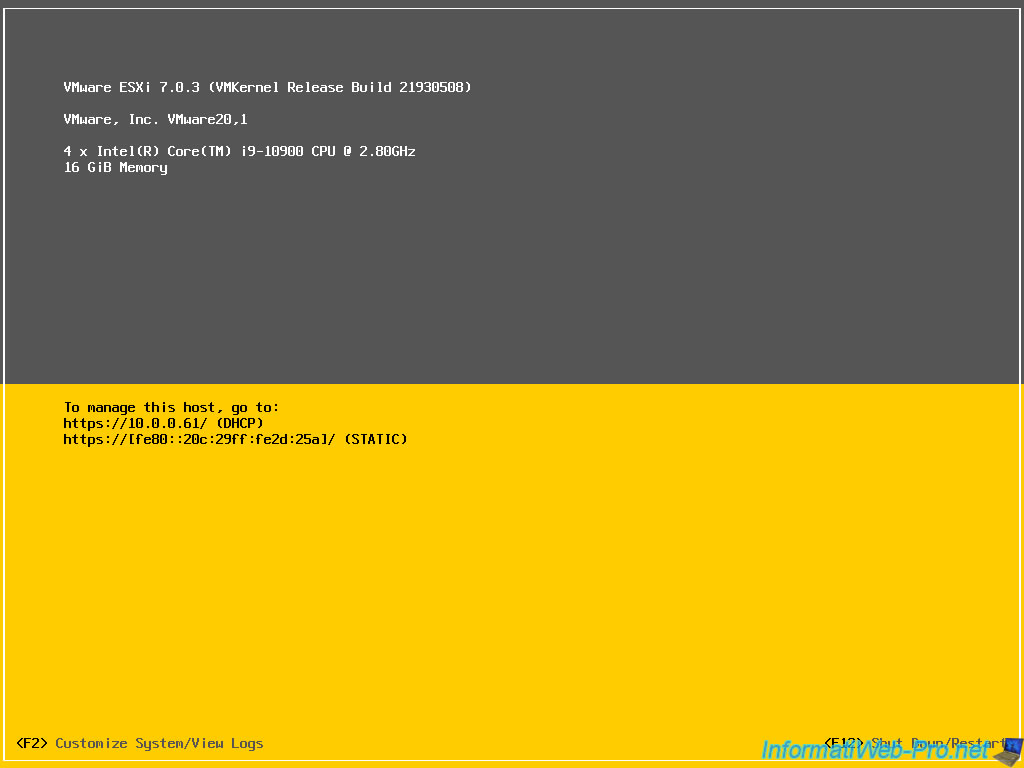
Note: this option only needs to be specified once. You will not need to specify it again when loading your VMware ESXi 7 hypervisor.
Plain Text
runweasel cdromBoot systemMediaSize=min
Note: 3 values are available for this option:
- min: 33 GB. Use if you only have a single disk or if it's an embedded server.
- small: 69 GB. Use if your computer has at least 512 GB of RAM.
This is certainly not the case on a test PC. - max: this will use all the available space on the selected disk.
However, this should only be used on servers with several terabytes (TB).
In short, in the case of a lab, you will necessarily use the "min" value which is more than sufficient.
Source : Boot option to configure the size of ESXi system partitions - Broadcom.

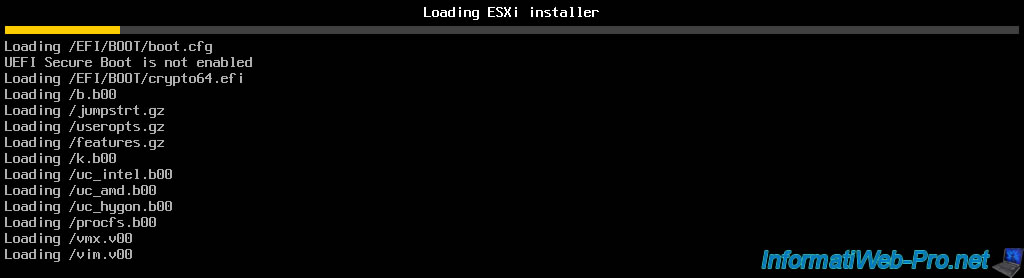
Please wait while the VMware ESXi 7 installer files load.
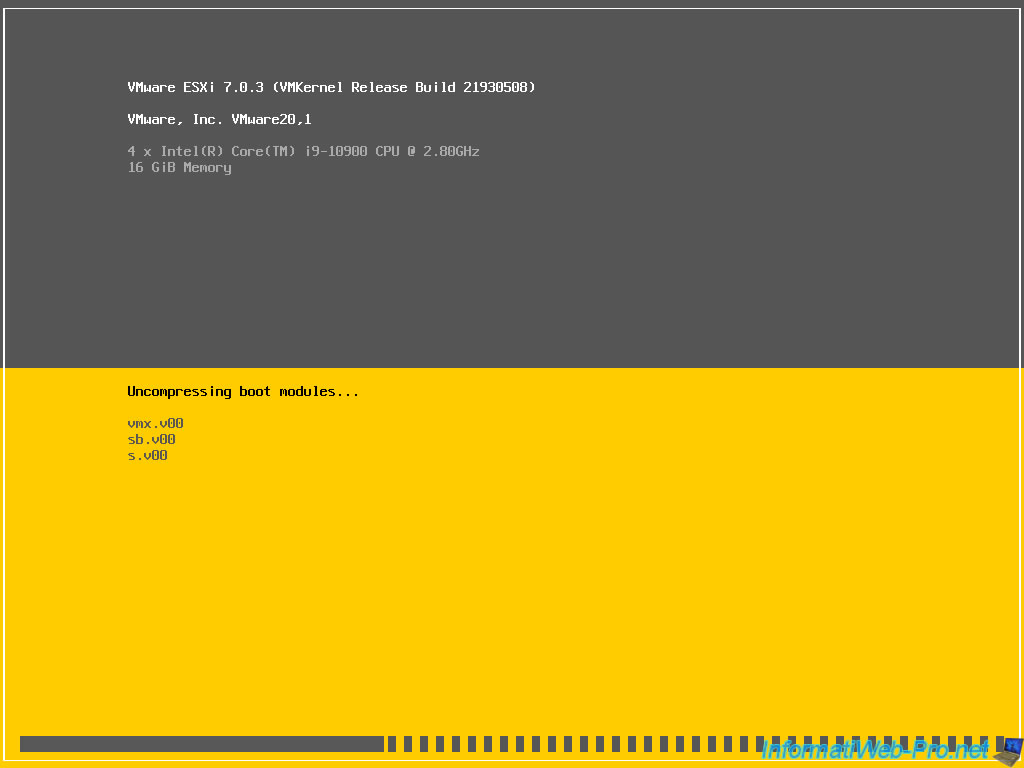
The VMware ESXi 7 installer continues to load.
The VMware ESXi 7 installer appears.
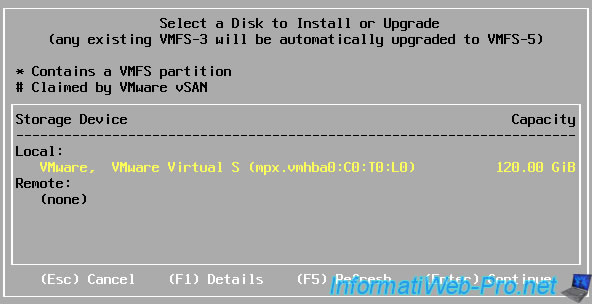
Select the disk where you want to install VMware ESXi 7.
In our case, a disk of only 120 GB.
Please wait while VMware ESXi 7 is installed.

As expected, VMware ESXi 7 installed without any issues.
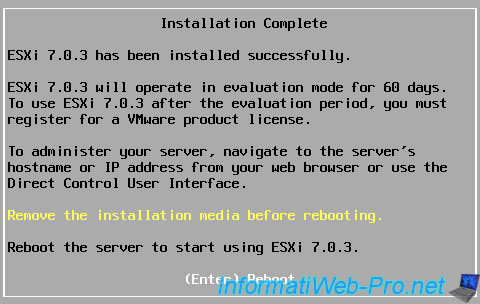
VMware ESXi 7 without any problems as well.
2. VMware ESXi 7 installed with a shrunk ESX-OSData partition
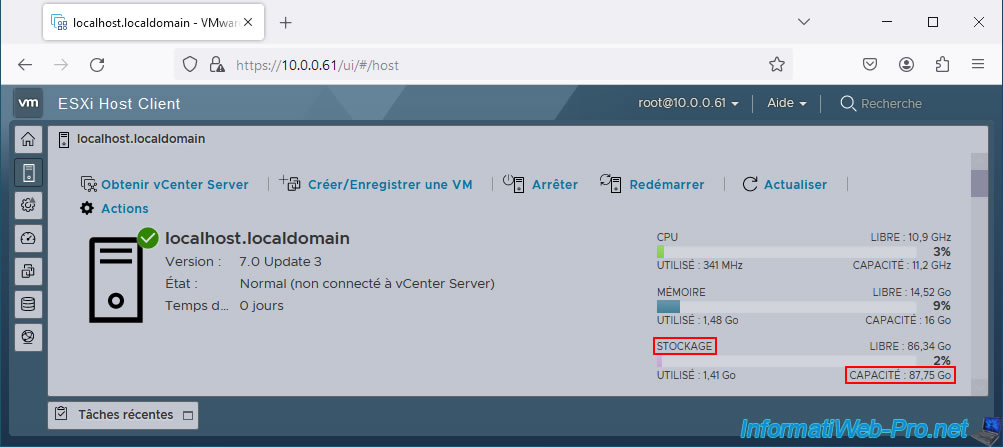
As you can see, VMware ESXi 7 tells us that our storage space is 87.75 GB.
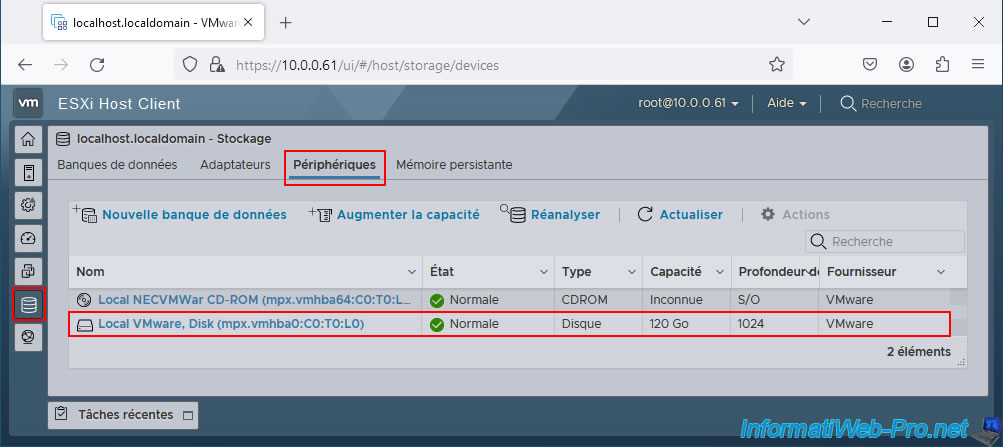
However, by going to the "Storage -> Devices" section, we can see that the capacity of our disk is indeed 120 GB.
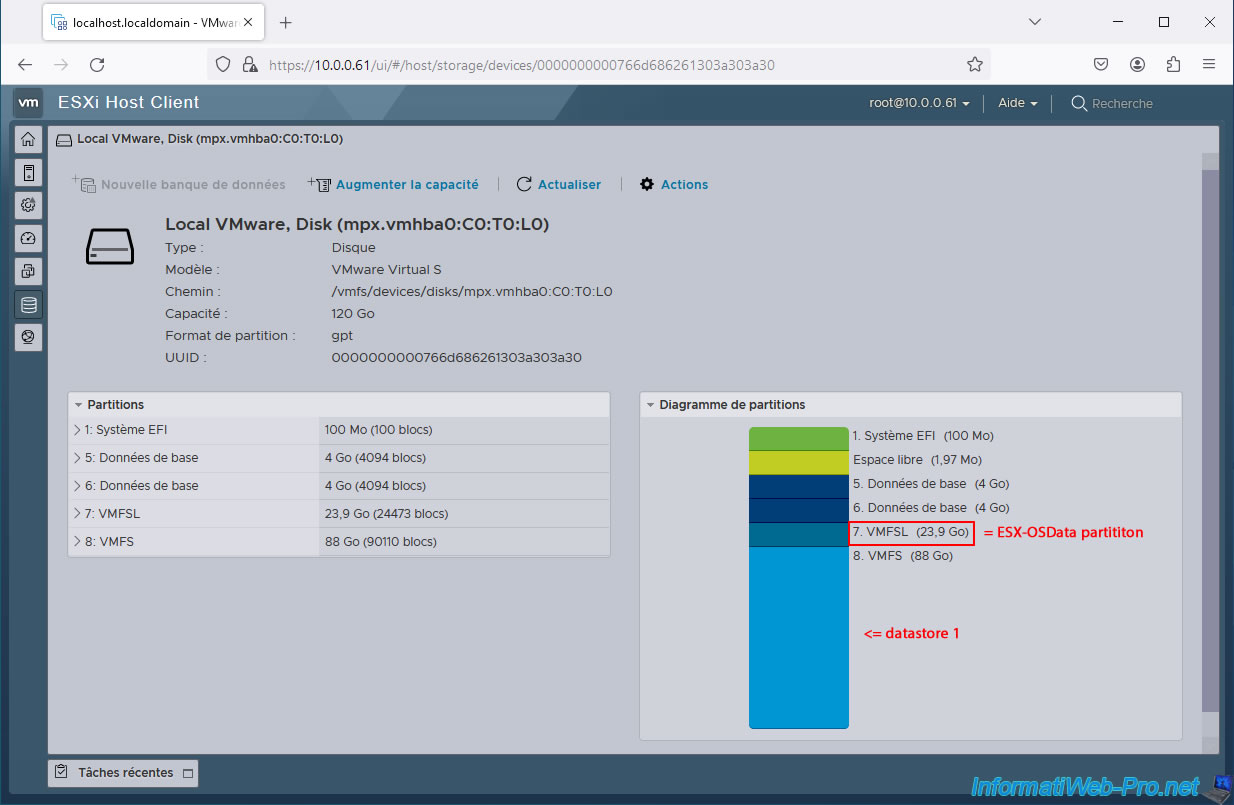
If we click on the name of our 120 GB disk, we can see that the VMFSL partition (which corresponds to the new "ESX-OSData" partition of VMware ESXi 7) is approximately 24 GB in size.
The other partition (whose file system is "VMFS"), with a size of 88 GB (in our case), corresponds to the default datastore "datastore1" created by VMware ESXi 7 on the selected disk during installation.
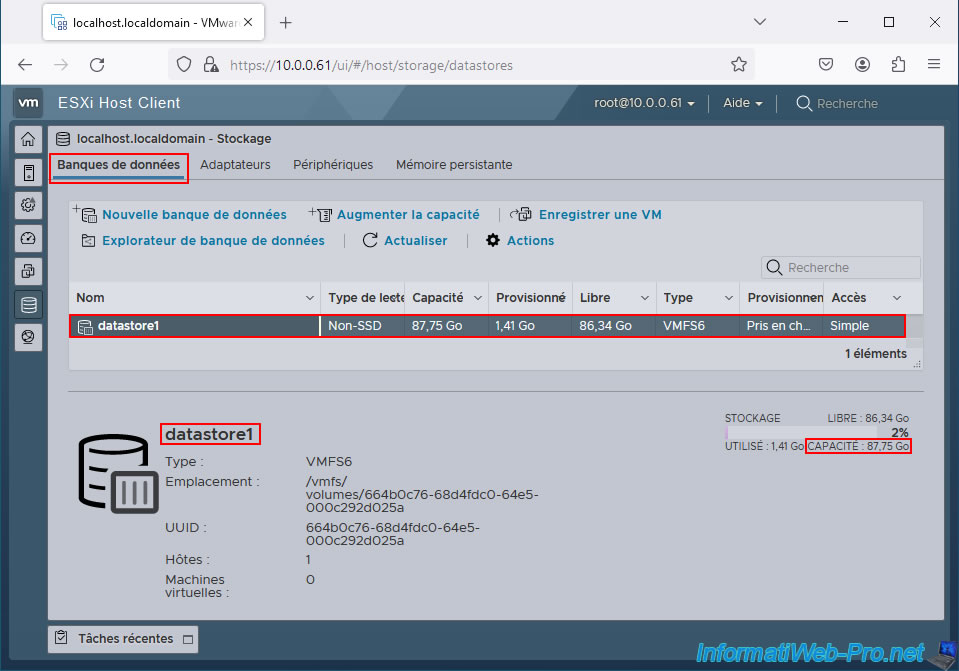
By the way, by going to "Storage -> Datastores", we can see that our datastore "datastore1" has a capacity of approximately 88 GB.
Share this tutorial
To see also
-

VMware 5/25/2022
VMware ESXi 6.0 - Install the VMware Host Client web client
-

VMware 5/27/2022
VMware ESXi 6.5 - Add a network driver in the installation ISO
-

VMware 1/27/2023
VMware ESXi 6.7 - Enable virtualization-based security (VBS)
-

VMware 12/2/2022
VMware ESXi 6.7 - Install and use the VMRC console on Linux
You must be logged in to post a comment