- VMware
- 15 October 2025 at 07:53 UTC
-


Since version 7 of VMware ESXi, a new "ESX-OSData" partition has appeared.
The drawback is that this partition can take up to 138 GB (although its size is usually around 120 GB).
If you want to install VMware ESXi 7 from a bootable USB key, you can add an option to change the default size of this partition.
Important : this option must be used when loading the VMware ESXi 7 installer. Once the partition is created, it's too late.
- Create a bootable USB key to install VMware ESXi 7 using Rufus
- Change the size of the new ESX-OSData partition of VMware ESXi 7
- Install VMware ESXi 7 from your bootable USB key
- VMware ESXi 7 storage
1. Create a bootable USB key to install VMware ESXi 7 using Rufus
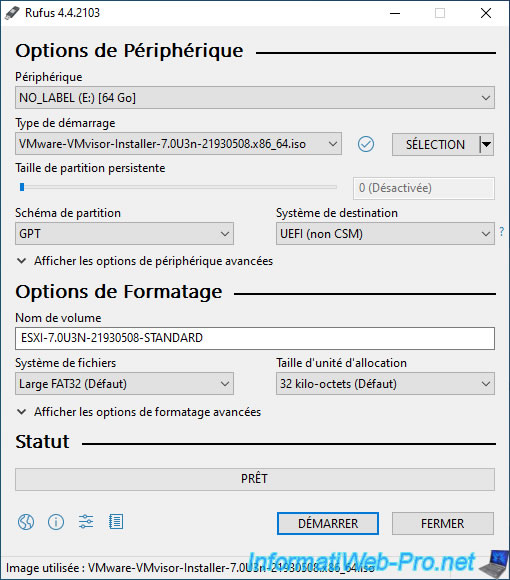
Download the free Rufus software and select your USB key from the Device list at the top of the window.
Next, click the Select button and select your VMware ESXi 7 ISO file.
Rufus's various options will automatically adapt based on the selected ISO file.
Now, click Start.
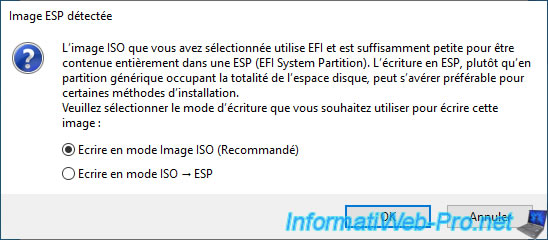
When the "ESP Image Detected" window appears, select the "Write in ISO Image mode (Recommended)" option and click OK.
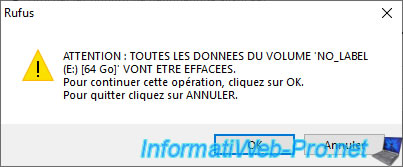
Warning : all data on the selected USB key will be erased.
Click OK.
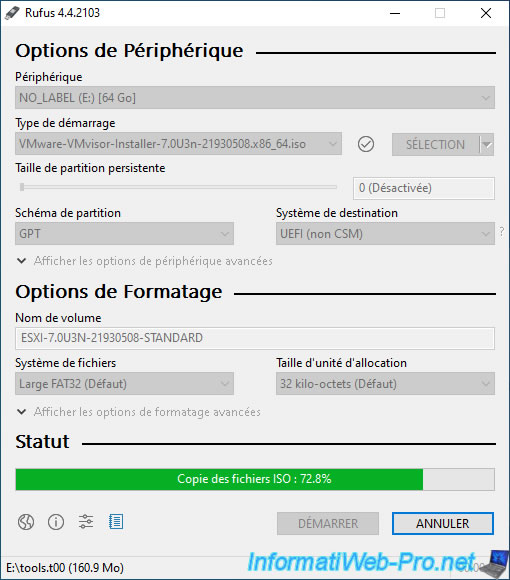
Please wait while your USB key is formatted and the files in the ISO file are copied to your USB key.
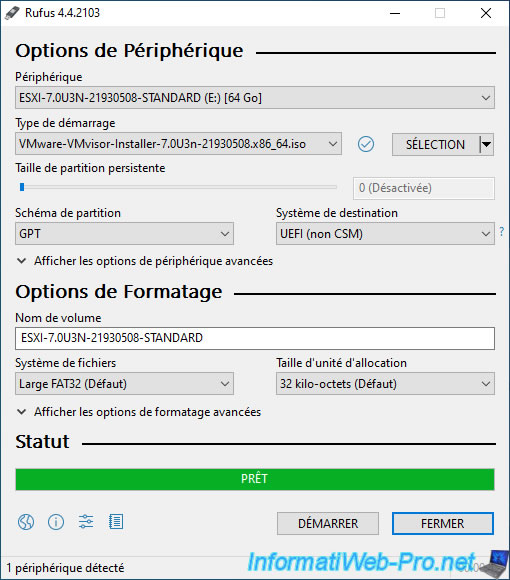
Once your bootable USB key is created, the status will change to "Ready."
Click Close.
In file explorer, you'll see that the name of your USB key has changed.
In our case: ESXI-7_0U3N.
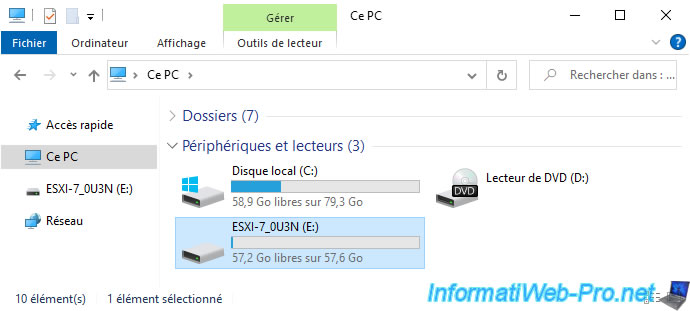
This is what your bootable USB key for installing VMware ESXi 7 will look like.
2. Change the size of the new ESX-OSData partition of VMware ESXi 7
If you wish, you can change the size of the "ESX-OSData" partition that will be created on the disk you select during the VMware ESXi 7 installation.
To do this, simply edit the "boot.cfg" file.
Warning : although Broadcom's documentation doesn't specify it, this "boot.cfg" file is present in two locations:
- at the root of your USB key (if your computer boots in "Legacy BIOS" mode).
- in the "efi\boot" folder (if your computer boots in UEFI mode).
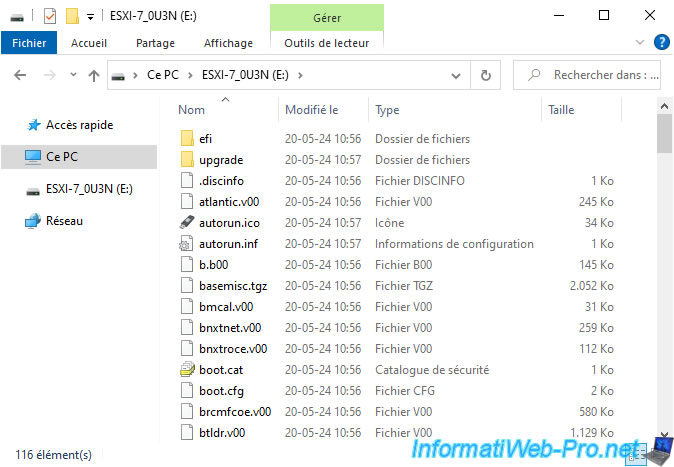
To begin, open the "boot.cfg" file located at the root of your USB key with Notepad.
Source : Boot option to configure the size of ESXi system partitions - Broadcom.
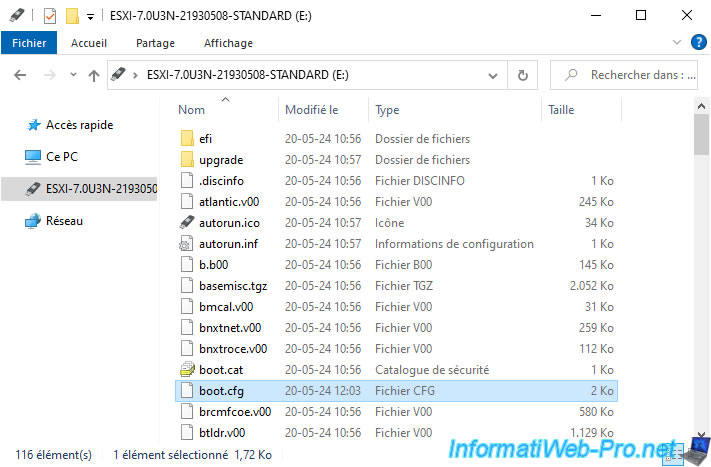
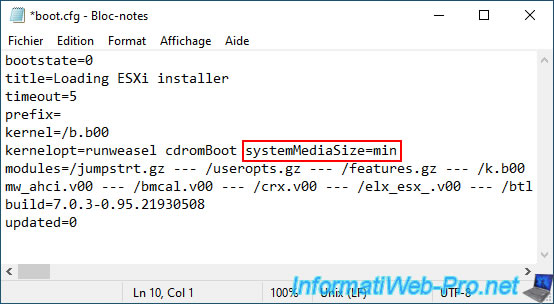
Locate the line "kernelopt=...".
Plain Text
kernelopt=runweasel cdromBoot
Add the option "systemMediaSize=min" to the end of this line to get this.
Plain Text
kernelopt=runweasel cdromBoot systemMediaSize=min
Note: there are 3 possible values for this "systemMediaSize" option:
- min: 33 GB if you have only one disk or are using an embedded server.
- small: 69 GB if your server has at least 512 GB of RAM.
- max: all available space if your server has several terabytes (TB).
Once this file is modified, click on: File -> Save.
Now, go to the "efi\boot" folder and open the file of the same name (boot.cfg).
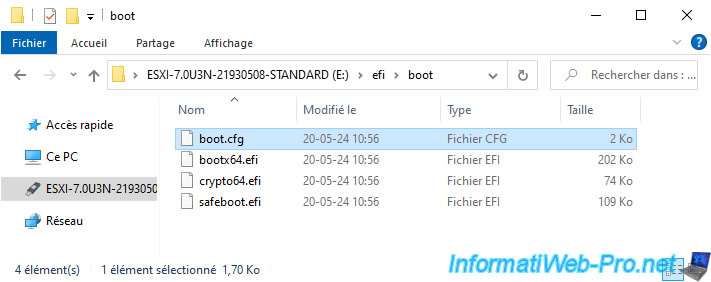
As you can see, the contents are the same.
So, add the "systemMediaSize=min" option again to get the line below.
Plain Text
kernelopt=runweasel cdromBoot systemMediaSize=min
Again, once the file is edited, click: File -> Save.

3. Install VMware ESXi 7 from your bootable USB key
To begin, preferably plug your bootable USB key into the back of your computer.
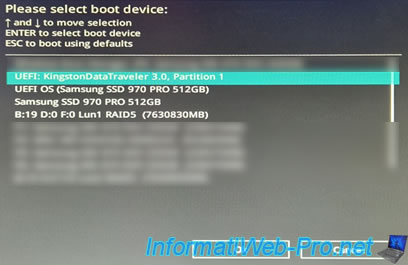
Next, configure your motherboard's BIOS/UEFI firmware to boot from your bootable USB key, which will allow you to install VMware ESXi 7.
In our case, we can access our Asus motherboard's boot menu by pressing the F8 key.
Note: if your USB key appears twice, choose the one beginning with UEFI to boot from it in UEFI mode.
The message "Loading ESXi Installer" appears while the VMware ESXi 7 installer files are loading.
If you pay attention, you'll see that the installer loads the "EFI/BOOT/boot.cfg" file (if you booted from your USB key in UEFI mode).
If you previously modified this file, the added option will be taken into account.
Plain Text
Loading ESXi Installer

Loading EFI/BOOT/boot.cfg

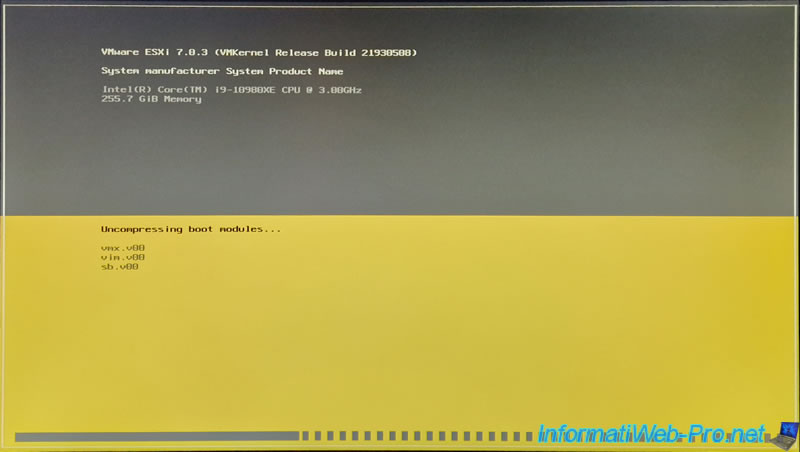
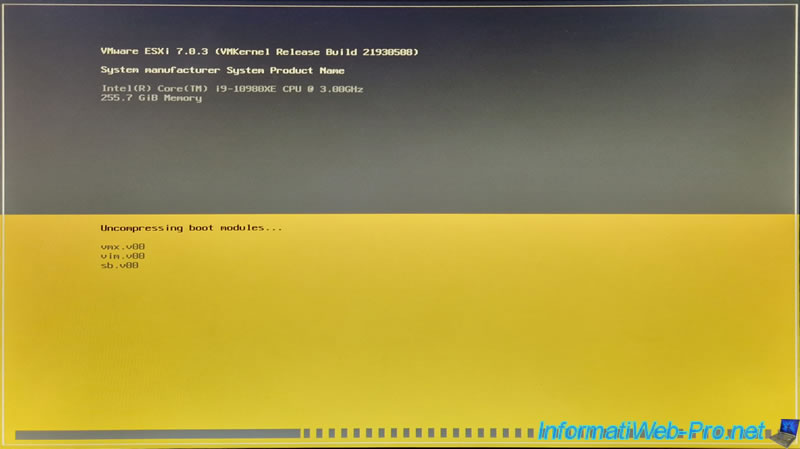
The yellow and gray loading screen appears.
In the list of disks detected by VMware ESXi 7, you will see your bootable USB key appear.
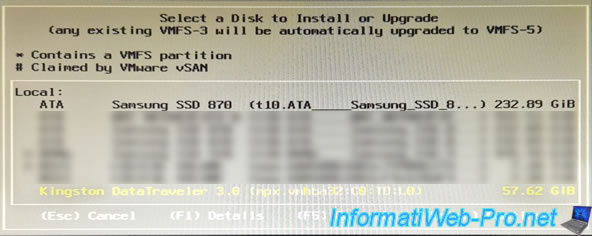
In our case, we are installing VMware ESXi on our 250GB "Samsung SSD 870 EVO".
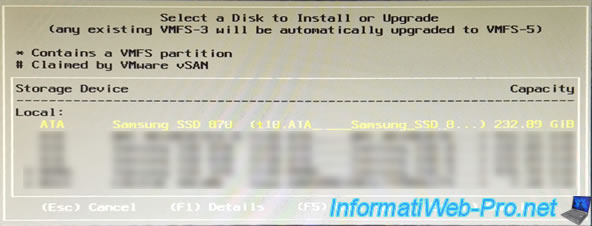
Confirm the installation of VMware ESXi 7 on this disk.

Wait while VMware ESXi 7 installs from your USB key.
Note: if the installation fails in your case, make sure the USB key is plugged into the back of your computer.
In fact, with VMware ESXi 6.7, the installation sometimes failed when plugged into the front, whereas it was fine if plugged into the back of the computer.

As expected, VMware ESXi 7 installed without any problems from your bootable USB key.
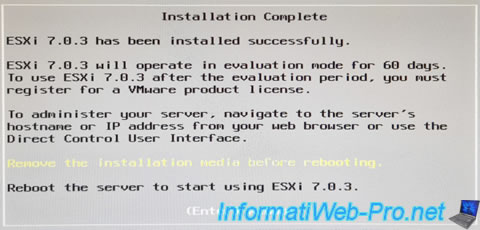
Your computer reboots into VMware ESXi and the message "Loading VMware ESXi" appears.

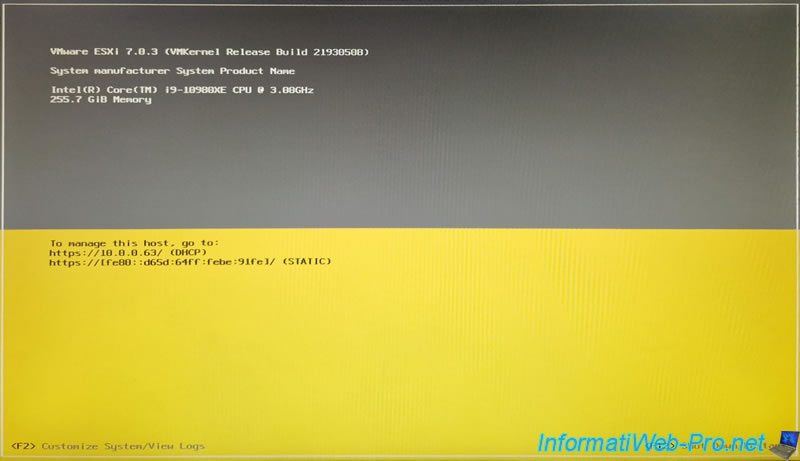
The yellow and gray VMware ESXi 7 loading screen appears.
As expected, VMware ESXi 7 is functional.
4. VMware ESXi 7 storage
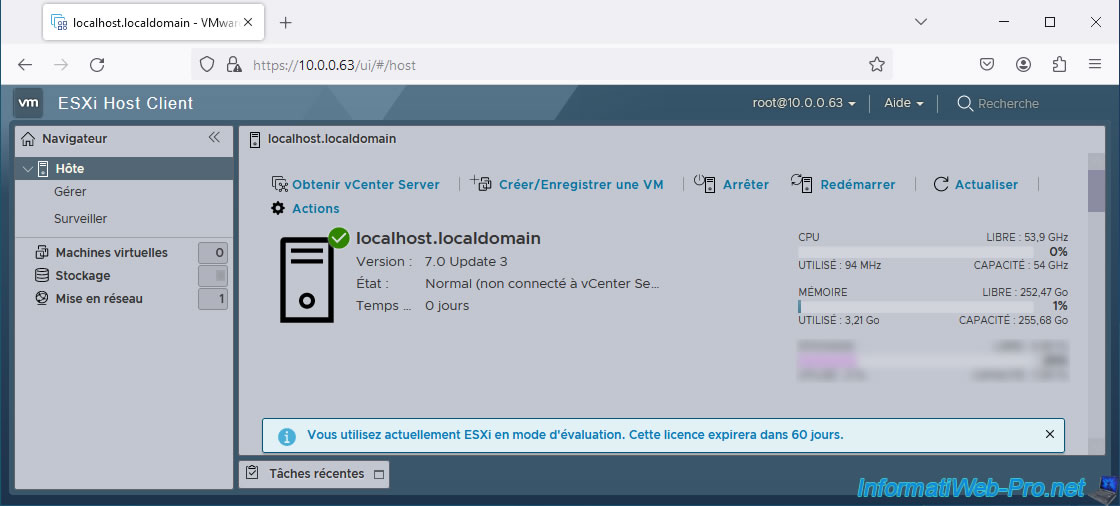
As you can see, we are using version 7.0 Update 3.
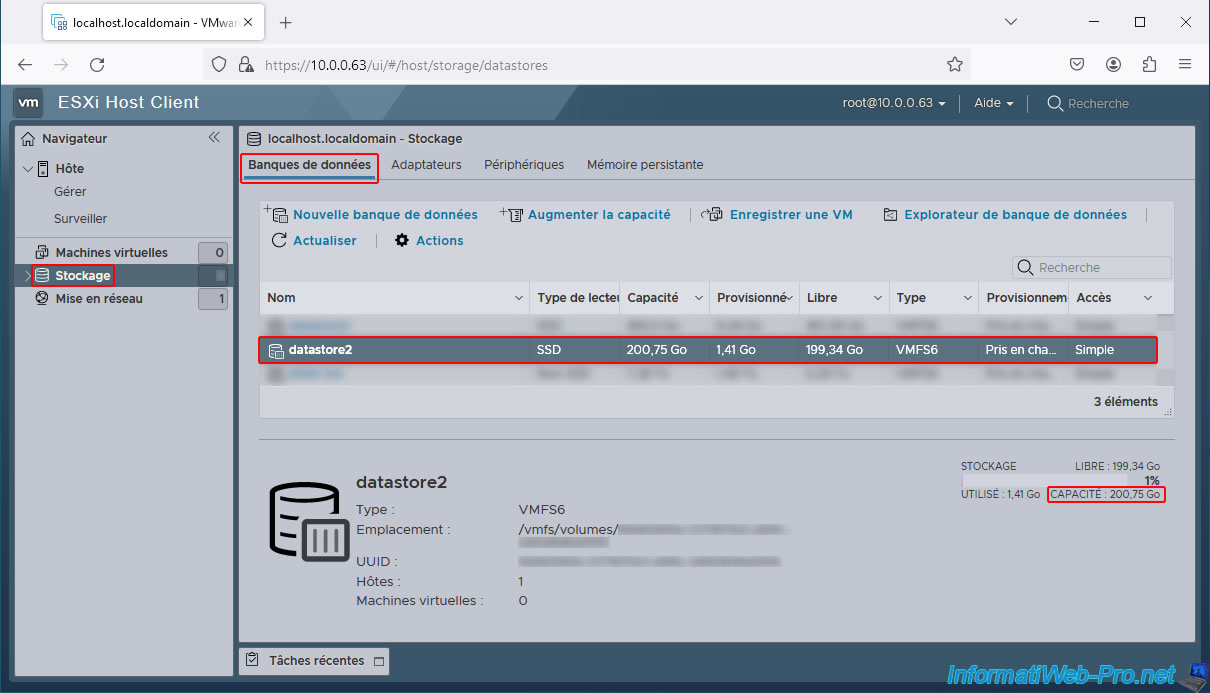
Go to the "Storage -> Devices" section and click on the name of the disk selected during the VMware ESXi 7 installation.
In our case, our "250GB Samsung SSD 870 EVO."
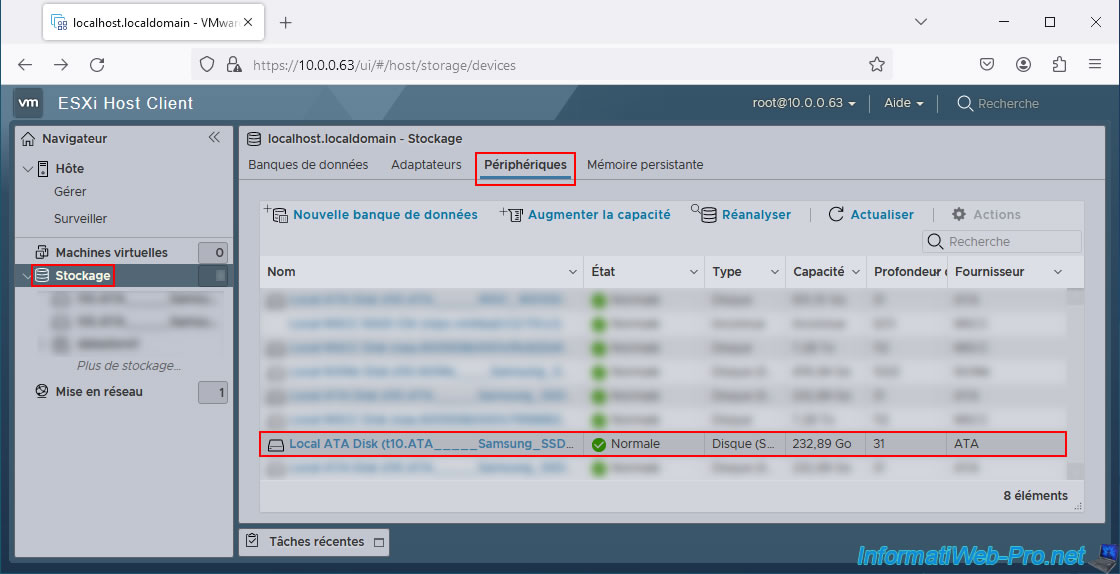
As you can see, there are:
- A 23.9 GB VMFSL partition: corresponds to the new "ESX-OSData" partition in VMware ESXi 7, whose size has been reduced to approximately 24 GB thanks to the addition of the "systemMediaSize=min" option in the bootable USB key's "boot.cfg" files.
- A 200 GB VMFS partition: corresponds to the datastore created by default on the disk selected during the installation of VMware ESXi 7.

In our case, we installed VMware ESXi 7 on a second SSD (for this tutorial only) on the computer used with the same hypervisor.
VMware ESXi 7 automatically detected the datastores on the other disks and named its default datastore "datastore2" instead of "datastore1."
But in your case, it will be named "datastore1."
If we select it, we can see that its capacity is indeed 200 GB.
This corresponds to the size of the VMFS partition created on our "Samsung SSD 870 EVO."
Share this tutorial
To see also
-

VMware 5/25/2022
VMware ESXi 6.0 - Install the VMware Host Client web client
-

VMware 5/27/2022
VMware ESXi 6.5 - Add a network driver in the installation ISO
-

VMware 1/27/2023
VMware ESXi 6.7 - Enable virtualization-based security (VBS)
-

VMware 12/2/2022
VMware ESXi 6.7 - Install and use the VMRC console on Linux
You must be logged in to post a comment