Virtualize Unraid 6.9.2 with VMware ESXi 6.7
- VMware
- VMware ESXi
- 17 December 2025 at 14:08 UTC
-

- 2/4

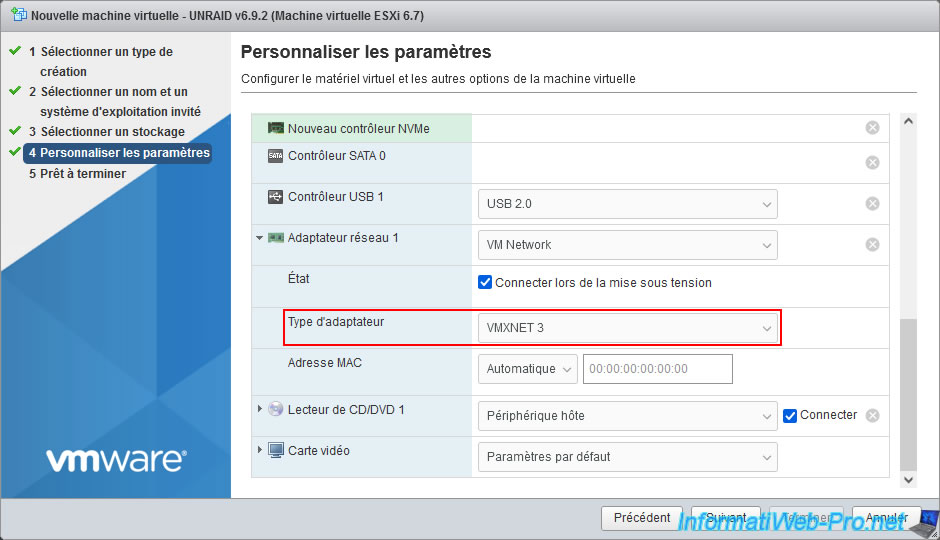
For the network adapter (virtual network card), VMware ESXi uses a "VMXNET 3" paravirtual network adapter by default.
This is supported by default by Unraid.
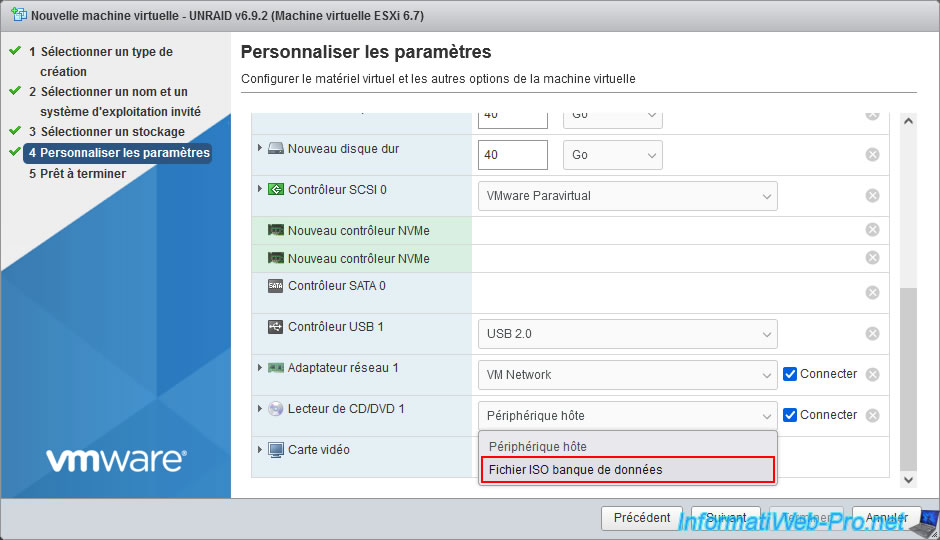
To boot your virtual machine created on VMware ESXi from your USB drive containing Unraid, you'll need to use the "PlopKexec" tool downloaded earlier.
To do this, select "Datastore ISO File" from your virtual machine's CD/DVD drive.
Select the "plopkexec64.iso" file that you previously stored in your datastore, then click: Select.
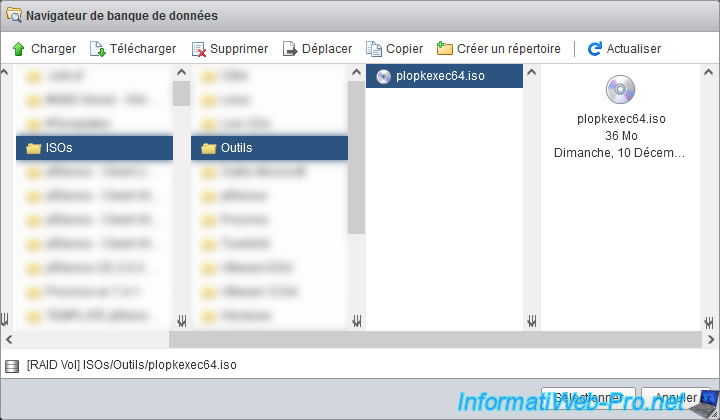
Make sure the "Connect on power on" box is checked for your virtual machine's CD/DVD drive.

Finally, in the "VM Options" tab, go to the "Boot Options" section and configure these settings:
- Firmware: select "EFI" if you checked the "Allow UEFI Boot" box when creating your "Unraid" USB drive.
Otherwise, select "BIOS" to boot in "Legacy BIOS" mode. - Enable UEFI Secure Boot: uncheck the "Enable or disable UEFI Secure Boot for this VM" box, as Secure Boot is not yet supported by Unraid.
Now, click Next.

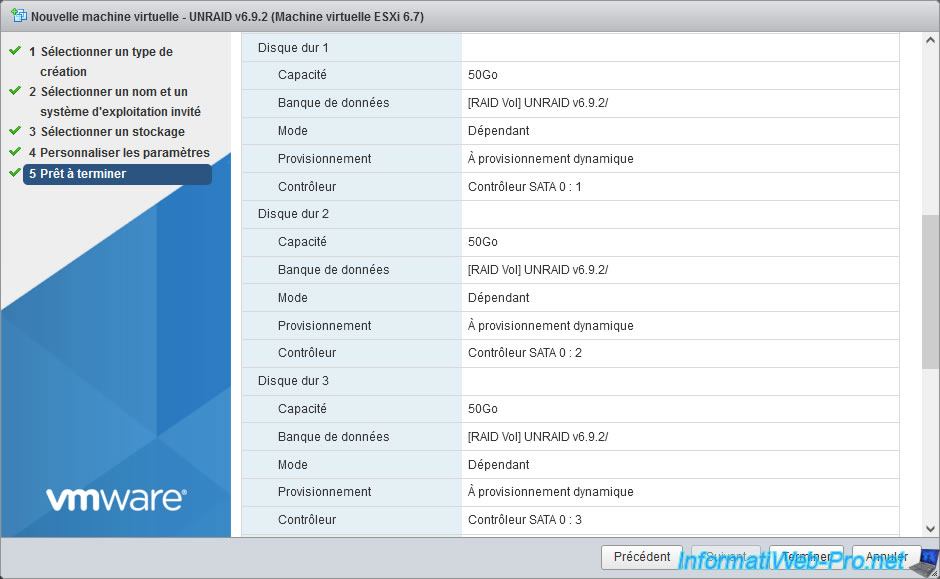
A summary of your Unraid virtual machine configuration appears.
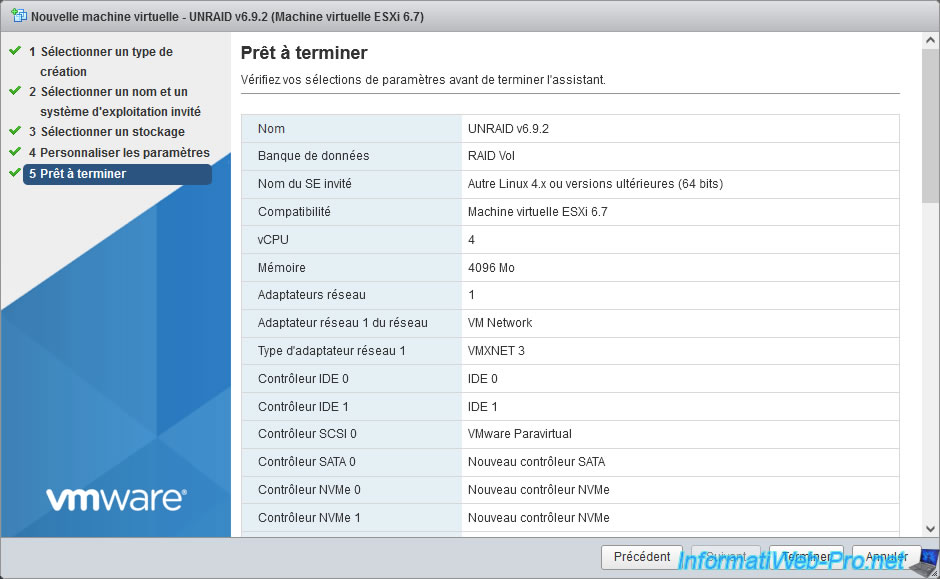
You will find your 3 virtual SATA hard drives for the Unraid array.
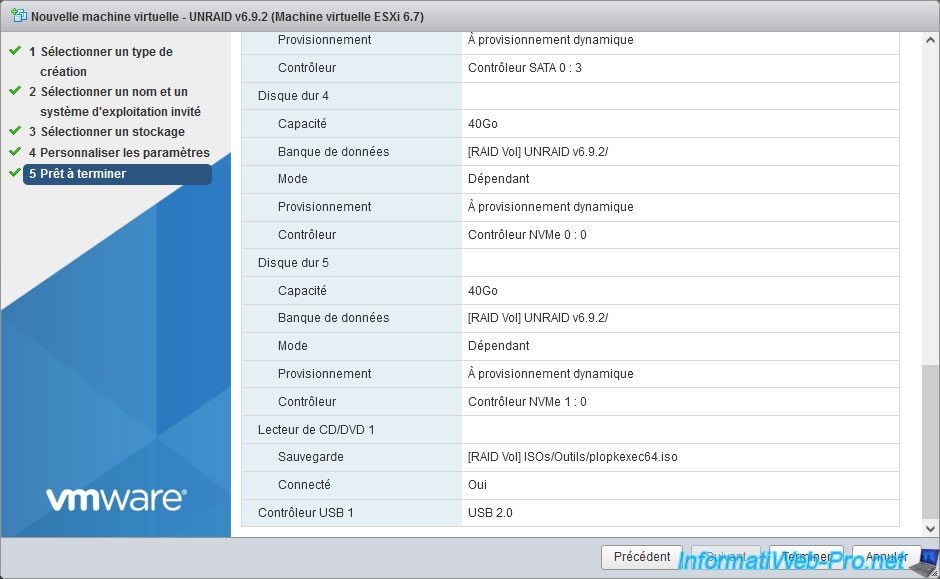
As well as the two virtual NVMe SSDs for the Unraid cache.
Click Finish.
Warning : as a reminder, these virtual NVMe SSDs must be connected to different NVMe controllers.
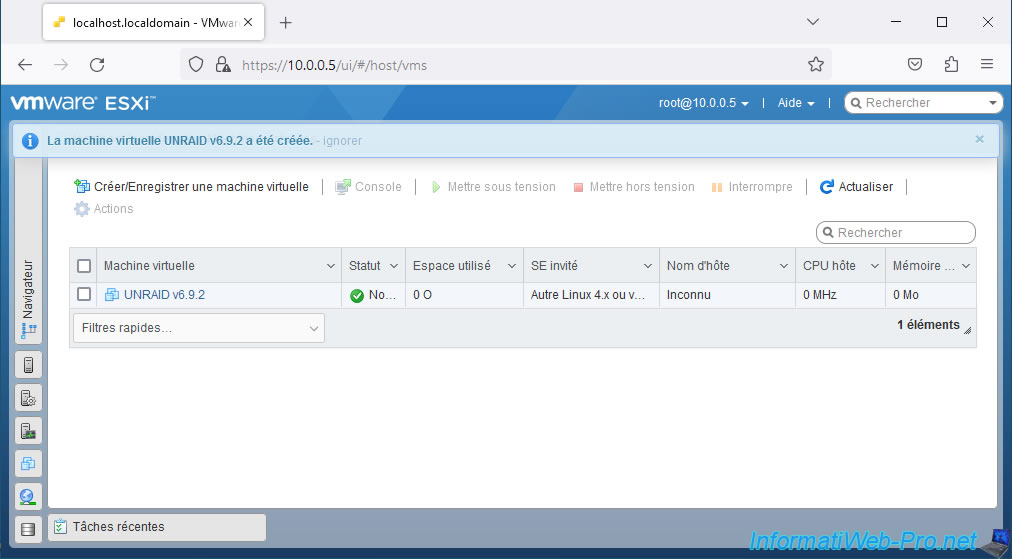
Your Unraid virtual machine has been created.
3. Connect your Unraid USB key to your Unraid virtual machine
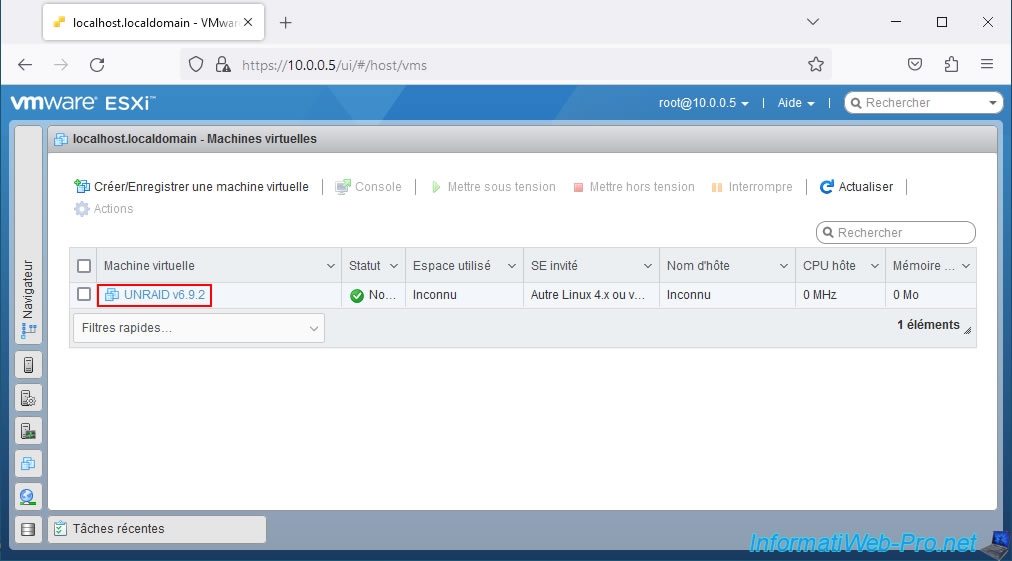
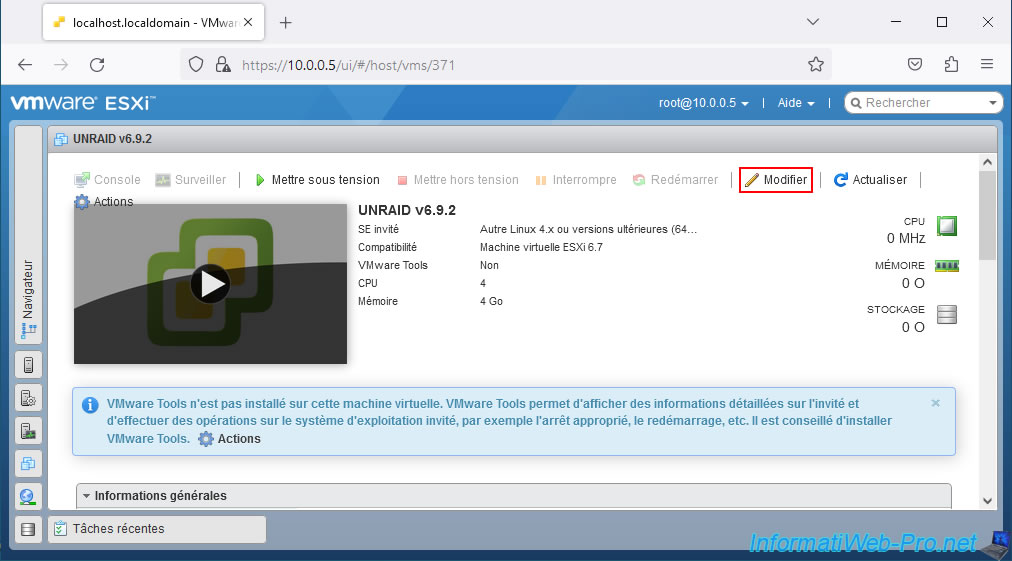
To connect your Unraid USB key to your virtual machine, plug it into your VMware ESXi server, then click on the name of your virtual machine.
Important : by default, your virtual machine uses a USB 2.0 controller. Therefore, you must connect your USB key with Unraid installed to a USB 2.0 port on your VMware ESXi server.
Otherwise, you will need to change the version of the USB controller used by your Unraid virtual machine (as you will see later in this tutorial).
Then, click on: Edit.
In the "Virtual Hardware" tab (displayed by default), click: Add another device -> USB device.
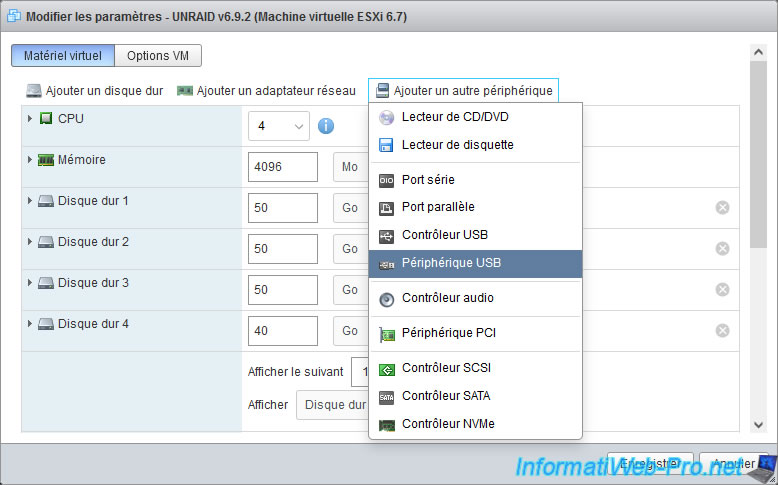
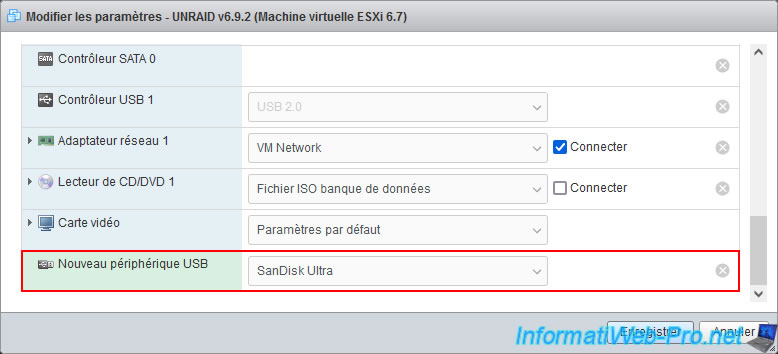
In the "New USB Device" line that appears, select your USB drive from the list.
In our case, it's a "SanDisk Ultra" USB drive.
Note: if your USB drive does not appear in the list, it's possible that you need to enable input/output (I/O) virtualization in your VMware ESXi hypervisor's motherboard BIOS.
To do this, refer to our tutorial: Enable IOMMU or VT-d in your motherboard BIOS.
4. Known issue: USB port version different between host and VM
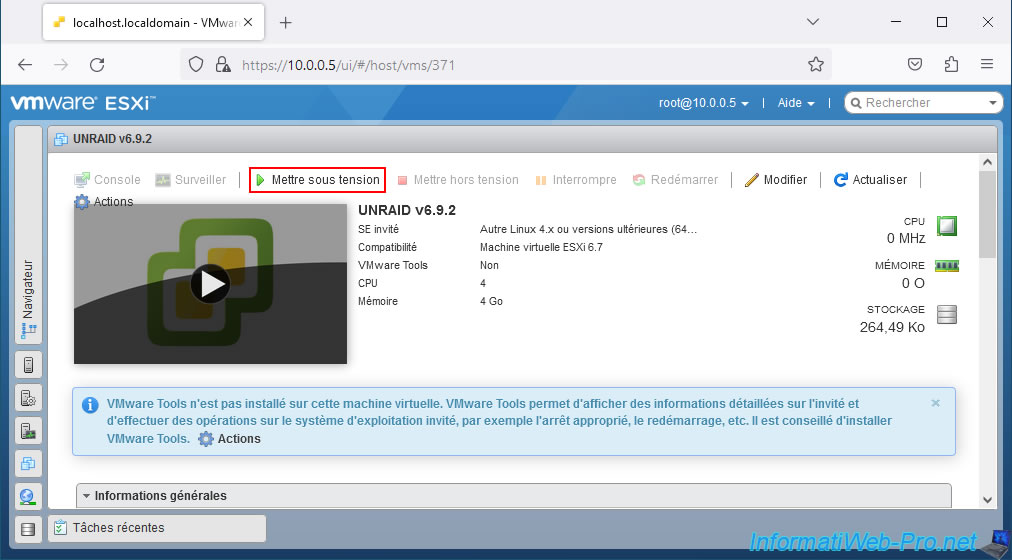
Start your "Unraid" virtual machine by clicking on: Power on.
Open the console of this virtual machine by clicking: Console -> Open a browser console.
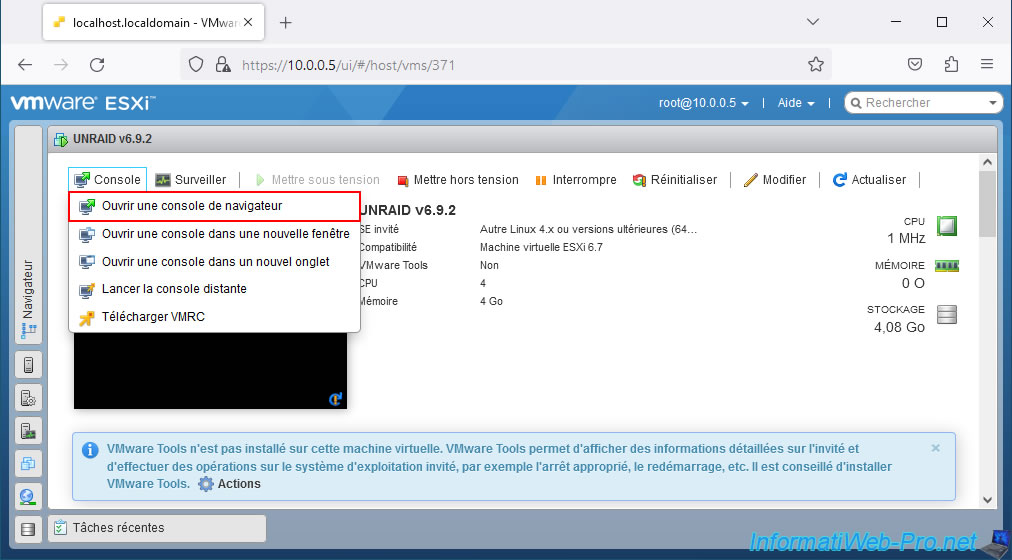
If your USB drive is plugged into a USB 3.0 port on your computer, but the Unraid virtual machine uses a USB 2.0 controller, the "Unraid OS" boot options will most likely not appear.
In this case, shut down your "Unraid" virtual machine.

Share this tutorial
To see also
-

VMware 2/24/2023
VMware ESXi 6.7 - Create a new virtual network
-
VMware 12/16/2022
VMware ESXi 6.7 - Slice the virtual hard disk of a VM
-

VMware 6/17/2022
VMware ESXi 7.0 / 6.7 - Change the complexity required for passwords
-

VMware 7/1/2022
VMware ESXi 7.0 / 6.7 - Transfer files between your PC and your VMs
No comment