Transfer files between your PC and your VMs on VMware ESXi 7.0 or 6.7
- VMware
- 01 July 2022 at 08:44 UTC
-

- 3/4

5. Use the FTP protocol (file server)
If you need to transfer large files between your local computer and your virtual machine, the best solution is to install an FTP server in it.
For this tutorial, we will use FileZilla Server which is free and whose name should remind you of the well-known FTP client : FileZilla Client.
Indeed, the FTP protocol (File Transfer Protocol) is, as its name suggests, a protocol used to transfer files.
This FTP protocol is also widely used by webmasters or web developers when they need to transfer or update the source code of a website on a web hosting rented from a web host.
5.1. Install an FTP server in your virtual machine
Téléchargez FileZilla Server et lancez le fichier d'installation téléchargé.
Choisissez le type d'installation complet (Full) et cliquez sur Next.
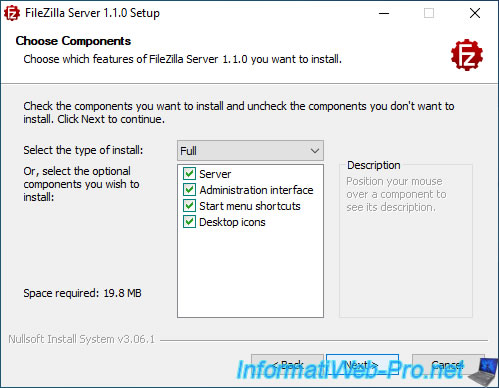
Download FileZilla Server and run the downloaded installer file.
Choose the Full installation type and click Next.
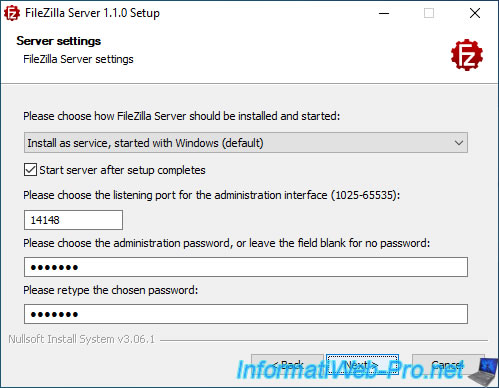
During installation, you will be asked for a password.
This password (optional) will allow you to protect the administration of your FTP server.
Not to be confused with the password used to access files hosted on the FTP server.
5.2. FTP server configuration : FileZilla Server
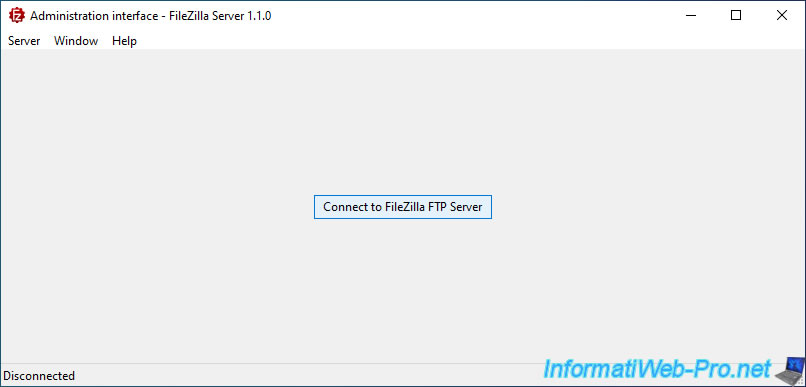
Once the "FileZilla Server" FTP server is installed, launch its administration interface.
Then, click on the "Connect to FileZilla FTP Server" button that appears.
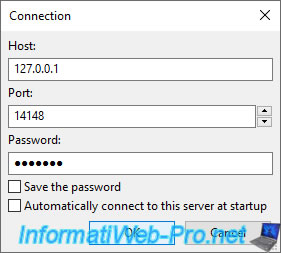
In the connection window that appears, simply enter the password defined during installation (if applicable), then click OK.
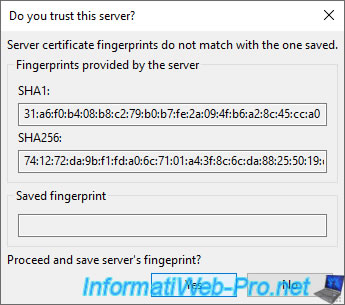
The 1st time that you connect to the administration of your FTP server, a "Do you trust this server?" window will appear.
Click on Yes.
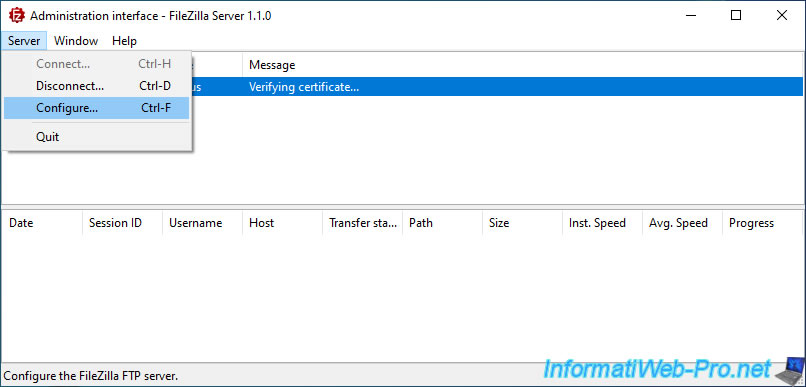
Then, go to the "Server -> Configure" menu.
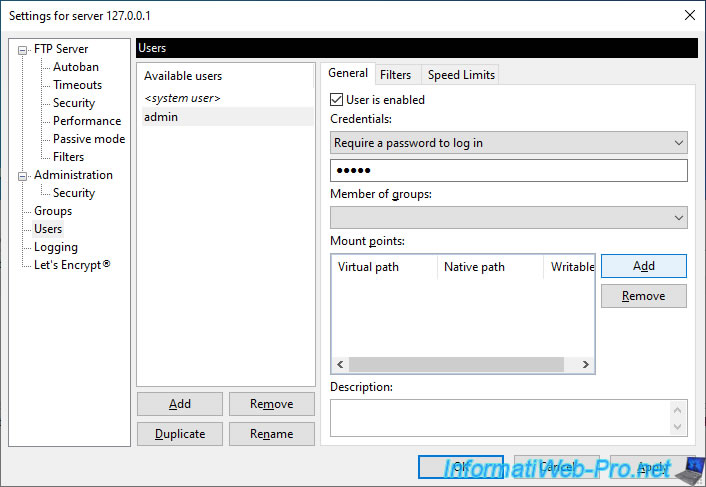
In the "Settings for server 127.0.0.1" window that appears, go to the "Users" section and click on the "Add" button to add a new user.
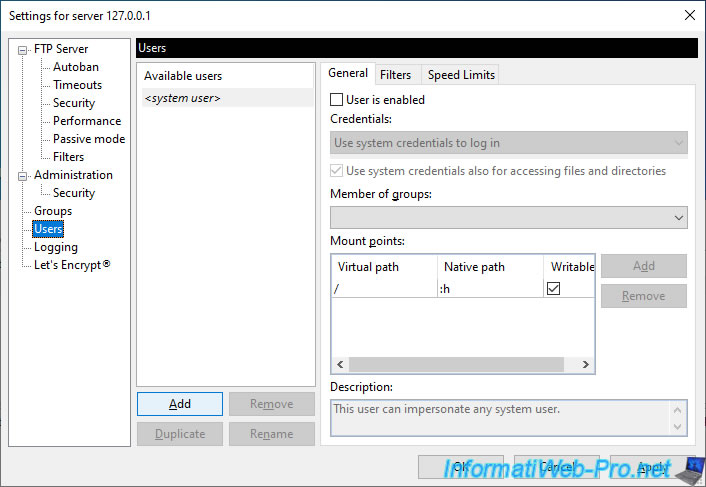
In our case, we named this user "admin".
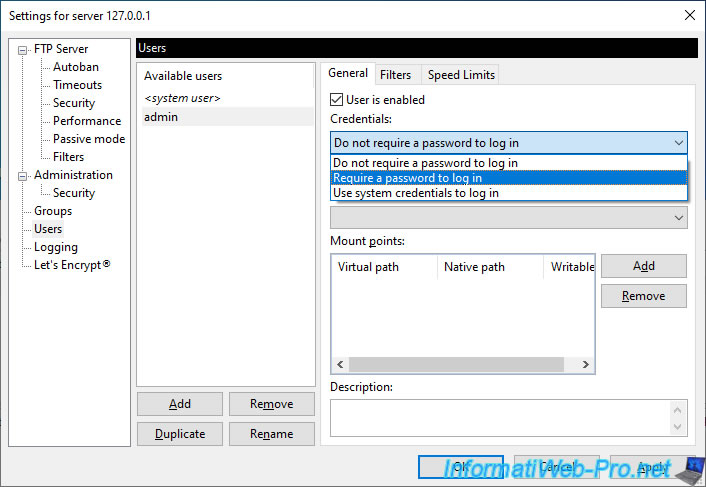
Then, on the right side, select "Credentials : Require a password to log in" to protect access to your FTP server with a password for this "admin" user.
Then, enter the desired password in the box just below.
Now that your "admin" user is password protected, you need to add the folders that this user will be able to access on your FTP server.
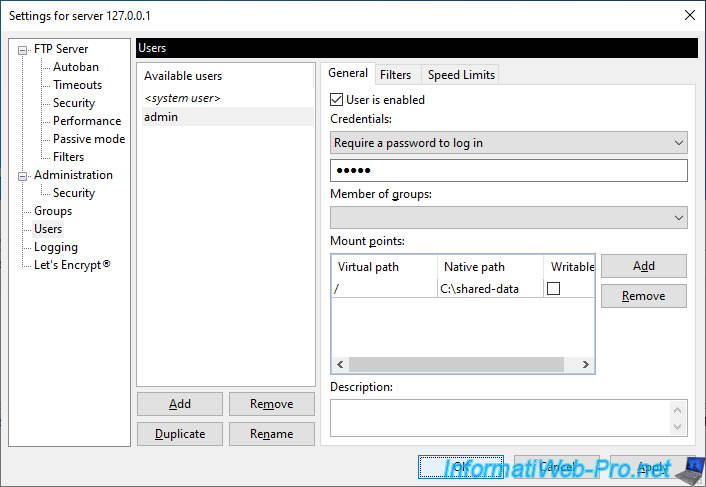
To do this, to the right of the "Mount points" section, click on the Add button.
In our case, we have a "shared-data" folder which is located at the root of the "C" partition on our local computer.
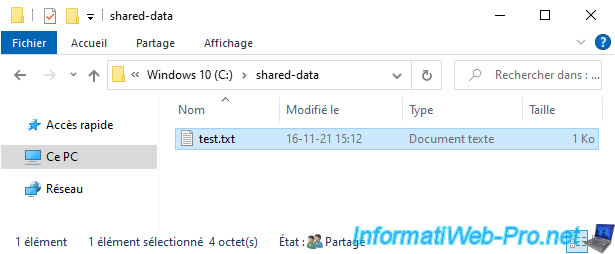
We specify the path of this "C:\shared-data" folder in the "Native path" column and we leave the root "/" in the "Virtual path" column.
Note that by default, this folder will be read-only, which prevents your virtual machine from infecting the data on your local computer.
However, if you also want to transfer data from your virtual machine to your local computer, then you will need to check the "Writable" box (to also allow writing to this folder).
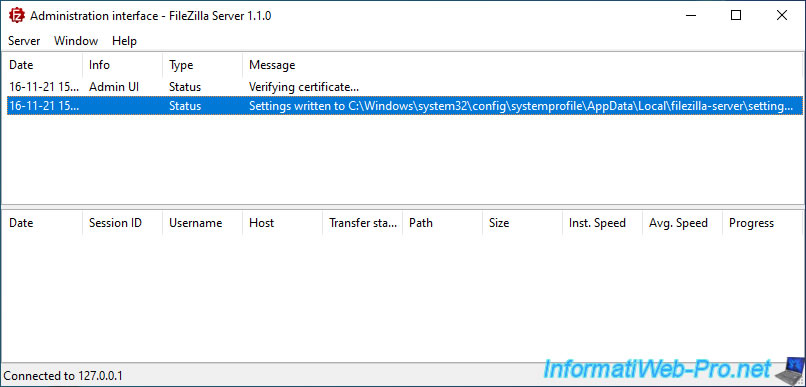
Click OK to save the changes.
A "Settings written to ... filezilla-server\settings.xml" line appears.
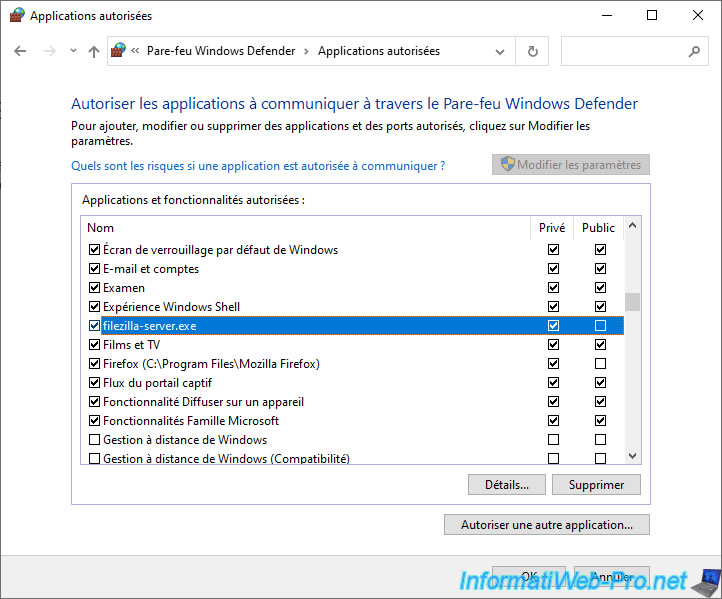
In order for you to be able to access your FTP server from your virtual machine or from any other computer on your network, make sure you have allowed FileZilla Server or port 21 (FTP) in your local computer's firewall for incoming traffic (inbound connections).
If necessary, refer to our tutorial : Configure the firewall of your computer.
5.3. Transfer files via FTP protocol
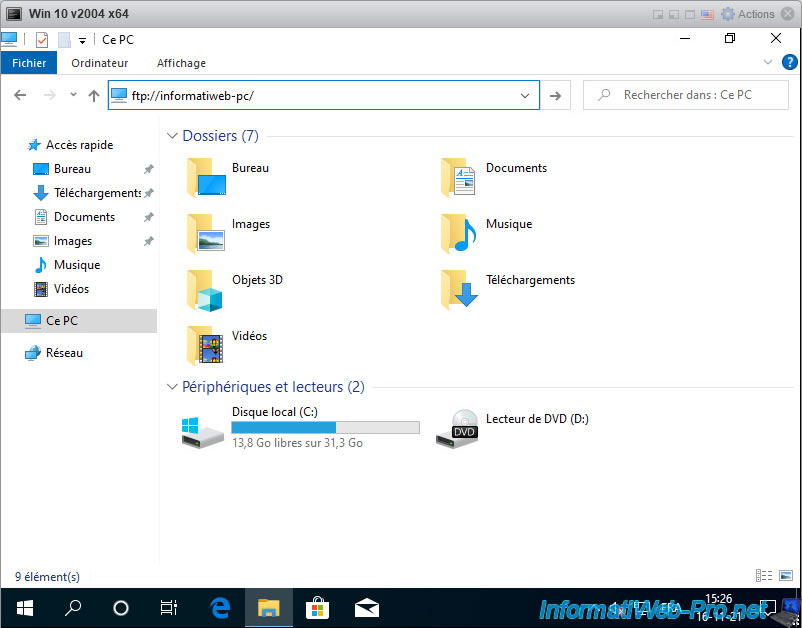
One of the advantages of the FTP protocol is that it's natively supported by Windows File Explorer.
You can therefore easily access your FTP server files from your virtual machine without having to install third-party software.
To do this, open the file explorer and type the "ftp://[name or IP address of your local computer]/" address.
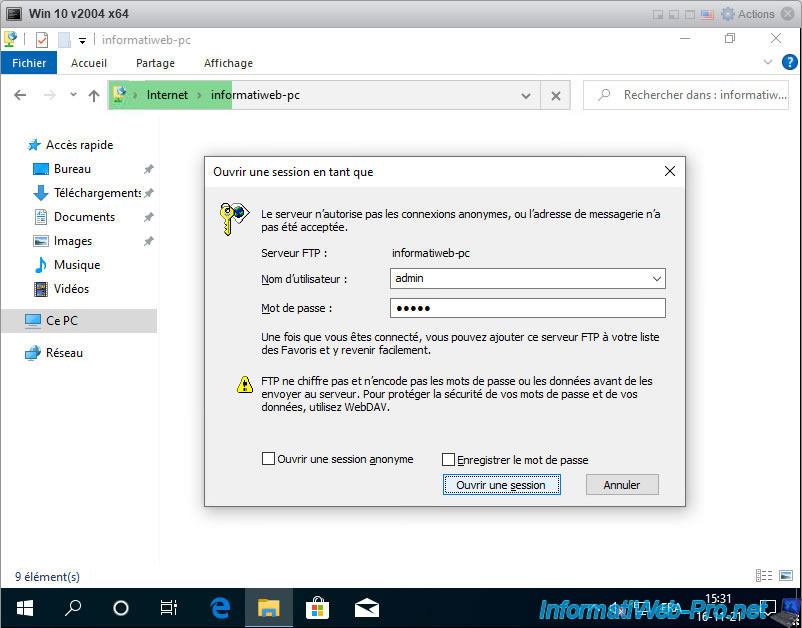
If your FTP server doesn't allow connection as anonymous (anonymous / [no password]), Windows will ask you for the credentials of an account defined on your FTP server.
In our case, we will use our "admin" account with its password.
Then, click on : Log On.
Note that the interface offered may differ from one version of Windows to another.
However, the principle remains the same.
If the credentials are correct, the files of your FTP server will appear.

Copy the desired file.
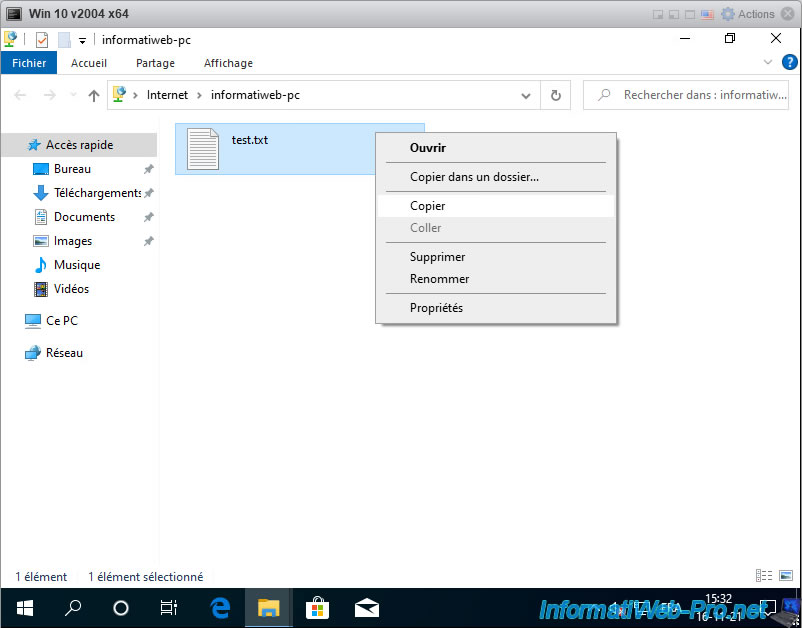
And paste this file wherever you want in your virtual machine.
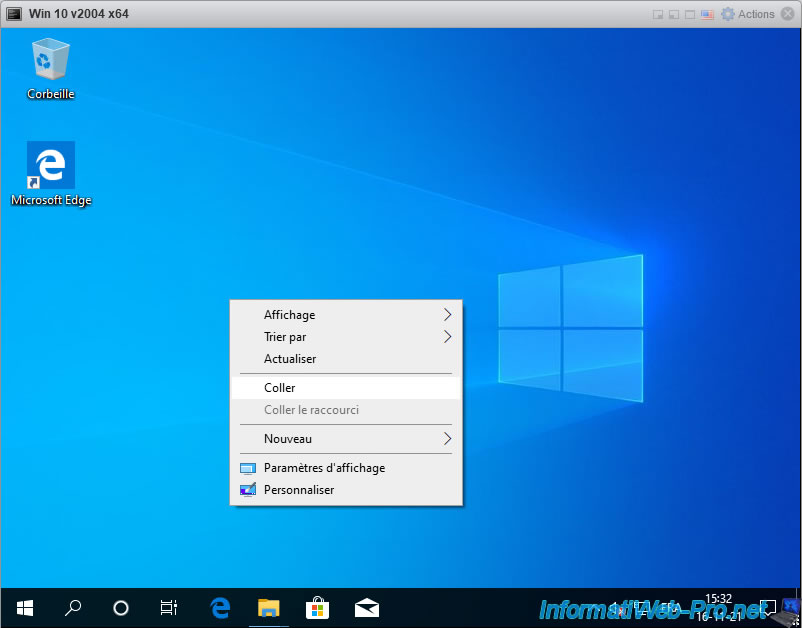
Windows takes care of the transfer and the file is transferred wherever you want.
As you can see, our file is now in our virtual machine.
![]()
5.4. Use the FTP client : FileZilla Client
Although the FTP protocol is supported by Windows, it may be interesting to use an FTP client to benefit from better stability or a better user experience.
For this, we obviously recommend the "FileZilla Cilent" client from the same author.
This FTP client is also free and well known.
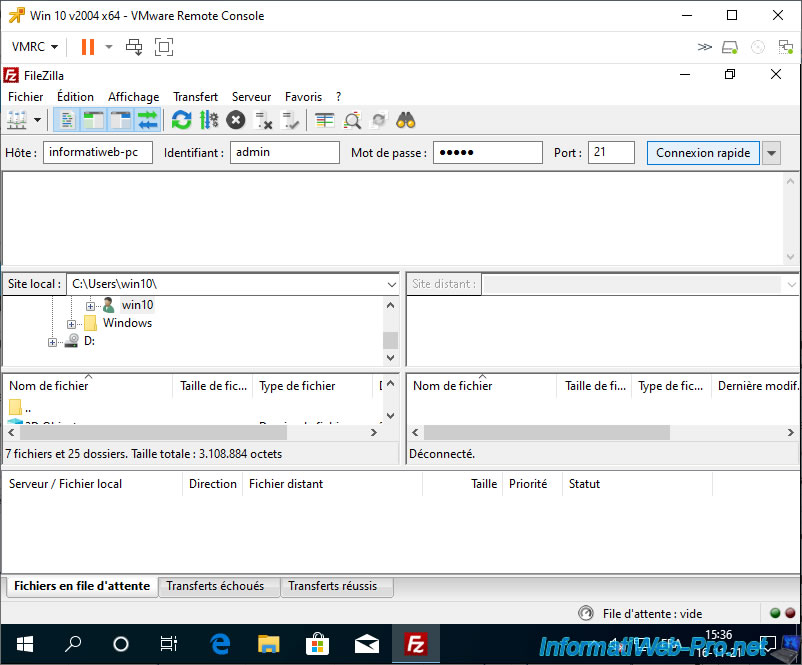
Once this FTP client is installed, launch it and specify :
- Host : name or IP address of your local computer
- Username : name of the FTP user created on your "FileZilla Server" FTP server
- Password : his password (if there is one)
- Port : 21 (or empty, since this is the default port for the FTP protocol)
Then, click on : Quickconnect.
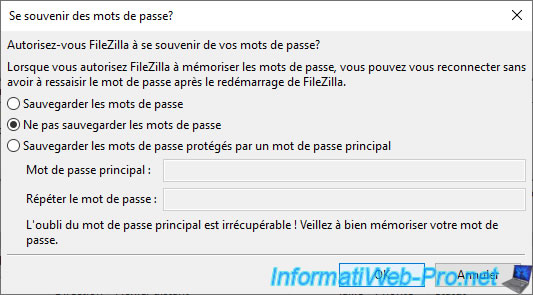
Choose whether you want FileZilla Client to remember the password or not.
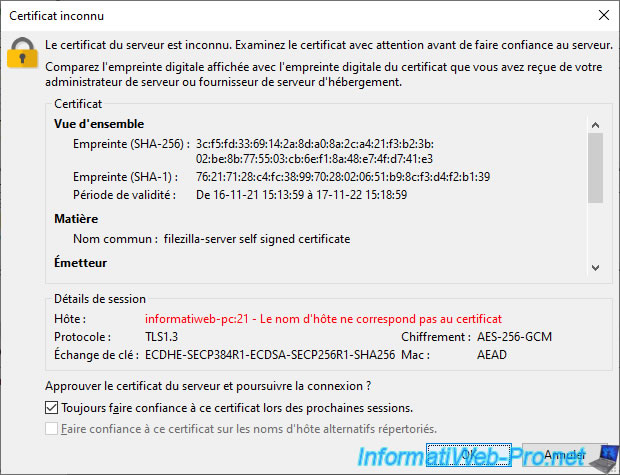
Ignore the warning that appears for the certificate of your FTP server.
On the left side, you will find the folders and files of your virtual machine.
On the right side, you will find those of your FTP server (= your local computer).
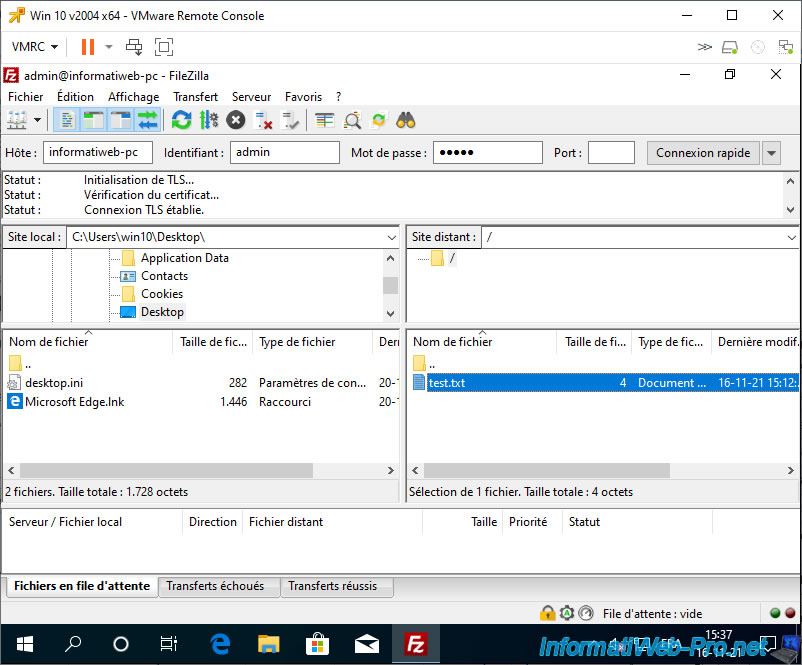
To transfer a file, drag it from side to side.
At the bottom of the screen, you will be able to see :
- Queued files : files that are waiting to be transferred.
- Failed transfers : files that could not be transferred.
- Successful transfers : files that were transferred successfully.
![]()
As expected, the file transferred from our local computer (where our FTP server is located) appears in our virtual machine.
![]()
Share this tutorial
To see also
-

VMware 5/25/2022
VMware ESXi 6.0 - Install the VMware Host Client web client
-

VMware 5/27/2022
VMware ESXi 6.5 - Add a network driver in the installation ISO
-

VMware 1/27/2023
VMware ESXi 6.7 - Enable virtualization-based security (VBS)
-

VMware 12/2/2022
VMware ESXi 6.7 - Install and use the VMRC console on Linux
No comment