Transfer files between your PC and your VMs on VMware ESXi 7.0 or 6.7
- VMware
- 01 July 2022 at 08:44 UTC
-

- 4/4
6. Use the HTTP protocol (Web server)
If you are a web developer, you probably have a web server installed on your local computer to develop your websites.
This can be very convenient for transferring files, as you can access them through any web browser.
In addition, there is always a web browser available in your virtual machines. Whether it's Internet Explorer or Edge on Windows or a Firefox-like browser on Linux.
In our case, we have already used this solution several times, since we have a local web server hosting the Dev version of our websites : InformatiWeb and InformatiWeb Pro.
Important : if you don't know the "Apache" web server, this technique may seem complicated to you.
Indeed, the installation of a complete web server (with apache) may seem complicated at first.
In this tutorial, we used WAMP (which is a solution to install all components at once). However, this requires the installation of DLLs provided by Microsoft (whose version changes depending on the version of WAMP).
In addition, port 80 is sometimes used by other programs, such as Skype for example.
But, if you still want to install WAMP, please refer to our "Installing WAMP 2.2, 2.4 or 2.5 and its add-ons" tutorial.
Note that it's also possible to install a web server on Windows by enabling the "Internet Information Services (IIS) web server" feature available on Windows.
Although the version of this web server varies from one version of Windows to another.
Once the web server is installed, go to the "www" folder (for example for WAMP).
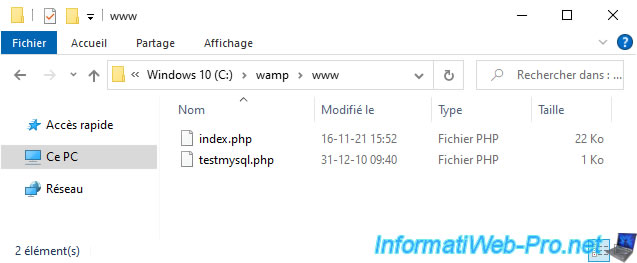
Rename the "index.php" file to "index.php-bak" so that the web server can list the files found in this folder instead of displaying the "index.php" page (which is one of the files loaded by default by an apache web server when you don't specify the name of a page in the address bar).
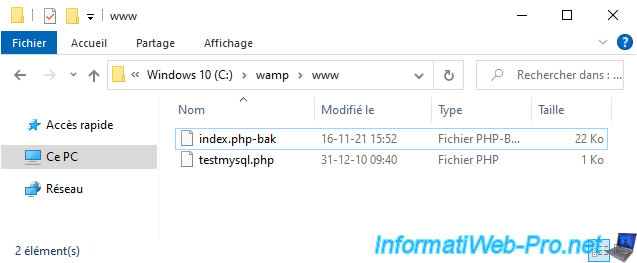
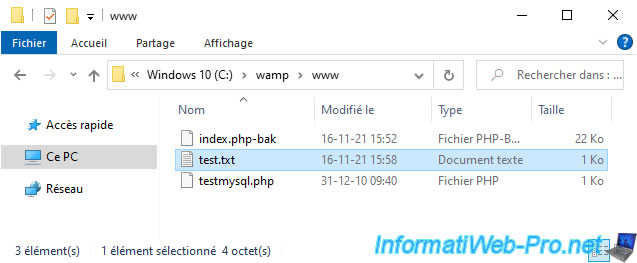
For the example, we have added a "test.txt" file in this folder.
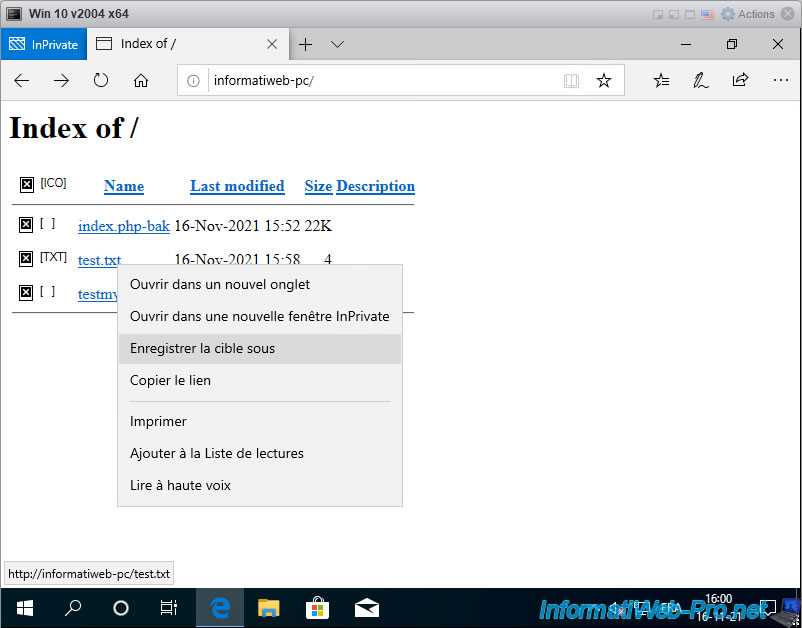
In your virtual machine, enter the address "http://[name of your local computer]/" in the address bar of your favorite web browser and the list of files on your web server will appear.
However, it's also possible that your web server will deny you access to this web server.
In this case, make sure that Apache (the web server) is configured to allow access from outside.
Indeed, by default, access may be limited to the local address 127.0.0.1.
Apache
Order allow,deny
Allow from all
The other possibility is that Apache doesn't accept to list the files present in the root folder of your web server.
In this case, specify the name of the file in the address bar or allow the listing of files using an ".htaccess" file.
Apache
Options +Indexes
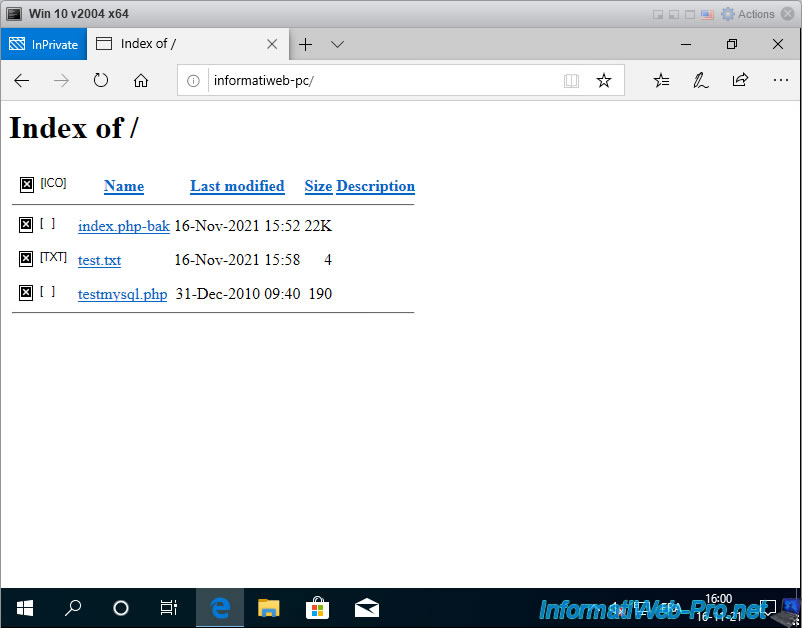
Files that can't be opened in a web browser (such as exe, zip, ...) will be automatically offered for download.
On the other hand, for images, text files, ... you will have to right click "Save as" (the name of this option varies from one web browser to another).
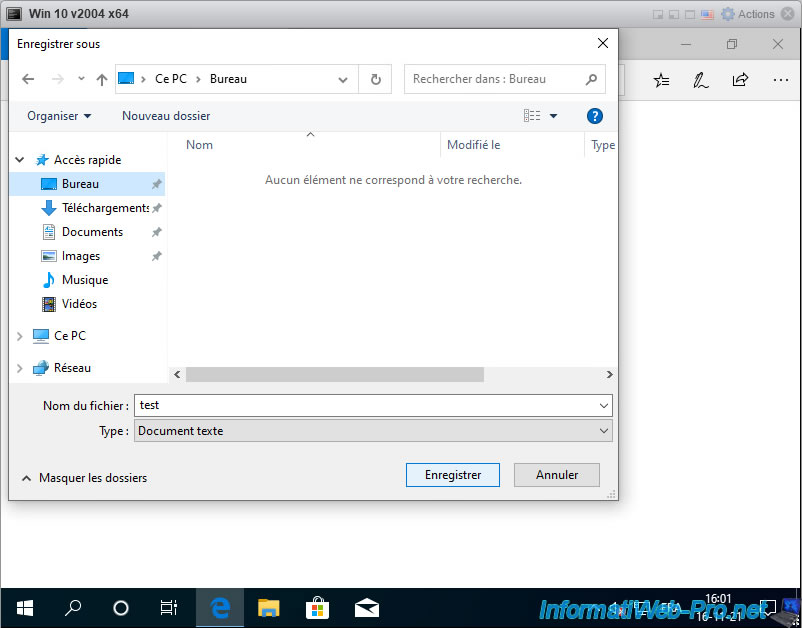
Save the file wherever you want.
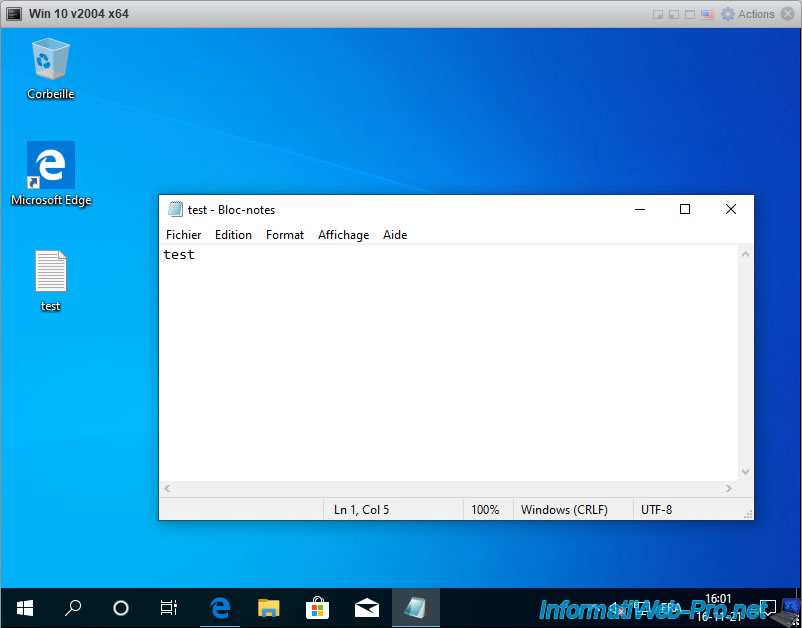
The file has been downloaded to the virtual machine.
7. Use an ISO file (virtual CD/DVD)
Another very useful possibility for transferring files that you use very often with several virtual machines is to put them in an ISO file.
Indeed, thanks to VMware Remote Console (VMRC) or VMware Workstation Pro, you can very easily insert an ISO file stored locally in the virtual CD/DVD drive of your virtual machine.
7.1. Create an ISO file
To create ISO files, there are many utilities, but only one is free (to our knowledge).
This is Free WinISO Maker (WinISO 5.3).
Indeed, its author offers you to download this version of WinISO by providing you free of charge the serial number that goes with it. It's therefore free and allowed since it's its author who provides it to you for free.
For this tutorial, we've downloaded a few programs that you might need often when installing a new virtual machine in Windows.
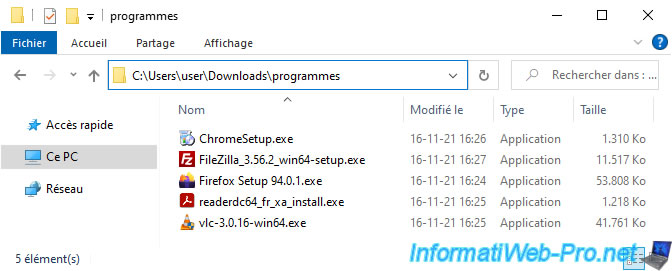
Once the WinISO program (version 5.3) is installed and registered for free with the serial number provided in the "readme.txt" file located next to the installer, you will see this.
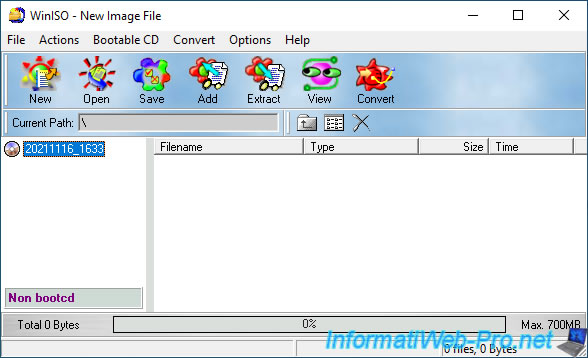
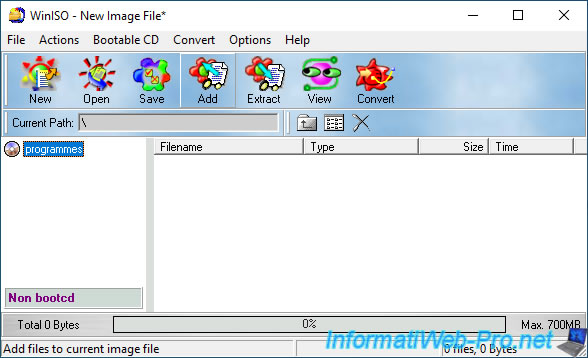
Change the name of this virtual CD to "programs" (for example) in the left column, then click the "Add" button to add files to this ISO file.
Note that you could also drag files from the file explorer to the "WinISO" window.
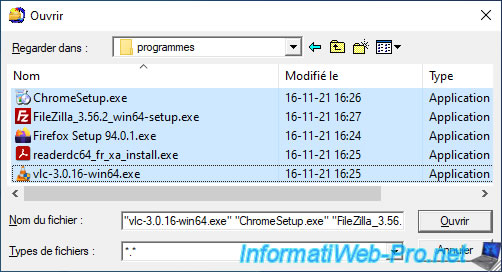
Select the files you want to add to this ISO file, and then click Open.
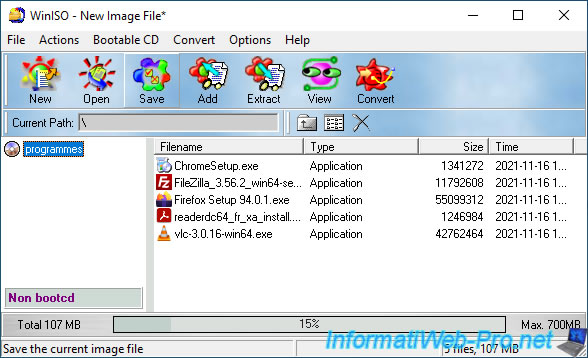
The files appear in the list.
Click on the "Save" button.
Select the folder where you want to store this ISO file on your computer, enter a name (the name of the ISO file), then click : Save.
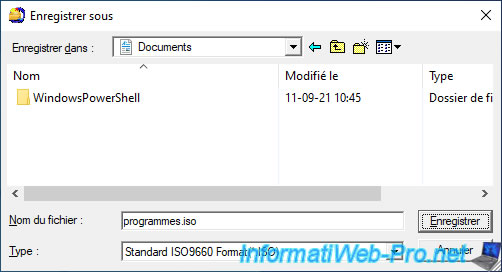
7.2. Insert the ISO file into the virtual CD/DVD drive of your virtual machine
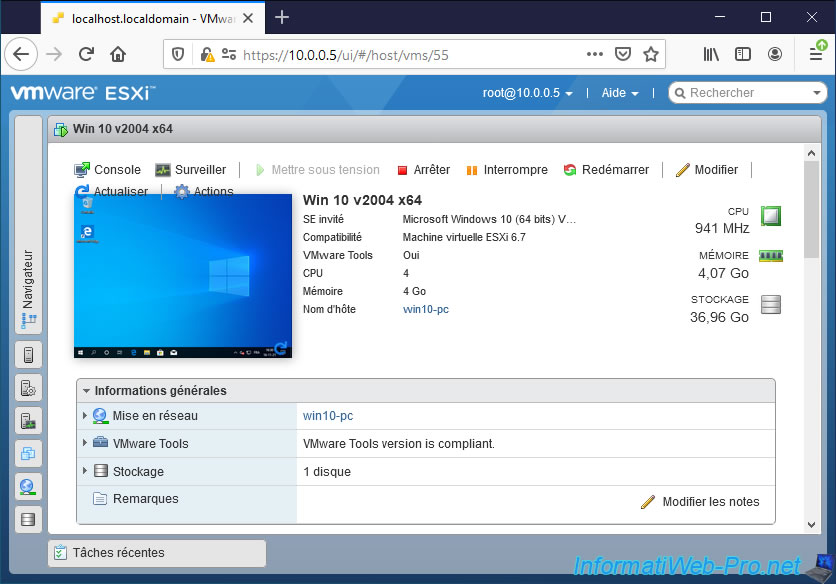
To insert the ISO file into the virtual CD/DVD drive of your virtual machine, you must click on : Console.
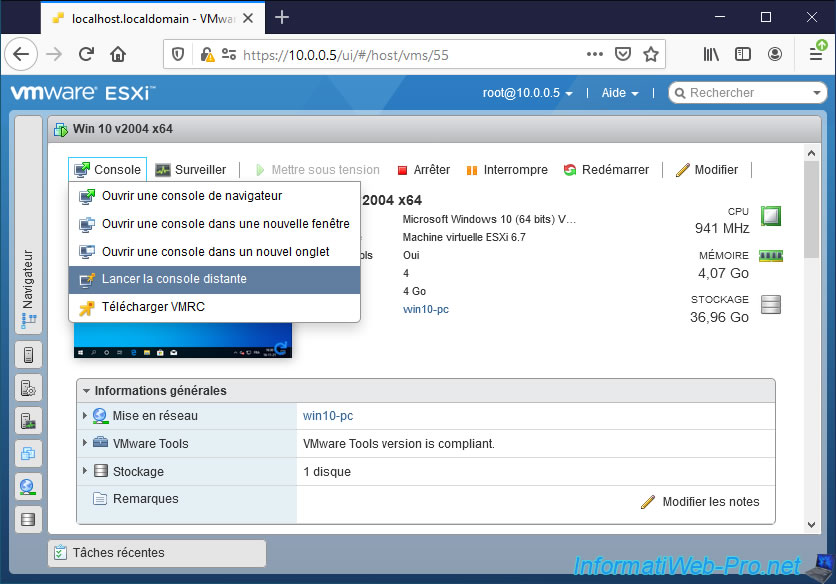
Then, click on : Launch remote console.
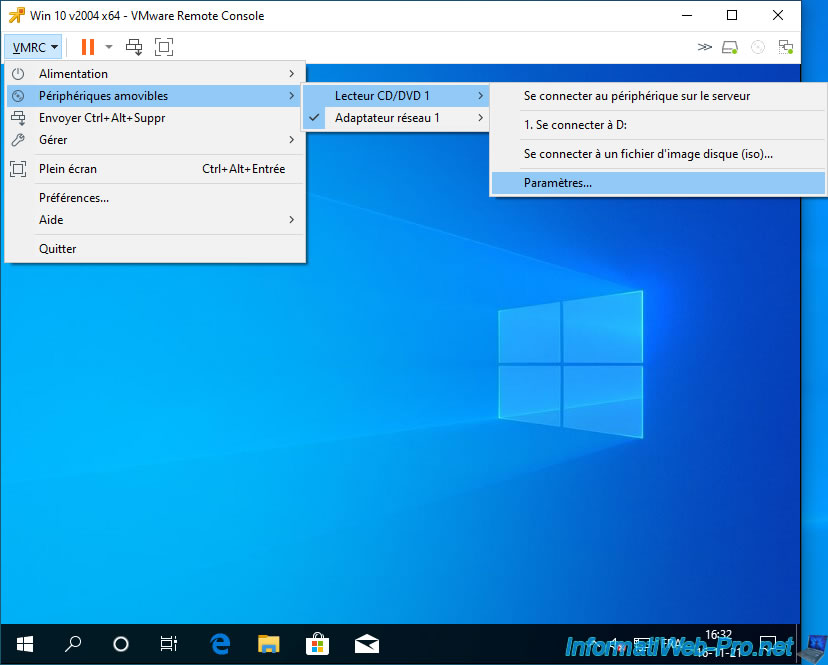
In the "[VM name] - VMware Remote Console" window that appears, click on : VMRC -> Removable Devices -> CD/DVD drive 1 -> Settings.
Note that you could also do this from VMware Workstation Pro (which also supports the "vmrc://" protocol).
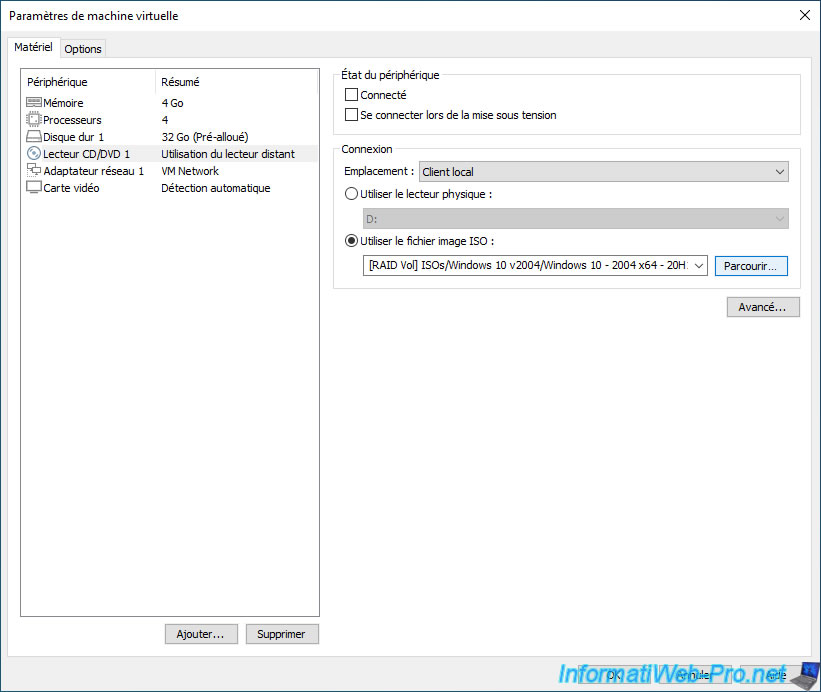
Then, select "Location : Local Client", then select "Use ISO image file" and click the "Browse" button.
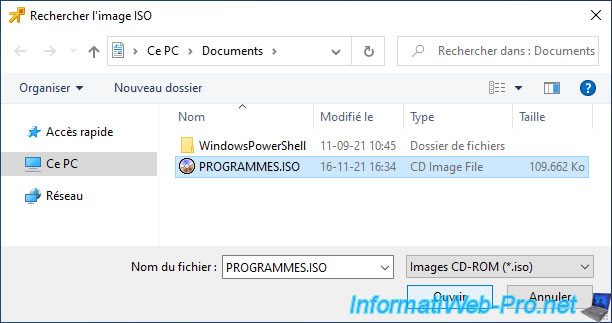
Select the ISO file created on your local computer.
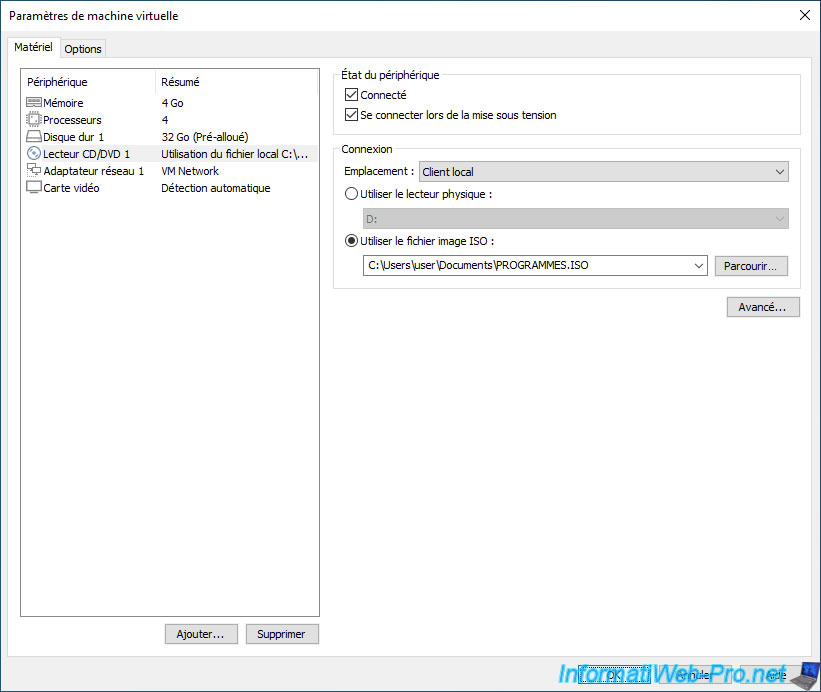
Then, check the "Connected" and "Connect at power on" boxes at the top of the window, and click OK.
As expected, your local ISO file is inserted into your virtual machine's virtual CD/DVD drive (running on your VMware ESXi server).
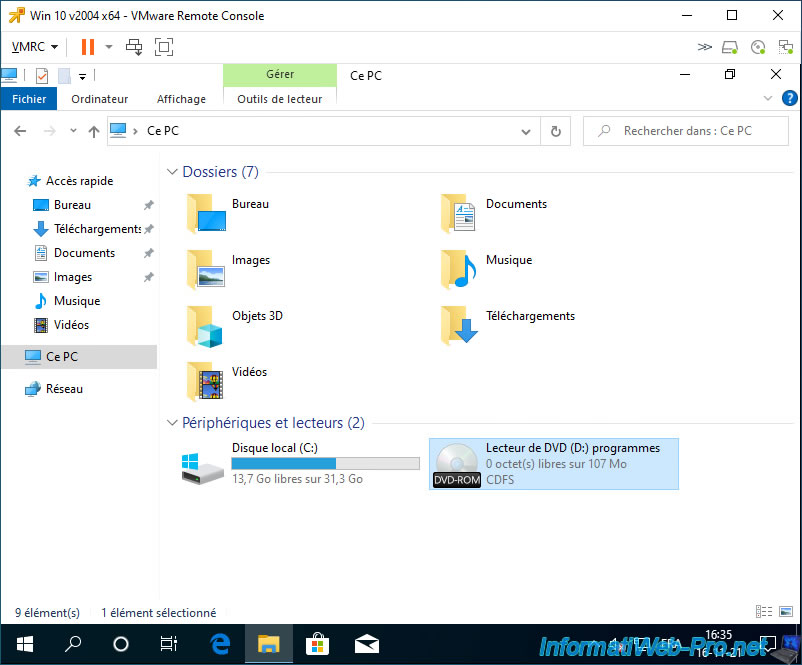
As expected, you have access to the files in the ISO file stored locally on your computer.
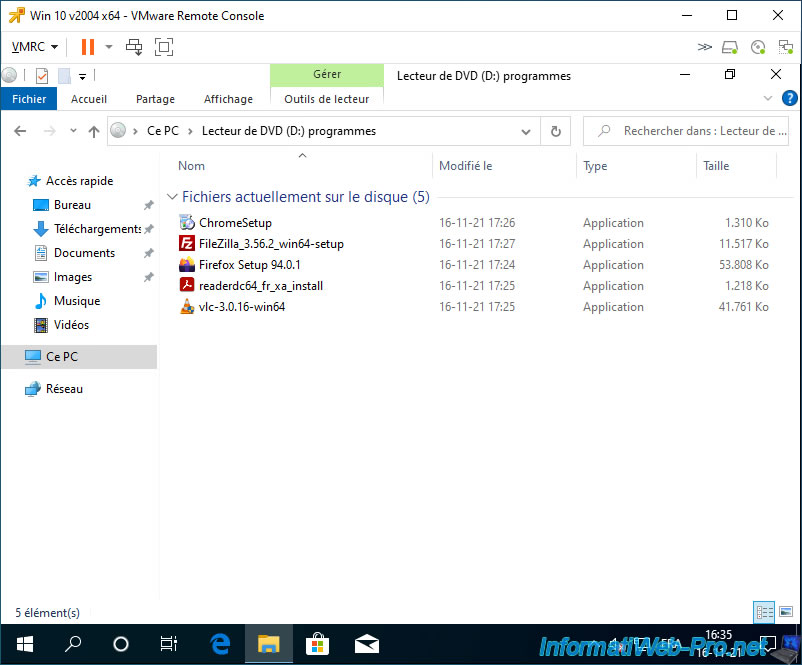
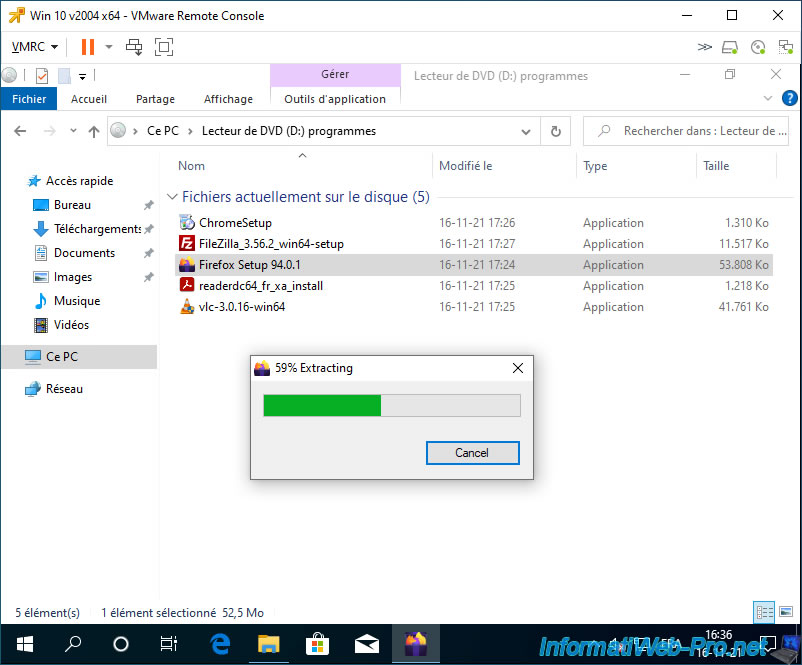
And these files can be used as if they were in your virtual machine.
Share this tutorial
To see also
-
VMware 5/25/2022
VMware ESXi 6.0 - Install the VMware Host Client web client
-
VMware 5/27/2022
VMware ESXi 6.5 - Add a network driver in the installation ISO
-
VMware 1/27/2023
VMware ESXi 6.7 - Enable virtualization-based security (VBS)
-
VMware 12/2/2022
VMware ESXi 6.7 - Install and use the VMRC console on Linux

No comment