- VMware
- 16 December 2022 at 19:38 UTC
-

- 1/2

When you want to virtualize machines with VMware ESXi (or any other virtualization solution), it's better to create a virtual hard disk to install the guest operating system on it, then other virtual hard disks for the other partitions.
So, when you need more room on a partition, you just need to expand the affected virtual hard disk and then expand the desired partition from the guest operating system.
This is not possible when all the partitions are on the same virtual hard drive (as you will see below).
Tutorial made with VMware vCenter Converter Standalone 6.2.0 and VMware ESXi 6.7 u1.
Tutorial also tested with the new version 6.3.0 of this VMware converter and VMware ESXi 6.7 u3 in hypervisor.
- Multiple partitions on the same virtual hard drive
- Slice a virtual hard disk with VMware vCenter Converter Standalone
- Converted virtual machine
1. Multiple partitions on the same virtual hard drive
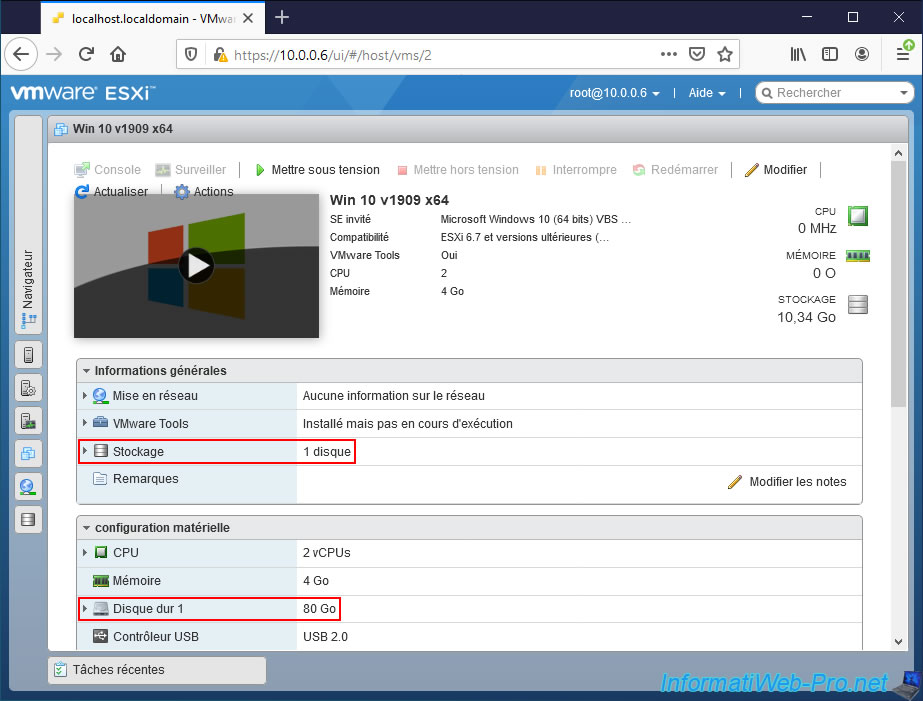
For this tutorial, we have created a virtual machine with a single virtual hard drive where Windows 10 is installed.
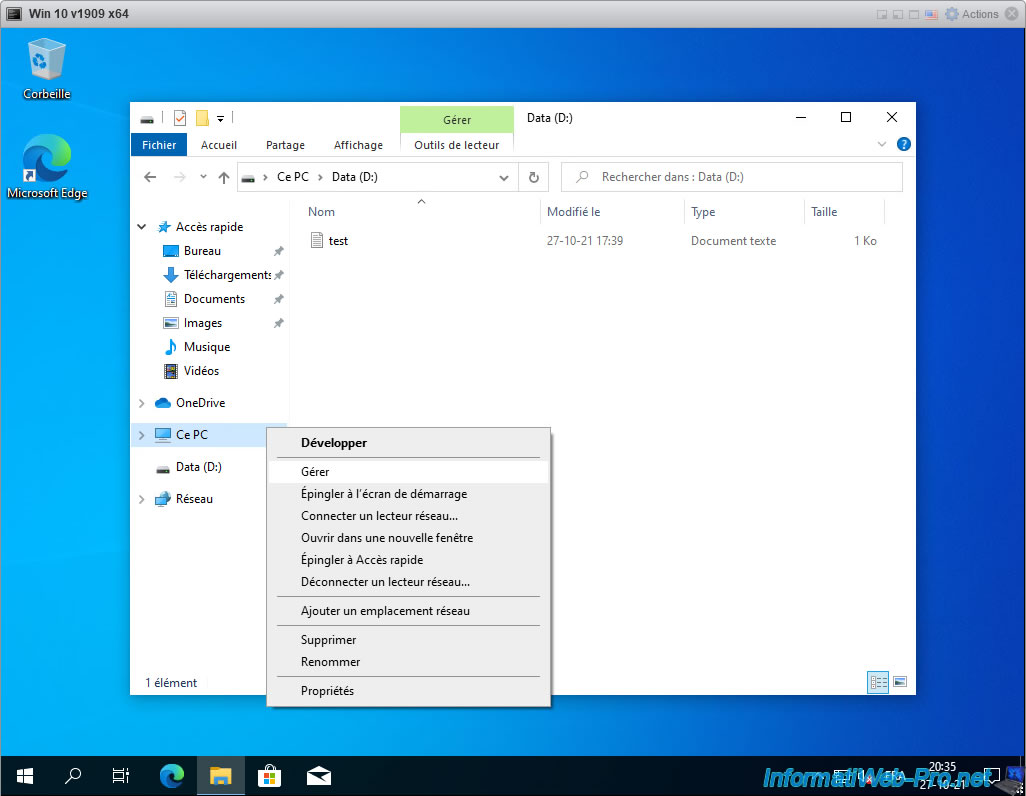
If we look at the partitions we have on our virtual hard drive, we see 2 of them using the file explorer.
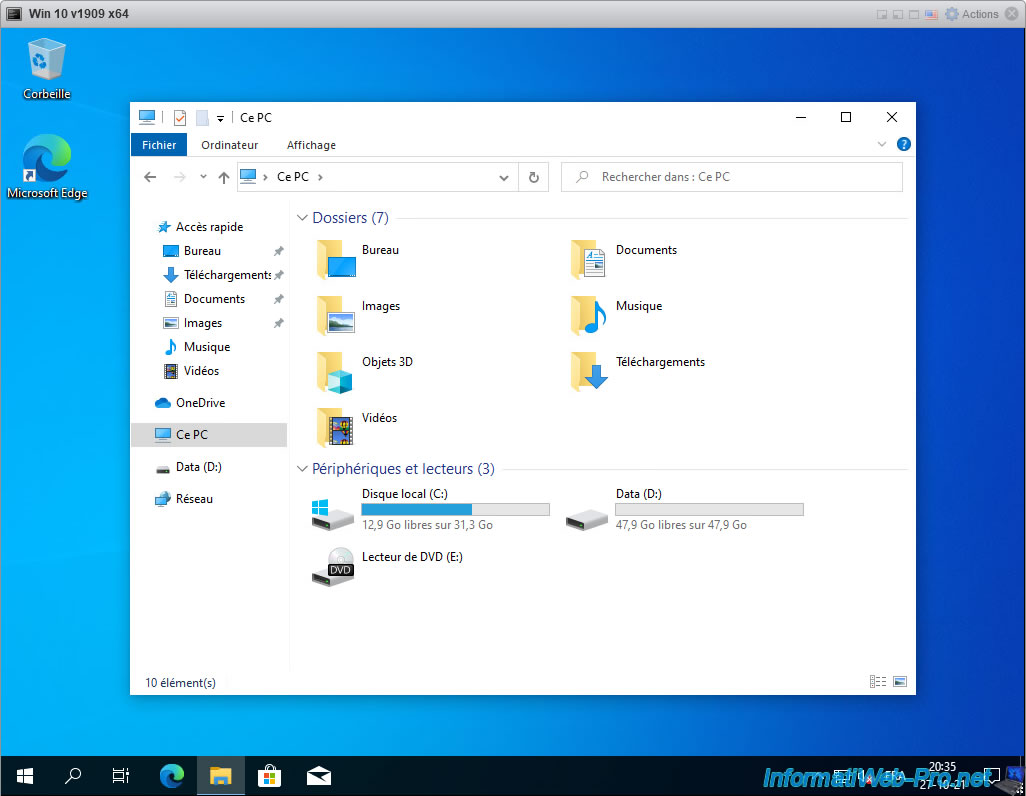
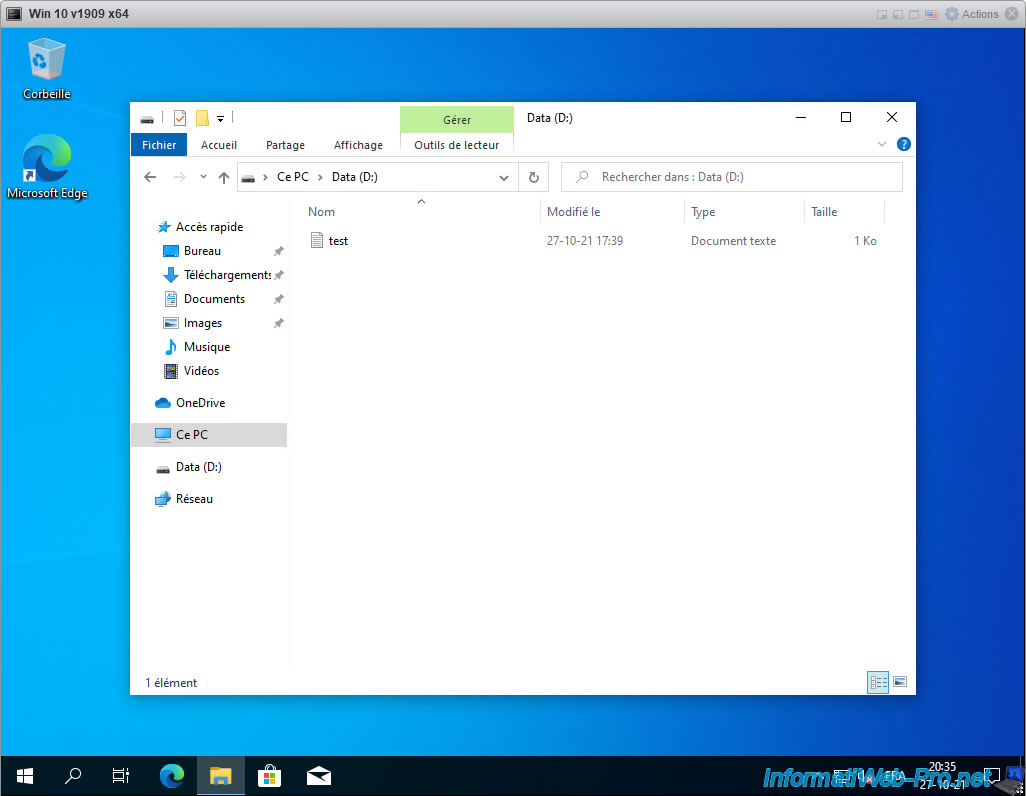
In our "Data" partition, we have created a test text file for the example.
It just tells you that there is data on that partition.
To see where these partitions are located, right click "Manage" on "This PC".
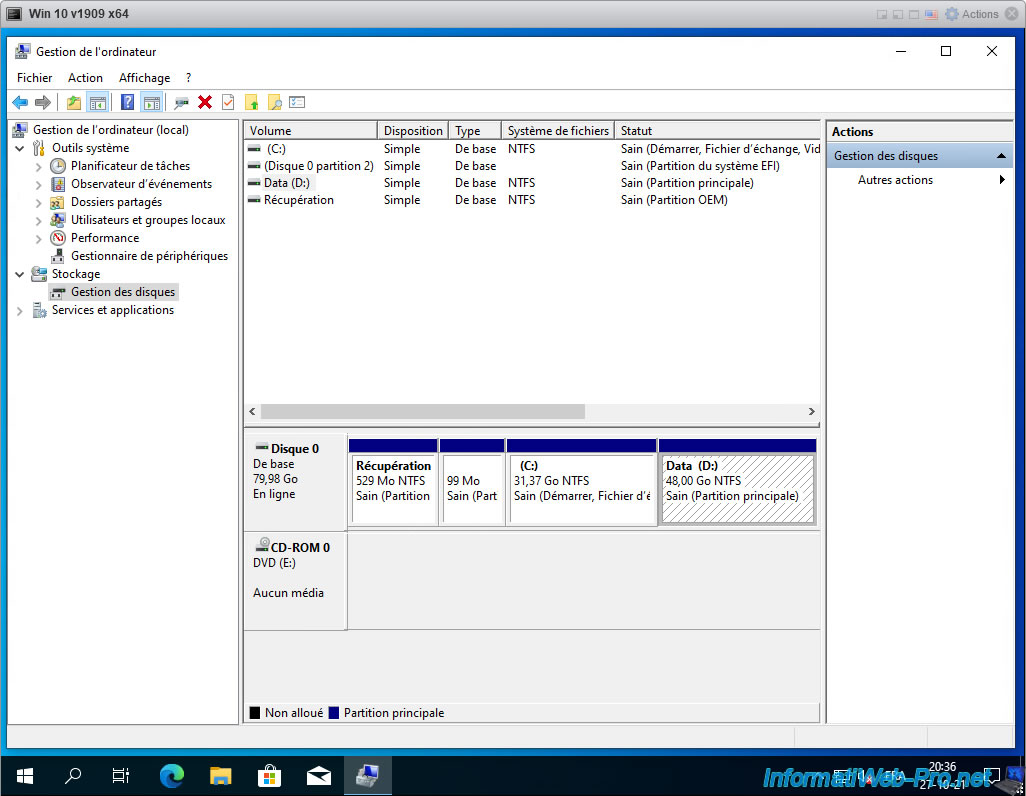
Then, in the "Computer Management" window that appears, go to Disk Management.
As you can see, our virtual hard drive has several partitions, including the "C" partition where Windows 10 (in our case) is installed and the "Data" partition which contains data.
If we ever want to enlarge the "C" partition, we will not be able to do so for the moment, because another partition is behind this one.
Hence the fact that it's preferable to create only one partition per disk.
Note that the more you use a virtual machine, the more the amount of data present in the "C" partition of Windows will increase.
In particular, because the configuration of the programs installed on your computer can be found in this partition. Even if you install the program in another partition.
If you increase the amount of RAM allocated to your virtual machine, hidden files created by Windows for hibernation or for virtual memory will take up more space.
To fix the problem, you will need to split your virtual hard drive into multiple virtual hard drives.
However, for this you will first need to shut down your virtual machine.

2. Slice a virtual hard disk with VMware vCenter Converter Standalone
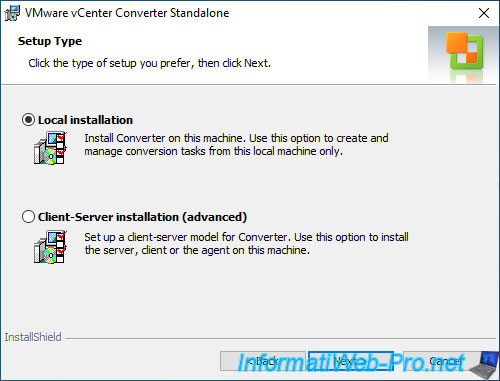
To get started, download and install VMware vCenter Converter Standalone by selecting "Local installation" as the Setup Type.
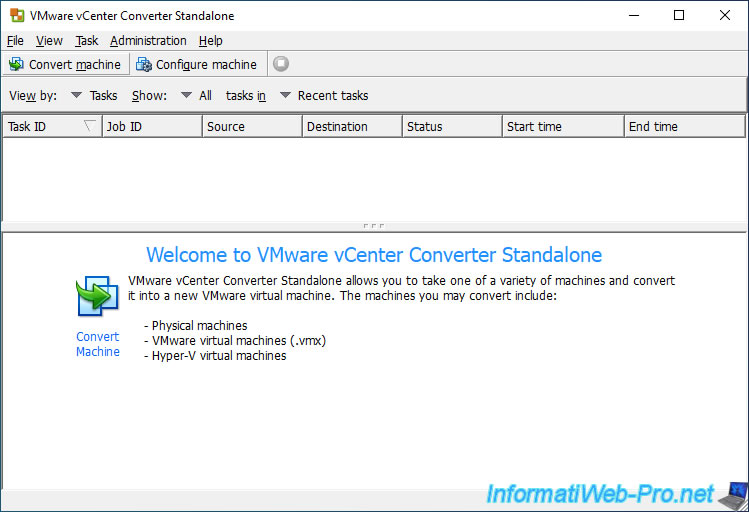
Launch VMware vCenter Converter Standalone as administrator (preferred) and click : Convert machine.
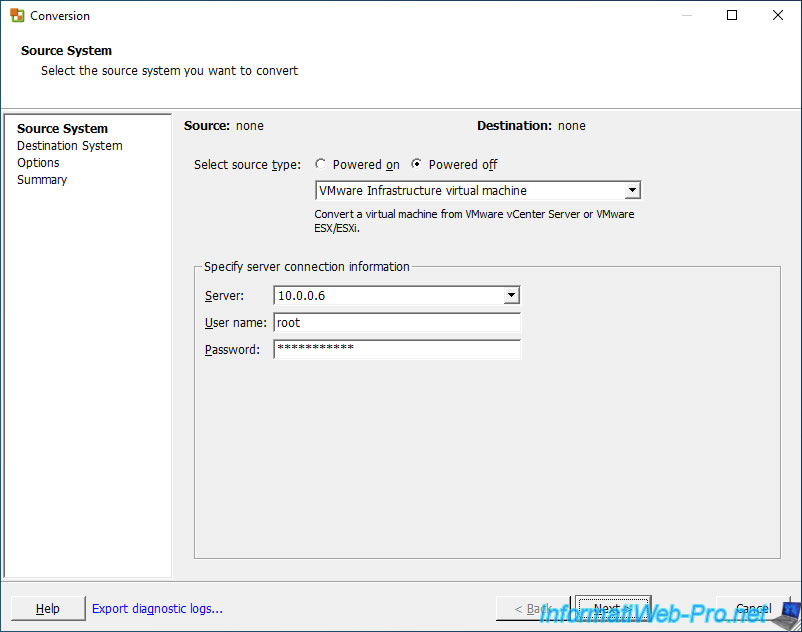
In the conversion wizard that appears, select "Powered off", then "VMware Infrastructure virtual machine" in the list since the source will be a VMware ESXi hypervisor.

For the connection information to your VMware ESXi hypervisor, specify :
- Server : the IP address or domain name of your VMware ESXi hypervisor.
- User name : the username to use to connect to this server.
- Password : the password of this user.
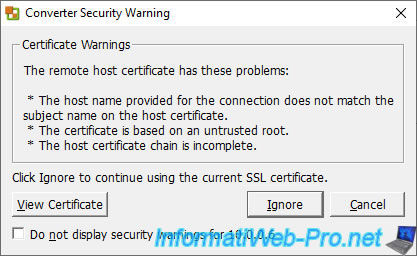
If you are using a self-signed certificate on your VMware ESXi hypervisor or the certificate used on this server is invalid, a "The remote host certificate has these problems ..." warning will appear.

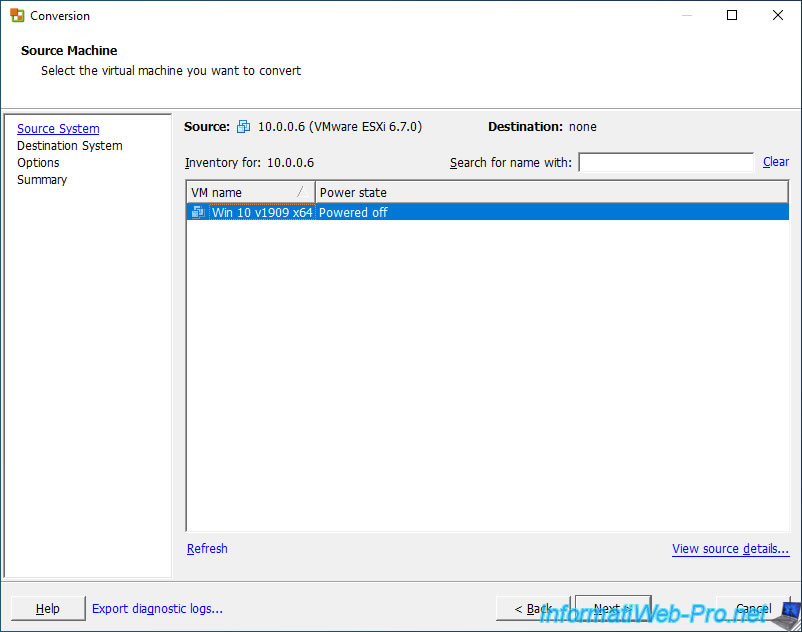
If the connection to your VMware ESXi hypervisor is successful, the list of virtual machines present on it appears.
Note that you will only be able to convert virtual machines that are powered off. The power state must therefore be "Powered off" for the desired virtual machine.
In this list, select the virtual machine from which you want to split its virtual hard disk and click on : Next.
If you want to get information about the selected virtual machine first, click on the "View source details" link.
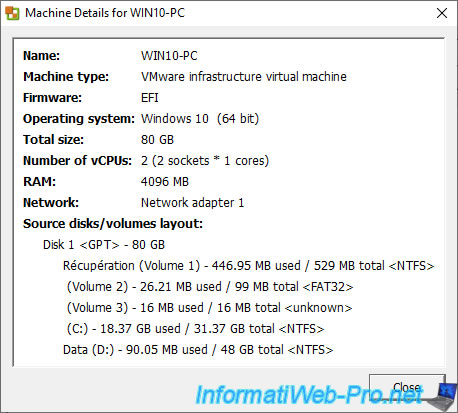
If you clicked on the "View source details" link, a small "Machine Details for [virtual machine name]" window will appear with :
- Name : the name defined in the guest operating system.
If Windows is installed in this virtual machine, the name displayed will be the NETBIOS name. - Machine type : the type of the selected virtual machine.
In the case of a virtual machine located on a VMware ESXi hypervisor, the type displayed is : VMware infrastructure virtual machine. - Firmware : indicates whether the virtual machine uses an EFI firmware or a classic BIOS.
- Operating system : the name and version of the operating system installed in the virtual machine.
Or more precisely, the one indicated to VMware ESXi when you created your virtual machine. - Total size : the total size of the virtual machine assuming that all of its virtual hard disks are full (or that the type of provisioning used would be "static provisioning").
Indeed, this total size is based on the maximum size that you had indicated for its virtual hard disks and not on the size actually occupied by the data which is in them. - Number of vCPUs : total number of cores allocated to this virtual machine. In parentheses, you will also find the number of virtual processors and the number of cores per virtual processor visible to the virtual machine.
- RAM : amount of random access memory (RAM) allocated to this virtual machine.
- Network : list of virtual network adapters used by this virtual machine.
- Source disks/volumes layout : information about the virtual hard disks linked to this virtual machine, as well as their partition table.
For the destination system, select the same (VMware Infrastructure virtual machine) as earlier and provide the same connection information (since this is the same VMware ESXi server).
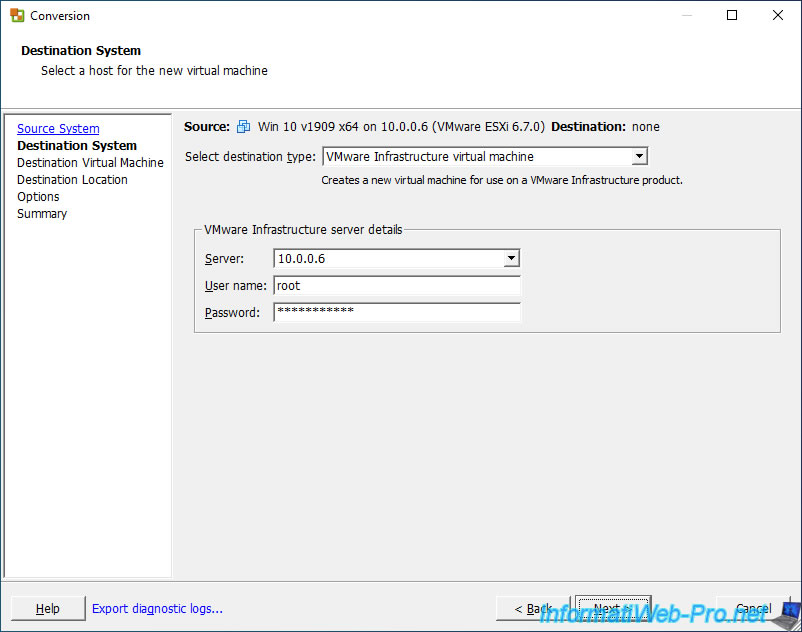
As before, if the certificate of your VMware ESXi server is self-signed or invalid, a warning will be displayed.
Ignore it if this is normal for you.
However, in production, you should use valid SSL certificates to be alerted in the event that one server has been compromised or replaced by another.
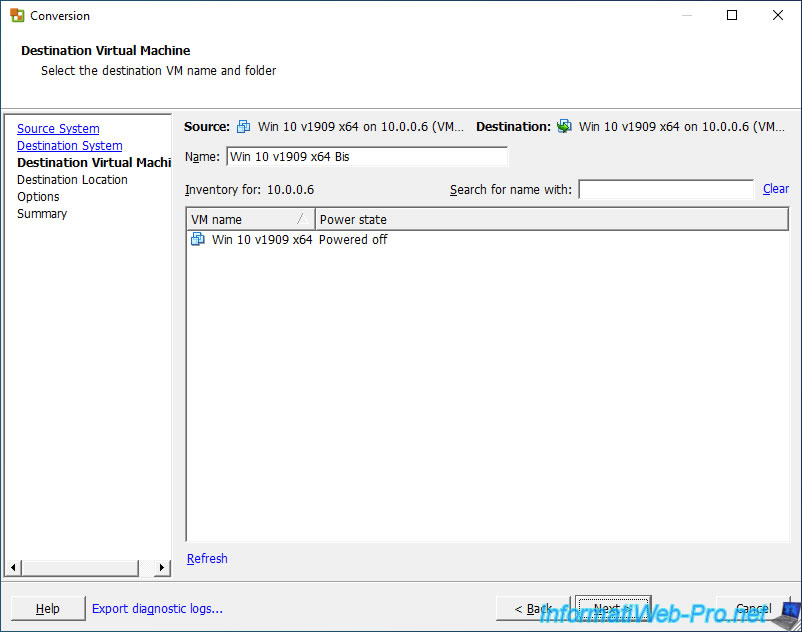
Enter the name of the new virtual machine in the "Name" box and click Next.
Note that the list displayed here simply allows you to know the name of the virtual machines already present on your VMware ESXi hypervisor.
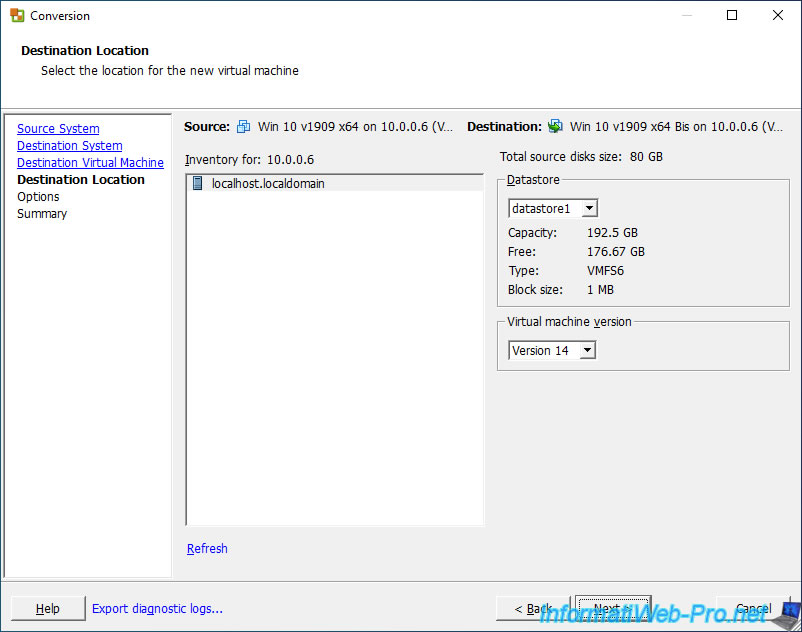
The destination VMware ESXi hypervisor appears on the left.
Select the datastore in which you want to store your virtual machine, as well as the version (compatibility level) of the virtual machine that will be created by VMware vCenter Converter Standalone.
In our case, we used version 14 which corresponds to VMware ESXi 6.7.
Source : Virtual machine hardware versions.
Share this tutorial
To see also
-
VMware 4/21/2023
VMware ESXi 6.7 - Change virtual disk provisioning
-
VMware 5/19/2023
VMware ESXi 6.7 - Create an iSCSI datastore
-
VMware 5/5/2023
VMware ESXi 6.7 - Direct Attached Storage (DAS)
-
VMware 12/23/2022
VMware ESXi 6.7 - Improve the performance by using a physical HDD
You must be logged in to post a comment