Slice the virtual hard disk of a VMware ESXi 6.7 virtual machine using VMware vCenter Converter Standalone
- VMware
- 16 December 2022 at 19:38 UTC
-

- 2/2

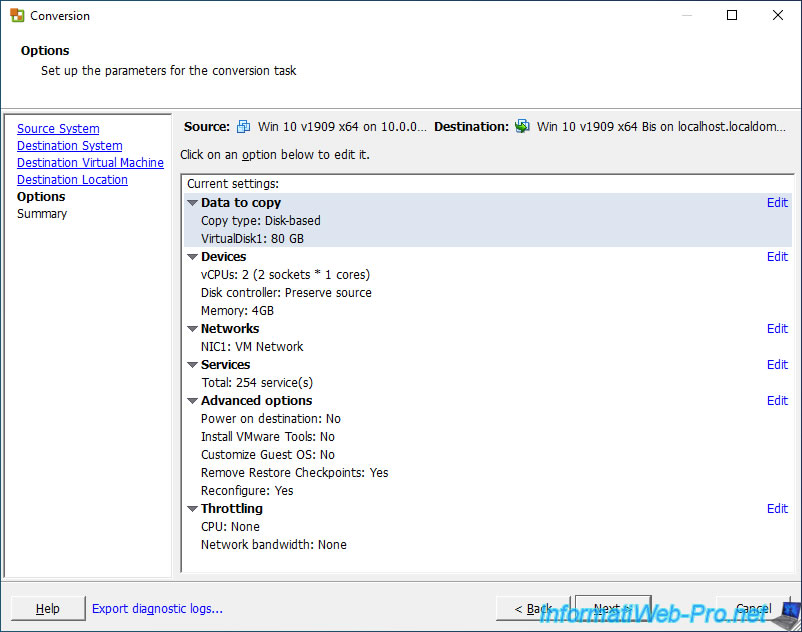
A list of conversion options appears.
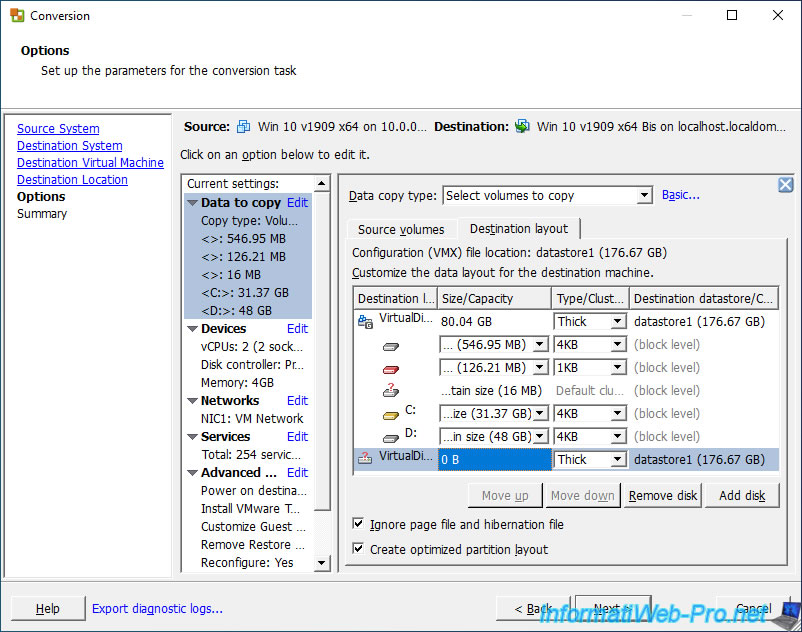
Click on the "Data to copy" option.
In the "Data copy type" list, select the "Select volumes to copy" option to manage the copy of the volumes (partitions).
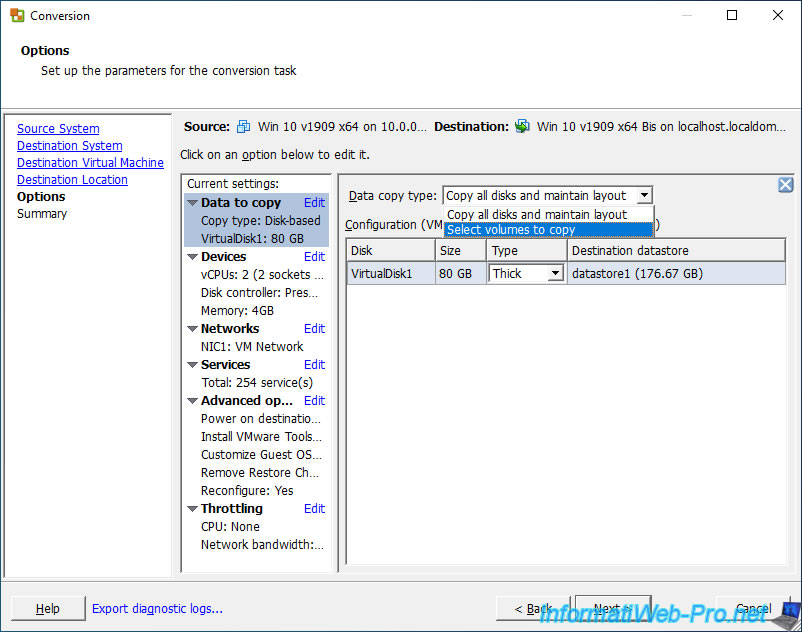
Then, access the advanced mode by clicking on the "Advanced" link that appeared to the right of the "Data copy type" list.
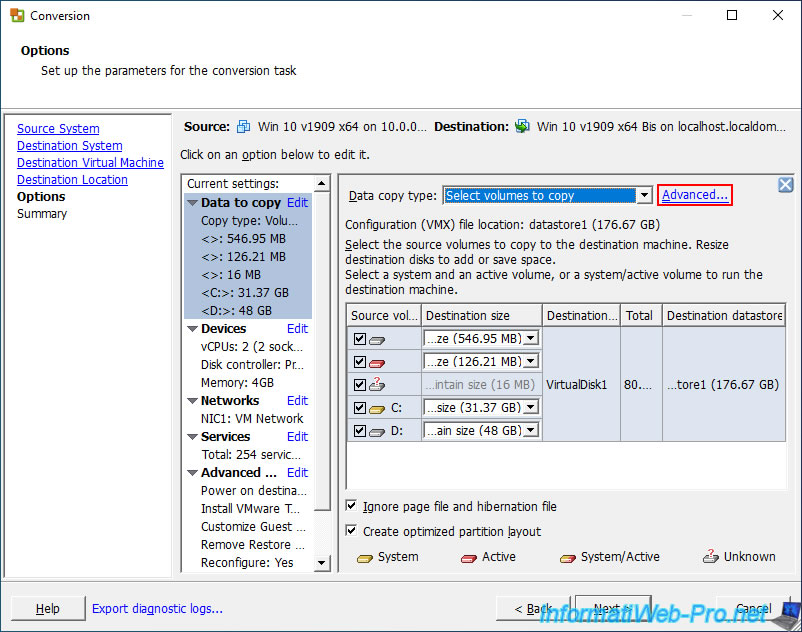
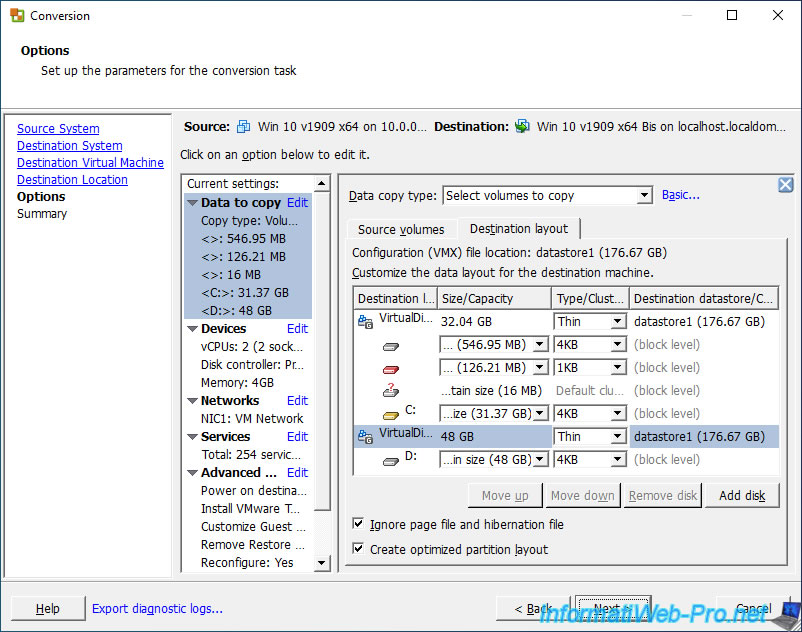
Go to the "Destination layout" tab, then click on the "Add disk" button to add a new virtual hard disk (empty for the moment) to your virtual machine.
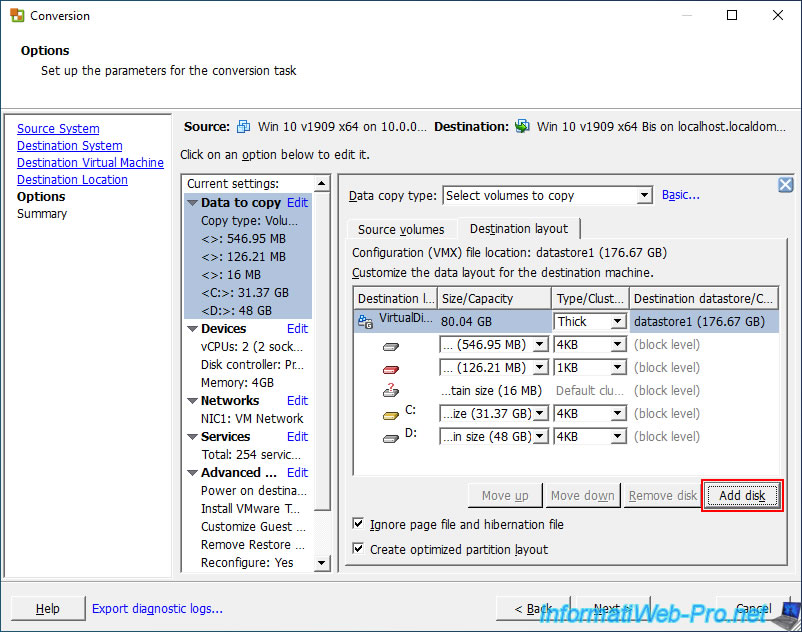
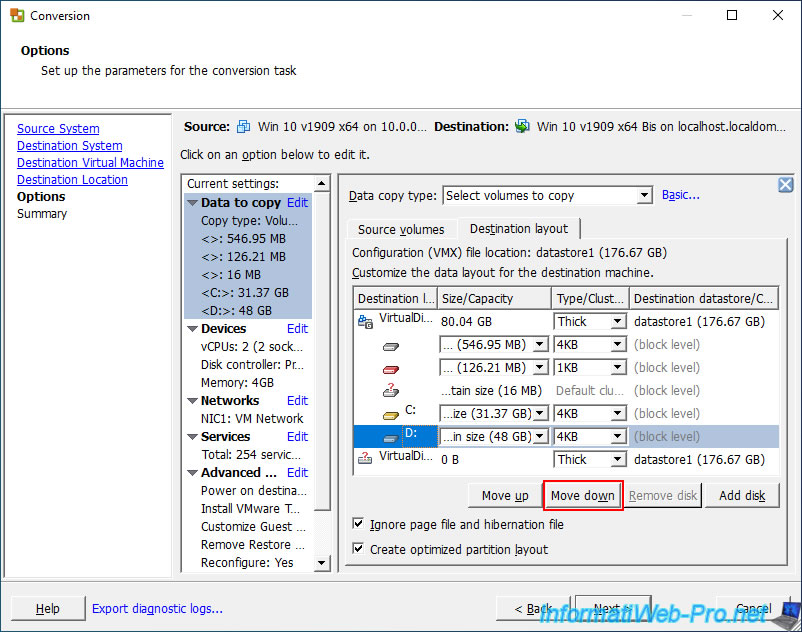
A new blank virtual hard disk appears.
Select the volume (partition) you want to move to the new (blank) virtual hard drive and click the "Move down" button.
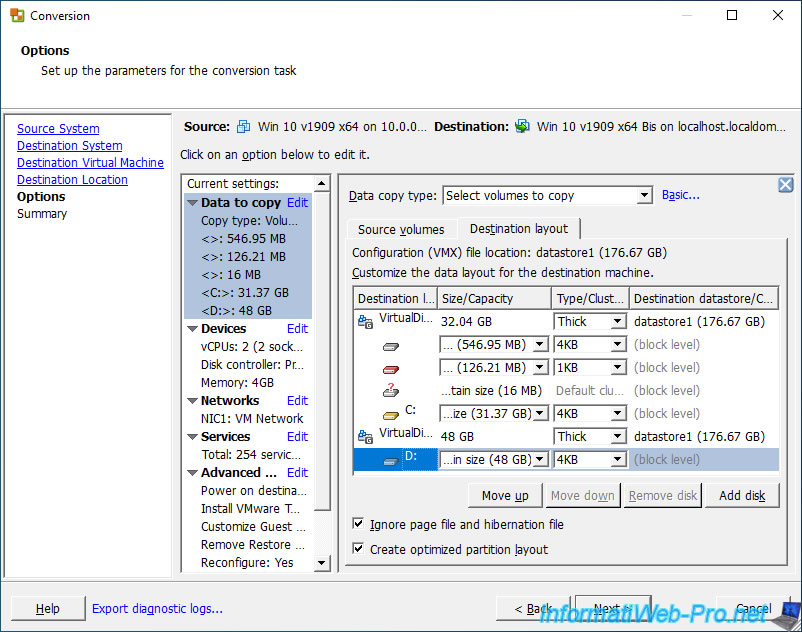
The volume (partition) has been moved to the new virtual hard disk.
Note that the converter has automatically adapted the size of your virtual hard disks according to the volumes (partitions) that will have to be there.
Finally, know that you can choose the type of provisioning to use for each of these virtual hard disks using the "Type/Cluster" column :
- Thick : static provisioning (pre-allocated space on the physical hard drive)
- Thin : dynamic provisioning (NOT pre-allocated space)
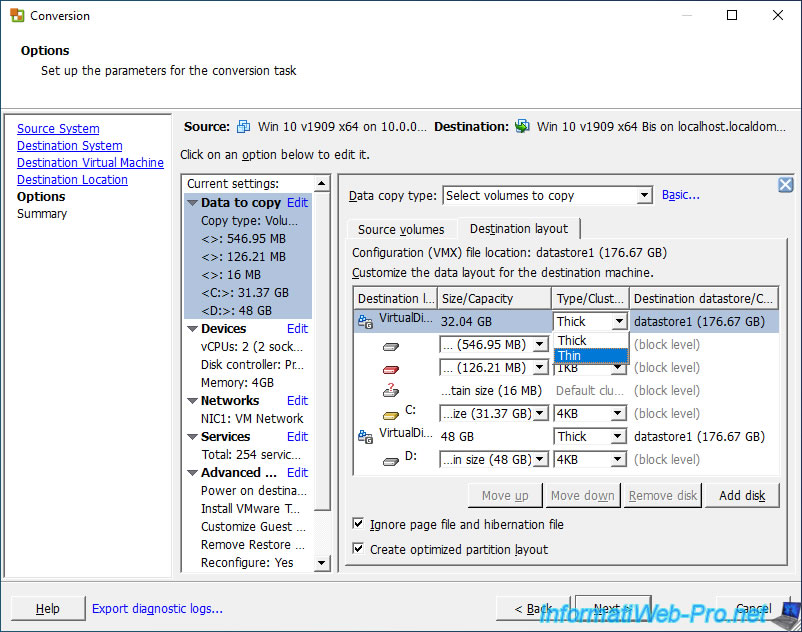
Once the desired type of provisioning has been selected, click on : Next.
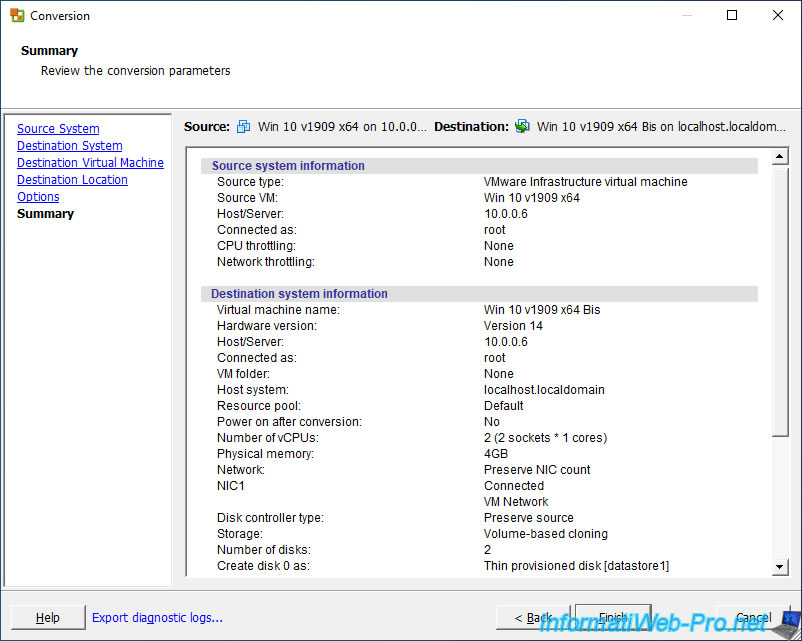
A summary of the different conversion parameters appears.
Click on : Finish.
Wait a few seconds while the "Submitting job" message is displayed.
![]()
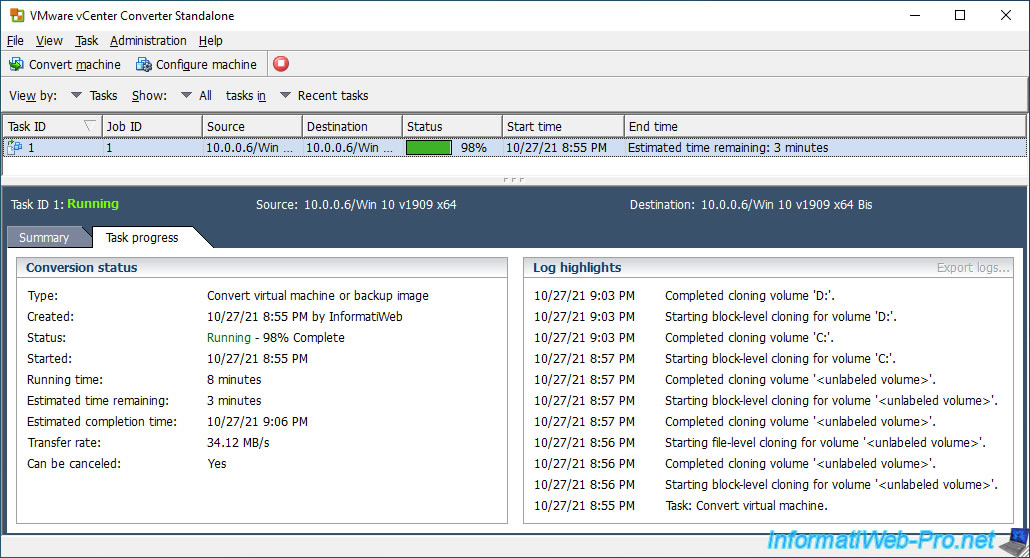
Then, the conversion of your virtual machine will start.
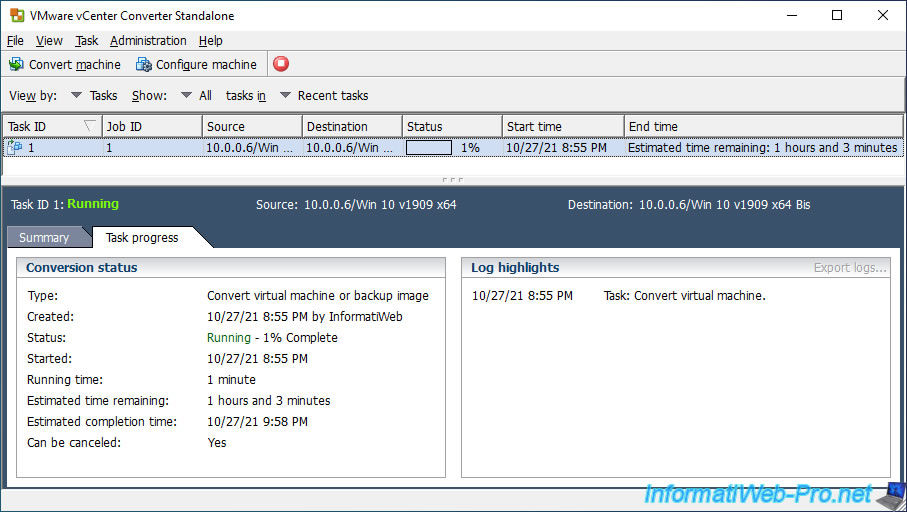
VMware vCenter Converter Standalone will copy the different volumes (partitions) of this virtual machine.
Including hidden partitions, without name or letter, as you can see with the steps :
Plain Text
Completed cloning volume '<unlabeled volume>'.
Starting block-level cloning for volume '<unlabeled volume>'.
As you can see, the copy of the "C" partition will start :
Plain Text
Starting block-level cloning for volume 'C:'.
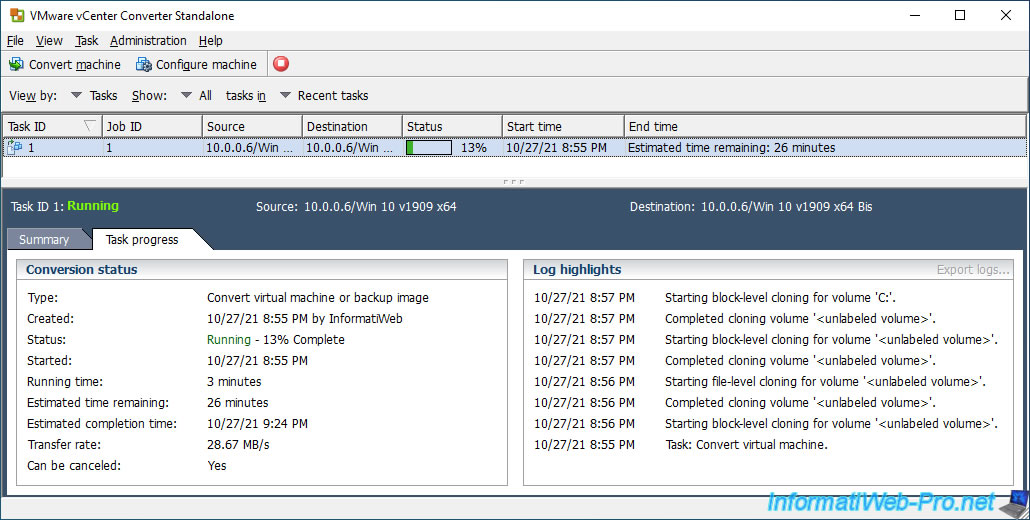
Then, it will copy the next volume (partition).
In our case, the "D" partition (which corresponds to our "Data" partition).
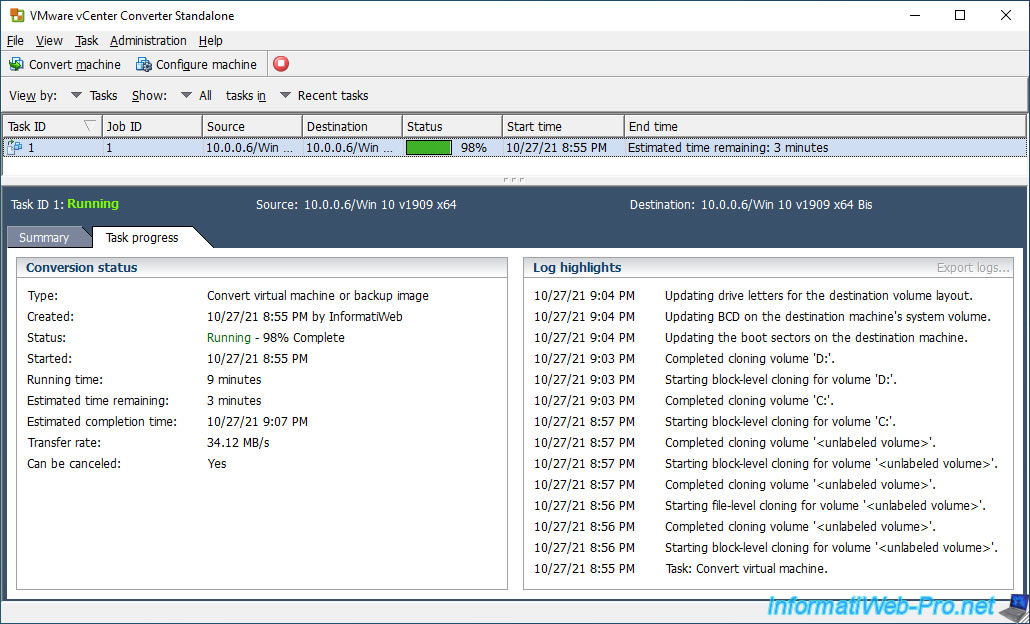
At the end of the conversion, VMware vCenter Converter Standalone update the boot sector, the boot menu (BCD), ... of the new virtual machine so that it can continue to start and operate correctly.
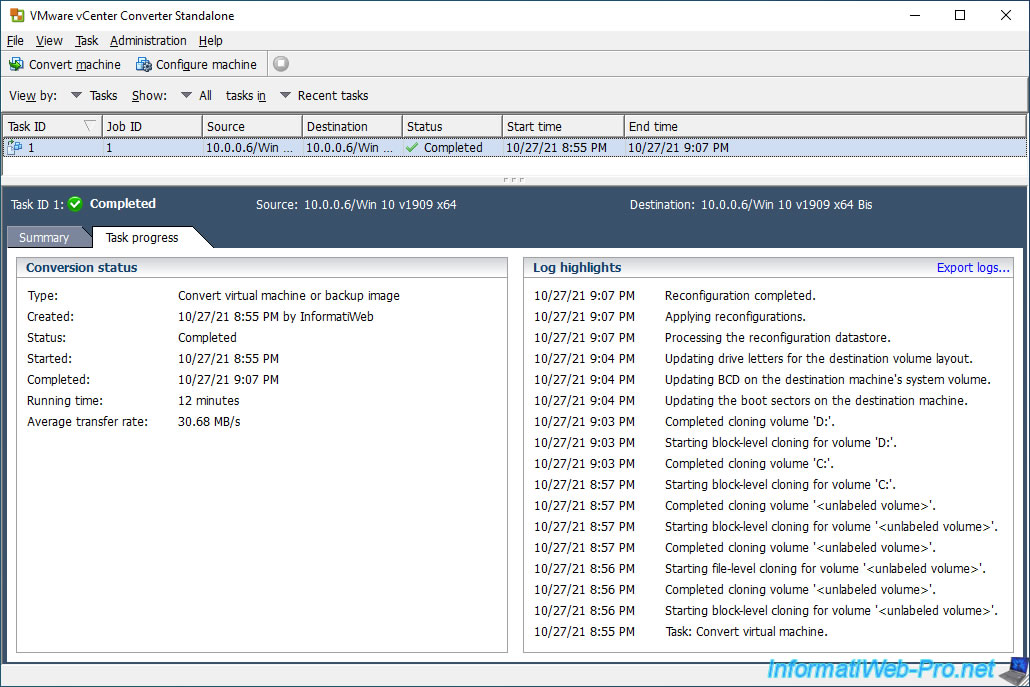
When the conversion of the virtual machine is complete, the status will be : Completed.
3. Converted virtual machine
If you go to the web interface of your VMware ESXi hypervisor, you will find your new virtual machine.
Start it.
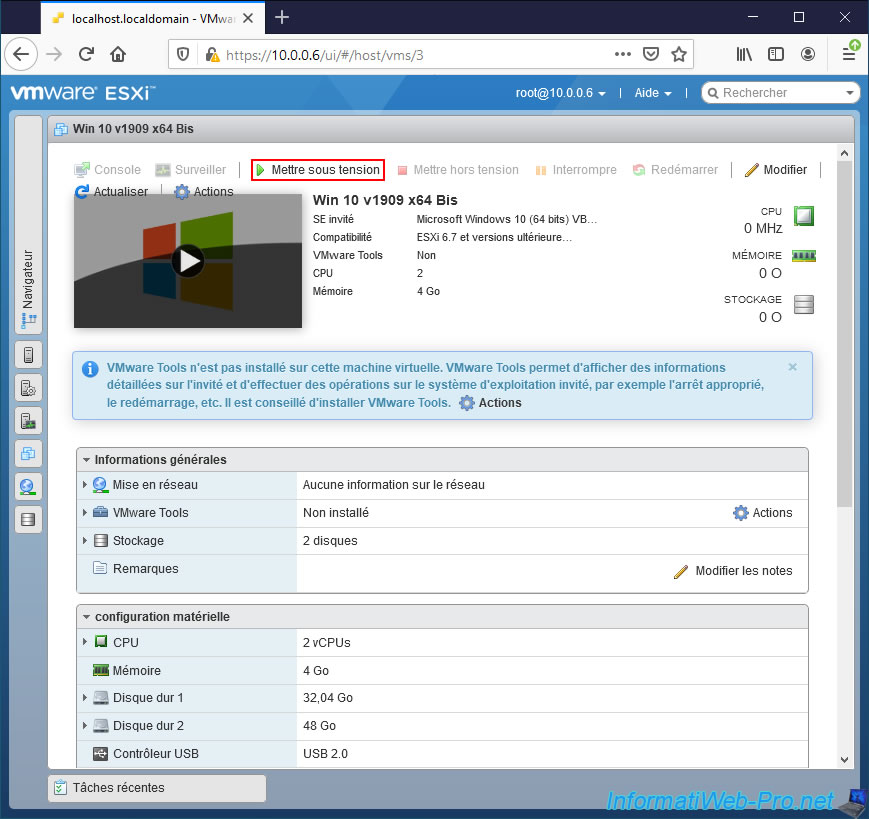
Wait while the virtual machine starts.
The virtual machine looks the same as before.
The partitions are still present.

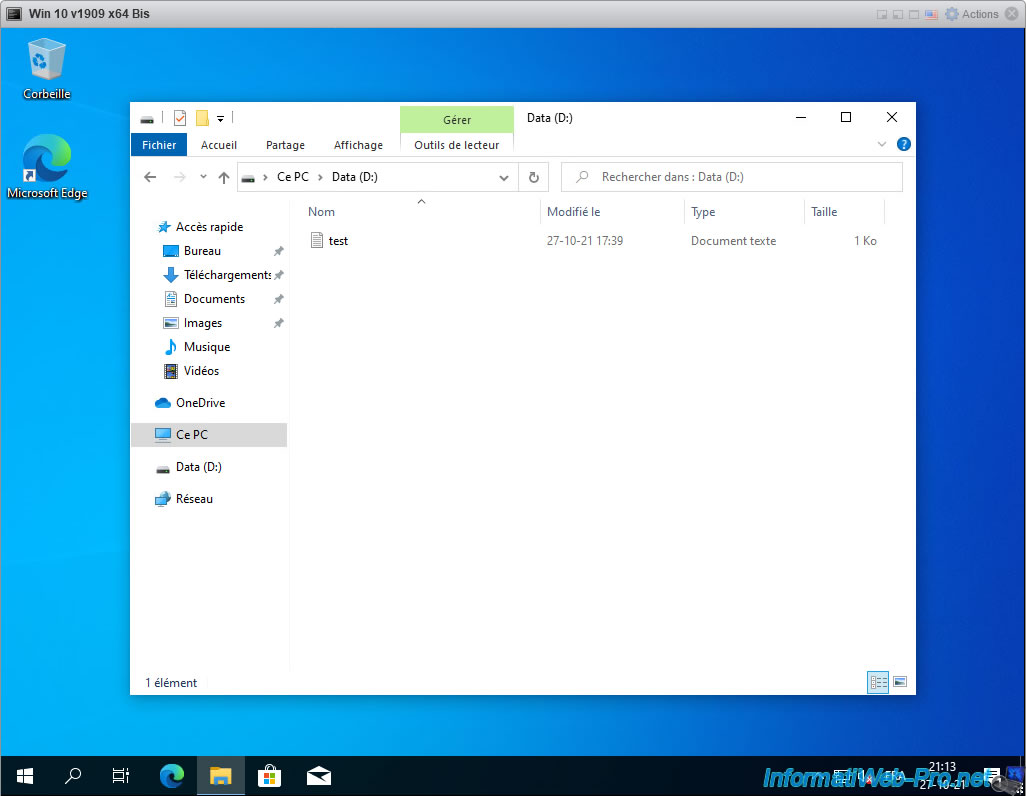
The content of our "Data" partition is always the same.
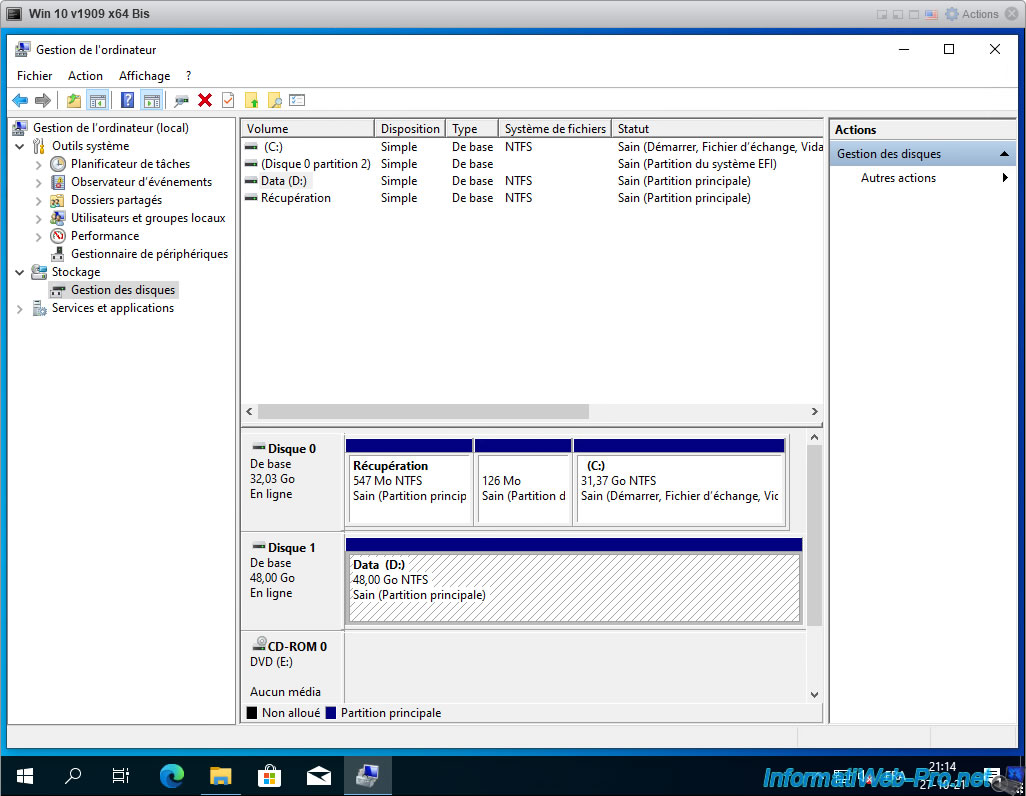
Right click "Manage" on "This PC".
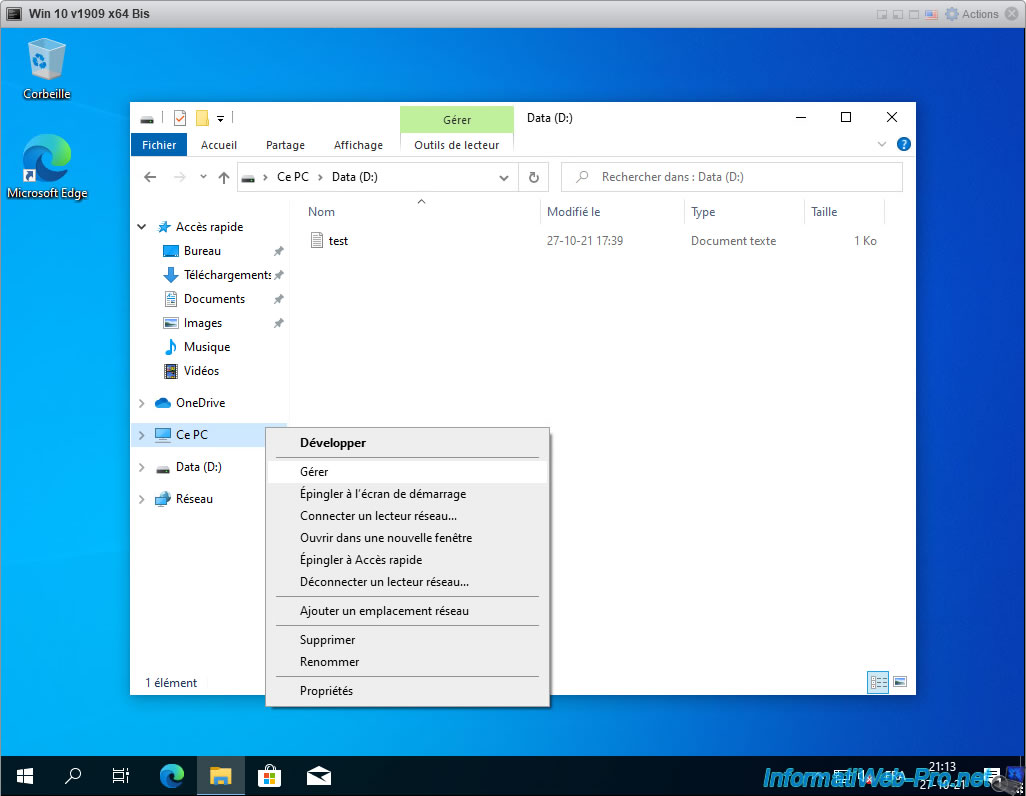
Then, go to Disk Management.
As you can see, our "Data" partition (including its contents) has been moved to another virtual hard drive.
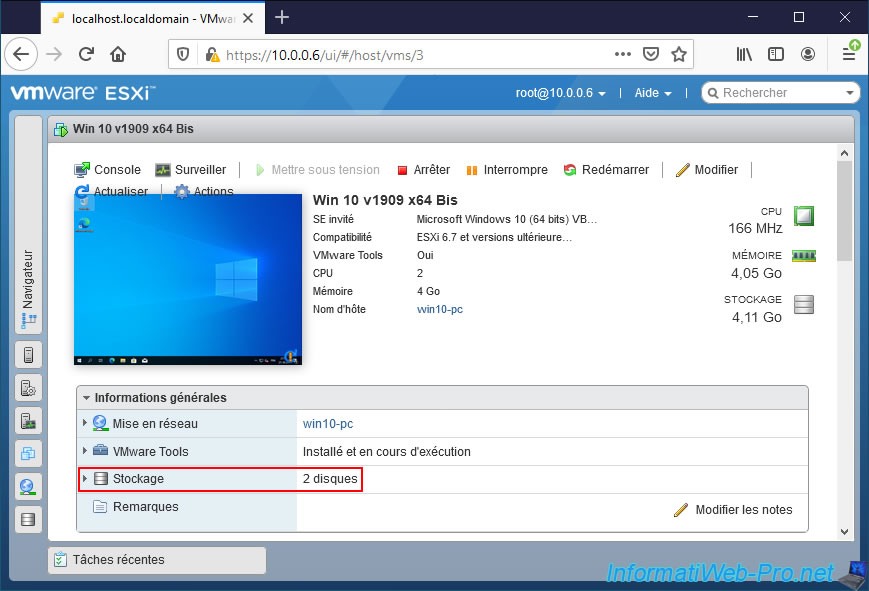
If you look in the general information of your virtual machine, you will see that there are now 2 disks instead of one.
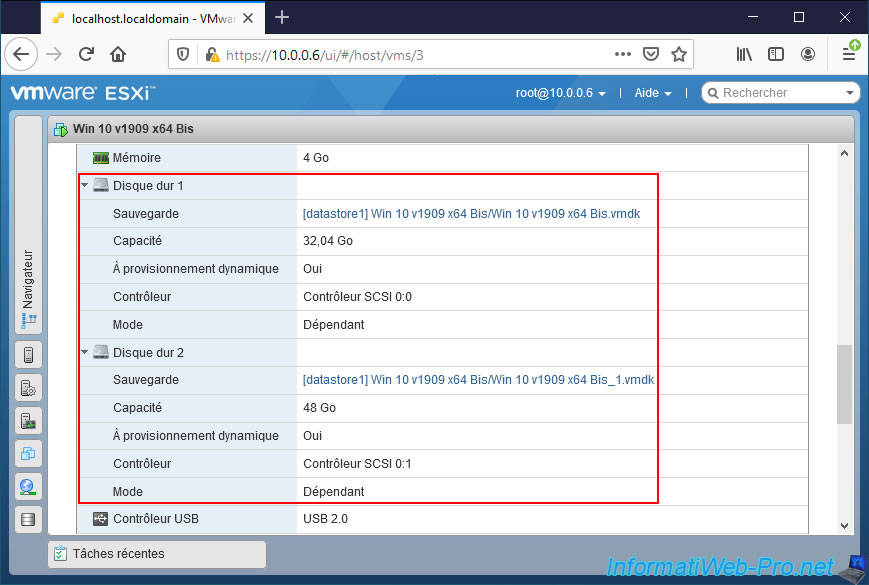
A little further down, you will also see that an additional virtual hard disk has been created.
For each of these virtual hard disks, you will be able to know its capacity (maximum size), whether or not dynamic provisioning is used on it, ...
Share this tutorial
To see also
-
VMware 4/21/2023
VMware ESXi 6.7 - Change virtual disk provisioning
-
VMware 5/19/2023
VMware ESXi 6.7 - Create an iSCSI datastore
-
VMware 5/5/2023
VMware ESXi 6.7 - Direct Attached Storage (DAS)
-
VMware 12/23/2022
VMware ESXi 6.7 - Improve the performance by using a physical HDD
No comment