- VMware
- 21 April 2023 at 18:44 UTC
-

- 1/2
On VMware ESXi, when you create new virtual machines, the wizard uses static provisioning by default.
While this can prevent your infrastructure from collapsing by avoiding overprovisioning, you can quickly run out of space if you're in a test environment.
Indeed, when you learn to use VMware technologies and in this case VMware ESXi and VMware vCenter Server (VCSA), you will create many virtual machines which in the end will take up much more space than the space actually necessary for them.
Warning : in business, you should always use static provisioning to prevent all your virtual machines from crashing due to overprovisioning.
This solution should therefore only be used in a test environment and/or for learning VMware technologies.
- Default static provisioning
- Change virtual hard disk provisioning type with VMware vCenter Converter Standalone
- Change virtual hard disk provisioning type by exporting/importing VM
1. Default static provisioning
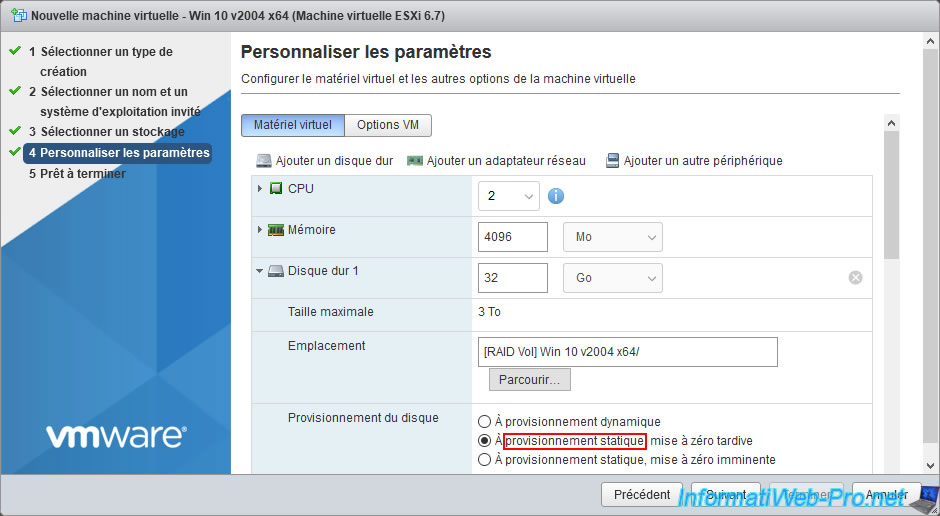
As you can see, by default when you create a new virtual machine, its virtual hard disk will be created using thick provisioning with late zeroing.
Which means that a 32 GB virtual hard disk will always reserve 32 GB of disk space in the desired datastore, even if it's almost empty from the guest operating system.
In order for the virtual hard disk to take up only the space necessary for the data on it, you will need to use dynamic provisioning.
However, you will not be able to change this from the settings of the existing virtual machine.
To solve the problem, you will therefore have to use one of the techniques explained later in this tutorial.
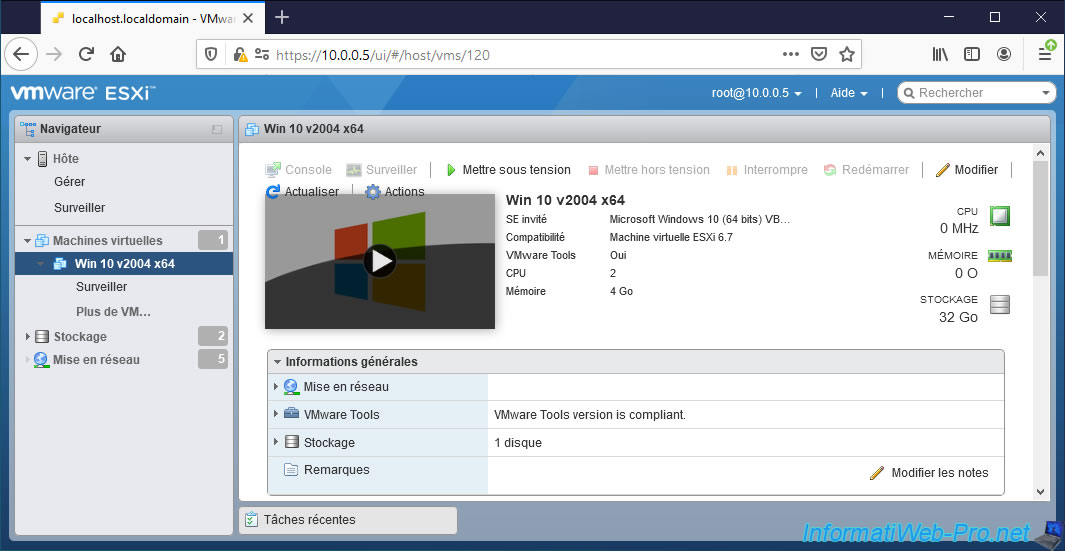
At the moment, our "Win 10 v2004 x64" virtual machine is powered off.
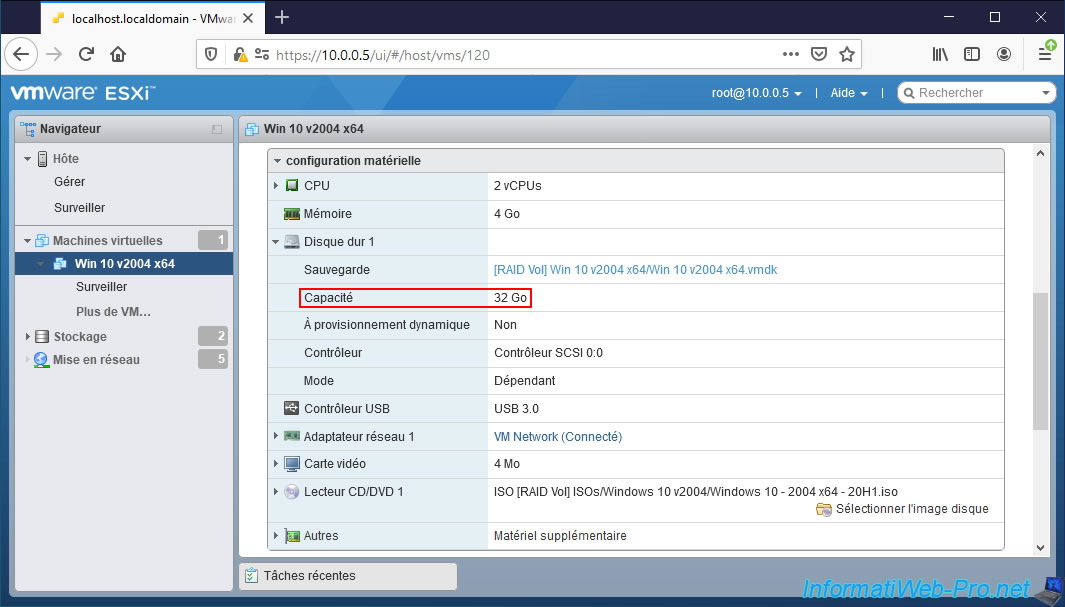
If you deploy the "Hard disk 1" node, you will see that its capacity is 32 GB.
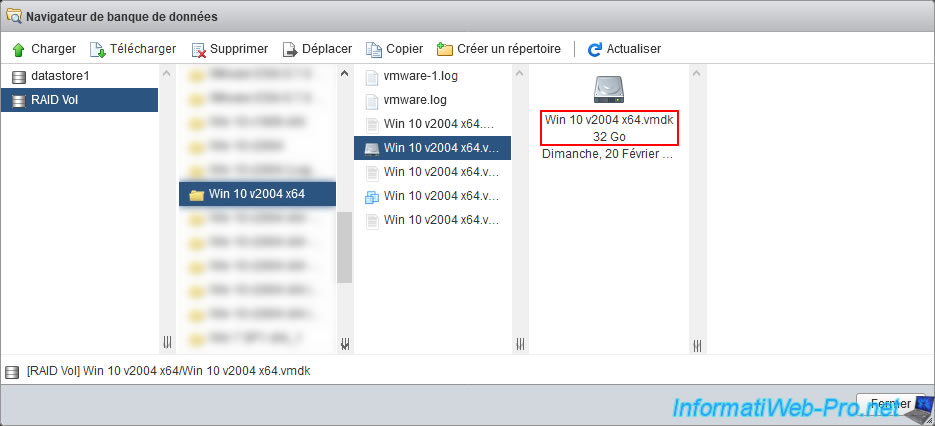
If you go to the datastore browser and select the ".vmdk" file corresponding to the virtual hard disk of your virtual machine, you will see that it's 32 GB in size.
This corresponds to the capacity (maximum size) of this virtual hard disk.
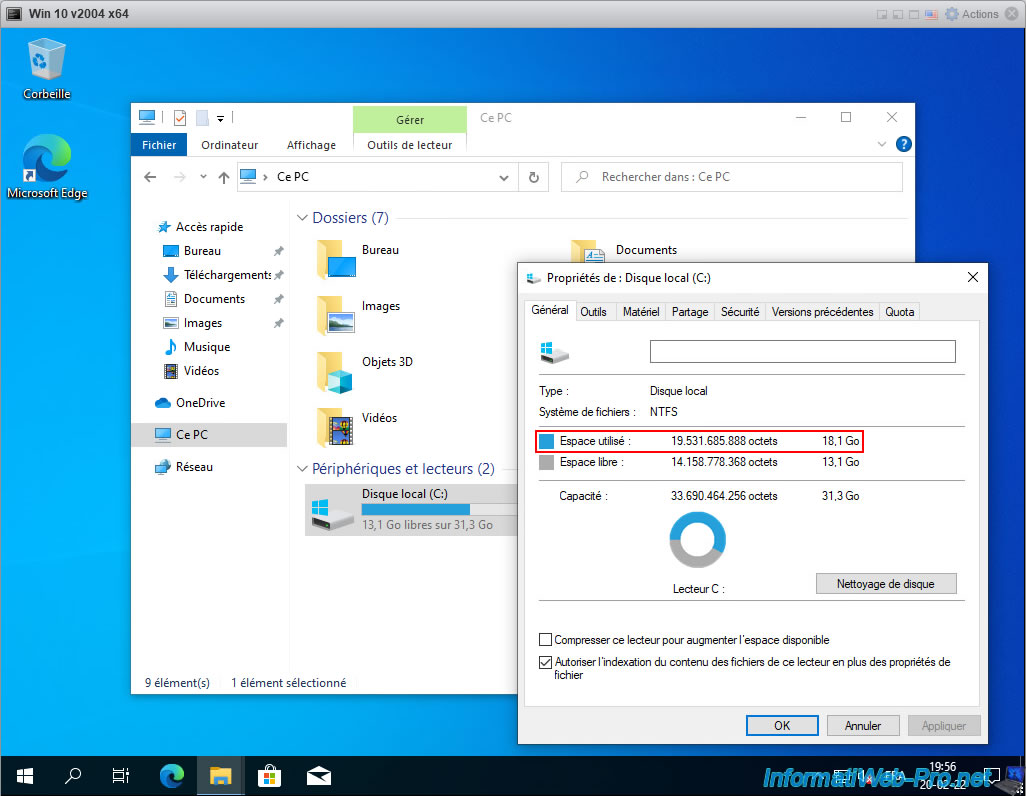
However, if you start the virtual machine and look at the space used, you will see that there is (in our case) only 18 GB used.
In this case, you have lost 14 GB of disk space in your datastore.
If you create many VMs for different tests, you will quickly lose 100+ GB just to static provisioning.
2. Change virtual hard disk provisioning type with VMware vCenter Converter Standalone
2.1. Convert VM to change provisioning type
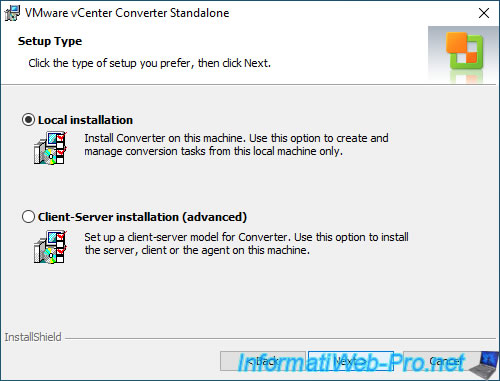
To begin, install VMware vCenter Converter Standalone by selecting "Local installation".
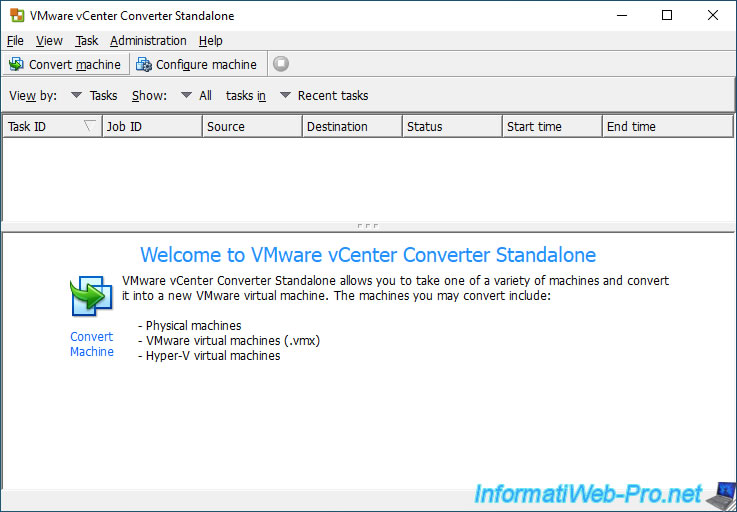
Once VMware vCenter Converter Standalone is installed, click : Convert machine.
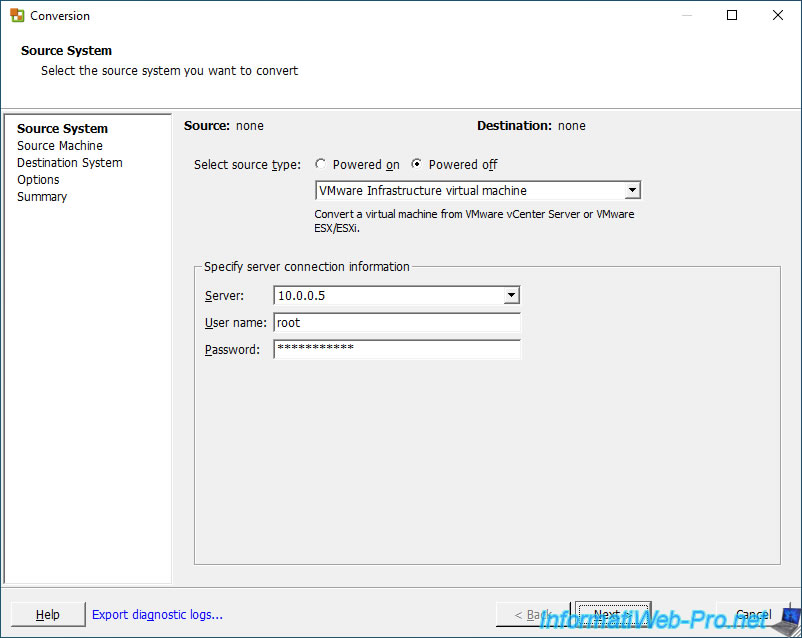
Select "Power off", then "VMware Infrastructure virtual machine" to connect to your VMware ESXi hypervisor.
Then, specify :
- Server : the IP address or domain name of your VMware ESXi hypervisor
- User name : the name of a user with the necessary permissions.
For example : root. - Password : his password
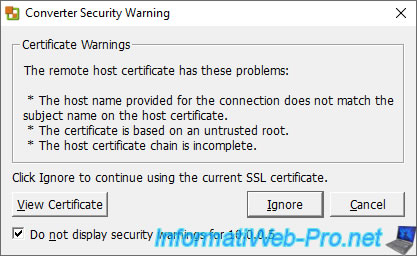
Ignore the warning "The remote host certificate has these problems" if you are using a self-signed SSL certificate on your VMware ESXi hypervisor (which is the default).
Warning : in business, you should always use a valid SSL certificate.
Note that the SSL certificate used can only be valid if you connect to your VMware ESXi hypervisor by indicating the domain name that is in the certificate. If you provide its IP address, it will not work.
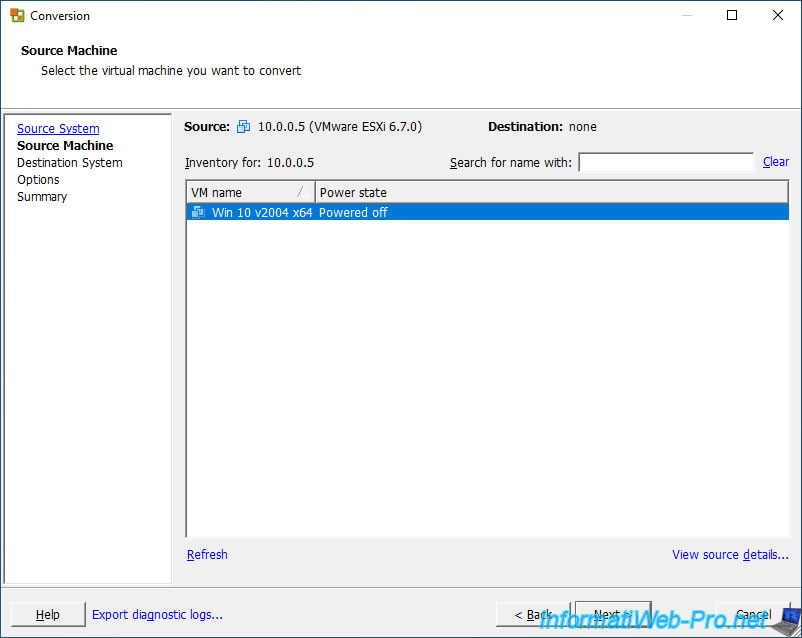
Select the virtual machine of your VMware ESXi hypervisor whose provisioning type you want to change and click Next.
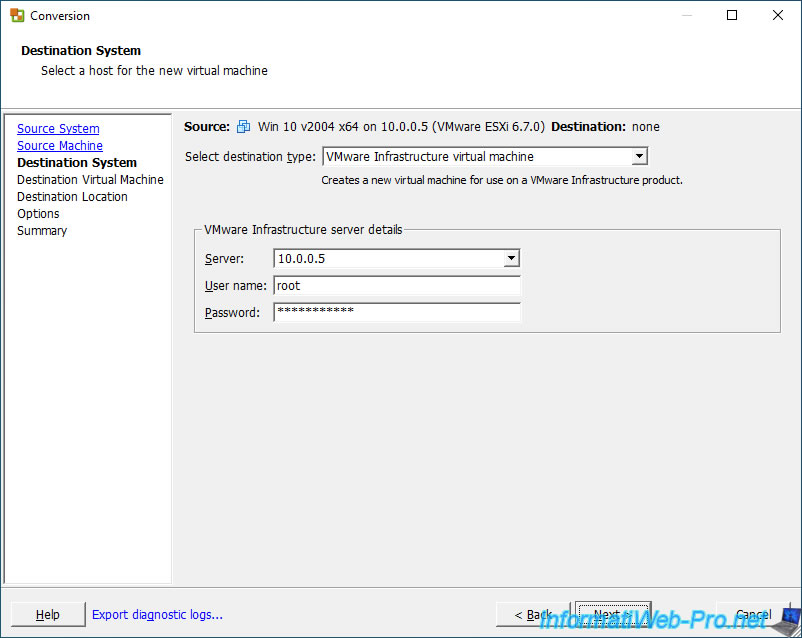
For the destination server (Destination System), specify the same as before :
- Select destination type : VMware Infrastructure virtual machine
- Server : IP address or domain name of your VMware ESXi hypervisor
- User name : username to use on your VMware ESXi hypervisor
- Password : his password
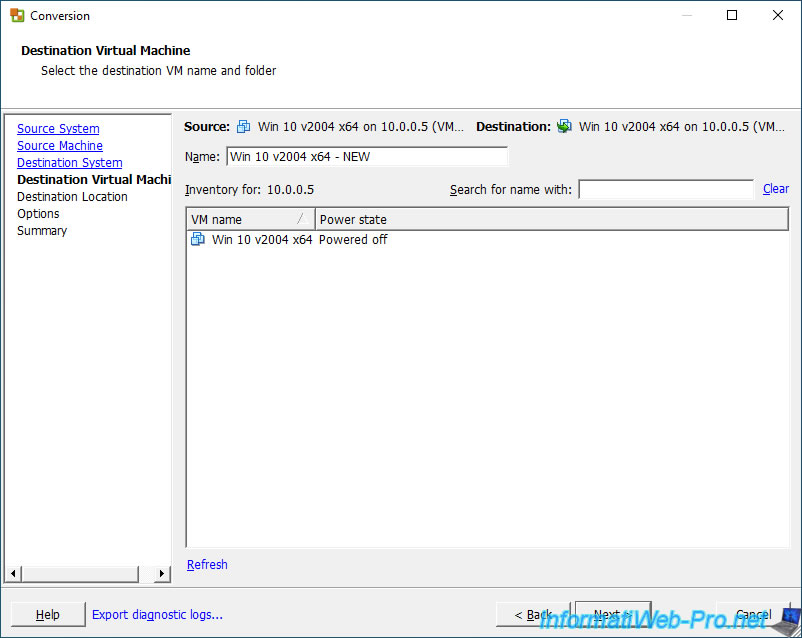
Specify a different name for the new virtual machine that will be created from the source virtual machine.
Note that the list displayed here simply allows you to specify a different name than the virtual machines that are already present on your VMware ESXi hypervisor.
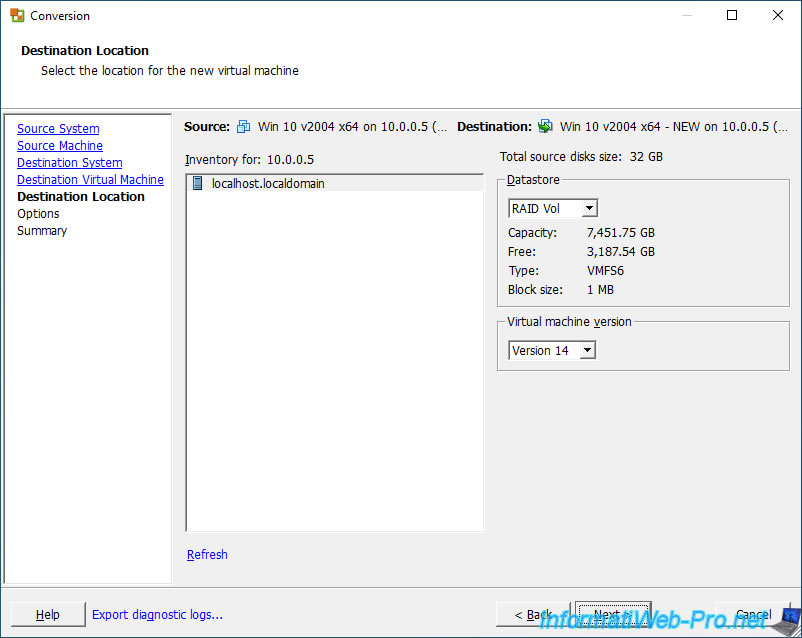
Select in which datastore you want to store this new virtual machine.
For the virtual machine version, version 14 (which corresponds to ESXi 6.7) is selected by default.
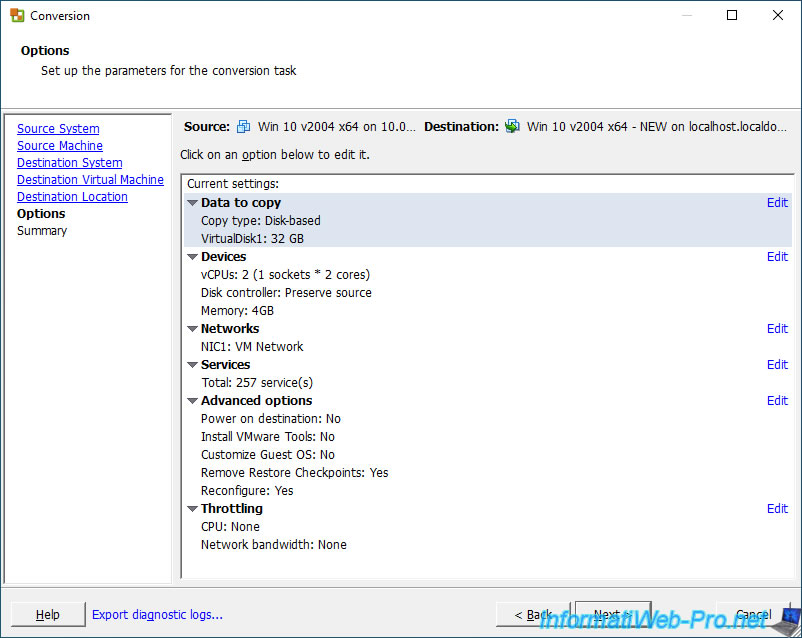
At the "Options" step, click on the "Data to copy" block.
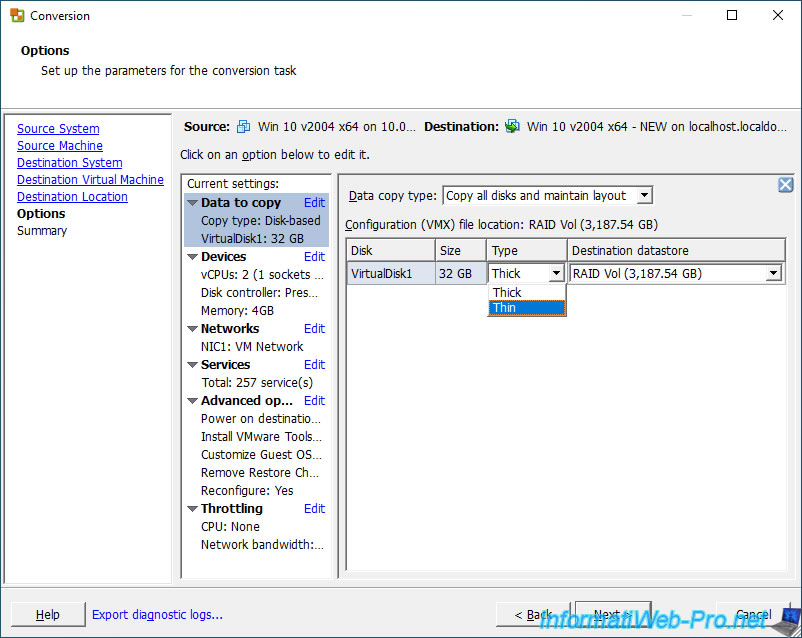
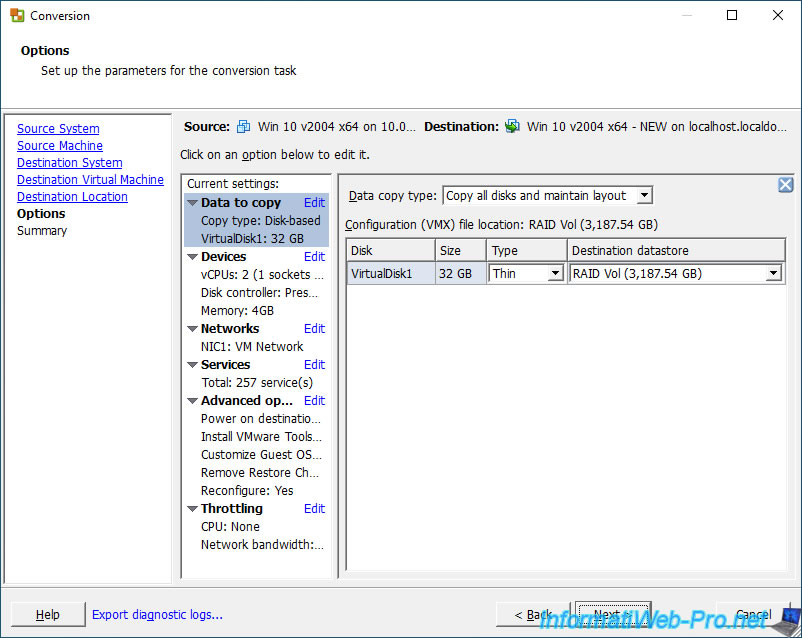
For each virtual hard disk (VirtualDiskX) in your virtual machine, change the type from "Thick" (thick provisioning) to "Thin" (thin provisioning).
Then, click Next.
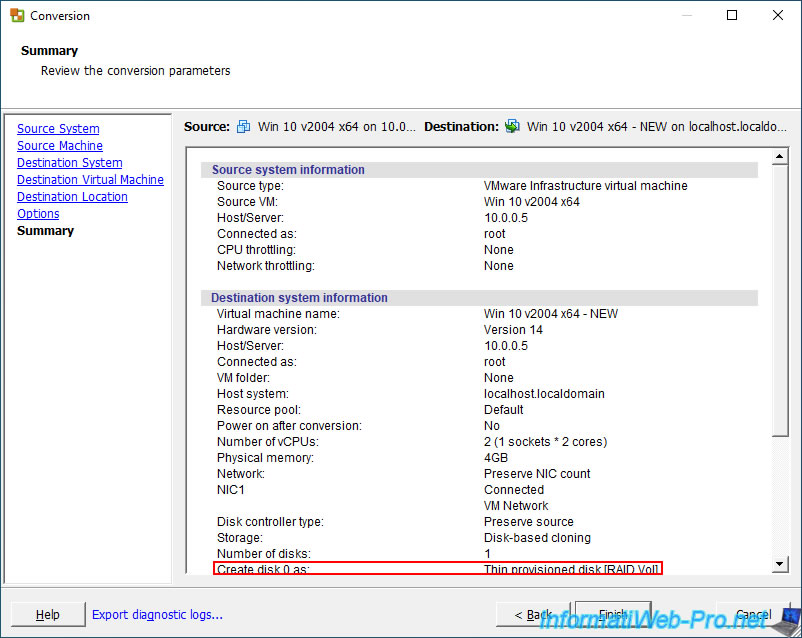
A summary of the configuration settings appears.
In this summary, you will see in particular that your virtual hard disks will be created with a type of thin provisioning : Create disk 0 as Thin provisioned disk.
Click Finish.
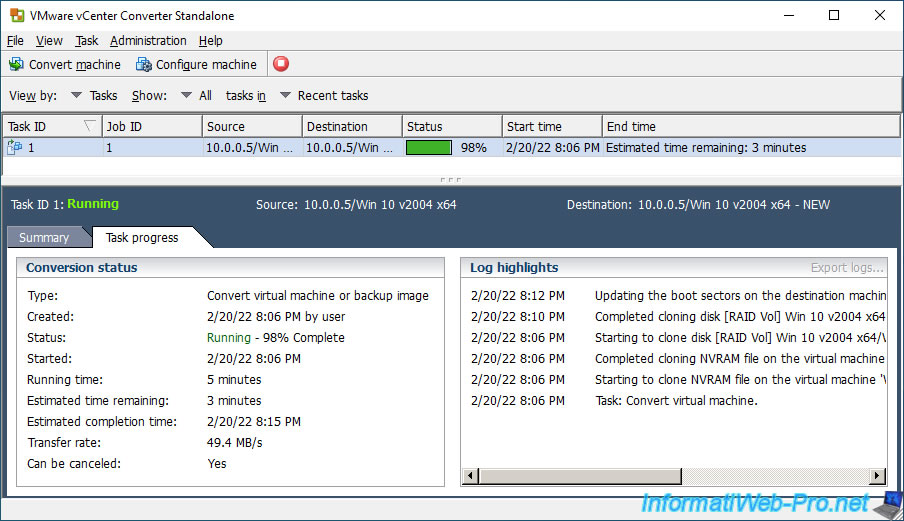
Wait while converting your virtual machine.
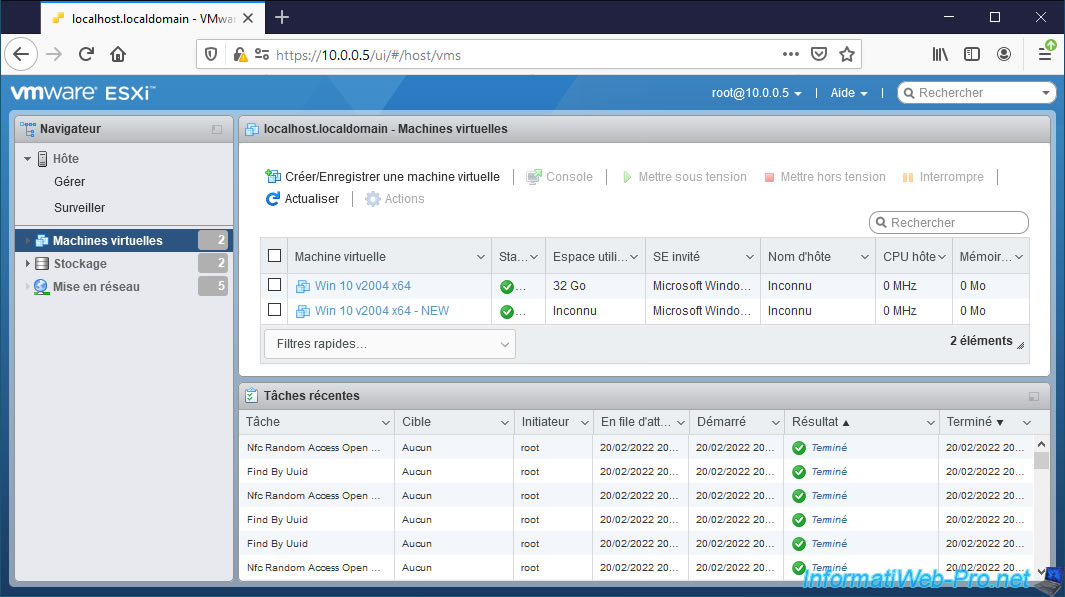
During the conversion, you will see several "Nfc Random Access Open" and "Find By Uuid" tasks appear in the web interface of your VMware vSphere client.
You will also see the new virtual machine being created.
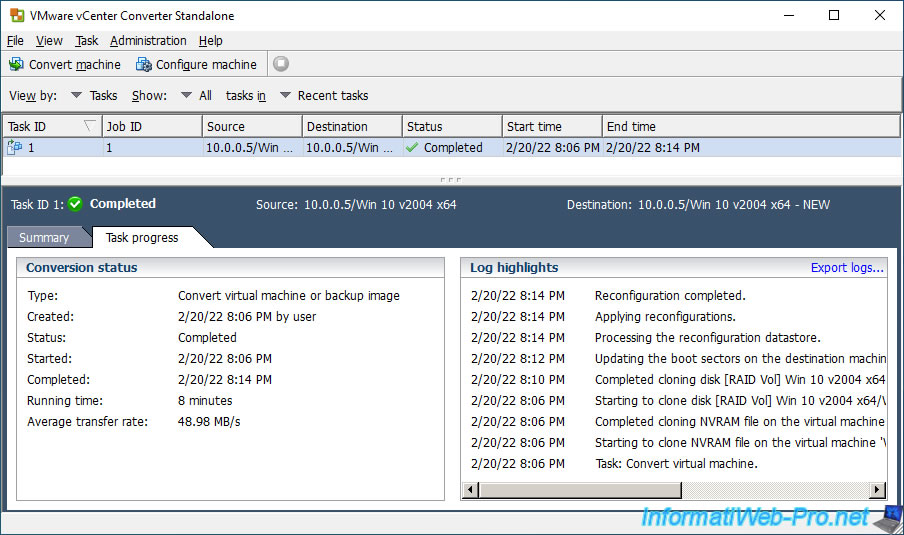
Your virtual machine and its hard disks have been converted.
2.2. Reduced size of the virtual machine following the conversion of this one
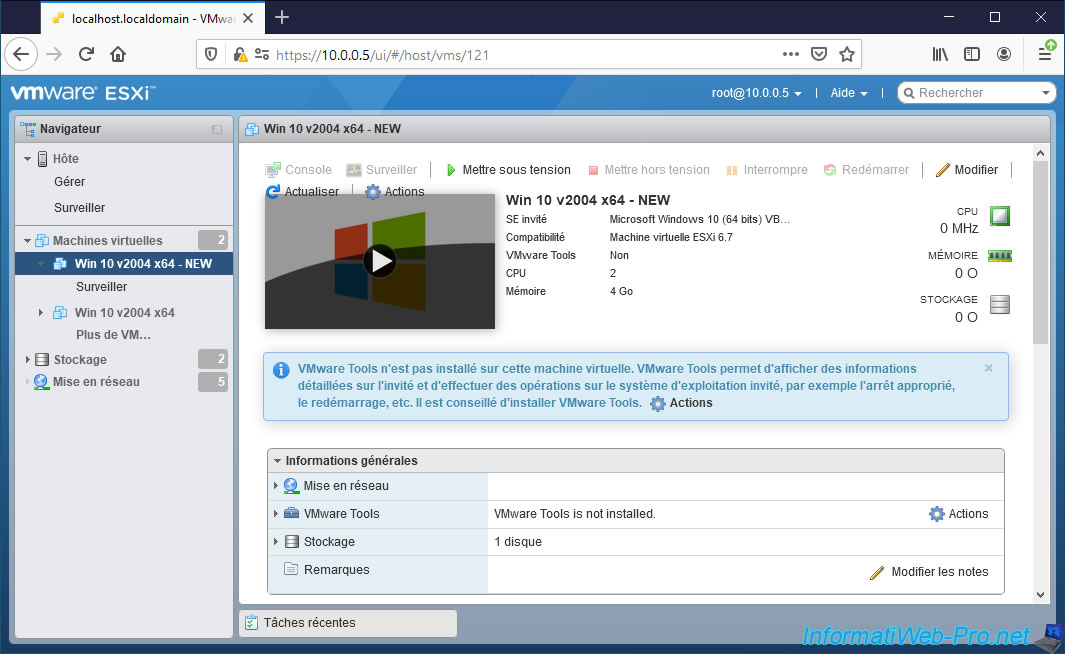
If you access this virtual machine from the web interface of your VMware ESXi hypervisor, you will notice that a message appears concerning VMware Tools :
Plain Text
VMware Tools is not installed in this virtual machine. ...
Don't worry, this always happens when you convert a virtual machine with VMware vCenter Converter Standalone.
Ignore it. This message will disappear when you power on your virtual machine for the first time.
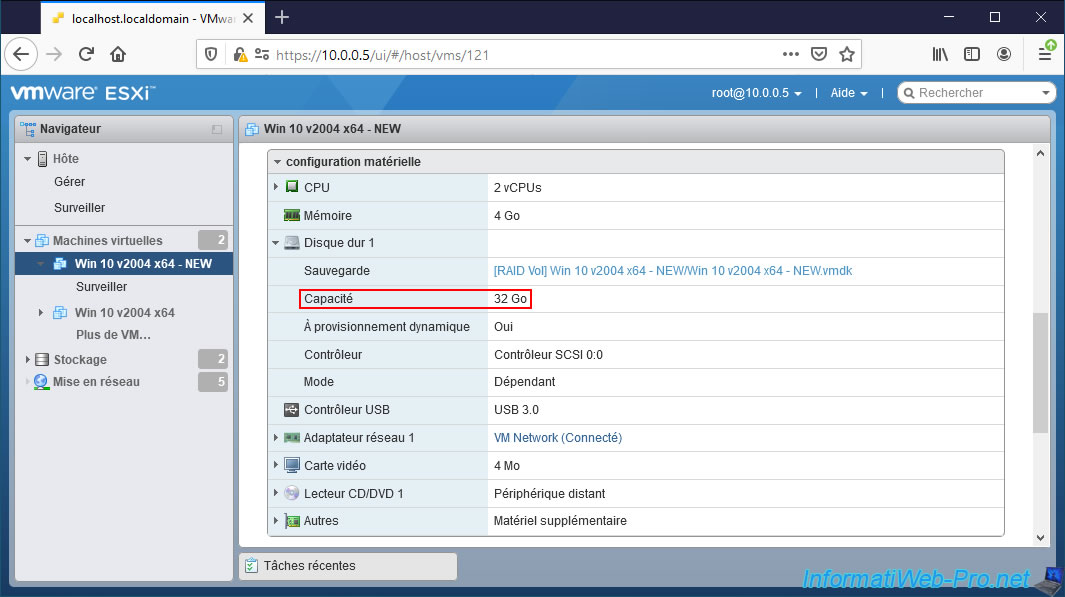
As you can see, the virtual hard disk capacity of our virtual machine is still 32 GB.
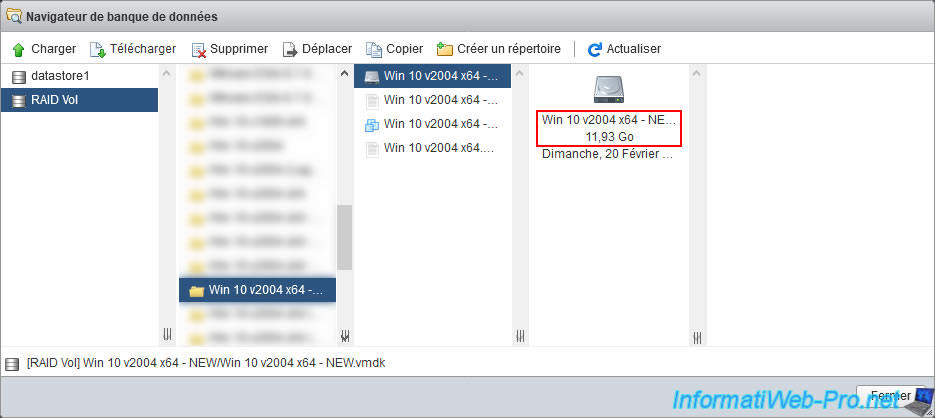
However, if we select the corresponding ".vmdk" file via the datastore browser, we can see that its size has been reduced.
In our case, this has a size of 11.93 GB (thanks to dynamic provisioning) instead of 32 GB (in the case of static provisioning).
This saves you a lot of space over time in a test environment.
Start your virtual machine at least once.
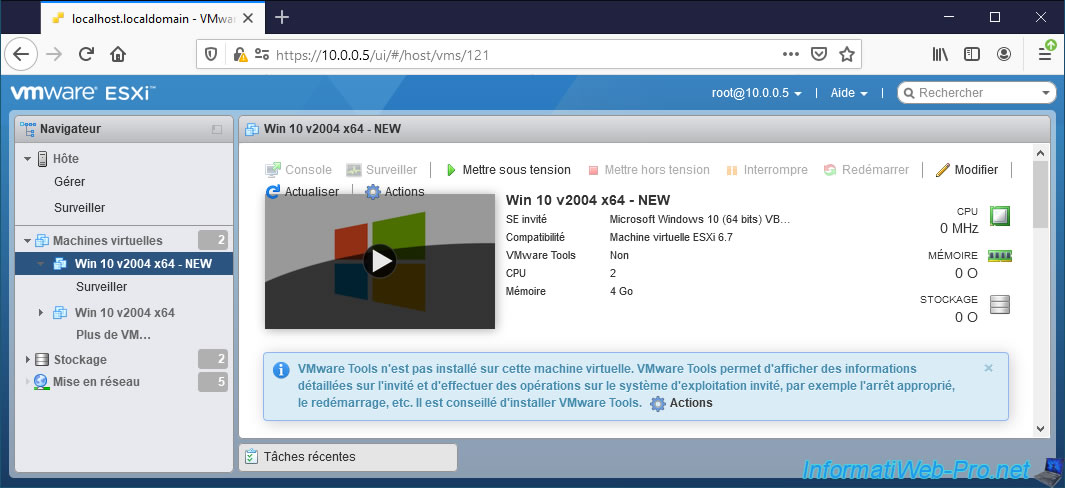
As you can see, the message telling you that the VMware Tools were not installed has disappeared.
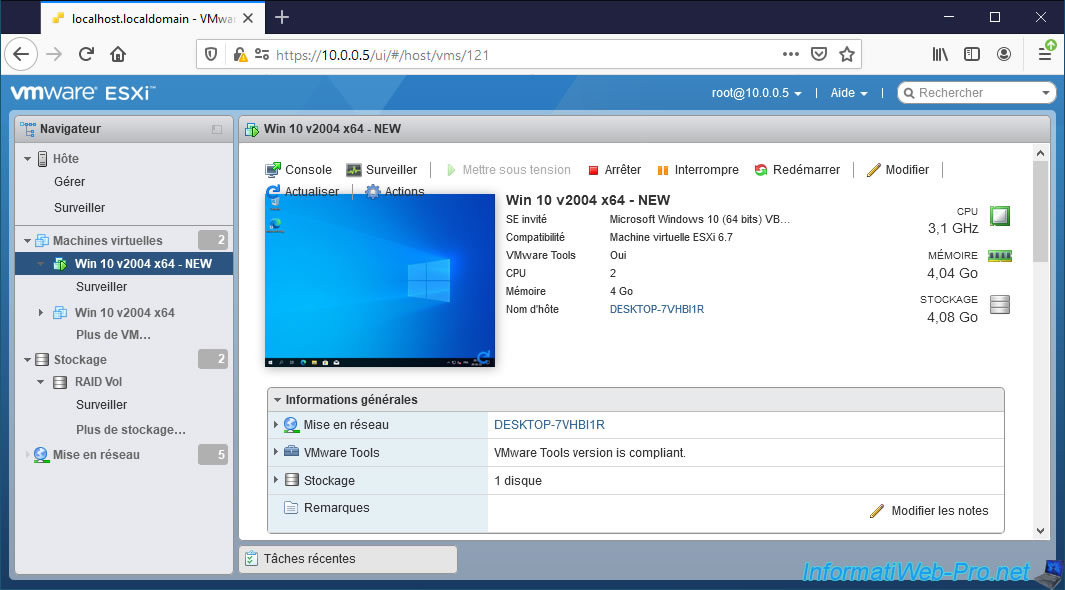
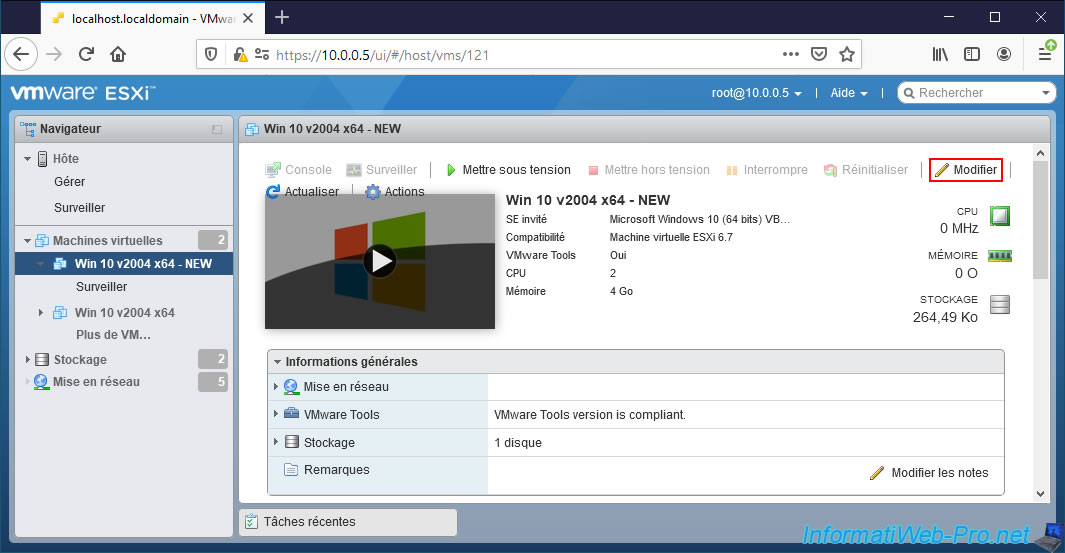
You can then shut down your virtual machine if you wish.
Click on : Edit.
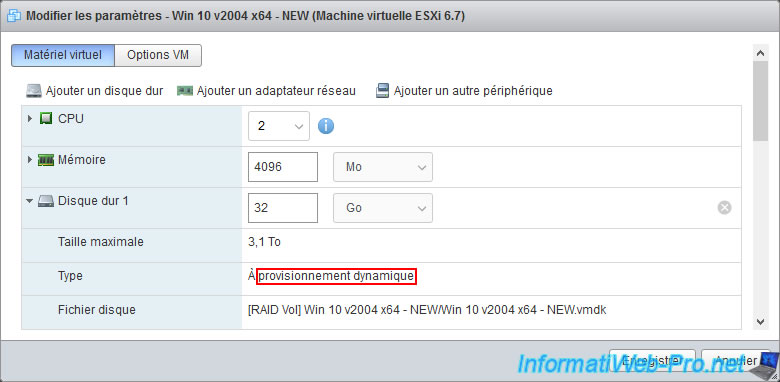
If you deploy the "Hard disk 1" node, you will see that its type is : thin provisioned.
Share this tutorial
To see also
-
VMware 5/19/2023
VMware ESXi 6.7 - Create an iSCSI datastore
-
VMware 5/5/2023
VMware ESXi 6.7 - Direct Attached Storage (DAS)
-
VMware 12/23/2022
VMware ESXi 6.7 - Improve the performance by using a physical HDD
-
VMware 5/12/2023
VMware ESXi 6.7 - Network Attached Storage (NAS)

You must be logged in to post a comment