- VMware
- 26 August 2022 at 19:00 UTC
-


Although you can create and configure your own virtual machines, it may also be beneficial to used preinstalled virtual machines to speed up the deployment of some services in your IT infrastructure.
These preinstalled virtual machines are called "virtual appliances" and are often available in OVA/OVF format.
- Where to find these virtual appliances ?
- Download a virtual machine (virtual appliance) from the VMware Marketplace
1. Where to find these virtual appliances ?
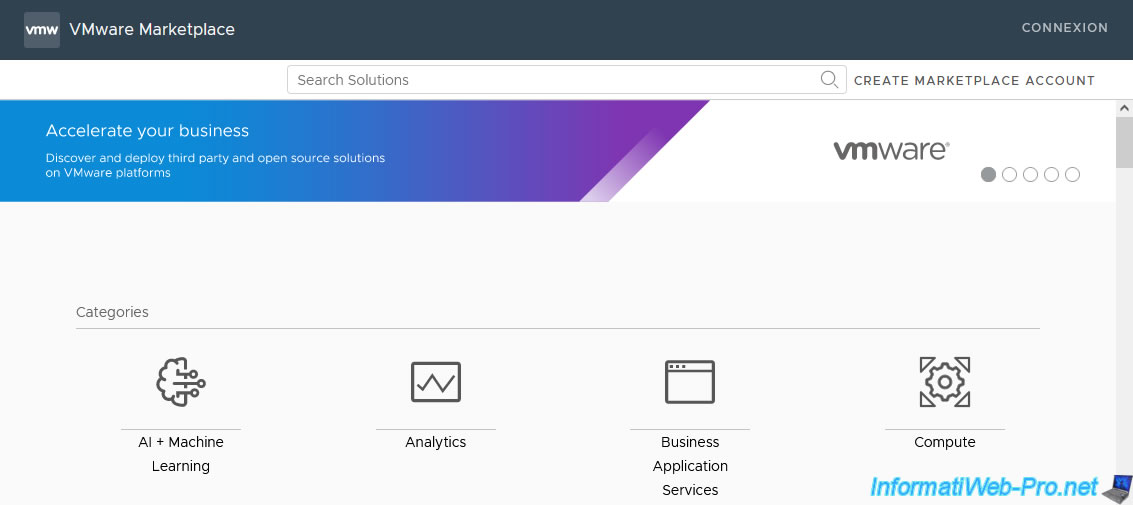
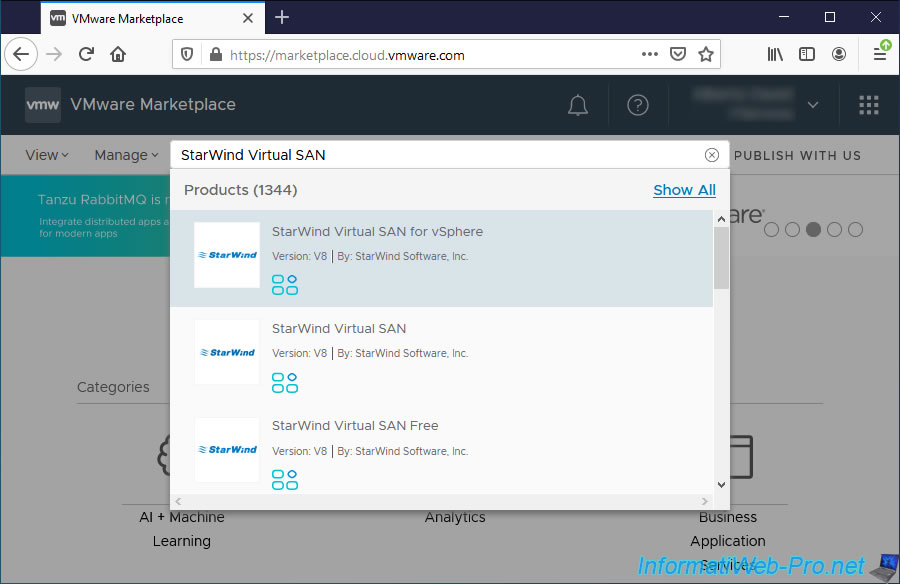
In the case of VMware, you can find virtual appliances on its official site "VMware Marketplace" which lists many virtual appliances provided by companies.
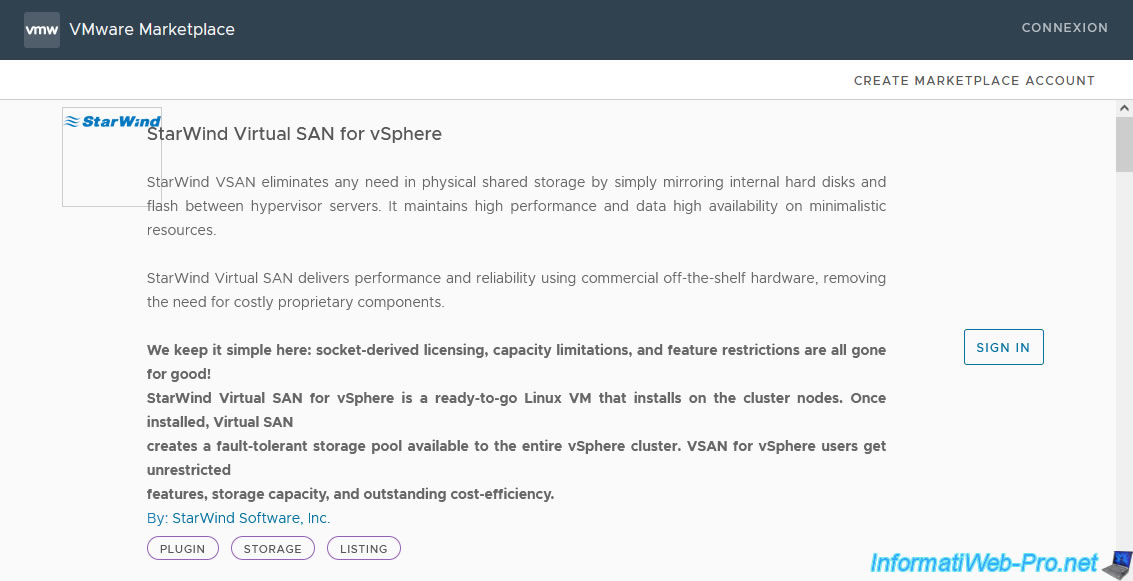
On this "VMware Marketplace" site, you will find in particular a "StarWind Virtual SAN for vSphere" solution that we will take as an example in this tutorial.
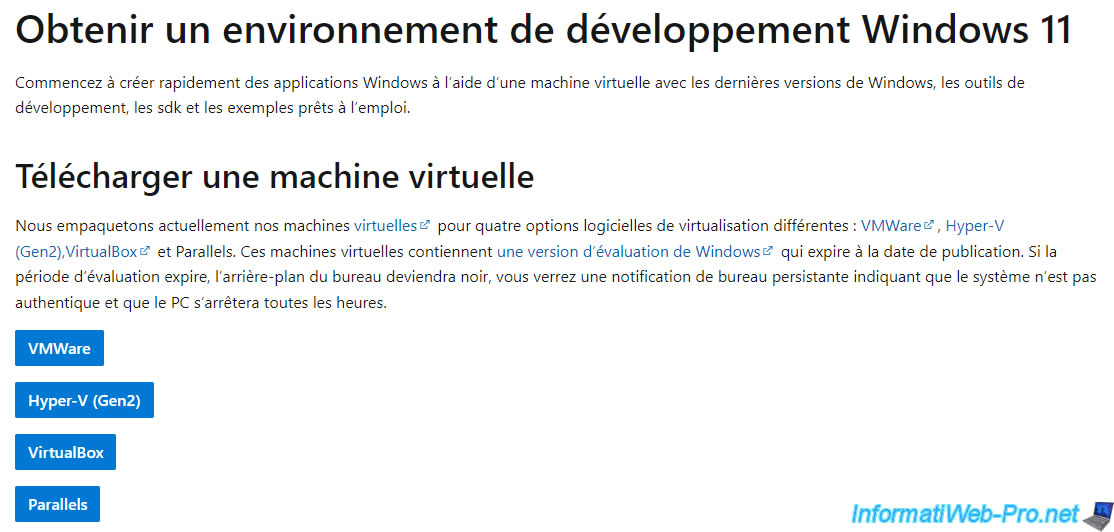
You may also find pre-installed virtual machines downloadable from the Internet, including an official virtual machine with Windows 11 on the Microsoft website : Download a Windows virtual machine - Windows app development | Microsoft Developer.
2. Download a virtual machine (virtual appliance) from the VMware Marketplace
2.1. Log in and create an account (if necessary) on the VMware Marketplace
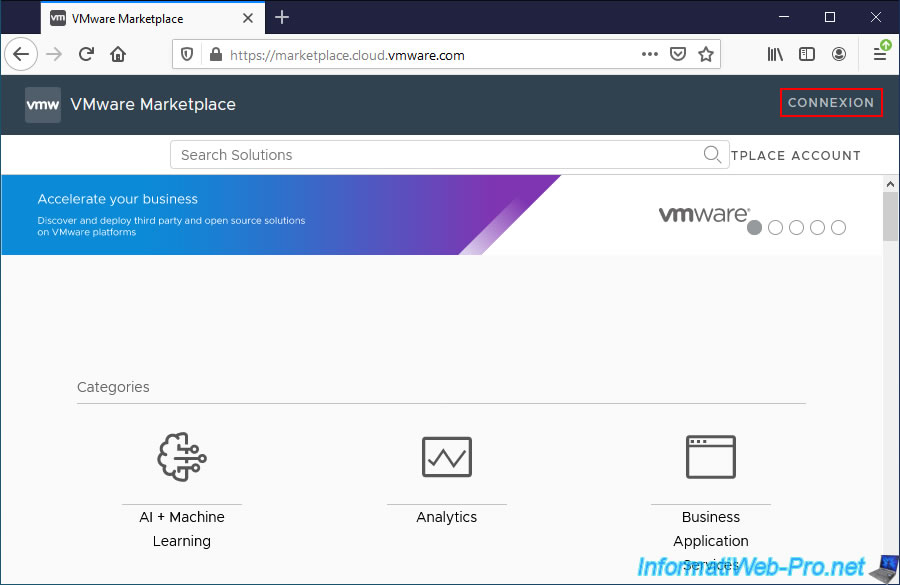
To get started, go to the "VMware Marketplace" site and click "Login" to log in with your VMware account.
If you don't already have one, you can create one for free at "vmware.com" and connect with it at "VMware Marketplace".
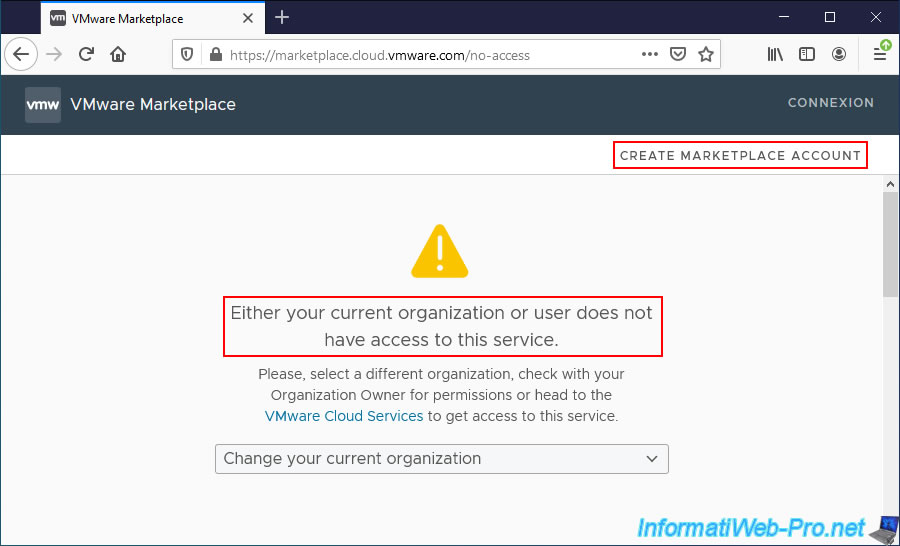
If you have never used "VMware Marketplace" or are not a company, a message will appear telling you that the current organization (company) or user doesn't have access to this service.
Plain Text
Either your current organization or user does not have access to this service.
In this case, select another organization (company) from the proposed list (if possible). Otherwise, click on the "Create marketplace account" link located at the top right of the page.
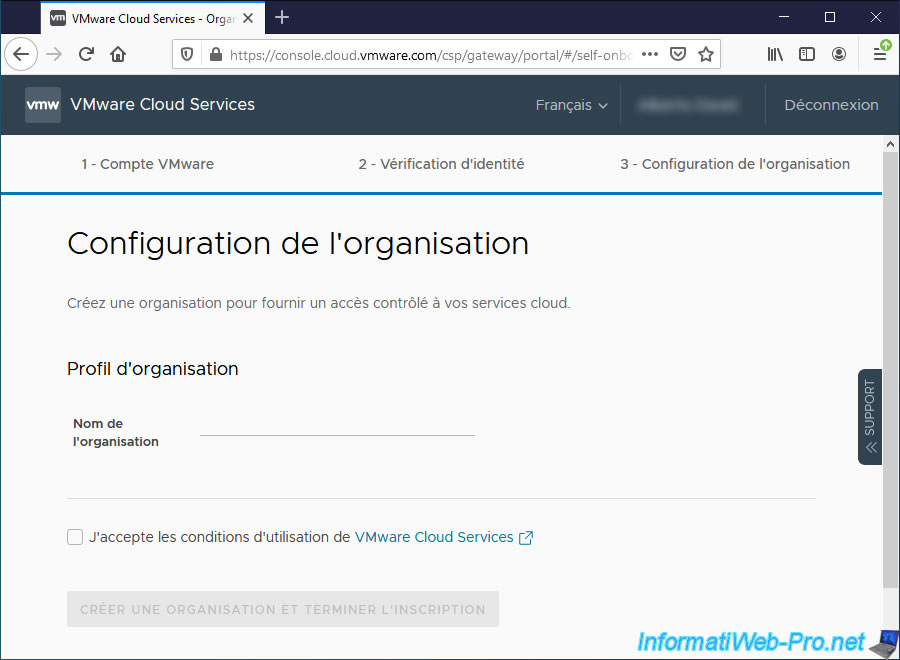
Provide the name of your organization (or make it up if you don't have one and just want to learn VMware technologies).
Then, check the "I accept the terms of use for VMware Cloud Services" box and click the "Create an organization and complete registration" button.
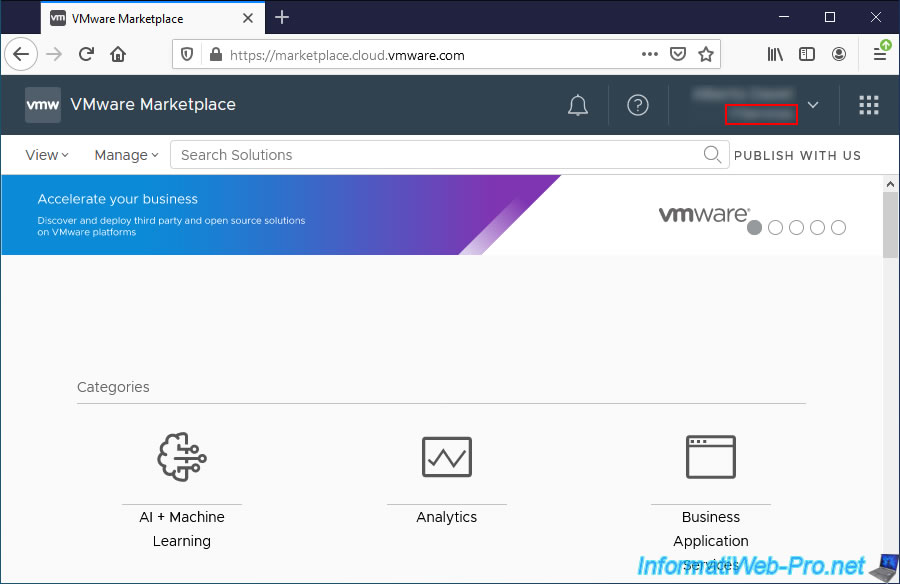
Now, you have access to this site and the name of your organization appears at the top right of the page.
2.2. Download a virtual appliance from the VMware Marketplace
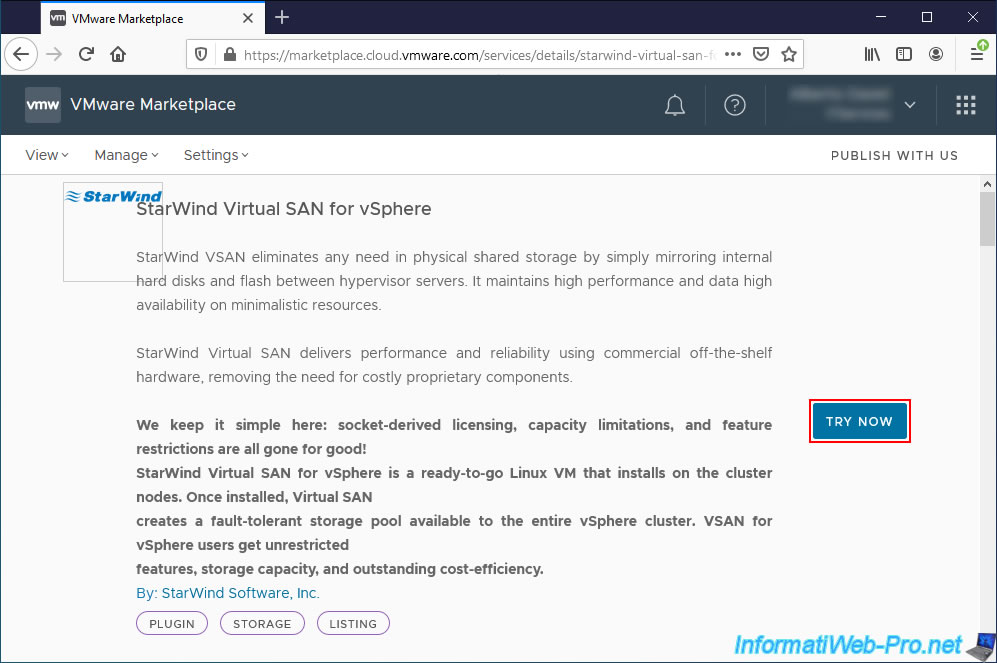
For this tutorial, we will download the "StarWind Virtual SAN for vSphere" virtual appliance.
But this is an example and you could download any other virtual appliance available on the VMware Marketplace.
To download it, click on the "Try now" button.
In this case, we are redirected to the partner (StarWind) download form for the desired software : StarWind Virtual SAN.
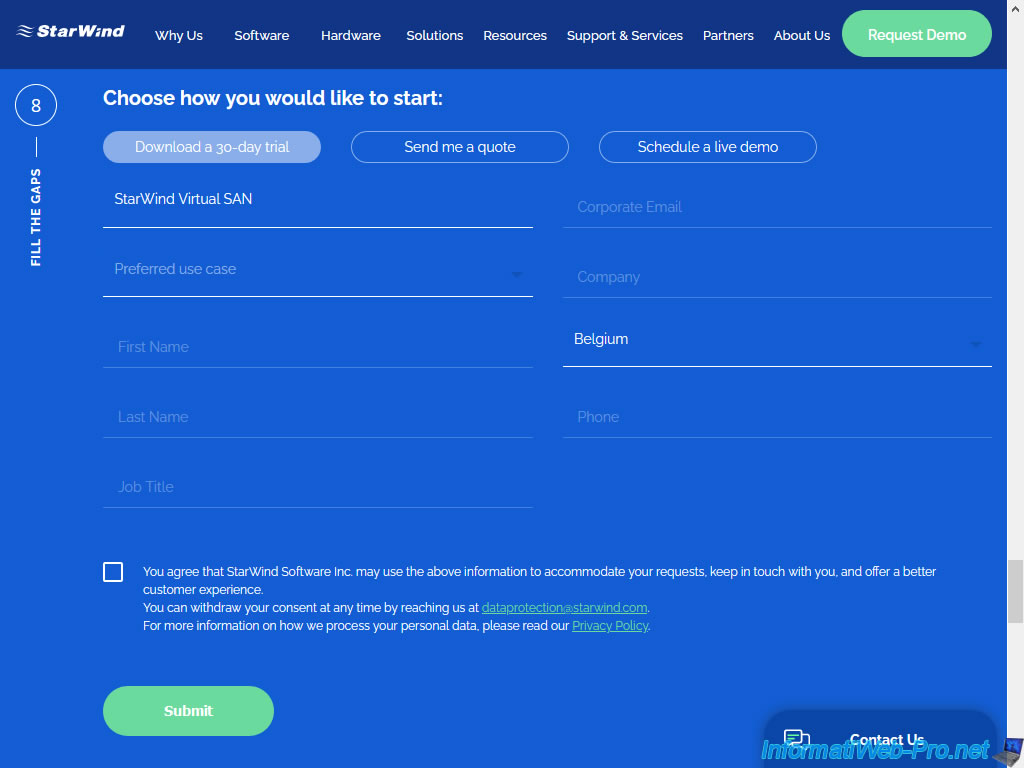
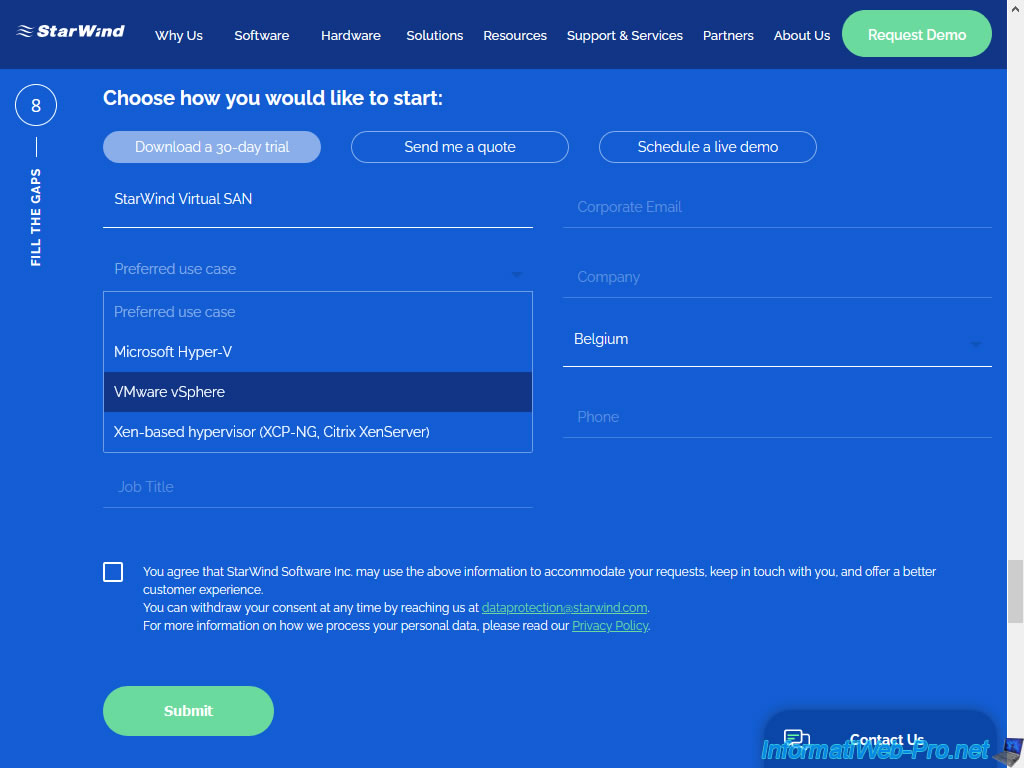
In this form, select the version for "VMware vSphere" (ESXi) and complete the rest of the form with a real email address.
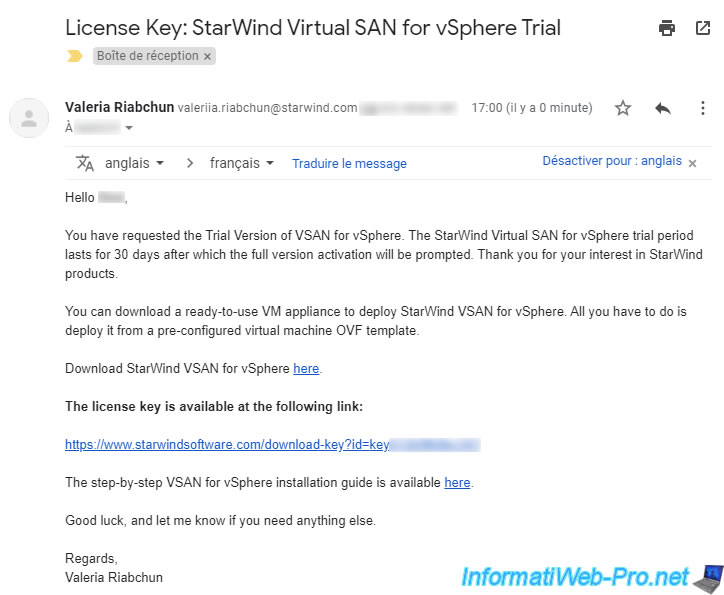
Indeed, you will instantly receive an email with the download link for this software and a 30-day trial license for it.
In the "StarWind Virtual SAN for vSphere Trial" email that you will receive, you will find a download link at the "Download StarWind VSAN for vSphere here" line.
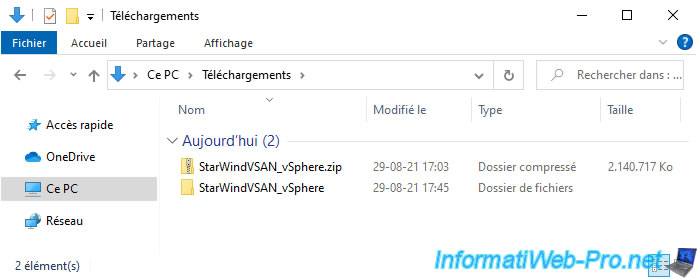
Once the "StarWindVSAN_vSphere.zip" file has downloaded, unzip it.
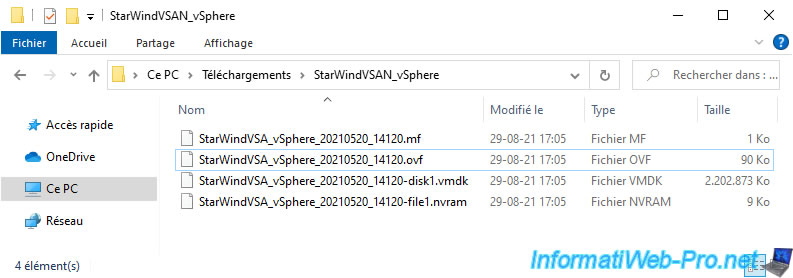
In this zip file, you will find 4 files :
- .mf : the manifest file which is used to check the integrity of a virtual appliance in OVF format to find out if it's not corrupted.
- .ovf : virtual machine configuration file in OVF format.
- .vmdk : the virtual machine's virtual hard disk file.
- .nvram : file containing the current BIOS configuration of the virtual machine.
Note that the available files may vary from one virtual machine to another, but you will always have at least one ".ovf" file (for the configuration of the VM) and one ".vmdk" file (for its virtual hard disk).
2.3. Deploy the virtual machine from the OVF format
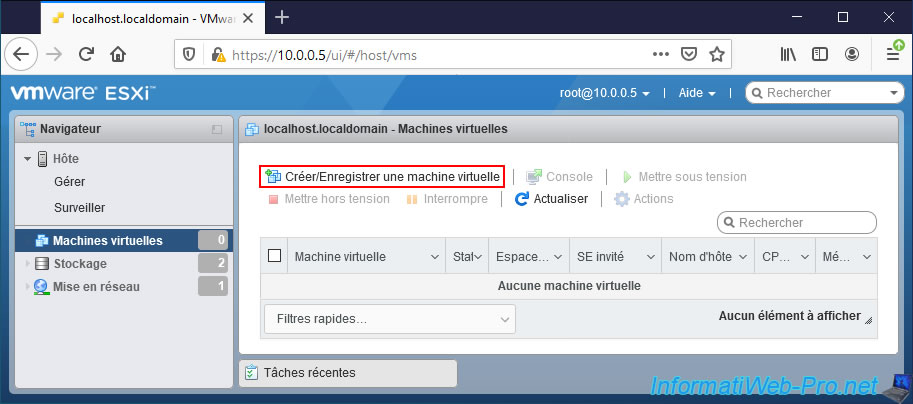
In the web interface (VMware Host Client) of VMware ESXi, go to "Virtual Machines" and click on : Create / Register VM.
Choose "Deploy a virtual machine from an OVF or OVA file" and click Next.

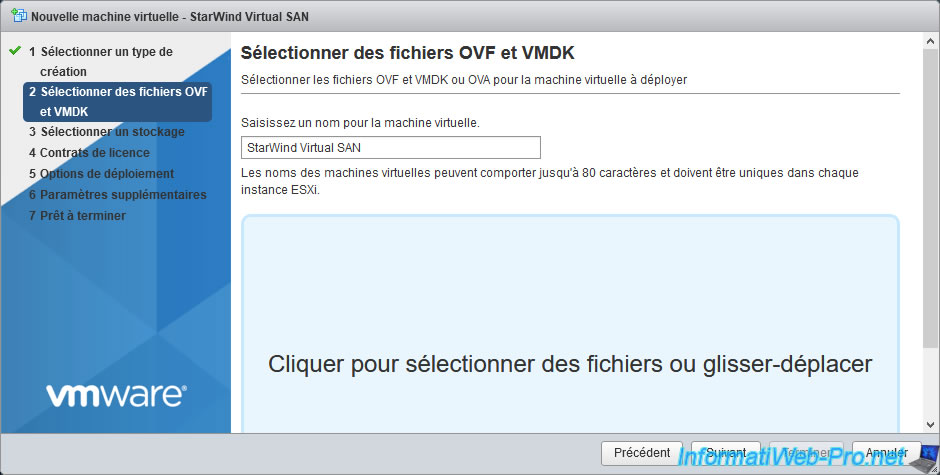
Specify the name under which this virtual machine will be created on your VMware ESXi server.
In our case : StarWind Virtual SAN.
Then, click on the "Click to select files or drag/drop" blue frame.
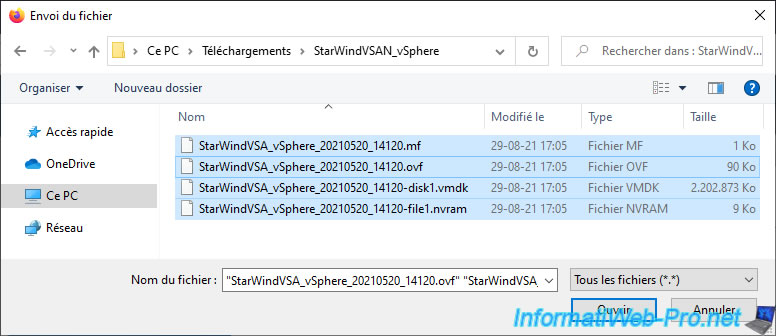
Select the ".mf, .ovf, .vmdk, ..." files of the "StarWind Virtual SAN for vSphere" virtual appliance and click Open.
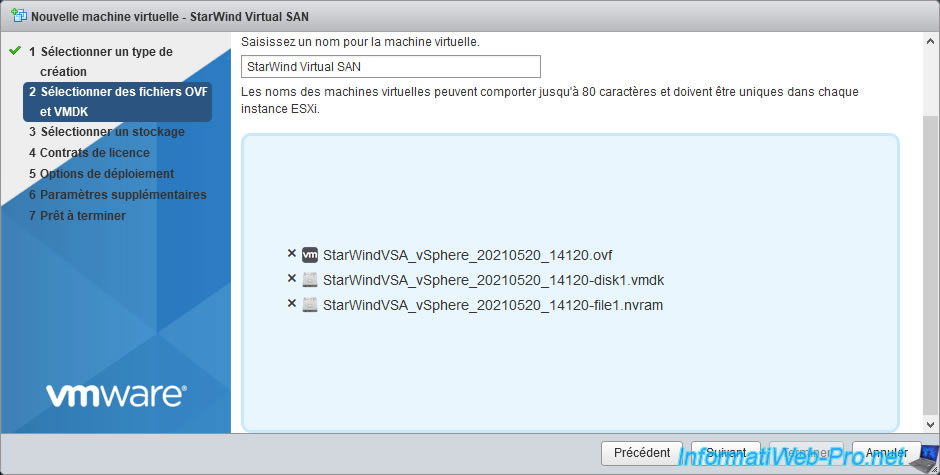
The selected files appear.
Click on Next.
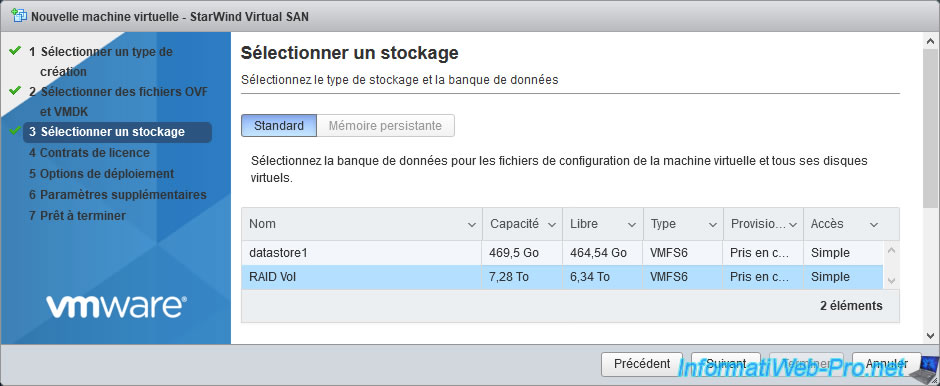
Select the datastore where you want to store this virtual machine.
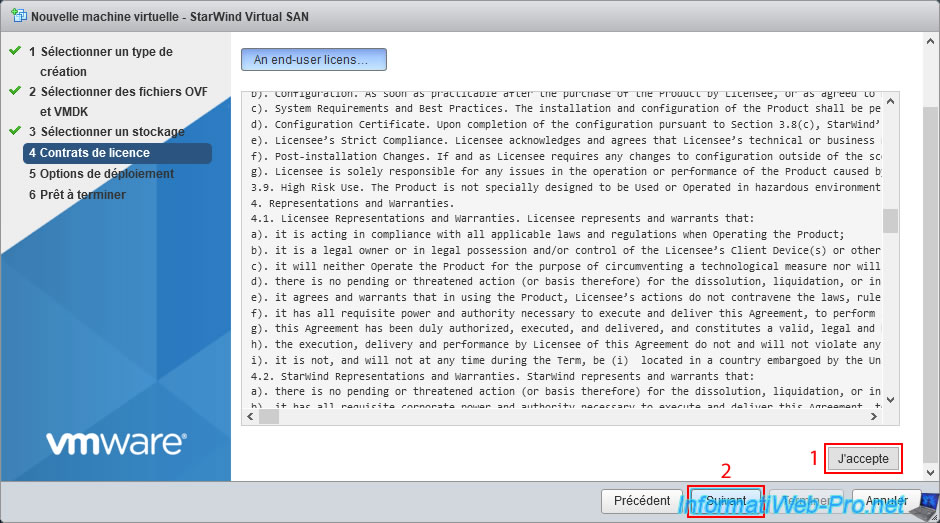
Accept the license agreement offered by the author of the virtual appliance by clicking "I accept", then "Next".
Depending on the virtual appliances you want to deploy, deployment options may be offered.
In this case, the goal is simply to show you how to deploy a virtual appliance in OVF format on VMware ESXi.
So, we leave the proposed network mappings on the default network "VM Network" of VMware ESXi.
For disk provisioning, select "Thin" to use dynamic provisioning and thus prevent it from taking up too much space on your datastore.
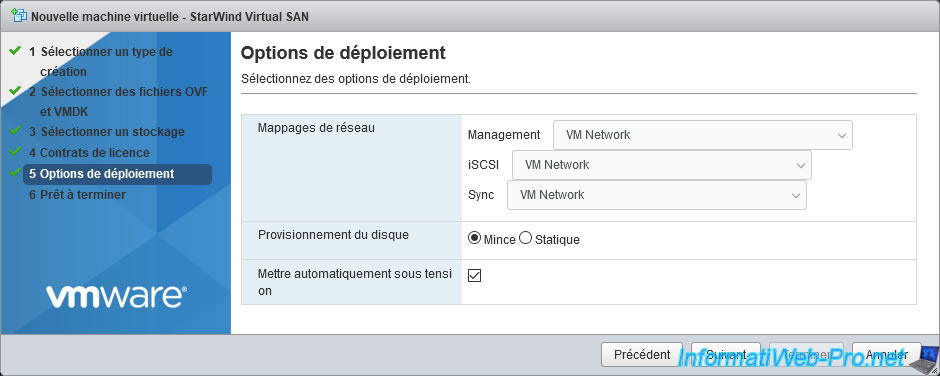
Finally, click "Finish" to start the deployment of this StarWind virtual appliance on your VMware ESXi server.
Warning : as indicated by this wizard, you can't refresh your browser page (nor close it) during the deployment of this VM.
This is because the files selected previously will be sent to your VMware ESXi server and this may take more or less time depending on the size of the virtual hard disk(s) of the virtual appliance that you are trying to deploy on your VMware ESXi server.

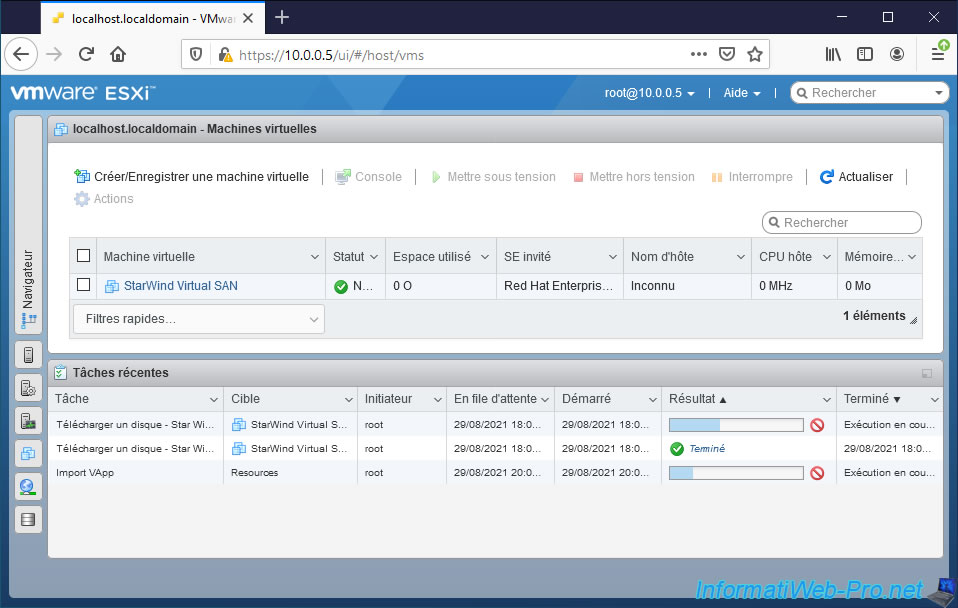
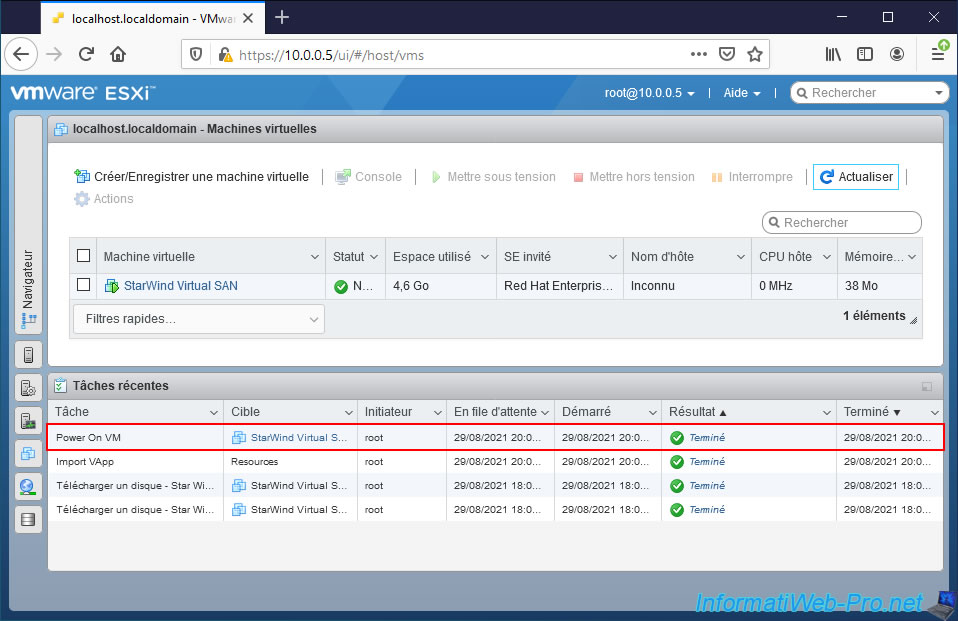
The virtual machine being deployed appears and tasks appear in the "Recent tasks" block available at the bottom of the page :
- Uploading disk - [VM name]
- ImportVApp
Wait while uploading the virtual hard disk (vmdk) and importing this virtual appliance (VApp).
When these tasks are completed, the "VM [VM name] successfully imported" message will appear.
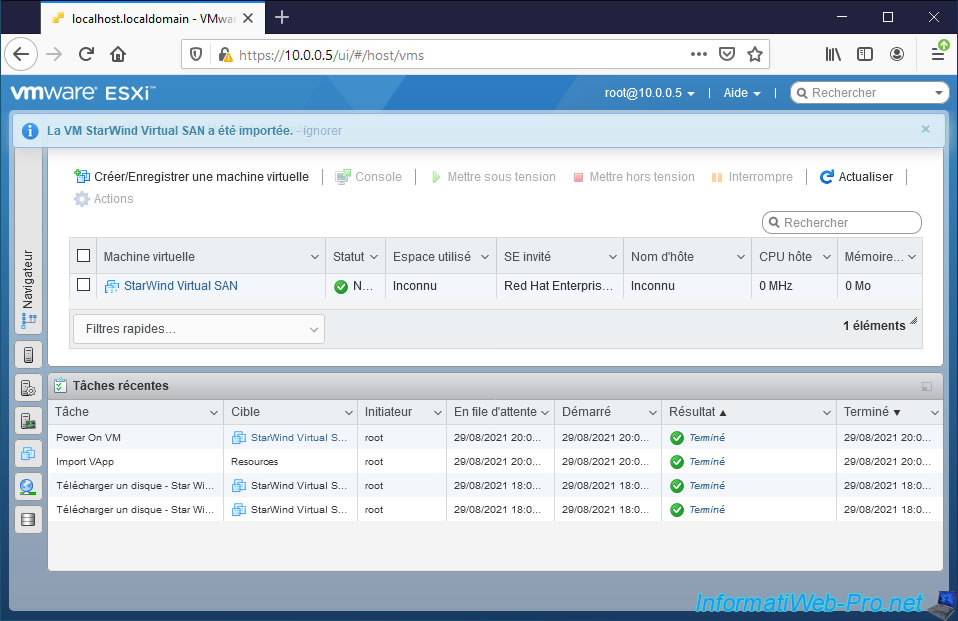
If you had left the "Power on automatically" box checked in the wizard, the "Power On VM" task will appear automatically after importing your virtual machine and your virtual machine will start automatically.
2.4. Using the virtual appliance
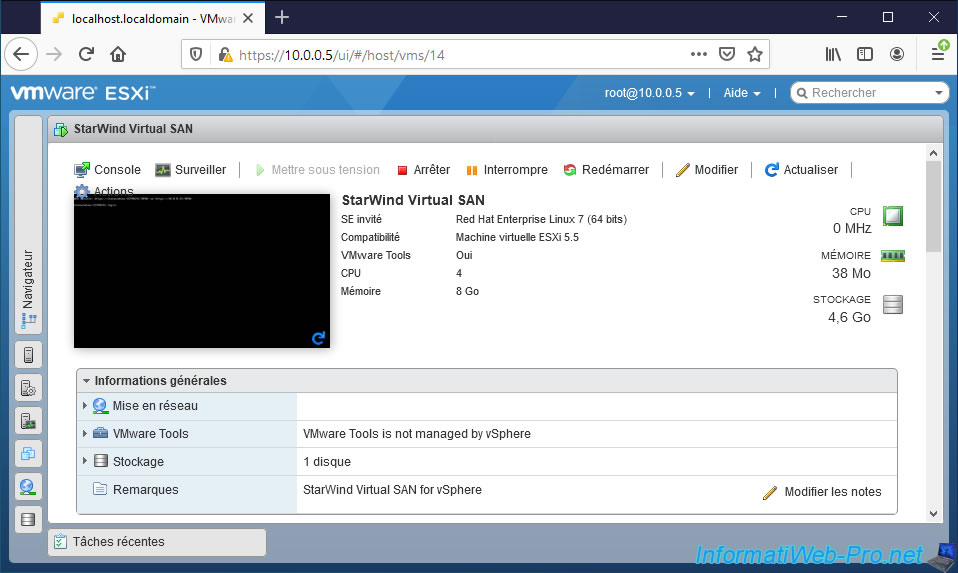
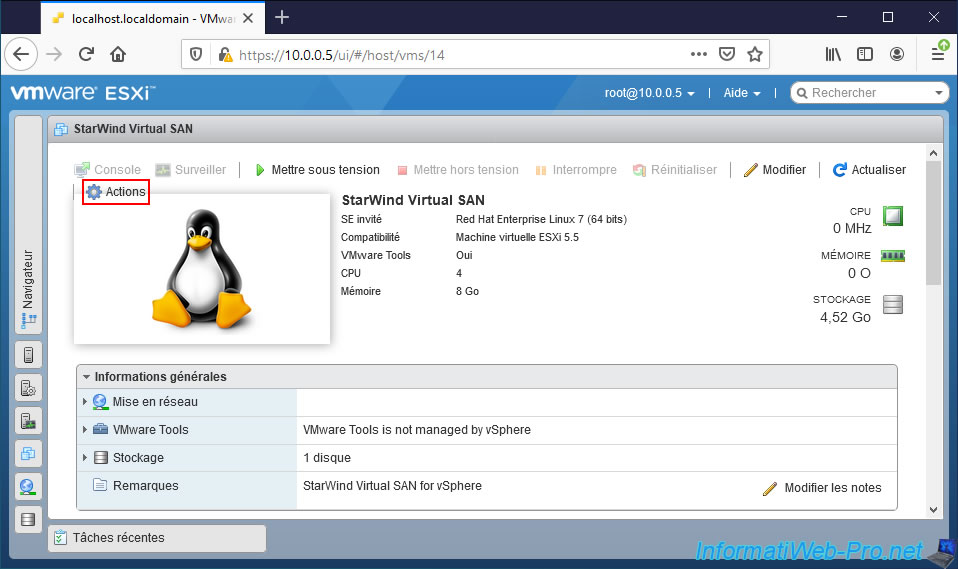
As expected, the virtual machine has been started.
If not, just click : Power on.
In our case, the console of this virtual appliance displays its web address, as well as a command line login screen.
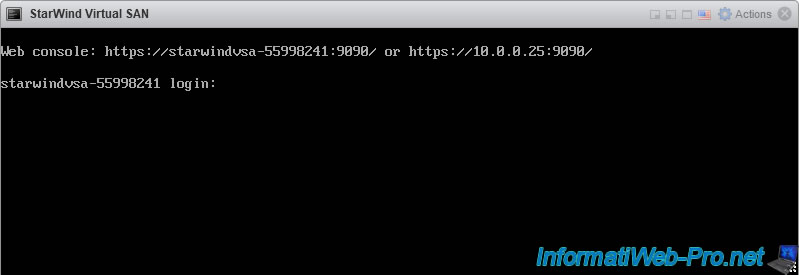
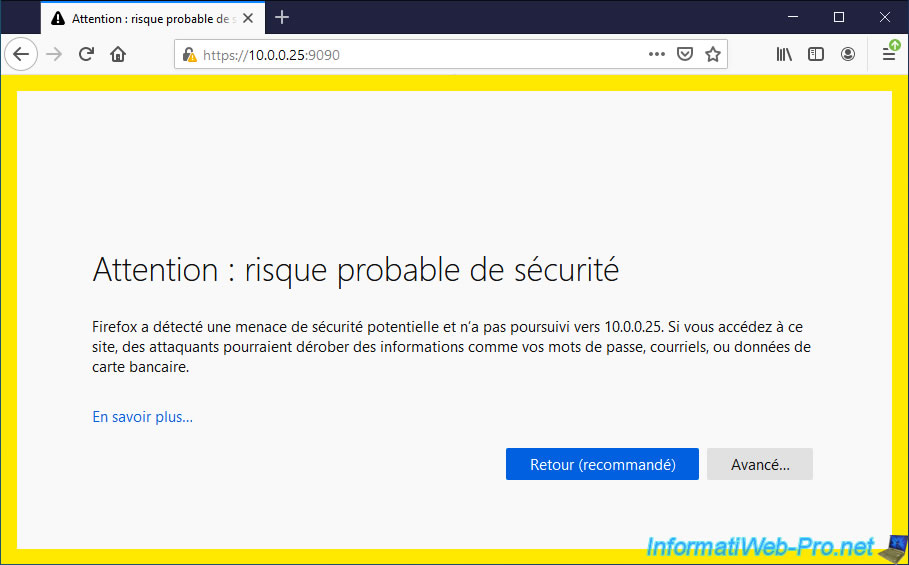
For convenience, we choose the address displaying the IP address of this VM and we ignore the warning due to the use of a self-signed certificate (which is common when using a software for the first time).
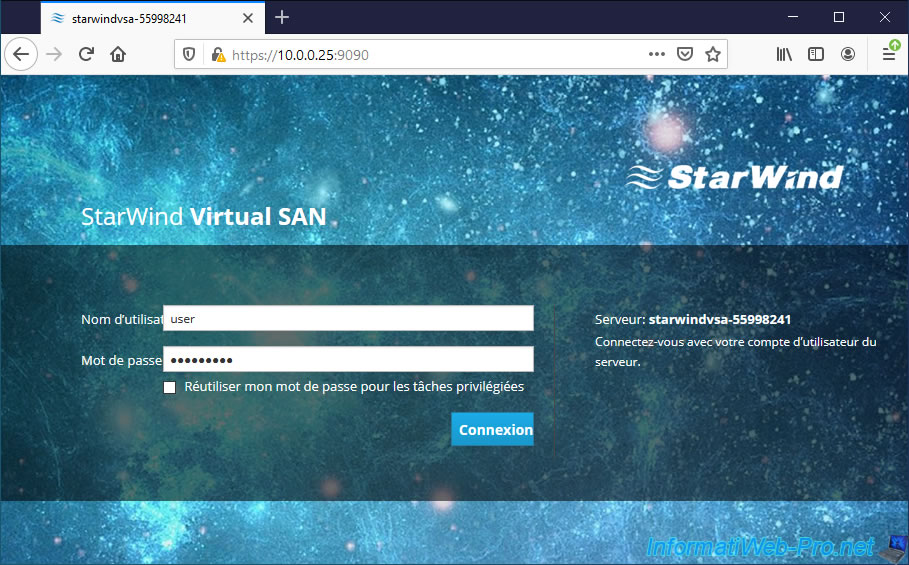
In our case, a login page appears so that we can access the StarWind Virtual SAN administration interface.
The default credentials are "user / rds123RDS" and are listed on the StarWind site in the "Configuring StarWind Virtual SAN VM settings" section.
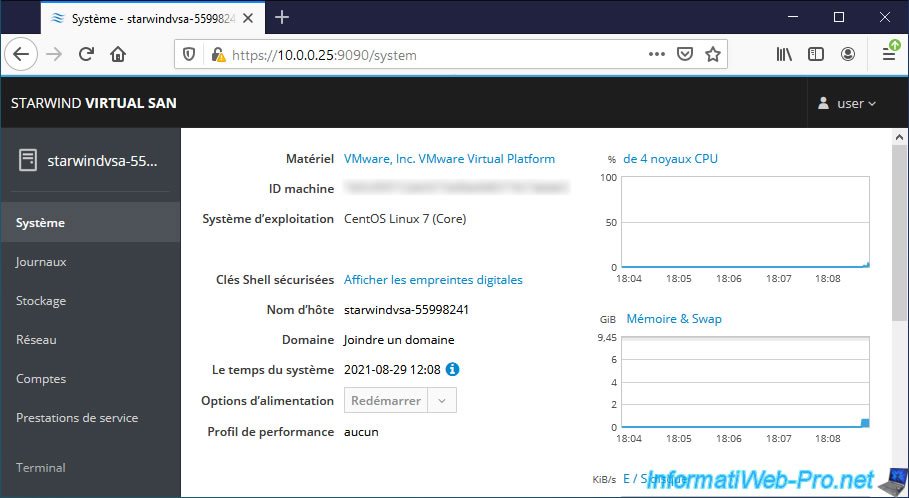
As you can see, we were able to deploy this solution in just a few clicks without having to manually install the operating system as well as the desired software in the virtual machine.
Everything has been preconfigured by the publisher of this solution (in this case : StarWind).
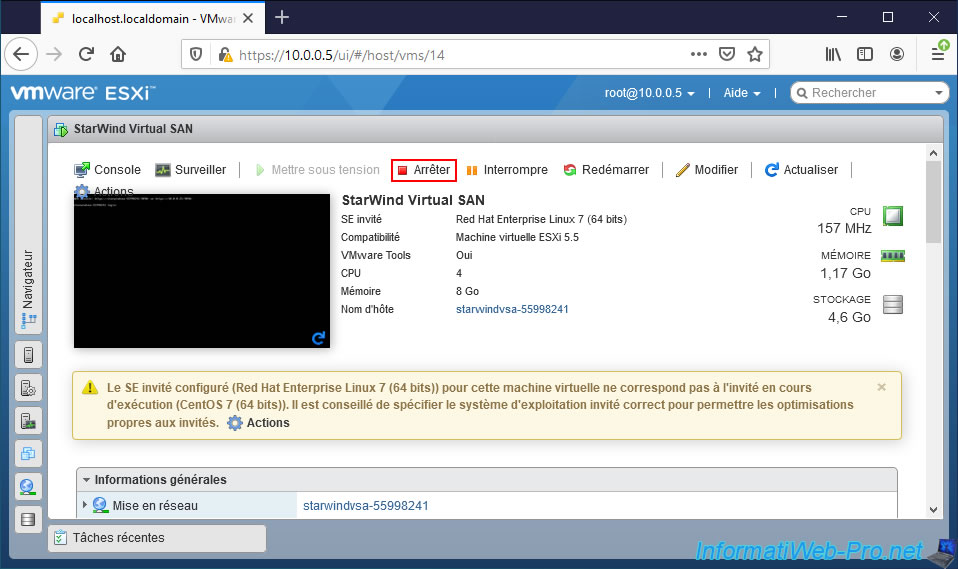
Shut down the virtual machine.
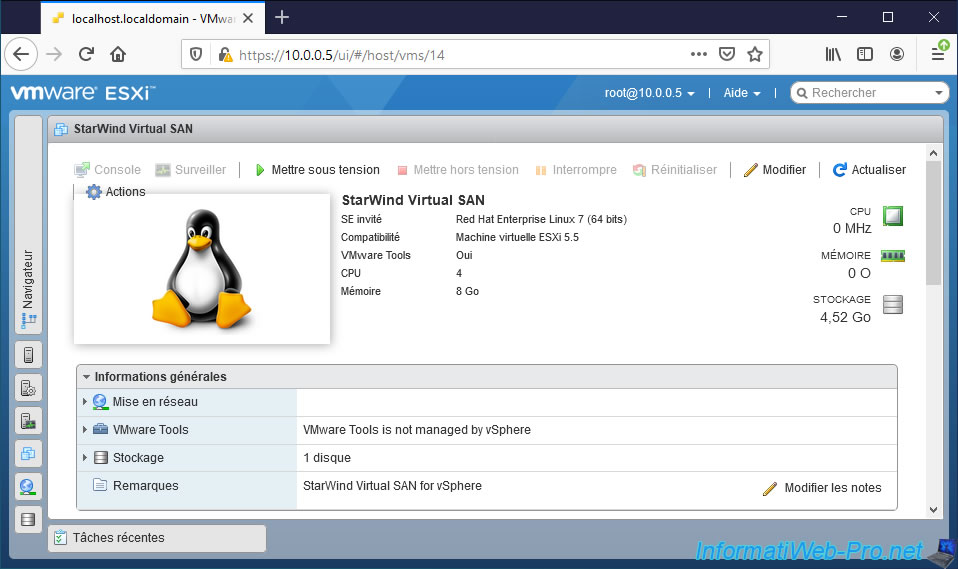
The virtual machine is stopped.
2.5. Remove the virtual appliance
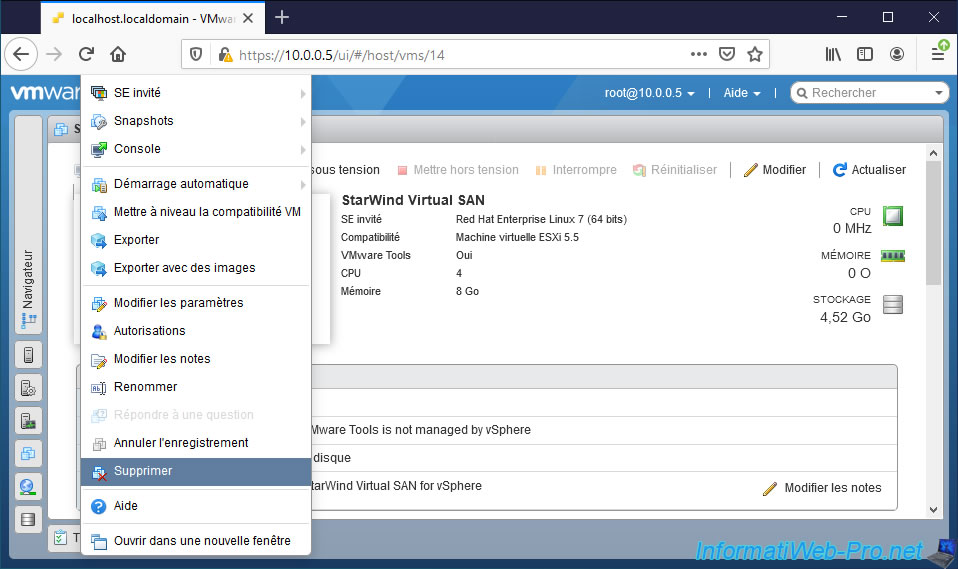
Like any virtual machine, you just have to click on : Actions.
Then, on : Delete.
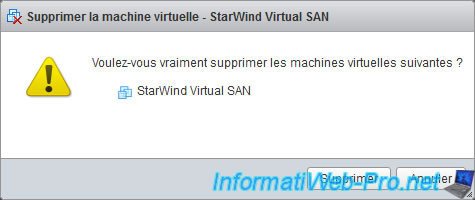
Then, confirm the deletion of this virtual appliance by clicking again on : Delete.
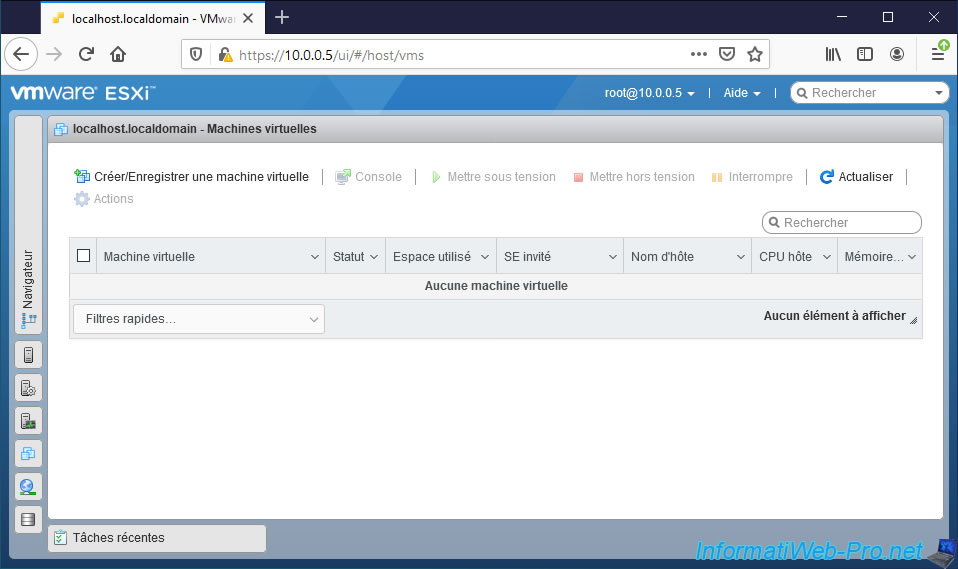
The virtual machine has been deleted from your VMware ESXi hypervisor.
Share this tutorial
To see also
-
VMware 11/4/2022
VMware ESXi 6.7 - Convert a Hyper-V virtual machine to a VMware VM
-
VMware 10/14/2022
VMware ESXi 6.7 - Virtualize a physical computer (P2V)
-
VMware 8/19/2022
VMware ESXi 7.0 / 6.7 - Export and import VMs
-
VMware 8/24/2022
VMware ESXi 7.0 / 6.7 - Export and import VMs via VMware OVF Tool
You must be logged in to post a comment