Create an iSCSI datastore on VMware ESXi 6.7
- VMware
- 19 May 2023 at 12:19 UTC
-

- 2/2

2. Add and configure a software iSCSI adapter
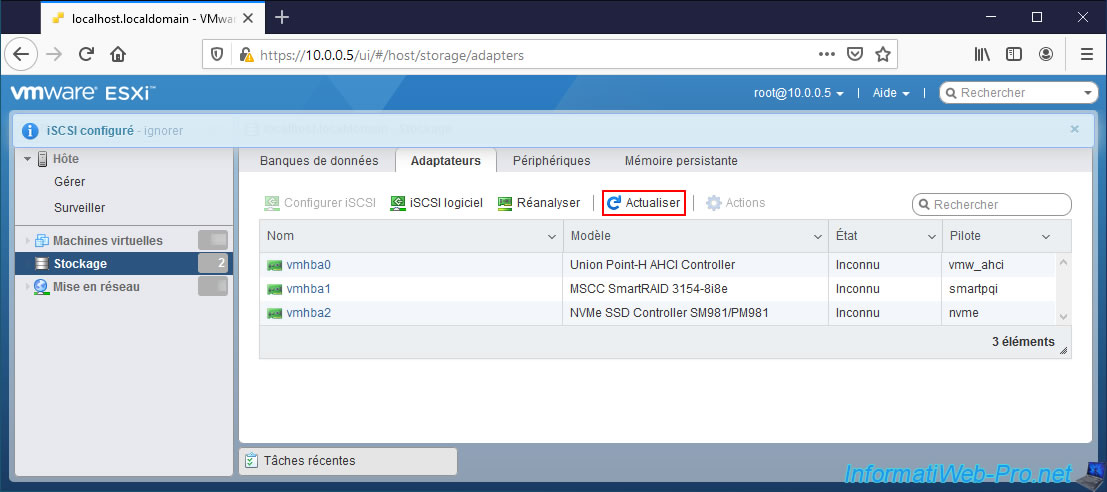
To use your iSCSI virtual disk, access the web interface of your VMware ESXi hypervisor and go to : Storage -> Adapters.
Then, click on : Software iSCSI.

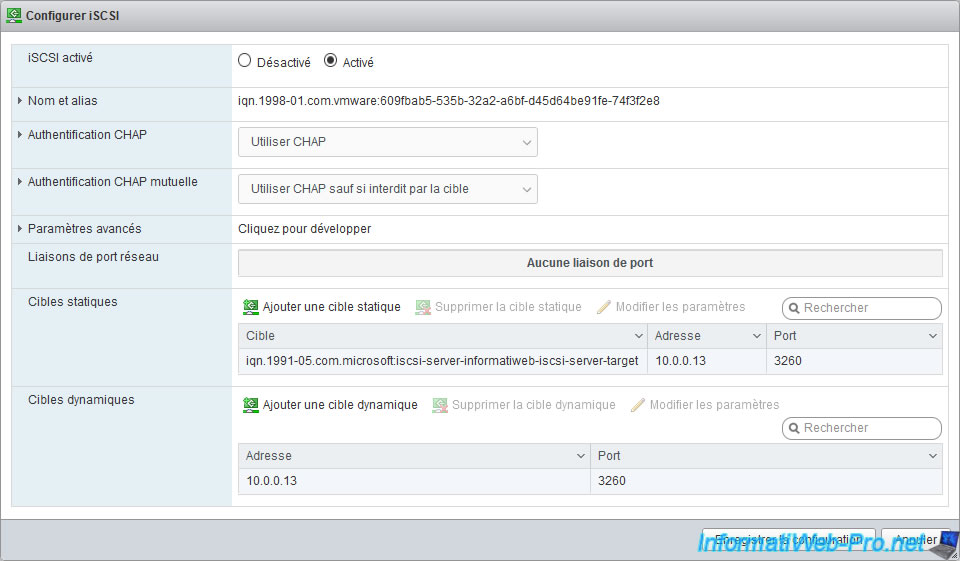
As you can see in the "Configure iSCSI" window that appears, the iSCSI protocol is disabled by default.

Enable the iSCSI protocol by selecting "iSCSI enabled : Enabled", then configure the following settings.
If you have CHAP authentication enabled on your iSCSI server, select "CHAP authentication : Use CHAP" and specify :
- Name : the username specified for CHAP authentication on your iSCSI server.
- Secret : the associated password.
If you have reverse CHAP authentication enabled on your iSCSI server, the "Mutual CHAP authentication" setting should be used.
Then, click on "Add dynamic target" and provide the IP address of your iSCSI server.
Now, click on "Save configuration".

The "iSCSI configured" message appears.
Click on : Refresh.
Enabling the iSCSI protocol will have created a new iSCSI protocol named "iSCSI Software Adapter".
To see if your hypervisor sees your iSCSI target, select this software iSCSI controller and click : Configure iSCSI.
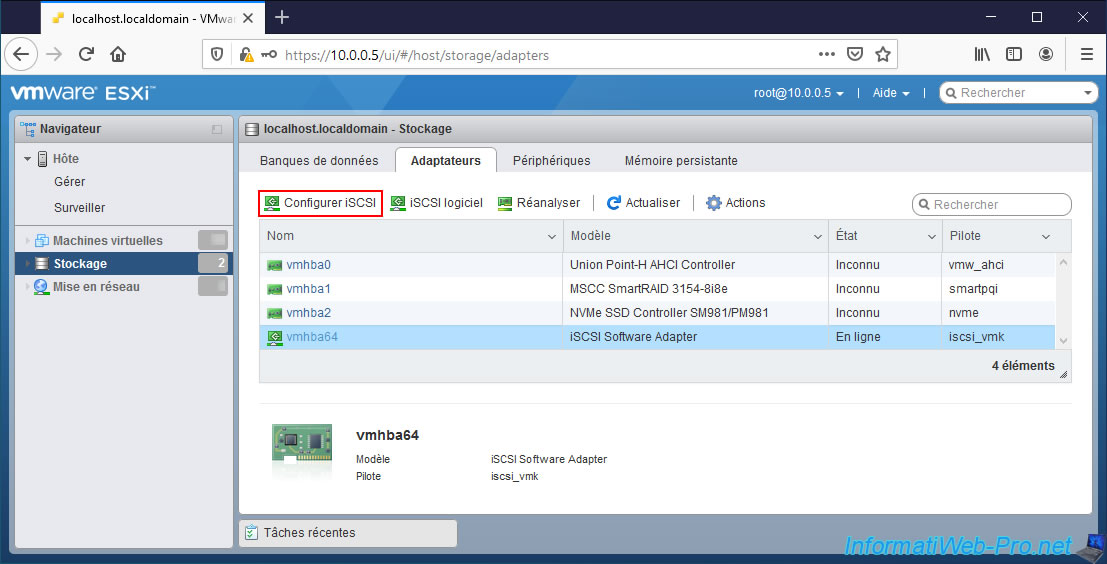
In "Static targets", you should see your iSCSI target appear.
If so, your iSCSI configuration is correct.
In order for your virtual iSCSI disk to appear on VMware ESXi, you must go to "Storage -> Devices" and click on "Rescan", then on "Refresh".
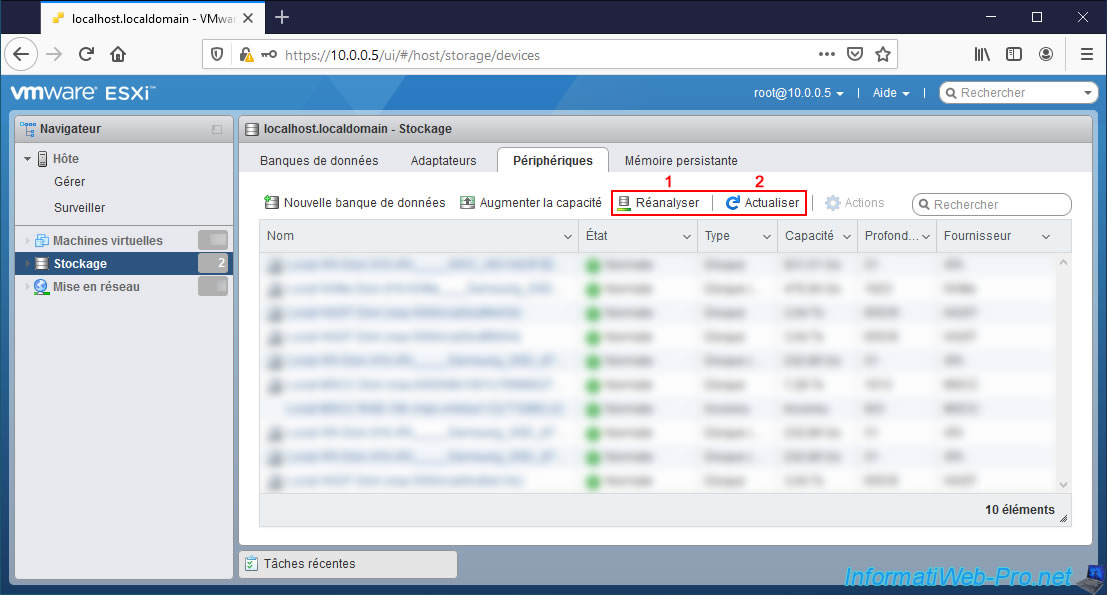
Your virtual iSCSI disk will appear.
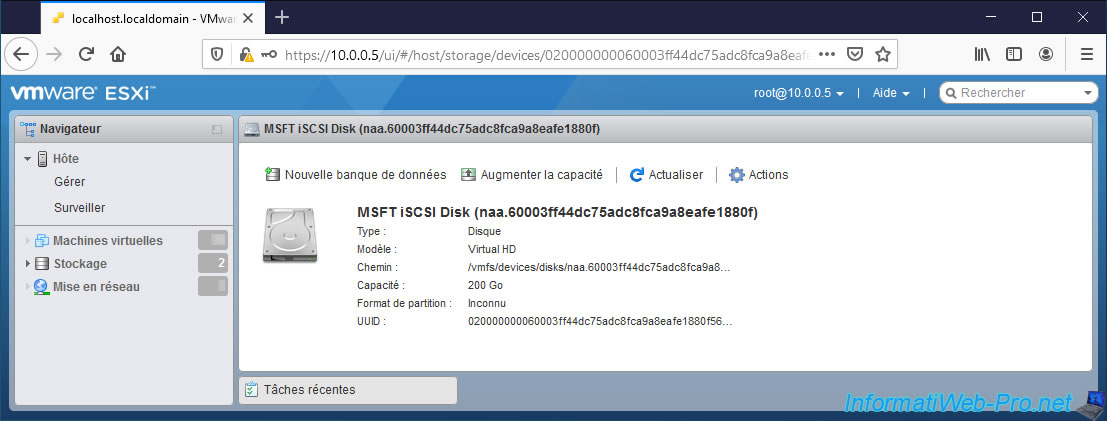
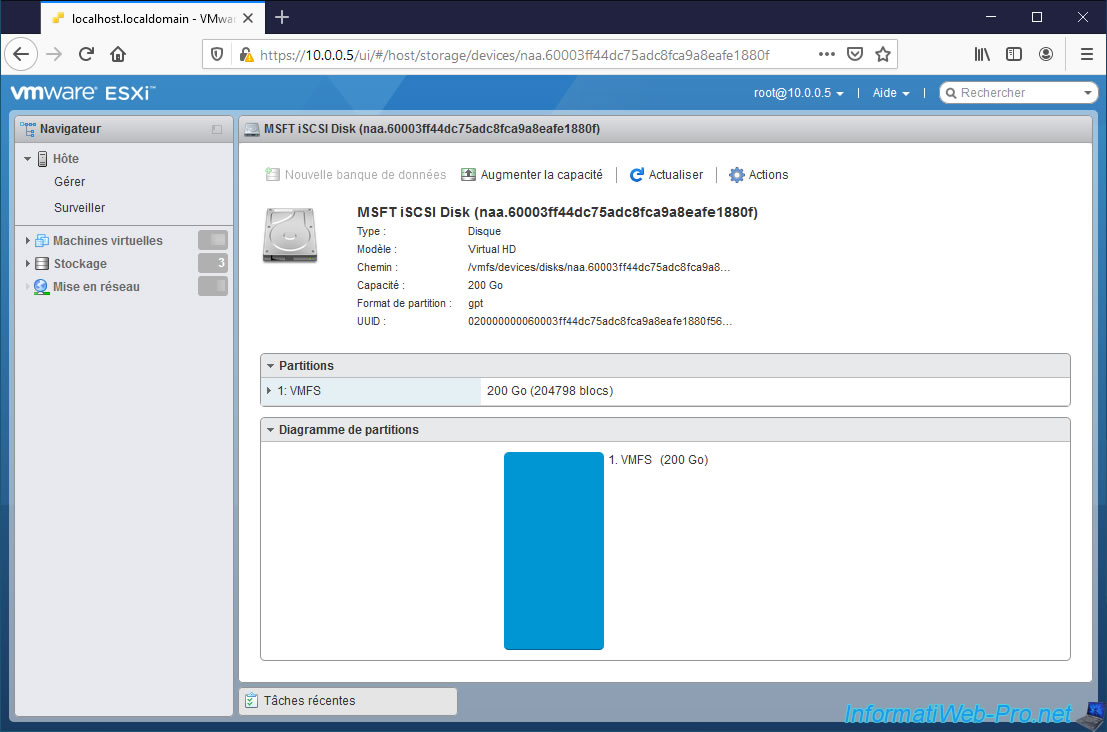
In the case of an iSCSI server on Windows Server, it will be an "MSFT iSCSI Disk".
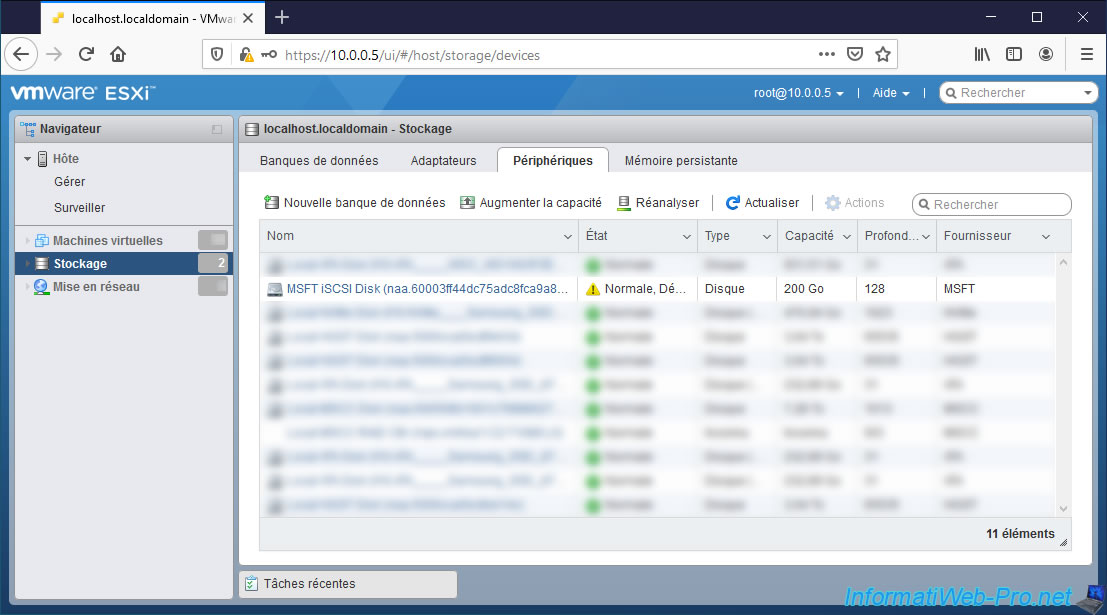
If you click on its name, you will see that it's a virtual disk (Model : Virtual HD).
3. Create an iSCSI datastore
Now that your VMware ESXi hypervisor sees your iSCSI virtual disk, you can use it by creating a datastore on it.
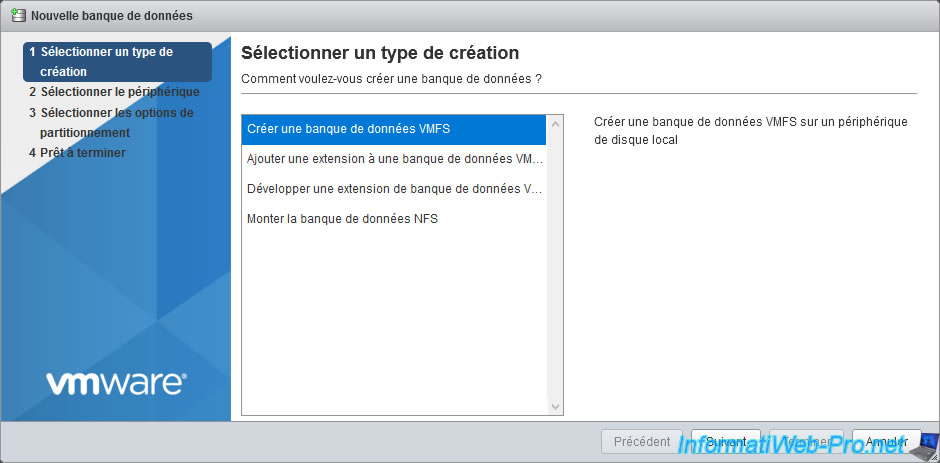
To do this, go to "Storage -> Datastores" and click on : New datastore.

In the "New datastore" wizard that appears, select "Create new VMFS datastore" and click Next.
Provide a name for your iSCSI datastore and select your iSCSI virtual disk.
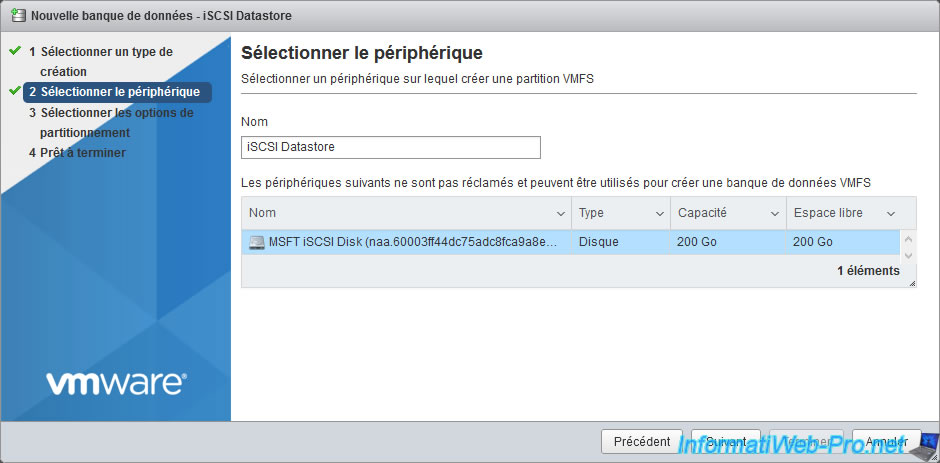
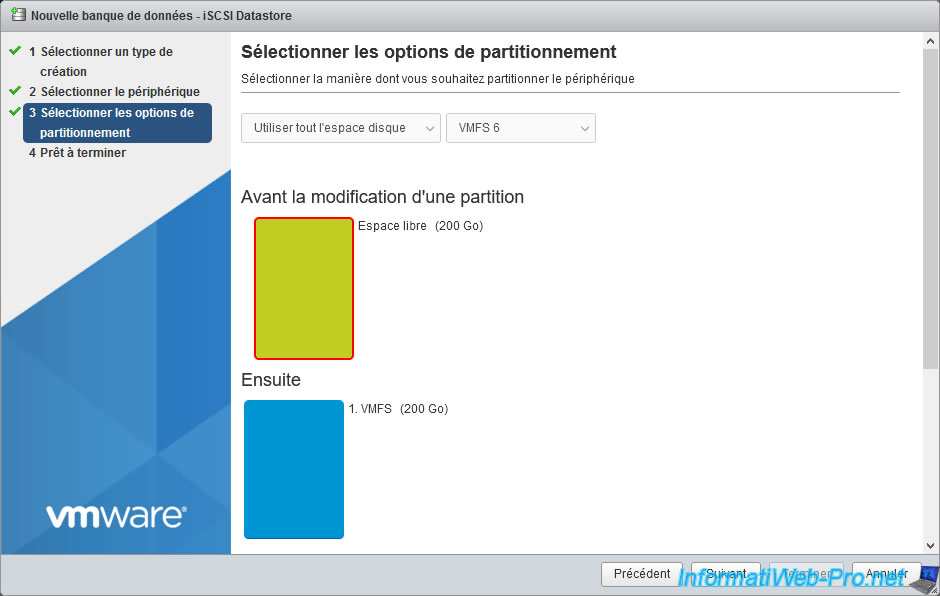
By default, all disk space of your iSCSI virtual disk will be used.
For the version of VMFS, you will have the choice between VMFS 6 and VMFS 5.
Of course, VMFS 6 is more interesting, because it will allow you to benefit from the latest features available.
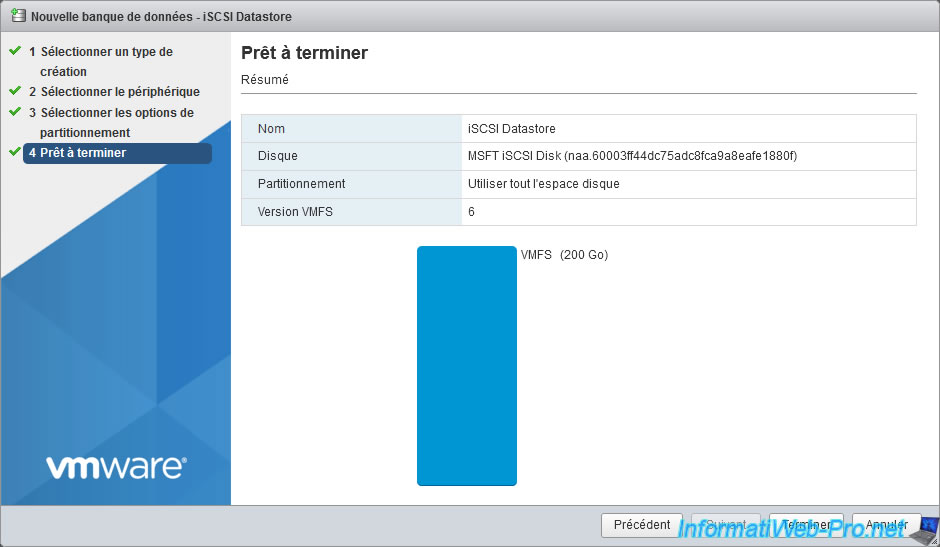
A summary of your iSCSI datastore configuration appears.
Click Finish.
A warning will tell you that the selected disk will be completely erased.
Click Yes to erase it and write the VMFS file system to it.
Plain Text
The entire contents of this disk are about to be erased and replaced with the specified configuration, are you sure?

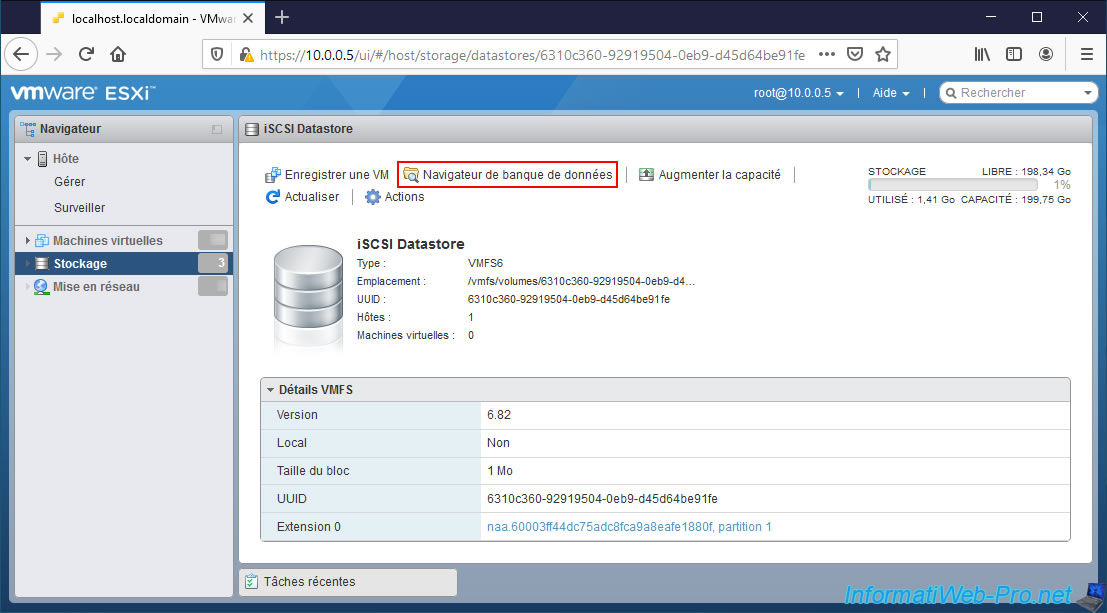
The "VMFS datastore iSCSI Datastore successfully created" message appears.
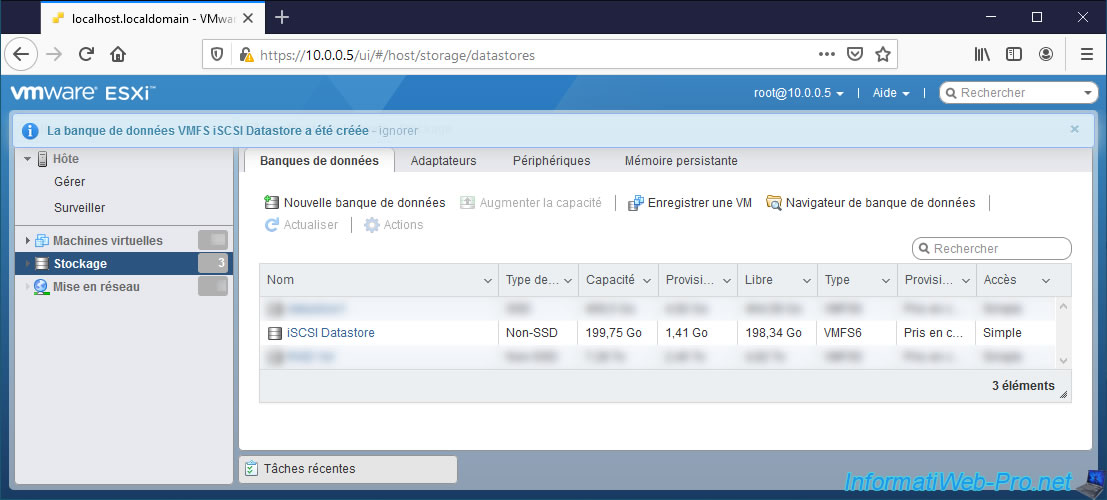
If you click on the name of your new datastore, you will see that it is a type "VMFS6" datastore.
However, you will see that this time the value of "Local" is "No". Unlike a VMFS datastore created on a local disk where the value of "Local" would obviously be "Yes".
To see the corresponding disk, click the name of the extent displayed in the VMFS details for this datastore.
In our case : naa.60003ff...
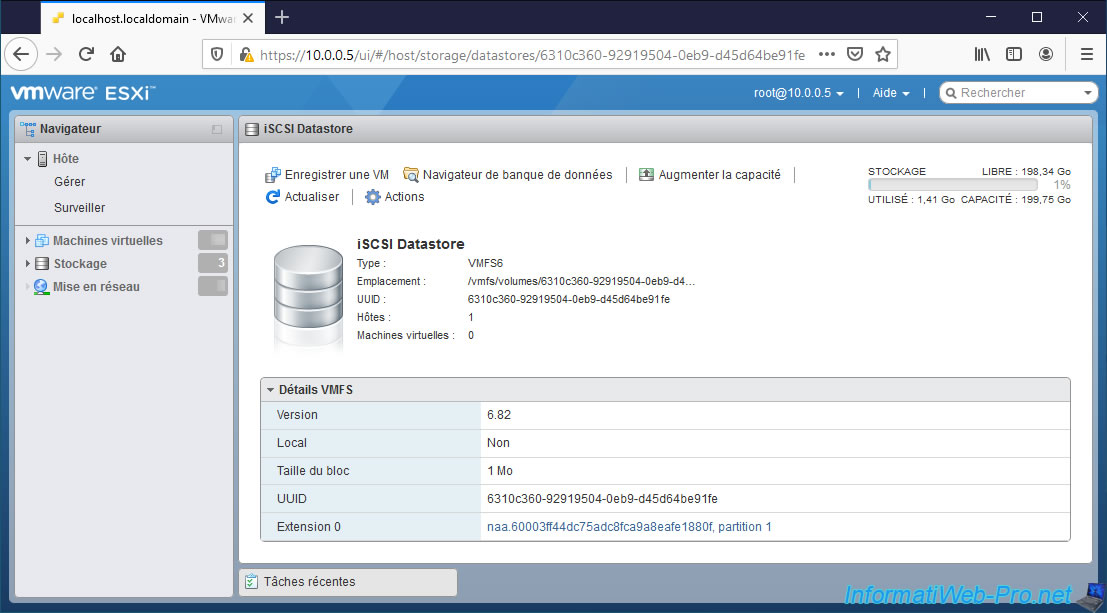
As you can see, this disk now uses a "gpt" partition table and the VMFS file system.
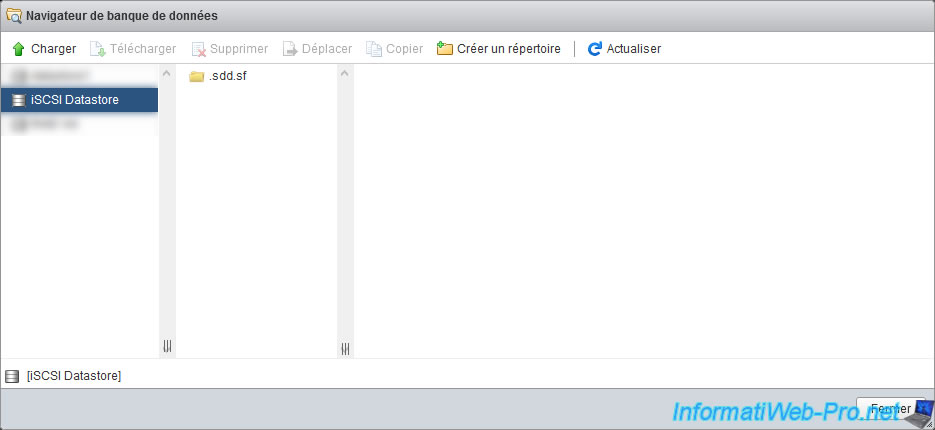
To manage the contents of this datastore, simply use the datastore browser.
As you would with a local VMFS datastore.
The datastore browser appears.
Share this tutorial
To see also
-
VMware 4/21/2023
VMware ESXi 6.7 - Change virtual disk provisioning
-
VMware 5/5/2023
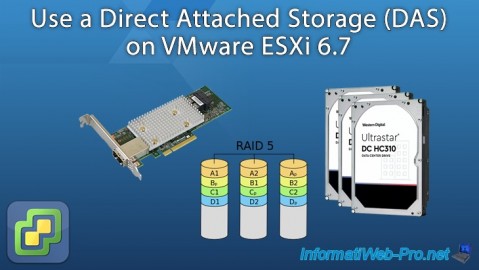
VMware ESXi 6.7 - Direct Attached Storage (DAS)
-
VMware 12/23/2022
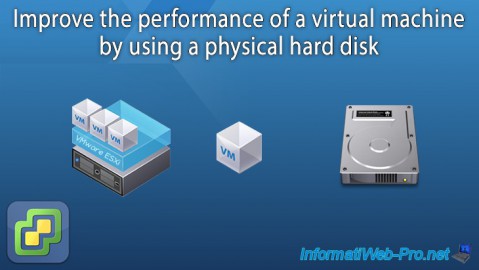
VMware ESXi 6.7 - Improve the performance by using a physical HDD
-
VMware 5/12/2023
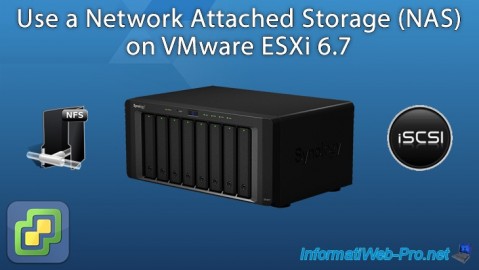
VMware ESXi 6.7 - Network Attached Storage (NAS)
No comment