Secure your VMware ESXi 5 server with a valid SSL certificate
- VMware
- VMware ESXi
- 05 August 2017 at 12:04 UTC
-

- 2/3

4. Enabling SSH on the ESXi server
Now that we have our SSL certificate and its private key, we have to transfer them to our ESXi virtualization server and configure ESXi to use them.
To transfer them to our server, we must first activate the "SSH" service so that we can then create an SFTP connection between our ESXi server and our computer.
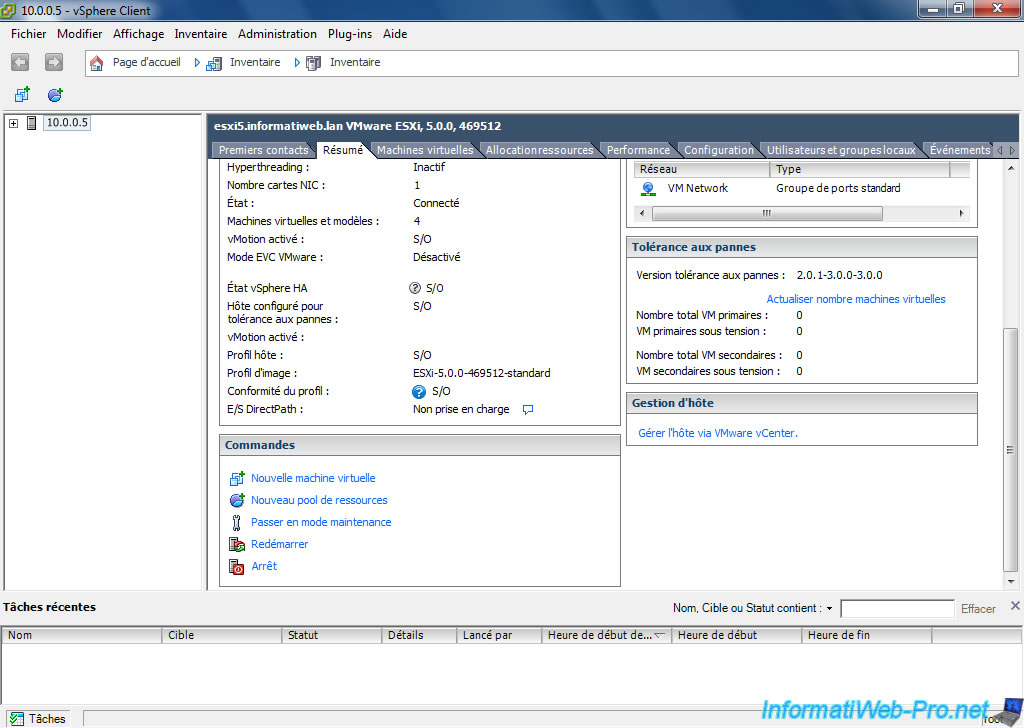
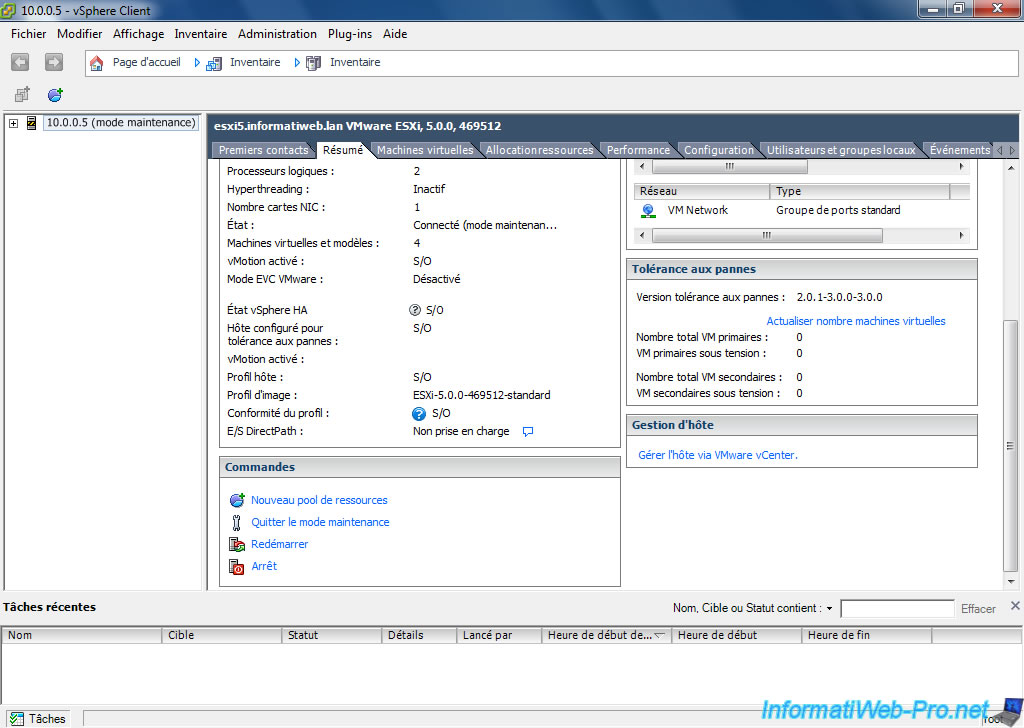
To begin, go to "Summary" and click "Enter Maintenance Mode".
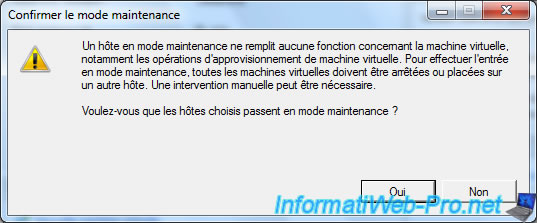
Click Yes.
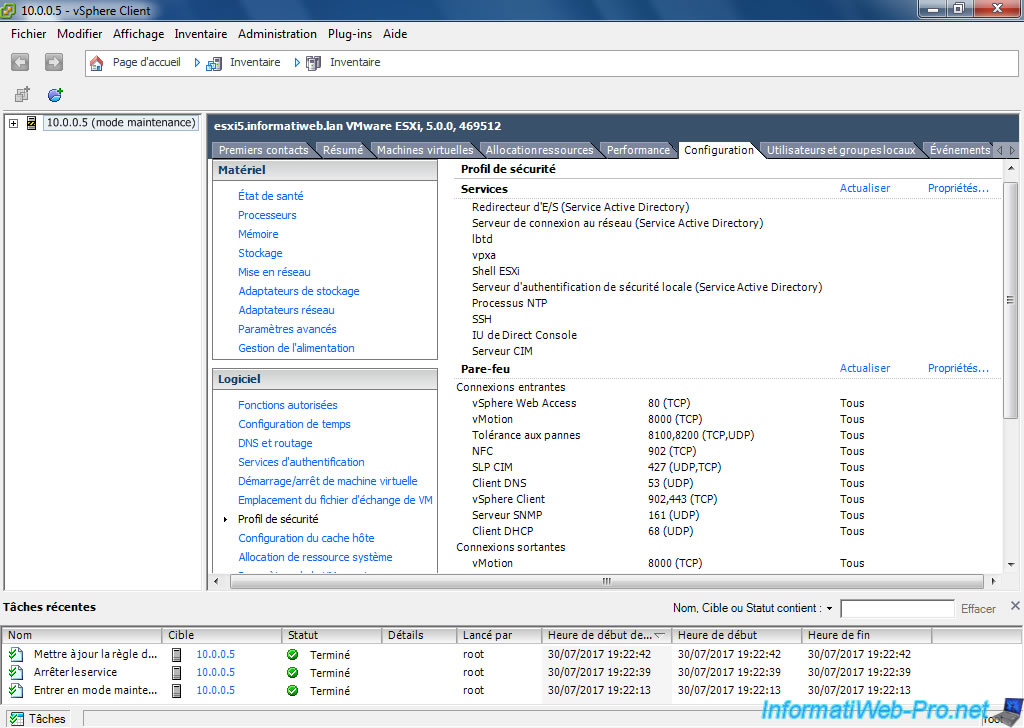
Then, go to "Configuration -> Security Profile" and click on the "Properties" link located at the top right.
By default, the SSH service is not started.
Select it and click Options.
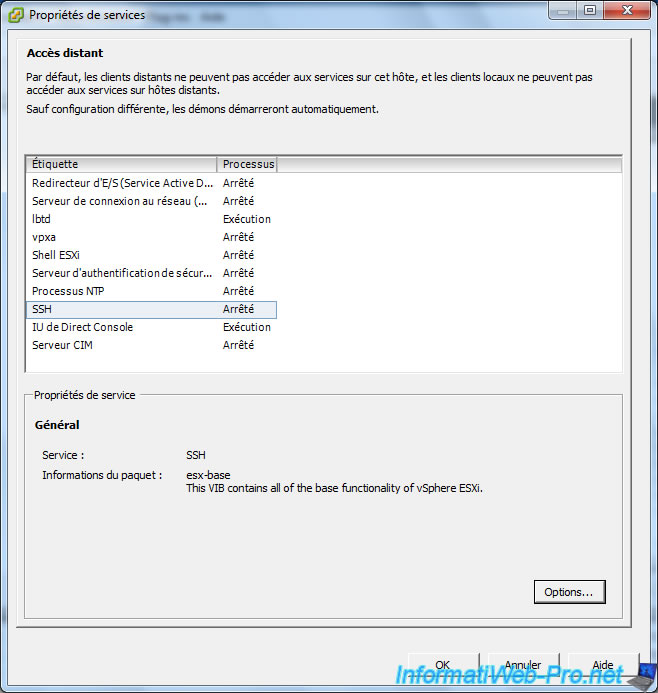
Click Start, and then click OK.

Now, the SSH service is running.

5. Transfer the certificate and the private key to the ESXi server
Now that the SSH service is started on the ESXi server, we can create a SFTP connection between the server and our computer to manage the ESXi server files.
To connect to your ESXi server over SFTP, download and install the WinSCP program.
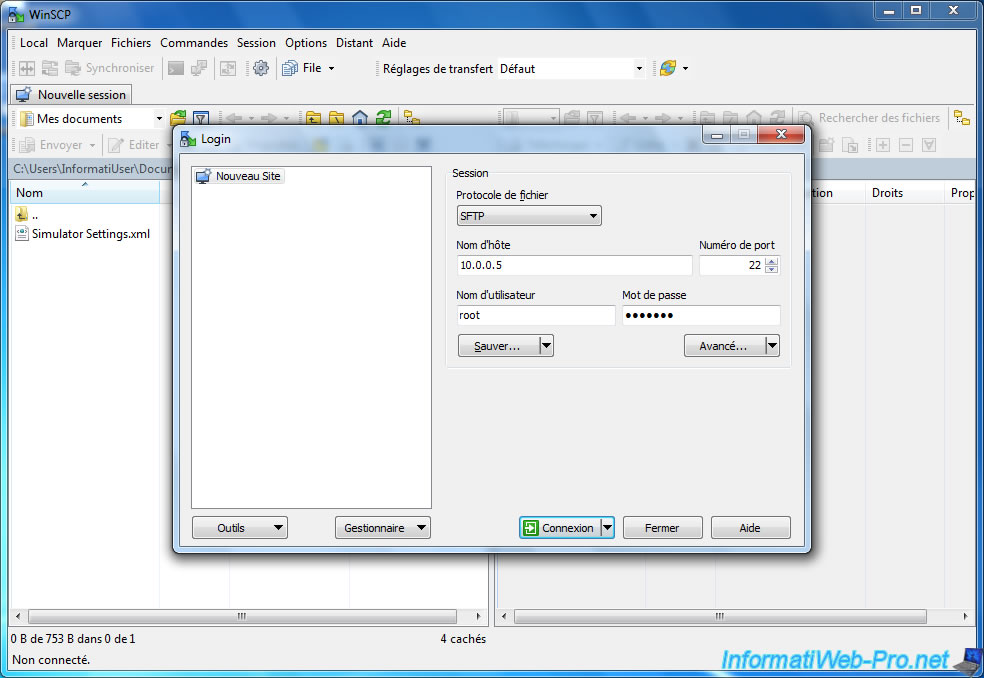
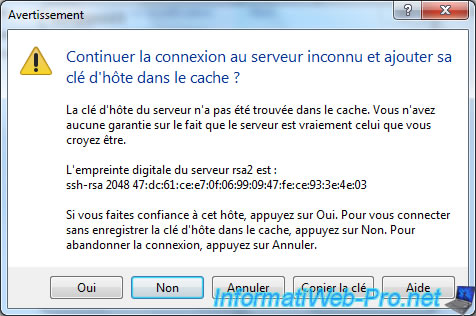
At the first connection to a server, WinSCP always displays a warning because he doesn't know the server to which you are connecting.
Which makes sense when you connect to a server for the 1st time.
For now, click No, because the fingerprint will change when you replace the ESXi SSL certificate.
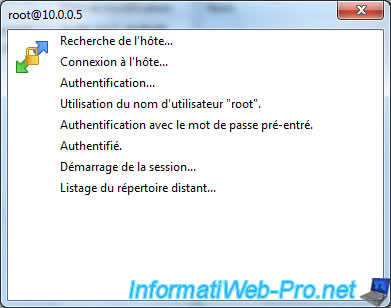
WinSCP connects to your ESXi server.
Once connected to your ESXi server, you will be at the root of the ESXi server.
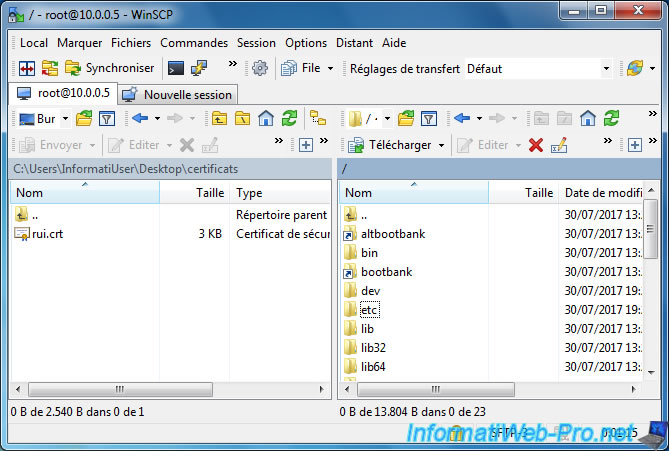
As stated in the official VMware documentation, the SSL certificate and the ESXi server private key are located in the "/etc/vmware/ssl" folder.
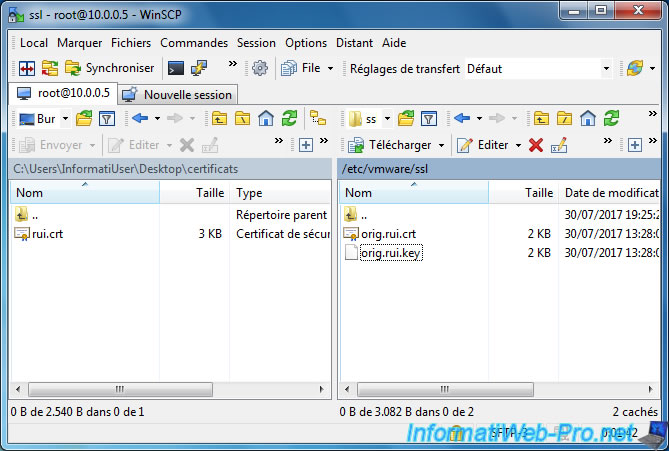
Rename the "rui.crt" certificate to "orig.rui.crt" and the private key "rui.key" to "orig.rui.key".
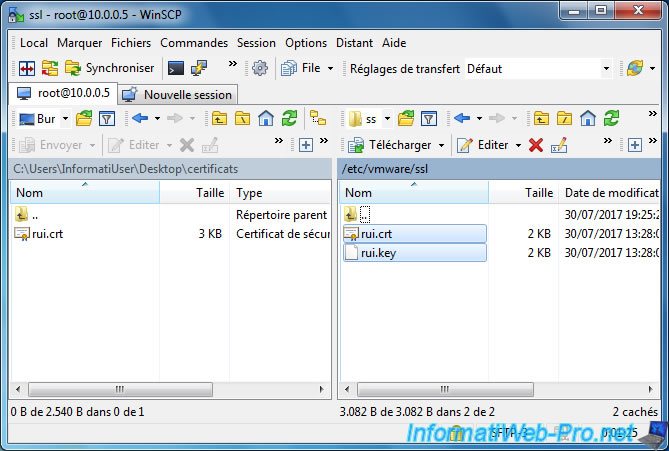
Then, transfer your new certificate to your ESXi server by dragging it to the right.
As stated in the official VMware documentation, it's recommended to use the "Text" or "ASCII" transfer mode.
To change the transfer mode, click "Transfer type: Binary".
![]()
Choose "Transfer mode : Text ..." and click OK.
![]()
Click OK to transfer the file to the server.
![]()
Also transfer the new private key "rui.key" from the "C:\OpenSSL" folder to your ESXi server.

6. Restart ESXi server management agents
To use the new certificate and the new private key, you have 2 possibilities :
- restart the ESXi virtualization server
- restart the server management agents to make it faster
In this tutorial, we will use the 2nd method which is recommended in a production environment, even if it seems longer.
To restart the ESXi server management agents, you must have access to the console below.
If you have access to this console, click here.
However, if you don't have access to it physically, you will need to use a SSH client like Putty.
Launch Putty and connect to your ESXi server on port 22 (SSH).
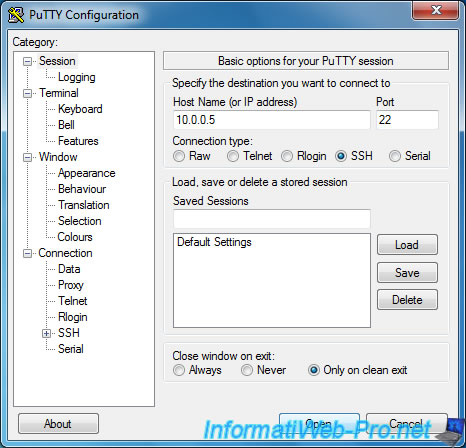
Ignore the warning that appears (for the same reason as the warning displayed by WinSCP).
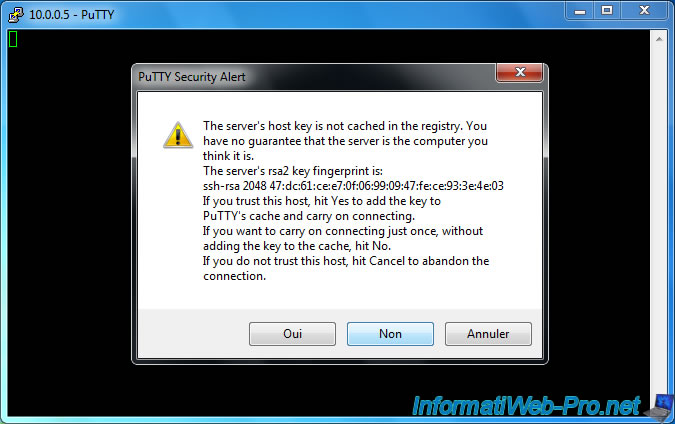
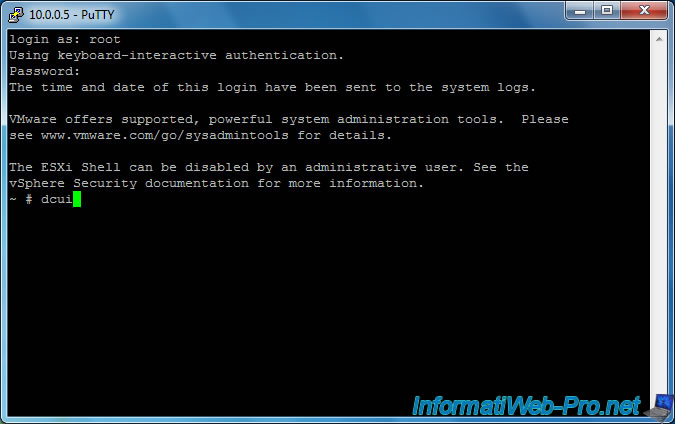
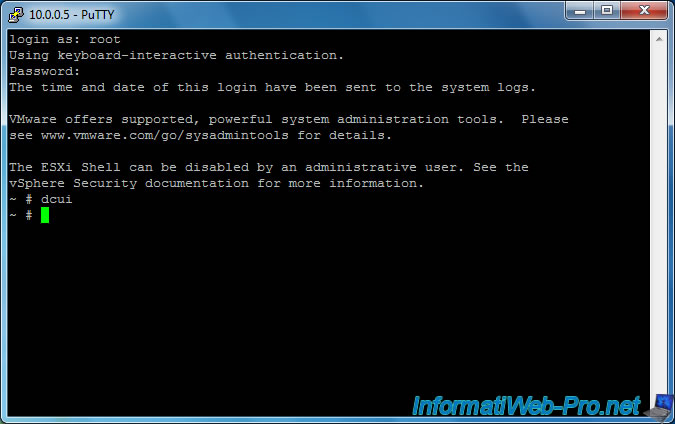
Log in with the root account, and then type this command : dcui.
DCUI provides access to the ESXi console from a SSH connection : Accessing Direct Console User Interface (DCUI) from an SSH session.
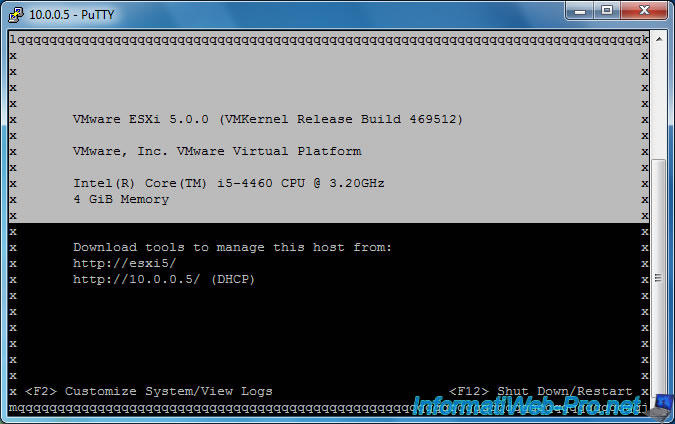
The ESXi console appears.
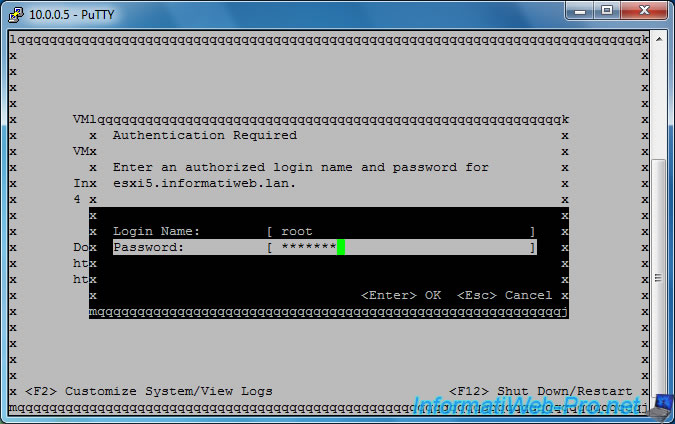
Press the F2 key to access the ESXi settings.
Log in again with the root account.
Go to : Troubleshooting Options.
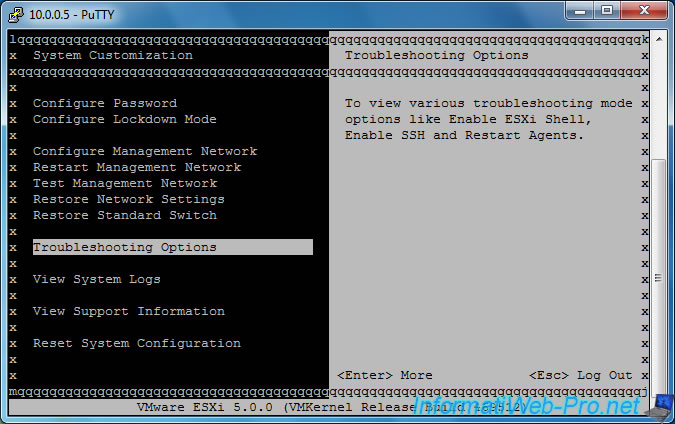
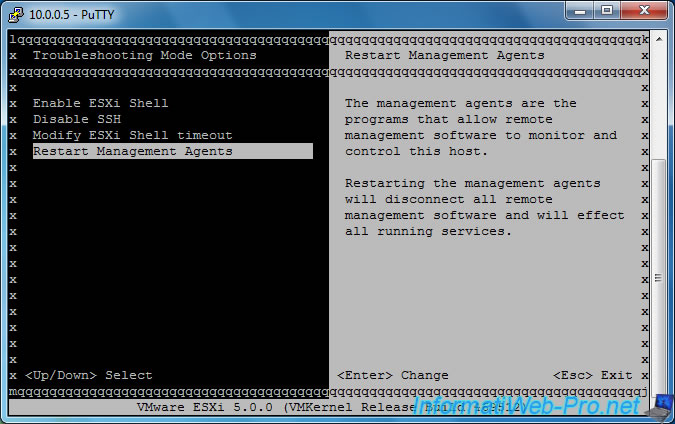
Then select the "Restart Management Agents" option and press Enter.

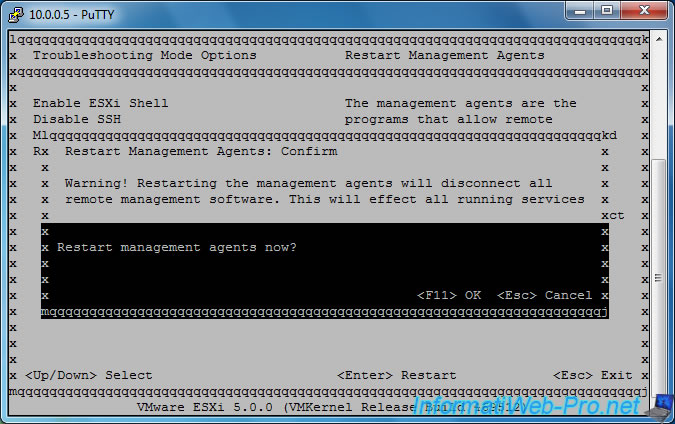
Confirm that you restart the management agents by pressing F11.
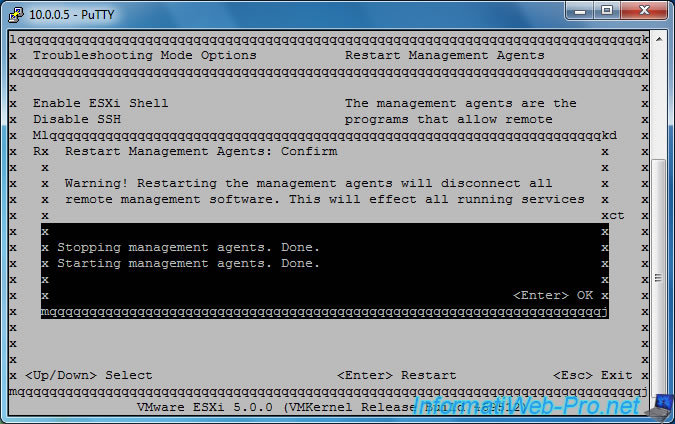
The management agents have been restarted.
Press the "Esc" key repeatedly to return to the home screen of this console.
Then, press CTRL + C to return to the putty command line.
To exit Putty, type "exit".
Finally, disable the maintenance mode of the ESXi server by clicking on "Exit Maintenance Mode".
Share this tutorial
To see also
-

VMware 12/9/2022
VMware ESXi 6.7 - Manage the virtual hard disks of your VMs from the VMRC console
-
VMware 11/23/2022
VMware ESXi 6.7 - VMRC console (VMware Remote Console) presentation
-
VMware 2/9/2024
VMware ESXi 6.7 - What is VMware vSphere ?
-
VMware 8/31/2022
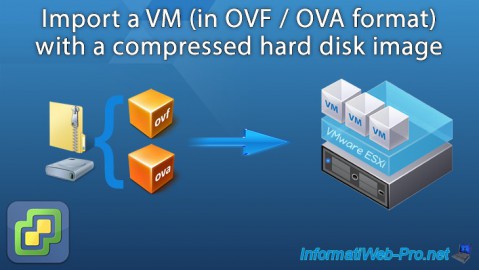
VMware ESXi 7.0 / 6.7 - Import a VM (OVF / OVA) with a compressed hard disk
No comment