Manually install Hyper-V Integration Services on Windows 7 to 8.1 since Windows Server 2016
- Microsoft
- 17 May 2022 at 10:07 UTC
-

- 3/3

5. Download and install KB3071740 update (Hyper-V Integration Services) on Windows 7
To download and install update KB3071740 (Hyper-V Integration Services) on Windows 7, the easiest way is to download the update from your Hyper-V server and then manually push it to your virtual machine if Windows 7 is not up to date.
Indeed, if you install Windows 7 with SP1 integrated, you will see that you will not have access to the Microsoft site (although Internet access is available).
To resolve this problem, you could enable TLS 1.2 as on Windows 8. However, the version of Internet Explorer is too old and access to the Microsoft site will make it very unstable.
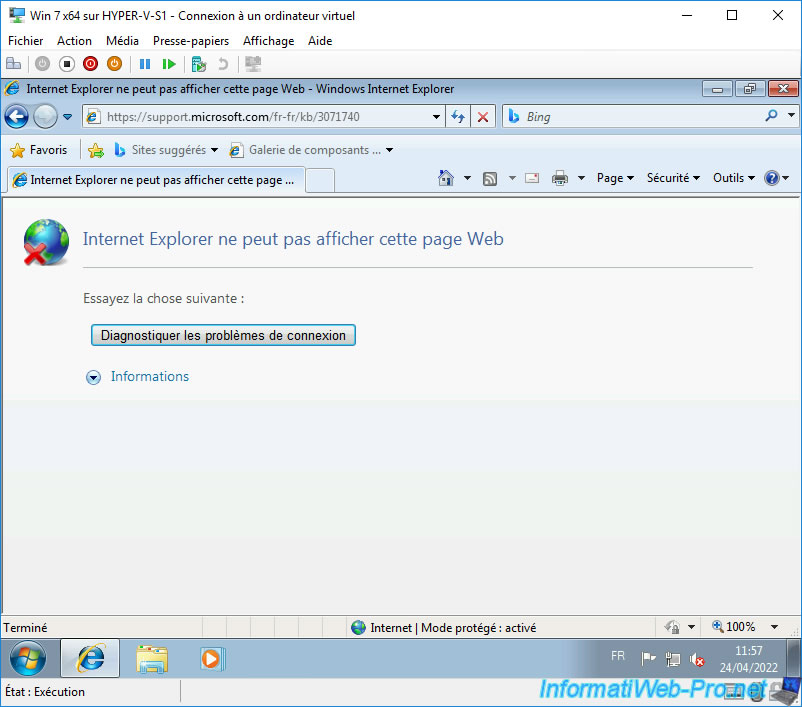
In short, the best solution is to download the KB3071740 update from your Hyper-V server.
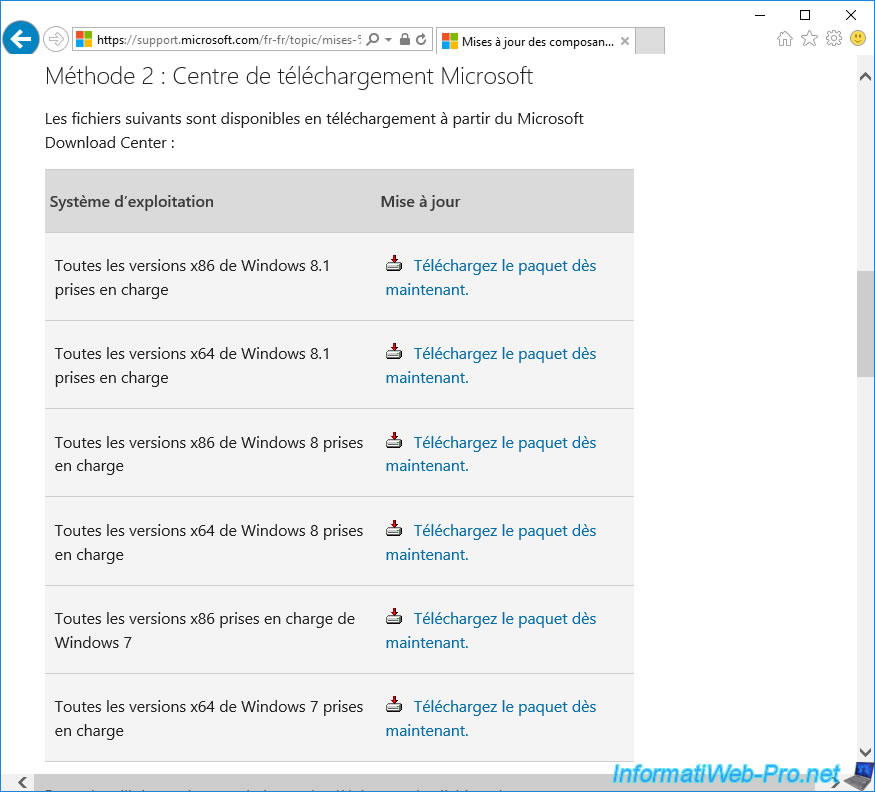
To do this, on your Hyper-V server, go to the "https://support.microsoft.com/en-us/kb/3071740" address.
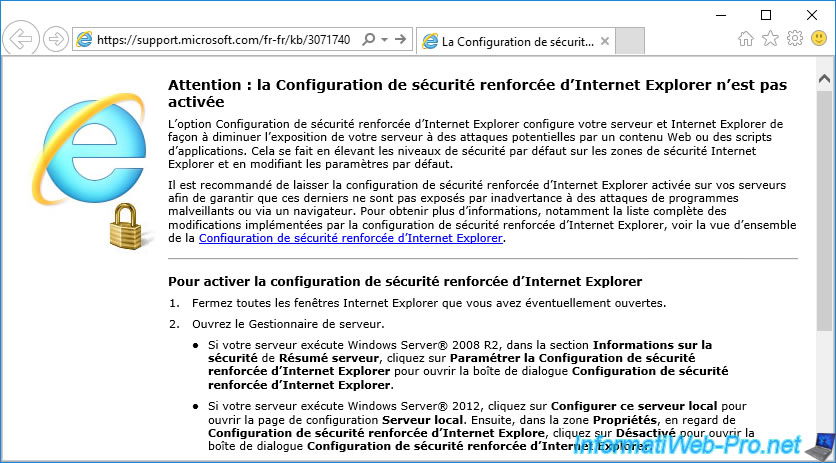
The "Hyper-V integration components update for Windows virtual machines ..." page appears.
Download the update for your Windows 7 architecture.
The "Update for Windows 7 for x64-based Systems (KB3071740)" page appears.
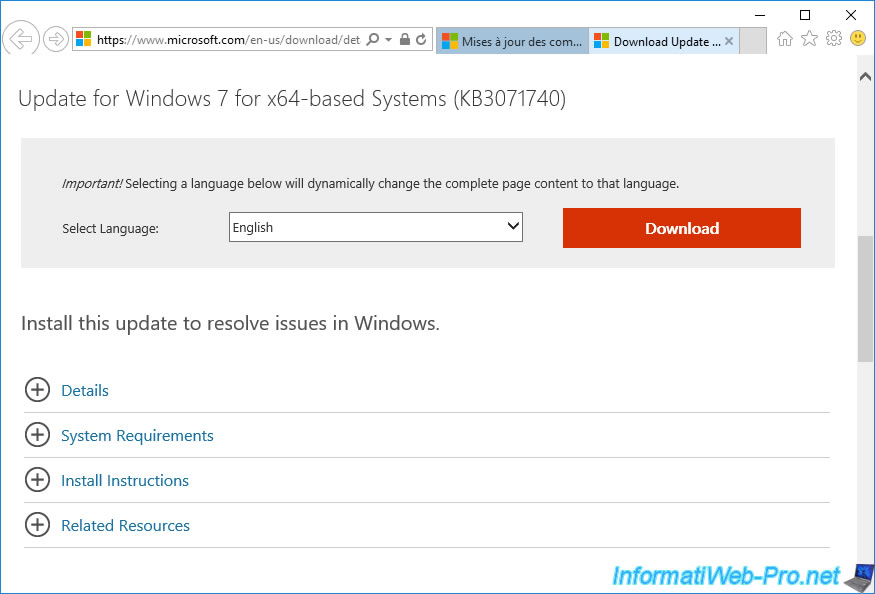
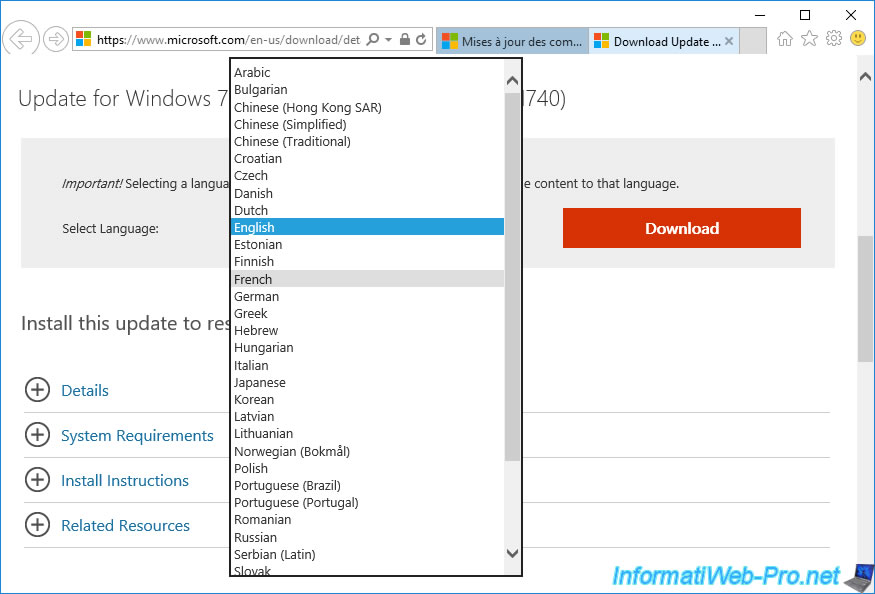
To download the update in another language, select the desired language from the list and wait for the page to refresh.
Then, click on the download button.
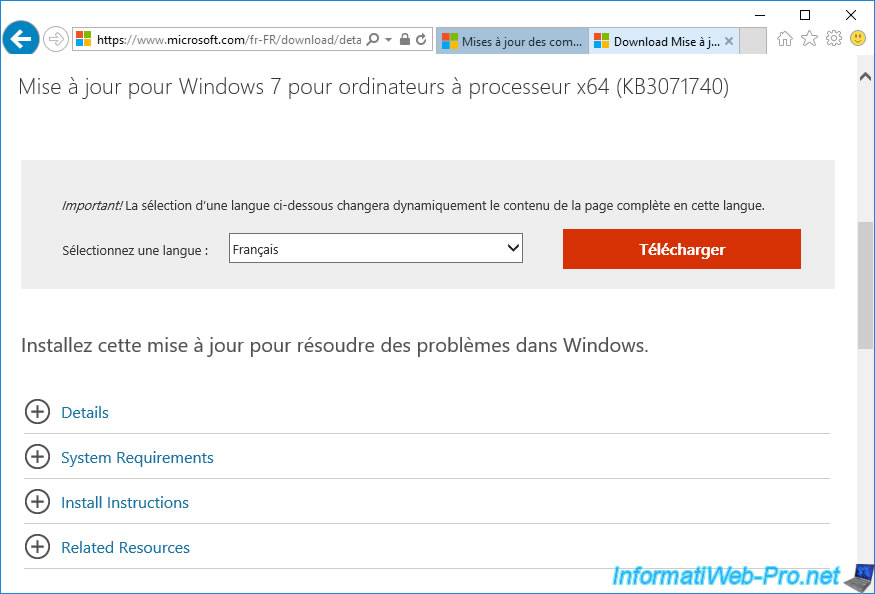
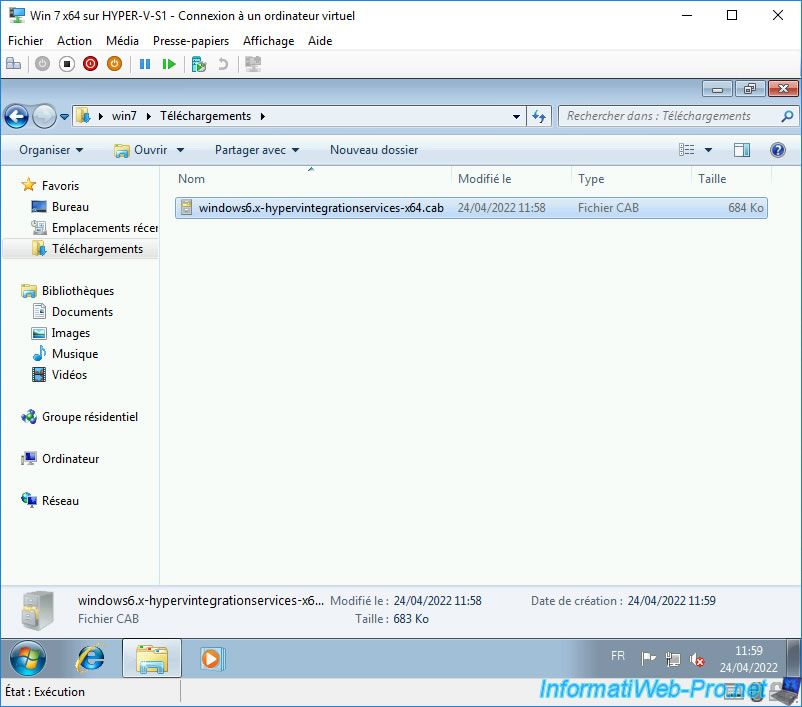
The file to download will be : windows6.x-hypervintegrationservices-x64.cab.
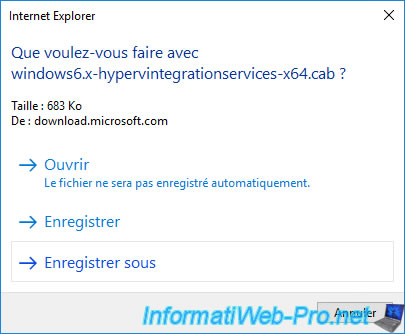
Save this update to a new folder on your Hyper-V server.
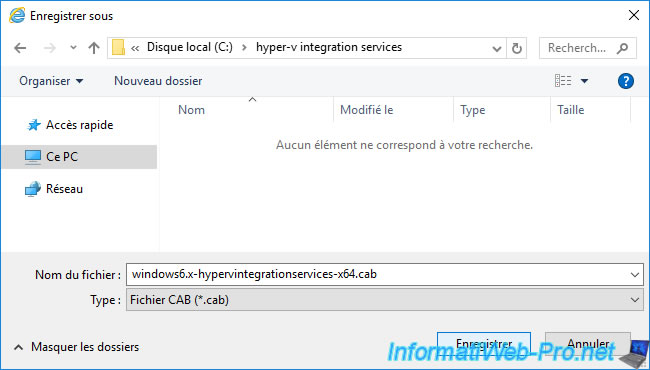
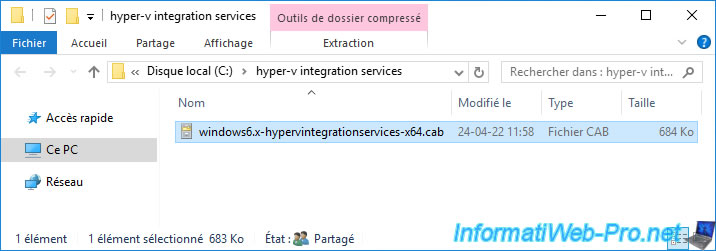
In our case, we downloaded this "windows6.x-hypervintegrationservices-x64.cab" update to a "hyper-v integration services" folder.
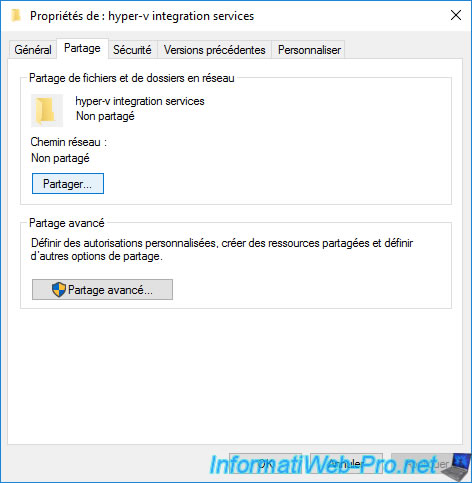
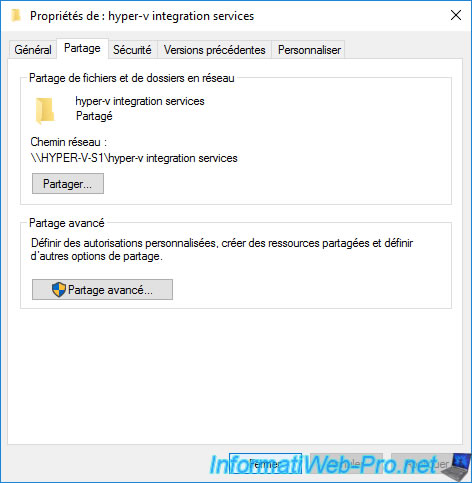
Right-click "Properties" on this folder and go to the "Sharing" tab.
Then, click on : Share.
Select "Everyone".
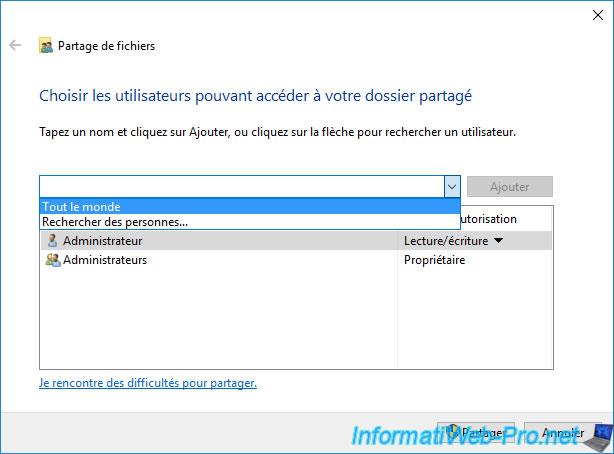
Click on : Add.
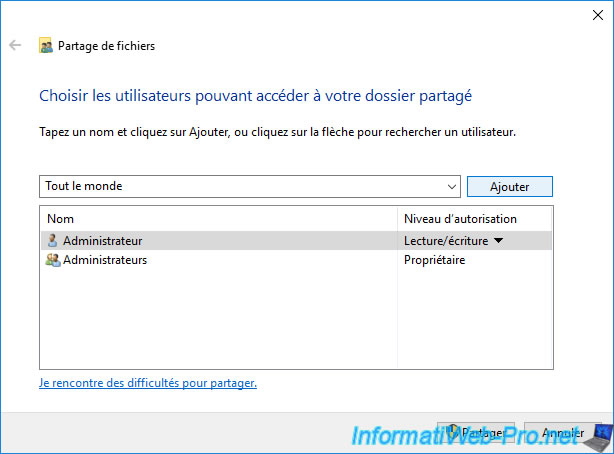
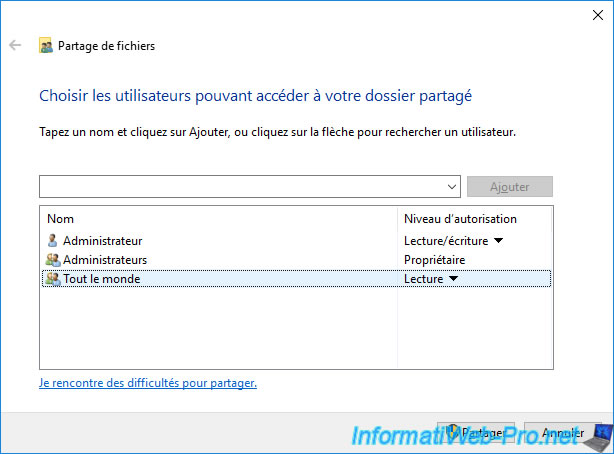
Grant "Read" permission to this "Everyone" group so that everyone can access this update.
But they will not be able to modify or delete its content.
Click : Share.
Your folder has been shared.
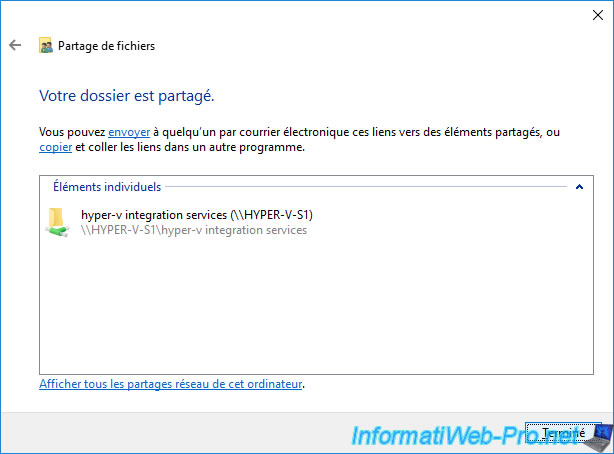
The network path of this folder appears.
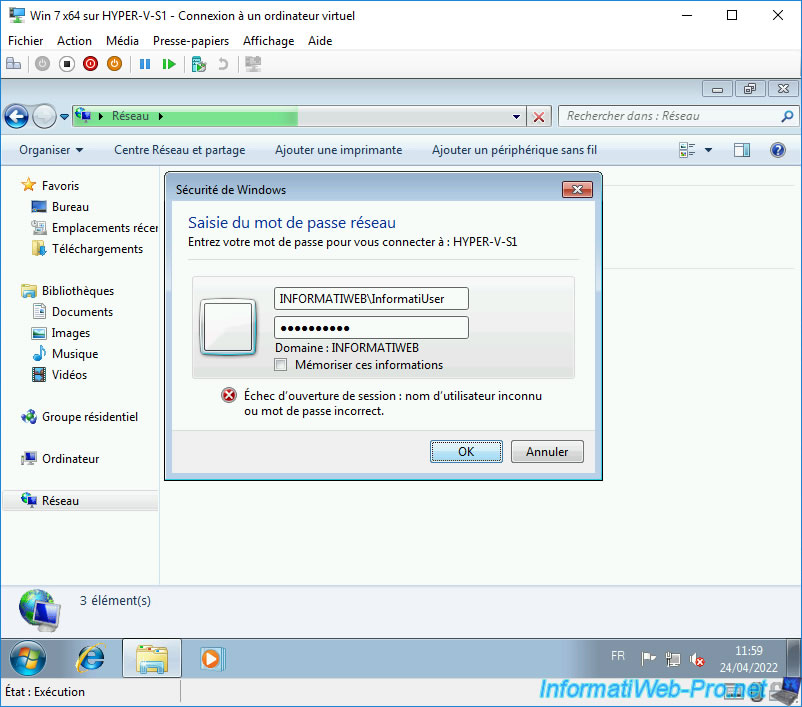
From the guest operating system (Windows 7) of your virtual machine, open file explorer and type "\\[your Hyper-V server name]".
Which gives in our case "\\HYPER-V-S1".
If credentials are requested, use an account from your Active Directory domain or a local account from your Hyper-V server (even if it's a simple user).
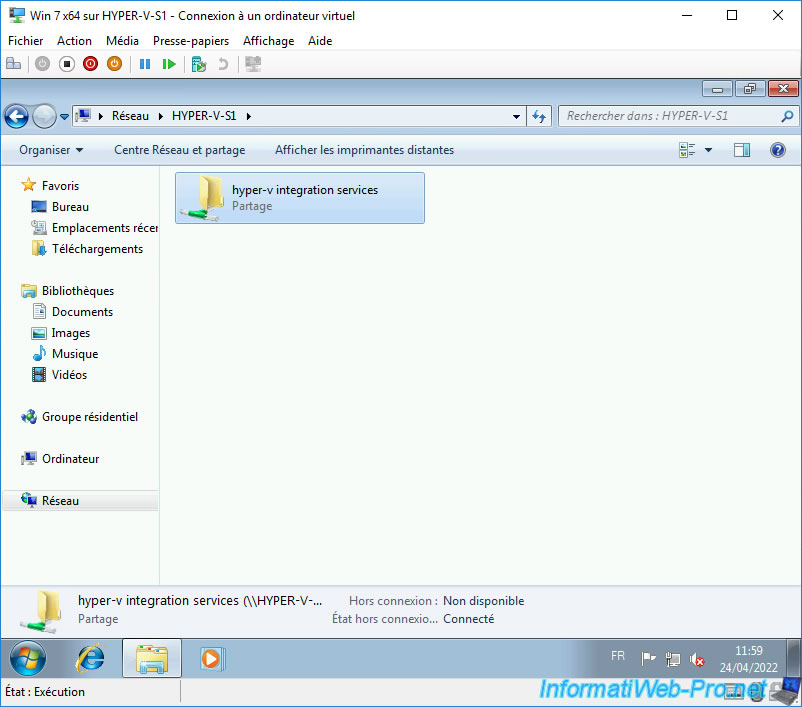
Your "hyper-v integration services" folder appears.
Double click on it.
Copy this ".cab" file.
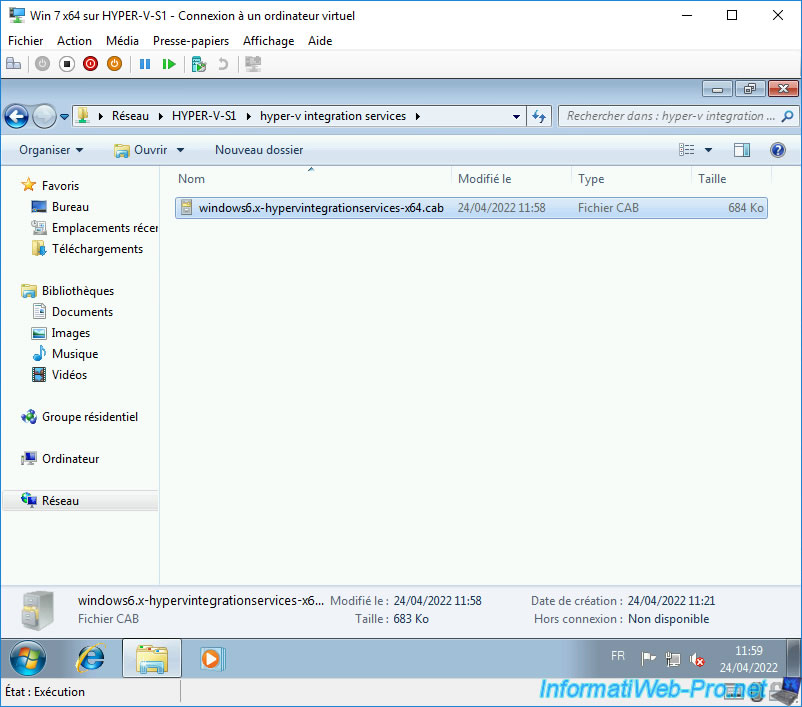
Paste this update into a local folder of your virtual machine.
Important : Windows 7 PowerShell command prompt is outdated by default.
If you try to use the command mentioned above, you will see that an error will appear.
Plain Text
The term "Add-WindowsPackage" is not recognized as the name of a cmdlet, function, script file, or operable program.
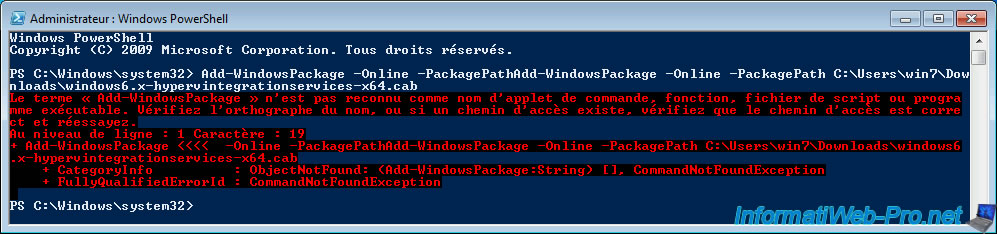
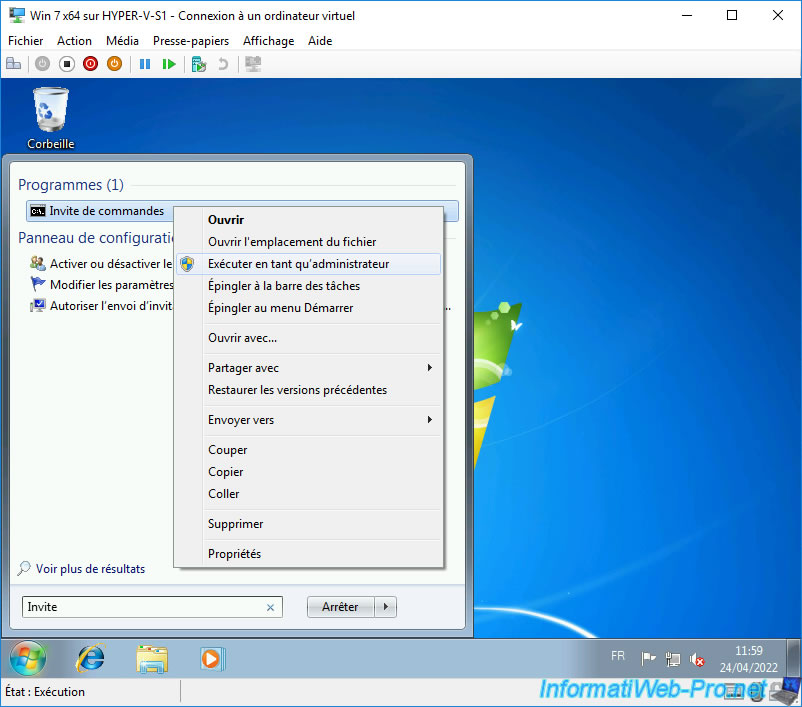
To install this update in ".cab" format on Windows 7, you will need to use a command prompt (cmd.exe) as administrator instead of a PowerShell command prompt.
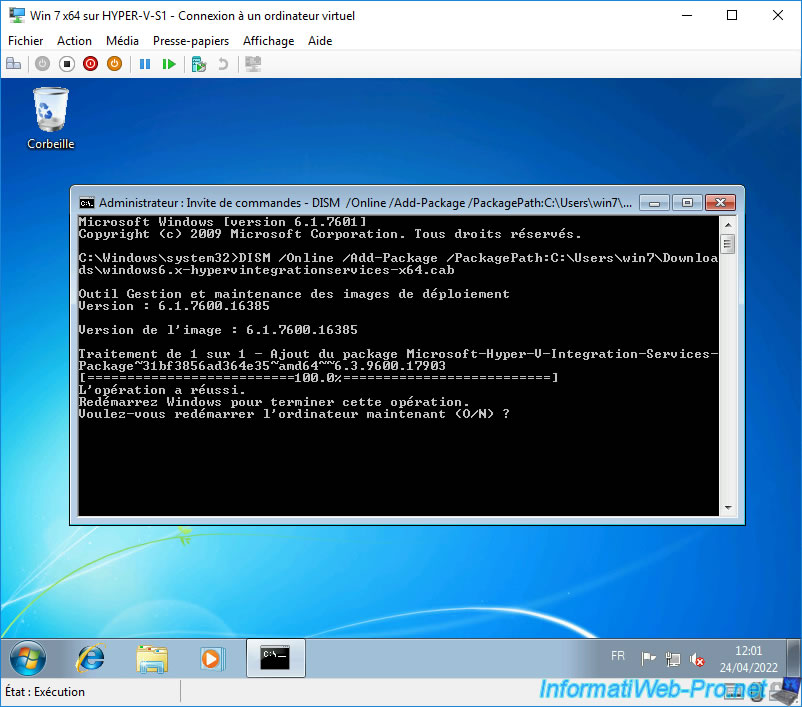
In the command prompt that appears, use the equivalent DISM-based command :
Batch
DISM /Online /Add-Package /PackagePath:C:\Users\win7\Downloads\windows6.x-hypervintegrationservices-x64.cab
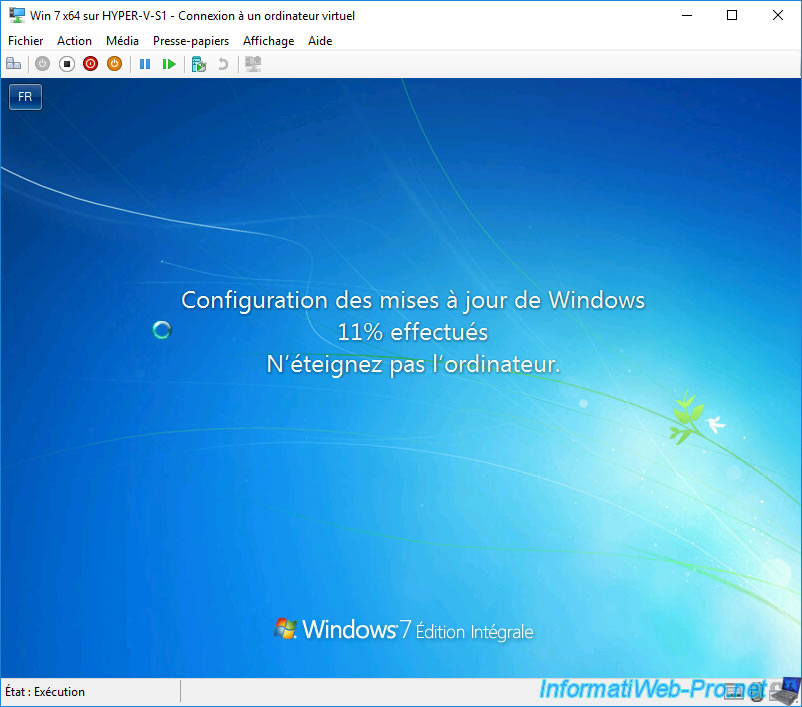
Once the update is installed, answer "Y" to restart this virtual machine.
During the restart, you will see the "Configuring Windows updates" message appear.
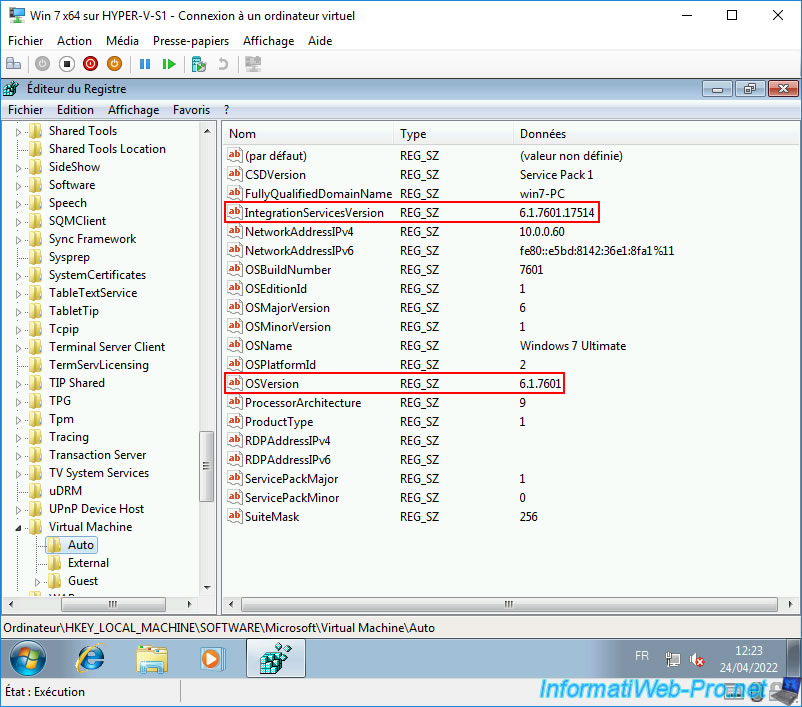
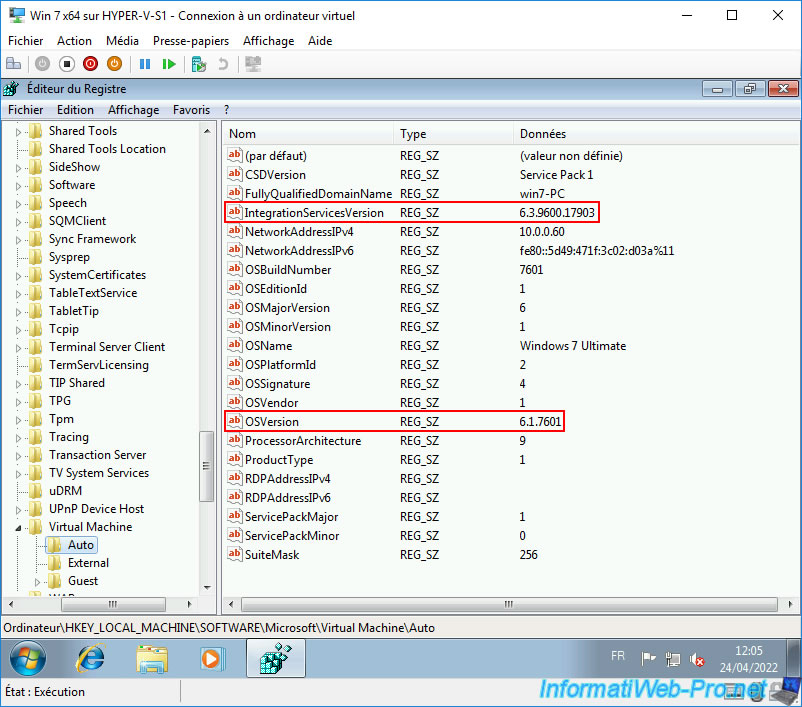
If you return to the Windows registry, you will see that the Hyper-V integration services have been successfully installed.
Share this tutorial
To see also
-
Microsoft 9/6/2019
Hyper-V (WS 2012 R2 / 2016) - Create a generation 2 VM
-
Microsoft 8/10/2019
Hyper-V (WS 2012 R2 / 2016) - Install Hyper-V and create your first VM
-
Microsoft 11/8/2019
Hyper-V (WS 2012 R2 / WS 2016) - Automatically replicate virtual machines
-
Microsoft 11/15/2019
Hyper-V (WS 2012 R2 / WS 2016) - Automatically replicate virtual machines (securely)
No comment