- Microsoft
- 19 May 2022 at 09:59 UTC
-

- 1/2
With Microsoft Hyper-V on Windows Server 2012 R2, you can virtualize Windows 11.
Important : the Trusted Platform Module (TPM 2.0) is not available for virtual machines when Hyper-V is installed on Windows Server 2012 R2.
However, it's possible to meet all the other prerequisites and skip the TPM module check from the Windows 11 installer.
- Create a virtual machine for Windows 11
- Install Windows 11 in a virtual machine on Windows Server 2012 R2
- Hyper-V drivers already installed
1. Create a virtual machine for Windows 11
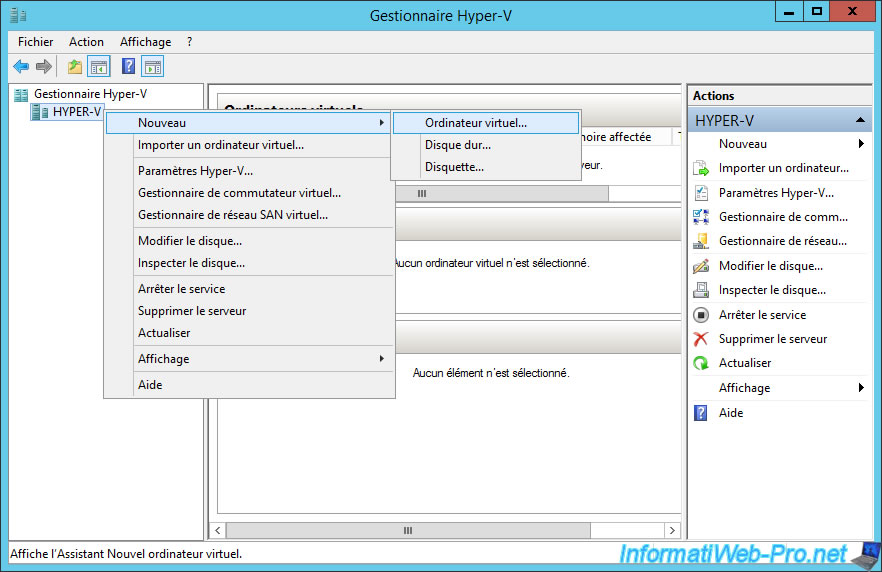
To get started, open the Hyper-V manager and right-click "New -> Virtual Machine" on your Hyper-V server name.
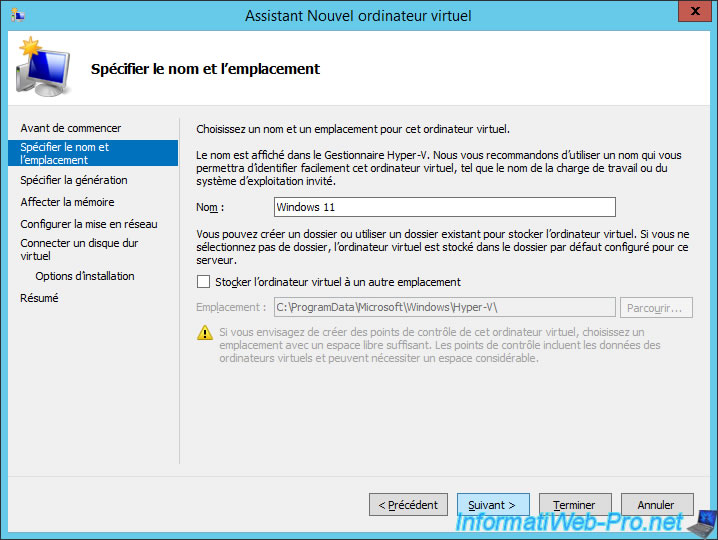
In the New Virtual Machine Wizard that appears, enter "Windows 11" as the name.
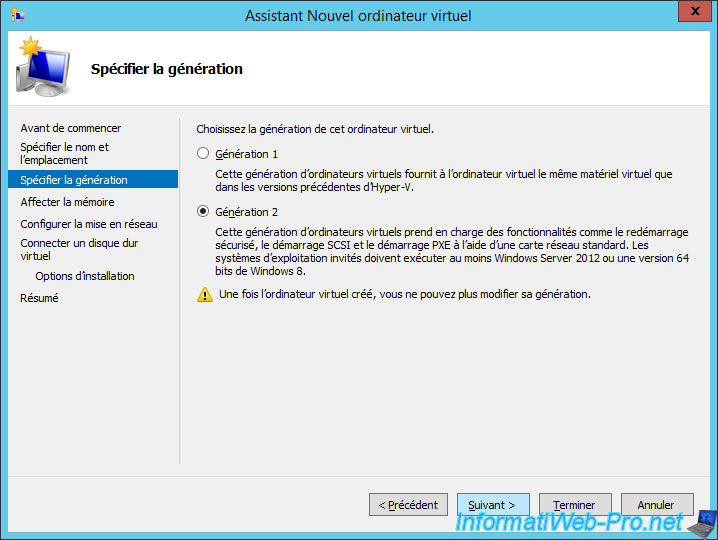
Select "Generation 2" for your virtual machine to use UEFI firmware and be eligible for Secure Boot, then click Next.
Note that these are 2 prerequisites for Windows 11.
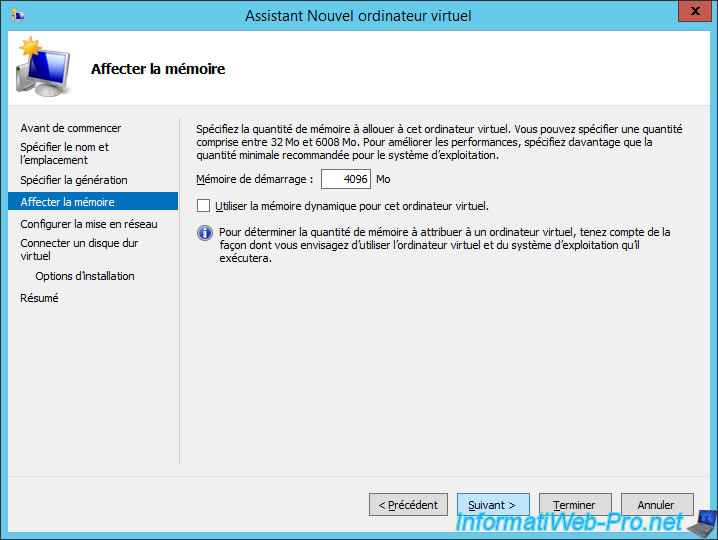
Allocate at least 4 GB (4096 MB) of RAM for Windows 11 to run.
Important : this is also a prerequisite for Windows 11.
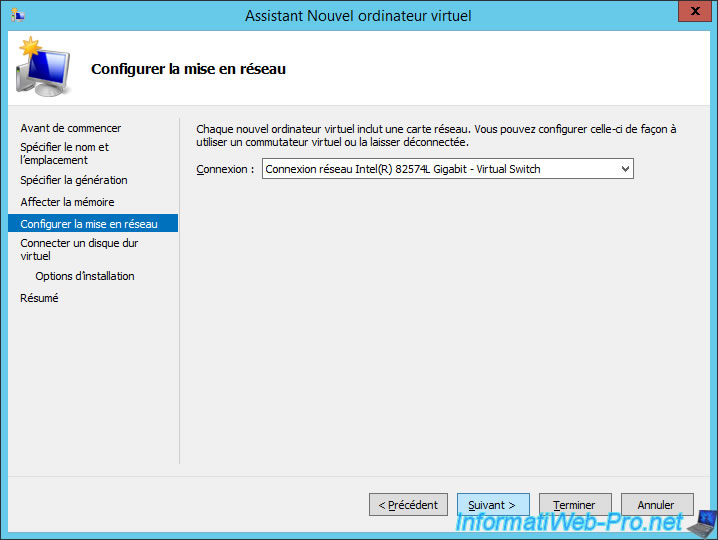
Select the network adapter you want to use on your Hyper-V server.
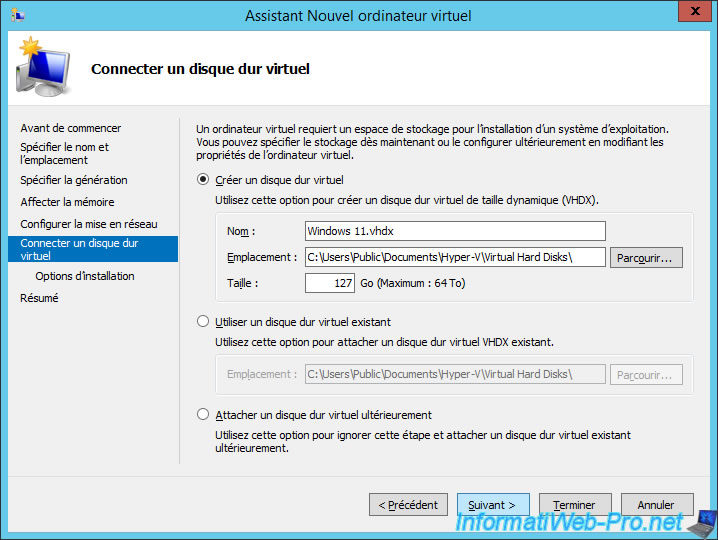
Create a virtual hard disk of at least 64 GB.
Important : again, this is a prerequisite for Windows 11.
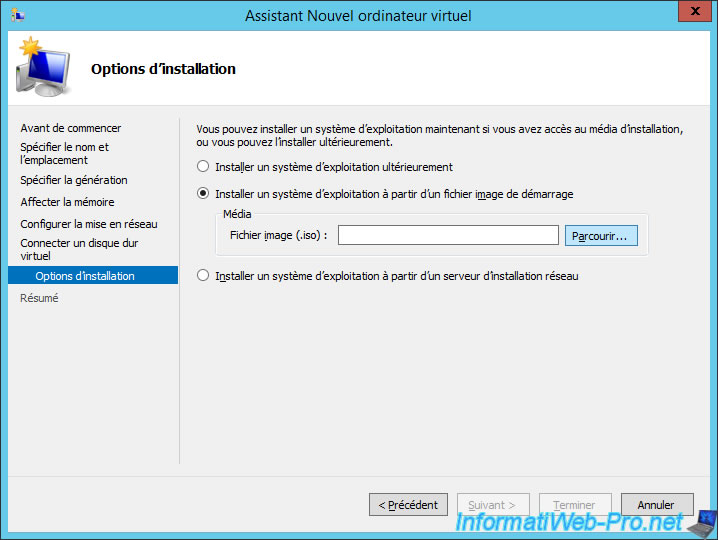
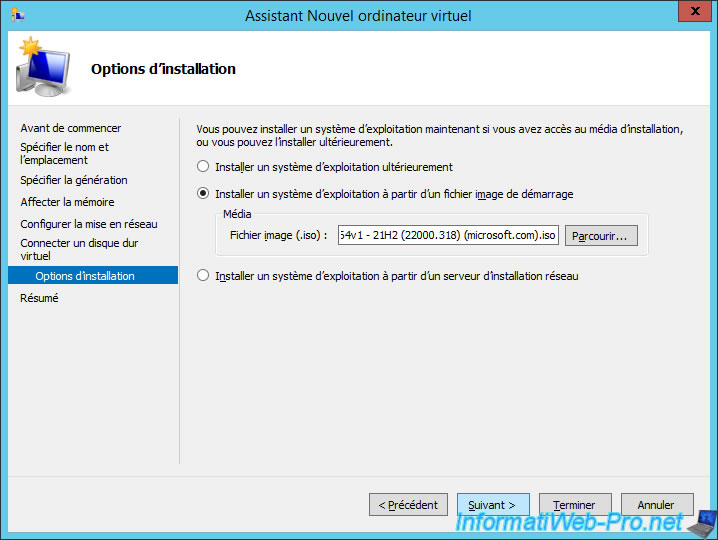
Select "Install an operating system from a bootable image file" and click Browse.
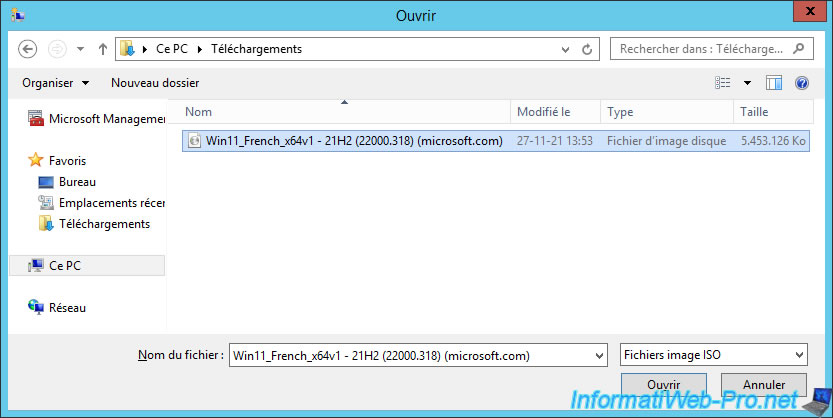
Select the Windows 11 ISO file and click Open.
Then, click Next.
Finally, click Finish.
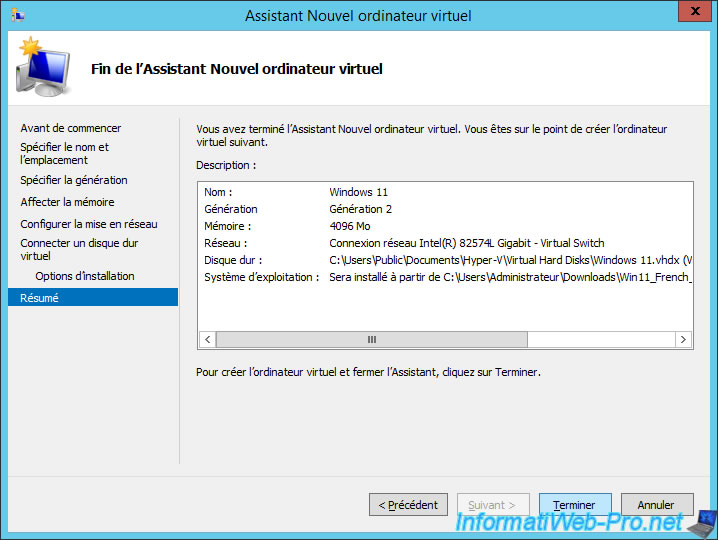
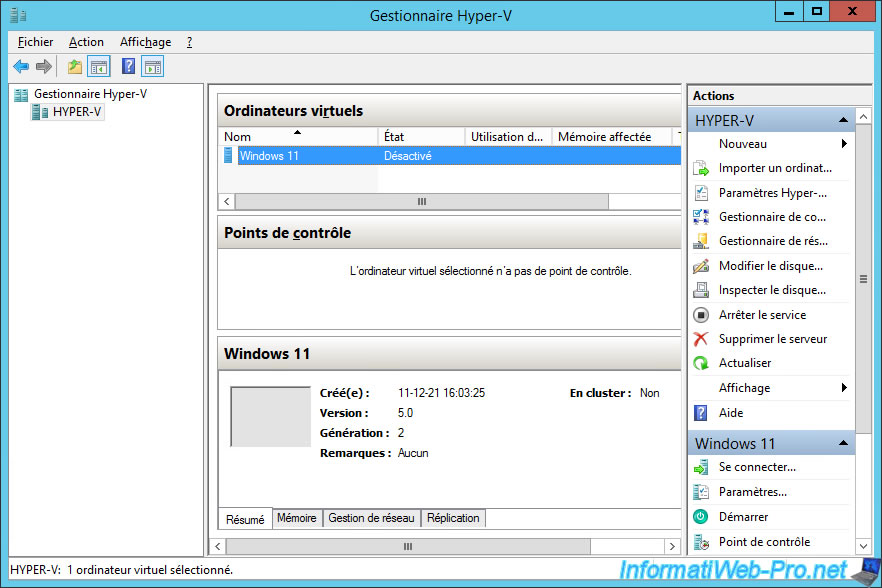
Wait while this virtual machine and its virtual hard disk are created.

The "Windows 11" virtual machine has been created.
Click on the "Settings" link at the bottom right.
As you can see, your "Windows 11" generation 2 virtual machine uses firmware (UEFI firmware).
Make sure the "Enable Secure Boot" box is checked in the "Firmware" section.
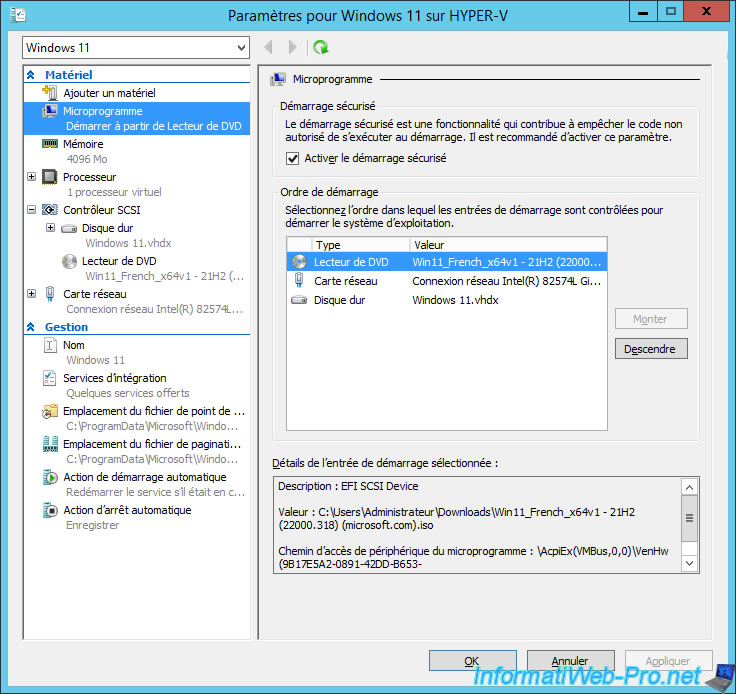
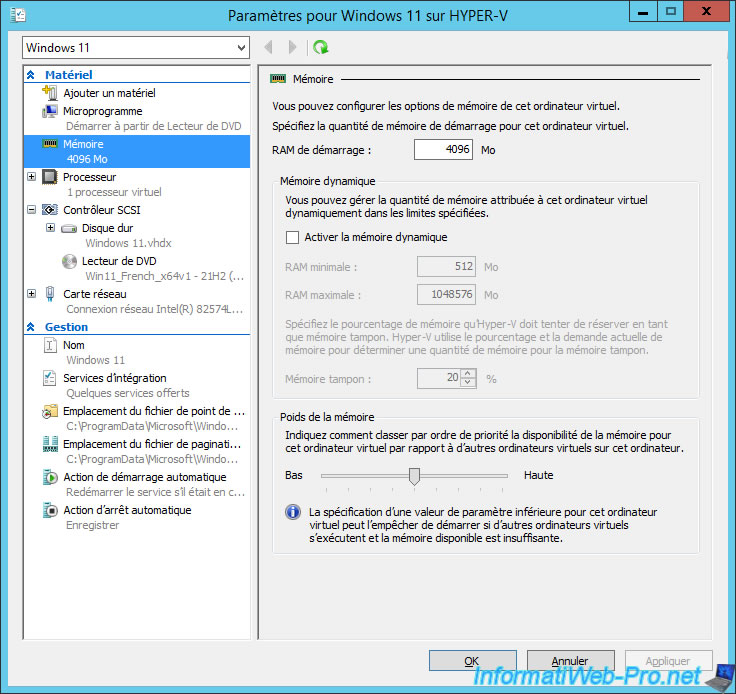
For RAM, go to the "Memory" section and make sure you have allocated at least 4096 MB (4 GB) of RAM.
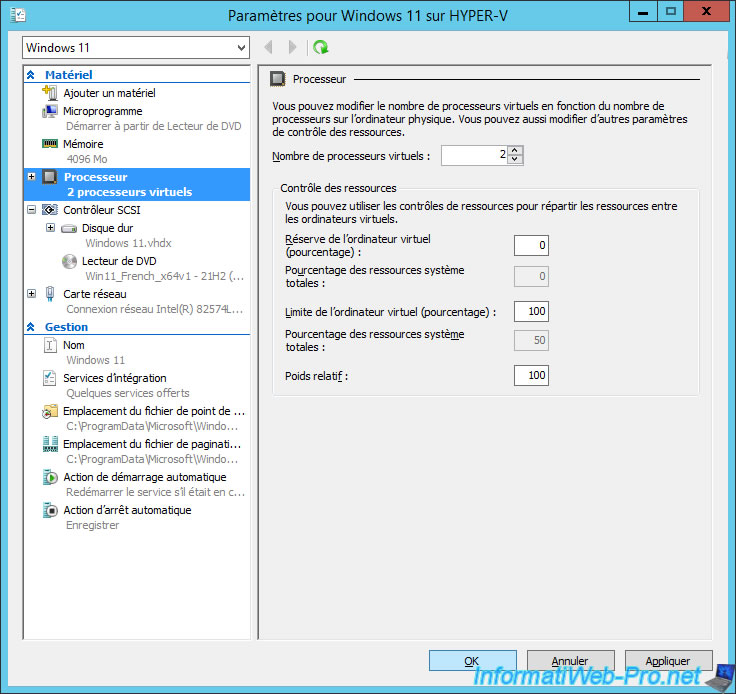
In the "Processor" section, specify at least "2" for the number of virtual processors.
Important : this is also a prerequisite for Windows 11.
2. Install Windows 11 in a virtual machine on Windows Server 2012 R2
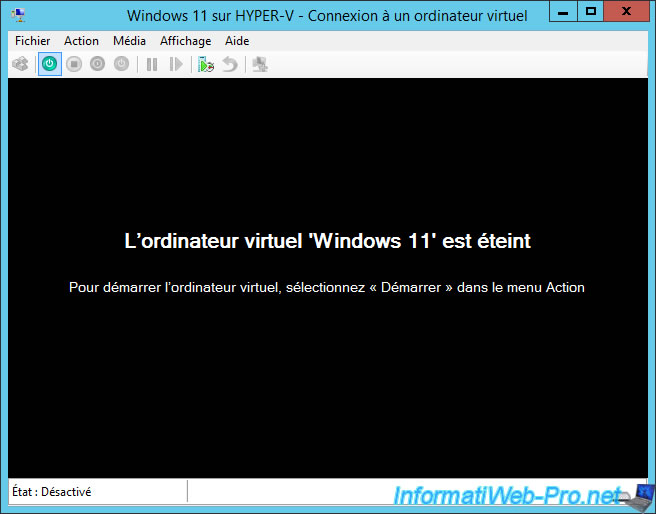
Double click on the name of your "Windows 11" virtual machine, then start it.
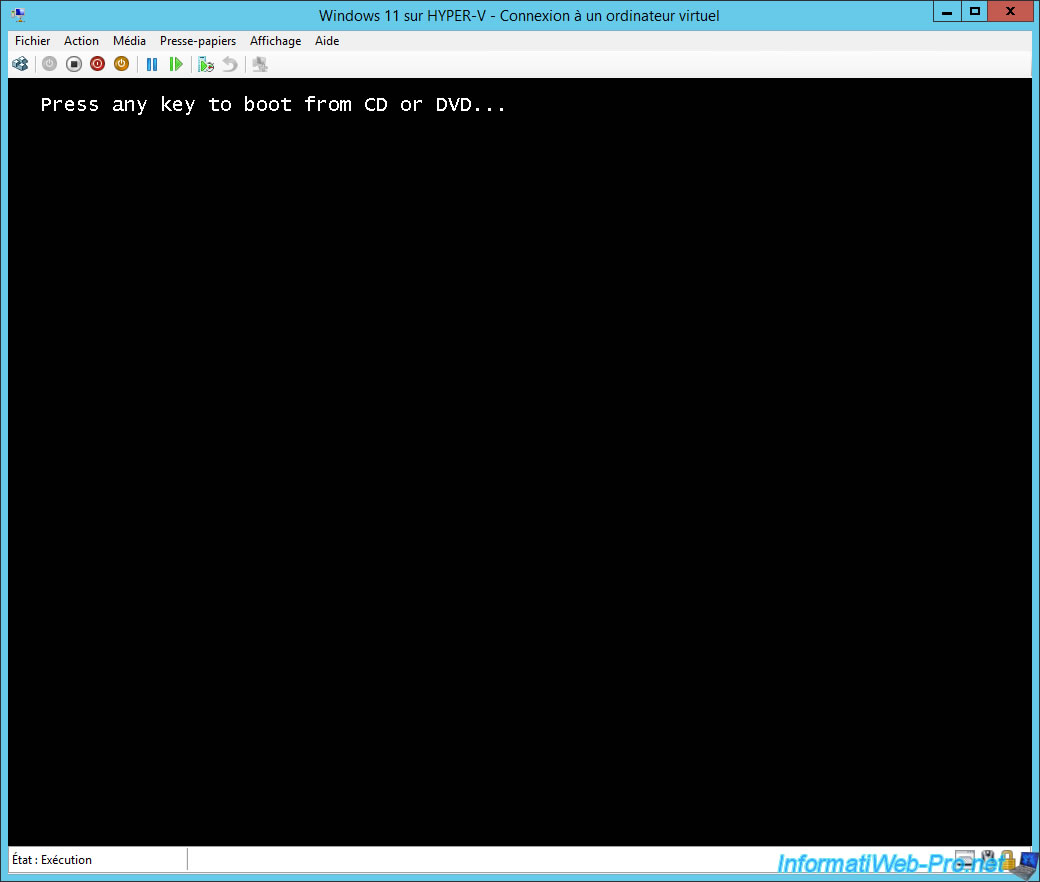
Press any key when the "Press any key to boot from CD or DVD ..." message appears.
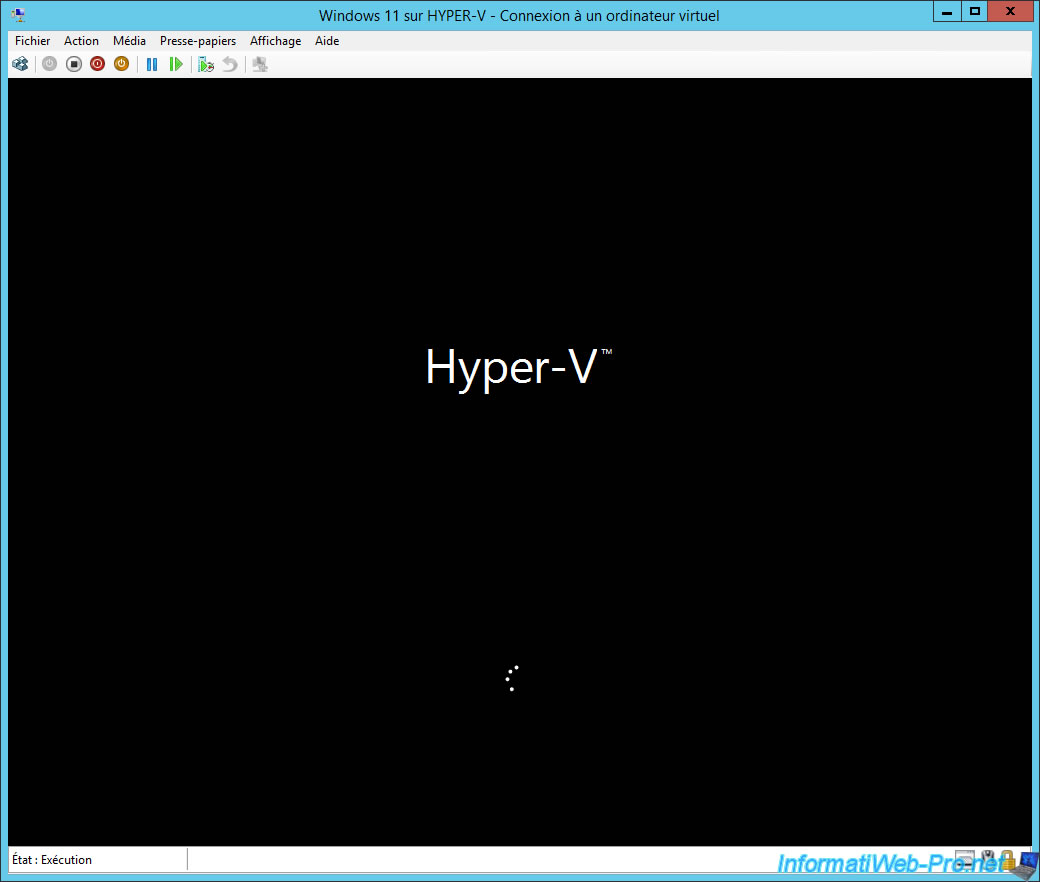
The Hyper-V logo appears since the virtual machine boots in UEFI mode on the Windows 11 installation DVD.
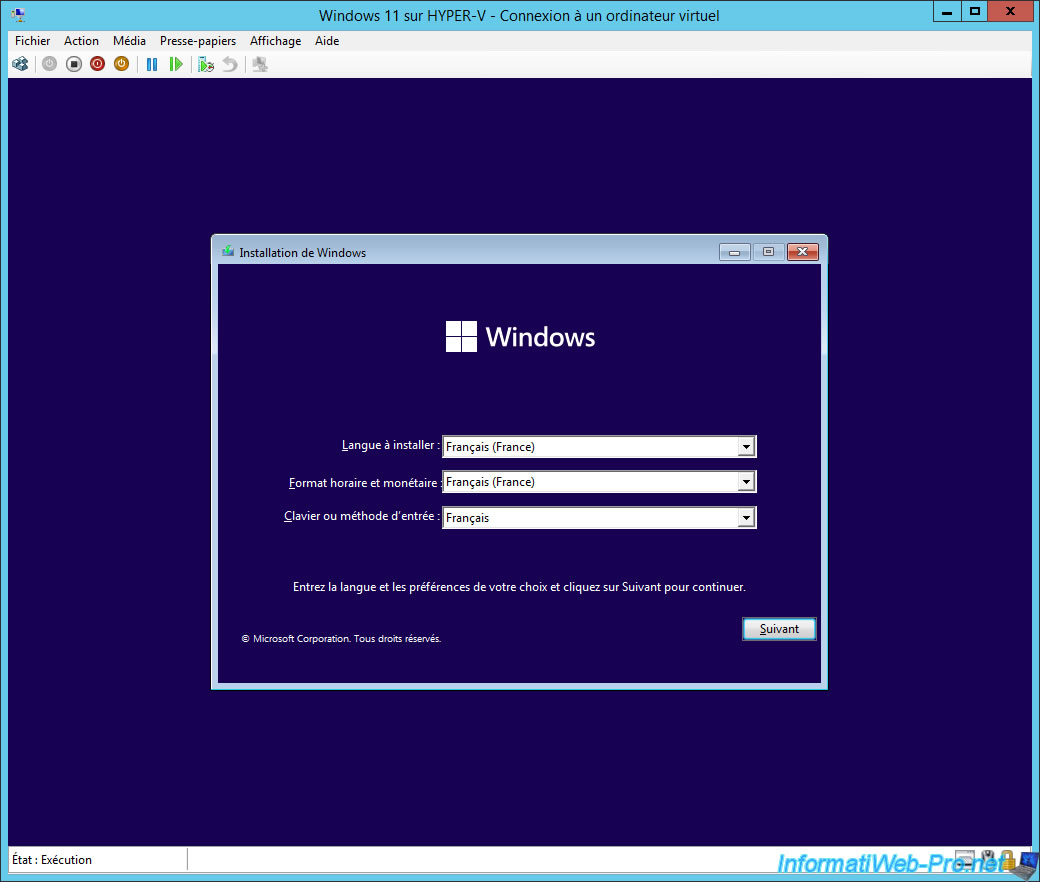
Select the desired language and country and click Next.
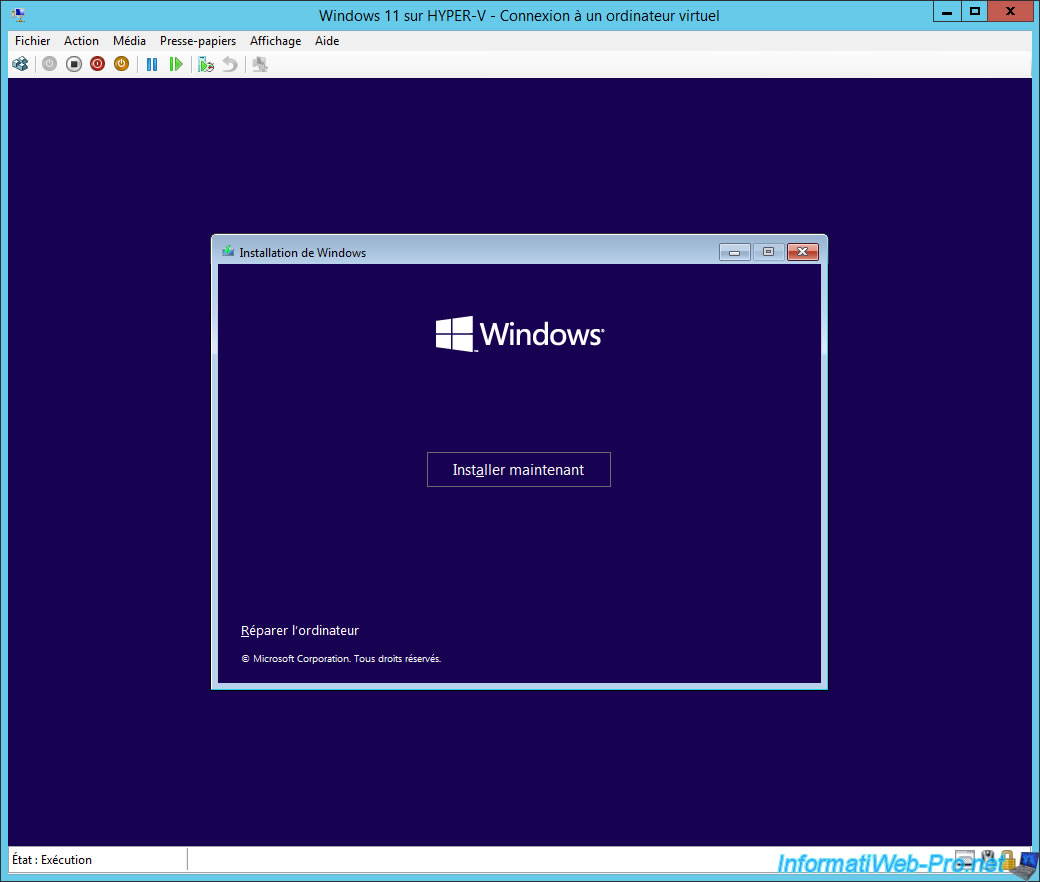
Warning : DO NOT click on the "Install now" button right away, because the installer will not let you install Windows 11 by default.
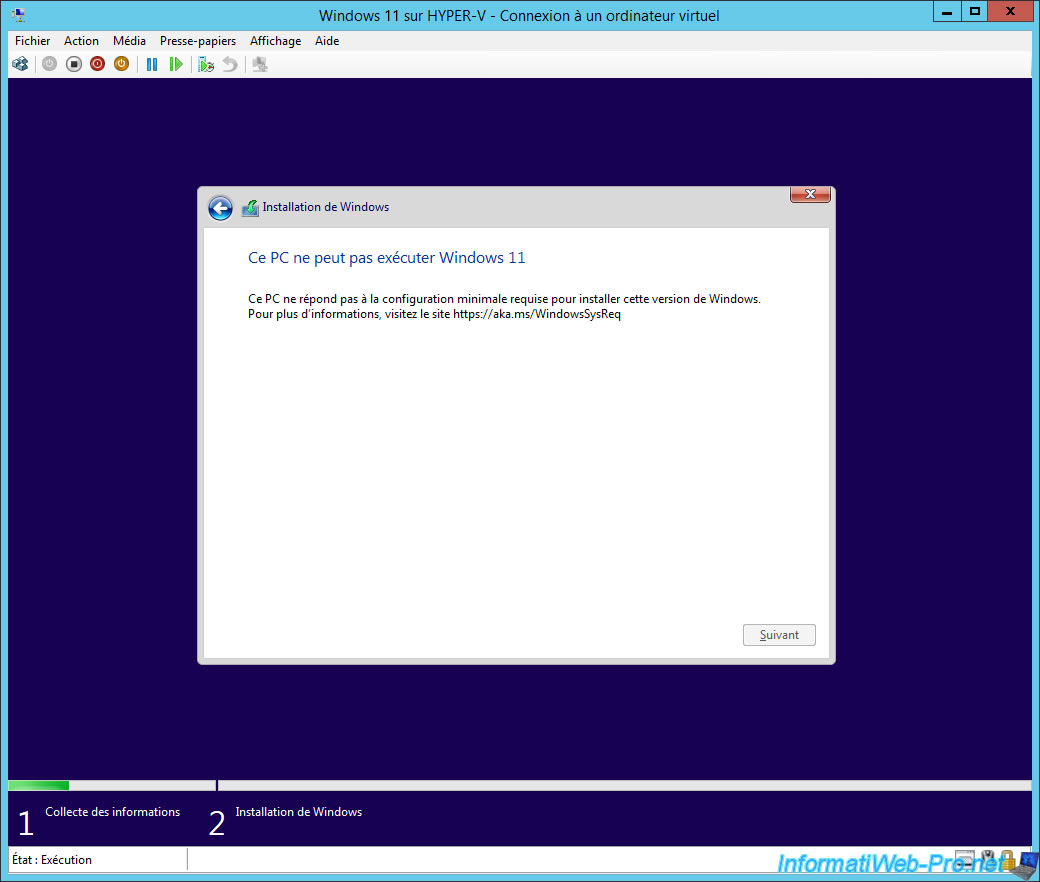
Indeed, the installer will detect that the Trusted Platform Module (TPM) 2.0 is not present in the virtual hardware of this virtual machine.
If you try to install Windows 11 in this virtual machine, this error will appear :
Plain Text
This PC can't run Windows 11.
This PC doesn't meet the minimum system requirements to install this version of Windows.
For more information, visit https://aka.ms/WindowsSysReq.
For the installer to accept installing Windows 11 in this virtual machine, you will need to disable Trusted Platform Module (TPM) 2.0 check.
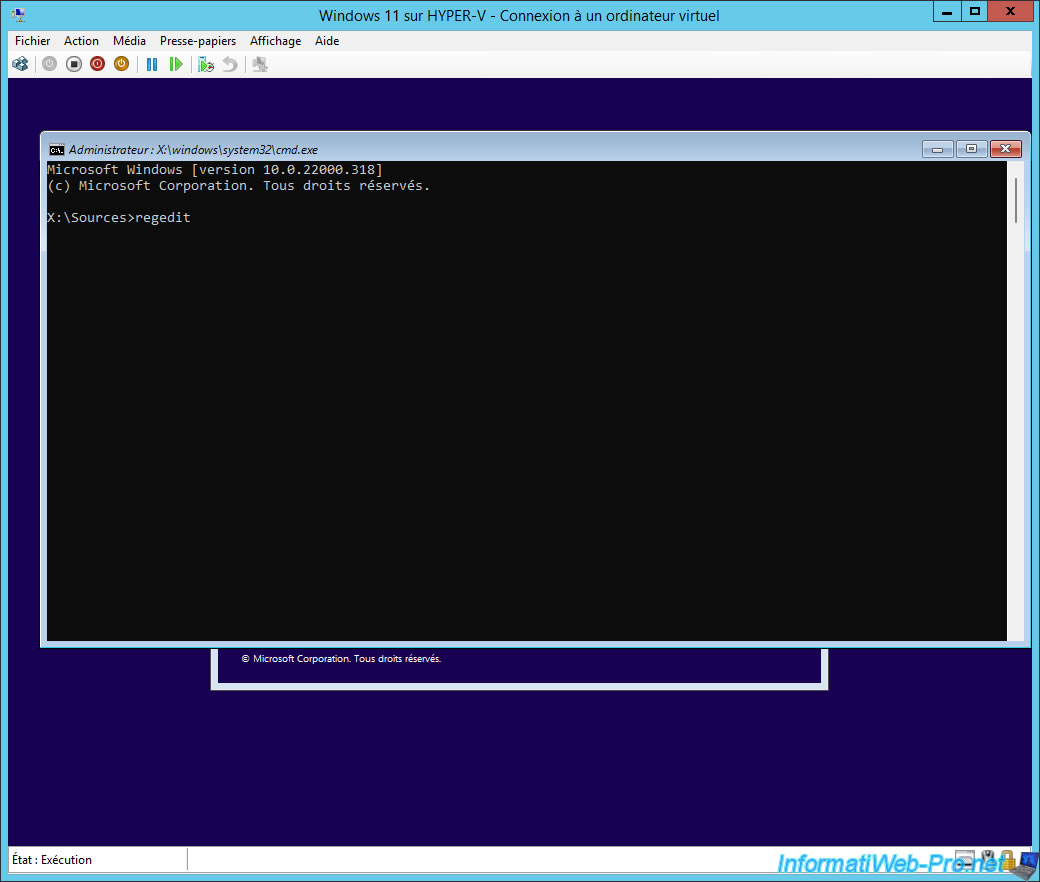
To do this, press the "SHIFT + F10" keys to open a command prompt (cmd.exe).
Then, type "regedit" and press Enter.
Share this tutorial
To see also
-
Microsoft 9/6/2019
Hyper-V (WS 2012 R2 / 2016) - Create a generation 2 VM
-
Microsoft 8/10/2019
Hyper-V (WS 2012 R2 / 2016) - Install Hyper-V and create your first VM
-
Microsoft 11/8/2019
Hyper-V (WS 2012 R2 / WS 2016) - Automatically replicate virtual machines
-
Microsoft 11/15/2019
Hyper-V (WS 2012 R2 / WS 2016) - Automatically replicate virtual machines (securely)

You must be logged in to post a comment