Install Hyper-V on WS 2012 R2 or 2016 and create your first virtual machine (of generation 1)
- Microsoft
- 10 August 2019 at 13:49 UTC
-

- 2/2

5. Create a virtual machine
For starters, we will create a simple generation 1 virtual machine.
Note : you will see generation 2 VMs in an upcoming tutorial : Create a generation 2 VM
To create a new virtual machine (or VM), right-click on your Hyper-V server and click : New -> Virtual Machine.
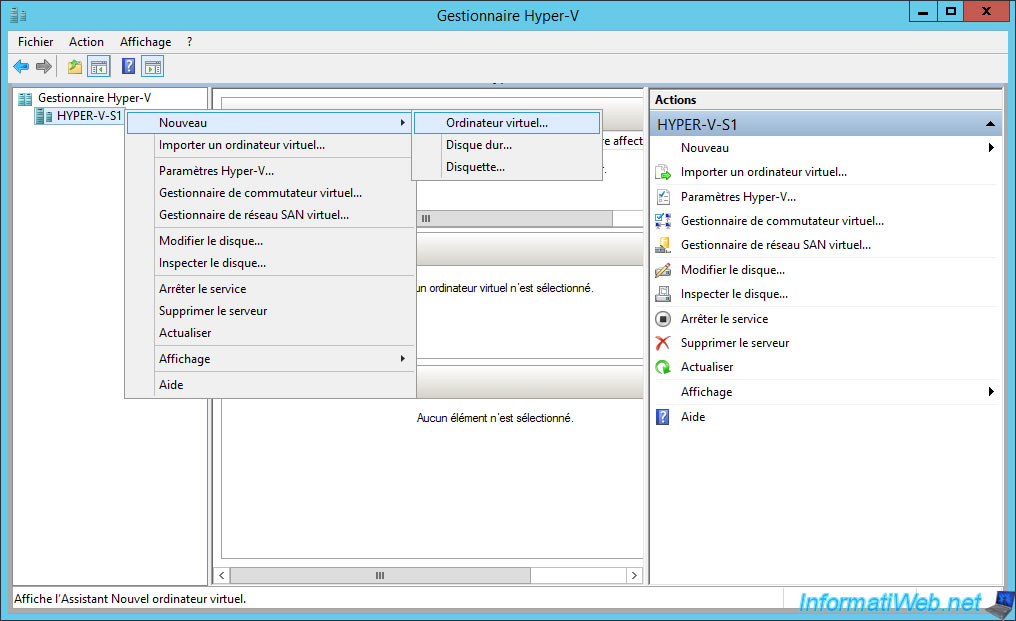
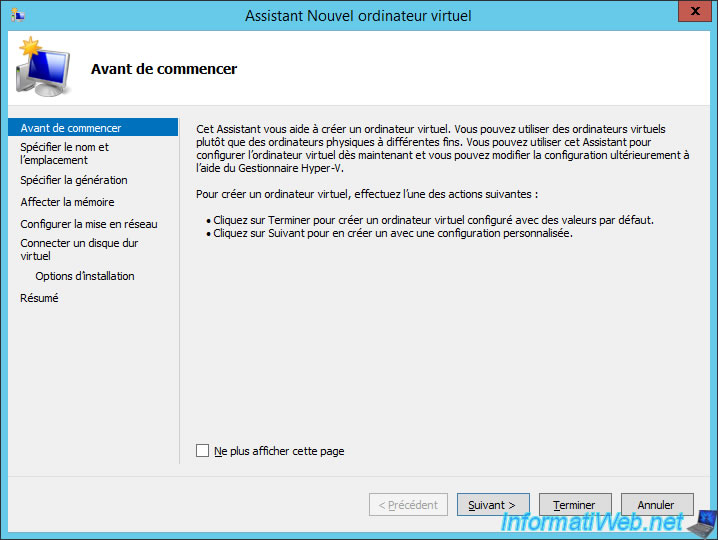
The New Virtual Machine Wizard appears.
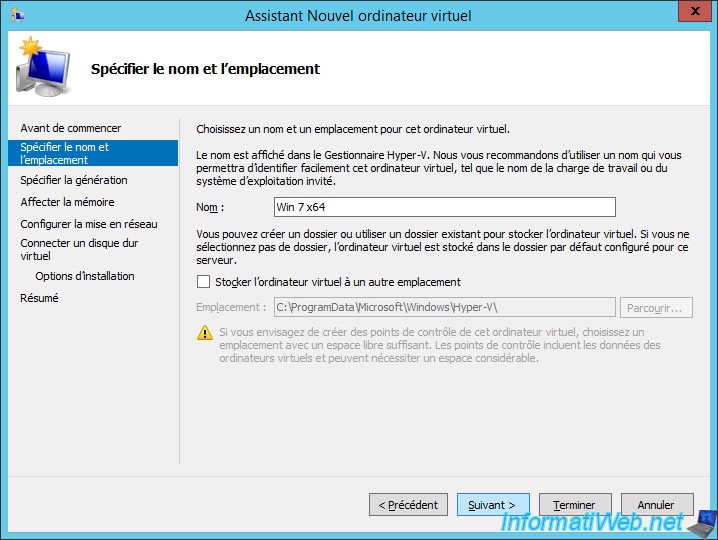
Provide a name for your new virtual machine.
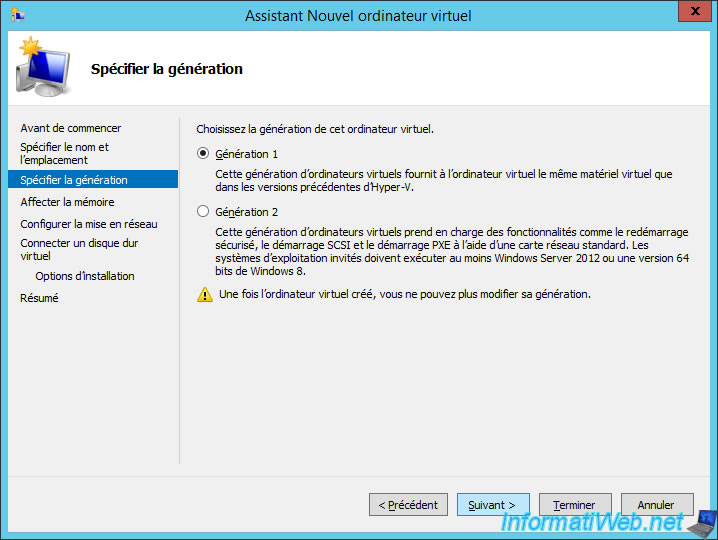
Choose the generation of your virtual machine, knowing that it can't be modified in the future for this virtual machine.
In short, you must select :
- Generation 1 : for Windows 7 and earlier
- Generation 2 : for Windows 8 and later (if it's a 64-bit compatible EFI version, otherwise it will not work)
In our case, we will install Windows 7 in 64 bits, so we select "Generation 1".
Which means that our virtual machine will have a legacy BIOS (not EFI).
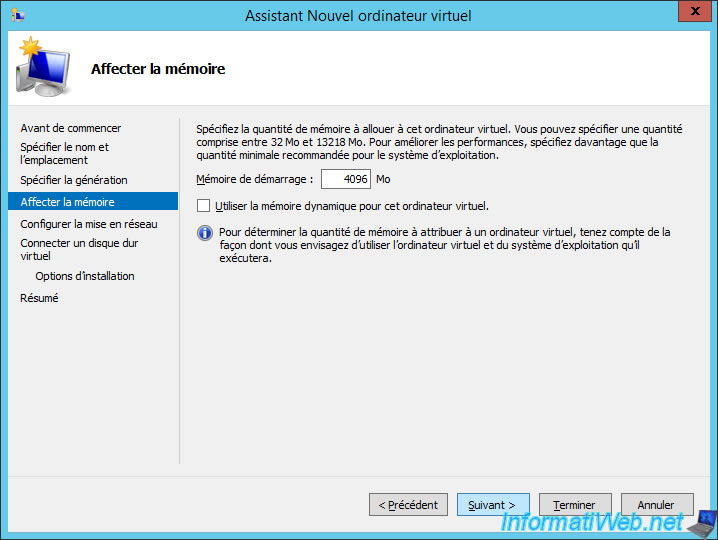
Unlike standard virtualization software like VirtualBox or VMware Workstation, Hyper-V offers 2 methods for allocating RAM to a virtual machine :
- the standard allocation : for example, you allocate 4 GB (4096 MB) of RAM to your virtual machine
- dynamic memory : you specify a minimum amount and a maximum amount of RAM for one virtual machine, and Hyper-V will do the rest.
The advantage of this technique is to be able to run simultaneously several virtual machines that don't often consume a lot of memory.
For this tutorial, we will use the "classic" method and we will allocate 4GB of RAM since it is a 64-bit version of Windows 7.
Select the virtual switch to which you want to connect this virtual machine.
In our case, we only have the one created when installing the Hyper-V role.
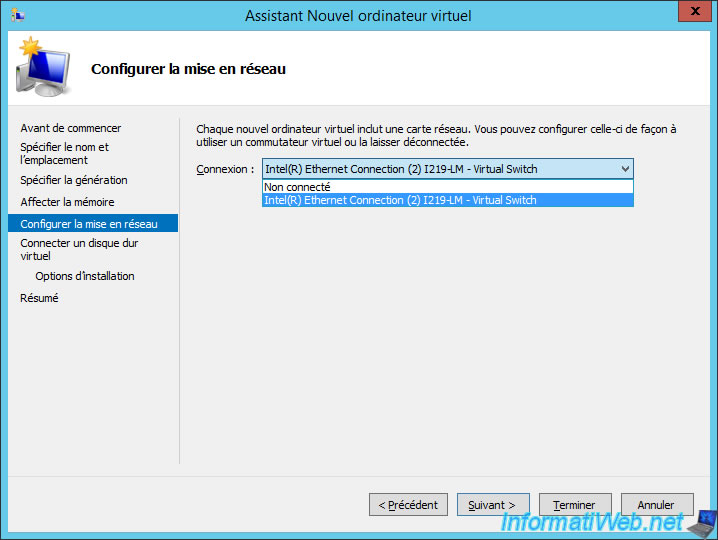
Note that by default, installing the Hyper-V role will have created a second (virtual) network adapter.

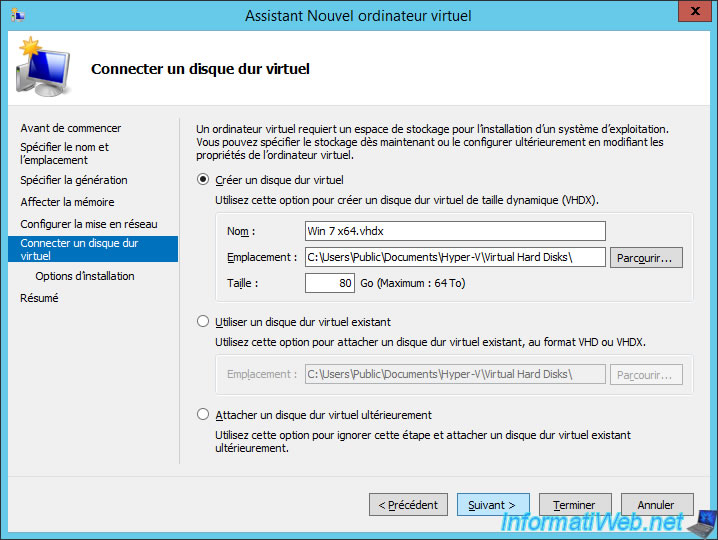
For the virtual hard disk of your virtual machine, the wizard will allow you to :
- to create a dynamic virtual hard disk in VHDX format.
Note that the VHDX format is limited to 64 TB, while the VHD format is limited to 2 TB. - use an existing virtual hard disk (for example to use an operating system provided in VHD or VHDX format by Microsoft or another site).
- attach a virtual disk later (to create a virtual hard disk in the desired format (VHD / VHDX), choose whether the allocation will be dynamic or static, ...)
For this tutorial, we will create a virtual hard disk of 80 GB.
To install the operating system in your virtual machine, you can choose to install the operating system :
- later (so nothing will be done after VM creation)
- from a CD/DVD present in the CD/DVD drive of your server or from an iso file downloaded from the Internet for example.
- from a boot floppy : to install Windows 95 for example.
- from the network through a Remote Installation Services (RIS) server or its successor : WDS (Windows Deployment Services).
In our case, on Windows Server 2012 R2, we will use the ISO file of Windows 7 x64.
On Windows Server 2016, we tested with Windows 10 v2004 ISO file.

Finally, the wizard will show you a summary of the configuration of your virtual machine.
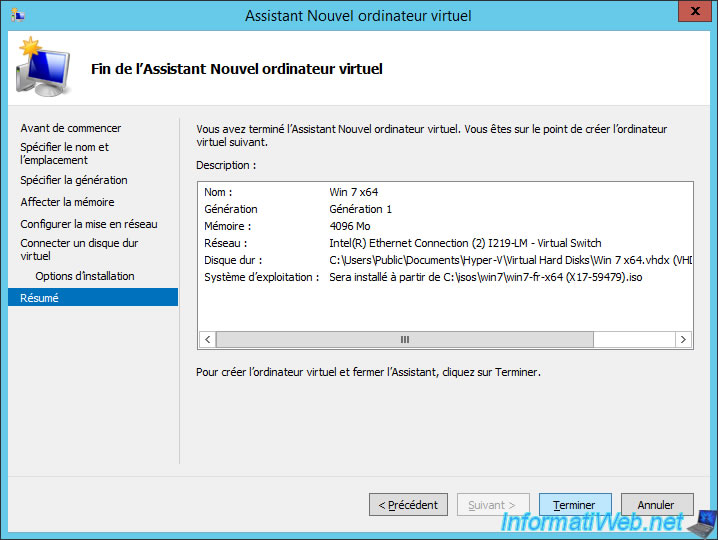
Since we have selected an iso file to install Windows in our VM, the wizard automatically inserts our CD into its CD/DVD drive.

By default, the virtual machine is "disabled" (stopped).
Double click on it to open it.
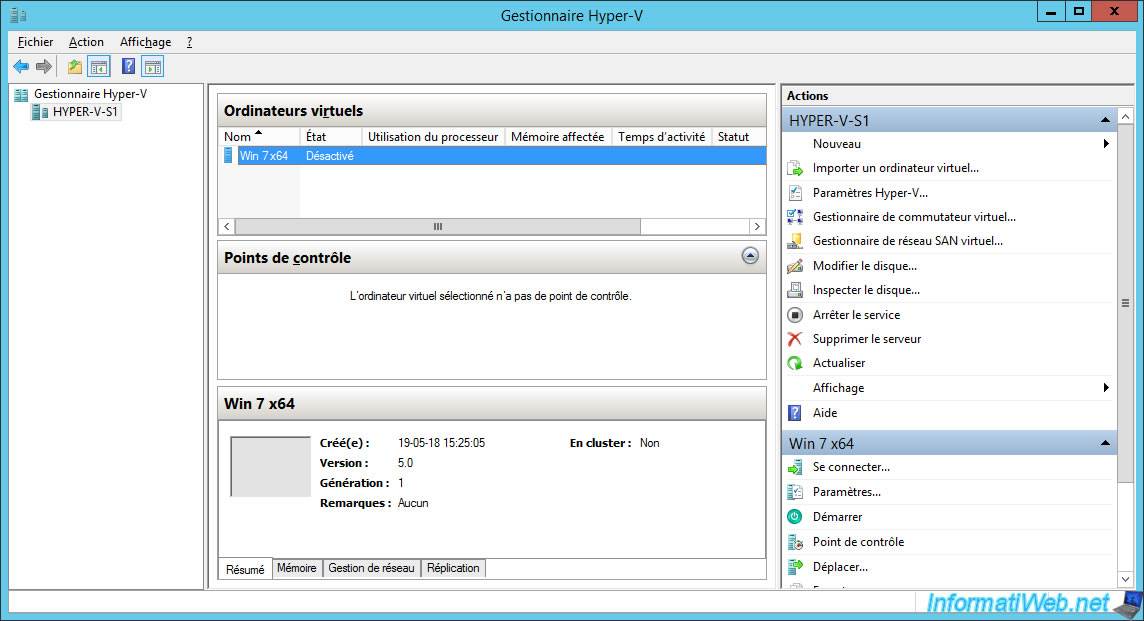
Then, click on the 2nd icon (start).
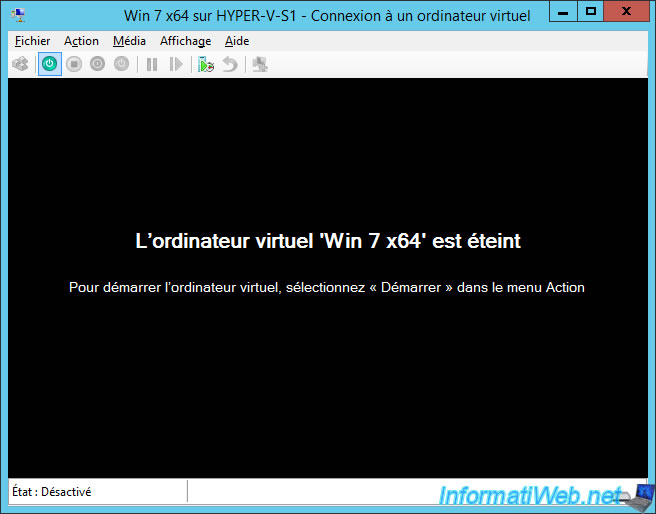
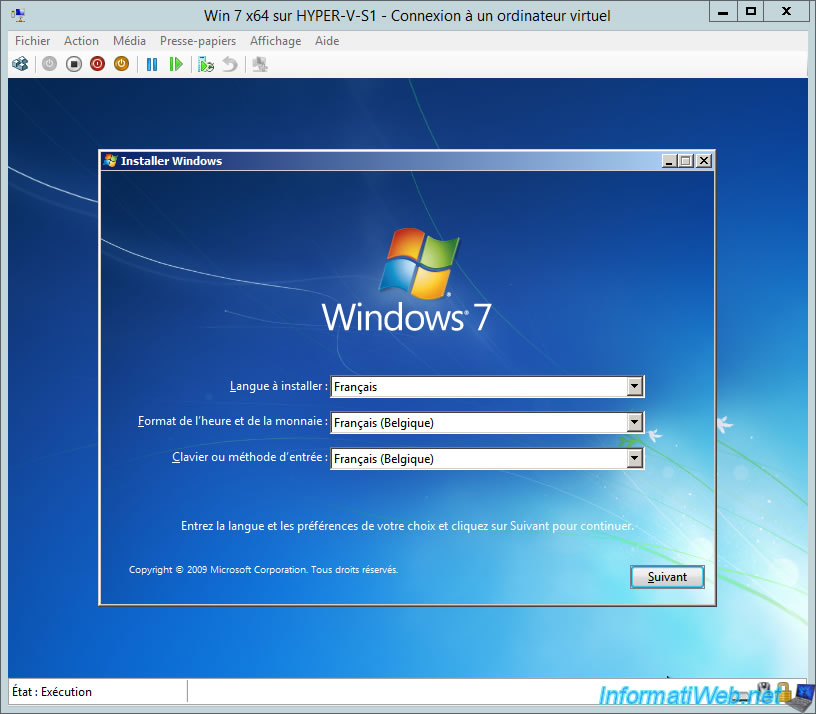
The virtual machine starts and the Windows 7 setup wizard appears.
If needed, refer to our tutorial : Windows Vista / 7 - Formatting and reinstalling.
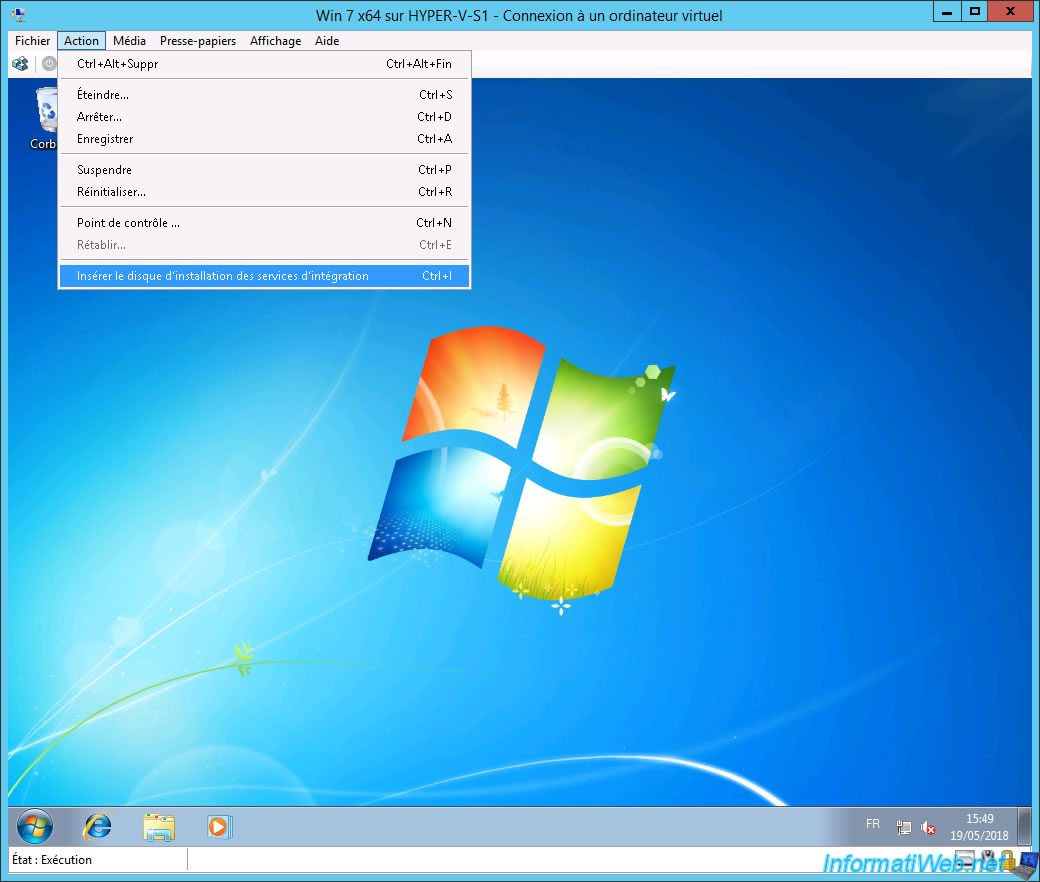
Once Windows is installed, you must install the drivers provided by this virtualization solution.
To do this, on Windows Server 2012 R2, go to the Action menu and click on : Insert Integration Services Setup Disk.
Note that on Windows 7, these integration services require at least SP1.
Important : since Windows Server 2016, these integration services are automatically updated via Windows Update on recent versions of Windows (Windows 10 and later).
For older versions of Windows, they can be installed through the KB3071740 update.
The "Insert Integration Services Setup Disk" option is therefore no longer available.
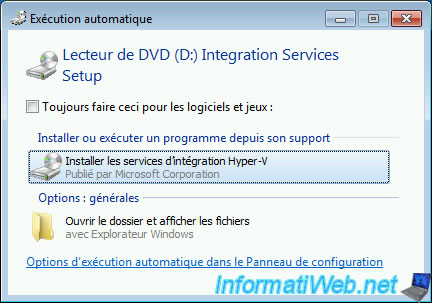
Click "Install Hyper-V Integration Services".
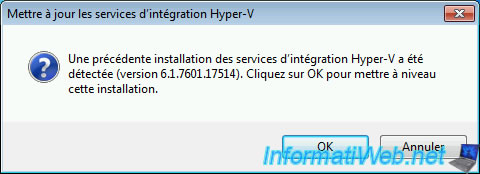
Click OK to update the integration services if it asks you.
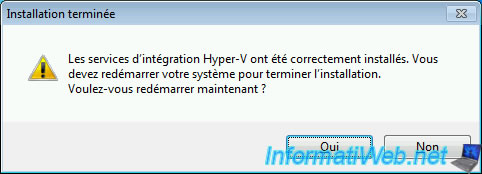
This program will also install the guest components (which are not enabled by default in the virtual machine settings).

Click OK to restart the VM.
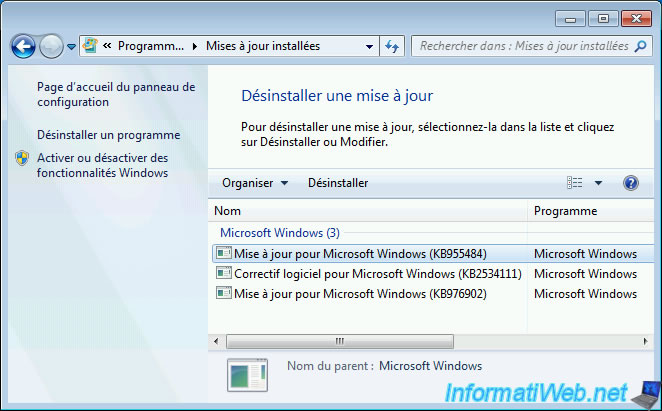
As you can see in the guest OS, these Hyper-V integration services are actually installed as a Windows update.

Indeed, as you can see on the Microsoft site, the KB955484 update corresponds to integration services for Windows Vista and 7.
In other words, in case of problems, just uninstall this update to be able to reinstall integration services later.
That's it, the drivers for your virtual machine are installed.
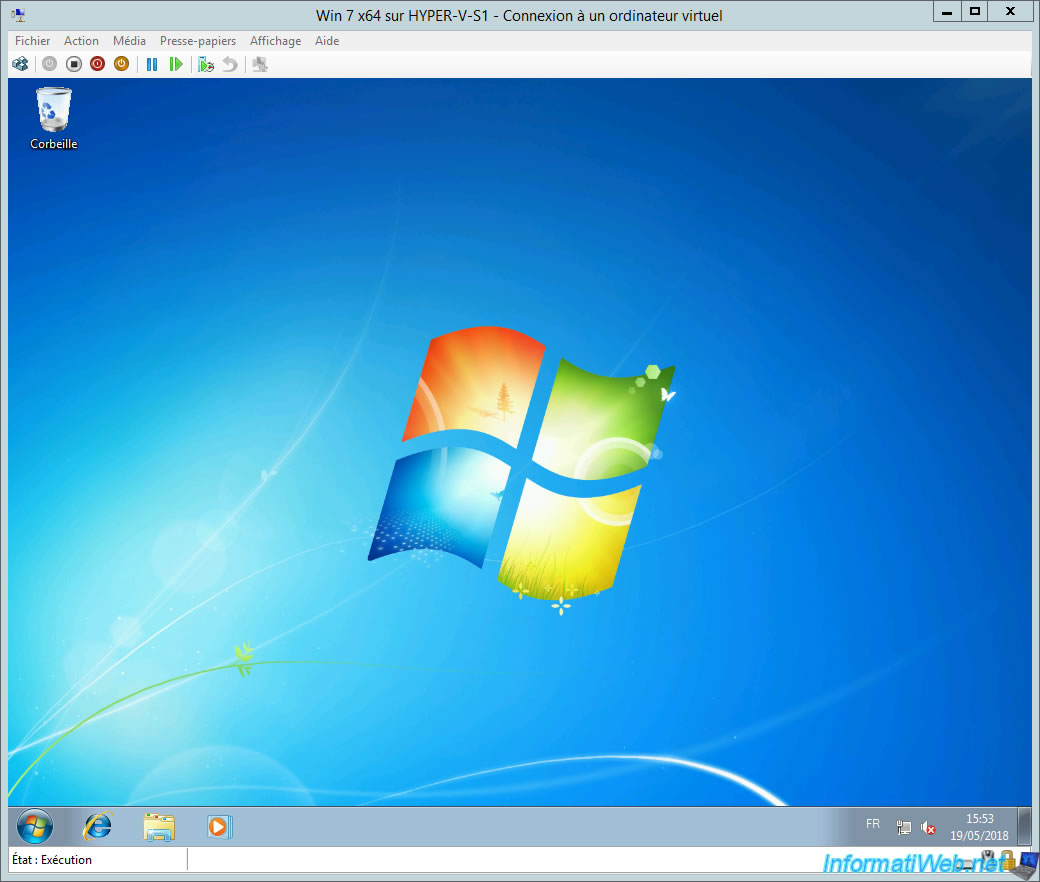
6. Aero not supported
As you can see, the aero is not supported by default in Hyper-V virtual machines.
![]()
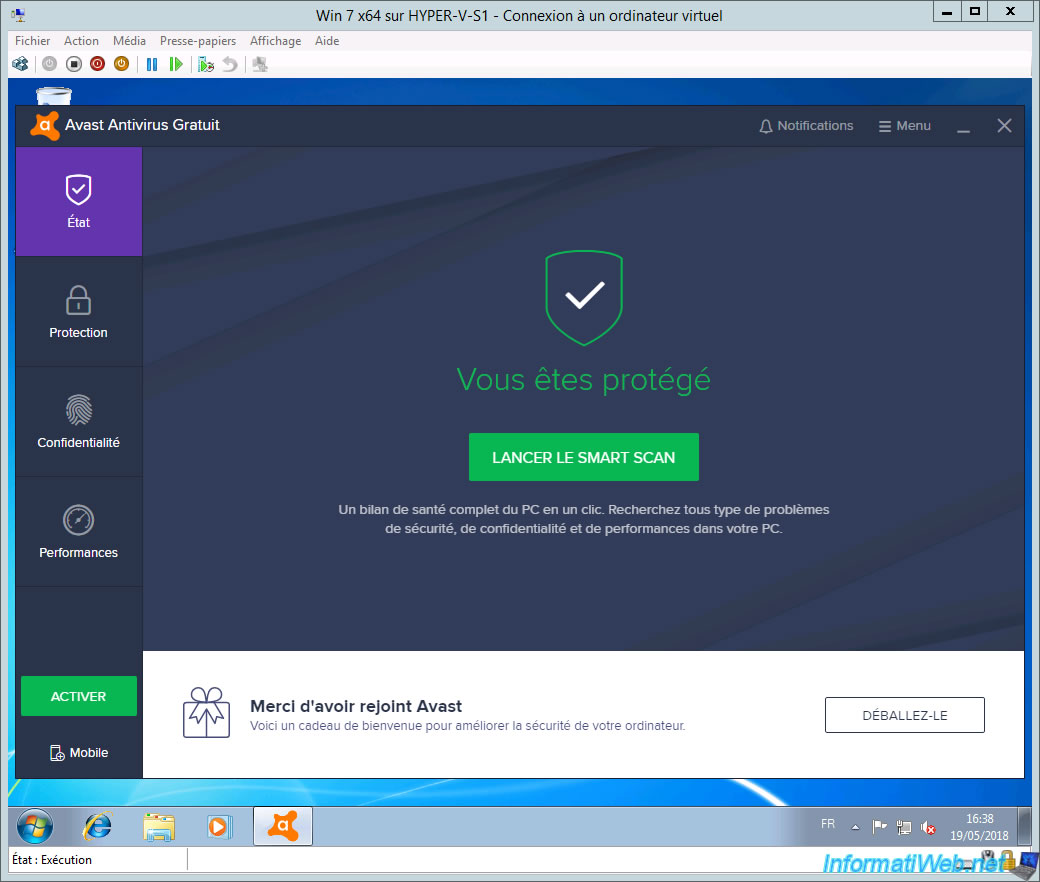
7. Protect your virtual machine
Since virtual machines are completely isolated from the host system (your physical server), they must also be protected by an anti-virus and a firewall (the Windows firewall will probably do the trick in most cases).
In our case, we will protect it with Avast Free.
Share this tutorial
To see also
-
Microsoft 9/6/2019
Hyper-V (WS 2012 R2 / 2016) - Create a generation 2 VM
-
Microsoft 11/8/2019
Hyper-V (WS 2012 R2 / WS 2016) - Automatically replicate virtual machines
-
Microsoft 11/15/2019
Hyper-V (WS 2012 R2 / WS 2016) - Automatically replicate virtual machines (securely)
-
Microsoft 11/22/2019
Hyper-V (WS 2012 R2 / WS 2016) - Configure live migration
No comment