- Microsoft
- 16 May 2022 at 08:09 UTC
-


Installing a virtual machine on a Hyper-V server on Windows Server 2016 differs slightly from previous versions of Hyper-V.
Indeed, although the virtual machine creation wizard is always the same, you will see that the installation of the drivers (commonly called "Hyper-V integration services" until Windows Servers 2012 R2) is not done not like before.
So in this tutorial, we have installed a Hyper-V server on Windows Server 2016 (the method remains the same as for Windows Server 2012 R2) and we will create a virtual machine on Windows 10 v2004 x64 to show the new method of installing these Hyper-V integration services.
1. Create the virtual machine
To begin, once Hyper-V is installed on your server running Windows Server 2016, launch the Hyper-V manager.
Then, right click "New -> Virtual Machine".
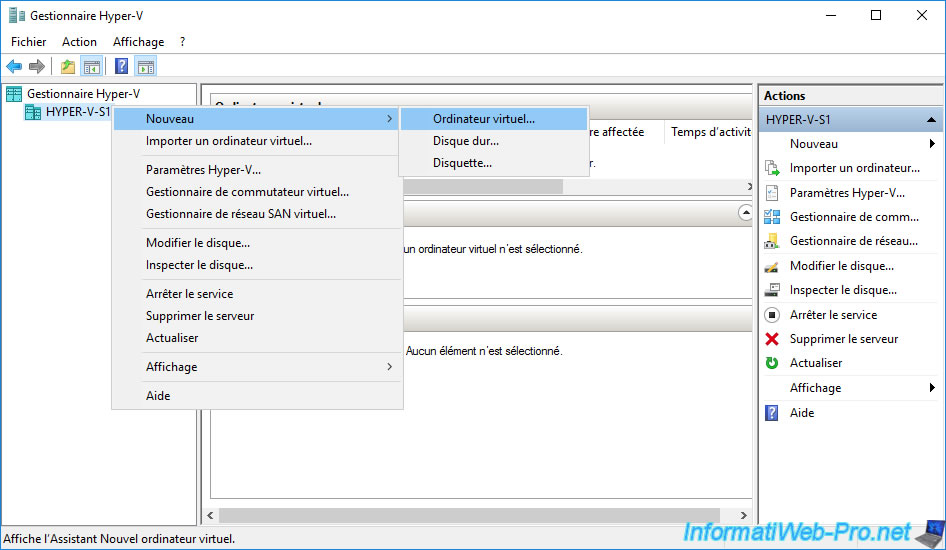
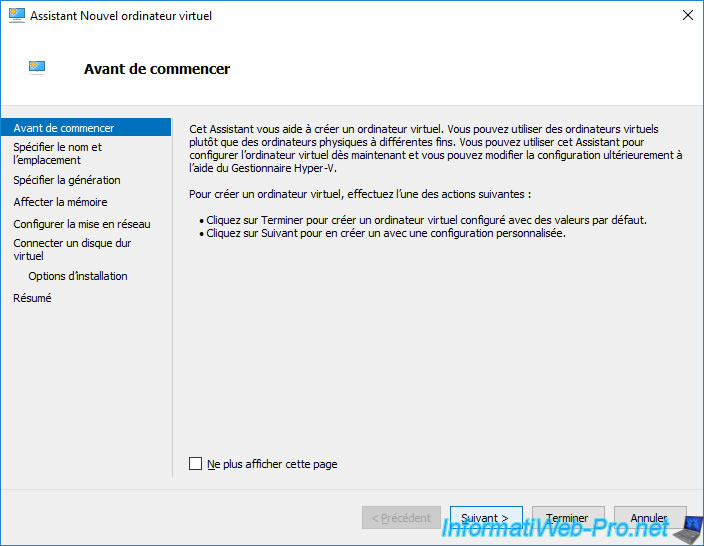
The New Virtual Machine wizard appears.
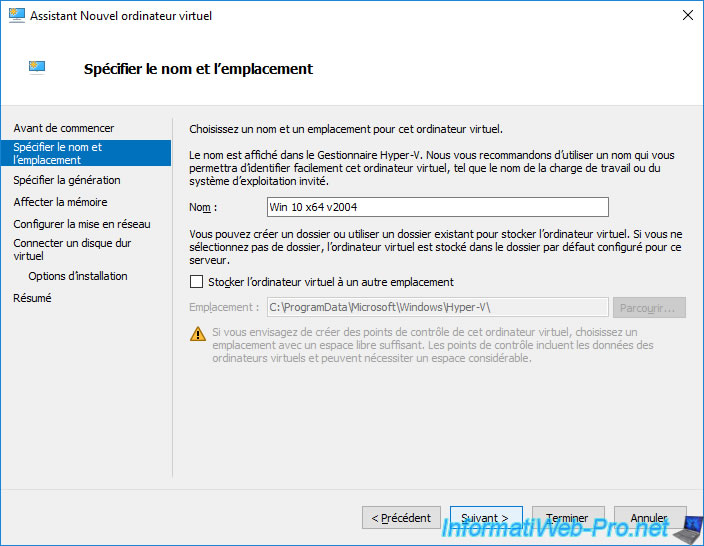
Provide a name for your new virtual machine.
For example : Win 10 x64 v2004.
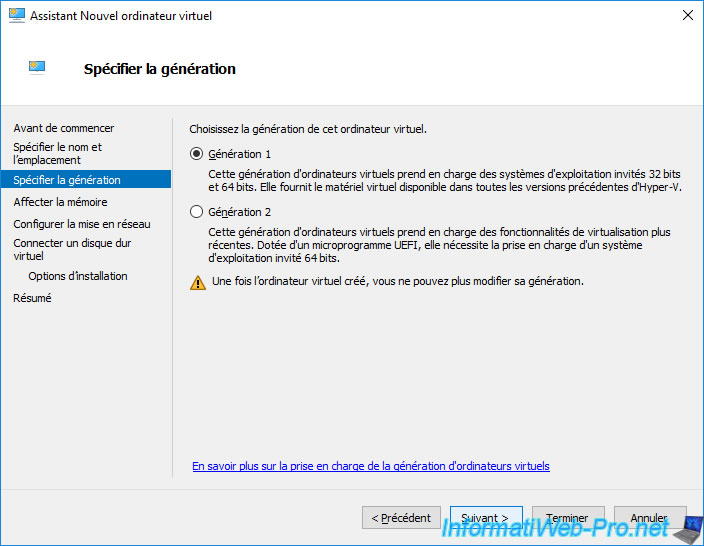
Choose a virtual machine generation.
- Generation 1 provides compatibility with older versions of Hyper-V and support for 32- and 64-bit operating systems.
- Generation 2 allows you to use more recent virtual hardware and benefit from UEFI firmware (instead of an old BIOS), secure boot, TPM (available since Windows Server 2016), ...
However, only 64-bit architecture is supported.
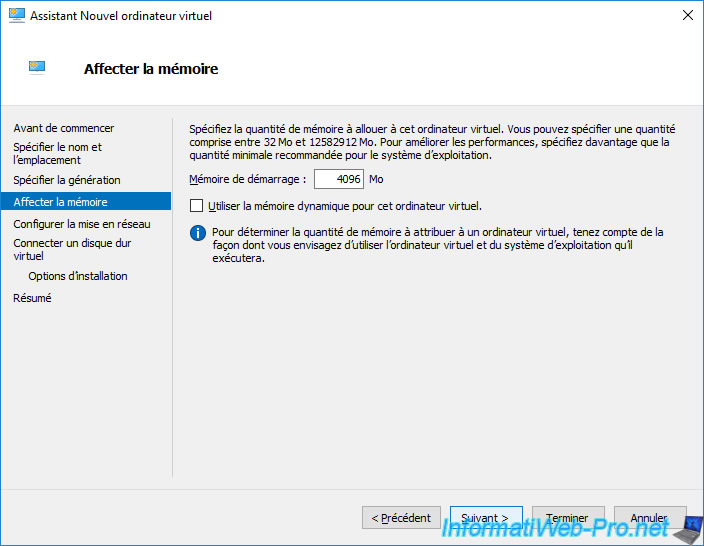
Allocate enough RAM for the guest operating system you want to install.
Without allocating too many memory to avoid saturating the resources of your Hyper-V server.
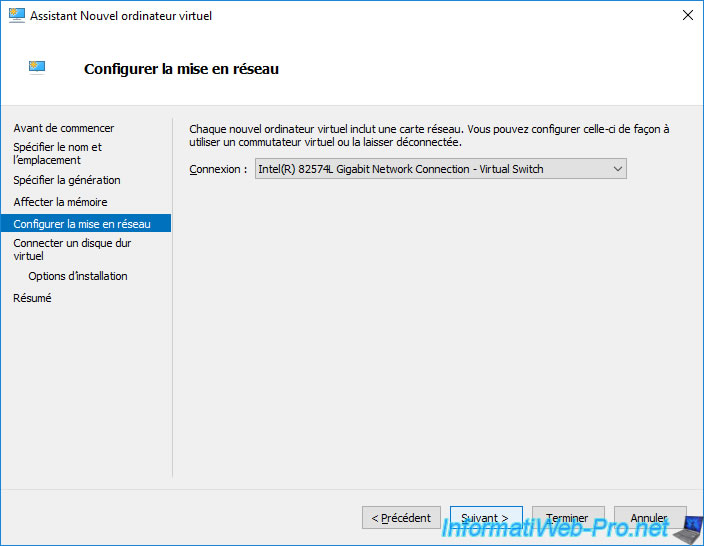
Choose the virtual switch of your Hyper-V hypervisor where you want to connect your virtual machine.
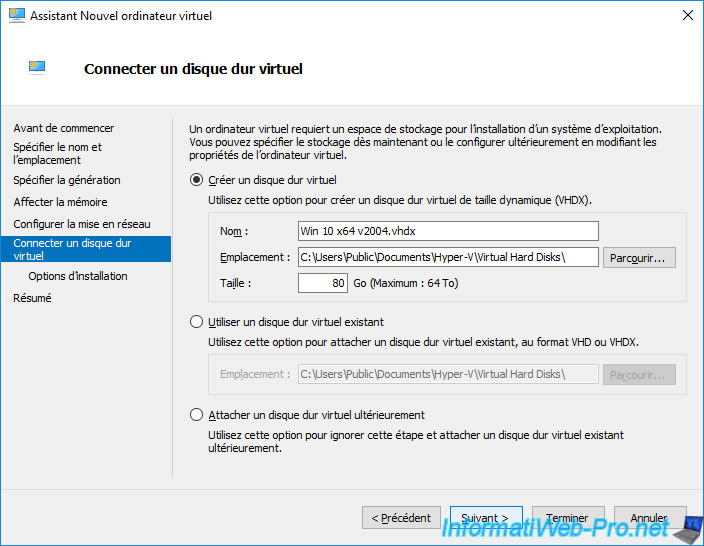
Specify the size of the virtual hard disk you want to create for this virtual machine.
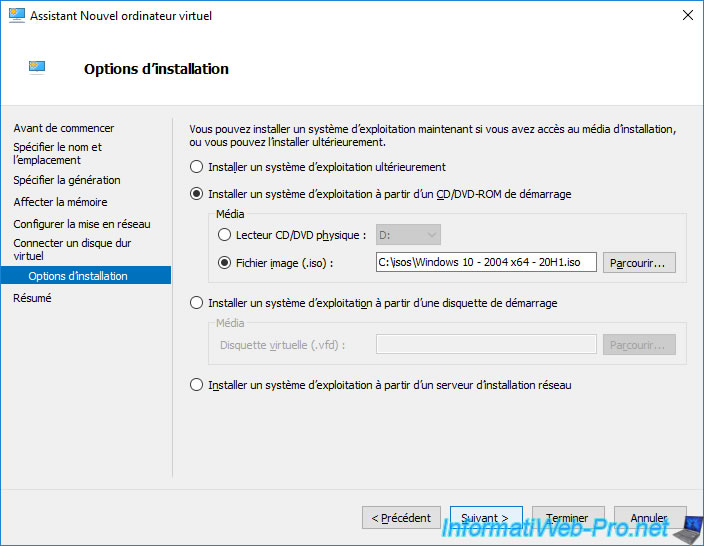
Choose "Install an operating system from a bootable CD/DVD-ROM", then "Image file (.iso)".
Then, click "Browse" to select the ISO file of the operating system installation CD/DVD that you want to install in this virtual machine.
A summary of your virtual machine's configuration appears.
Click Finish.

Wait while your new virtual machine is created.

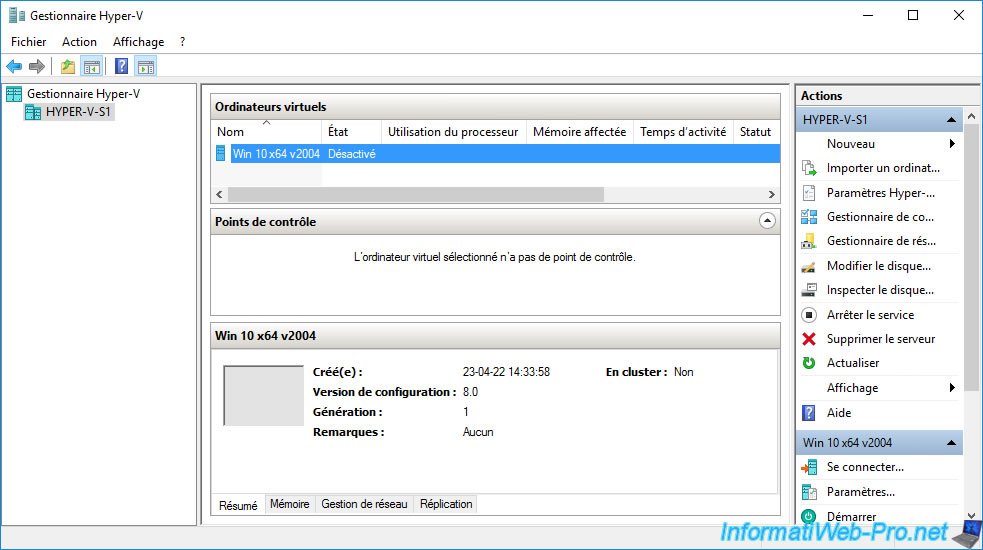
Your new virtual machine appears in your Hyper-V manager.
Double click on its name.
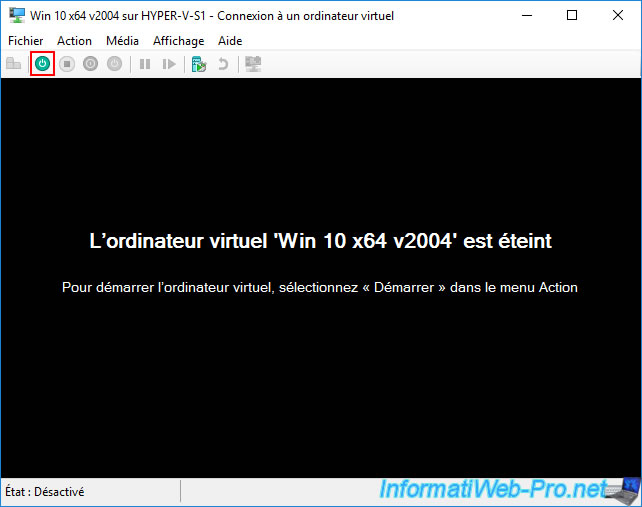
Then, in the "[virtual machine name] on [Hyper-V server name] - Virtual Machine Connection" window that appears, click on the 2nd icon to start this virtual machine.
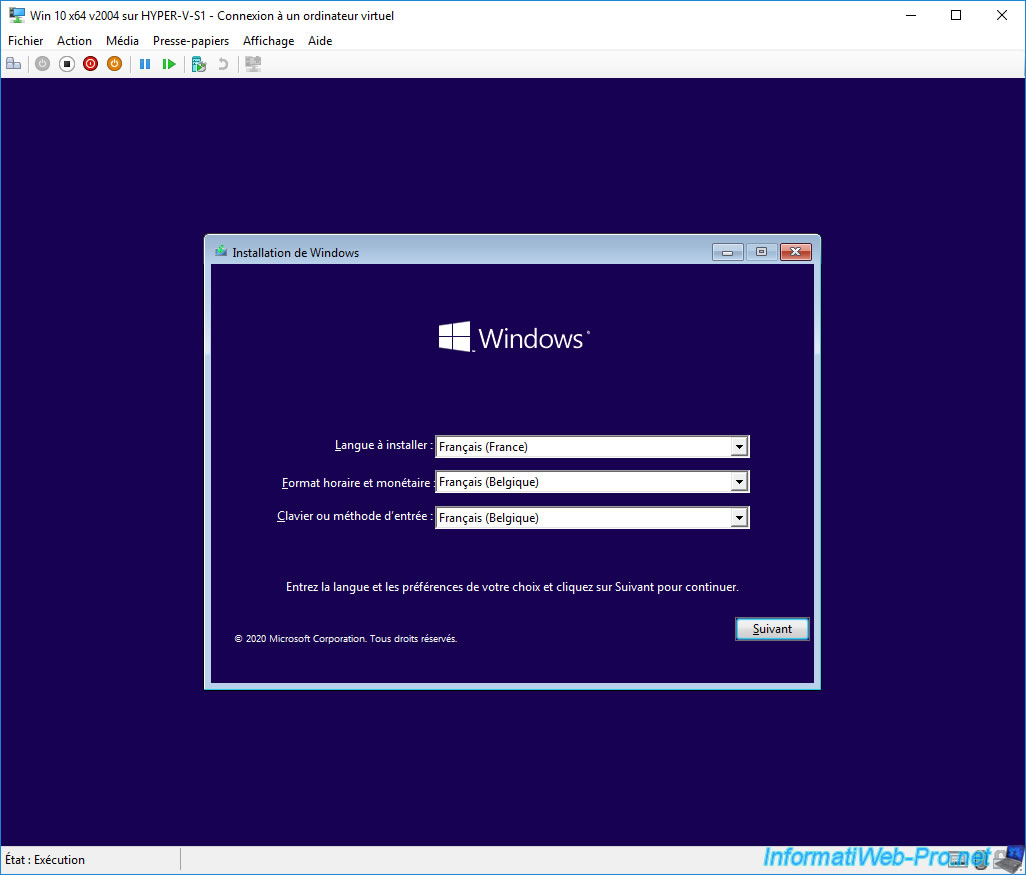
The Windows installer (in our case) appears.
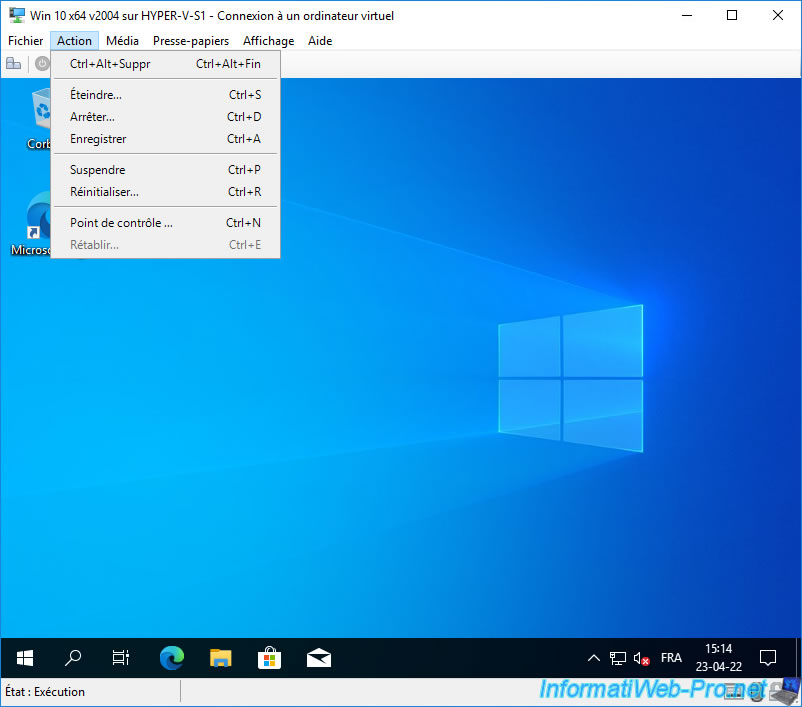
Once Windows is installed, you will try to install the drivers for this computer by going to the "Action" menu and you will notice that the "Insert Integration Services Setup Disk" option present on older versions of Hyper-V is gone.
If you go on the "Manage Hyper-V Integration Services" page of the official Microsoft documentation, you will find that the Integration Services installation disk is no longer present since Windows Server 2016.
Indeed, the manual installation of these Hyper-V integration services is no longer necessary since Windows 10, since these are now integrated into Windows 10 and later by default.
The goal is to be able to keep them automatically updated afterwards thanks to the free updates of Windows 10 and later (via Windows Update).
For older versions of Windows (Windows 7 to 8.1), you will need to install the "KB3071740" update to install these Hyper-V Integration Services in a virtual machine on Windows 7 to 8.1 created on a Hyper-V server on Windows Server 2016 or later.
As you will have understood, in our case (with Windows 10 x64 v2004), it's therefore not necessary to install them manually since they are already installed.
2. Automatic update of Hyper-V integration services from Windows 10
As explained earlier, Hyper-V Integration Services are now built-in by default in recent versions of Windows (Windows 10 and later) and these can be updated automatically via Windows Update.
To do this, make sure that Windows is configured to get important Windows updates (as specified by Microsoft in the link cited above).
For this tutorial, we updated and then upgraded to Windows 10 via Windows Update and as you can see the Hyper-V Integration Services will have been automatically updated seamlessly.
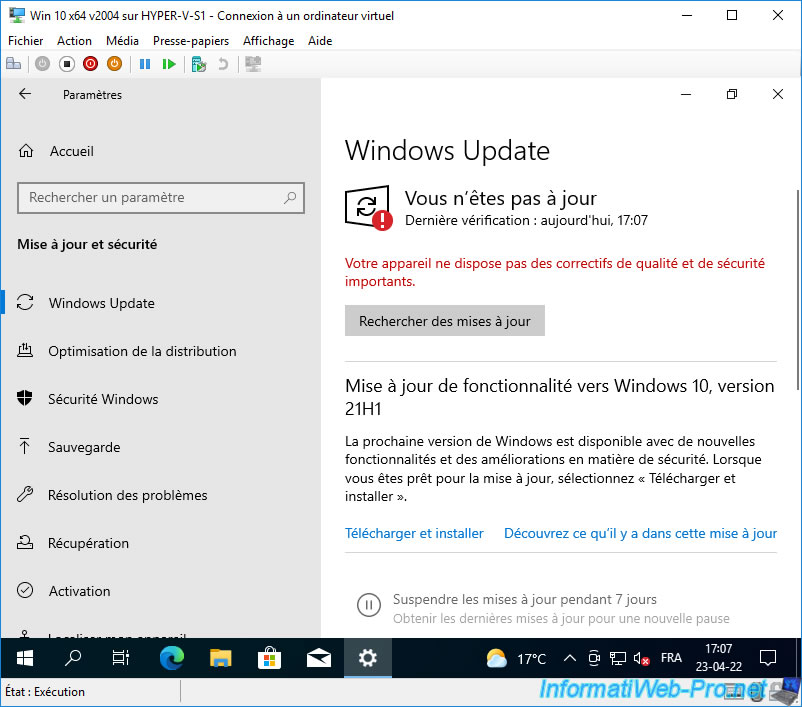
To get started, access Windows 10 settings through the start menu.
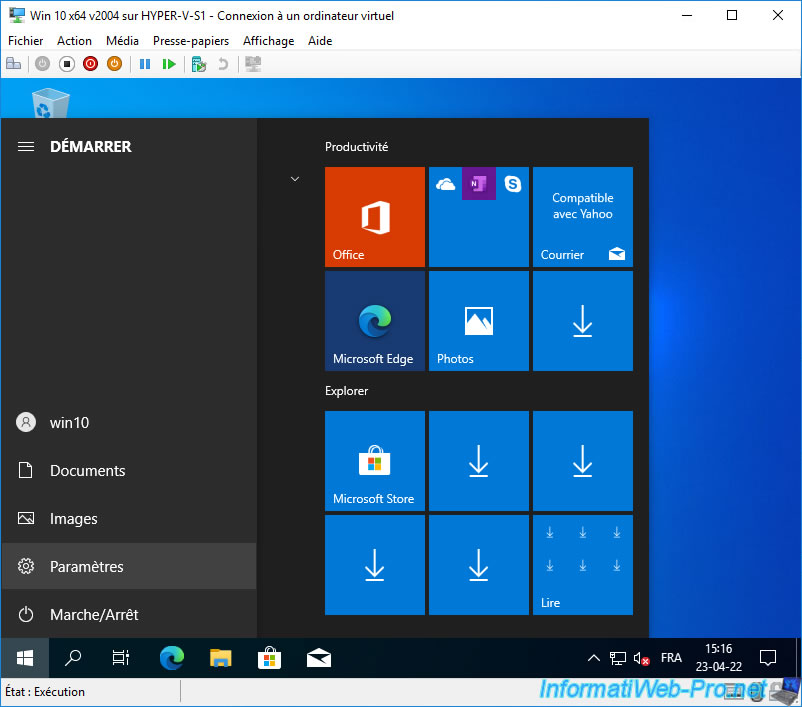
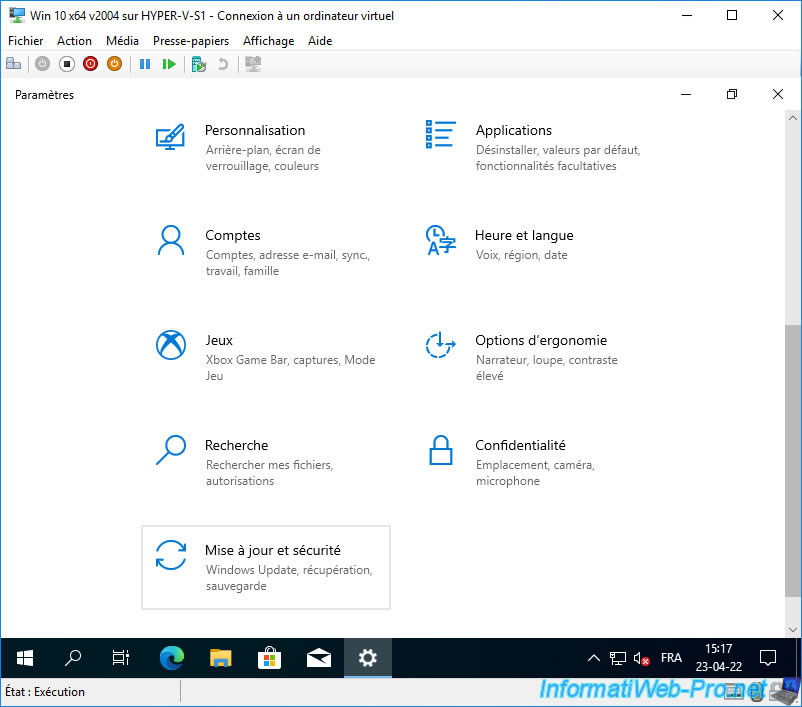
Then, go to : Update & security.
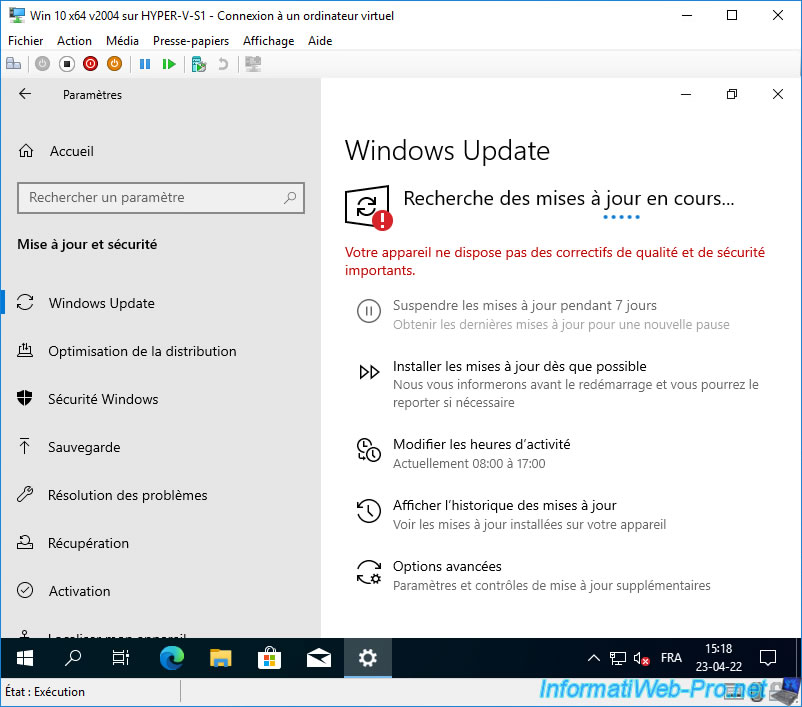
Click : Check for updates.
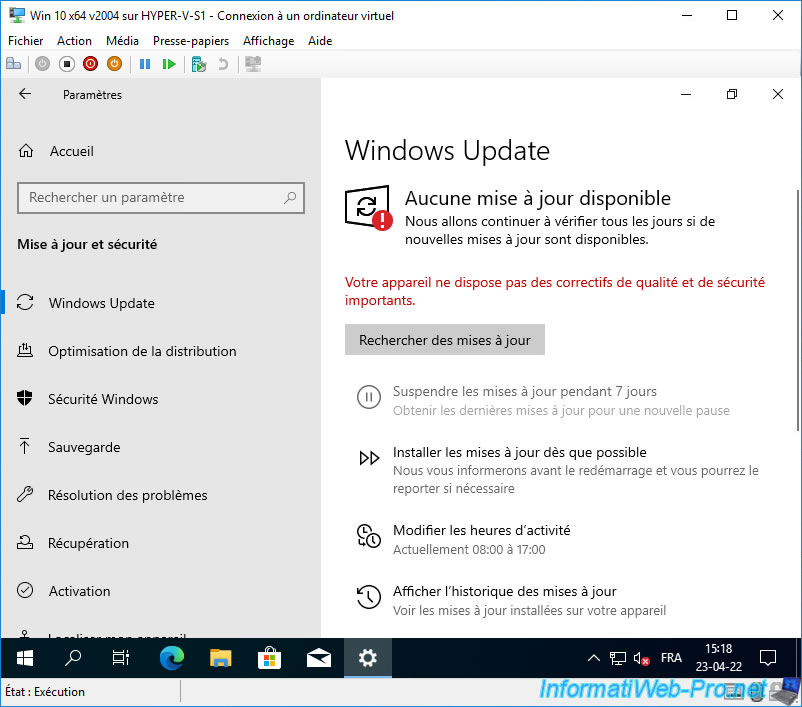
Wait while Windows 10 checks for available updates for your version of Windows 10.
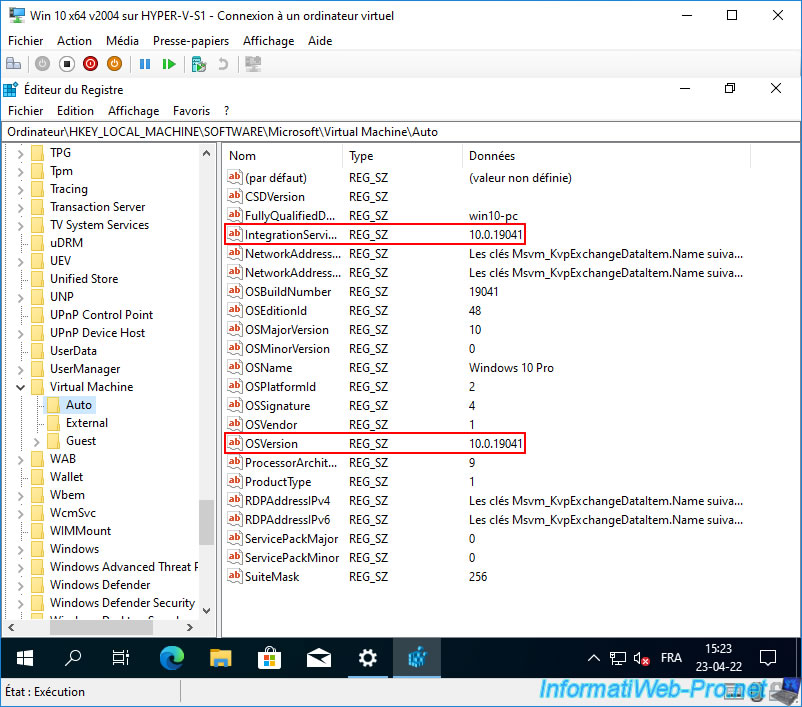
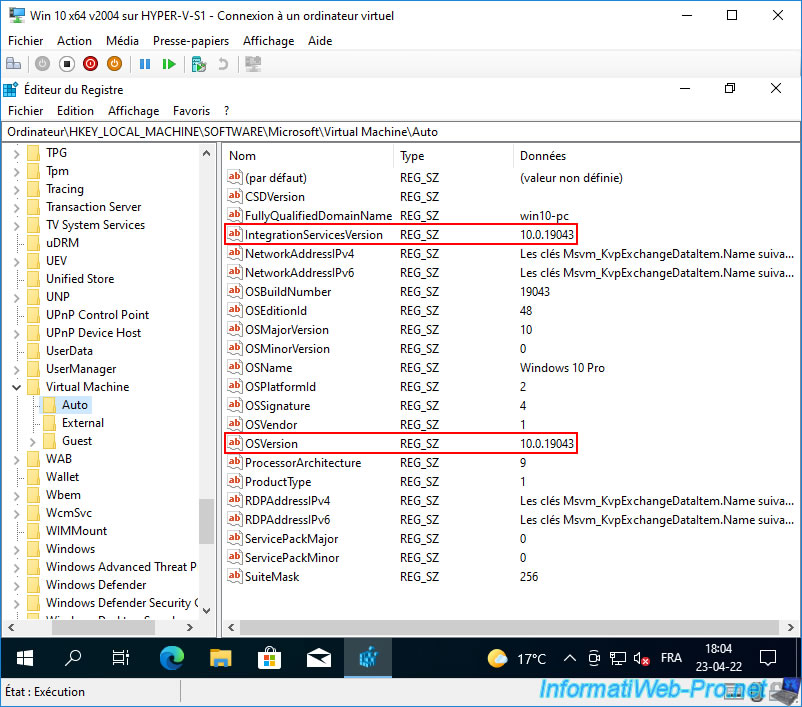
To know the current version of Hyper-V integration services, open the Windows registry (by launching the "regedit.exe" program) and go to the "HKEY_LOCAL_MACHINE\SOFTWARE\Microsoft\Virtual Machine\Auto" registry key.
As you can see, the version of integration services installed (IntegrationServicesVersion) matches the version of Windows 10 currently installed (OSVersion).
For the moment, on Windows 10 v2004, we have version "10.0.19041".
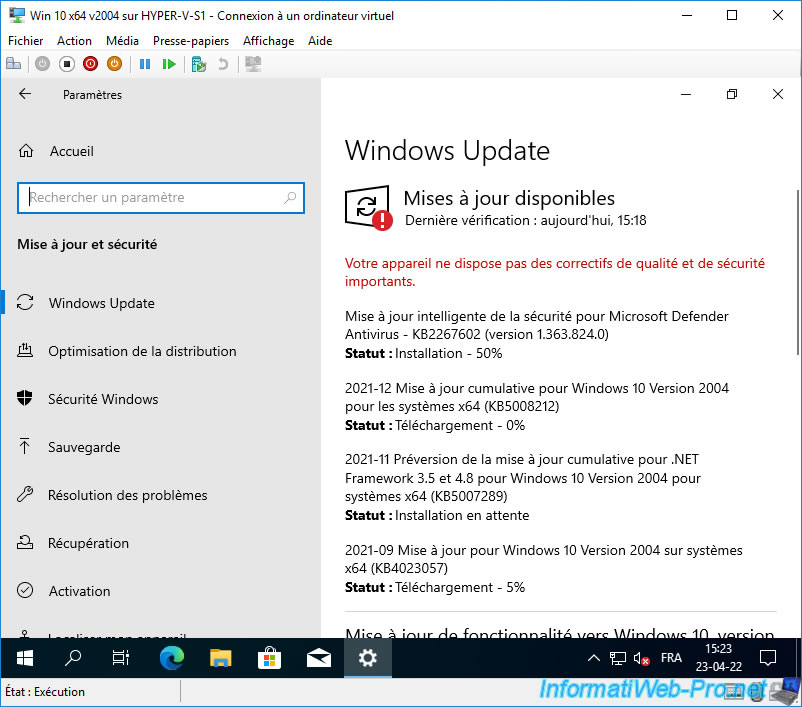
Please be patient while these updates are searched for, downloaded, and installed.
This can take a long time (depending on the number of updates available in your case and the performance of your virtual machine).
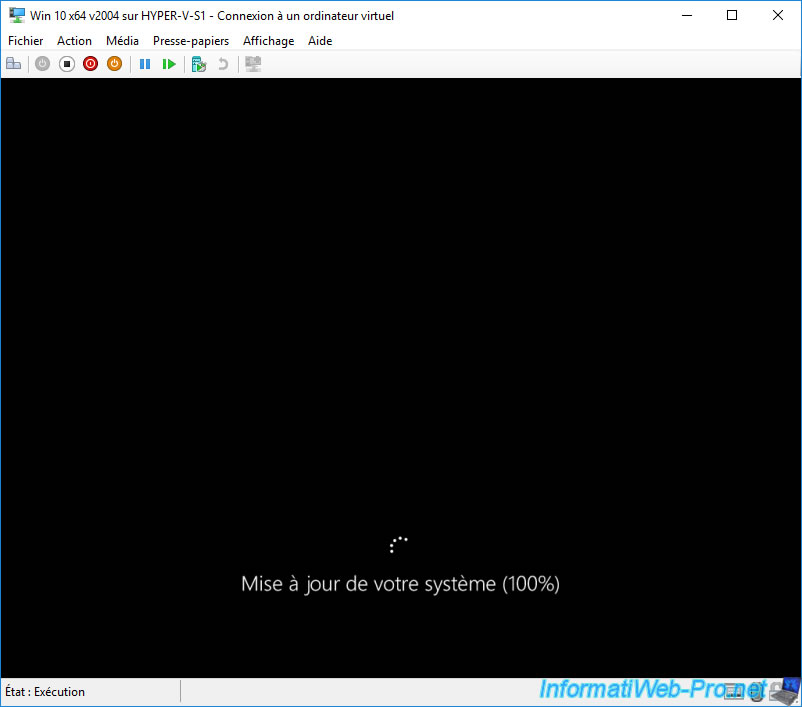
To complete the installation of downloaded updates, your computer may need to restart.
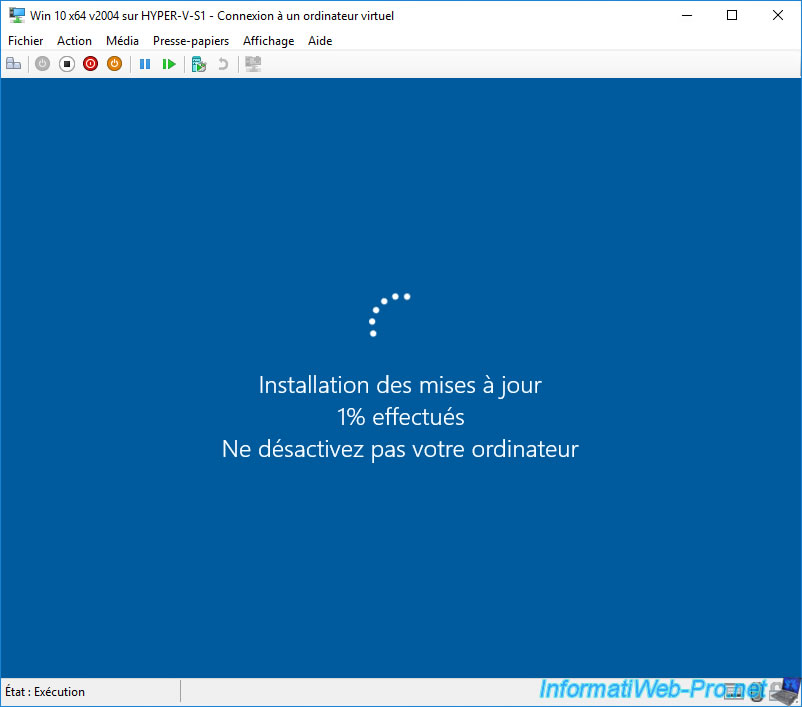
During the restart, you will probably see messages about installing updates.
Don't shut down your computer at this time.
In our case, we got the "Updating your system" message.
Then : Install updates.

After the updates were installed, no further updates (except the one regarding the upgrade to Windows 10 v21H1 (2104)) were offered.
If you look at the Hyper-V Integration Services version, it might not have changed since it's still the same major version of Windows 10.

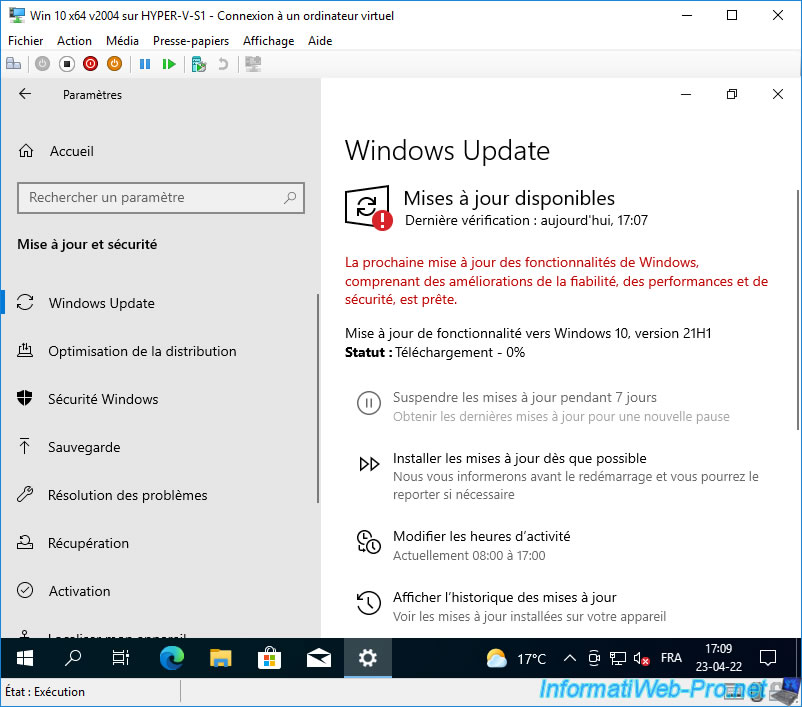
Accept the download and installation of the upgrade (feature update to Windows 10 ...) offered and click on the "Download and install now" link.
The feature update (upgrade) download begins.
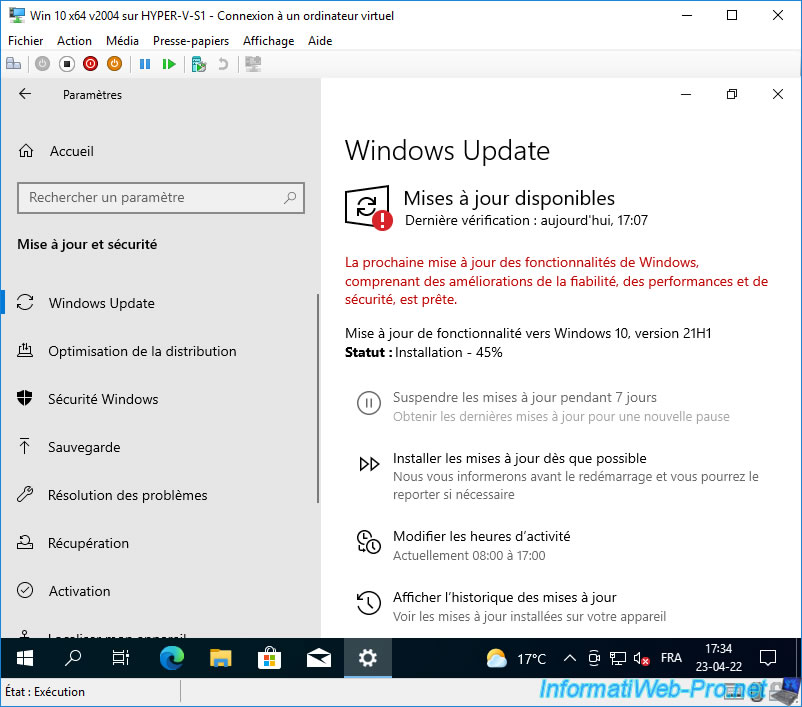
Then, its installation begins.
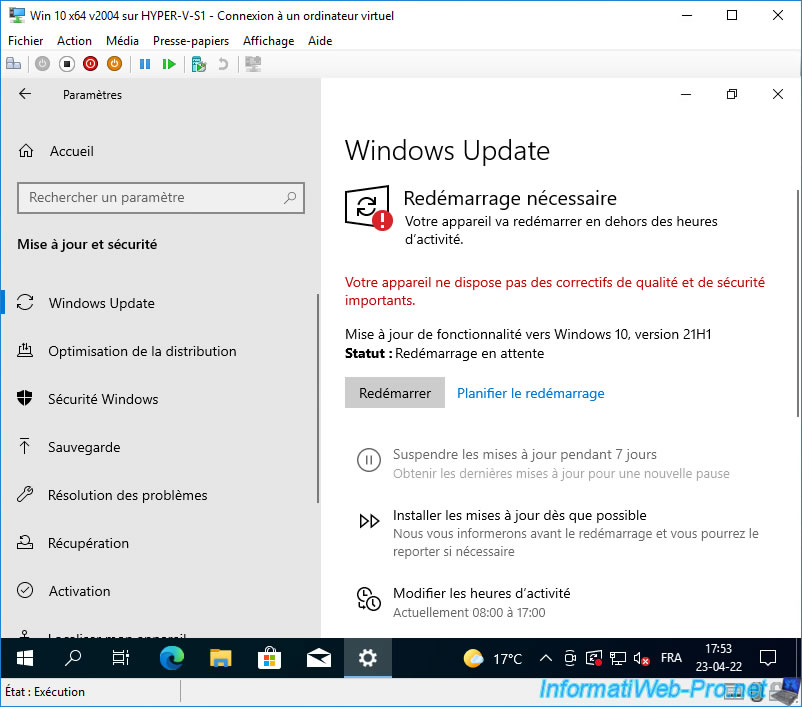
Once the upgrade is installed, you will need to click "Restart" to complete this upgrade to the latest version of Windows 10 downloaded.
During the restart, you will see the "Installing updates" message appear.
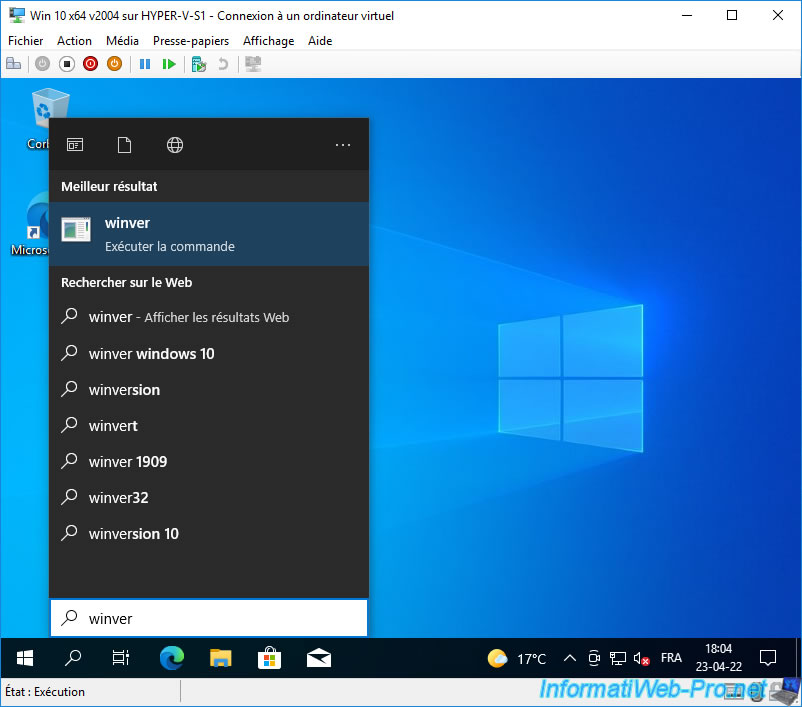
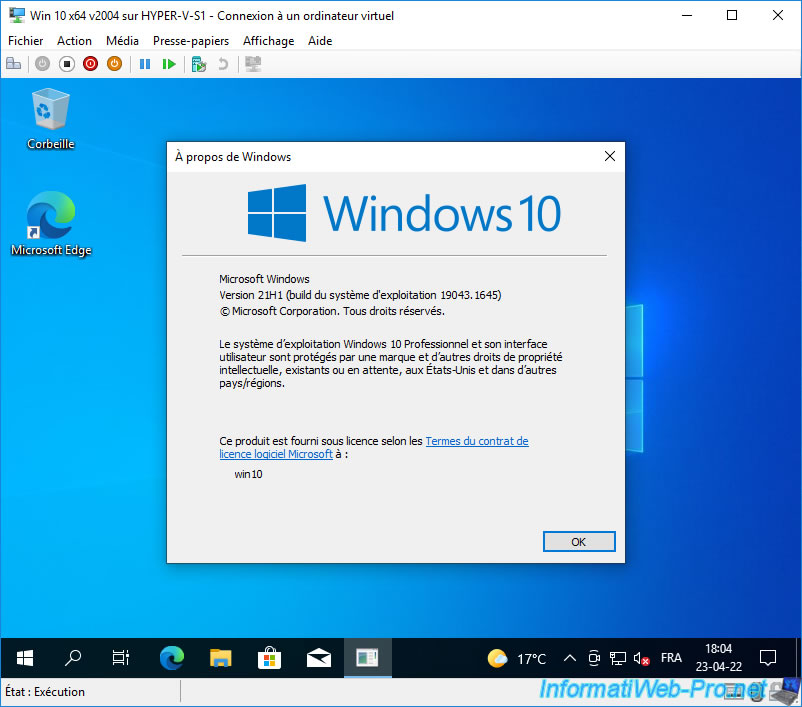
Once the updates are installed, launch the "winver" program.
As you can see, in our case, we are now on Windows 10 v21H1 (2104) instead of the original 2004 version.
If you go back to the registry, you will see that the Windows 10 version (OSVersion) has changed slightly and Hyper-V Integration Services have been updated automatically (IntegrationServicesVersion).
Share this tutorial
To see also
-
Microsoft 9/6/2019
Hyper-V (WS 2012 R2 / 2016) - Create a generation 2 VM
-
Microsoft 8/10/2019
Hyper-V (WS 2012 R2 / 2016) - Install Hyper-V and create your first VM
-
Microsoft 11/8/2019
Hyper-V (WS 2012 R2 / WS 2016) - Automatically replicate virtual machines
-
Microsoft 11/15/2019
Hyper-V (WS 2012 R2 / WS 2016) - Automatically replicate virtual machines (securely)
You must be logged in to post a comment