- Microsoft
- 01 November 2019 at 14:42 UTC
-

As with any virtualization solution, it's possible to export a virtual machine in a few clicks.
That said, exporting a virtual machine from Hyper-V is very simple because there is no additional parameter proposed when exporting it.
1. Export a virtual machine
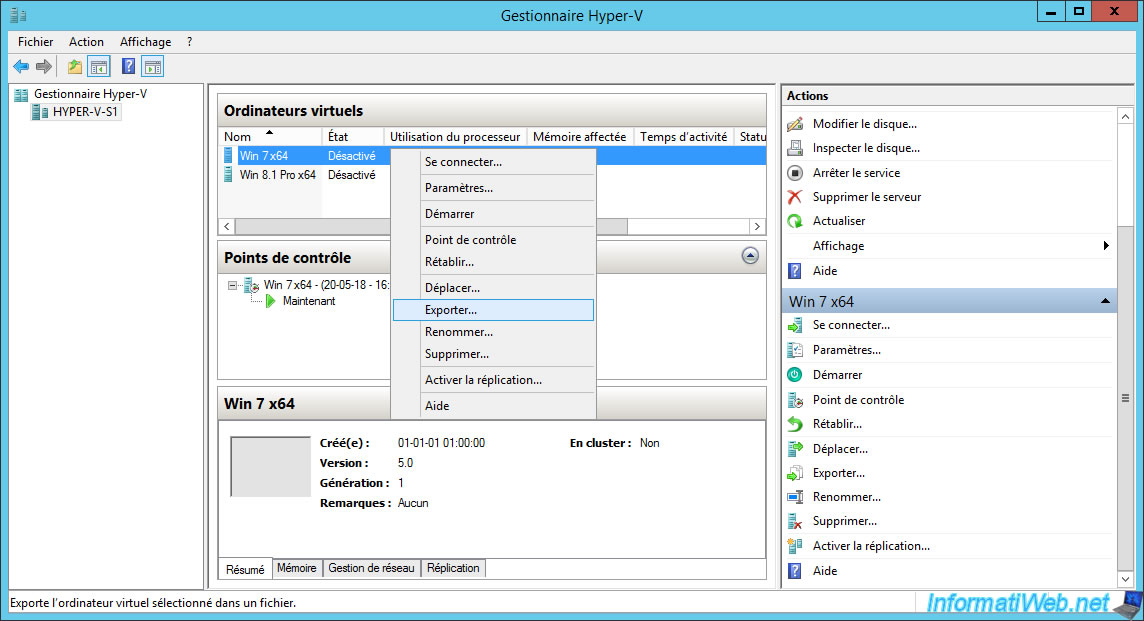
To export a virtual machine from Hyper-V, select the virtual machine to export and click Export.
Select the folder where you want to export this virtual machine.

In our case, we will export it to this folder : C:\VMs.
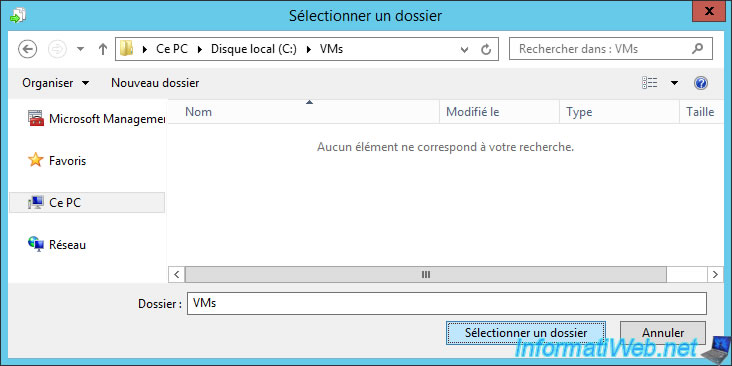
Click Export.

Once exported, you will find a folder with 3 folders inside.
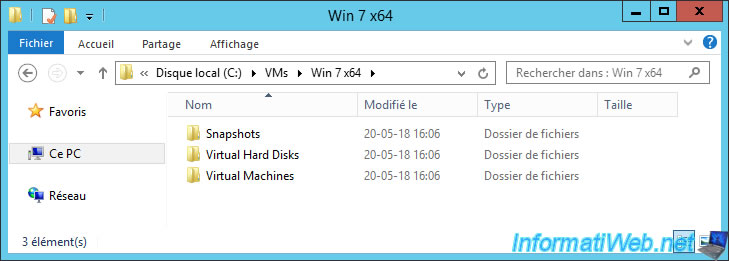
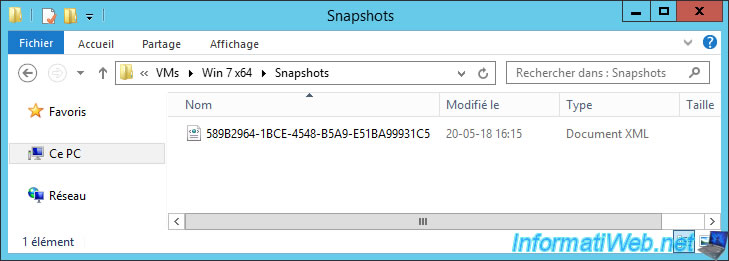
The "Snapshots" folder contains the snapshots (checkpoints) you created in Hyper-V for this virtual machine (if applicable).
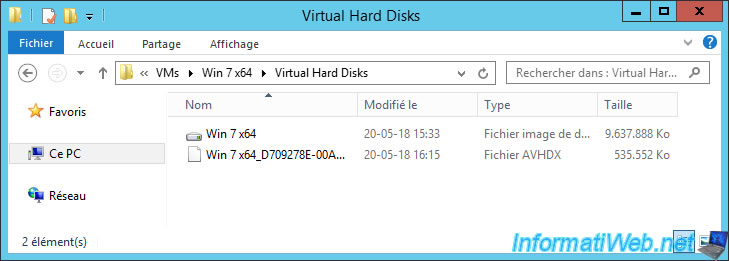
The "Virtual Hard Disks" folder contains the virtual hard disk (VHD or VHDX) used by this virtual machine, and differencing hard disk files (AVHDX) if you created snapshots for this virtual machine.
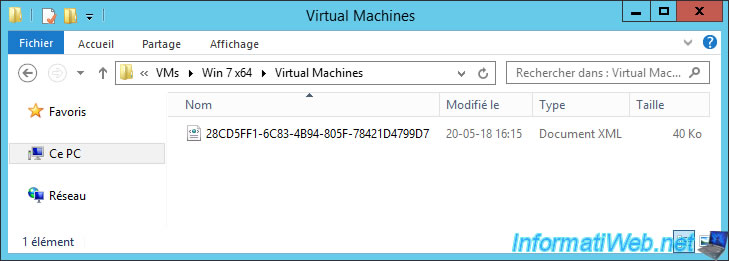
Finally, you will find the configuration file for this virtual machine in the "Virtual Machines" folder.
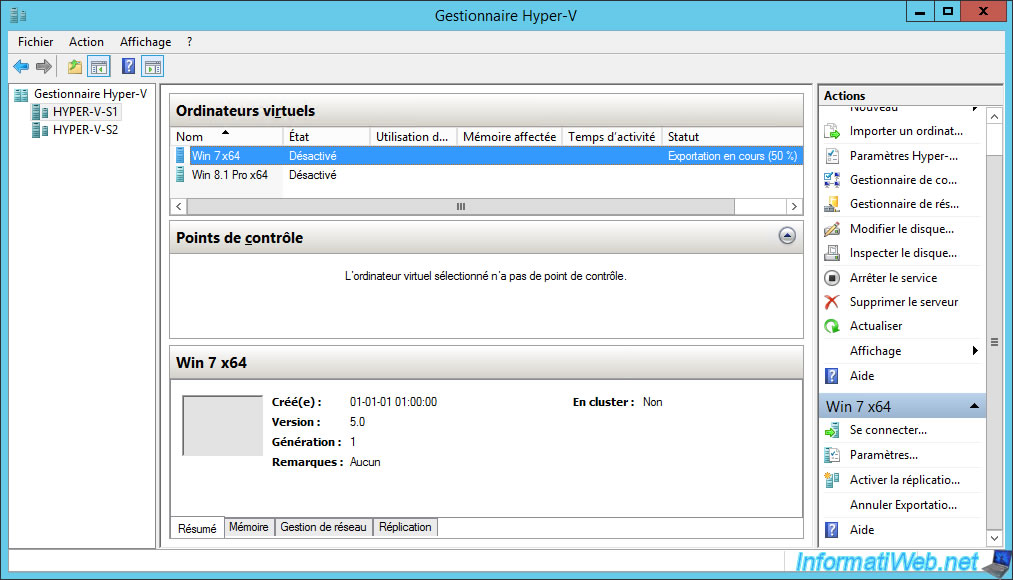
Note that while exporting your virtual machine, you will see the "Cancel Exporting in Progress" option if you select the relevant virtual machine.
2. Import a virtual machine
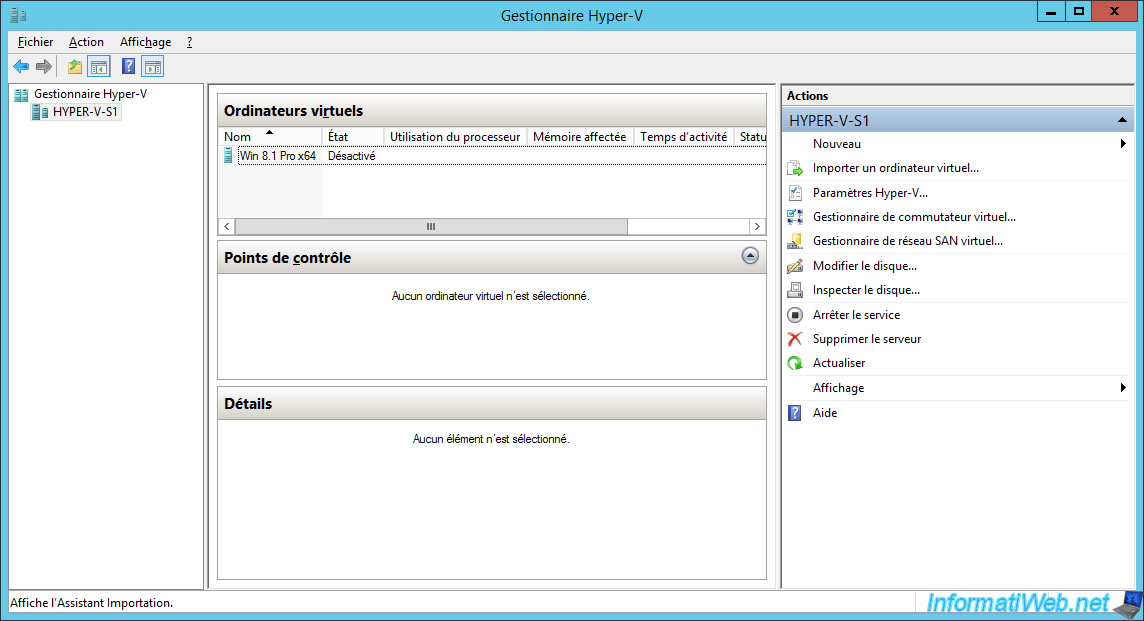
To import a virtual machine into Hyper-V, click "Import Virtual Machine" in the right-hand menu.
Note : to be able to re-import it, we first removed it from Hyper-V, as well as its hard disk file which was left in the default folder (C:\Users\Public\Documents\Hyper-V\Virtual Hard Disks).
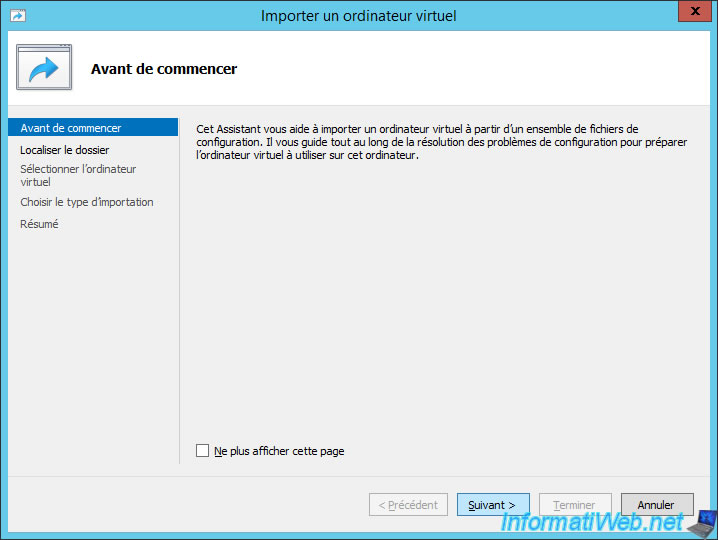
The "Import Virtual Machine" wizard is displayed.
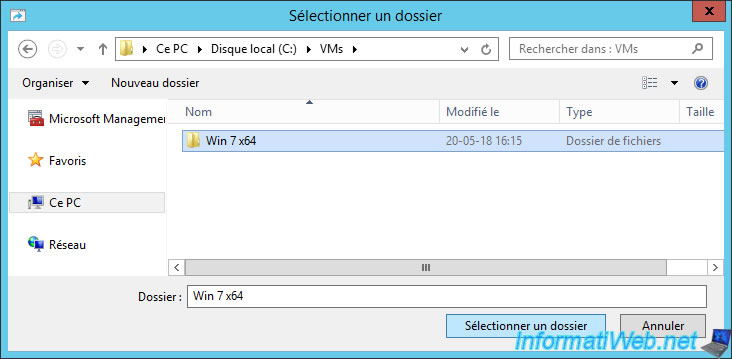
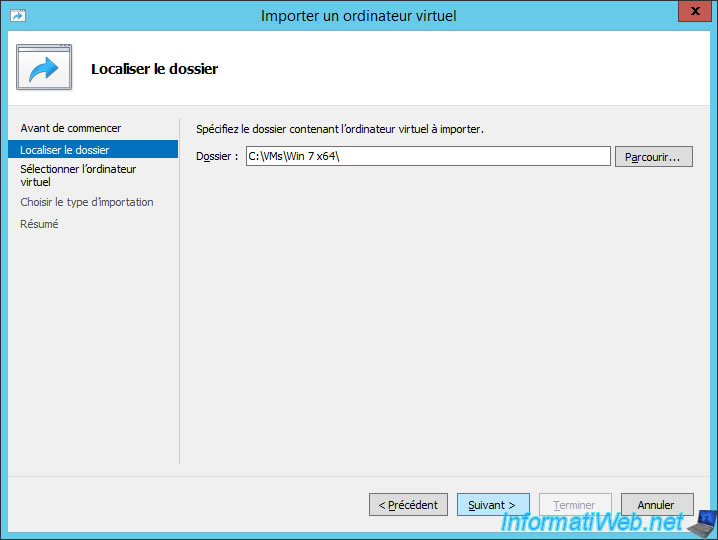
In the "Locate Folder" step, click Browse and select the folder that contains the virtual machine that you exported.
Click Next.
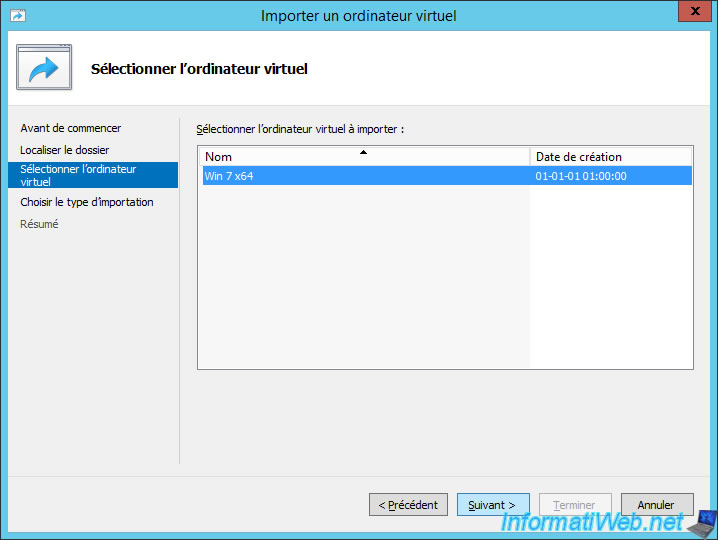
The name of the virtual machine to import is displayed.
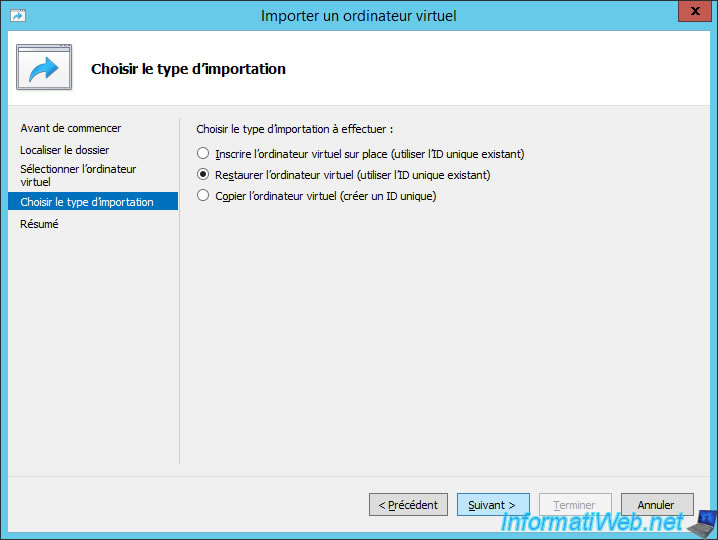
For the type of import, you will have 3 options :
- Register the virtual machine in-place (use the existing unique ID) : this only allows you to add the virtual machine to Hyper-V without moving the files to the default locations of your Hyper-V server.
- Restore the virtual machine (use the existing unique ID) : this allows you to add the virtual machine to Hyper-V by copying the different files (virtual hard disks, configuration files, ...) into the default folders of your Hyper-V server.
- Copy the virtual machine (create a new unique ID) : for example, you can re-import a virtual machine that is already present in Hyper-V. Since Hyper-V doesn't support having 2 virtual machines with the same ID, Hyper-V will generate a new ID for this virtual machine.
In our case, we chose the "Restore the virtual machine" option because the old copy is no longer present in Hyper-V.
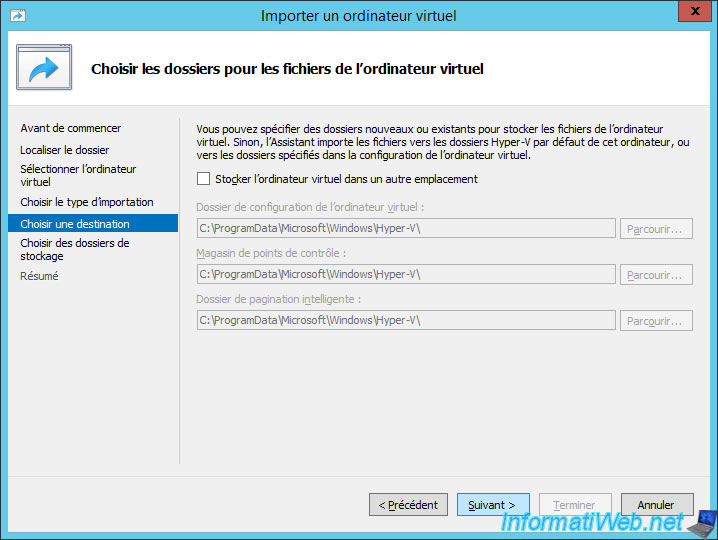
If you chose the "Restore the virtual machine" option, 2 additional steps will appear.
Here, the wizard proposes to store the virtual machine somewhere other than the default folders configured on your Hyper-V server.
In this case, these seettings suit us, so we just click Next.
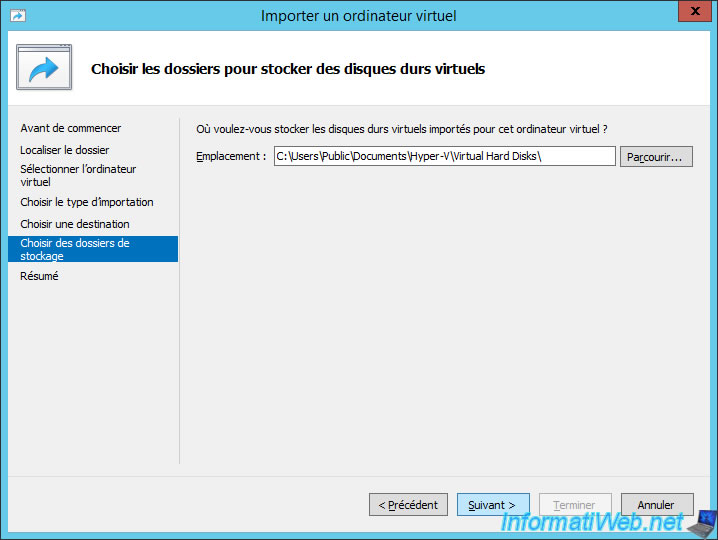
Same for the virtual hard disk file.
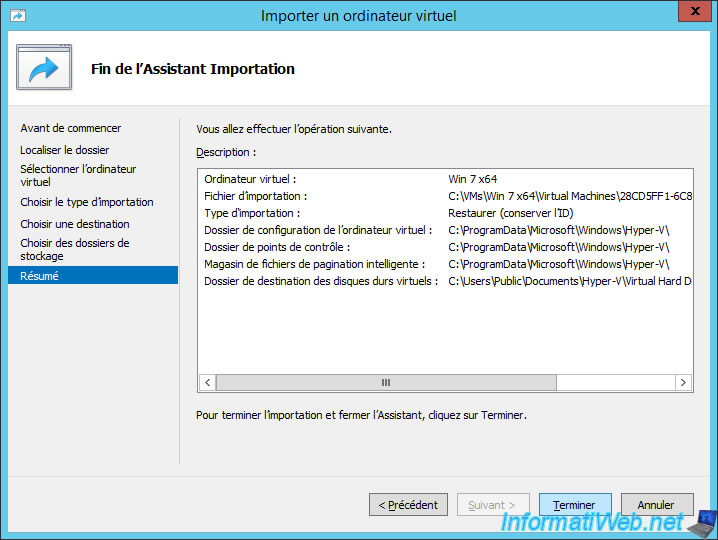
A summary is displayed before importing your virtual machine.
The wizard copies files, including the virtual hard disk.

And imports the virtual machine into Hyper-V.

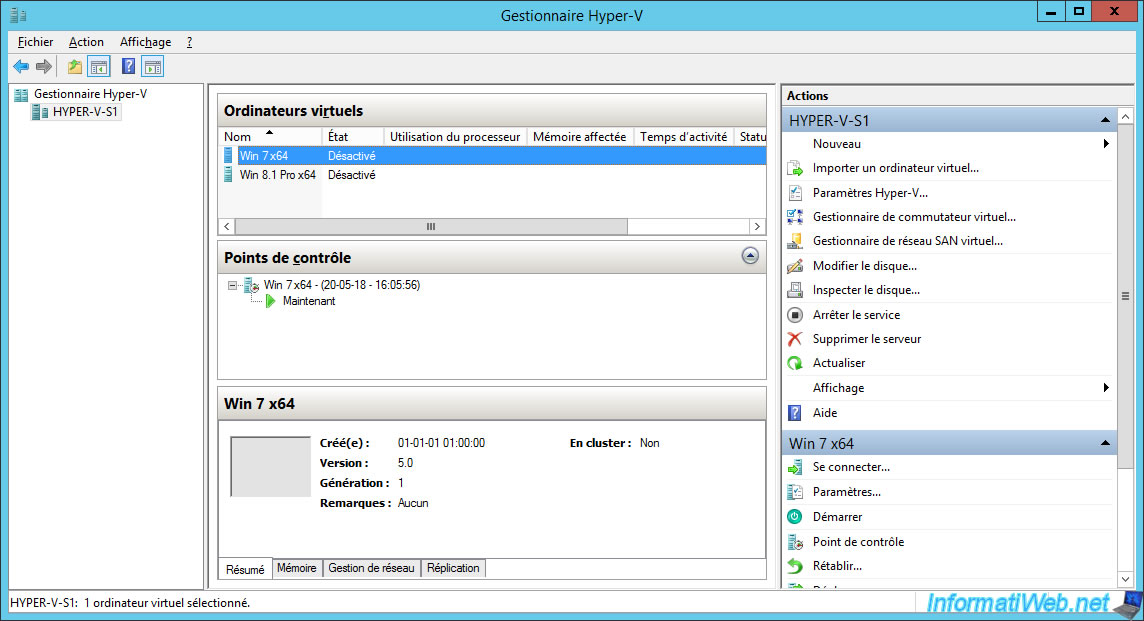
Once imported, it appears with its checkpoints if there were any.
Share this tutorial
To see also
-

Microsoft 9/6/2019
Hyper-V (WS 2012 R2 / 2016) - Create a generation 2 VM
-
Microsoft 8/10/2019
Hyper-V (WS 2012 R2 / 2016) - Install Hyper-V and create your first VM
-

Microsoft 11/8/2019
Hyper-V (WS 2012 R2 / WS 2016) - Automatically replicate virtual machines
-
Microsoft 11/15/2019
Hyper-V (WS 2012 R2 / WS 2016) - Automatically replicate virtual machines (securely)

You must be logged in to post a comment