- Microsoft
- 20 September 2019 at 09:20 UTC
-


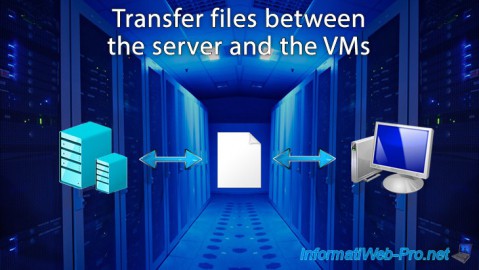
By default, drag and drop of files and file sharing don't work (at least with the conventional method) with virtual machines created under Hyper-V.
In fact, as stated on Microsoft TechNet, there are 2 ways to transfer files between your Hyper-V server and your virtual machines :
- use integration services that you must install in your Hyper-V virtual machines
- or use the enhanced session mode
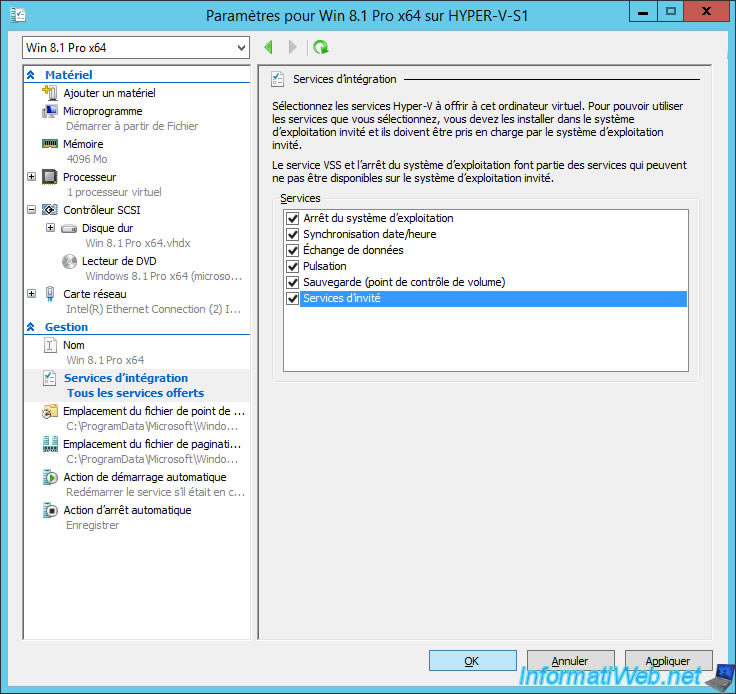
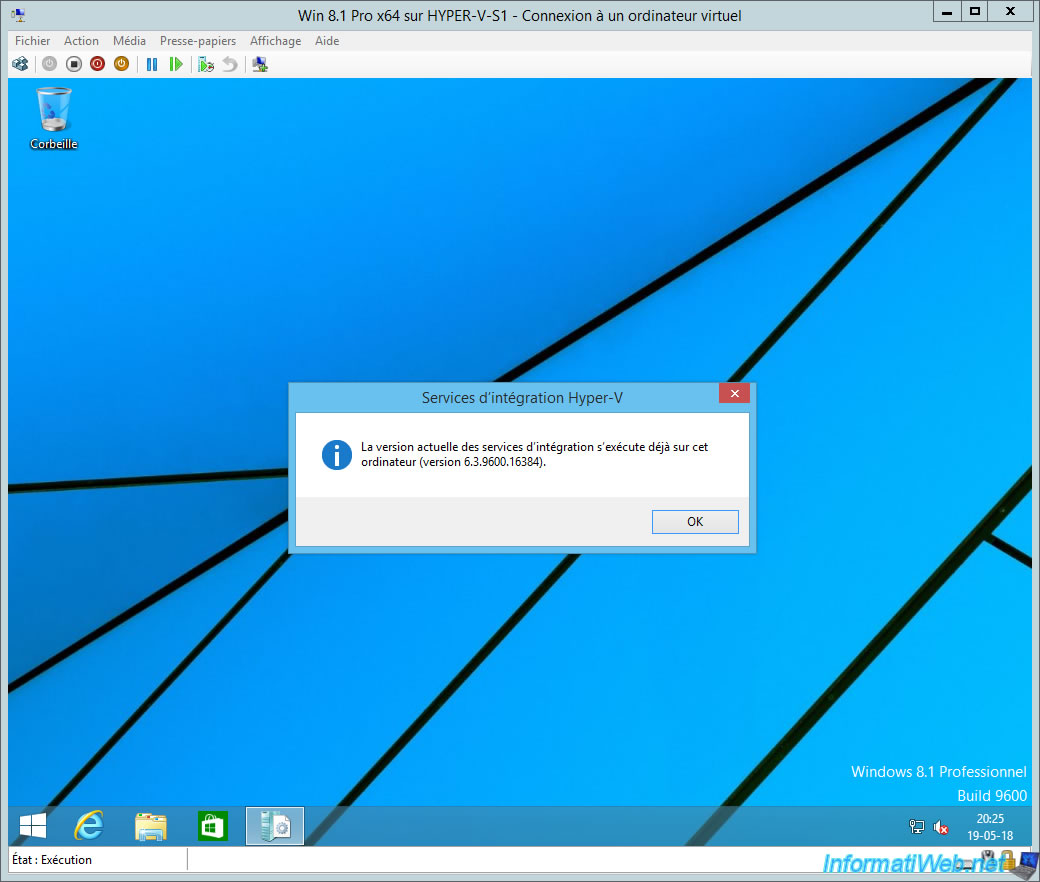
The 1st solution (with integration services) is supposed to work with all versions of Windows although this doesn't seem to work in all cases.
To take advantage of this, simply install the integration services in the desired VM and check the "Guest services" box in the "Integration Services" settings of your virtual machine.
Warning : to transfer files between a virtual machine with Windows XP as guest OS and your Hyper-V server, you will need to use remote desktop as explained in step 9 of our tutorial "Import Windows XP Mode of Microsoft on Hyper-V".
Indeed, file transfer via integration services does not seem to work with virtual machines running Windows XP.
The 2nd solution (enhanced session mode) is much more convenient and complete, but the only drawback is that it relies on the RDP protocol.
This means that the virtual machine must be able to act as an RDP server (which is not possible for home versions of Windows, for example), even if its activation is not necessary in Windows.
Warning : the extended session mode is supported only since Windows 8.1 (and its server version : 2012 R2).
Notes :
- updating the Windows 7 SP1 RDP protocol to version 8.0 or 8.1 will not allow you to take advantage of the enhanced session mode.
- the enhanced session mode is compatible with both virtual machine generations. As stated on the Microsoft website (Enhanced session mode / Generation : 1 and 2).
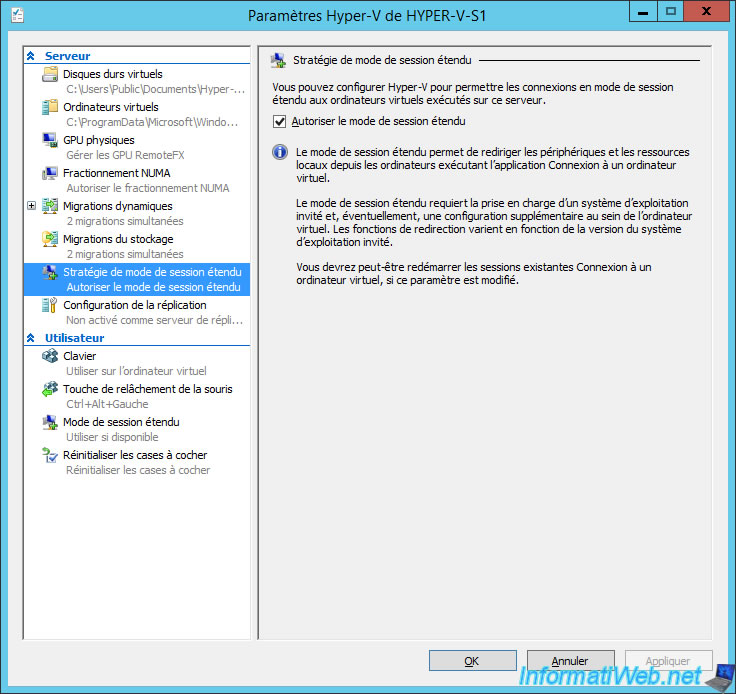
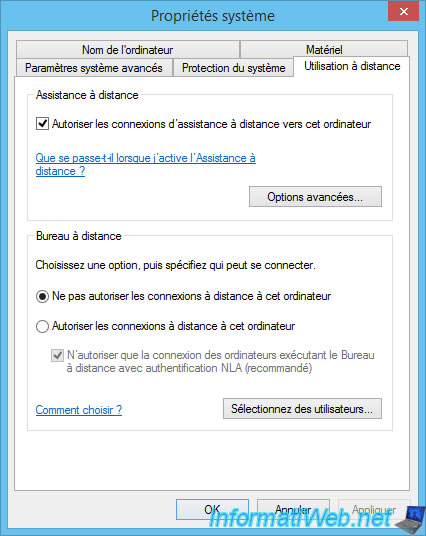
However, if the guest operating system supports the RDP as a server, you just have to go to the settings of your Hyper-V server :
- in the "Enhanced Session Mode Policy" section, check the "Allow enhanced session mode" box.
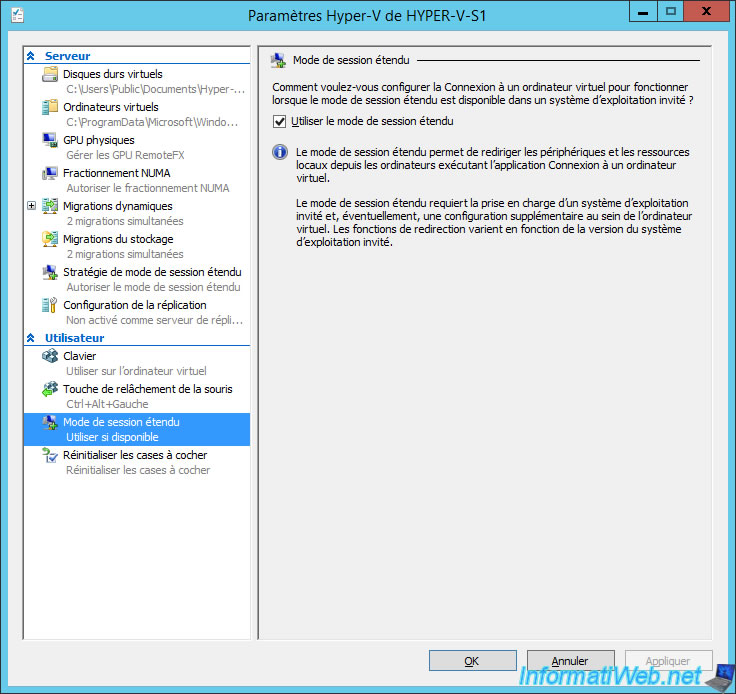
- in the "Enhanced Session Mode" section, check the "Use enhanced session mode" box.
Then, check that the integration services are installed in the desired virtual machine.
Note : these integration services are already installed by default since Windows 10.
For older versions of Windows, you will need to install them using the integration services installation disk available on your Hyper-V server up to Windows Server 2012 R2 or via the "KB3071740" update if your Hyper-V server is on Windows Server 2016 or later.
Since we have virtualized the Pro edition of Windows 8.1, we have the option to activate the Windows RDP server.
Since the enhanced session mode doesn't require the activation of the RDP server, but only its presence in the guest OS, we leave the "Remote Desktop" option disabled.
As you can see at the top of the window, the icon for the enhanced session mode is available.
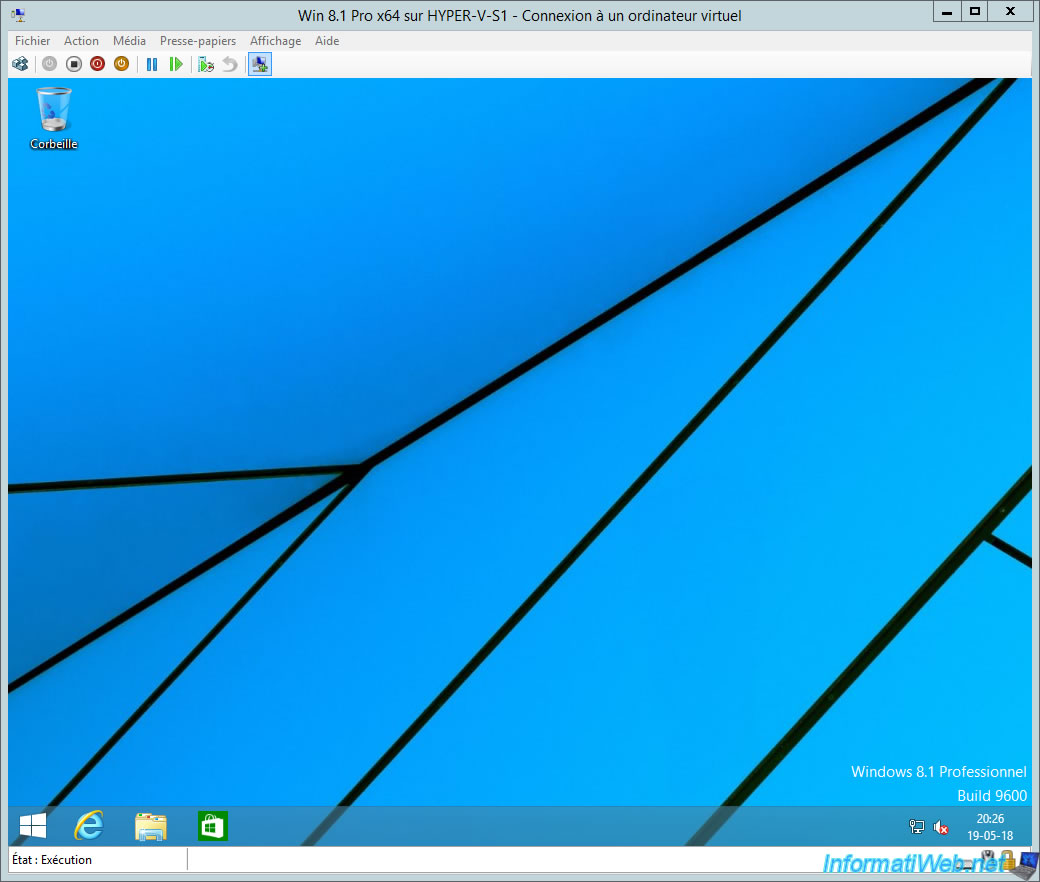
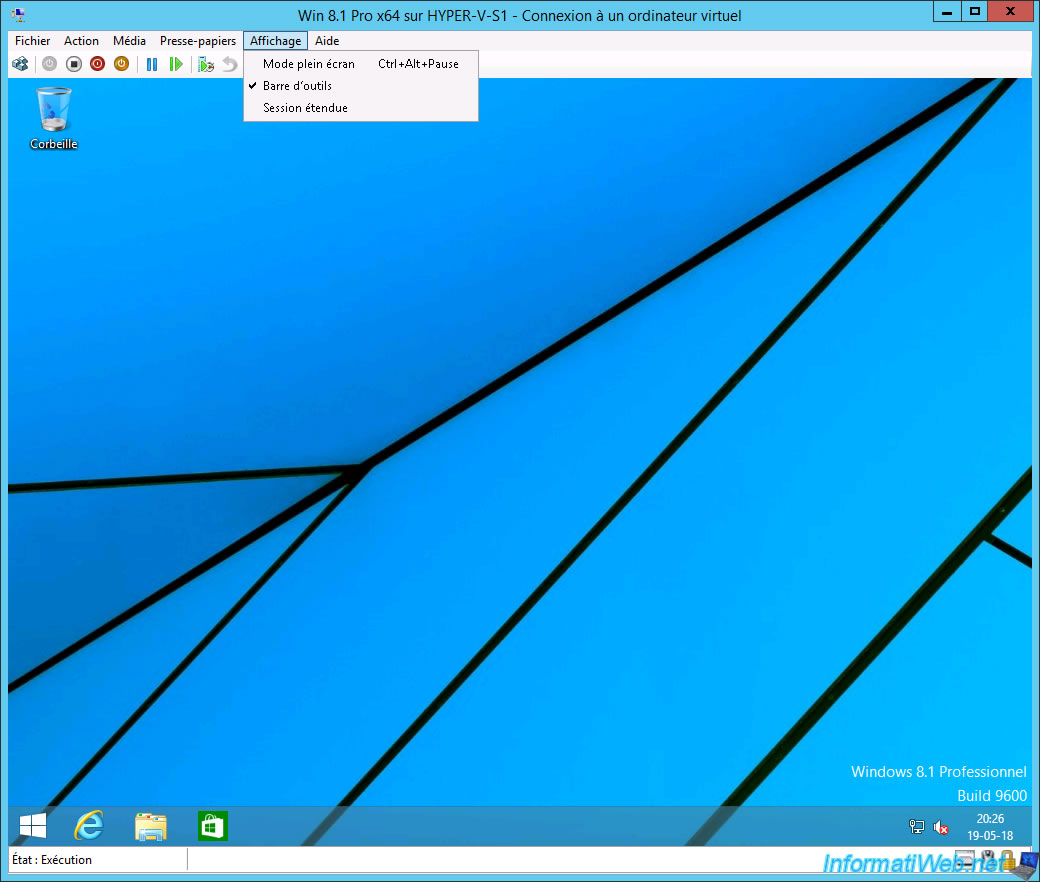
And the "View -> Enhanced session" option is no longer greyed out.
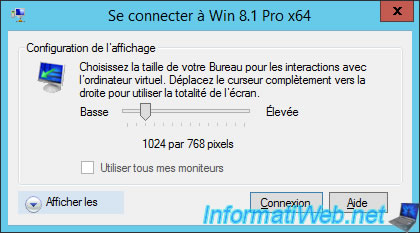
If you click on the icon or "View -> Enhanced session", a small "Connect to ..." window will appear.
Select the screen resolution you want.
To see more options, click on "Show Options".
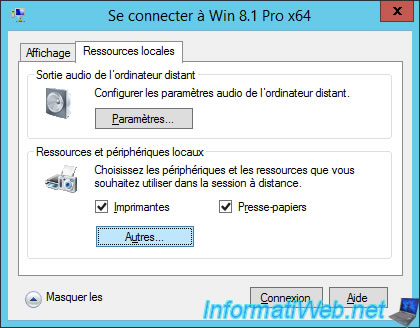
In the "Local Resources" tab, click on the "More" button.
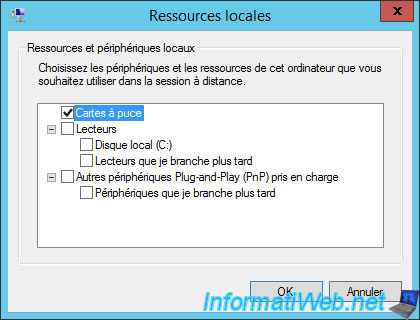
As you can see, you can redirect local resources to access them from your virtual machine.
In our case, we will redirect local disk C (this is not a good idea since Windows Server is installed on this disk, but it's just for the example) by checking the "Local Disk (C :) " box.
As you can see, by default, printers and the clipboard will also be accessible from the virtual machine.
Which means you can copy text or files from your server to your virtual machine (and vice versa).
As expected, we can access the C drive of our server from our virtual machine.
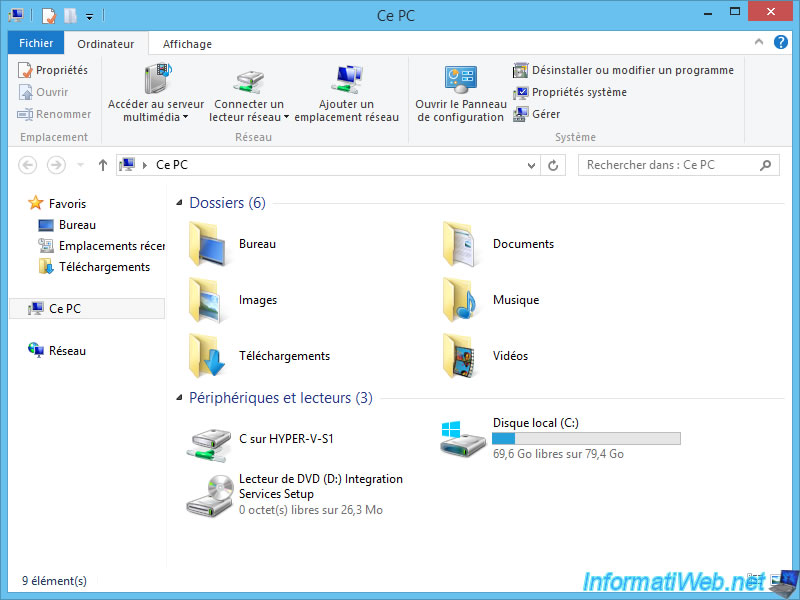
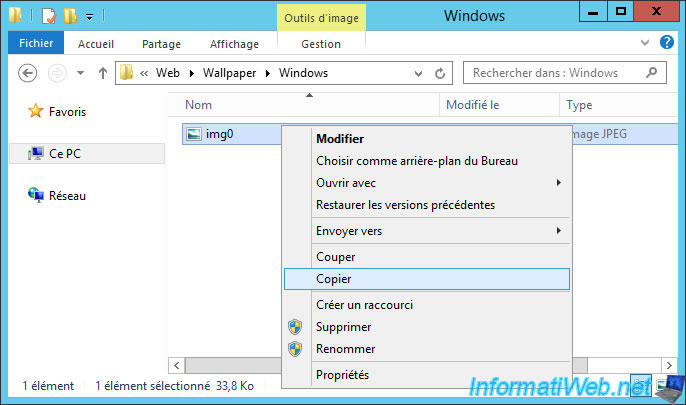
For this tutorial, we will copy the "C:\Windows\Web\Wallpaper\Windows\img0.jpg" file from our Hyper-V server.
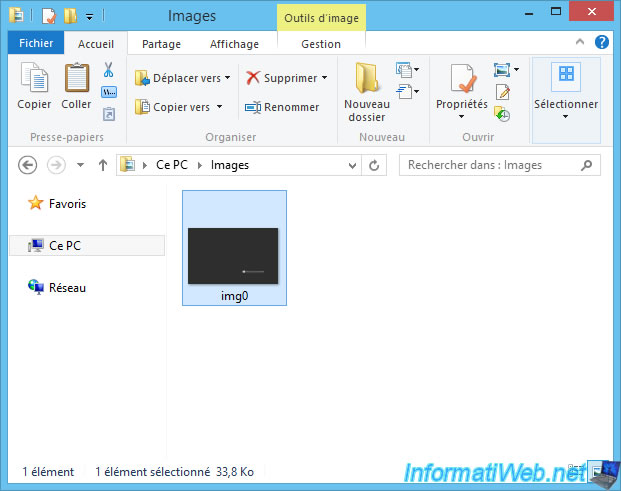
And paste it in the "Images" folder of our virtual machine.
![]()
And the file is transferred transparently thanks to the support of the RDP.
For virtual machines for which this technique would not work, it will be necessary to go through the standard Windows file sharing or the Remote Desktop Connection program (RDP).
Share this tutorial
To see also
-
Microsoft 9/6/2019
Hyper-V (WS 2012 R2 / 2016) - Create a generation 2 VM
-
Microsoft 8/10/2019
Hyper-V (WS 2012 R2 / 2016) - Install Hyper-V and create your first VM
-
Microsoft 11/8/2019
Hyper-V (WS 2012 R2 / WS 2016) - Automatically replicate virtual machines
-
Microsoft 11/15/2019
Hyper-V (WS 2012 R2 / WS 2016) - Automatically replicate virtual machines (securely)
You must be logged in to post a comment