- Citrix
- Citrix NetScaler Gateway, Citrix XenApp / XenDesktop
- 09 April 2016 at 11:44 UTC
-

- 1/6

NetScaler Gateway is a gateway created by Citrix that allows you to use the load balancing system and provides a secure remote access to applications and desktops published through XenApp, XenDesktop and XenMobile.
In this tutorial, we will install NetScaler Gateway on our XenServer server to provide a secure remote access to our applications published with XenApp.
Nevertheless, the procedure is the same for desktops published with XenDesktop.
Configuration used :
- Server 1 / IP : 10.0.0.101 / A server under Win. Server 2012 with an Active Directory (and a root certification authority created to avoid paying SSL certificate)
- Server 2 / IP : 10.0.0.102 / A server under Win. Server 2012 where XenApp 7.6 is installed. (This server is linked to the Active Directory)
- Server 3 / IP : 10.0.0.103 / A server under Win. Server 2012 where the Virtual Delivery Agent is installed and applications that we have already published in XenApp.
- Server 4 / IP : 10.0.0.105 / The virtualization server XenServer 6.2.
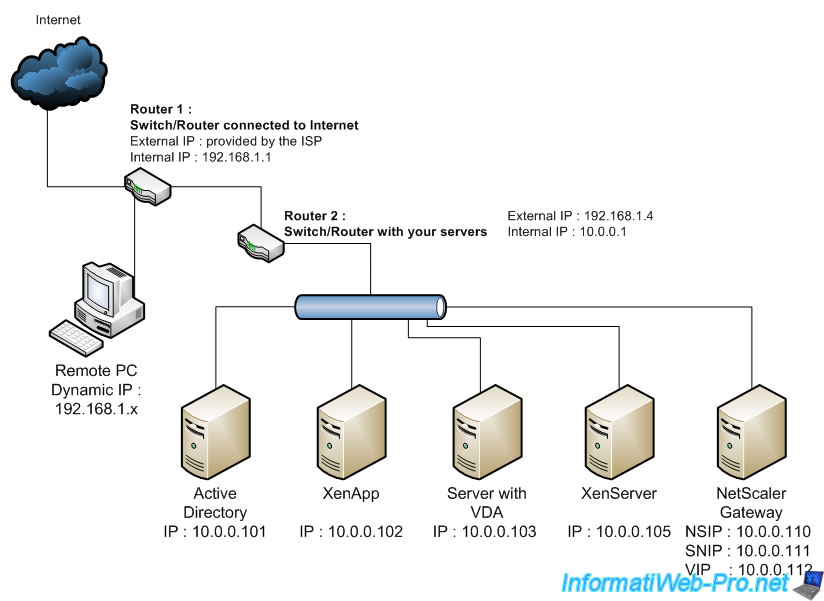
- Server 5 / NetScaler Gateway with 3 IP addresses (NSIP, SNIP and VIP) as explained in the tutorial and in the diagram below.
- 1 computer under Windows or with another operating system to test the remote access to applications and desktops available through XenApp. (The computer must be on the outside of your local network or on Internet *)
* To simulate an external access, you need a PC that is outside of the local network where are your servers under Windows Server.
For this, you have 2 options :
- ask a friend to try to access your gateway "NetScaler Gateway" with their PC.
- use 2 routers / switches. 1 router / switch connected to the Internet and the 2nd router / switch must be connected to the first one.
So, you connect your servers on the second router. And the PC that is connected on the first router will be outside of the local network in which your servers are located.
So, you can test this remote access yourself without leaving home.
Note : The certification authority is not required, but it allows you to test your configuration without paying SSL Certificate.
- Download NetScaler Gateway VPX
- Install and configure the network connection of NetScaler Gateway
- Importing the certificate and the private key of your certification authority
- Creating the certificate of the NetScaler server
- Installing the certificate authority certificate for StoreFront
- Add a NTP server
- Backup and restore
- Integration with Citrix products (Including XenApp/XenDesktop)
- Adding the certificate of the certification authority to the virtual server
- Configure the local DNS server
- StoreFront configuration to allow access from the NetScaler gateway
- DMZ or port forwarding in the router
- Remote client configuration
- Test of NetScaler Gateway
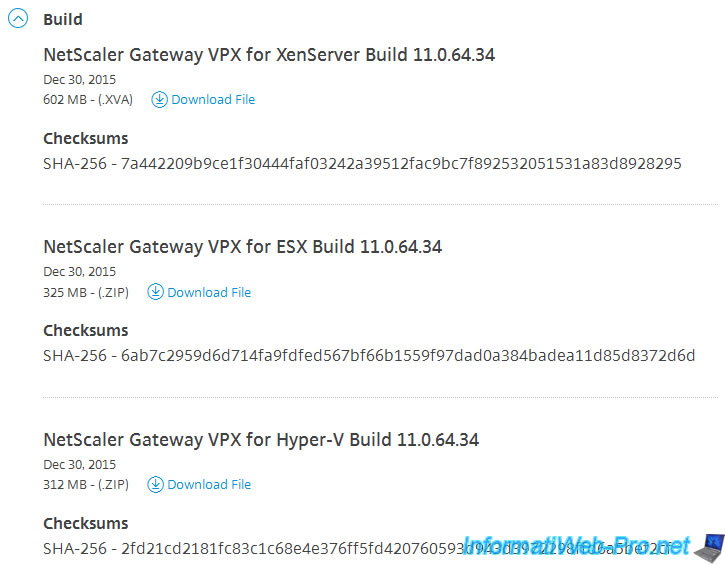
1. Download NetScaler Gateway VPX
To begin, you should know that NetScaler Gateway is delivered as a virtual machine (a virtual appliance).
In our case, we will download NetScaler Gateway (recently renamed : NetScaler Unified Gateway) for the Citrix XenServer server.
Note : A free account is required to download NetScaler Gateway and an evaluation license for this program. (As explained a little later in this tutorial)
2. Install and configure the network connection of NetScaler Gateway
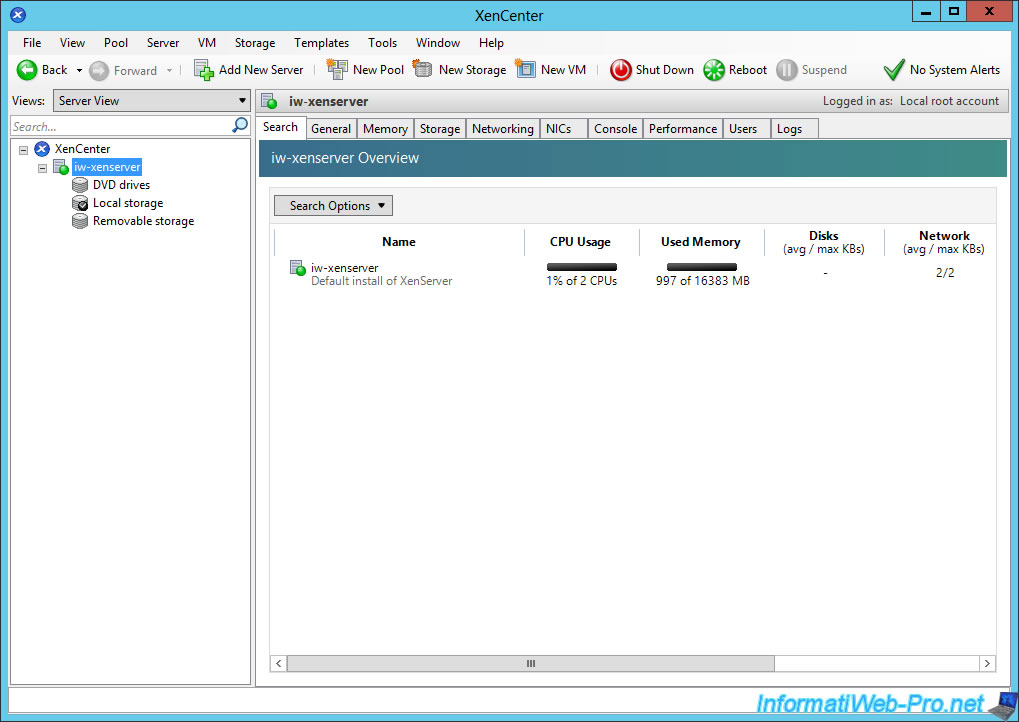
To import and install the NetScaler Gateway virtual machine, install XenCenter and connect to your XenServer server.
Note : as you can see from the picture below, this is a new installation of XenServer.
Go to the menu : File -> Import.
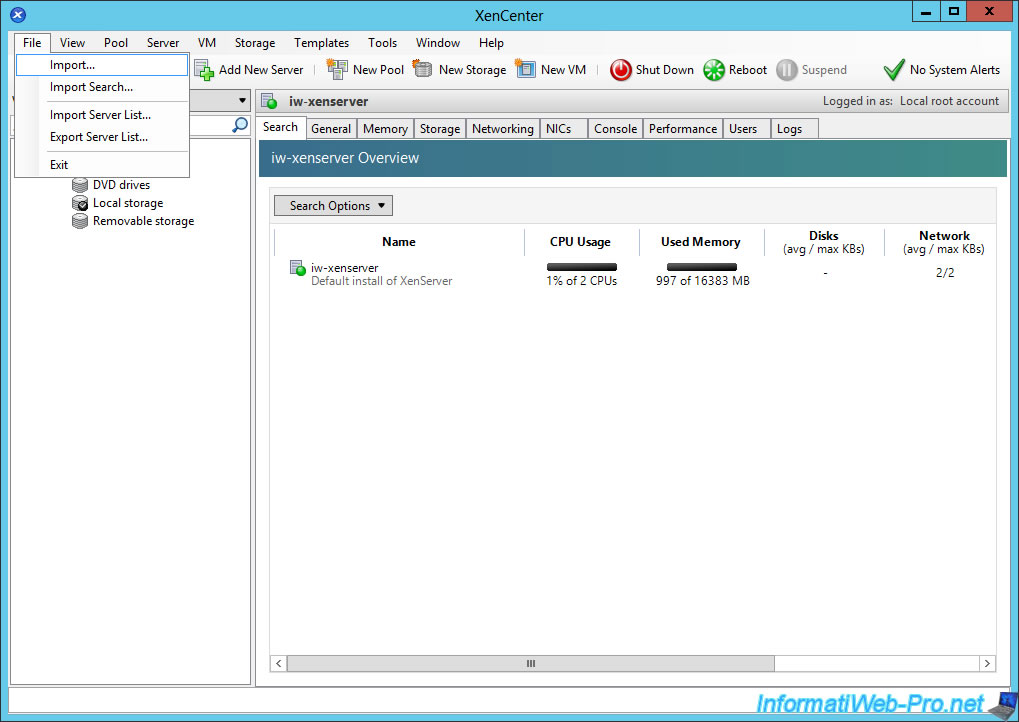
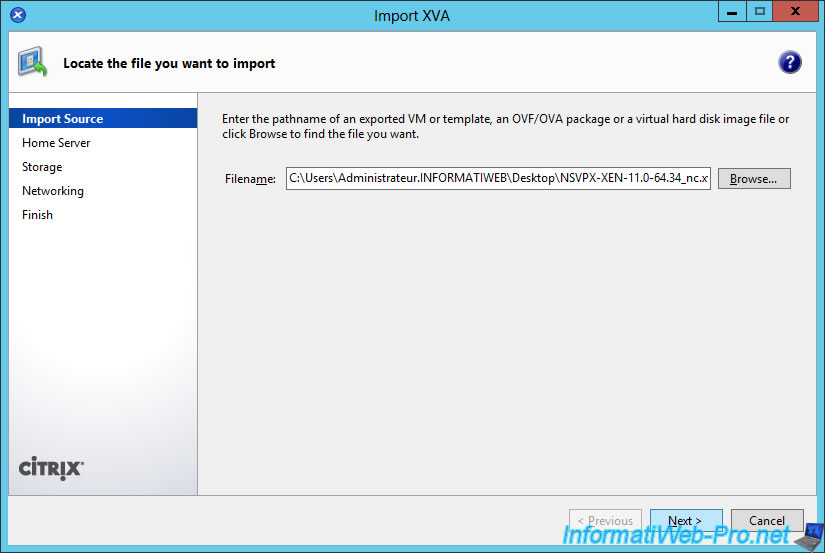
Select the file "NSVPX-XEN-11.0-64.34_nc.xva" downloaded from the Citrix website.
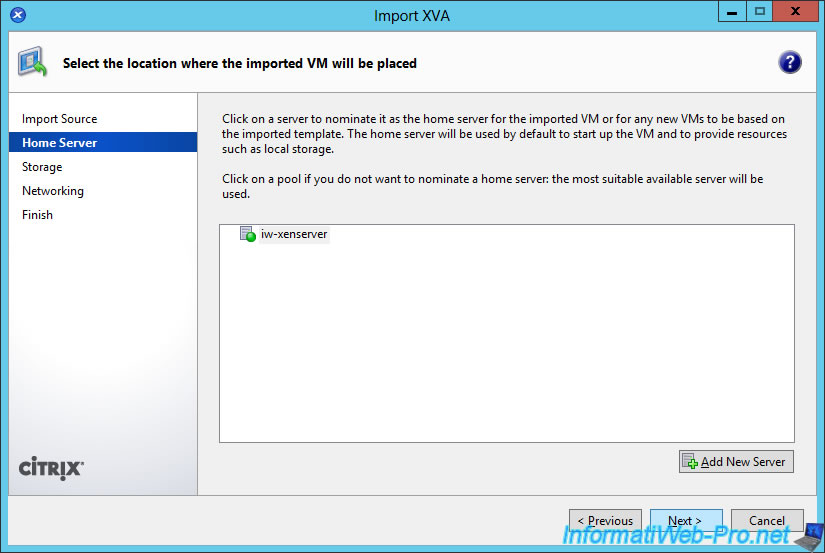
Select the XenServer server on which you want to import the virtual machine.
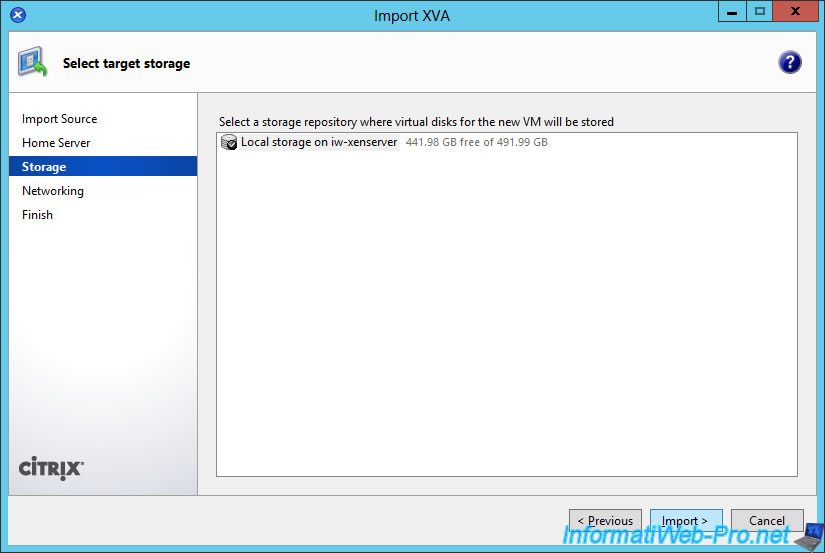
Select the repository where you want to import this VM.
At step "Networking", you will see the MAC address assigned to your virtual machine.
Note : you will need this MAC address for your trial license.
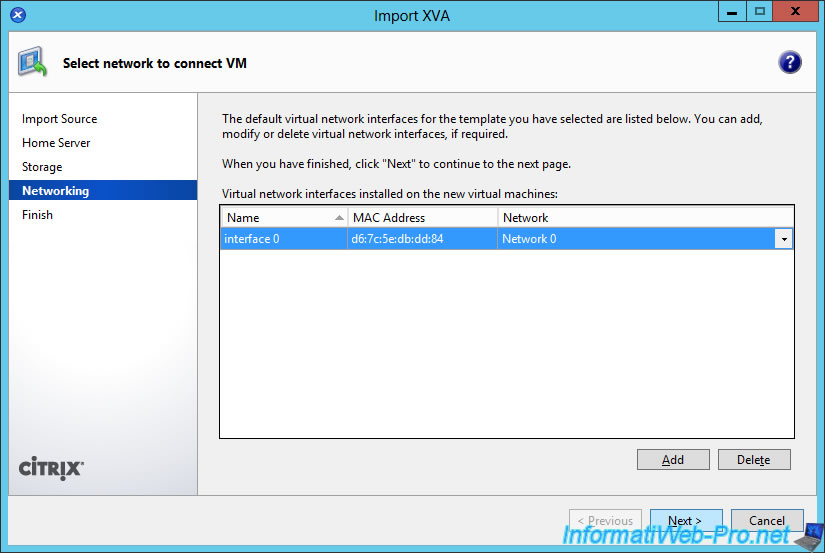
Click "Finish".
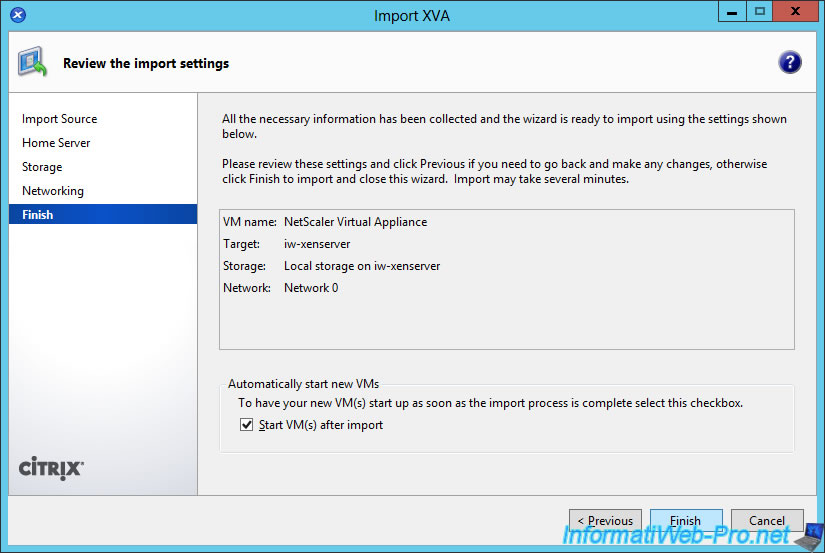
Once imported, the virtual machine will automatically start.
By going to the Console tab of the virtual machine, you will see the boot of NetScaler.
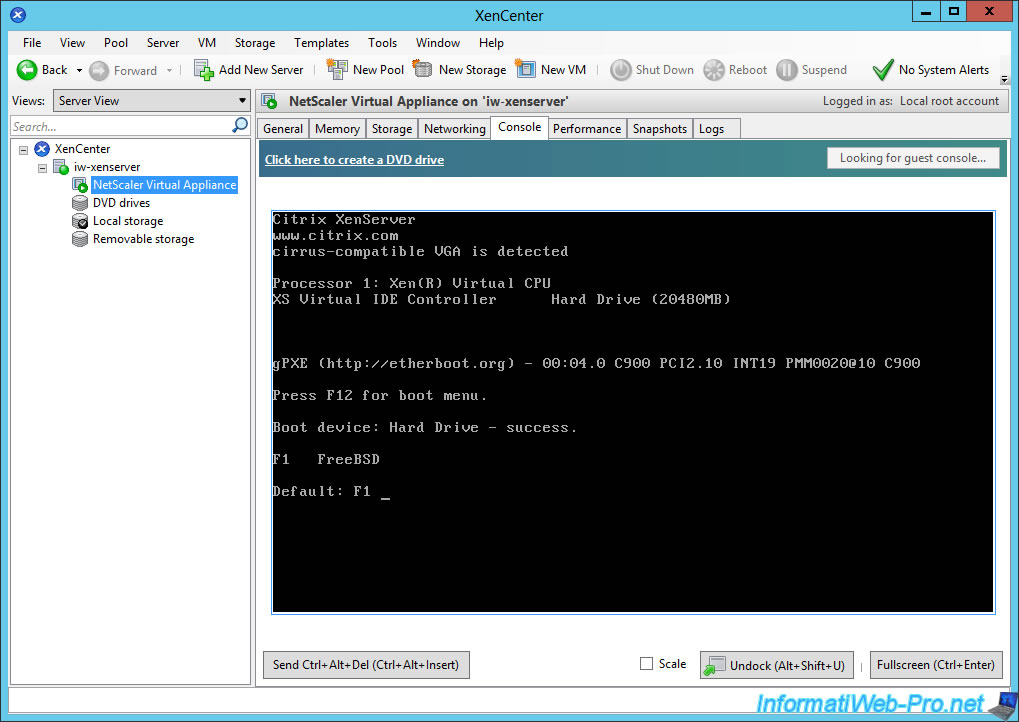
At first start of this virtual machine, you must configure the NetScaler network interface.
However, if you have already searched information concerning NetScaler on the Internet, you must have seen that this virtual machine has three IP addresses. Which is a bit confusing at the begining.
First, it is possible to assign several different IP addresses for a single network interface. It is also possible under Windows.
Then, here are IP addresses you can define for NetScaler :
- NSIP - NetScaler IP Address : the primary IP address of the NetScaler that you set at the first start of NetScaler. This IP address allows you to access the web interface for managing the configuration of NetScaler.
- SNIP - Subnet IP Address : one or more IP addresses to allow NetScaler to communicate with XenApp controllers, StoreFront, ... on the same local network , and with servers in the subnets (hence the "subnet" term).
- VIP - Virtual Server IP Address or Virtual IP Address : This is the IP address of a virtual server to allow, for example, to access applications published in XenApp through the NetScaler gateway.
- in previous versions of NetScaler, you will also MIP - Mapped IP address. This is also the IP address that you define at the first start of NetScaler. However, in version 11, you do not need/see it.
Sources : citrix.com and support.citrix.com
In short, in our case, we use these IP addresses for NetScaler :
- NSIP : 10.0.0.110 / Subnet mask : 255.0.0.0
- SNIP : 10.0.0.111 / Subnet mask : 255.0.0.0
- VIP : 10.0.0.112 / Subnet mask : 255.0.0.0
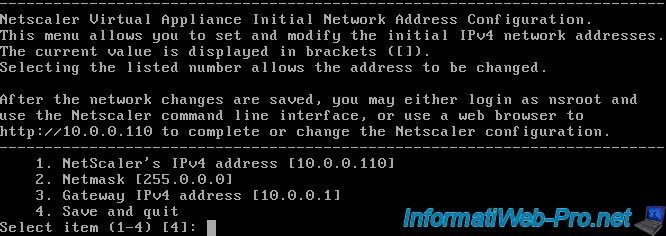
So, at the first start, we will indicate :
- NetScaler's IPv4 address : 10.0.0.110
- Netmask (subnet mask) : 255.0.0.0
- Gateway IPv4 address (IP address of the router) : 10.0.0.1

Then, leave the value 4 (default value) and press Enter to save the network configuration.
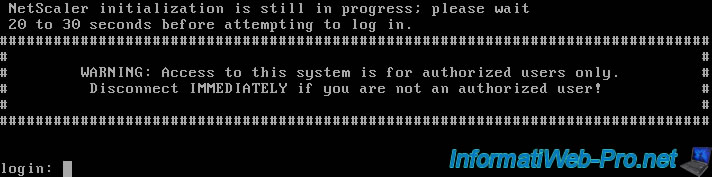
Then, wait until the big message "WARNING: Access to this system is for authorized users only" appears.
As you can see, it's possible to connect in command line on NetScaler.
Default credentials (username / password) are : nsroot / nsroot
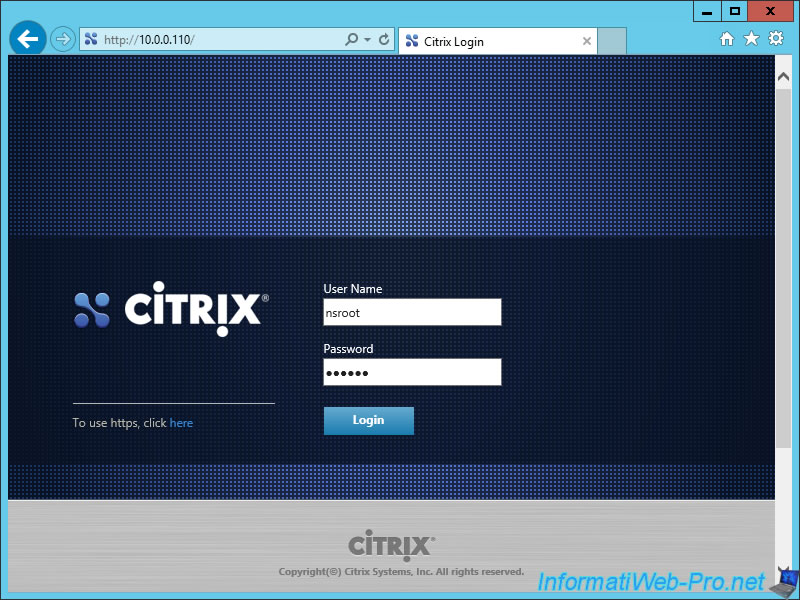
To continue the configuration of NetScaler, access the web interface of NetScaler by typing the address : http://10.0.0.110/
Note : the IP address 10.0.0.110 is the NSIP (NetScaler IP Address)
As stated previously, default credentials (username / password) are: nsroot / nsroot
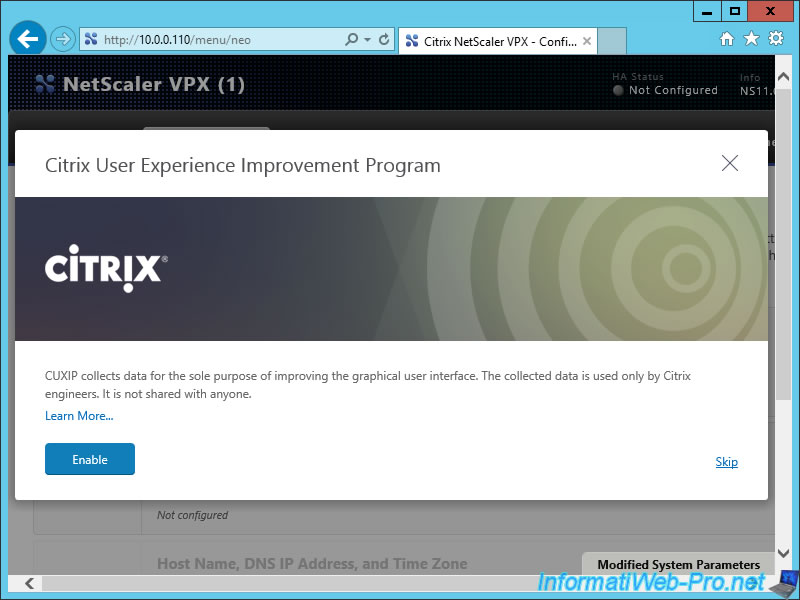
Participate in Citrix improvement program if you wish.
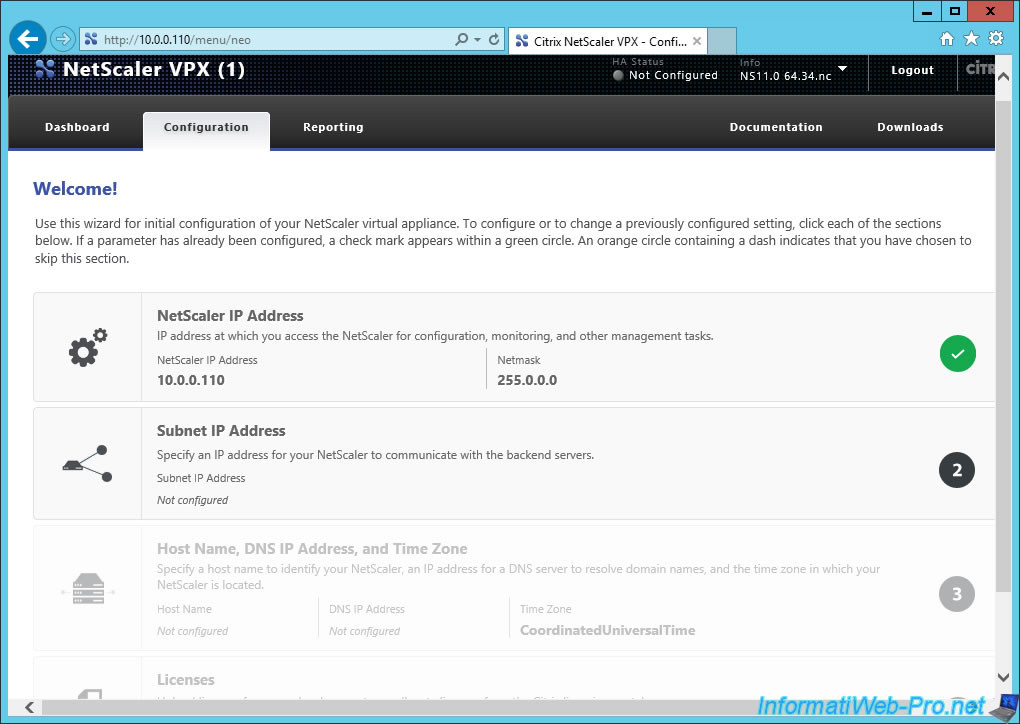
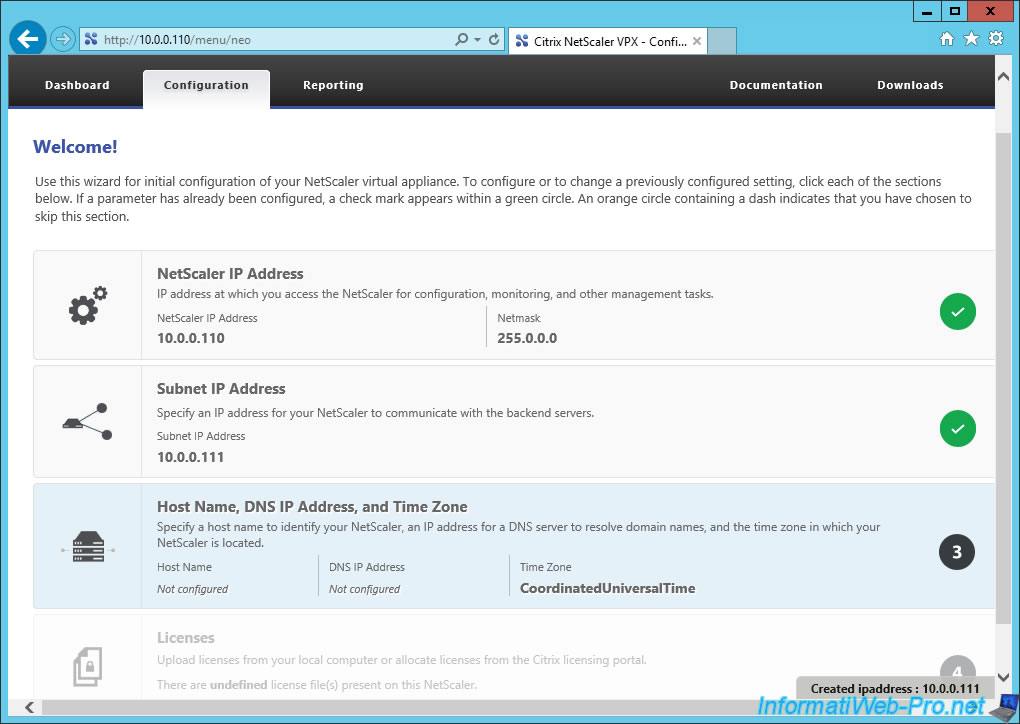
As you can see, the step 1 is already configured. Indeed, it is the network configuration that we indicated at the first start of NetScaler.
Now, NetScaler request a Subnet IP Address. Click the step "Subnet IP Address".
As explained in the diagram, the SNIP or Subnet IP Address allows NetScaler to communicate with servers that are in the background (XenApp, StoreFront, ...).
In our case, we will indicate this :
- Subnet IP Address : 10.0.0.111
- Netmask : 255.0.0.0
Then, click "Done".

At Step 3, we will specify the host name of NetScaler, the IP address of the DNS server to use, and the time zone to use.
Specify the following :
- Host Name : nsgw (meaning NetScaler Gateway, but you can put the name you want)
- DNS IP Address : the IP address of your local DNS server. If you have not installed a DNS server manually, enter the Active Directory server IP address where a DNS server is installed automatically during the installation of the Active Directory. This will allow NetScaler to resolve domain names like : xenapp.my-domain.lan, storefront.my-domain.lan ...
- Time Zone : time zone to use
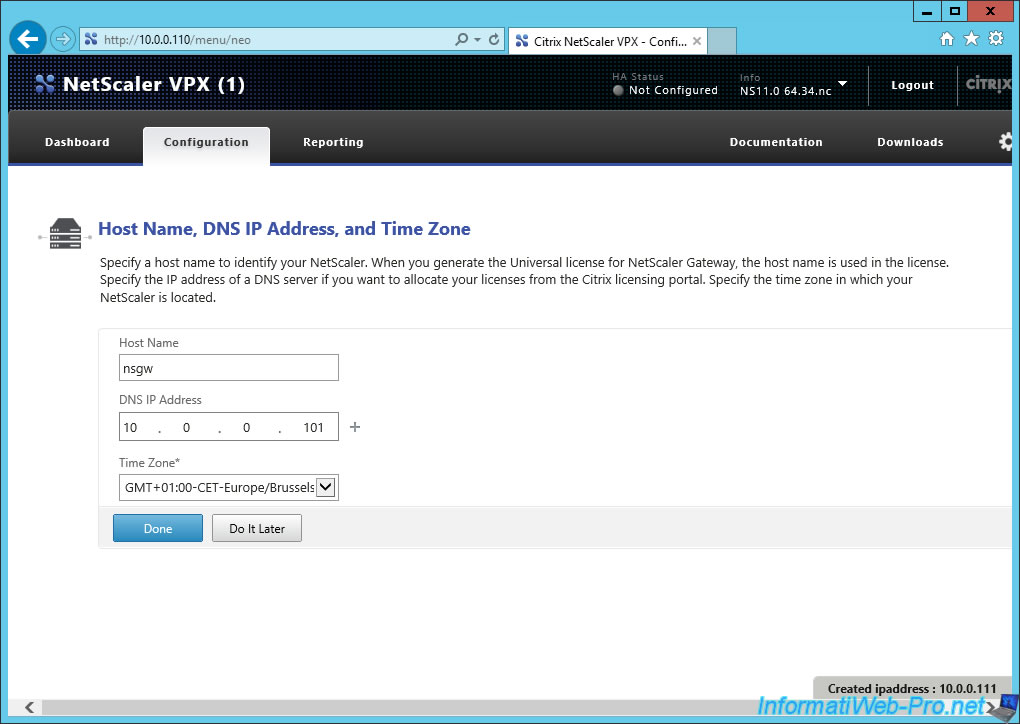
After this configuration, NetScaler will need to reboot. Click "Yes".
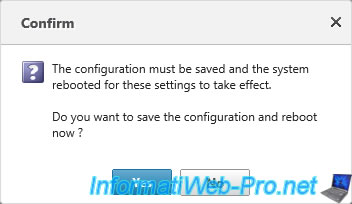
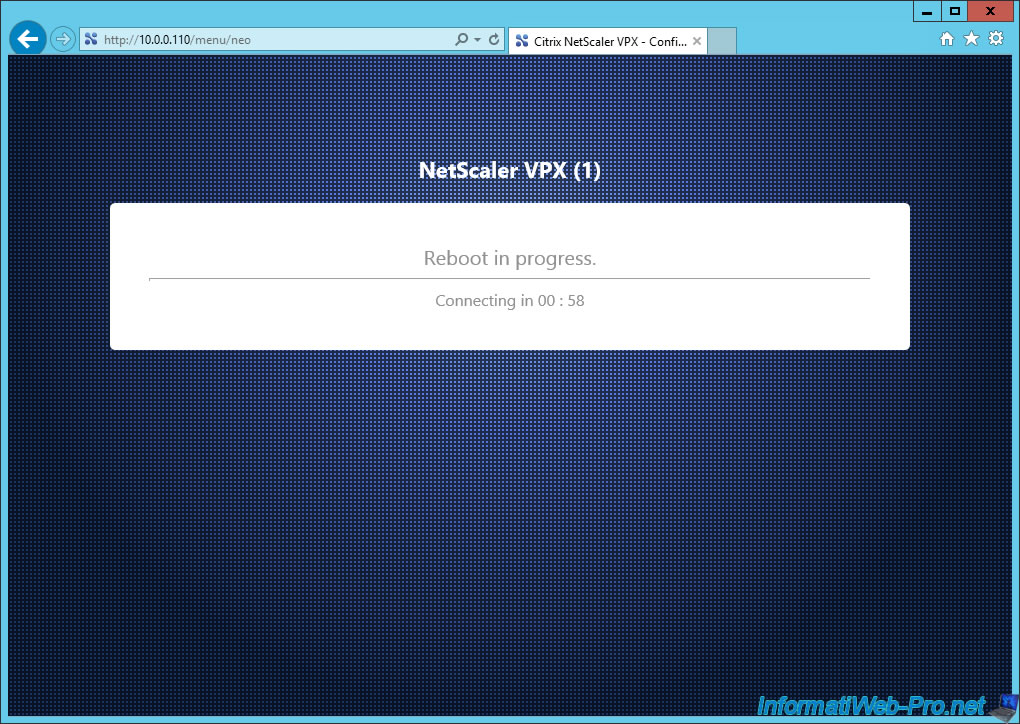
Wait during the reboot of NetScaler.
To complete the initial setup of NetScaler, you will need to import a license file to use NetScaler.
If you were logged in when downloading NetScaler, a trial license is awaiting assignment in your Citrix account.
Click on the step "Licenses".
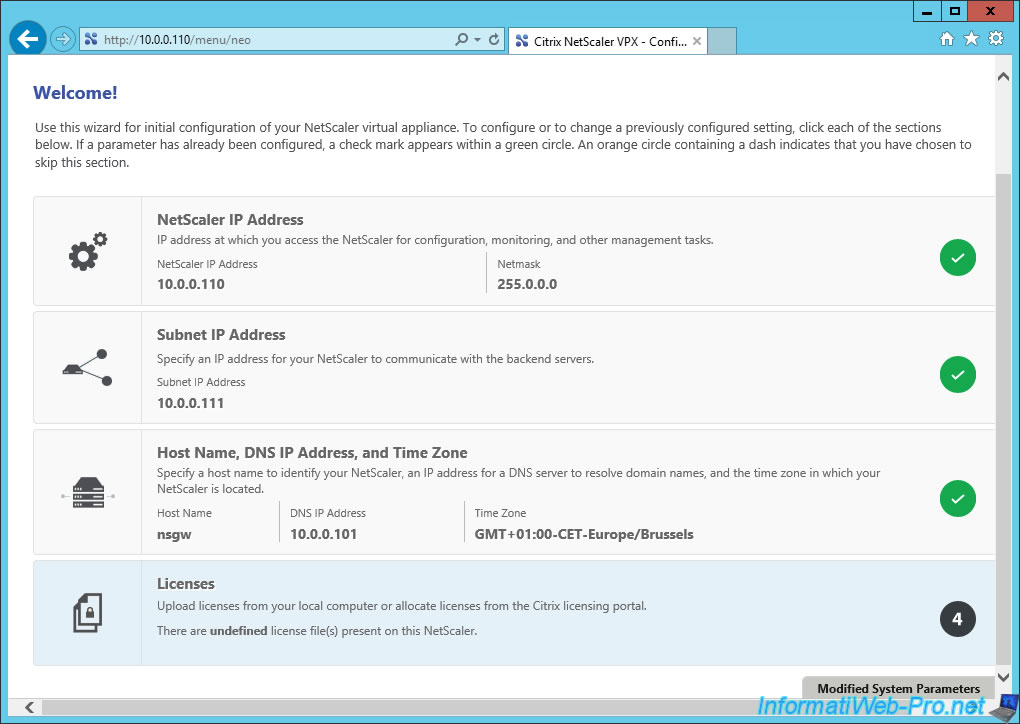
As you can see on the right, NetScaler displays a Host ID. After verification, it's the MAC address of the virtual machine without the ":" character.

Recently, the download of NetScaler Unified Gateway generates a "Citrix Store NetScaler Gateway Enterprise VPX - Evaluation (90 day)" evaluation license that will not work with NetScaler.
To get a free evaluation license for NetScaler, you will need to go on the "NetScaler ADC" page, then click the buttons "Try for free" and "Send my license now". (You must be logged on Citrix.com to do this)
This will generate a "Citrix Store NetScaler VPX 1000 - Platinum Edition - Evaluation (90 Day)" license into your Citrix account.
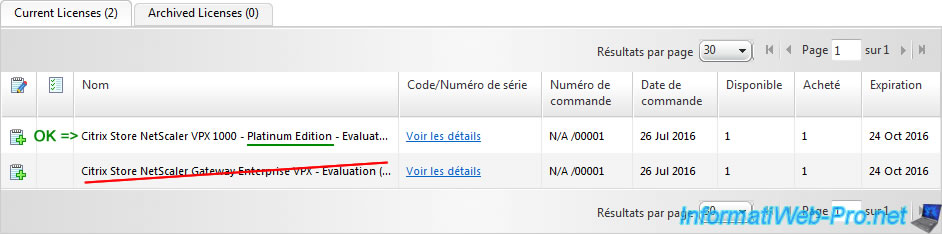
To find it, go to your account and find the "Activate and assign licenses" or "Managing licenses" page.
Then, go to the "Activate and assign licenses" tab.
In the list you will find 2 trial licenses :
- the bad license : Citrix Store NetScaler Gateway Enterprise VPX - Evaluation (90 day)
- The good license : Citrix Store NetScaler VPX 1000 - Platinum Edition - Evaluation (90 Day)
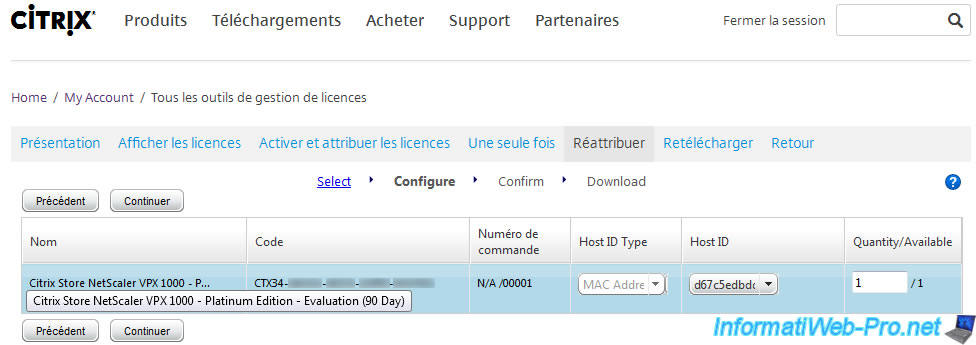
To use this Platinum license, you must first specify the MAC address (without the ":") of your virtual machine "NetScaler Virtual Appliance" in the Host ID box.
Then, click "Continue".
Note : to find the MAC address of your virtual machine, select your "NetScaler Virtual Appliance" VM and go to the "Networking" tab.
Select the license and click "Download".
Note : on the image below, you can see that we are in the "Reassign" tab. Indeed, we had already assigned this license during our local tests.
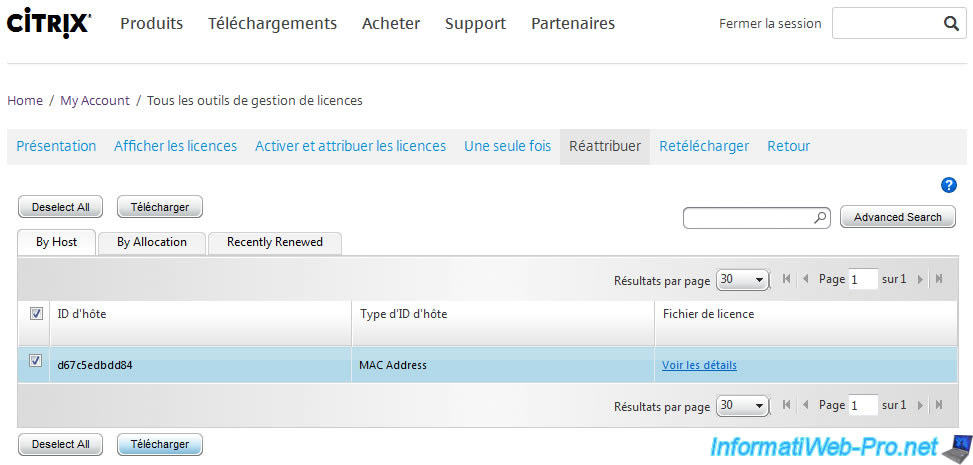
The downloaded file will have a ".lic" extension.
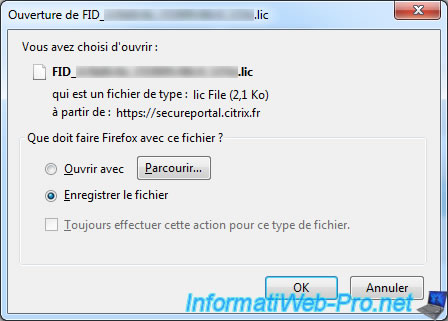
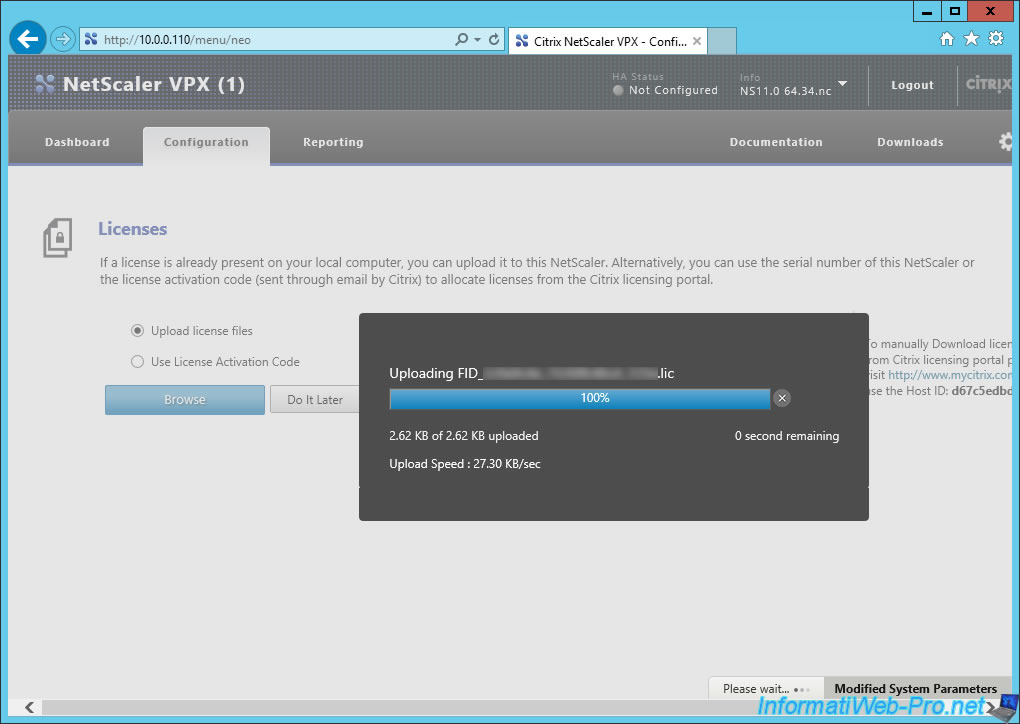
In the web interface of NetScaler, click the "Browse" button and select your license file.
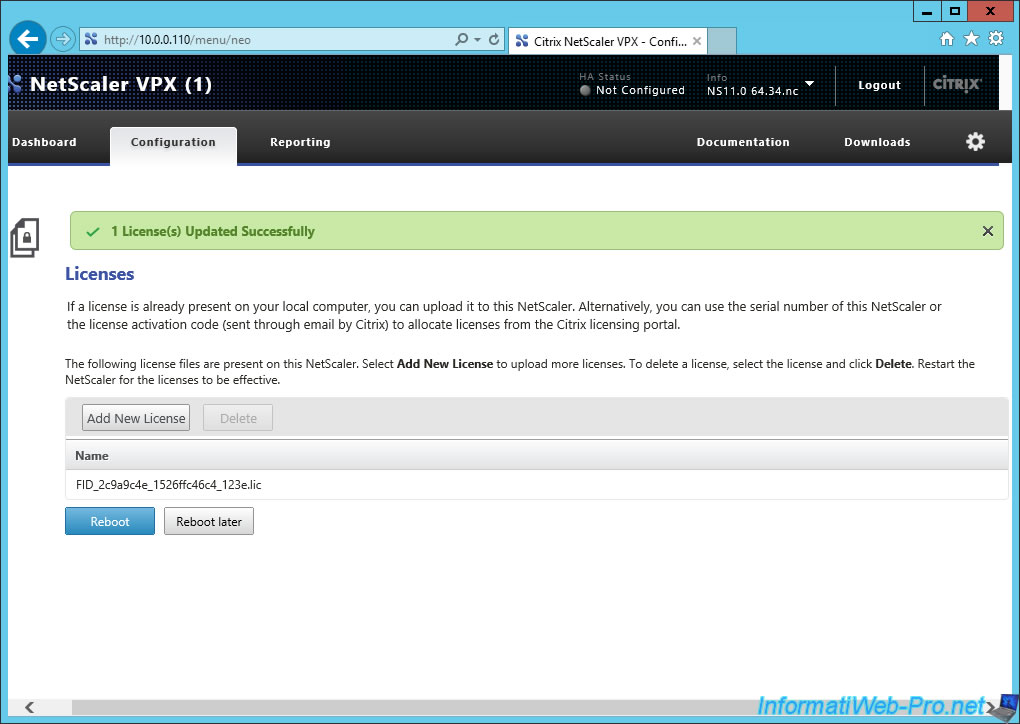
If your license is valid for this installation of NetScaler, the message "1 License (s) Updated Successfully" will appear.
Click on "Reboot".
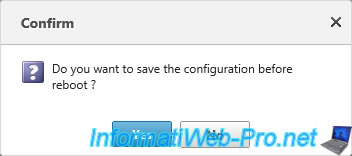
Click "Yes" to save the configuration before reboot.
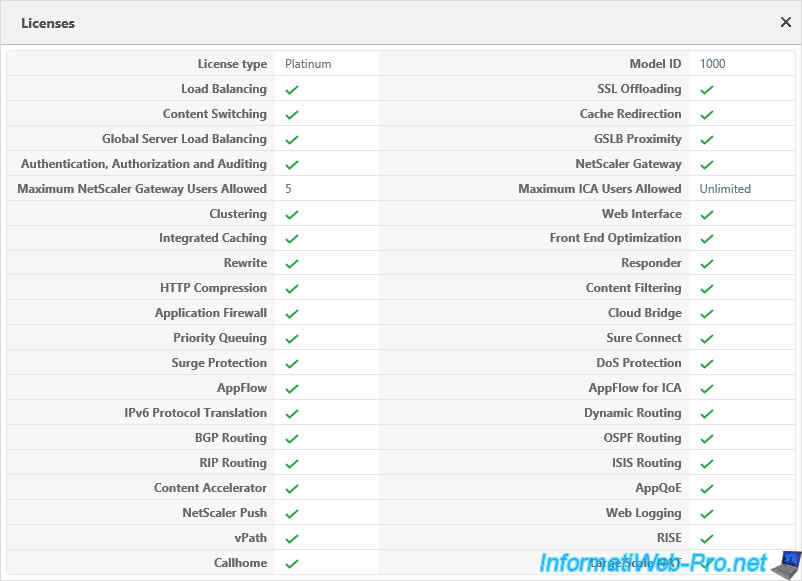
Then, a window "Licenses" is displayed with all the options available with the "Platinum" license.
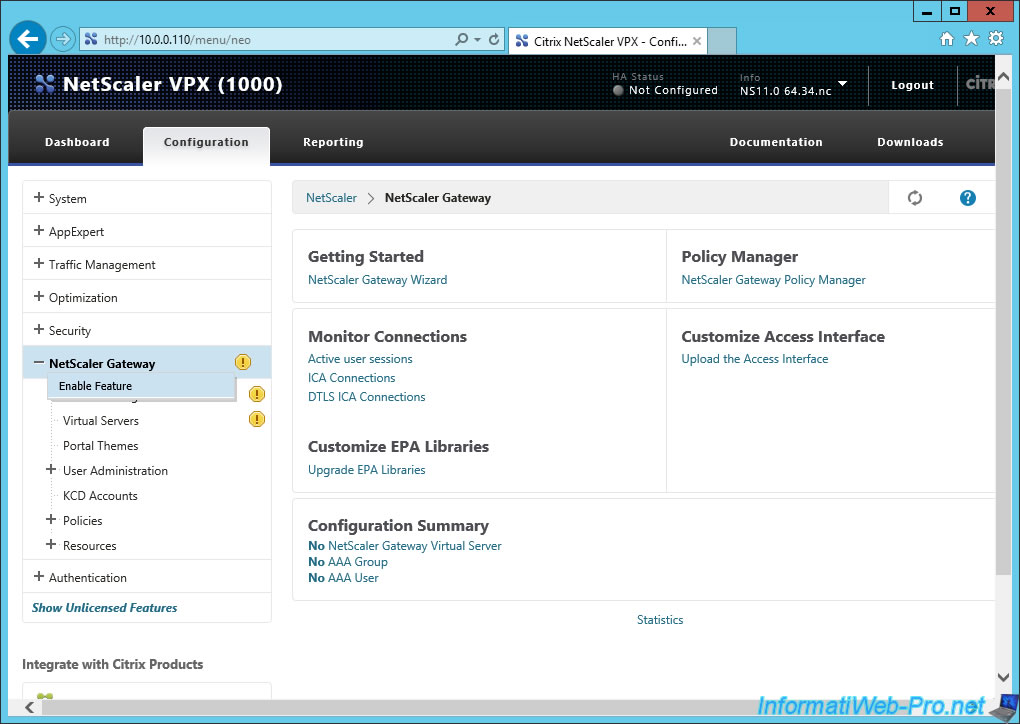
To finish the basic configuration of NetScaler, right-click on the "NetScaler Gateway" menu and click "Enable Feature".
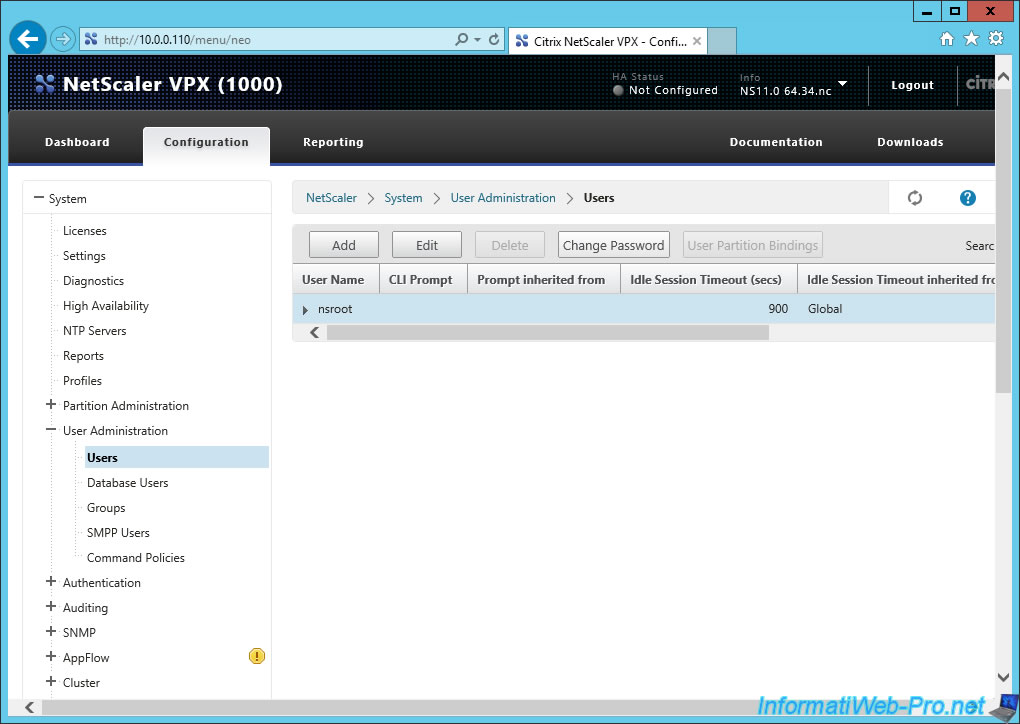
If you want to change the password of the "nsroot" account, go to the menu "System -> User Administration -> Users".
Then, select this user and click the button "Change Password".
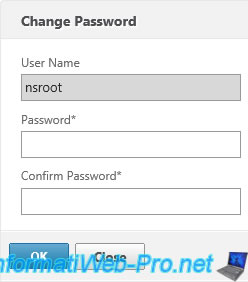
Enter a new password and click OK.
Share this tutorial
To see also
-
Citrix 5/14/2016
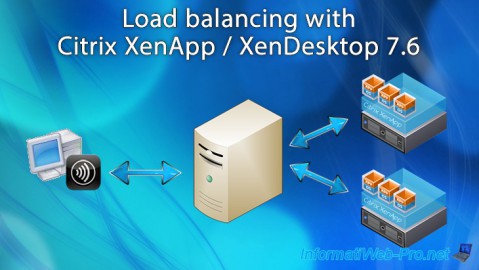
Citrix XenApp / XenDesktop 7.6 - Load balancing
-
Citrix 8/2/2016
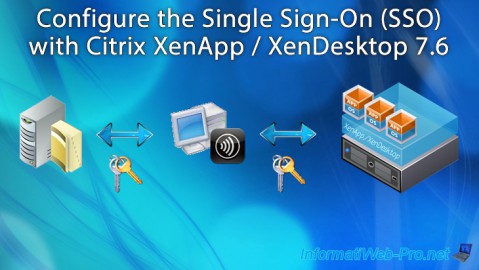
Citrix XenApp / XenDesktop 7.6 - Single Sign-On (SSO)
-
Citrix 3/22/2015
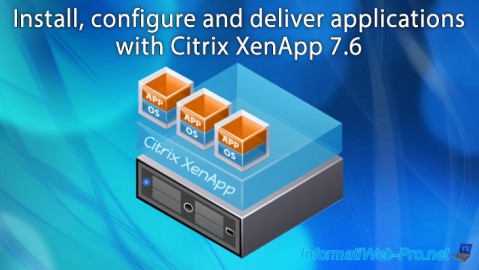
Citrix XenApp 7.6 - Applications delivery
-
Citrix 3/27/2016
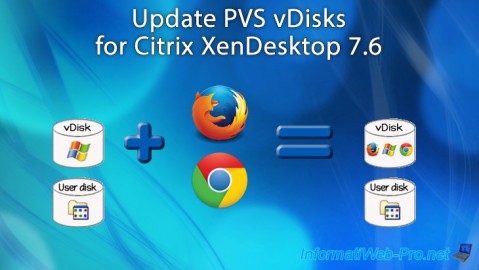
Citrix XenDesktop 7.6 - PVS - vDisks updates
You must be logged in to post a comment