Installation, configuration and integration of Citrix NetScaler Gateway 11.0 with XenApp/XenDesktop
- Citrix
- Citrix NetScaler Gateway, Citrix XenApp / XenDesktop
- 09 April 2016 at 11:44 UTC
-

- 3/6

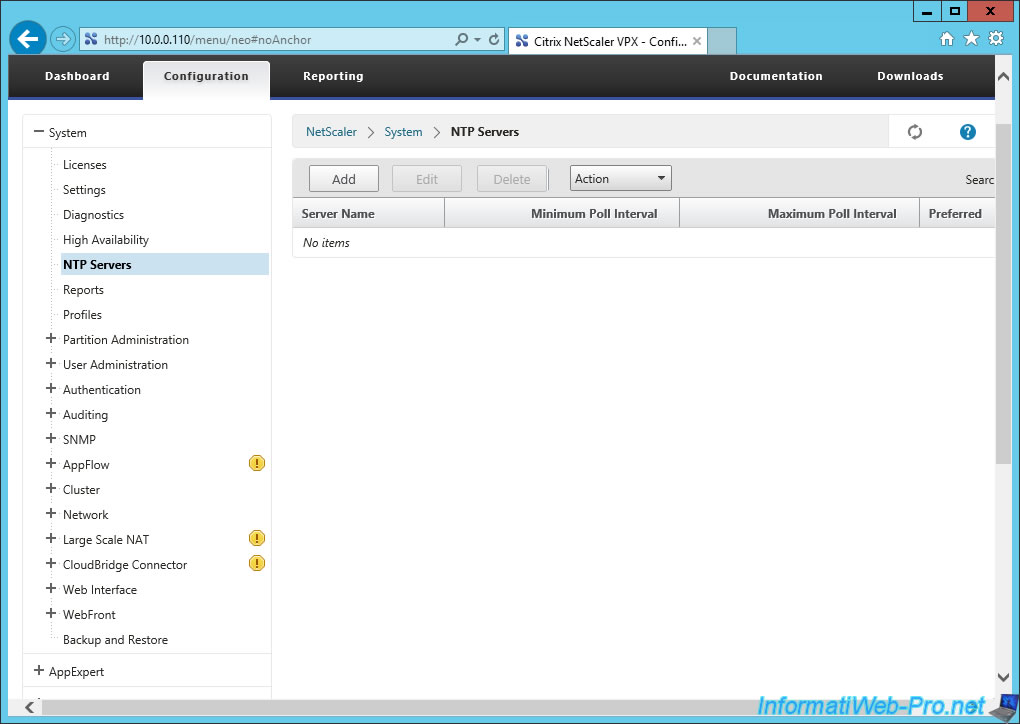
6. Add a NTP server
This is optional, but synchronize all clocks of your servers prevent you from having problems with authentication and Active Directory.
To add a NTP server, go to the menu "System -> NTP Servers" and click on "Add".
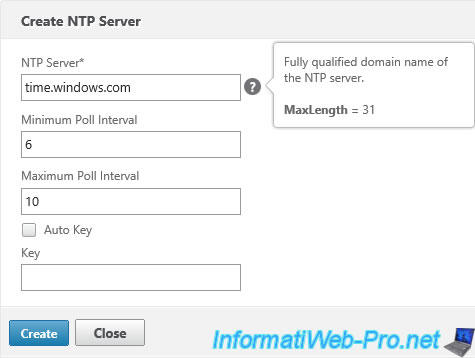
Contrary to what the title might suggest, this option doesn't create a NTP server, but allows you to add a NTP server from which NetScaler synchronize its clock.
Because Windows computers synchronize with the NTP server "time.windows.com" of Microsoft, we will add the NTP server to NetScaler.
Then, click on "Create".
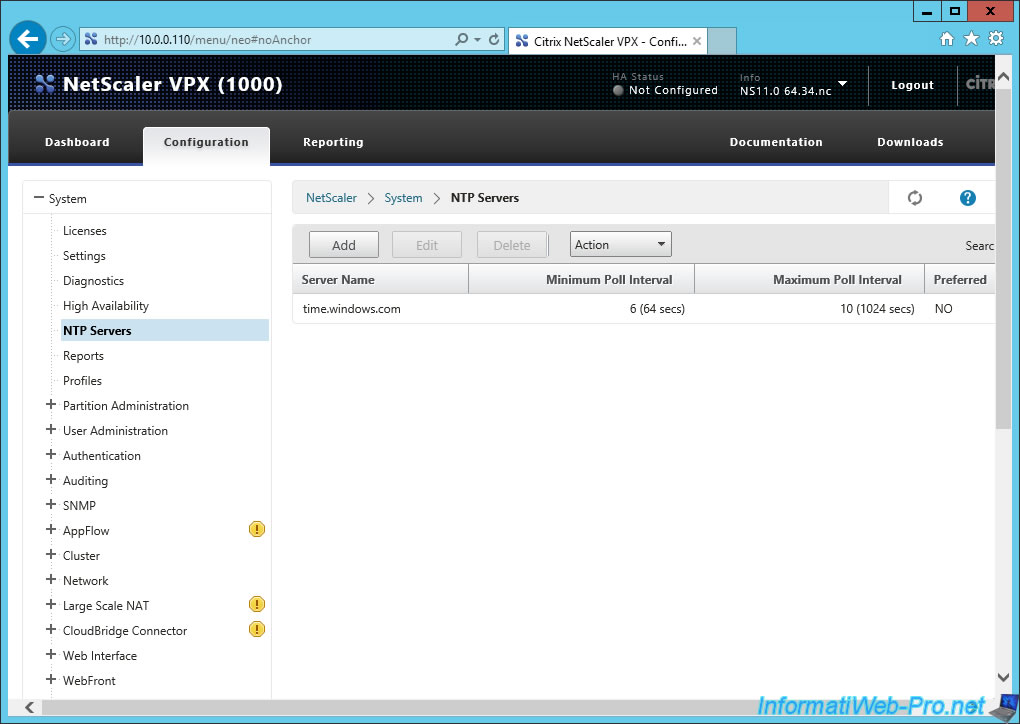
Now, NetScaler will be automatically synchronized with the same time server (NTP) as Windows computers.
Finally, save the configuration of NetScaler clicking on the small blue floppy at the top right of the page.
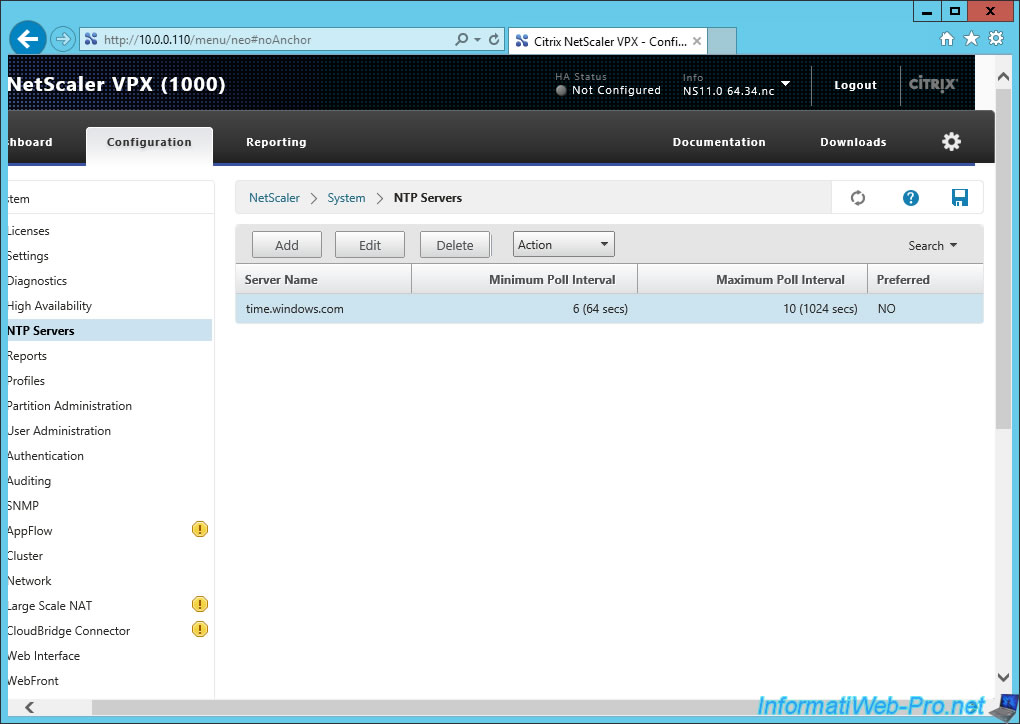
Click Yes.

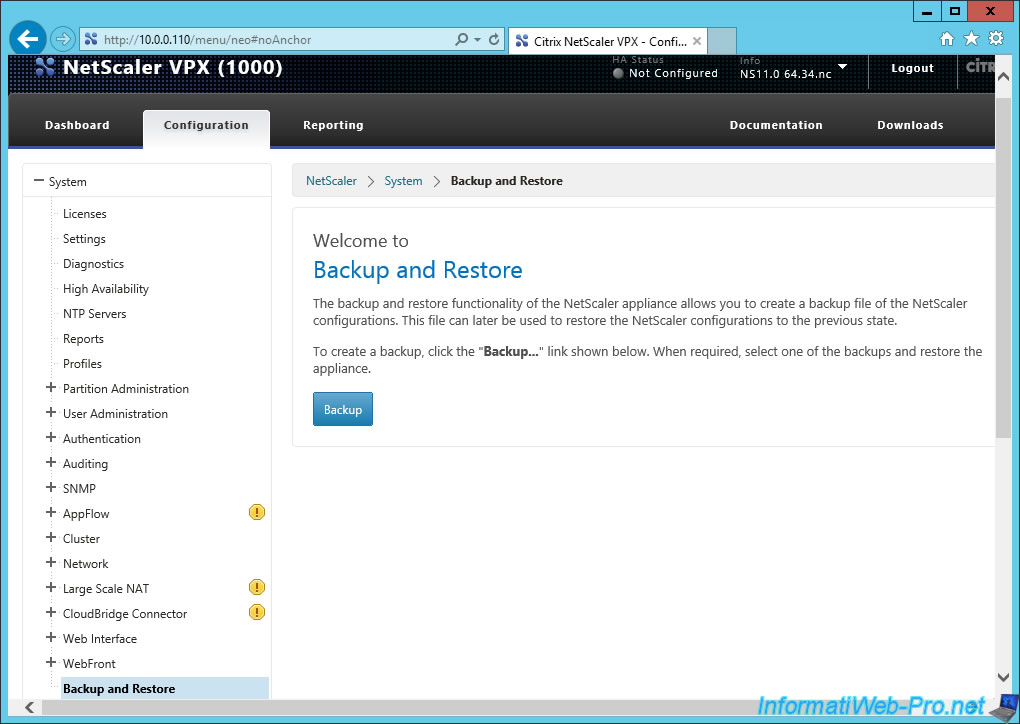
7. Backup and restore
To save and restore the configuration of NetScaler, simply go to : System -> Backup and Restore.
Then, click "Backup".
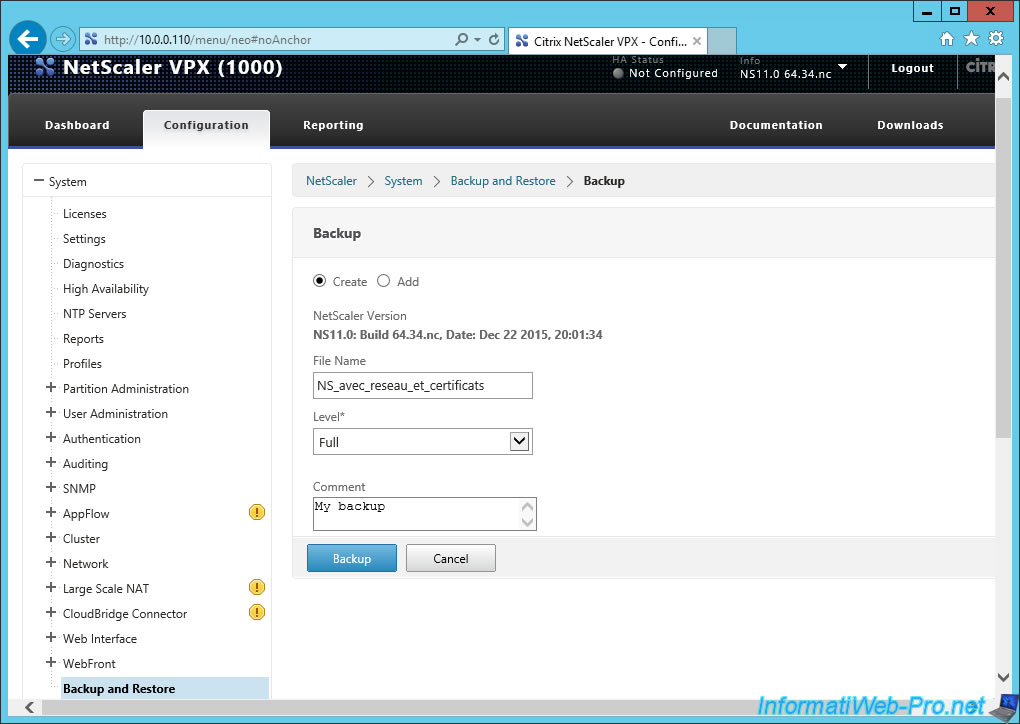
Select "Create" and specify the following :
- File Name : A file name for this backup
- Level : Level: Select Full for a full backup of the NetScaler's configuration
- Comment : specify a description for this backup
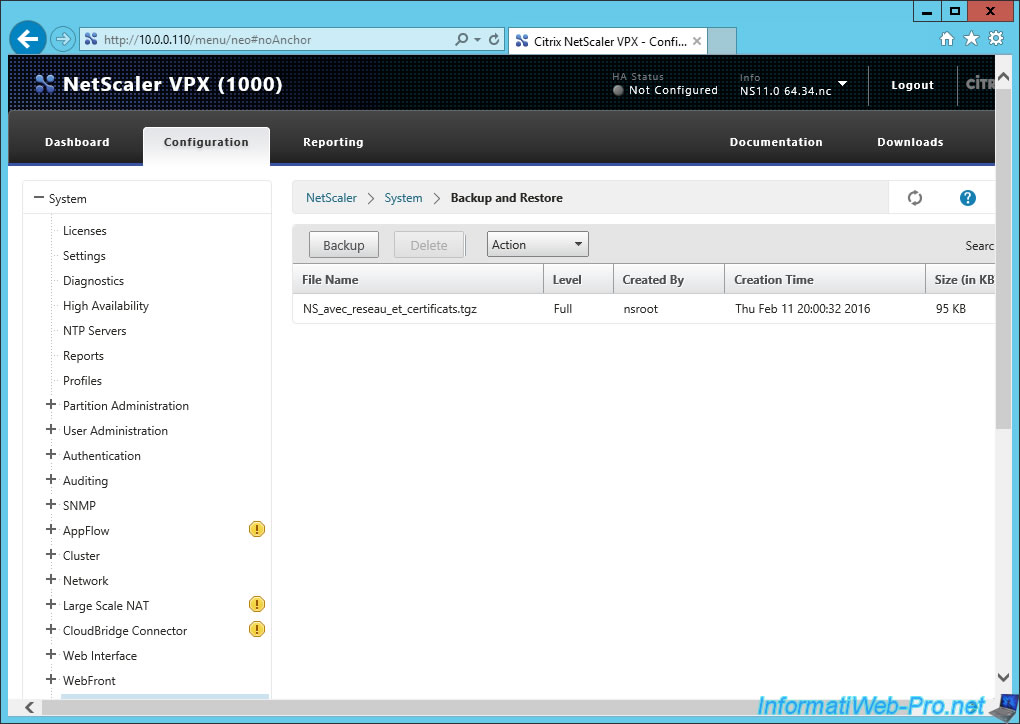
The list of backups is displayed.
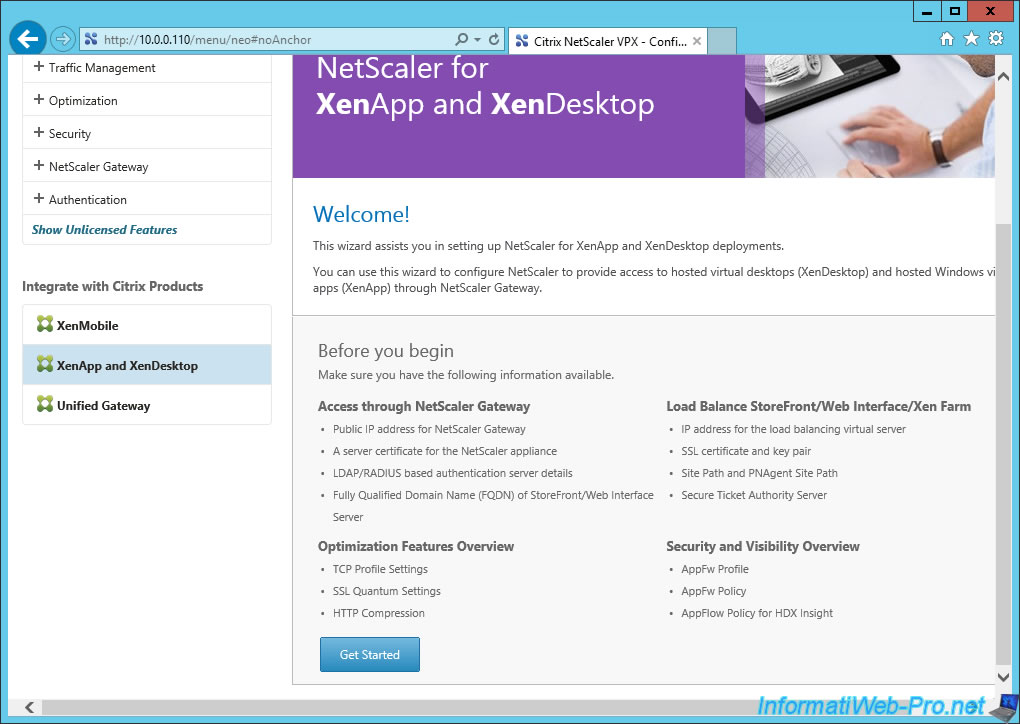
8. Integration with Citrix products (Including XenApp/XenDesktop)
At the bottom of the left menu, you will find a "Integrate with Citrix Products" block.
Click "XenApp and XenDesktop".
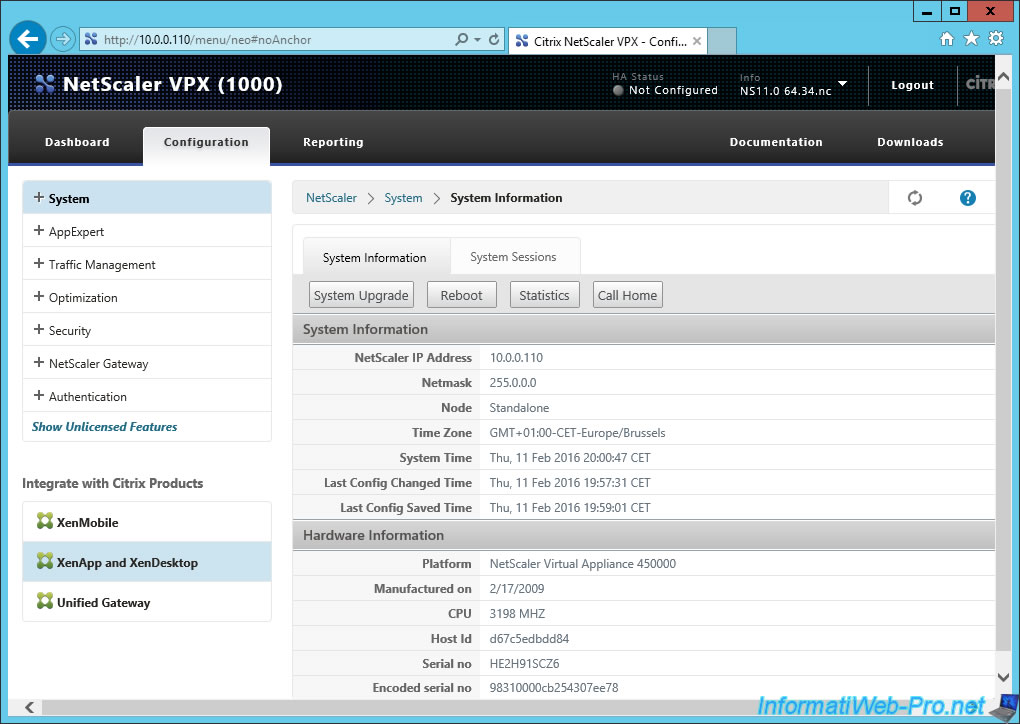
You arrive on a page "NetScaler for XenApp and XenDesktop."
Click "Get Started".
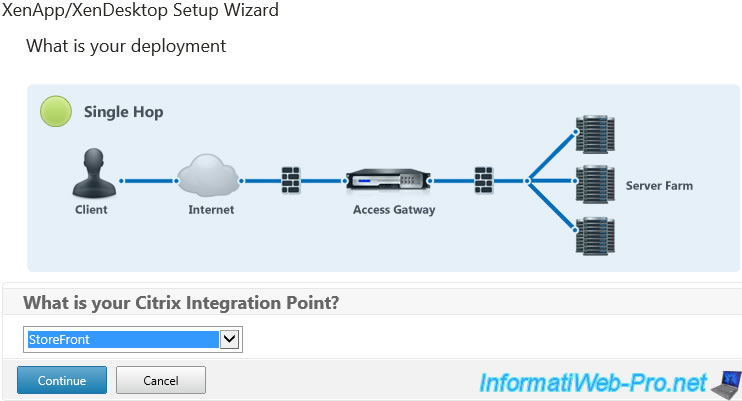
As you can see in the diagram below, the client will connect from the Internet on your NetScaler Gateway (Acess Gateway) to access the applications / desktops published on your or your XenApp/XenDesktop servers.
In short, the client will not have direct access to servers XenApp/XenDesktop because everything will go through the gateway.
In our case, we'll use NetScaler to allow users to access applications/desktops published in XenApp/XenDesktop. Usually, these applications/desktops are available through stores (Citrix StoreFront).
So, select "StoreFront" as the integration point.
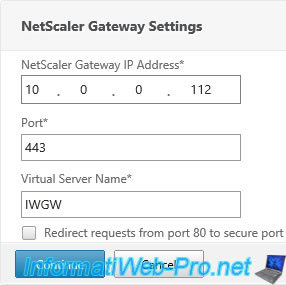
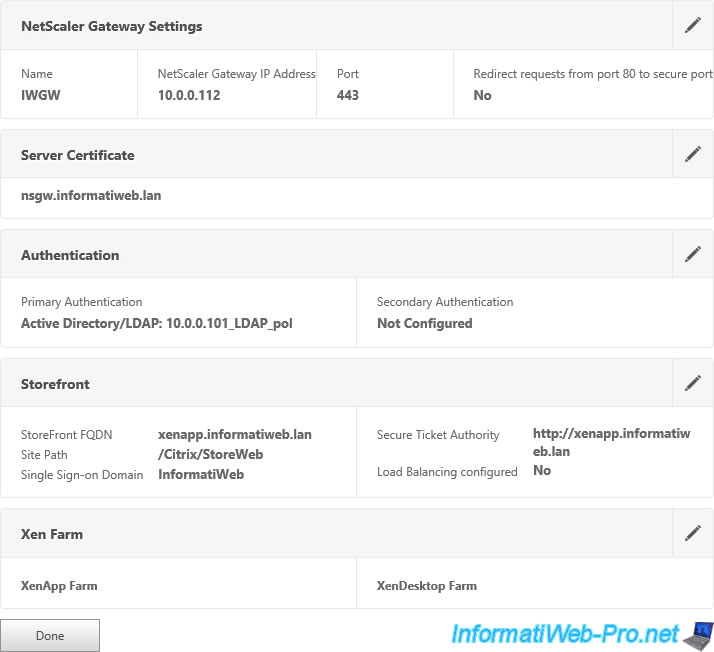
In the "NetScaler Gateway Settings" form, you must specify a different IP address that will be a VIP (Virtual server IP address or Virtual IP address).
In our case, this virtual server will have this information :
- IP address : 10.0.0.112
- Port : 443 (HTTPS)
- Name : IWGW (meaning : InformatiWeb Gateway)
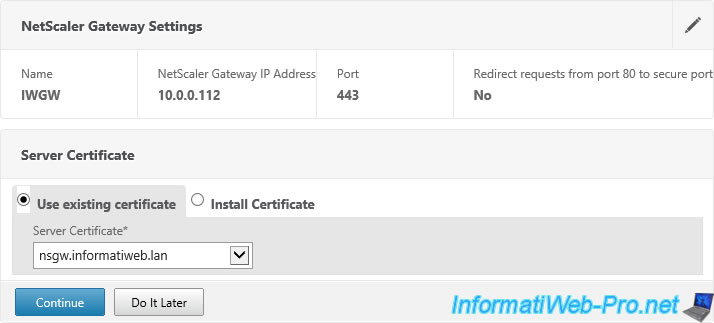
Then, use the "nsfw.informatiweb.lan" certificate created in step 4 of this tutorial.
For user authentication, it will be through our Active Directory (LDAP) server.
For this, specify the following :
- Primary authentication method : Active Directory/LDAP
- IP Address : IPv4 address of your Active Directory server. To use an IPv6 address, check the "IPv6" box.
- Port : 389 (default port of the Active Directory LDAP. 636 being the LDAP SSL port)
- Base DN : the path to the folder containing users stored in your Active Directory. By default, they are located in the "Users" folder of your domain.
- Service Account : Account to use to connect to the Active Directory. Format : [Name of the administrator account]@[domaine name]
- Server Logon Name Attribute : as shown when you fly over the "?", you must specify the value "sAMAccountName" for XenApp/XenDesktop deployments or userPrincipalName for XenMobile.
- Password (+ Confirm) : password of the "Service Account" account used to connect to the Active Directory.
Click "Continue".

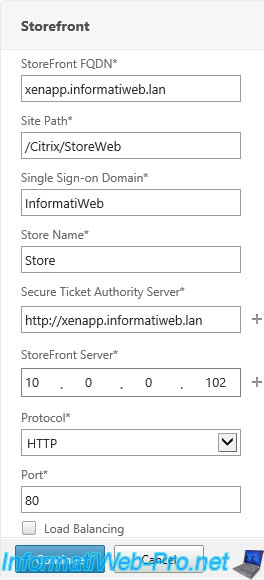
To allow users to use applications / desktops available through StoreFront, NetScaler must know the connection information for your StoreFront server.
For this, specify the following :
- StoreFront FQDN : domain name pointing on your StoreFront server
- Site Path : the path to the web store. By default : /Citrix/StoreWeb
- Single Sign-on Domain : your domain name without the extension.
- Store Name : Store
- Secure Ticket Authority Server : address of your STA server. Because we installed all components of XenApp on the same server, the address is the same as the StoreFront.
- StoreFront Server : IP address of the StoreFront server
- Protocol : HTTP
- Port : 80 (which is the HTTP protocol)
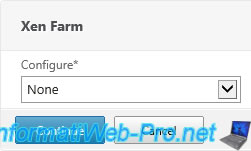
For Xen Farm section, select "None", because it concerns the Load Balancing that we have not configured.
A summary of the configuration is displayed. Click "Done".
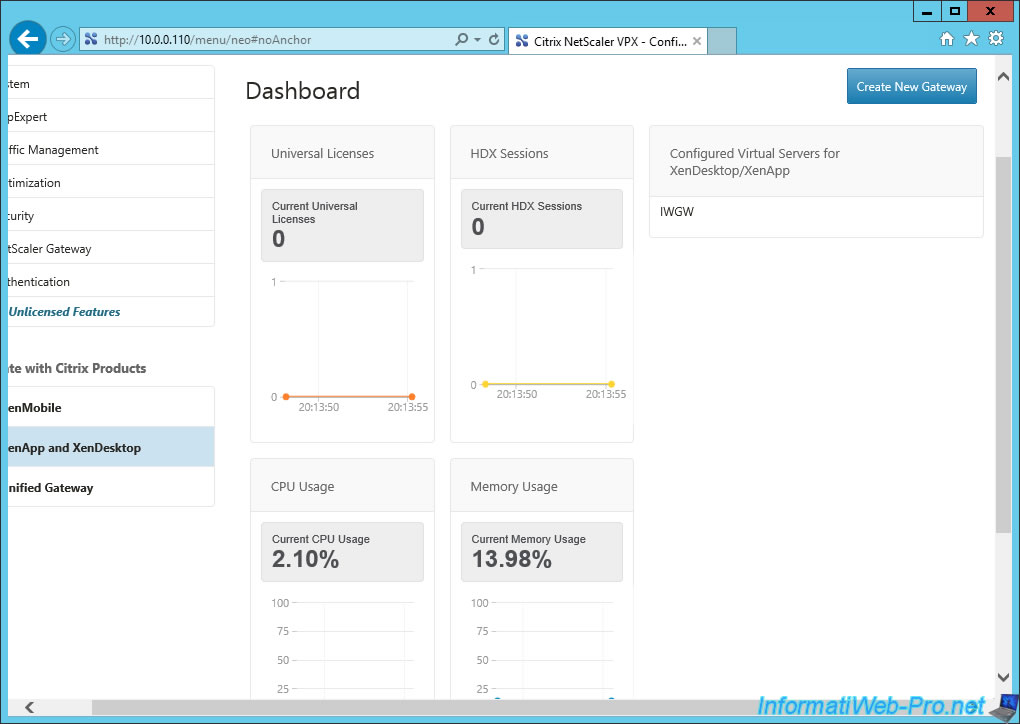
Finally, you arrive on a "Dashboard" page.
Share this tutorial
To see also
-
Citrix 3/22/2015
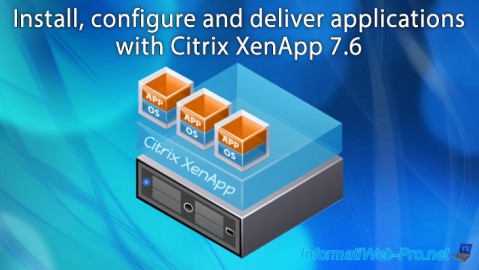
Citrix XenApp 7.6 - Applications delivery
-
Citrix 5/13/2015
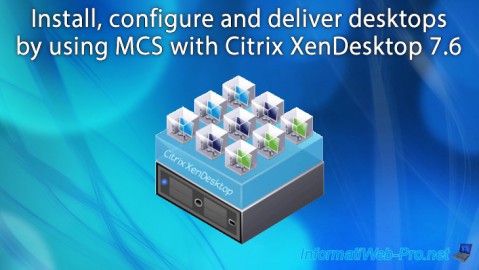
Citrix XenDesktop 7.6 - Deliver desktops by using MCS
-
Citrix 5/31/2015
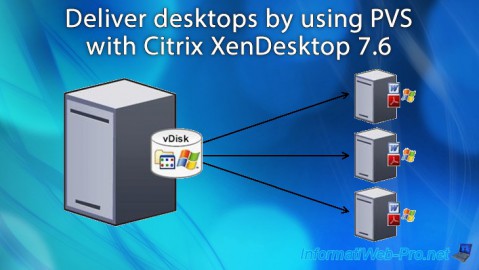
Citrix XenDesktop 7.6 - Deliver desktops by using PVS
-
Citrix 3/27/2016
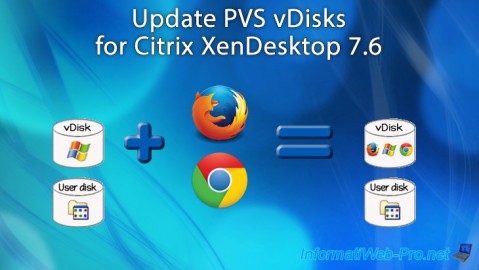
Citrix XenDesktop 7.6 - PVS - vDisks updates
No comment