Installation, configuration and integration of Citrix NetScaler Gateway 11.0 with XenApp/XenDesktop
- Citrix
- Citrix NetScaler Gateway, Citrix XenApp / XenDesktop
- 09 April 2016 at 11:44 UTC
-

- 5/6

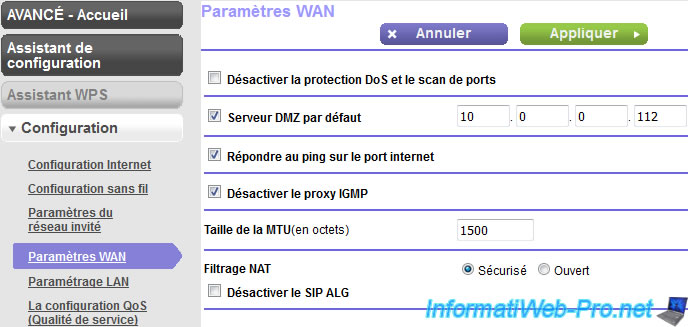
12. DMZ or port forwarding in the router
To better reflect the reality, you can place your virtual server (created in NetScaler) in a DMZ.
This will allow users to access your gateway Gateway NetScaler , because all ports not routed in the router will be redirected to your virtual server.
The IP address to put in DMZ is the VIP (Virtual server IP address or Virtual IP).
Source : asus.com
Note : If you don't have the possibility to put your virtual server in a DMZ, simply forward port 443 (HTTPS) to the IP address of your virtual server.
To do this, follow this : Forward ports in your router (Routing / Port forwarding)
13. Remote client configuration
As explained at the beginning of our tutorial, we used two routers to be able to put a computer outside of the local network where are our servers.
In our case :
- our 1st router has an external IP address provided by the Internet service provider (ISP) and an internal IP address : 192.168.1.1.
- our 2nd router has an external IP address "192.168.1.4" and an internal IP address : 10.0.0.1.
Our servers are connected on our 2nd router and therefore have an IP addresses starting with "10.0.0".
By against, the computer that we will use to test remote access to our NetScaler Gateway is connected to the 1st router.
So, he will have an IP address beginning with "192.168.1".
In short, as we are outside of the local network "10.0.0.x", we must access to the NetScaler Gateway through the router's external IP address. So, the IP address 192.168.1.4.
And because the IP address "10.0.0.112" is in the DMZ, all ports of the IP address 192.168.1.4 are redirected to the internal IP address "10.0.0.112".
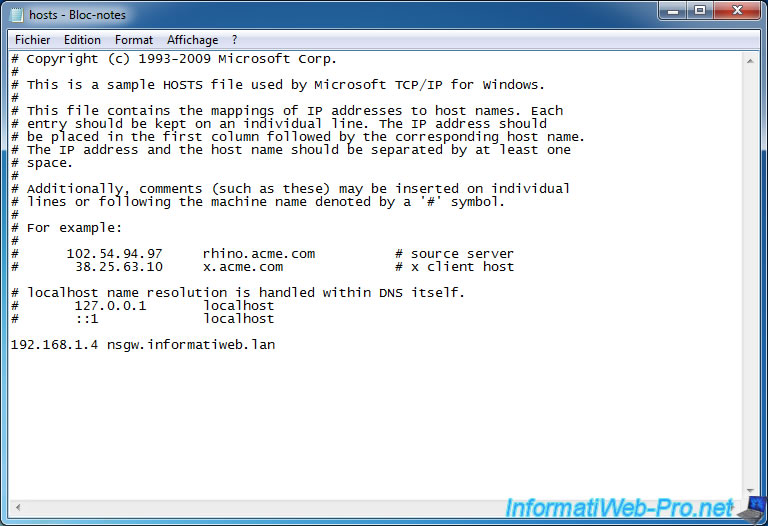
Because we are outside of the local network "10.0.0.x" and that our domain "informatiweb.lan" doesn't exist on the Internet, we need to edit the "C:\Windows\System32\drivers\etc\hosts" file of Windows to associate the domain name "nsgw.informatiweb.lan" to the IP address "192.168.1.4".
Note : this isn't needed if you use a real domain name created on the Internet.
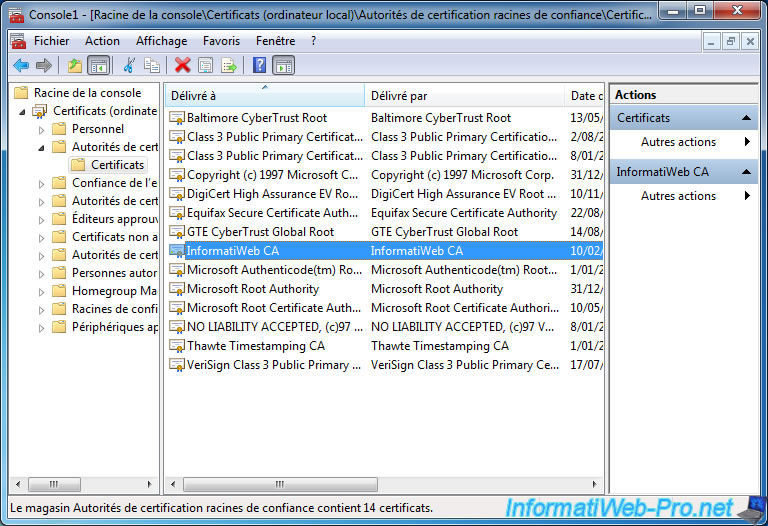
Then, to allow Citrix Receiver to function properly, the certificate of your NetScaler gateway should be considered as valid by the client computer.
For this, you must import the certificate of your certification authority in the Trusted Root Certificate Authorities list of the client computer like this : Import a certificate (of a root certification authority) in the trusted certificates list of Windows
Moreover, because your certification authority is not accessible from outside, certificate revocation lists are not accessible by remote clients.
In this case, Citrix Receiver does not work, because he considers your certificate as invalid.
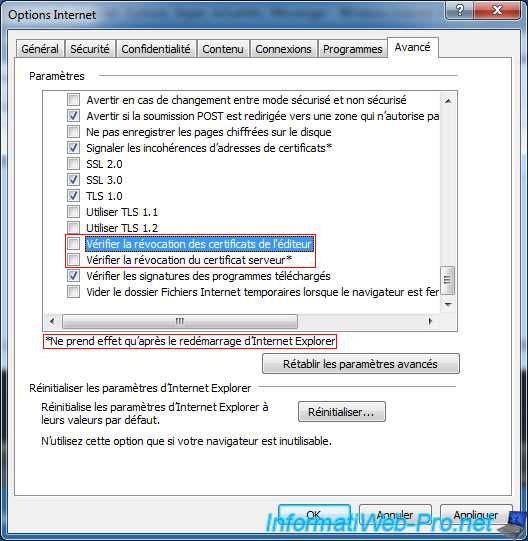
To solve this problem, you need to disable the certificate revocation verification of Internet Explorer.
For this, go to "Tools -> Internet Options", then go to the "Advanced" tab.
At the bottom of the list, uncheck these boxes :
- Check for publisher's certificate revocation
- Check for server certificate revocation*
Then, click OK and restart Internet Explorer to save these changes.
Note : this is not needed if you use a real certificate signed by a recognized certification authority such as Symantec SSL or GeoTrust.
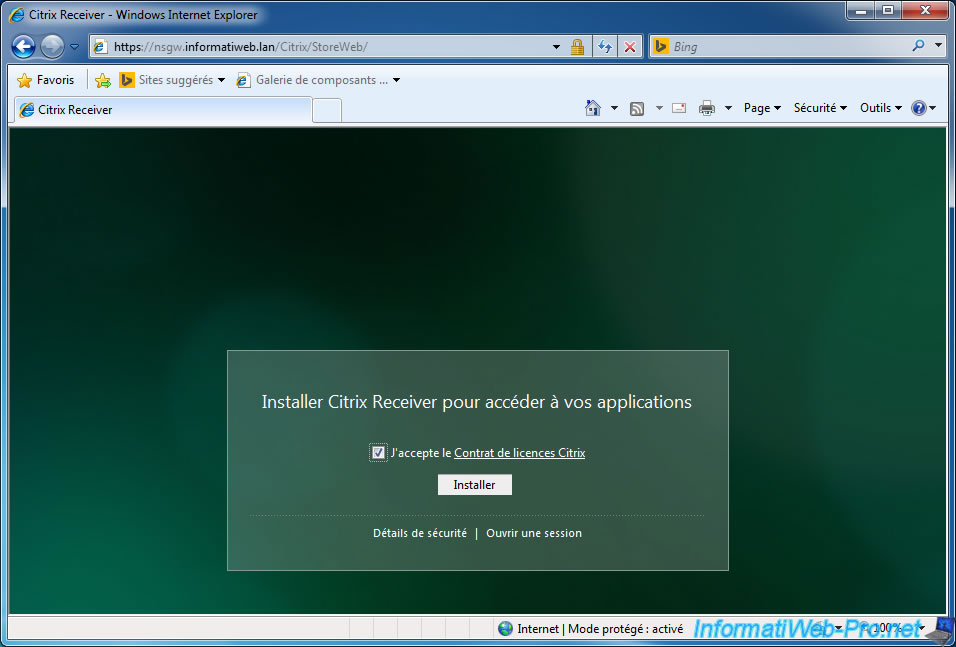
If all goes well, you will have access to the secure version (HTTPS) of your NetScaler Gateway.
Note : you can't access to your gateway by typing the virtual IP (VIP) of your NetScaler server because the certificate isn't valid for this address.
Login with a user of your Active Directory.

If Citrix Receiver is not installed on this computer, check the "I accept the Citrix License Agreement" and click Install.
Note : If you get a "Http/1.1 Internal Server Error 43531" error, check that the DNS configuration of NetScaler. You must specify the IP address of your local DNS server to resolve domain names like sub-domain.your-domain.com.
Source : discussions.citrix.com
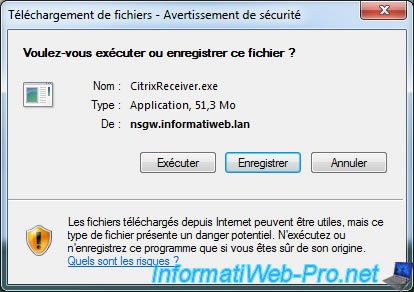
Download and install Citrix Receiver.
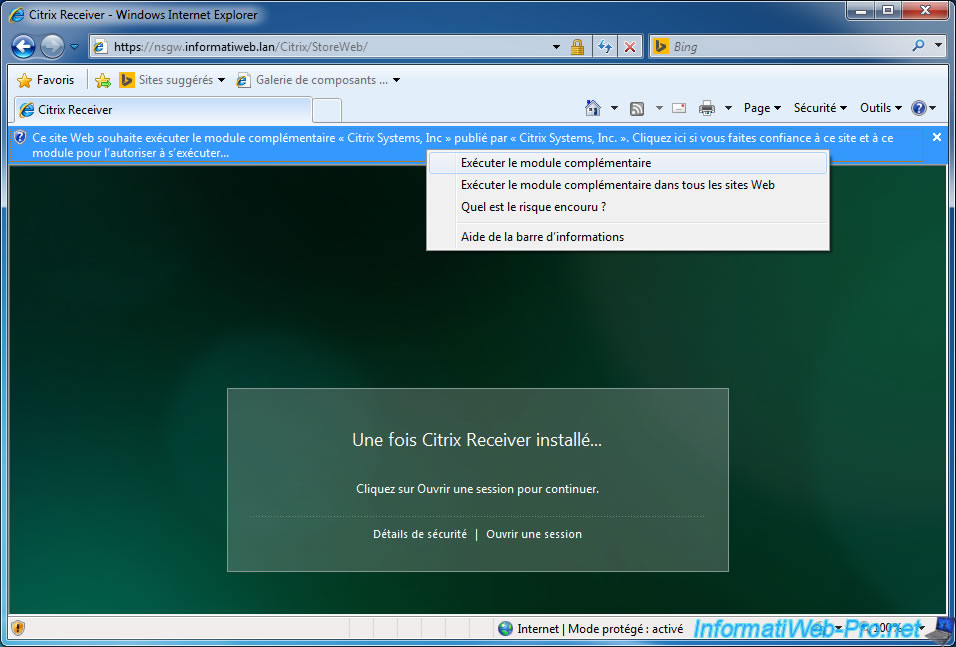
Once installed, enable the execution of the "Citrix Systems, Inc." module.
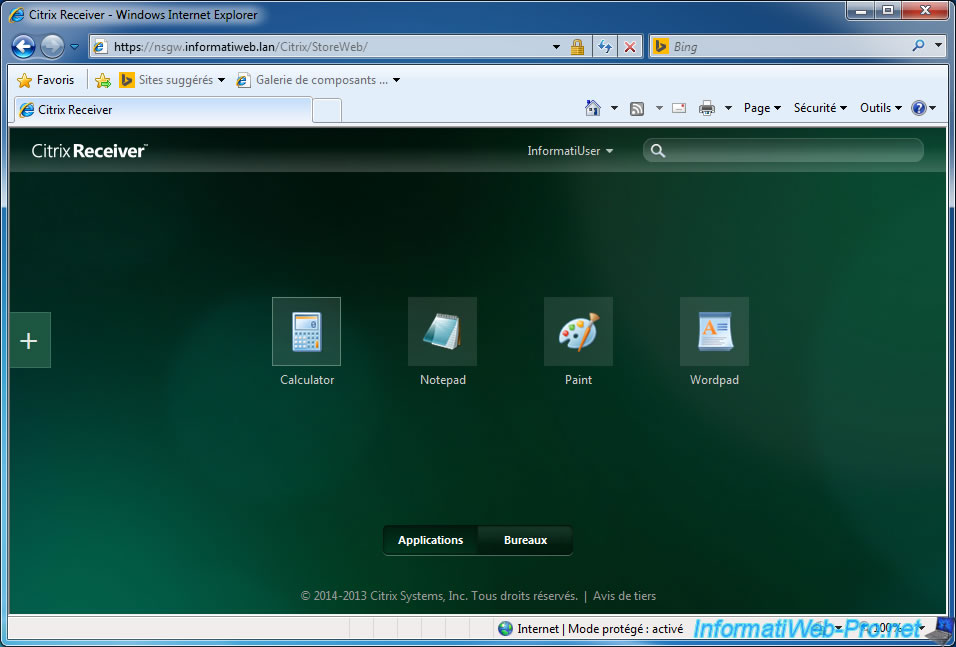
And you will have access to your applications/desktops published in XenApp/XenDesktop.
Share this tutorial
To see also
-
Citrix 8/2/2016
Citrix XenApp / XenDesktop 7.6 - Single Sign-On (SSO)
-
Citrix 3/22/2015
Citrix XenApp 7.6 - Applications delivery
-
Citrix 5/31/2015
Citrix XenDesktop 7.6 - Deliver desktops by using PVS
-
Citrix 3/27/2016
Citrix XenDesktop 7.6 - PVS - vDisks updates
No comment