- Citrix
- Citrix XenServer
- 13 March 2015 at 10:51 UTC
-

- 1/4

XenServer is comparable to VMware ESXi hypervisor (for those who know). XenServer is based on a Linux OS (specifically : CentOS 64-bit).
Like VMware ESXi, it works on a principle "client / server". So you will need 2 computers or 2 virtual machines to install and use XenServer.
Notes :
- XenServer is free, like its counterpart : VMware ESXi.
- XenServer uses the "CPU virtualization" and operates in 64 bits.
- To enable this feature in the BIOS of your motherboard, read this : Enable virtualization (Intel VT-x / AMD-V).
- If you install XenServer in a VMware virtual machine, you need to enable virtualization of Intel VT-x or AMD-V for this virtual machine.
For that, go to the settings of the virtual machine -> "Processors" and check the "Virtualize Intel VT-x / EPT or AMD-V / RVI".
Note : You must also enable processor virtualization in the BIOS of the physical computer.
Tutorial update : little difference compared to VMware ESXi, Citrix XenServer doesn't allow you to create a local storage (named Datastore in ESXi) for iso files.
After a long discussion with experts from Citrix, we decided to use a Debian virtual machine that will serve NFS server (solution approved by the employee "James Cannon" Citrix). Some sites allow you to create a local storage on a XenServer server using Linux LVM volumes. However, it causes problems when the server restarts; it isn't supported by default by Citrix XenServer; and you lose the Citrix support that you got with the paid version of XenServer. To qualify for the Citrix support, you will need to remove any unsupported configuration (as specified by the employee "James Cannon" from Citrix).
- Download and install XenServer
- Install the client : XenCenter
- Connect to XenServer server from XenCenter
- Updating the XenServer server
- Installing a Linux machine (Debian)
- NFS server installation in Linux VM
- Link the NFS share to XenServer
- Share a Folder under Windows 7
- Adding the shared folder in the server storage spaces
- Exporting a virtual machine (create a "Virtual Applicance")
- Import a virtual machine
- Create a Virtual Machine
- Installing the drivers of the virtual machine
- Virtual machines stored on the server
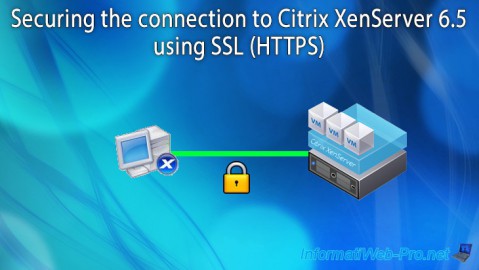
- Secure the connection with SSL (HTTPS protocol)
1. Download and install XenServer
To begin, download "XenServer" from the Citrix website and burn the downloaded file on a CD.
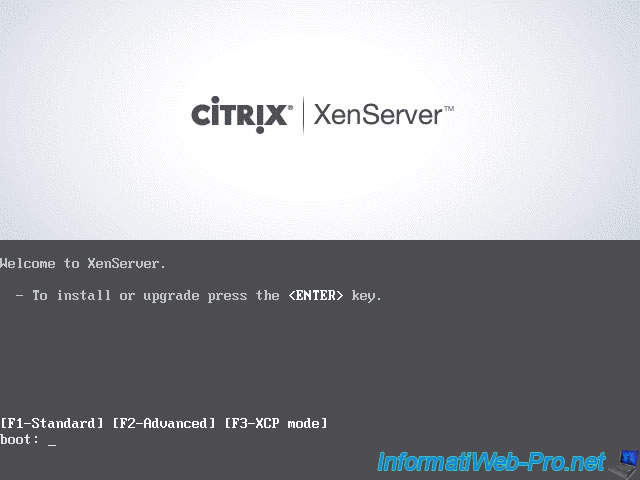
Once burned, boot the computer on this CD.
If all goes well, this screen will appear.
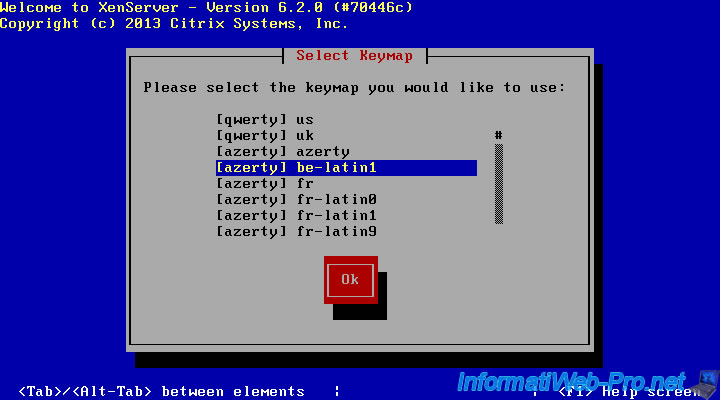
Select the layout of your keyboard.
In your case : "[qwerty] us".
If you need to load a driver, press F9.
For example : a SCSI driver.
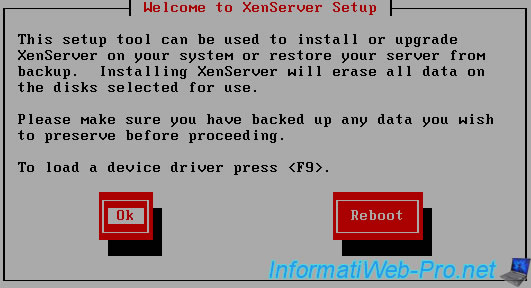
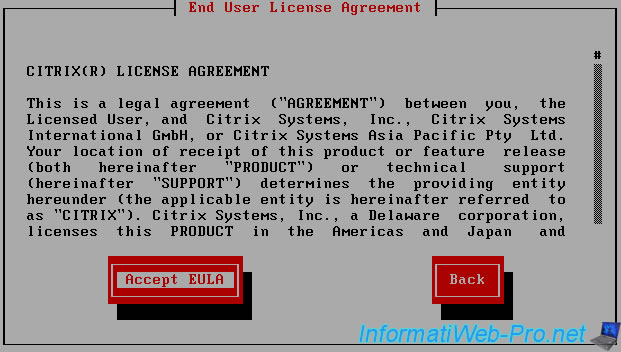
Accept the license.
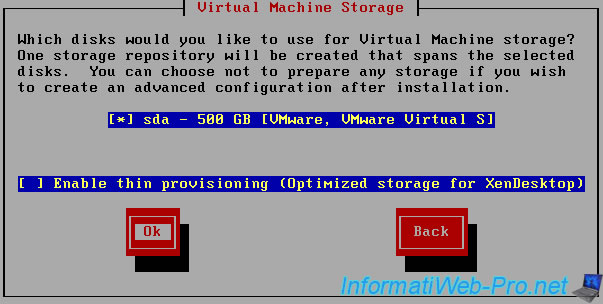
Select the hard drive to use for storing virtual machines.
Select "Local media" as the installation source.
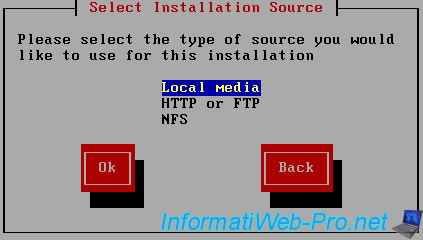
Don't install additional packages.

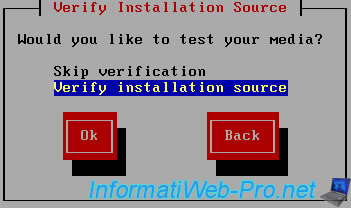
If you use a physical CD, select "Verify installation source".
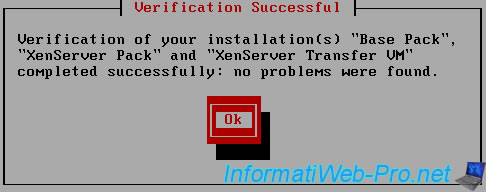
The installer checks the files (if you have selected this option).

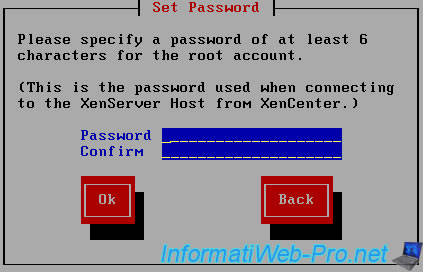
Set a password for the root account on the server.
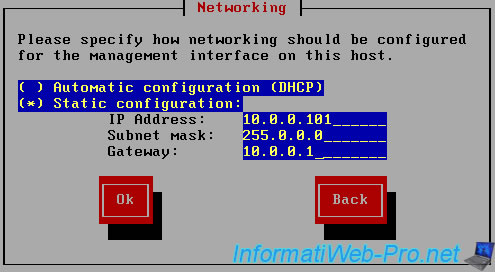
When you install a server, it's strongly recommended to set a static IP address for that server.
To do this :
- Either you use IP addresses in your DHCP reservations
- Either you set the static IP address on the server.
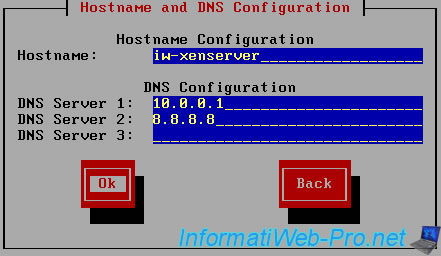
Specify the name of the server and the DNS servers to use.
For example (in this order) :
- IP address of your local DNS server (if you have one installed)
- IP address of the router (where IP addresses of the DNS servers of your ISP, are located)
- IP addresses of public DNS servers of Google (8.8.8.8 and 8.8.4.4).
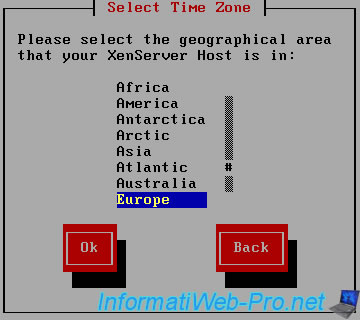
Select your continent (to use the correct time zone).
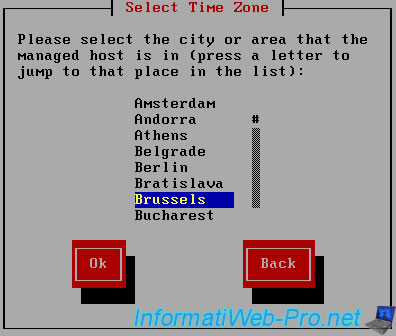
And the capital of your country.
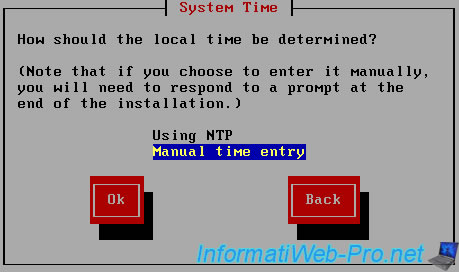
If you have an NTP server (time server) on your network, use it. Otherwise, choose "Manual time entry".
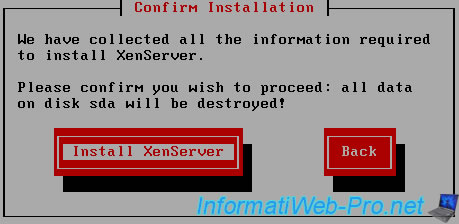
Installing XenServer will erase the entire hard drive. Click "Install XenServer".
The installation of XenServer is performed.

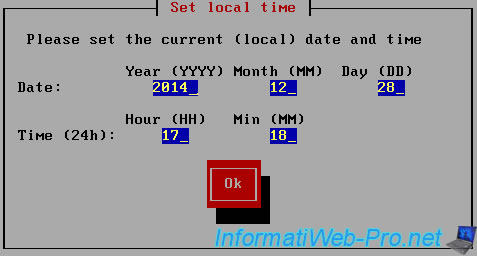
During installation, the installer will ask you for the date and the current time. (This information is retrieved from the BIOS of your computer).
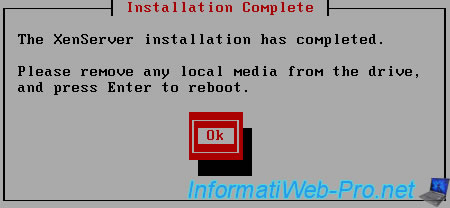
At the end of the installation, you must remove the installation CD from the CD / DVD drive.
Note : If you install the server in a virtual machine, uncheck the "Connect at power on" case of the virtual CD / DVD drive.
The server boots.
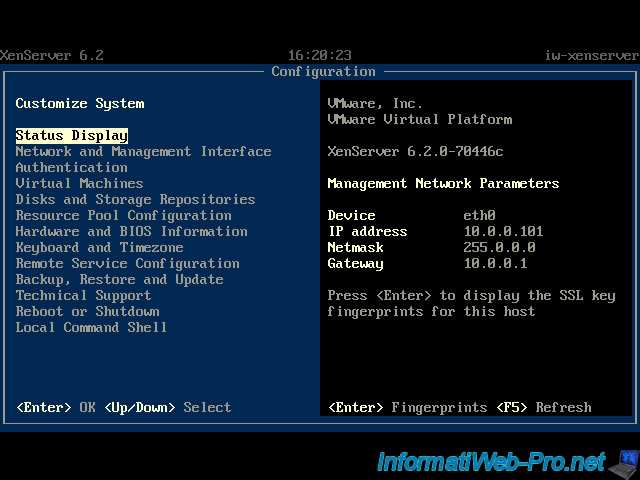
And displays the configuration screen.
Note : Don't worry, if you want to change a setting, the server will ask for the password of the root account.
2. Install the client : XenCenter
To connect to your XenServer server, you must install the client "XenCenter".
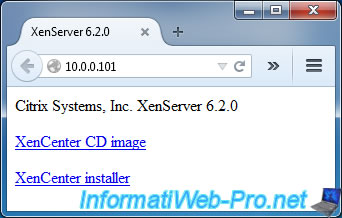
To do this, type the IP address of the server in your browser and click on the "XenCenter installer" link.
Install the "XenCenter" client.

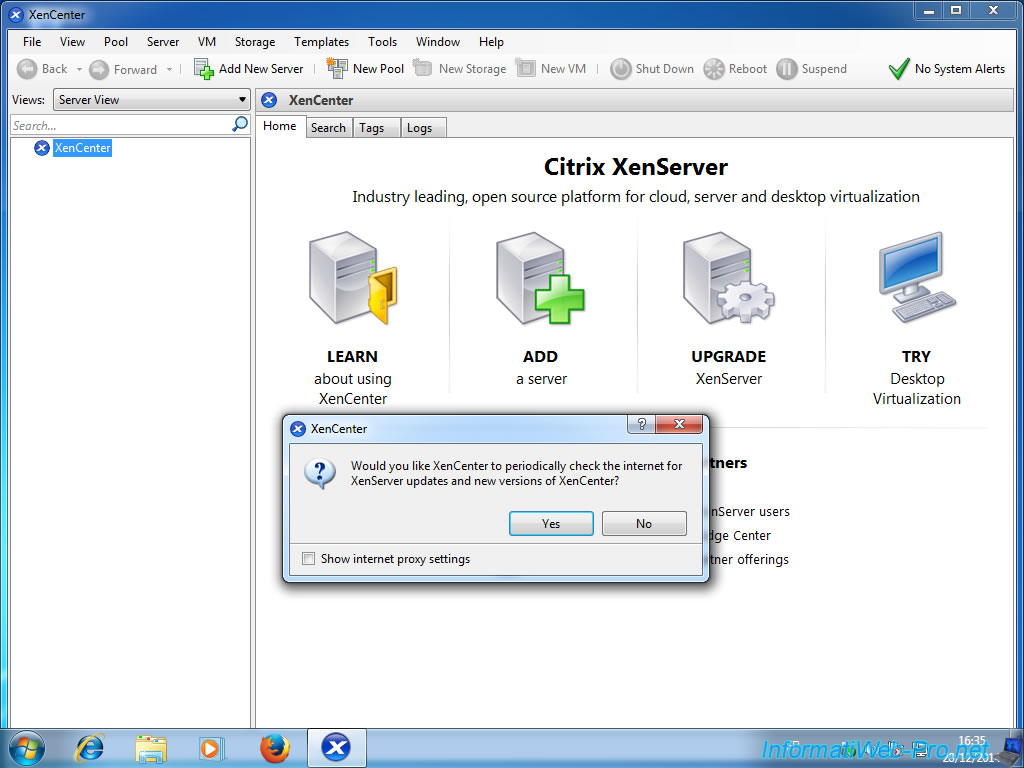
At first startup, XenCenter will offer to automatically check for updates. Click "Yes".
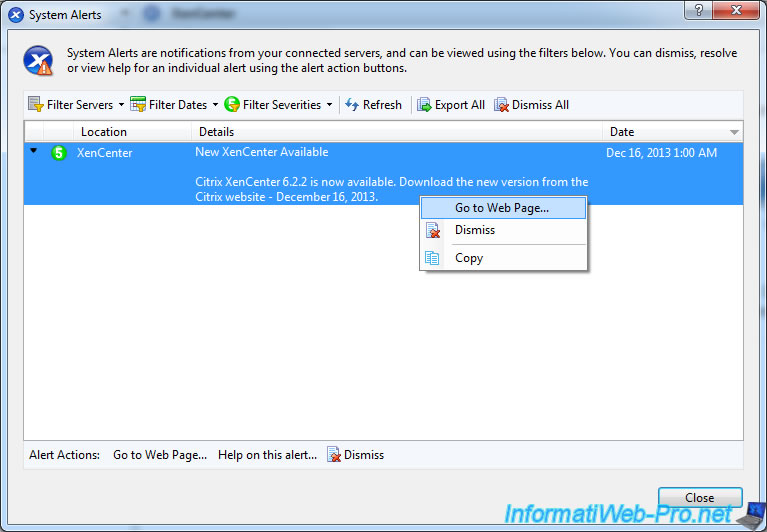
XenCenter find an update for XenCenter. To download this update, right click and click on "Go to Web Page".
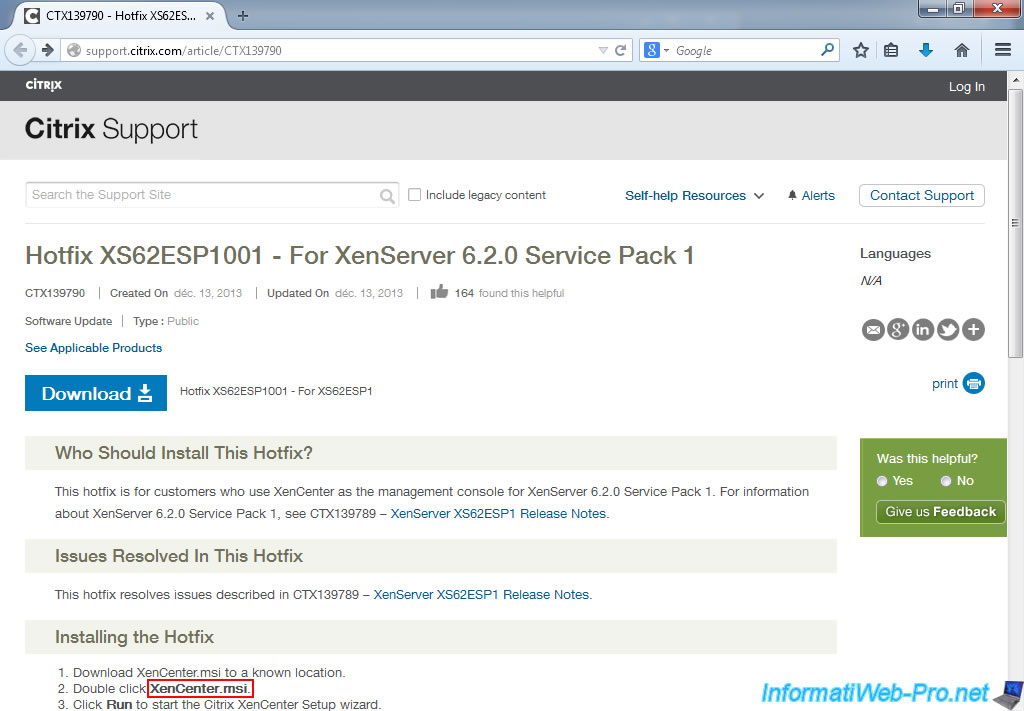
On this page, click the "Download" button to download and install the latest version of XenCenter.
3. Connect to XenServer server from XenCenter
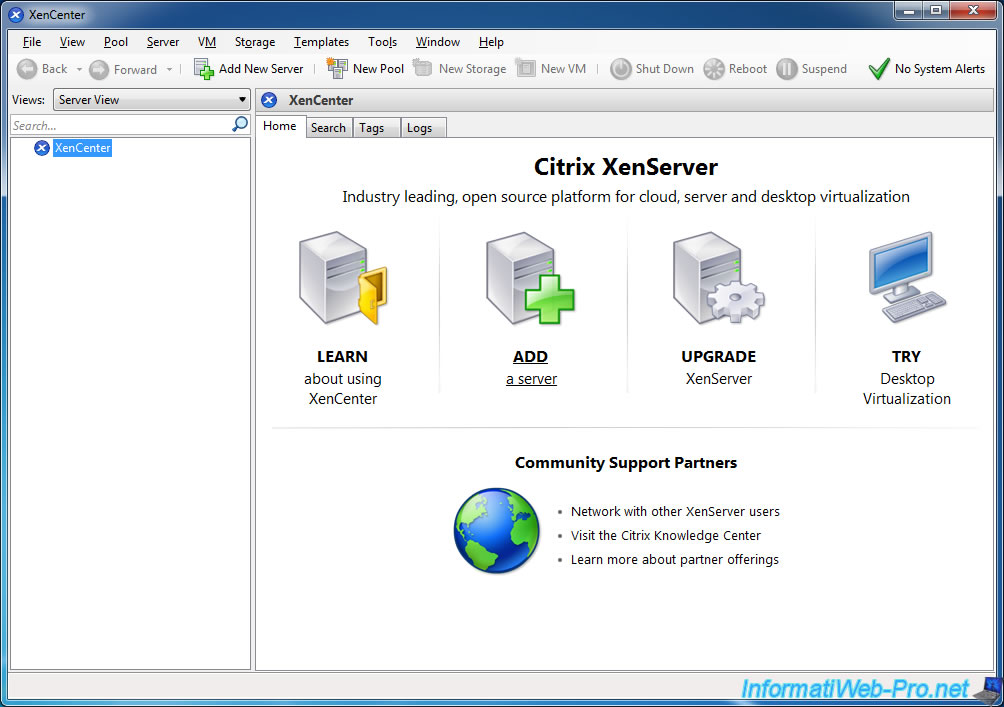
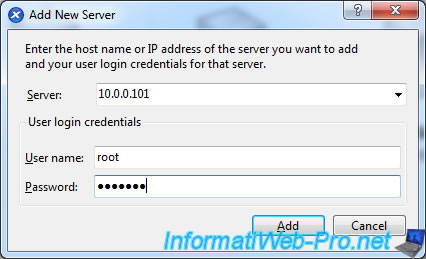
Once the new version is installed, click "Add a server".
Enter the IP address (or domain name associated to the XenServer server) and the password of the root account.
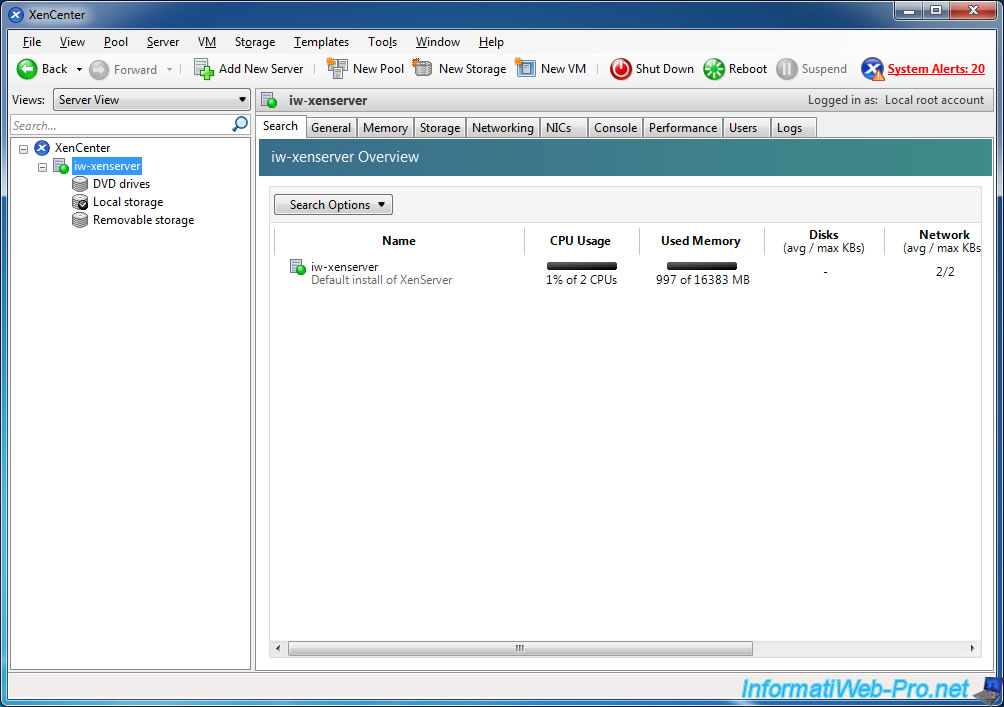
On the main screen you will see the use of resources (by your server and virtual machines that you install later).
As you can see, XenCenter has detected 20 problems. In reality, they are updates available (in this case).
Share this tutorial
To see also
-
Citrix 6/21/2017
Citrix XenServer 6.5 - Active Directory authentication
-

Citrix 11/25/2015
Citrix XenServer 6.5 - PCI passthrough
-
Citrix 10/27/2016
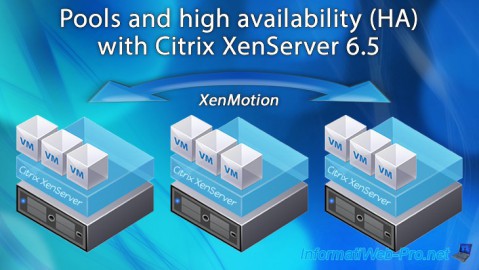
Citrix XenServer 6.5 - Pools and high availability (HA)
-
Citrix 4/30/2015
Citrix XenServer 6.5 - Secure the connection using SSL (HTTPS)
You must be logged in to post a comment