- Windows Server
- 10 November 2023 at 12:13 UTC
-

- 1/4
When you deploy a PKI infrastructure, you issue certificates through your own certificate authority and you can revoke some of them before their expiration date if a certificate is no longer used or you think an attacker has been able to access the private key associated with this certificate.
By default, your clients can check the revocation of a certificate by downloading the certificate revocation lists published automatically by your authority.
However, since Windows Server 2008 and Windows Vista, you can use a new protocol called OCSP for checking the revocation of your certificates.
- What is OCSP ?
- Install an online responder (OCSP server)
- Create a custom certificate template for OCSP response signing
- Add the online responder (OCSP) path in your certificates
- Configuring the online responder (OCSP)
- Test access to OCSP address (via Enterprise PKI component)
- Regenerate certificate : Certificate Authority Exchange (CAExchange)
- Request a new certificate (which will include OCSP support)
- Test access to OCSP address (via certutil tool)
1. What is OCSP ?
OCSP (Online Certificate Status Protocol) is a new protocol introduced with Windows Server 2008 and Windows Vista that allows a client to quickly check whether or not a specific certificate has been revoked by your CA.
The main advantage of OCSP is that certificate revocation checking is much faster and requires less network bandwidth.
Indeed, in normal times, when a client wants to check if a certificate has been revoked by your certification authority, he downloads the revocation lists published by it to check if the serial number of the desired certificate is there.
This requires downloading a lot of ".crl" files to verify a single certificate.
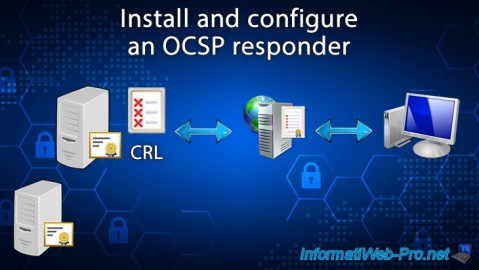
When using an online responder (to benefit from OCSP protocol) :
- the online responder (OCSP) downloads revocation lists from your certification authority at regular intervals.
- the client sends a query to the online responder (OCSP) to find out if a specific certificate has been revoked.
- the online responder checks whether the desired certificate has been revoked and returns a signed response to the client indicating whether or not it has been revoked.
2. Install an online responder (OCSP server)
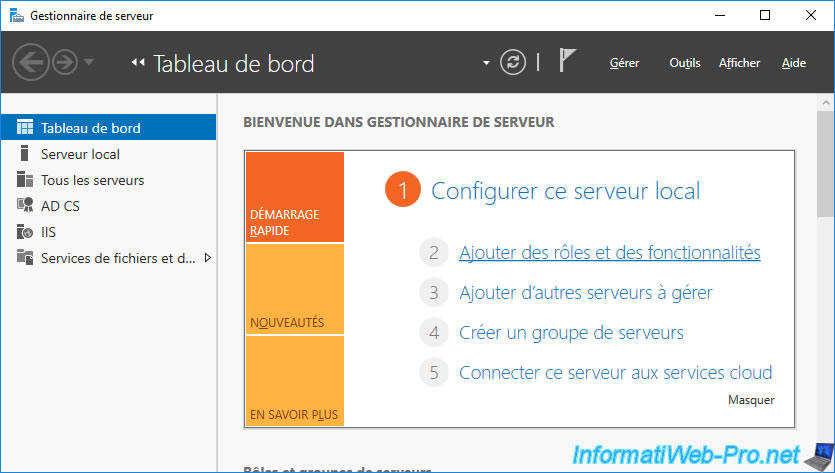
To install an online responder (OCSP server), open the server manager and click on : Add roles and features.
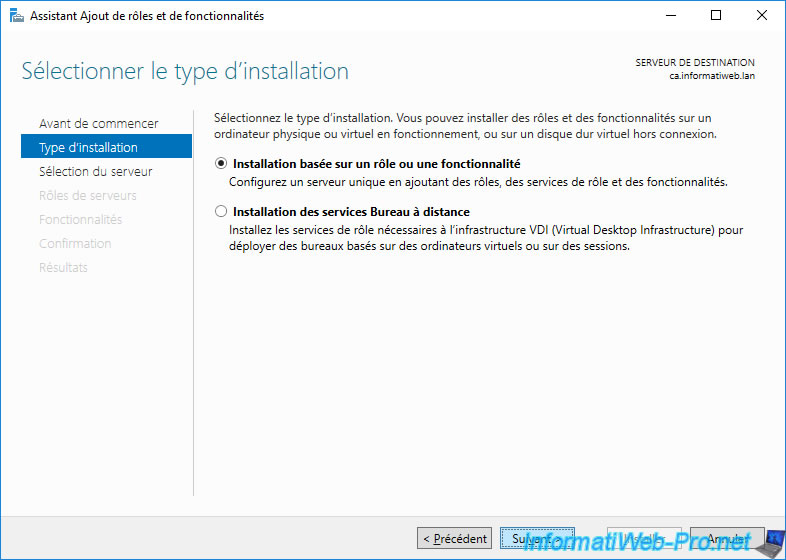
Choose : Role-based or feature-based installation.
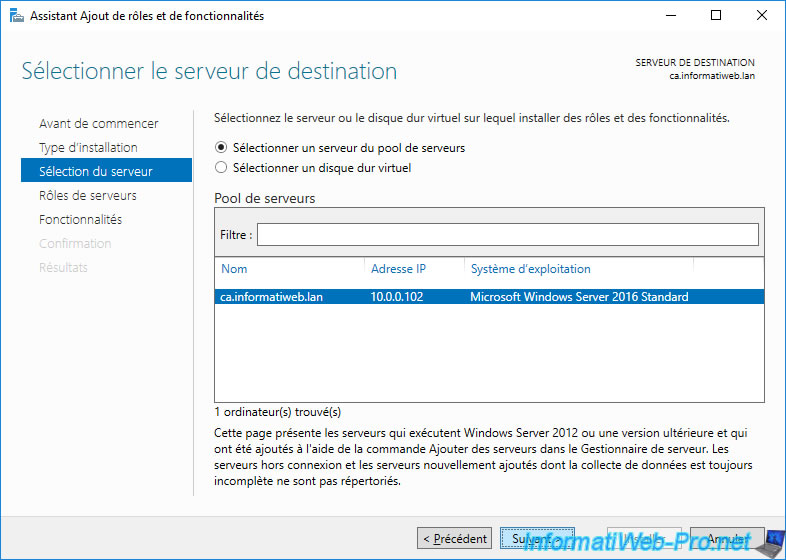
In our case, we will install this online responder on the same server as our certificate authority.
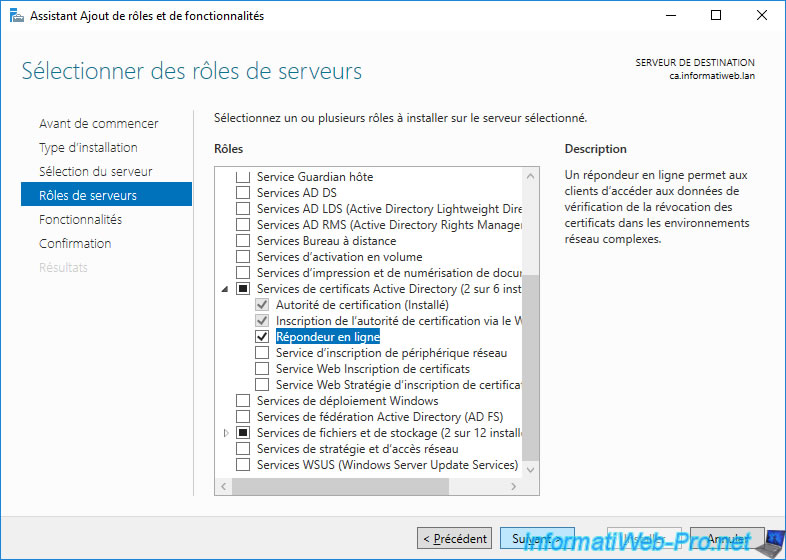
Deploy the "Active Directory Certificate Services" node and check the "Online Responder" box.
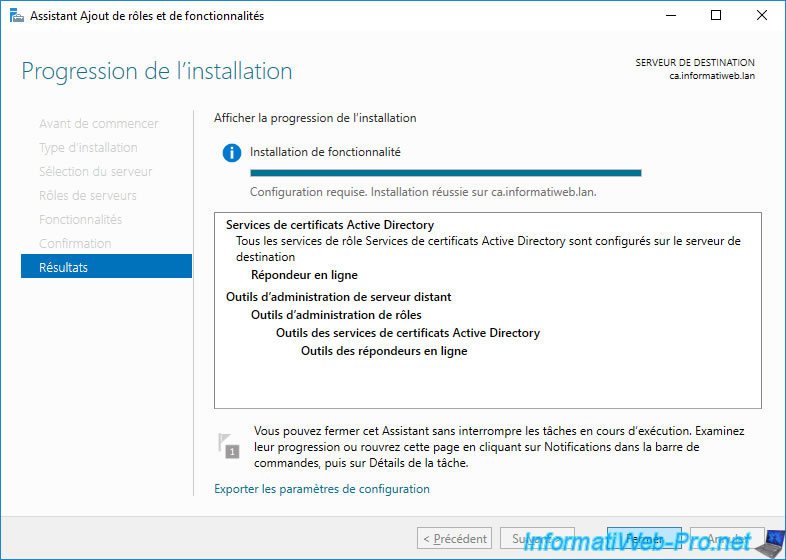
Launch the installation of the new role service : Online Responder.
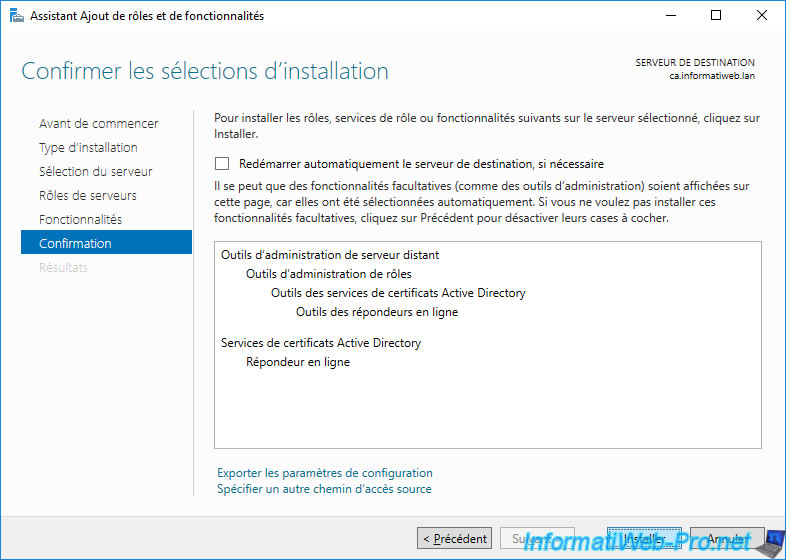
Wait while the online responder is installed.
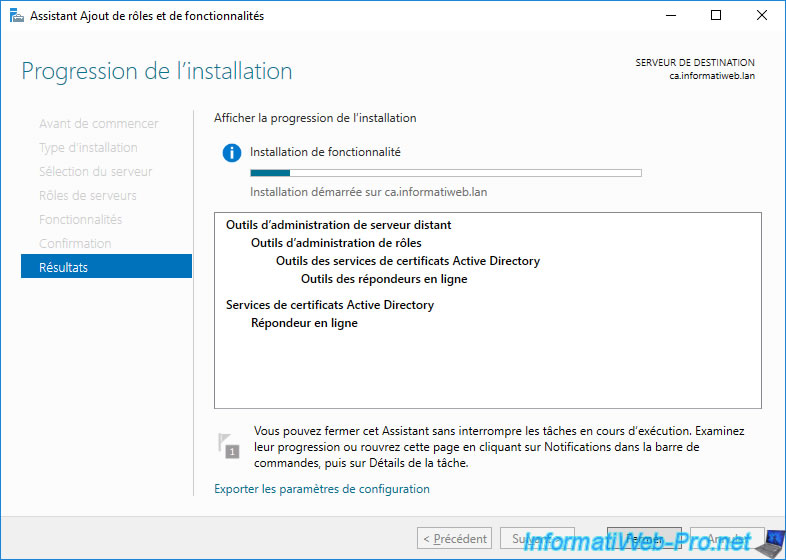
Once the installation of this role service is complete, click on the "Configure Active Directory Certificate Services on the destination server" link that appears.
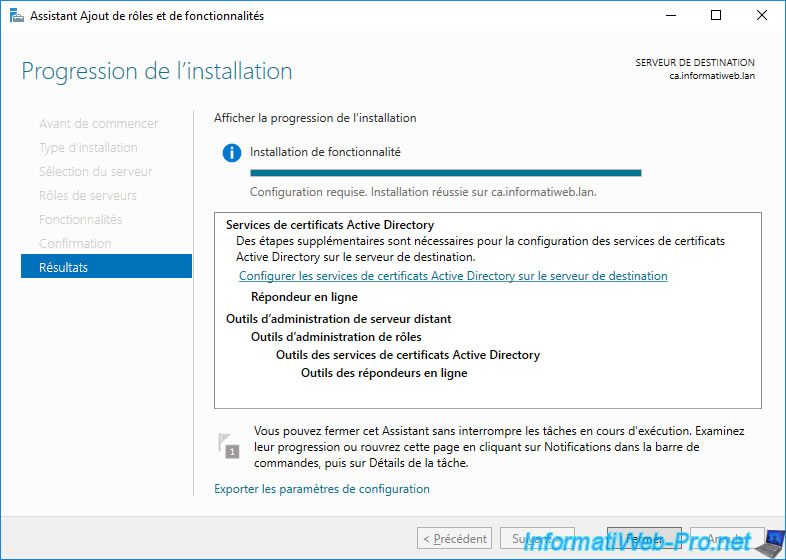
The AD CS Configuration wizard appears.
Click Next.
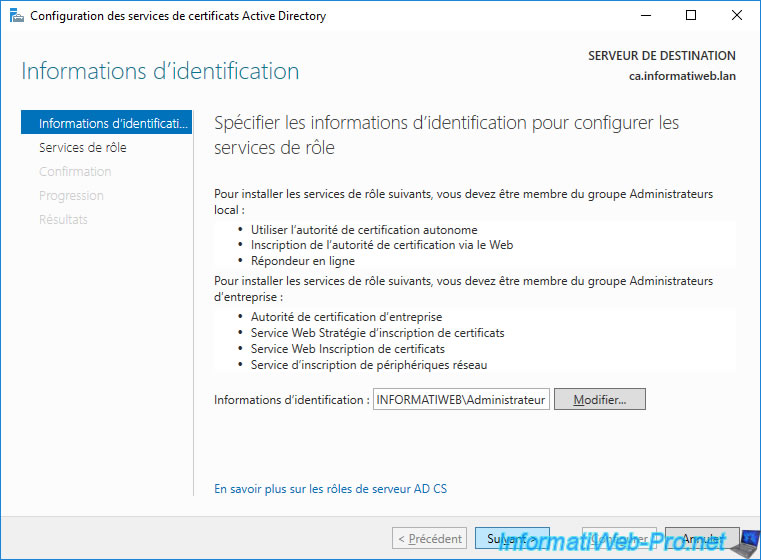
Check the "Online Responder" box and click Next.
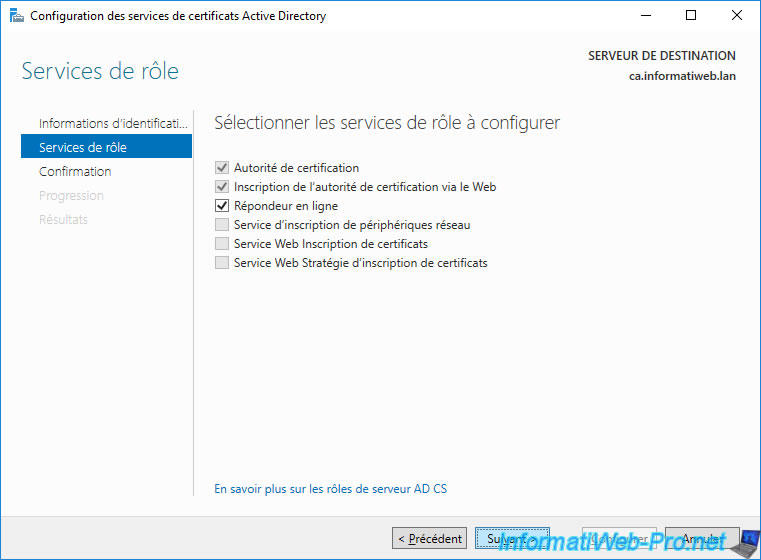
Click Configure.
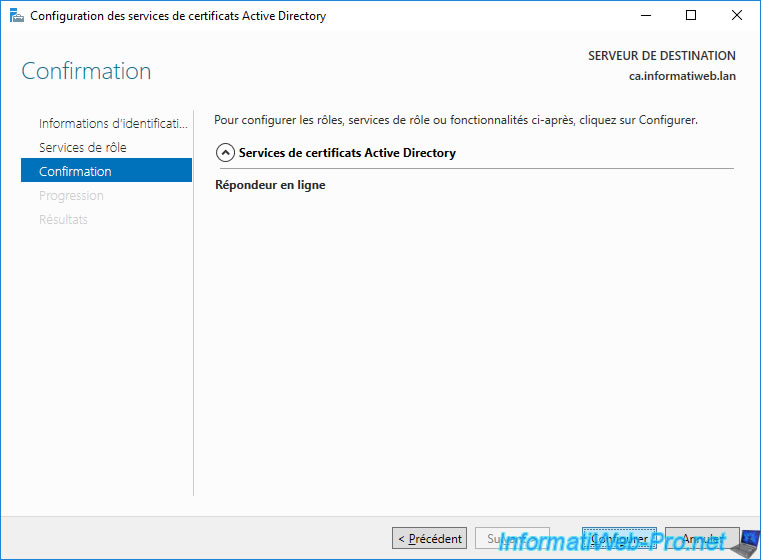
The "Configuration successful" status appears.
Click Close.
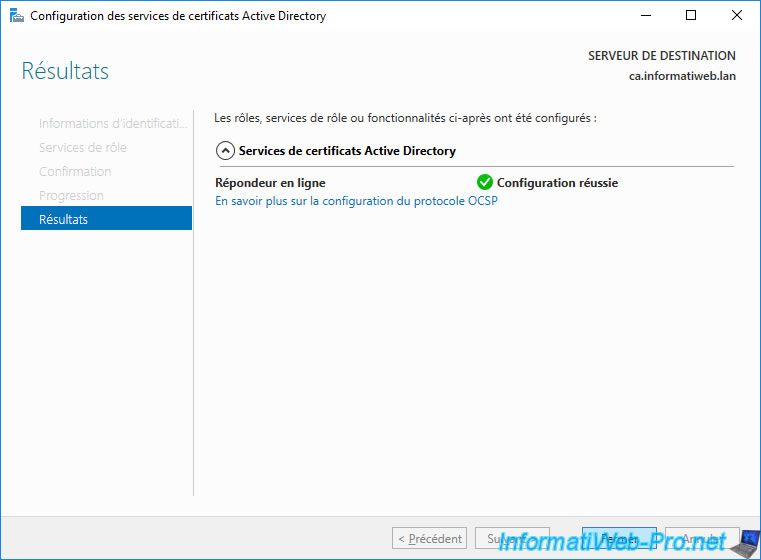
Click Close.
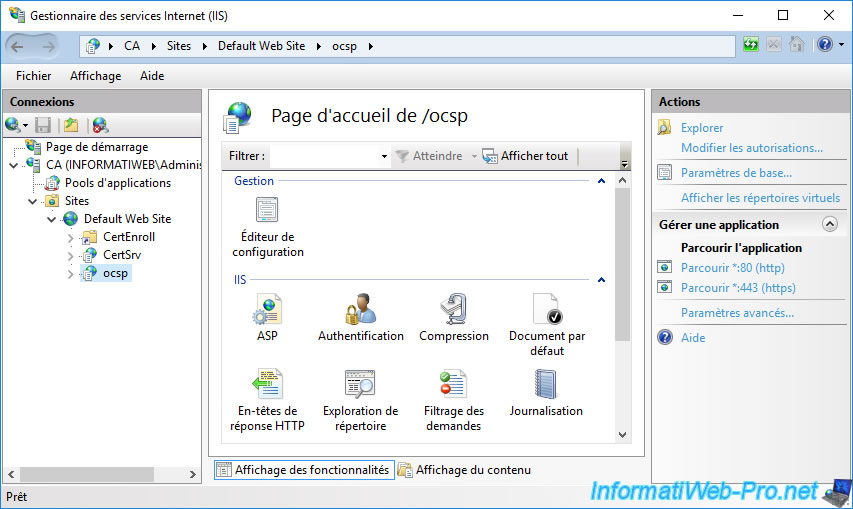
If you open IIS Manager on the server where you just installed your Online Responder, you will see that a new "ocsp" folder has appeared in the Default Web Site.
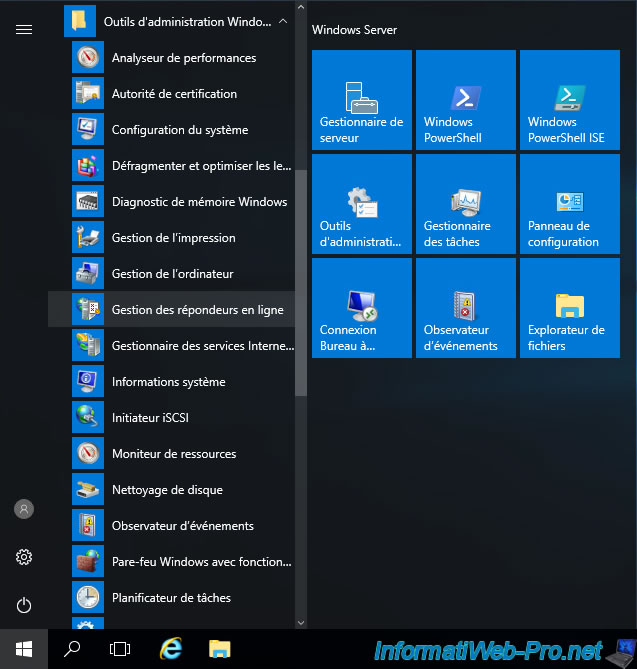
To configure your online responder, you will need to open the "Online Responder Management" console.
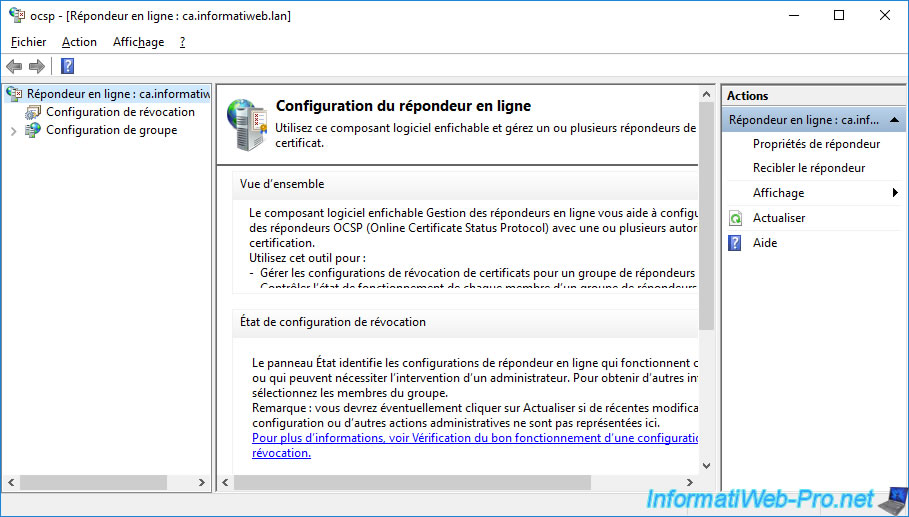
The "Online Responder Management" console appears.
Share this tutorial
To see also
-
Articles 1/26/2024
SafeNet Authentication Client (SAC) - Installation and overview
-
Articles 9/8/2023
What is encryption and how does it work ?
-
Windows Server 12/29/2023
WS 2016 - AD CS - Backup and restore a certificate authority (CA)
-

Windows Server 1/19/2024
WS 2016 - AD CS - Buy smart cards and log in via them

You must be logged in to post a comment