Install and configure an OCSP responder to manage certificate revocation on Windows Server 2016
- Windows Server
- 10 November 2023 at 12:13 UTC
-

- 3/4

5. Configuring the online responder (OCSP)
Now that the OCSP path to your online responder will be included in the new certificates that your CA will enroll (issue), you can configure your online responder.
To do this, open the "Online Responder Management" console and right-click "Add Revocation Configuration" on "Revocation Configuration".
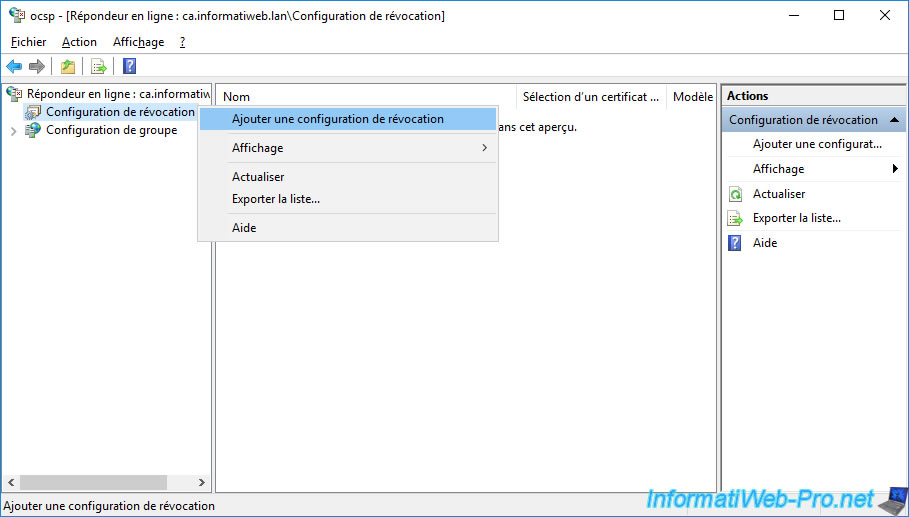
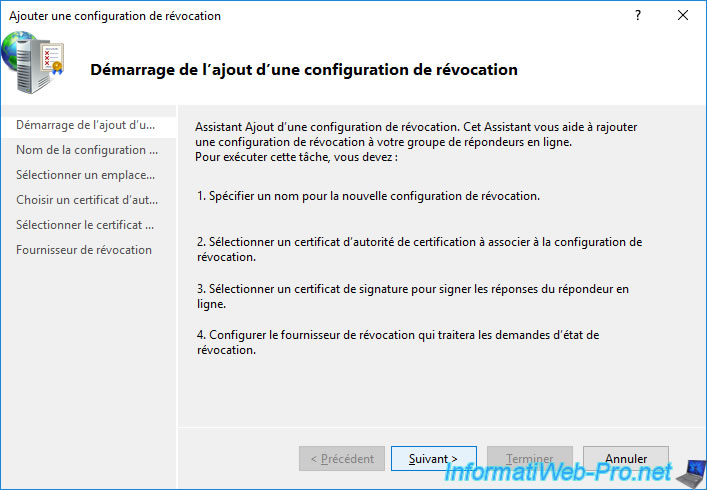
The "Add Revocation Configuration" wizard appears.
Click Next.
Specify a name for this configuration.
For example : [name of your CA] - OCSP.

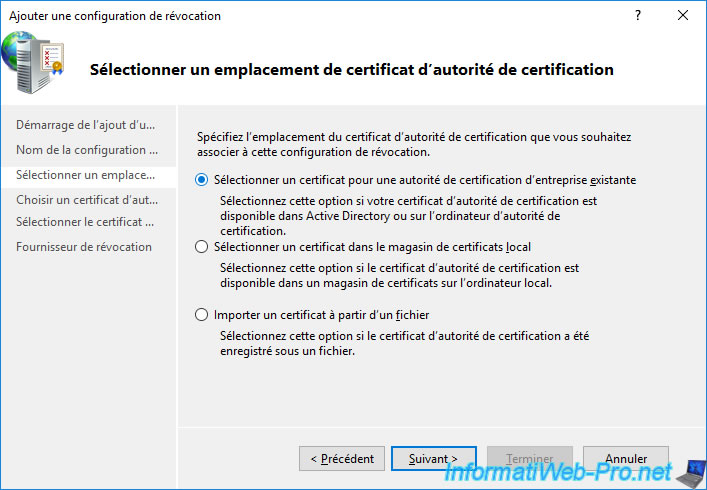
To specify the certificate of your certification authority, you have several options.
Nevertheless, in the case of an enterprise certification authority, the easiest way is to retrieve the certificate of your certification authority from the Active Directory.
To do this, choose the 1st option : Select a certificate for an Existing enterprise CA.
Select "Browse CA certificates published in Active Directory" and click : Browse.
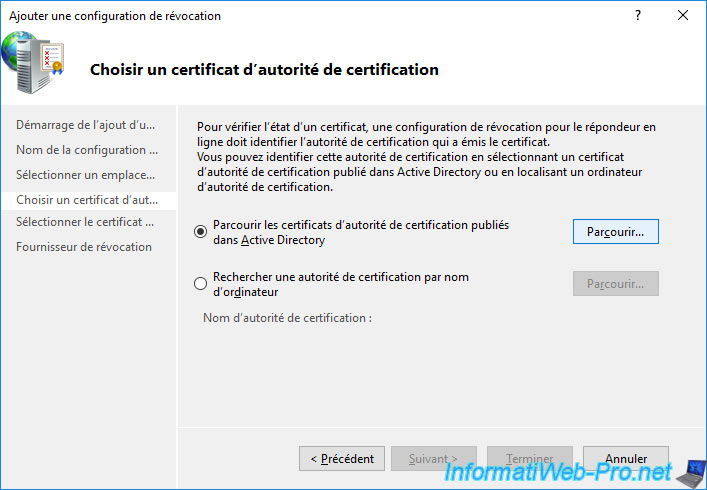
Select your CA from the list that appears and click OK.
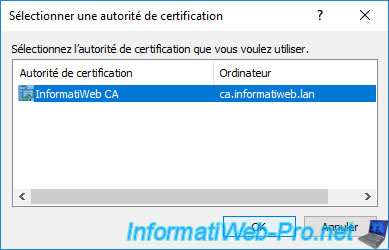
The name of the chosen certification authority appears in blue.
Click Next.

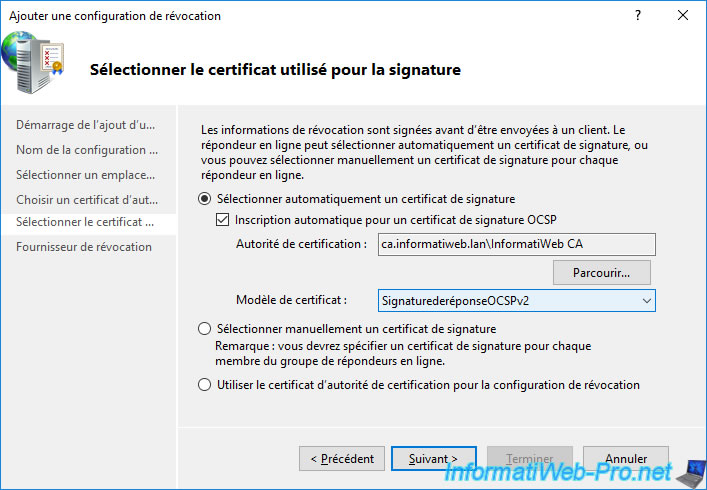
As explained previously, when your online responder (OCSP) responds to a client to indicate whether or not a certificate is revoked, the client always signs his response.
For this, he needs a signing certificate. However, as we also specified previously when creating the new "OCSP Response Signing v2" certificate template, the validity period of this certificate is very short for security reasons.
It's therefore preferable to enable automatic enroll to obtain this OCSP signing certificate automatically and for its renewal to be automatic.
For this :
- choose the "Automatically select a signing certificate" option
- make sure the "Auto-Enroll for an OCSP signing certificate" box is checked
- select the new "OCSP Response Signing v2" certificate template created earlier (if not already done automatically)
Then, click Next.
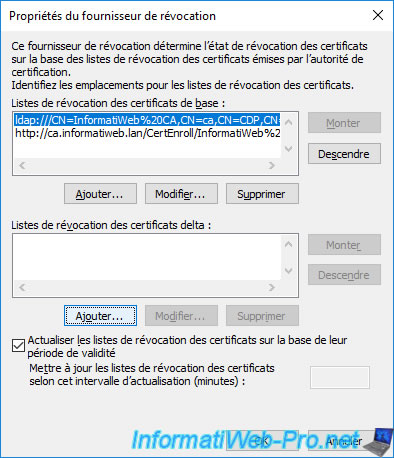
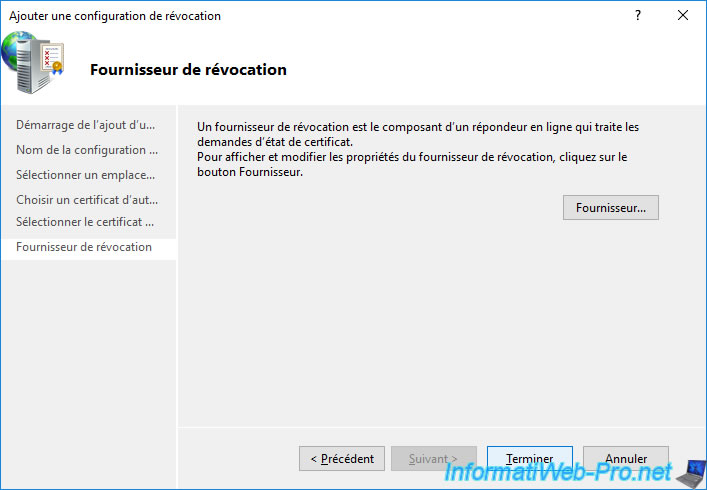
At the "Revocation Provider" step, click on the "Provider" button displayed.
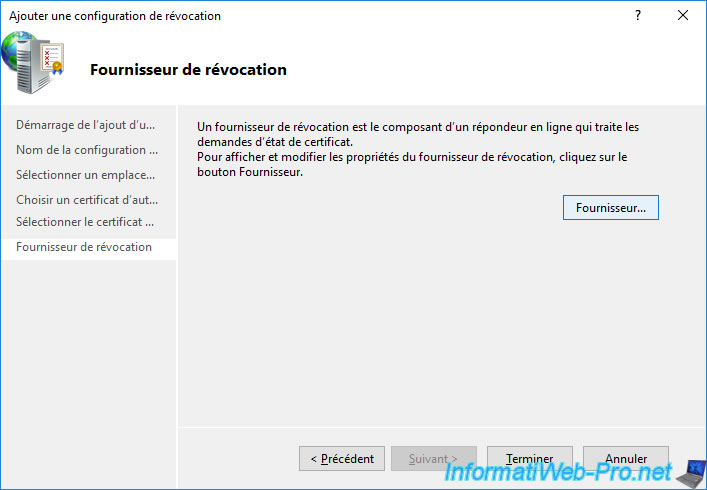
As explained at the beginning of this tutorial, the online responder (OCSP) periodically downloads the certificate revocation lists (CRLs and CRL delta) published by your certification authority.
This then allows it to respond to clients when they wish to verify the revocation of a certificate issued by your certification authority.
At the moment, our responder knows the address for the base certificate revocation lists (CRLs), but not the address for the delta lists (delta CRLs).
Since the "ldap://" path is the same for base certificate revocation lists (CRLs) and for delta lists (delta CRLs), you just need to copy the provided "ldap://" path and paste it for downloading delta lists.
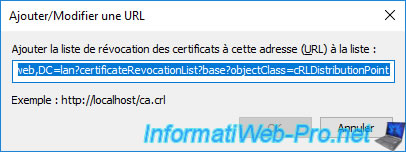
To do this, select the "ldap://" path proposed in the 1st list (Base CRLs) and click on the "Edit" button.
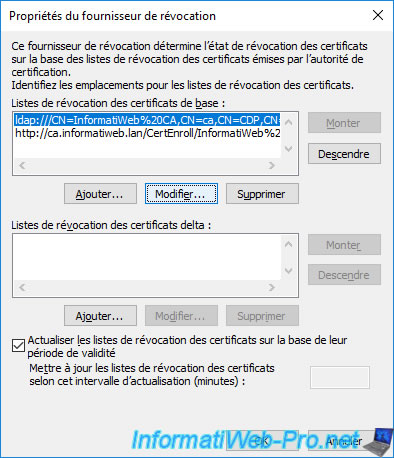
Copy the link that appears and close this window.
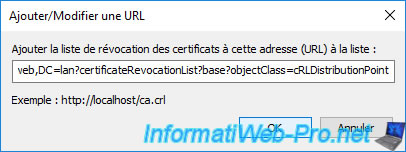
Click the "Add" button under the 2nd list (Delta CRLs).
Paste the "ldap://" path copied earlier and click OK.
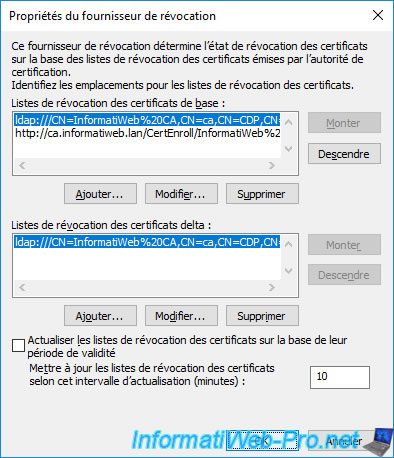
The copy-pasted "ldap://" link also appears in the "Delta CRLs" list.
Note that by default, the online responder downloads periodically (the delay used corresponds to the validity period of these revocation lists configured in the properties of your certification authority).
To change this delay (minimum 3 minutes), uncheck the "Refresh CRLs based on their validity periods" box and specify the desired delay in minutes in the "Update CRLs at this refresh interval (min)" box.
In our case, we specified a delay of 10 minutes.
Then, click OK.
To finish, click on : Finish.
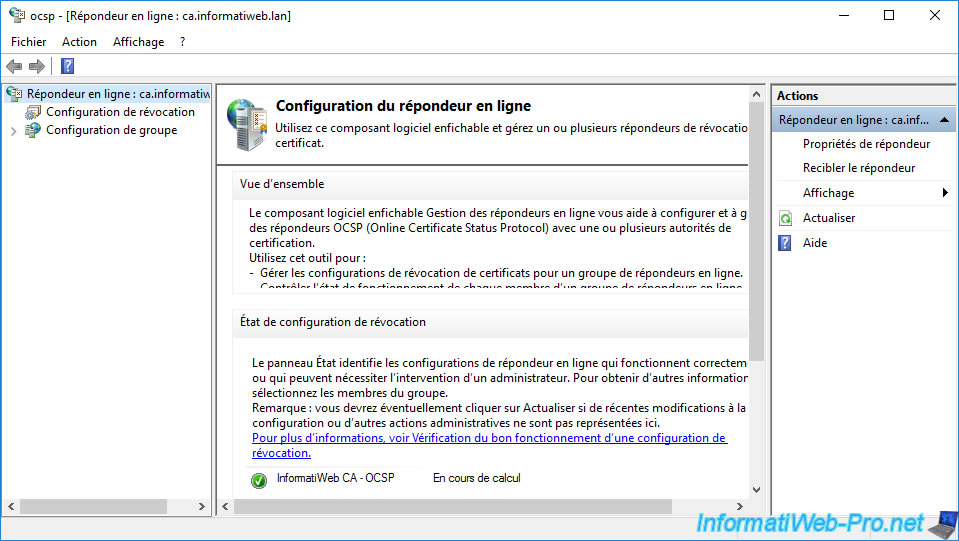
If the configuration of your online responder goes well, you will see that the revocation configuration status is "Calculating" and that the icon is green.
Otherwise, refer to the displayed error.
If you deploy the "Array Configuration" node and select your server's DNS name, you will see that the signing certificate is OK.
Note : if the signature certificate is missing even though you had chosen automatic enrollment during the configuration wizard of your online responder, a problem with rights has occurred.
Make sure that the user account with which you are logged in, as well as the computer account corresponding to the server where the online responder is installed, have "Read" and "Enroll" rights.
Then, delete the configuration created here and start the wizard again to have the OCSP Response Signing certificate auto-enrollment take place again.
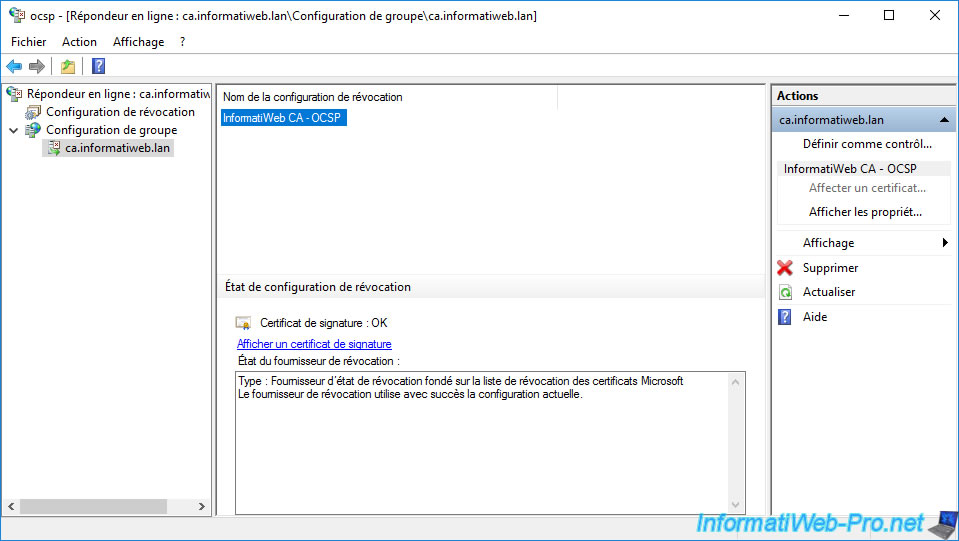
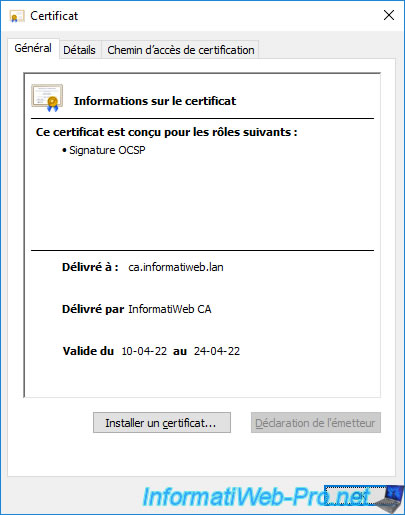
If you click on the "View Signing Certificate" link displayed, you will see that the role of this certificate is : OCSP Signing.
6. Test access to OCSP address (via Enterprise PKI component)
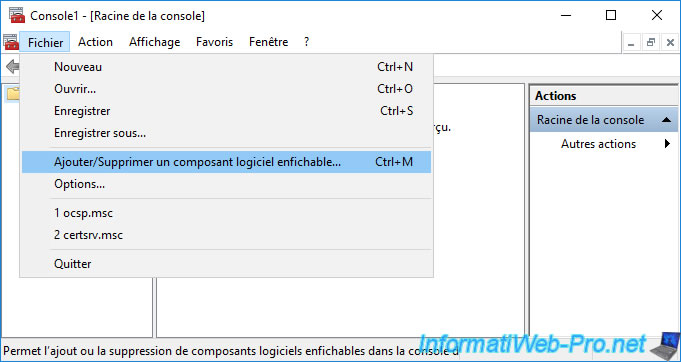
To test access to the OCSP address configured in your CA extensions, open an "mmc" console on your CA and go to : File -> Add/Remove Snap-in.
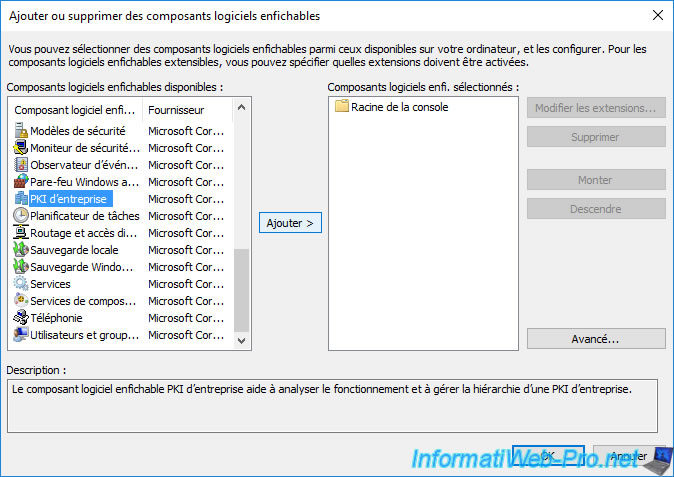
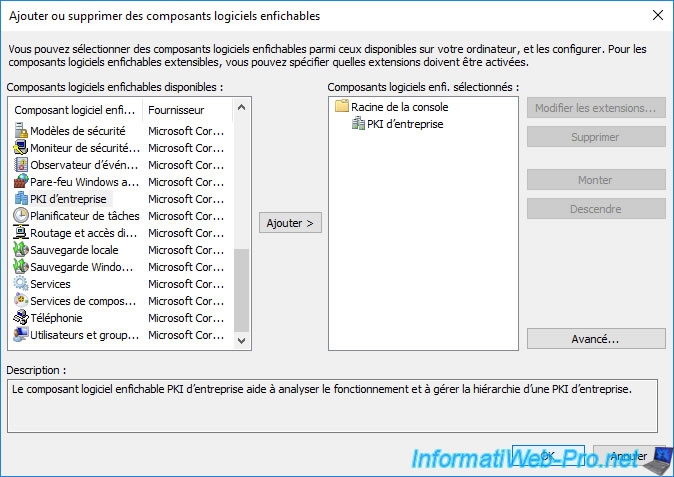
Select the "Enterprise PKI" component and click : Add.
Note : this component is only present on the server where you have installed the "Certification Authority" role service.
Then, click OK.
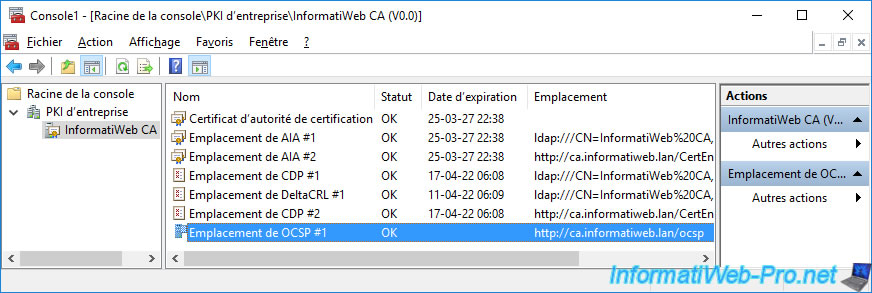
This "Enterprise PKI" component will automatically detect and test access to different locations :
- AIA : for access to information about your certification authority.
- CDP : for access to revocation lists published by your certificate authority.
- OCSP : for online responder (OCSP) access allowing clients to quickly check for certificate revocation via the OCSP protocol.
If all goes well, the status should be "OK" for all of these locations.
If an error occurs for access to the OCSP location, refer to the next step of this tutorial.
Share this tutorial
To see also
-

Articles 1/26/2024
SafeNet Authentication Client (SAC) - Installation and overview
-

Articles 9/8/2023
What is encryption and how does it work ?
-
Windows Server 12/29/2023
WS 2016 - AD CS - Backup and restore a certificate authority (CA)
-

Windows Server 1/19/2024
WS 2016 - AD CS - Buy smart cards and log in via them
No comment