Create a site-to-site (S2S) VPN tunnel via PPTP/L2TP on Windows Server 2022, 2016 and 2012

6. Configure routing and remote access with required VPN tunnels
6.1. Configure routing and remote access (VPN) on site 1 (Brussels)
6.1.1. Initial configuration of routing and remote access (VPN) at site 1 (Brussels)
Once the "Remote Access" role is installed on the VPN server at Site 1 (Brussels), click on the "Open the Getting Started Wizard" link.
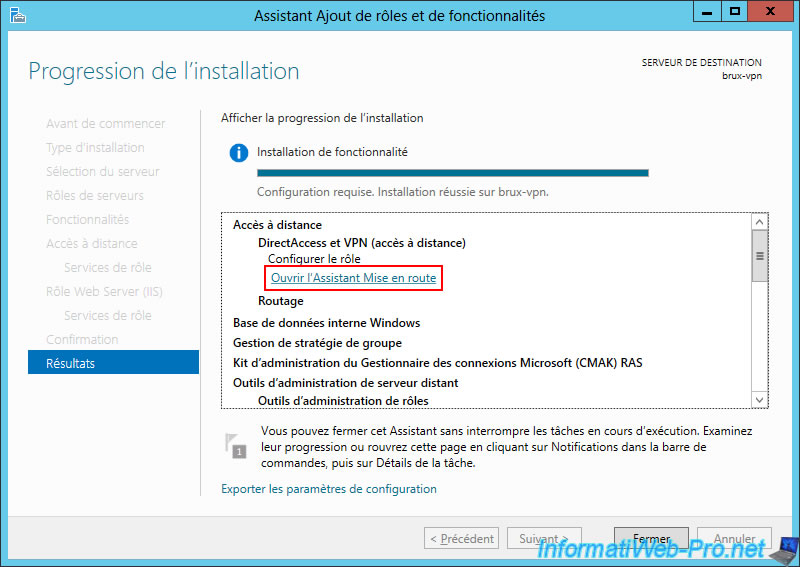
In the "Remote Access Configuration" window that appears, click the "Deploy VPN only" option.

This will simply launch the Routing and Remote Access (RRAS) console.
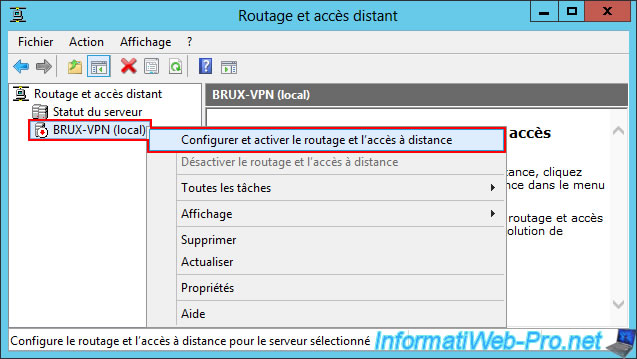
In this console, right-click on the name of your VPN server (in this case: BRUX-VPN), then click "Configure and enable Routing and Remote Access".
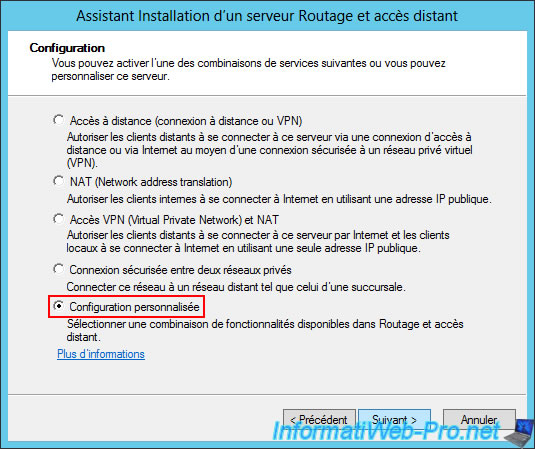
In the "Routing and Remote Access Server Setup" wizard that appears, select "Custom Setup".
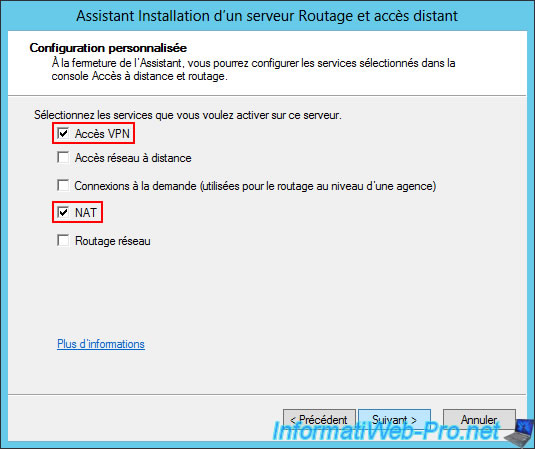
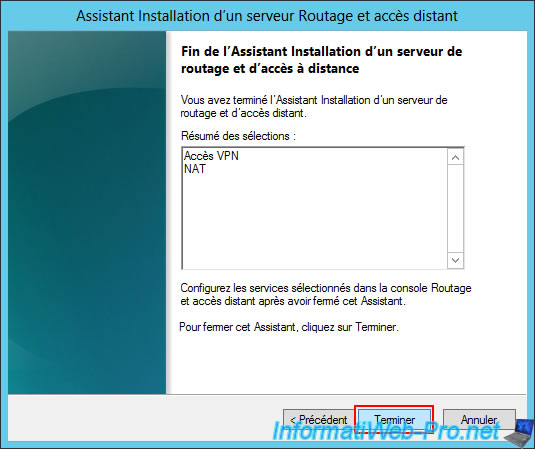
Next, check the "VPN Access" and "NAT" boxes.
Note: VPN access will be used to create the VPN tunnel between the two physical sites, and NAT will correctly route network packets between your different networks (WAN, LAN, and VPN (for access to the remote site)).
Once the wizard is complete, click "Finish".
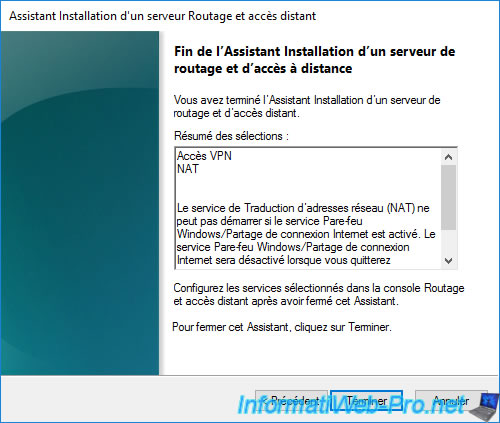
On Windows Server 2016, you'll see an additional message (under the current "VPN + NAT Access" selection).
However, simply click "Finish" (as with previous versions of Windows Server).
Plain Text
The Network Address Translation (NAT) service cannot start if the Windows Firewall/Internet Connection Sharing service is enabled. The Windows Firewall/Internet Connection Sharing service will be disabled when you exit the wizard. It will not be re-enabled when the Routing and Remote Access service is disabled later.
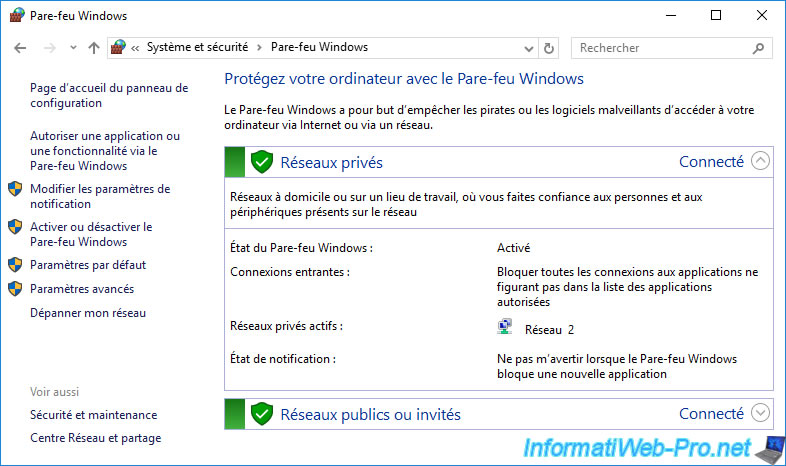
Note that your server's firewall is not disabled by the wizard (as the message displayed above might suggest), but simply connection sharing.
Click on the "Start Service" button in the small window that appeared automatically.
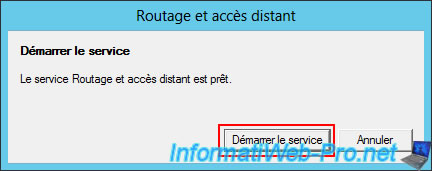
Please wait a little while the "Routing and Remote Access" service starts.

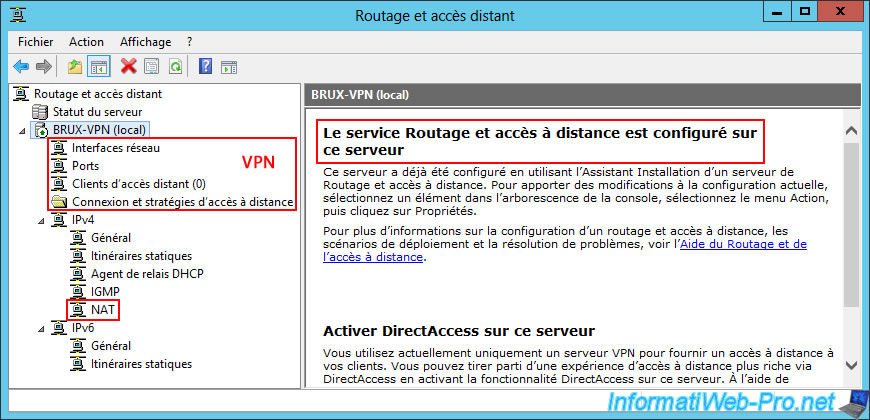
As you can see, the "Routing and Remote Access" service is configured on this server.
In this console, you will see four options for using VPN and one option for IPv4 routing (NAT).
6.1.2. Define the IP address range to assign to clients of the VPN server at Site 1 (Brussels)
In order for the VPN server at Site 2 (Paris) to connect to the VPN server at Site 1 (Brussels), the VPN server at Site 1 (Brussels) must assign it an IP address.
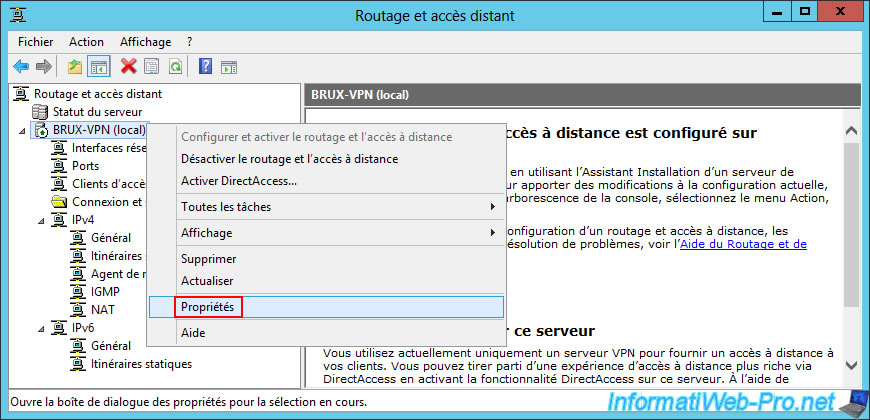
To do this, right-click "Properties" on the name of the VPN server (in our case, "BRUX-VPN") at Site 1 (Brussels).
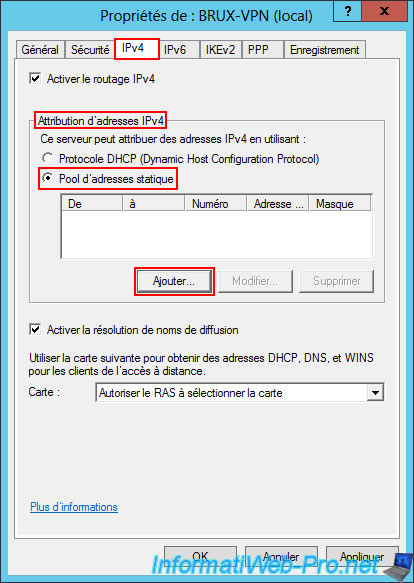
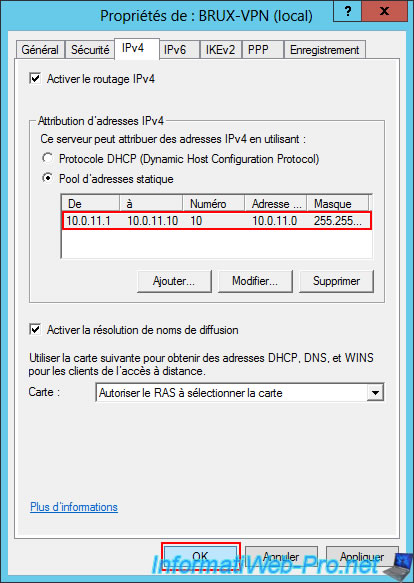
Next, go to the "IPv4" tab and select the "Static Address Pool" option for IPv4 address assignment.
Then, click the "Add" button.
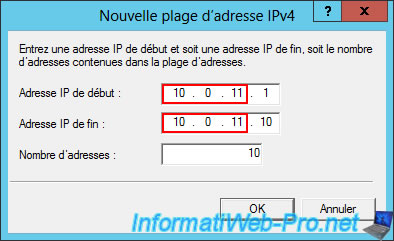
In the small "New IPv4 Address Range" window, specify the IP address range to be used for clients of your VPN server located at Site 1 (Brussels).
In our case, this is the IP address range "10.0.11.1" to "10.0.11.10".
This allows you to provide up to 10 IP addresses to clients (but this depends on the number of remote sites that can access your physical site (Site 1 (Brussels) in this case).
Furthermore, you will see at the end of the tutorial (in step "11. Routing Information on Your VPN Servers") that two IP addresses (one local IP and one remote IP) will be used internally by Windows Server per VPN tunnel. Therefore, you need two IP addresses per client site that will connect to your VPN server.
Warning : the network ID used here must be different from those used at your site 1 (Brussels) and your site 2 (Paris).
Using a different network ID here (for VPN clients) is necessary so that your server can then correctly route network packets, knowing that one network ID corresponds to the LAN network, another network ID corresponds to the remote network (that of site 2 (Paris), for example), ...
Note: for now, we are using:
- the network ID "10.0.1.0" for the LAN network at Site 1 (Brussels).
- the network ID "10.0.2.0" for the LAN network at Site 2 (Paris).
- the network ID "10.0.11.0" for the VPN server clients at Site 1 (Brussels).
The defined IPv4 address range appears in the list.
Click OK.
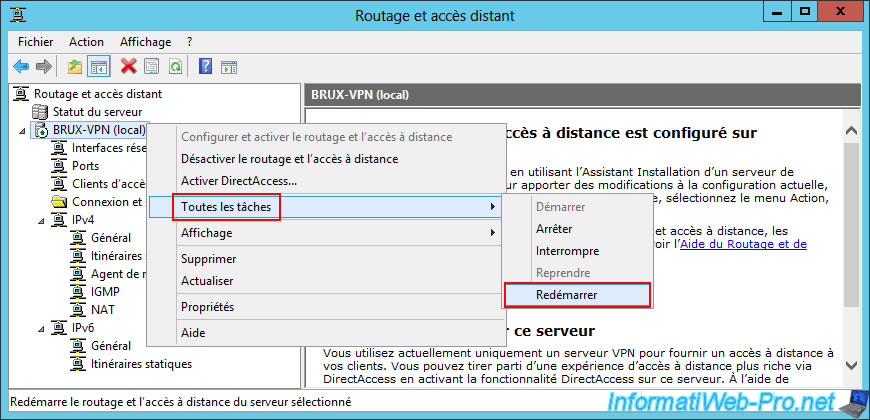
Now, restart your VPN server by right clicking "All Tasks -> Restart" on it.
6.1.3. Configure routing (NAT) for the local area network (LAN) and Internet access (WAN) at site 1 (Brussels)
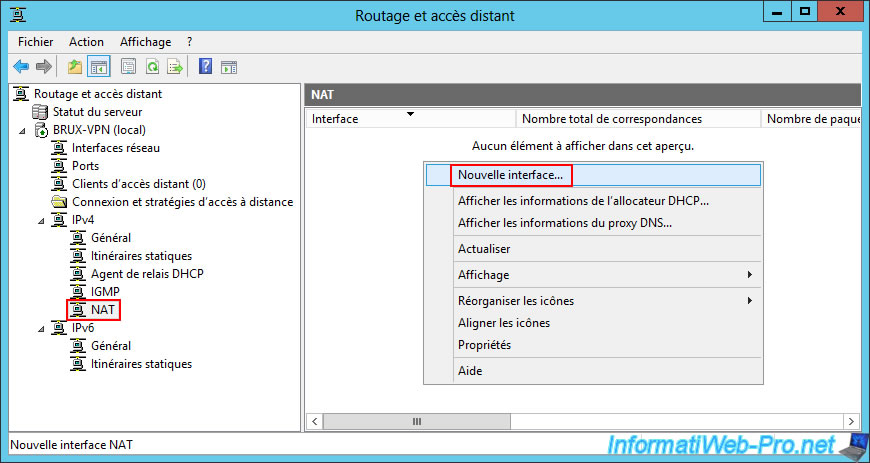
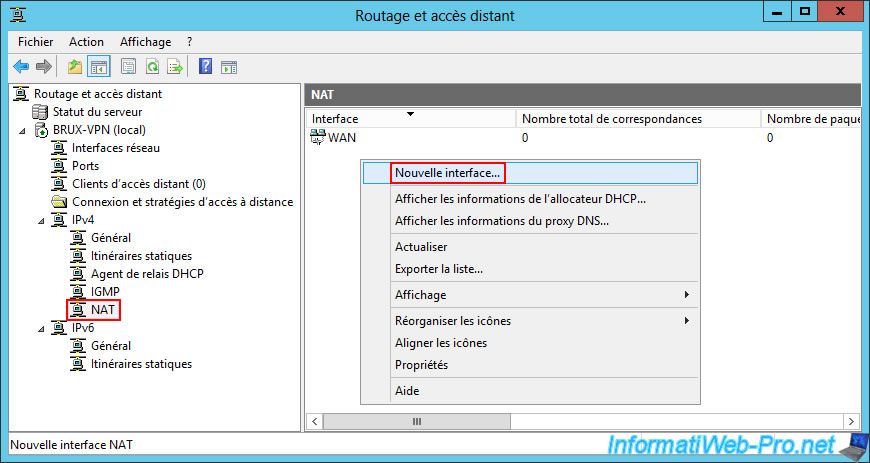
To configure routing on site 1 (Brussels), go to the "IPv4 -> NAT" section and right-click "New interface" (in the empty area on the right).
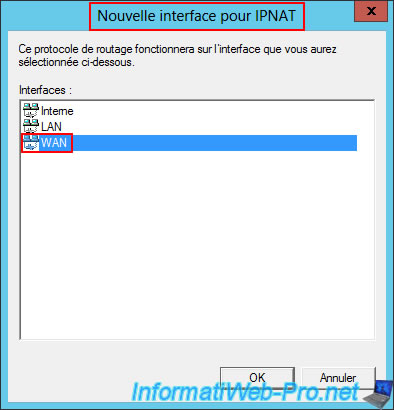
In the "New Interface for Network Address Translation (NAT)" window that appears, start by adding the "WAN" interface (which corresponds to the network interface of your VPN server connected to the Internet).
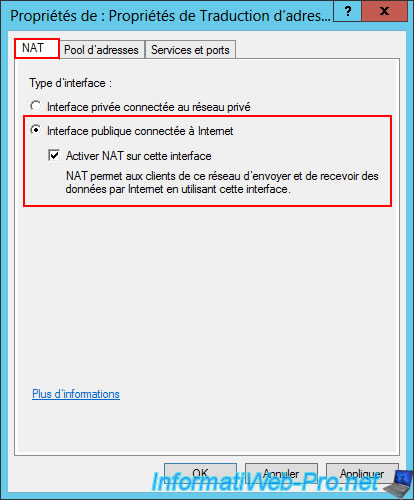
In the "NAT" tab, select the "Public interface connected to the Internet" option and check the "Enable NAT on this interface" box.
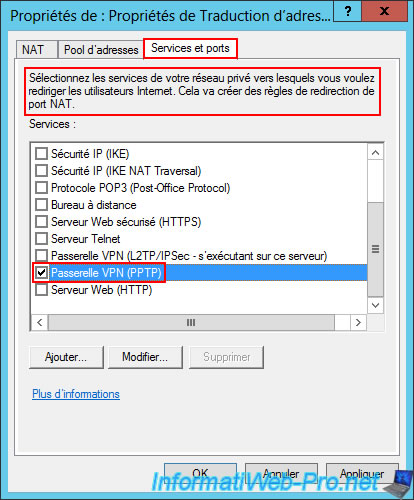
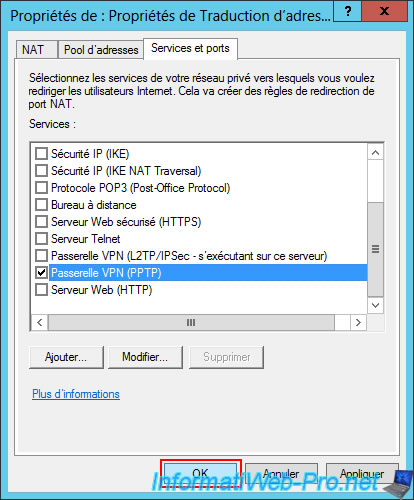
In the "Services and Ports" tab, check the box for the "VPN Gateway (PPTP)" service (as you will configure it later in this tutorial).
Note: as Windows Server tells you, this tab allows you to create NAT port forwarding rules.
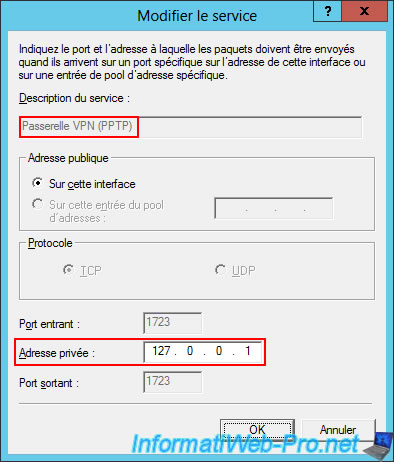
In the "Edit Service" window that automatically appears for the "VPN Gateway (PPTP)" service you just checked, enter the private address "127.0.0.1".
This is because the VPN server (using the PPTP protocol) will be installed on the same server (brux-vpn) as this router (hence the local IP address "127.0.0.1" rather than a LAN IP address as you would with a physical router).
Then, click OK.
Click OK.
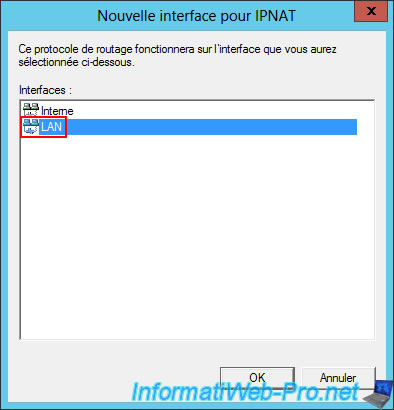
Again, in the "IPv4 -> NAT" section, right-click "New Interface".
This time, in the "New Interface for Network Address Translation (NAT)" window, select the "LAN" interface and click OK.
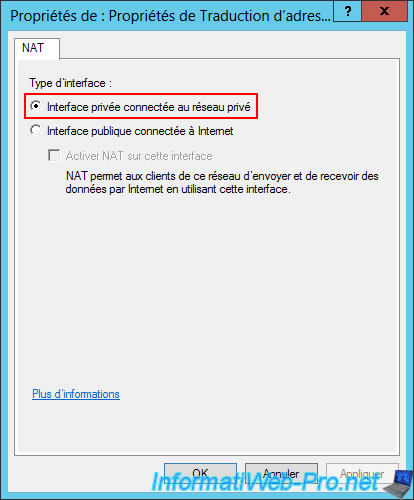
This time, simply select "Private interface connected to private network".
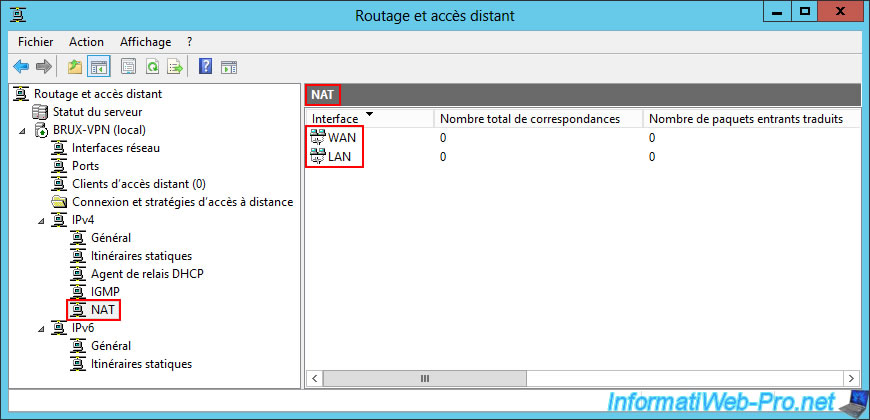
In the "IPv4 -> NAT" section, you can see that your server will act as a router between your two networks (WAN and LAN).
This allows it to provide Internet access for your machines on the local network (LAN) and correctly route packets between the local network (LAN) and the Internet (WAN).
Warning : your server is currently unaware of the remote network and therefore cannot route packets through the future VPN tunnel (for now).
Now, restart the Routing and Remote Access services by right-clicking "All Tasks -> Restart" on your VPN server name.
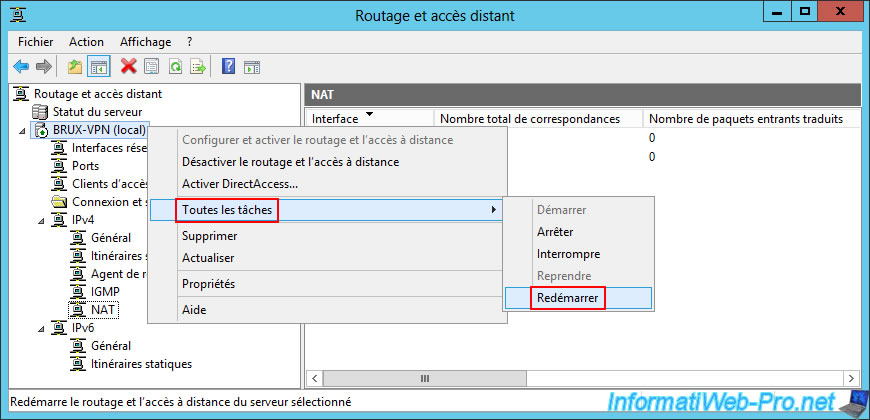
Please wait a while while the Routing and Remote Access service restarts.

6.1.4. Configure the VPN server firewall on site 1 (Brussels)
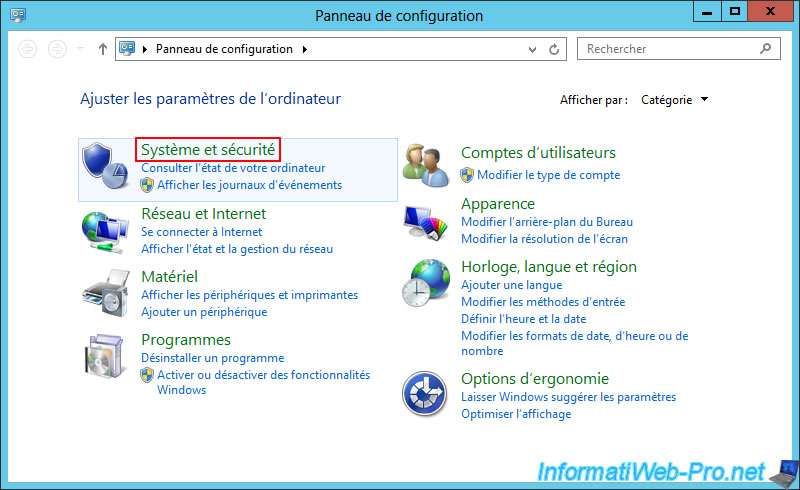
On your VPN server at Site 1 (Brussels), open the Control Panel and go to "System and Security".
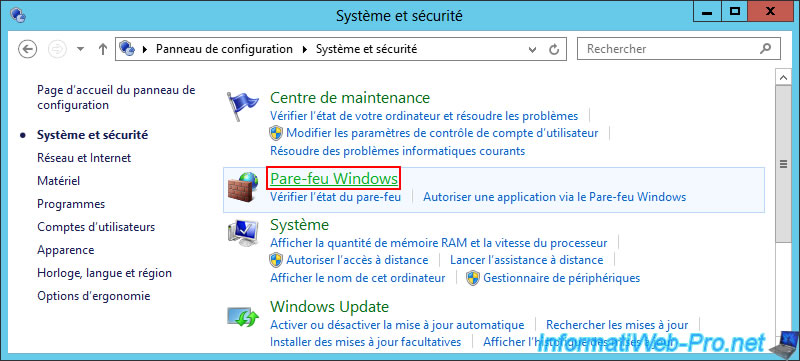
Then, go to "Windows Firewall".
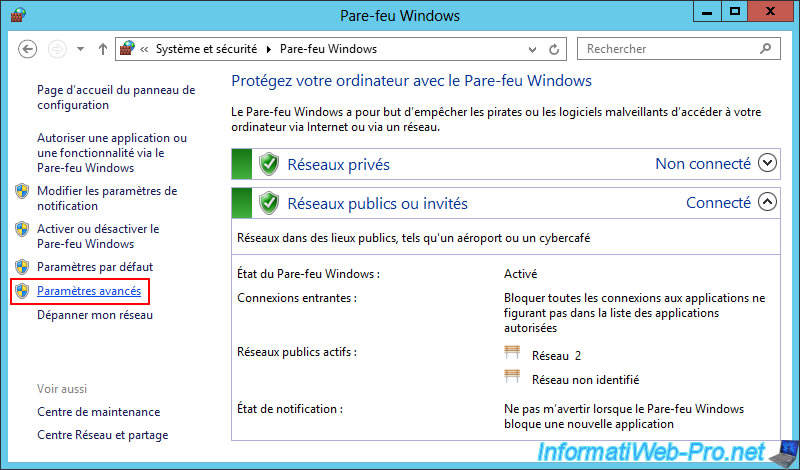
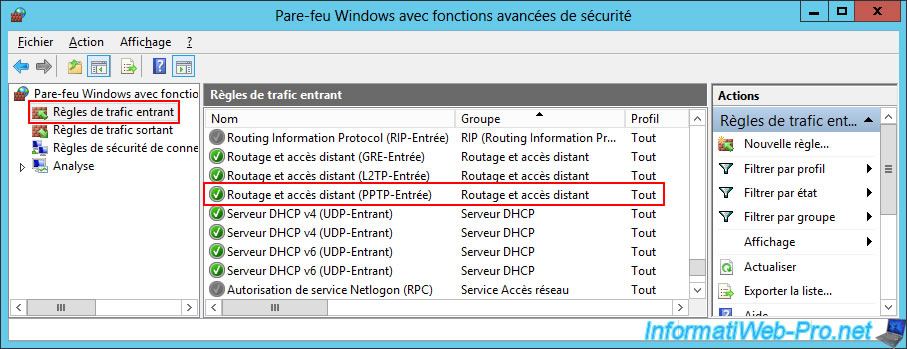
Then, click on the "Advanced Settings" link.
In incoming traffic, make sure that the "Routing and Remote Access (PPTP-In)" rule is enabled, because this is the VPN protocol you will use (initially, because it's easier to configure).
Share this tutorial
To see also
-

Windows Server 4/28/2012
WS 2003 - NAT and network routing
-

Windows Server 4/22/2015
WS 2012 - NAT and network routing
-

Windows Server 12/3/2016
WS 2012 - Routing and VPN server
-
Windows Server 11/23/2017
WS 2012 / 2012 R2 - Dynamic routing (RIPv2)
No comment