- Windows Server
- Routage
- 08 August 2012 at 18:14 UTC
-


Required configuration :
- DHCP
Windows Server 2008 End of Support
Extended support for Windows Server 2008 by Microsoft ended on January 14, 2020.
It's therefore advisable to upgrade to a more recent version of Windows Server, such as : Windows Server 2012.
To configure NAT et network routing on Windows Server 2012, refer to our "NAT and network routing on Windows Server 2012" tutorial.
First, we must add a second network card. So add a second (physical) NIC and then follow this tutorial.
Unlike Windows Server 2003, routing functionality is not installed by default. We must therefore go through this window "Server Manager" to install.
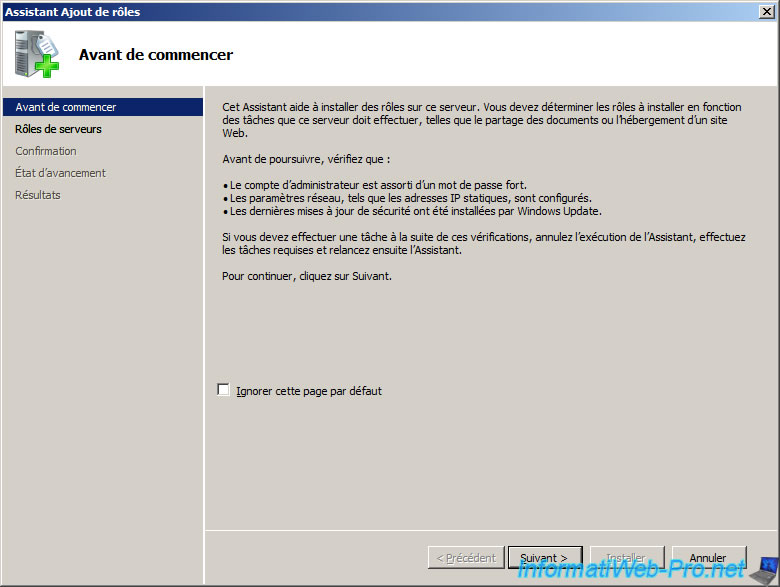
To install the routing system, you must first click on "Roles" in the left column and then click "Add Roles" in the right column.

Click "Next".
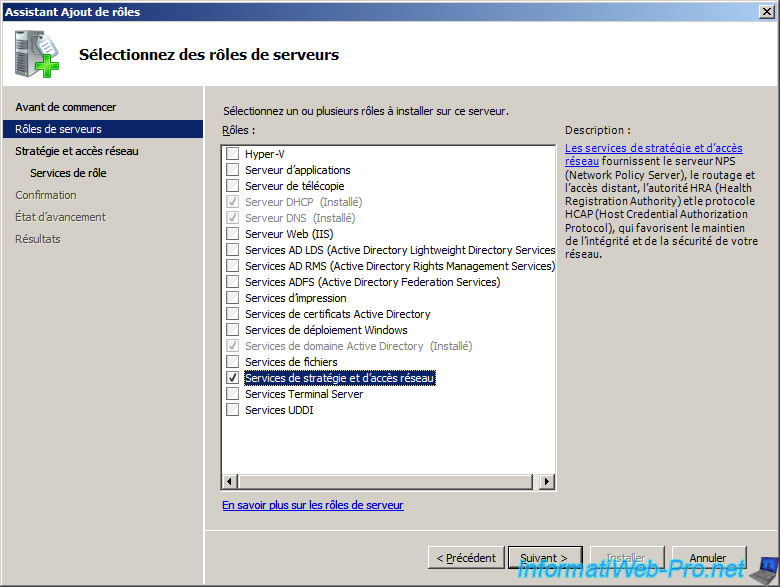
Select the "Network Policy and Access Services" role.
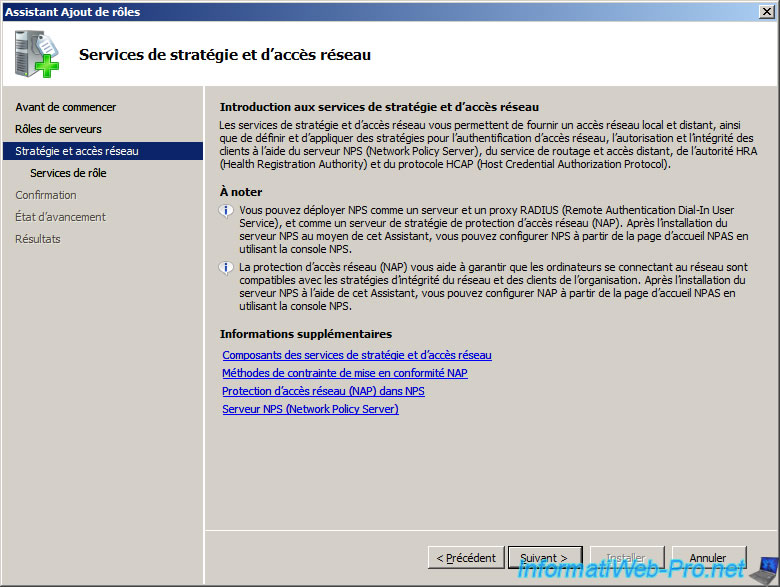
The wizard displays a description of services strategies and network access.
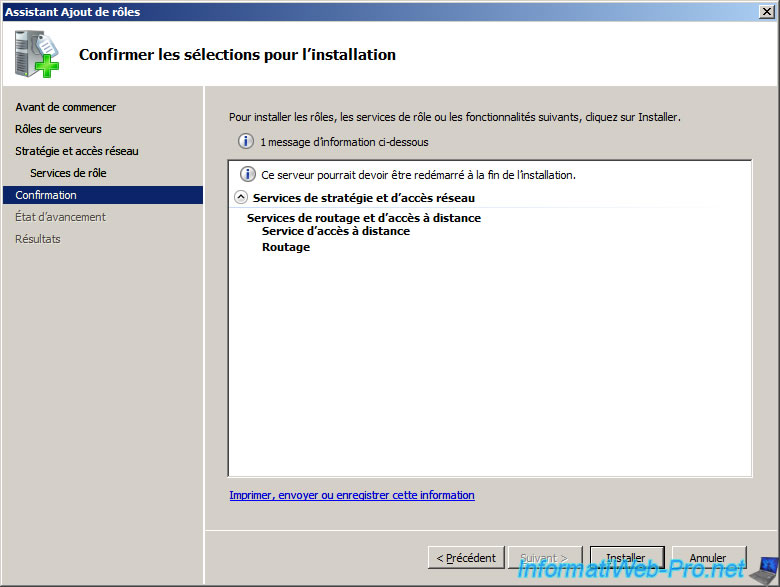
Check the "Services Routing and Remote Access" box.

Then click "Install".
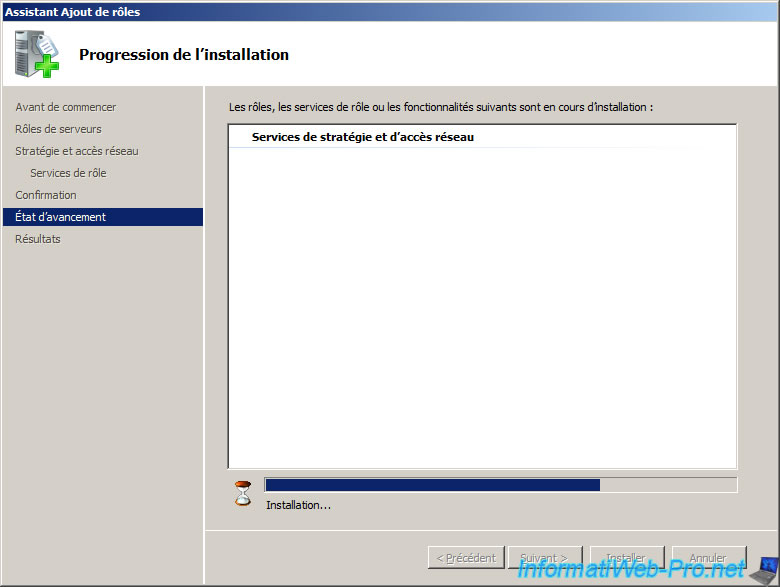
Installation of "Strategy and access network services" begin.
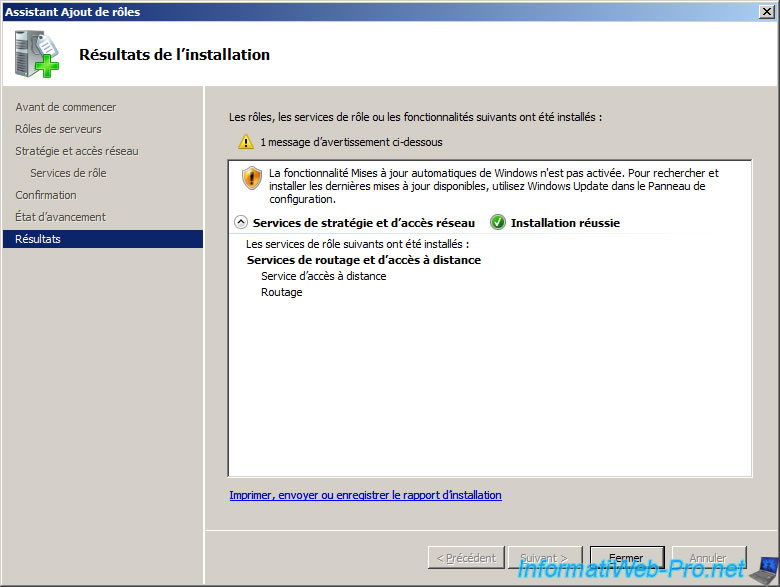
Once the installation is complete, click "Close".
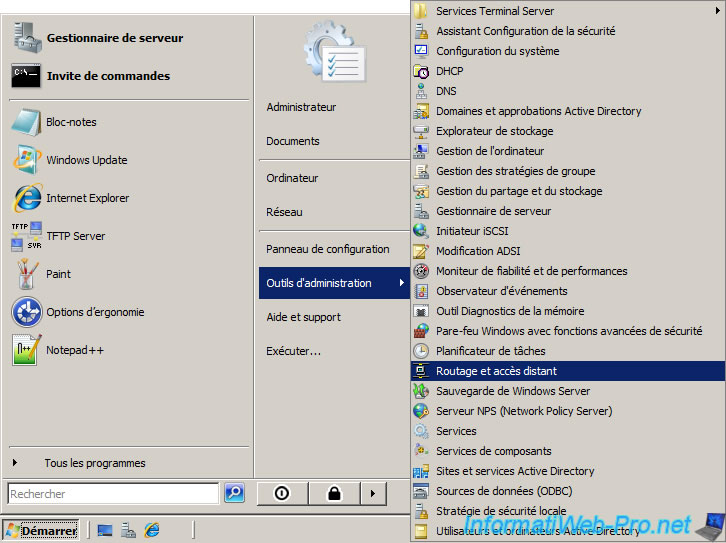
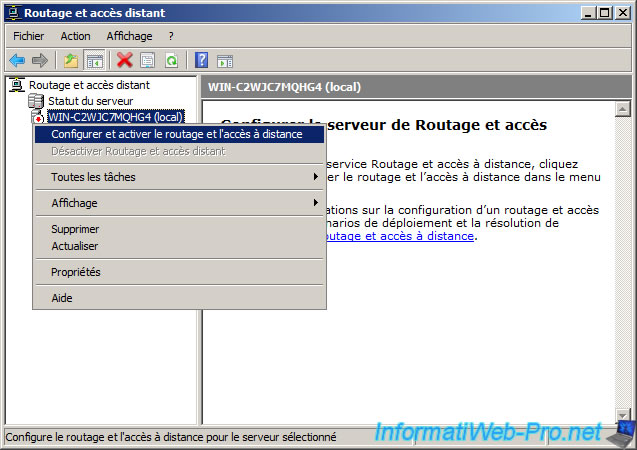
Then go to the start menu -> Administrative Tools -> Routing and Remote Access.
Click "Configure and Enable Routing and Remote Access".
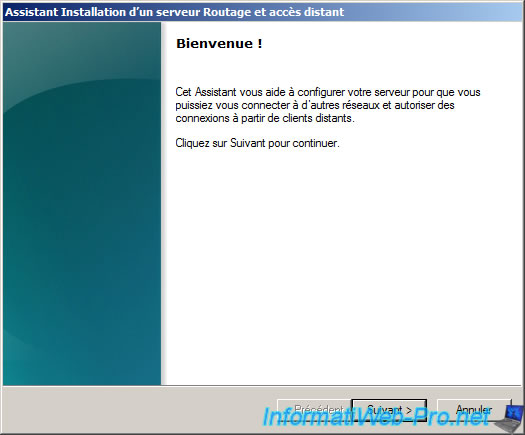
Click "Next".
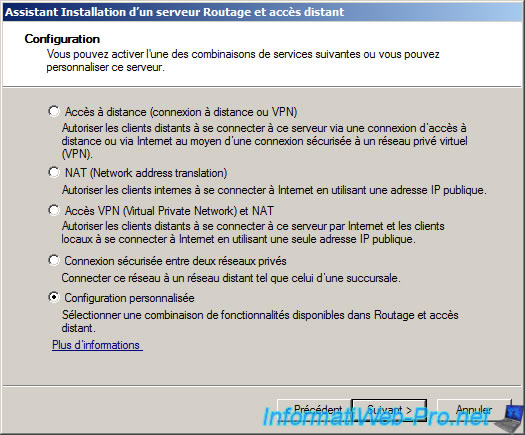
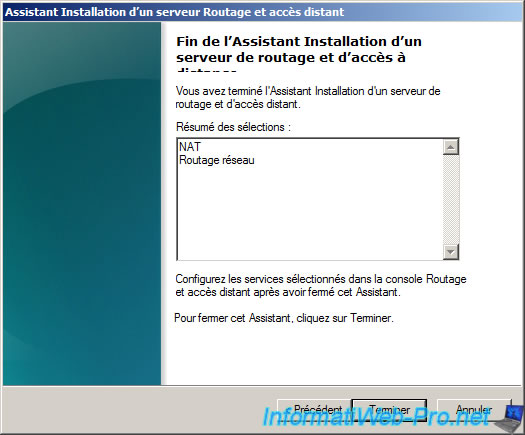
Select "Custom Settings".
Check the "NAT" and "Network Routing".
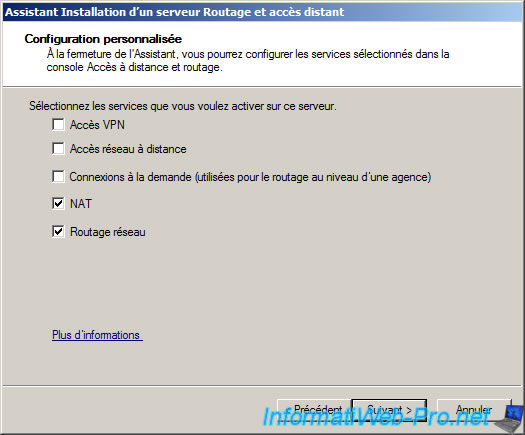
Click "Finish".
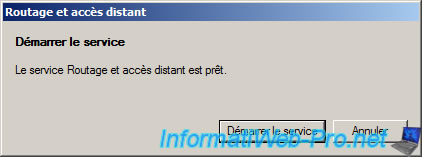
Click "Start Service".
To simplify the configuration of this service, we will first rename the two network connections (one for each network card).
The internal network "Local Area Connection (Internal)" which is configured with the settings on the DHCP tutorial are :
- IP : 10.0.0.1
- Subnet mask : 255.0.0.0
- Bridge : 10.0.0.0
- DNS server : 10.0.0.1
The Internet network "Local Area Connection (Internet)", which is configured with the following parameters :
- IP : 192.1681.5
- Subnet mask : 255.255.255.0
- Bridge : 192.168.1.254
- DNS server : 192.168.1.254
The parameters of the connection "Local Area Connection (Internet)" must obviously match the settings of your network.
When you want to configure the settings for the 2nd LAN connection static you get a warning due to multiple gateways are on different classes. It will work through NAT so click "Yes".
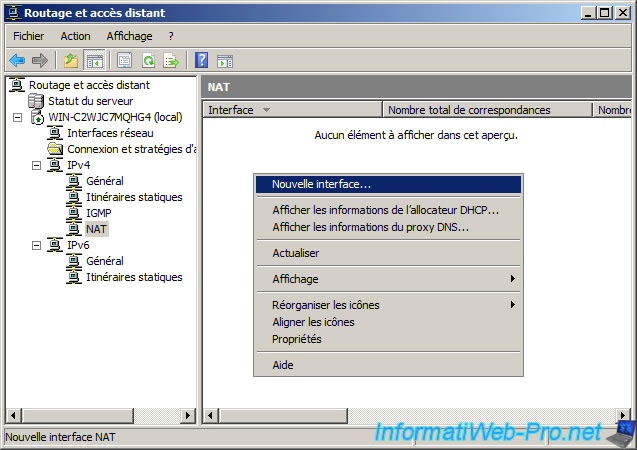
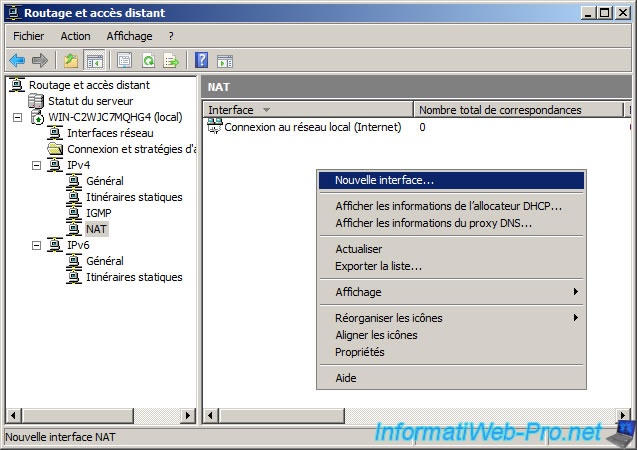
Then, in the "Routing and Remote Access" window, click "IPv4 -> NAT" then right click on the right side to add an interface.
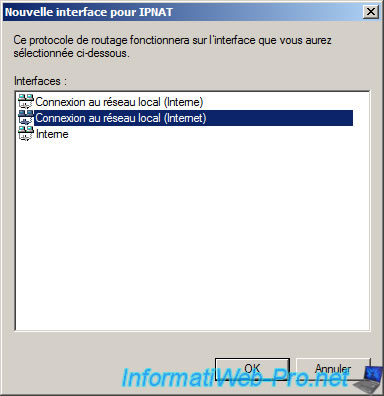
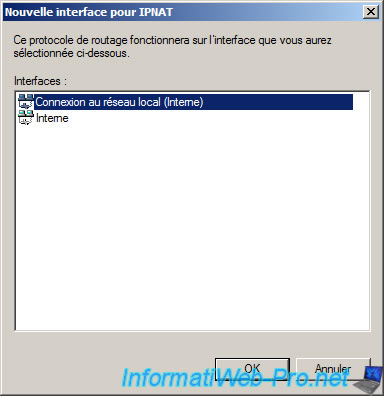
Select the Local Area Connection (Internet) and click OK.
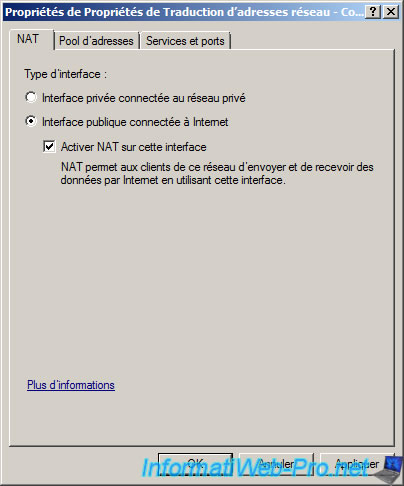
Select "Public interface connected to the Internet" and check "Enable NAT on this interface".
Perform almost the same procedure to connect to the Local Area Connection (Internal). To do this, right click on the right side and click on "New Interface".
Select "Local Area Connection (Internal)". Be careful not to be confused with the "Internal" interface that appears in this list because it does not physically exist.
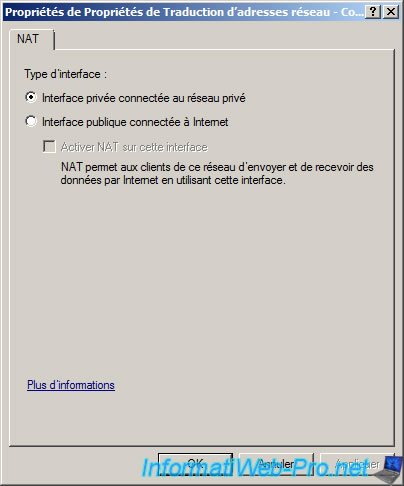
Select "Private interface connected to private network".
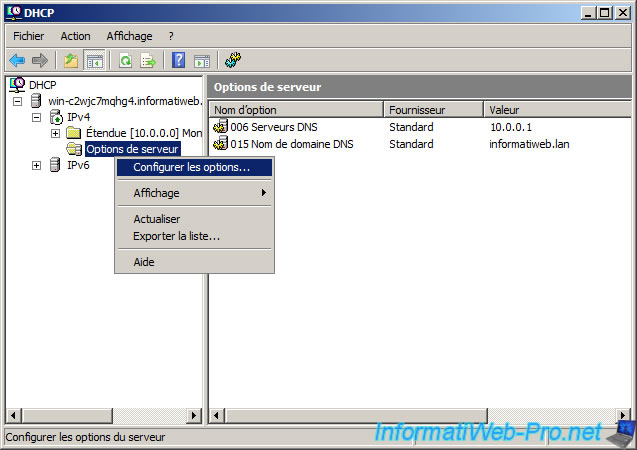
Now that the routing service is configured, it only remains to give the IP address of our server as the default gateway (also called a router). The server will route packets from private network to the Internet and vice versa. To send the IP gateway to customers, you can add the server options or those of one or more scopes. In our case, we will add the server options. To do this, right click on "Server Options" and click "Configure Options".
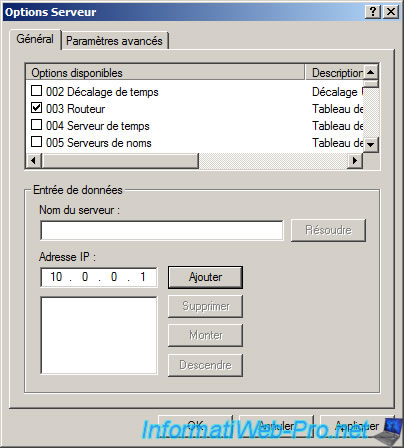
In the list of options, check "3 Router" and the name of the server (this is the name of the computer called NetBIOS) or IP address (for Local Area Connection (Internal) private network).
Then, to verify that it works, turn a client (that's Windows Vista in this case). If you have not turned off the client from, restart it for receive the new settings from DHCP.
Attempt to access the Internet by opening "Mozilla Firefox" or "Internet Explorer" and trying to access Google.
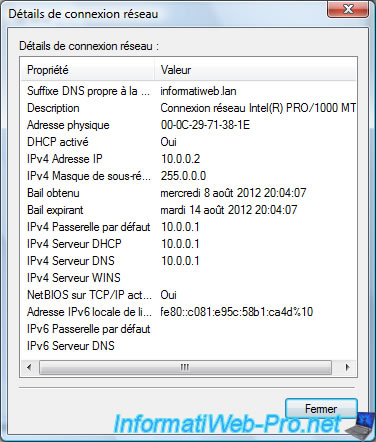
On the client, click on the small icon next to the time (called the systray system) and then click "Network and Sharing Center". Click on "Manage network connections" in the left column and double-click on "Local Area Connection" and then click Details.
If your client has received the information from your DHCP server, you should get a result like this :
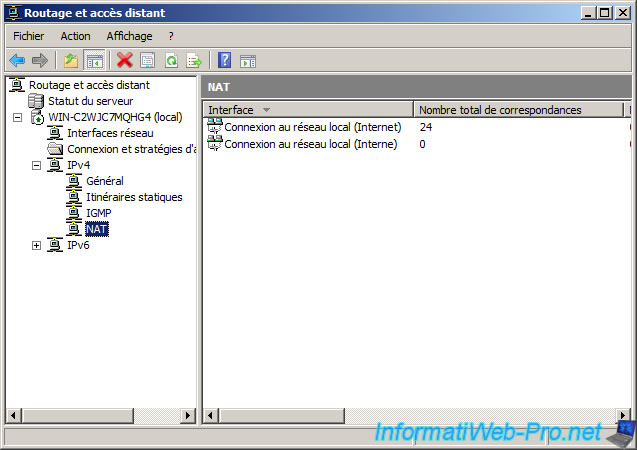
Then, in the server, go to the configuration of "Routing and Remote Access" and click on "Basic Firewall / NAT". Look at the columns. If they are not zero is that packets are going from the client to the Internet or vice versa which means that NAT is configured.
Share this tutorial
To see also
-
Windows Server 4/28/2012
WS 2003 - NAT and network routing
-

Windows Server 12/3/2016
WS 2012 - Routing and VPN server
-
Windows Server 11/23/2017
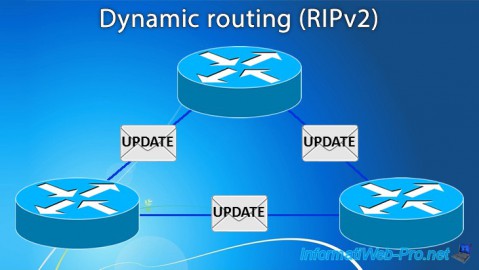
WS 2012 / 2012 R2 - Dynamic routing (RIPv2)
-

Windows Server 12/9/2016
WS 2022 / 2016 / 2012 - Create a site-to-site (S2S) VPN tunnel via PPTP/L2TP
You must be logged in to post a comment