- Windows Server
- Routage
- 23 November 2017 at 12:42 UTC
-

- 1/2

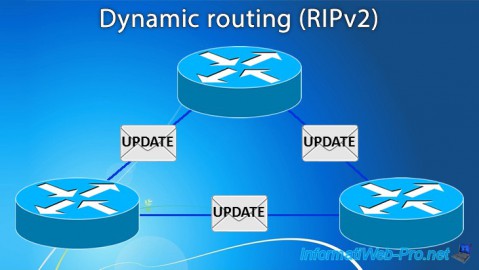
Routing Information Protocol (RIP) is a routing protocol that allows routers to communicate with each other.
In this tutorial, we will set up 2 RIPv2 servers to allow the machines of 2 local networks to communicate with each other (if the firewalls allow it).
With RIP, clients of a local area network will be able to communicate with clients of the other local area network without the need to add static routes to the different clients of those local area networks.
To set up the RIP protocol on a server, you need 2 network adapters :
- the 1st network card will be connected to the switch where you will connect the machines of the 1st local area network.
- the 2nd network card will be connected to a switch that only allows you to interconnect your different RIP servers.
Note that the third network adapter is not required for RIP. However, for the example to be complete, we have chosen to add a third network card to allow servers and client devices to access the Internet via NAT.
Note : if you want to configure the NAT as well (as explained later in the tutorial), we recommend that you add the 3 network adapters before you configure the "Routing and Remote Access" service. Otherwise, you will have to remove the configuration from this service and recreate it after a server restart.

- Configuration used
- Routing and remote access installation
- Configuring the RIPv2 routing protocol
- Testing RIP routing from our Win 8.1 Pro clients
- Configuring NAT routing for internet access
- Installing and configuring the DHCP server (optional)
1. Configuration used
1.1. Servers configuration
For this tutorial, we used 2 servers running Windows Server 2012 R2 and 2 client machines running Windows 8.1 Pro (one per LAN).
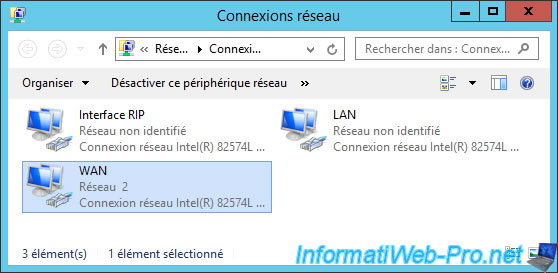
As mentioned previously, our 2 servers have 3 network cards each :
- a "RIP interface" network card to connect our RIP servers together.
- a "LAN" network card connected on a local network where our client machines are located
- a "WAN" network card connected to the Internet. In our case, it's connected to our Box (router provided by our ISP).
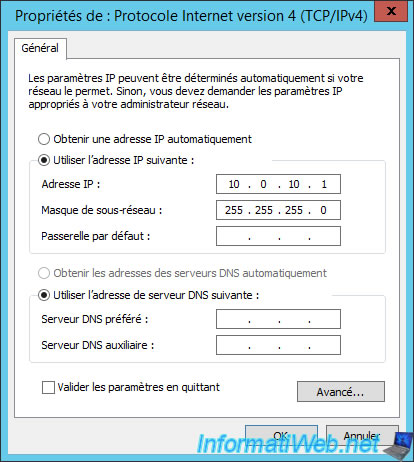
Configuring the "RIP interface" network card :
- IP address : 10.0.10.1 (server 1) / 10.0.10.2 (server 2)
- Subnet mask : 255.255.255.0
Note : leave the other fields blank, as they will not be used for this network interface.
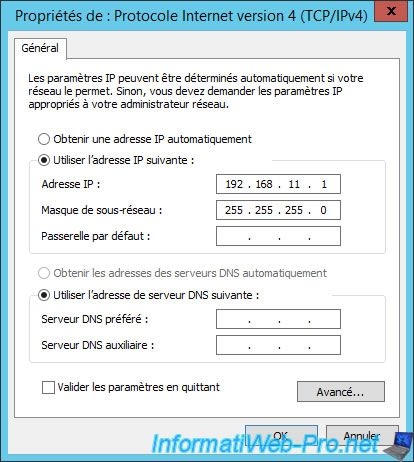
Configuring the "LAN" network card :
- IP address : 192.168.11.1 (server 1) / 192.168.12.2 (server 2)
- Subnet mask : 255.255.255.0
Note : leave other fields blank.
Configuring the "WAN" network adapter :
- IP address : 192.168.1.2 (server 1) / 192.168.1.3 (server 2)
- Subnet mask : 255.255.255.0
- Gateway : 192.168.1.1 (IP address of your Box)
For DNS configuration, specify :
- Preferred DNS Server : 192.168.1.1 (IP address of your Box)
- Alternate DNS server : 8.8.8.8 (optional : IP address of a public DNS server provided by Google)

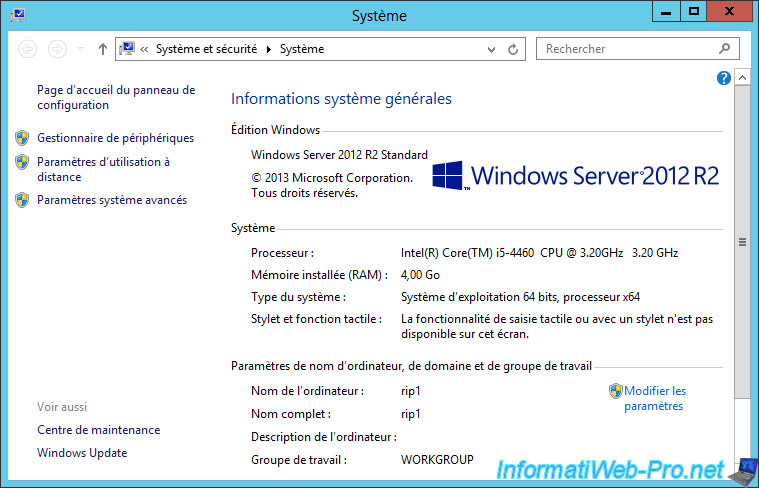
As mentioned previously, we used 2 servers under Window Server 2012 R2 Standard.
These two servers are named "rip1" and "rip2".
Note : the edition doesn't matter.
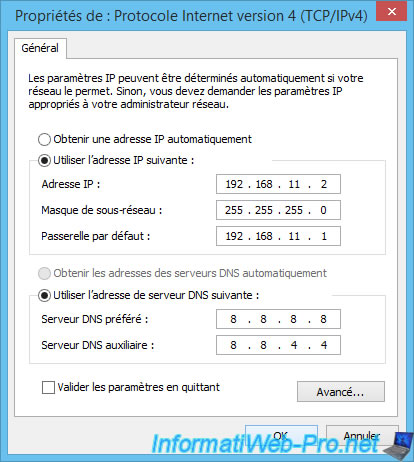
1.2. Clients configuration
For client machines, we used 2 computers under Windows 8.1 Pro, with this network configuration :
- IP address : 192.168.11.2 (for the WIN8-PC1 machine of the 1st local network) and 192.168.12.2 (for the WIN8-PC2 machine of the 2nd local network).
- Subnet mask : 255.255.255.0
- Gateway : 192.168.11.1 (for the WIN8-PC1 machine) and 192.168.12.1 (for the WIN8-PC2 machine).
- DNS servers : 8.8.8.8 and 8.8.4.4 (IP addresses of Google's public DNS servers).
2. Routing and remote access installation
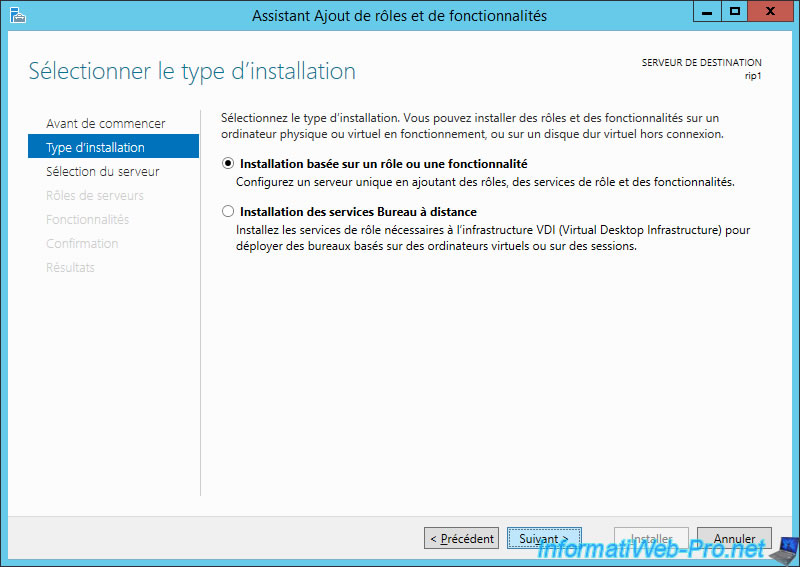
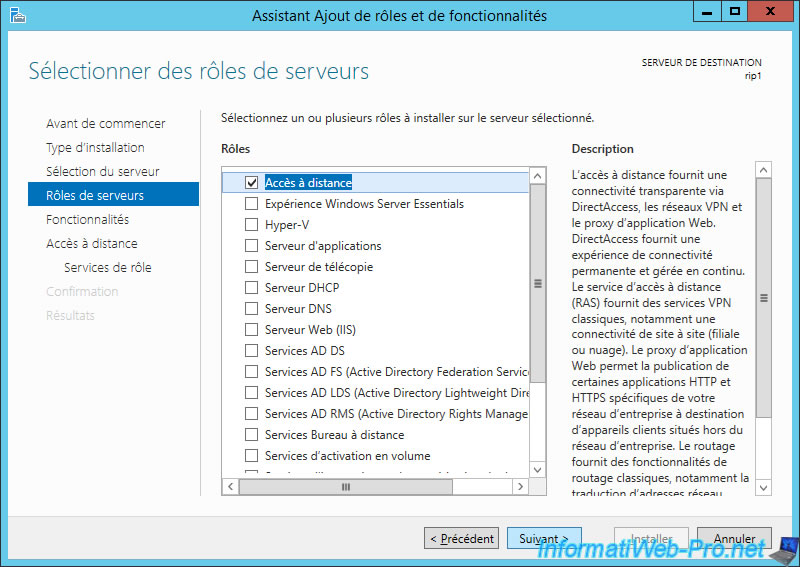
To install the RIP protocol, you must install the "Remote Access" role on both servers.
To do this, launch the Add Roles and Features wizard and choose "Role-based or feature-based Installation".
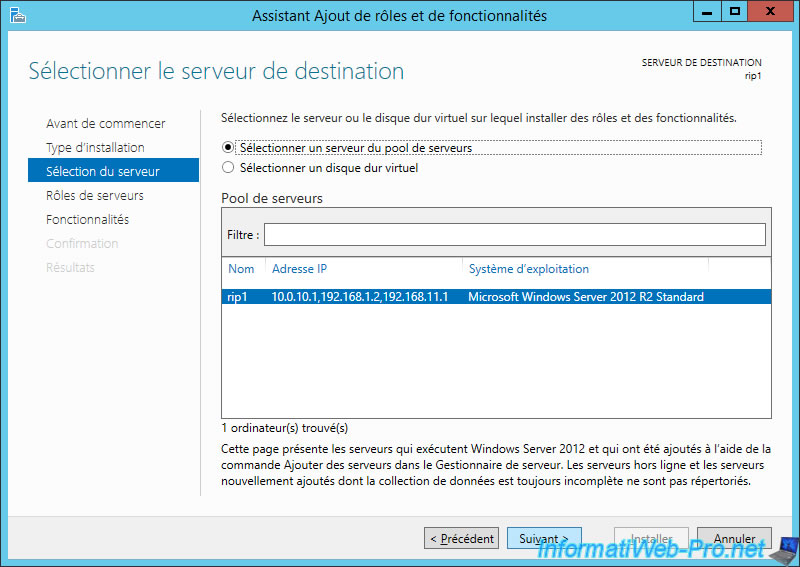
Choose your server and click Next.
Check the "Remote Access" box.
No feature to install.
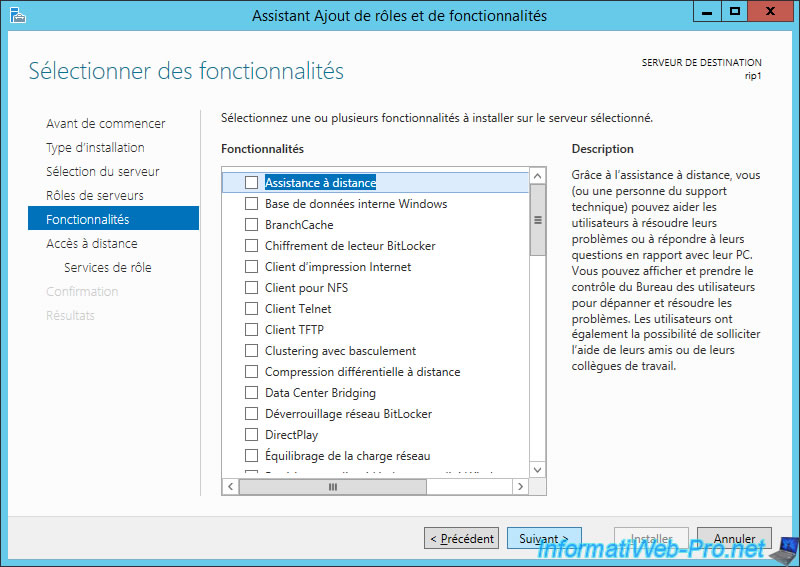
Click Next.
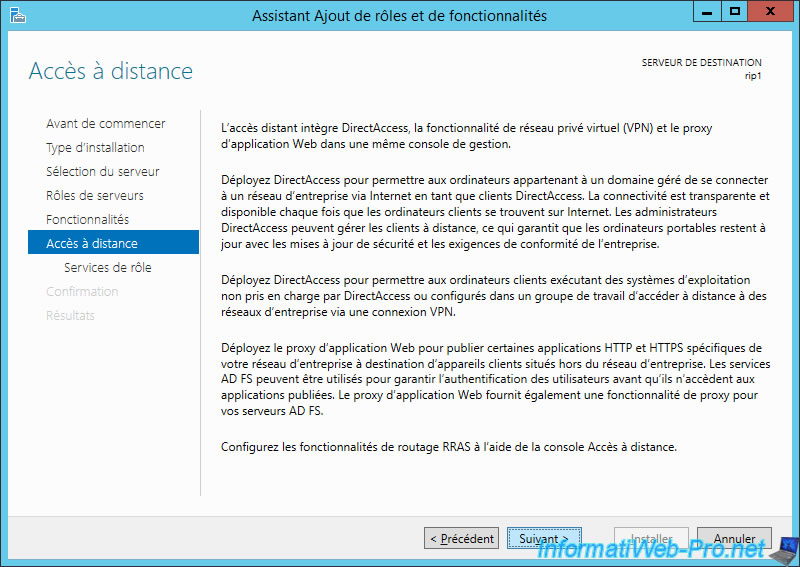
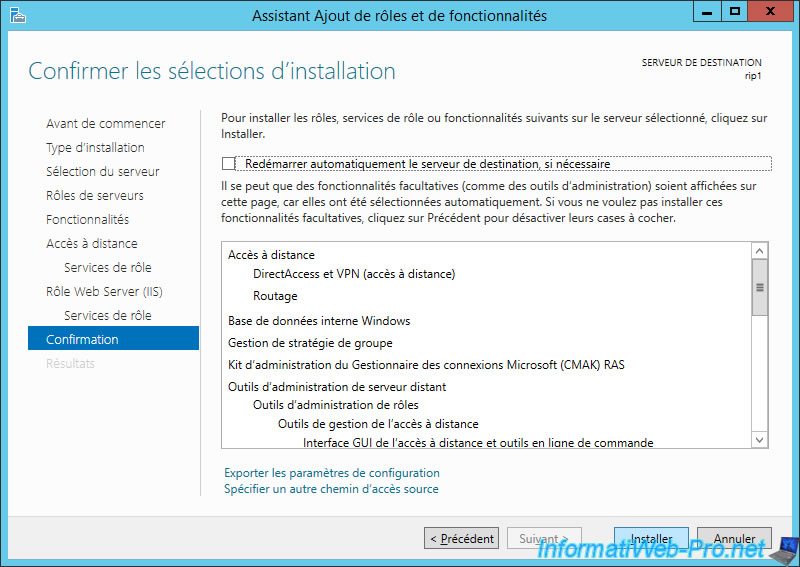
Check the "Routing" box.
Note : this role service depends on the "DirectAccess and VPN (RAS)" role service. So the "DirectAccess and VPN (RAS)" box will be automatically checked.
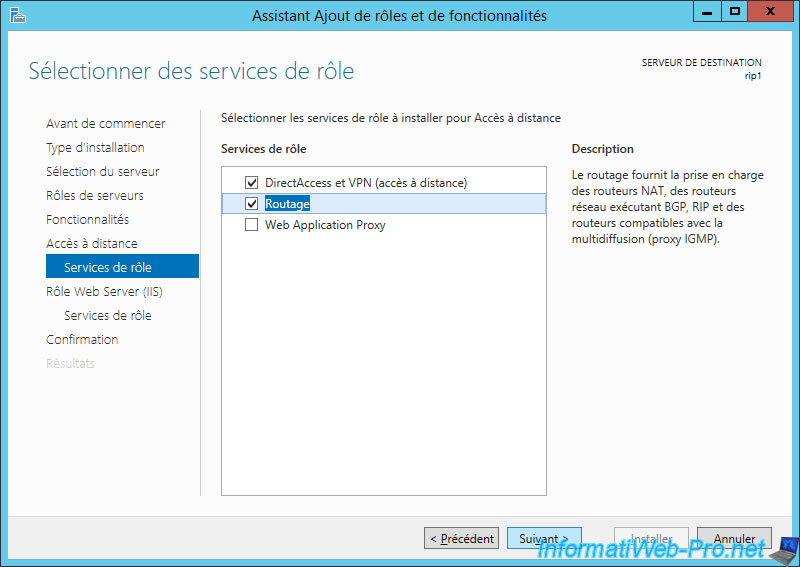
Click Install.
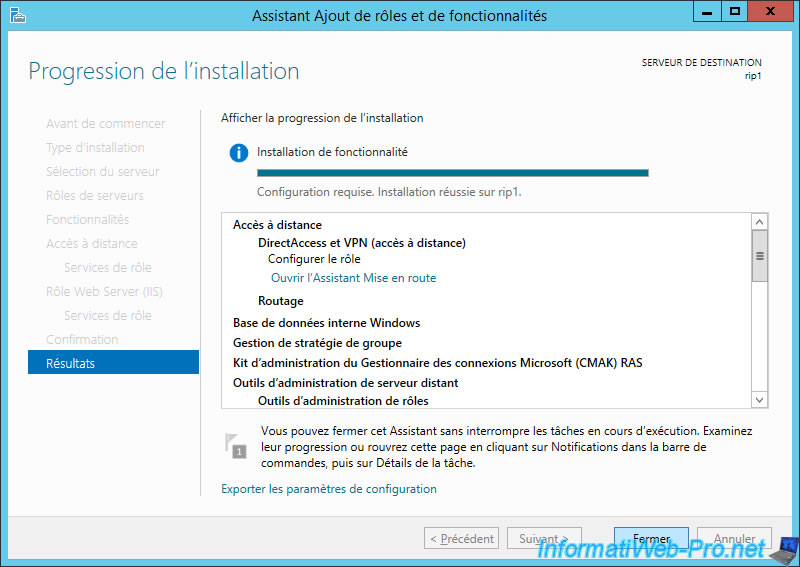
The installation is done.

Click Close.
Note : don't forget to do the same on your 2nd server.

3. Configuring the RIPv2 routing protocol
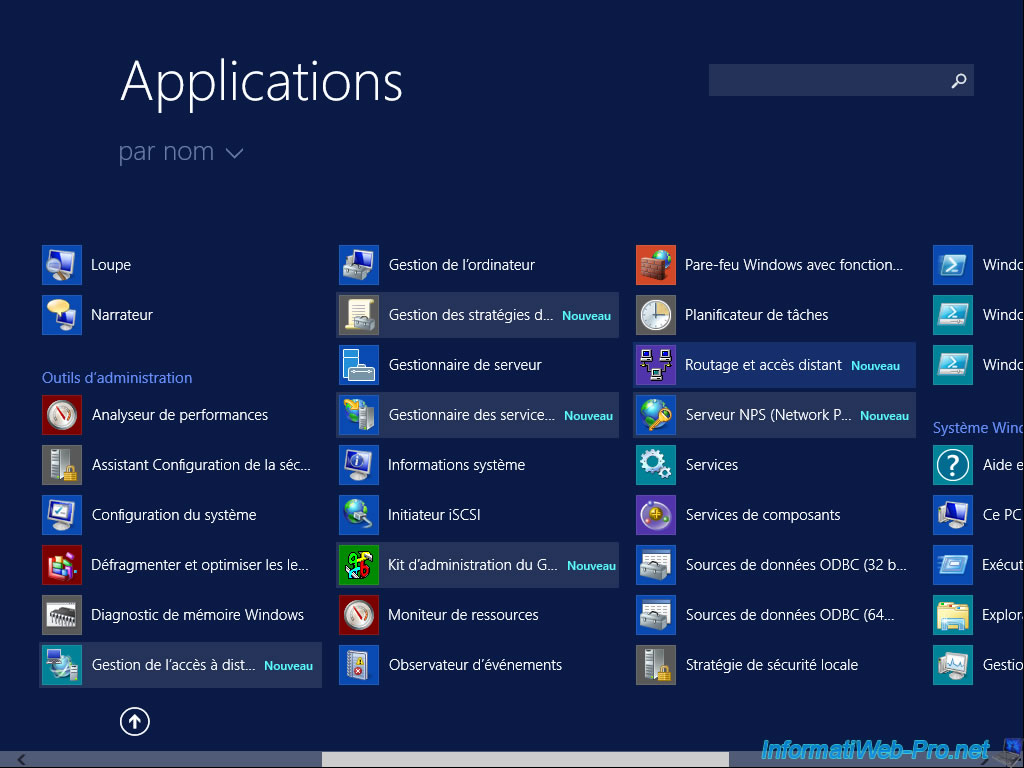
To configure routing in Windows Server 2012 R2, open the Windows Home screen, click the small arrow at the bottom left, then launch the "Routing and Remote Access" program.
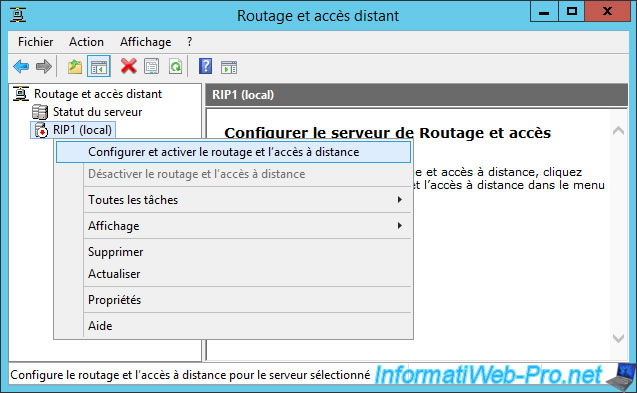
The "Routing and Remote Access" window appears.
Right-click the name of your server and click "Configure and Enable Routing and Remote Access".
The Routing and Remote Access Server Setup Wizard appears.
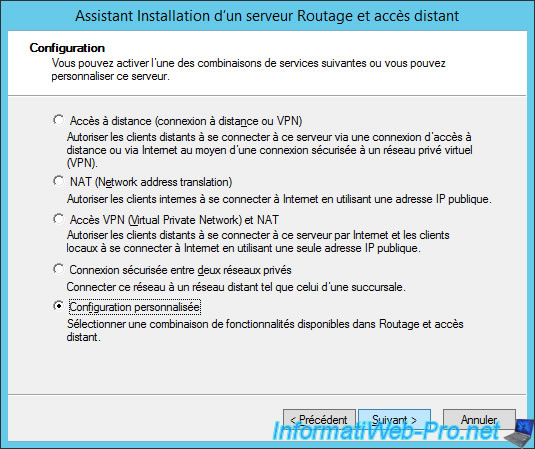
Select "Custom configuration".
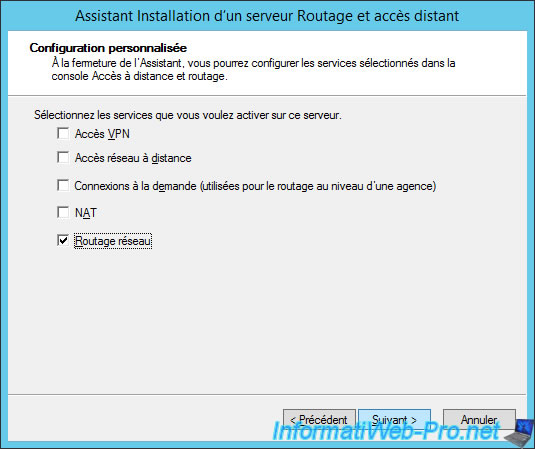
Check the "LAN routing" box.
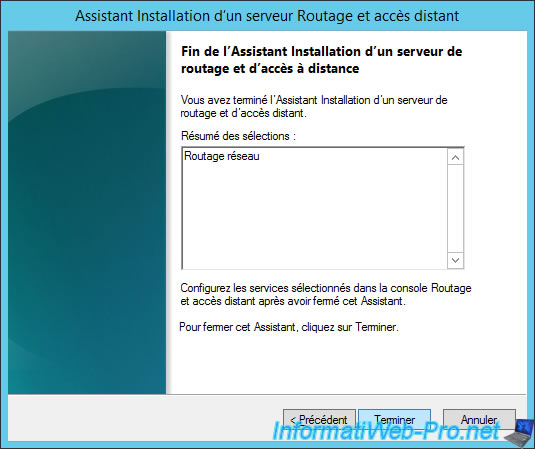
Click Finish.
Click Start service.
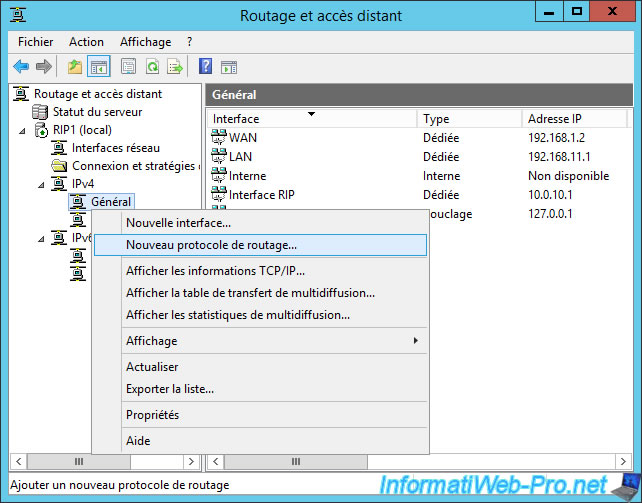
To configure your server to act as a RIP server, go to IPv4 and right-click "New Routing Protocol" on the "General" item.
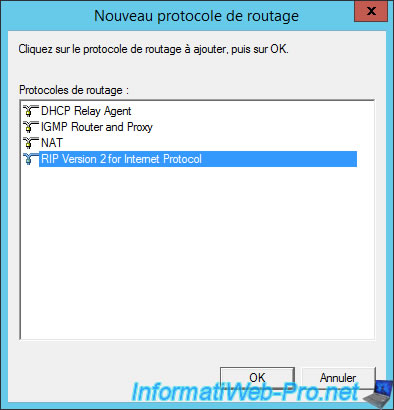
Choose the "RIP Version 2 for Internet Protocol" routing protocol and click OK.
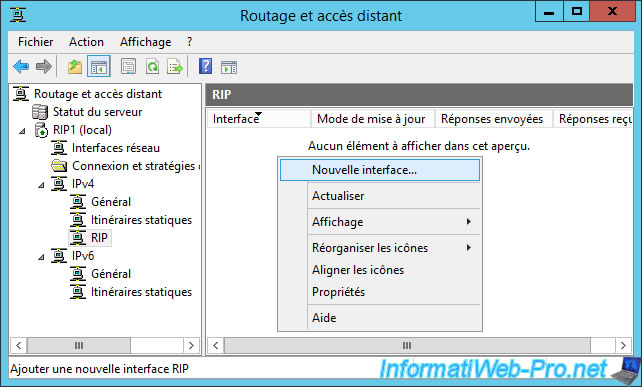
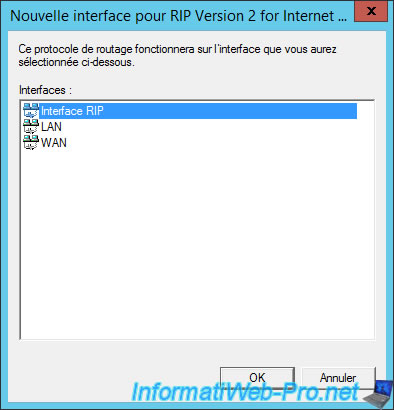
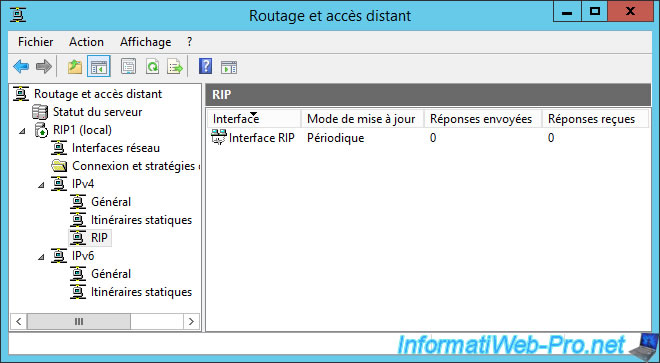
Now go to "IPv4 -> RIP" and right click "New interface" in the right part.
Select the network interface that allows you to interconnect your RIP servers.
For the option "Added cost for routes", enter this value : 2.
Otherwise, the packets may not reach their destination because they will expire too soon.
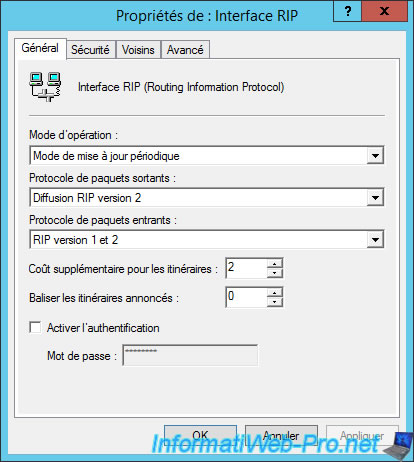
Now, your RIP server will share the routes it knows via the "RIP Interface" network card.
Share this tutorial
To see also
-
Windows Server 4/28/2012
WS 2003 - NAT and network routing
-
Windows Server 4/22/2015
WS 2012 - NAT and network routing
-

Windows Server 12/3/2016
WS 2012 - Routing and VPN server
-

Windows Server 12/9/2016
WS 2022 / 2016 / 2012 - Create a site-to-site (S2S) VPN tunnel via PPTP/L2TP
You must be logged in to post a comment