Create a site-to-site (S2S) VPN tunnel via PPTP/L2TP on Windows Server 2022, 2016 and 2012

3.2. Configure the DHCP server on site 1 (Brussels)
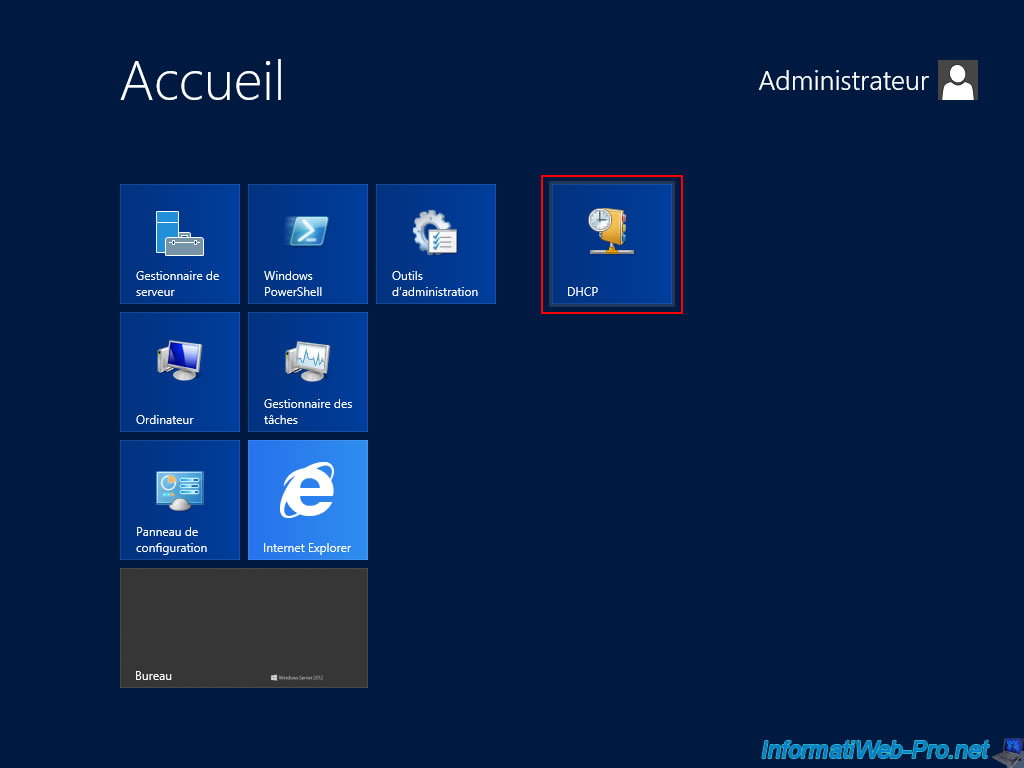
From the Windows Server 2012 home screen, launch the "DHCP" console.
Since Windows Server 2016, go to the start menu and click on "Windows Administrative Tools -> DHCP".
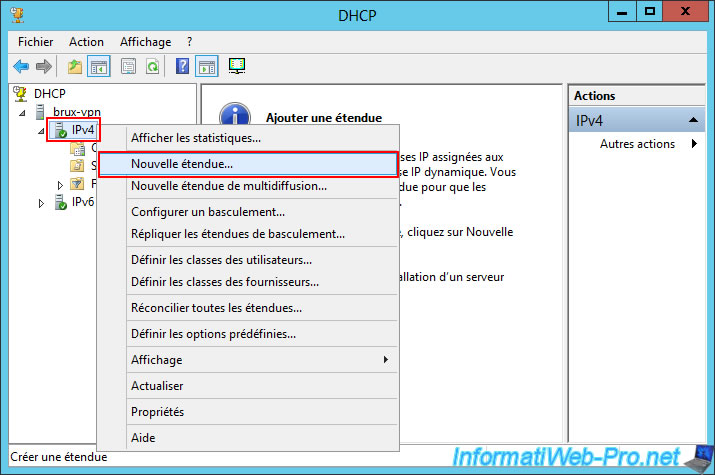
Right click "New Scope" on "IPv4".
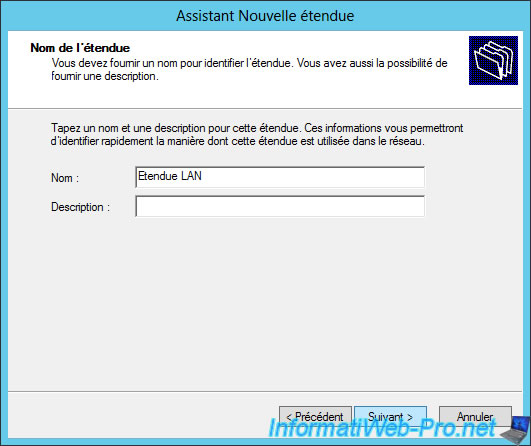
Enter the name you want for this DHCP scope.
For example, "LAN Scope", as this only applies to machines on your local area network (LAN).
Note: IP addresses for VPN tunnels will be defined directly in the "RRAS" (Routing and Remote Access) console.
But you'll see that later in the tutorial.
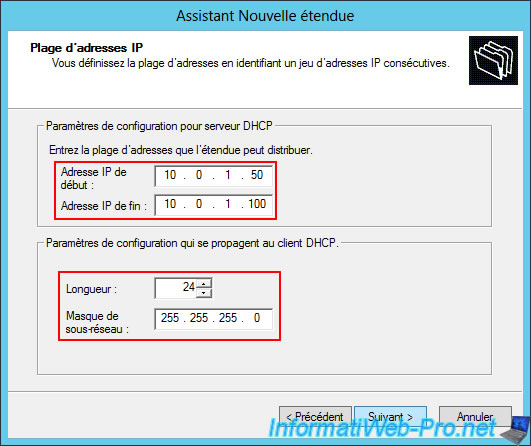
Define the IP address range to use on the LAN network at Site 1 (Brussels).
In our case, this is the IP address range "10.0.1.50" to "10.0.1.100" and the subnet mask will be "255.255.255.0" (= length "24").
This results in a network ID of "10.0.1.0" at Site 1 (Brussels).
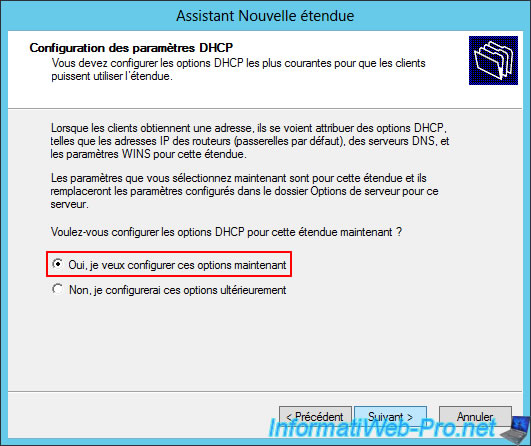
Select "Yes, I want to configure these options now" (to be able to set the IP address of the DNS server and default gateway that your client machines will use).
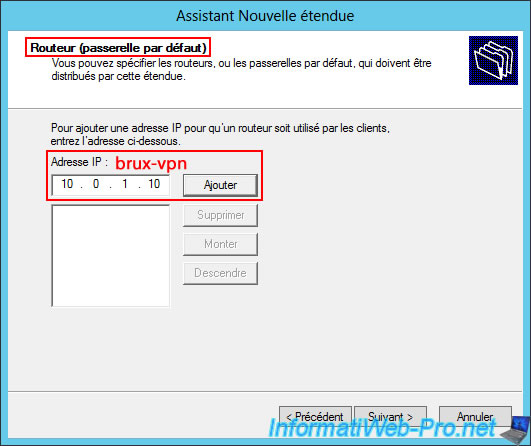
For "Router (default gateway), enter the LAN IP address of your local VPN server ("brux-vpn" in this case), then click the "Add" button.
In our case, "10.0.1.10".
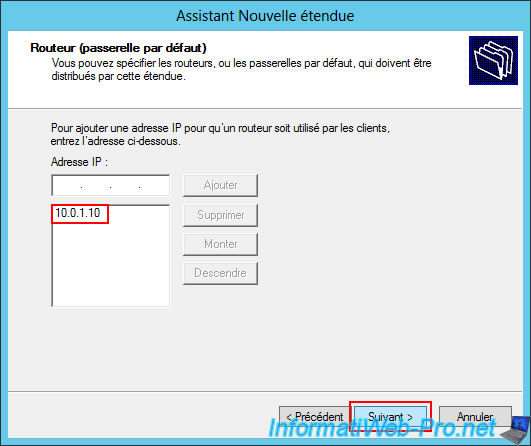
The added IP address appears in the list.
Click "Next".
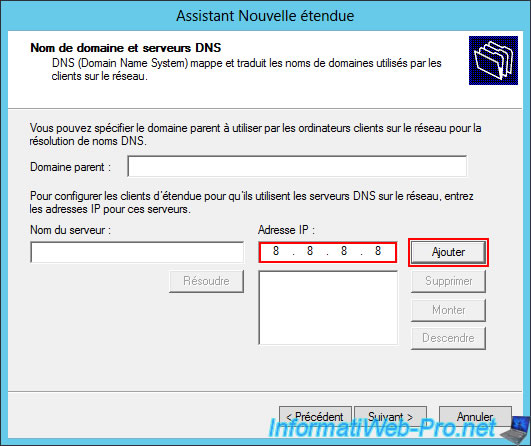
For the DNS server to use, remove the IP address displayed by default (this is retrieved from your VPN server's network configuration).
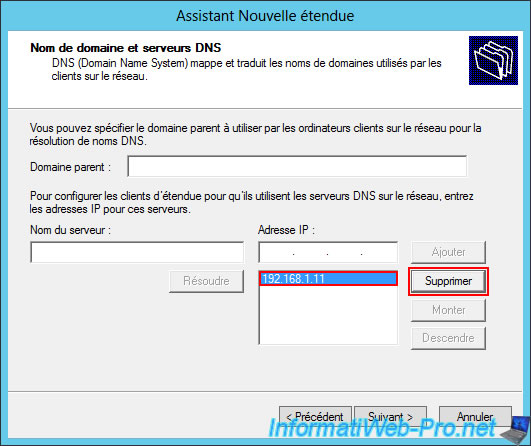
Next, enter the IP address of the DNS server your client machines will use and click the "Add" button.
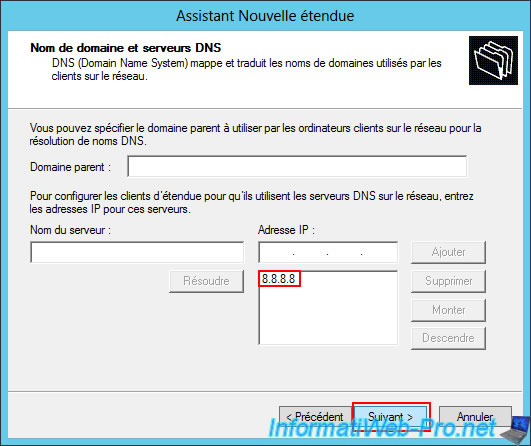
In this case, we'll enter the IP address of Google's public DNS server (8.8.8.8).
If you want to specify two, enter the second Google public DNS server (8.8.4.4).
Source : Get Started | Public DNS | Google for Developers.
Please wait a few seconds while the IP address specified as the DNS server is validated.
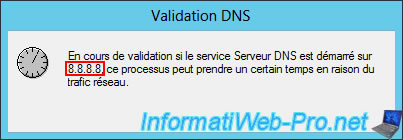
It will then appear in the list.
Click "Next".
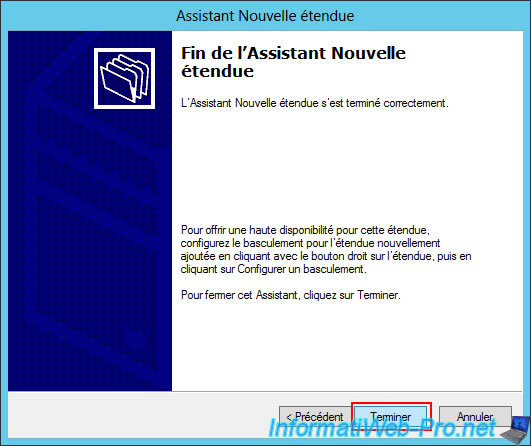
Select "Yes, I want to activate this scope now".
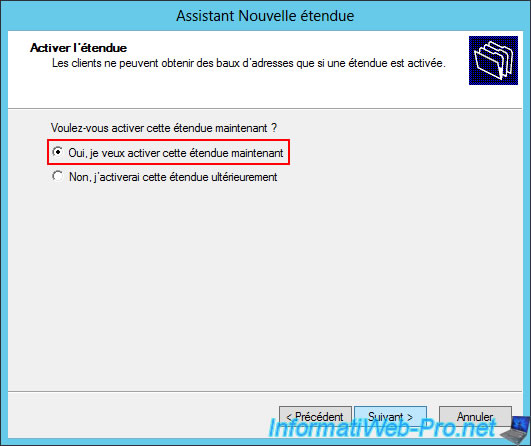
Click "Finish".
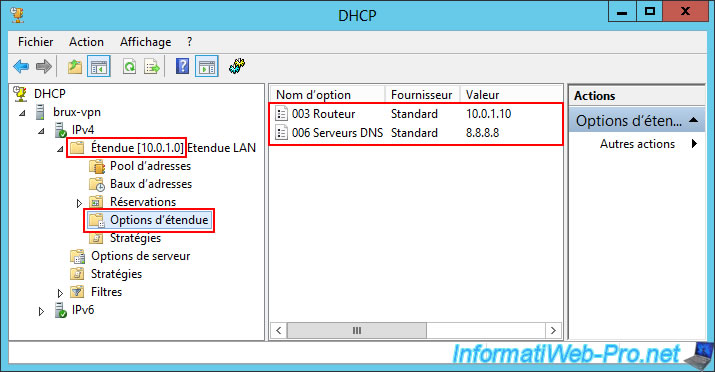
Your new "LAN Scope" scope appears.
Go to "Scope [10.0.1.0]... -> Scope Options" and you'll see the DHCP options "003 Router" and "006 DNS Servers".
3.3. Install and configure the DHCP server on site 2 (Paris)
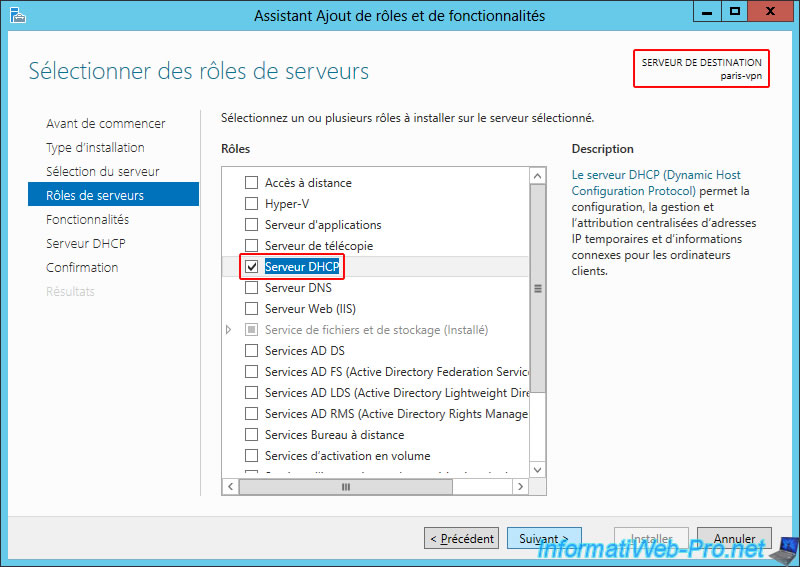
On the "paris-vpn" server, do the same thing.
Install the "DHCP Server" role.
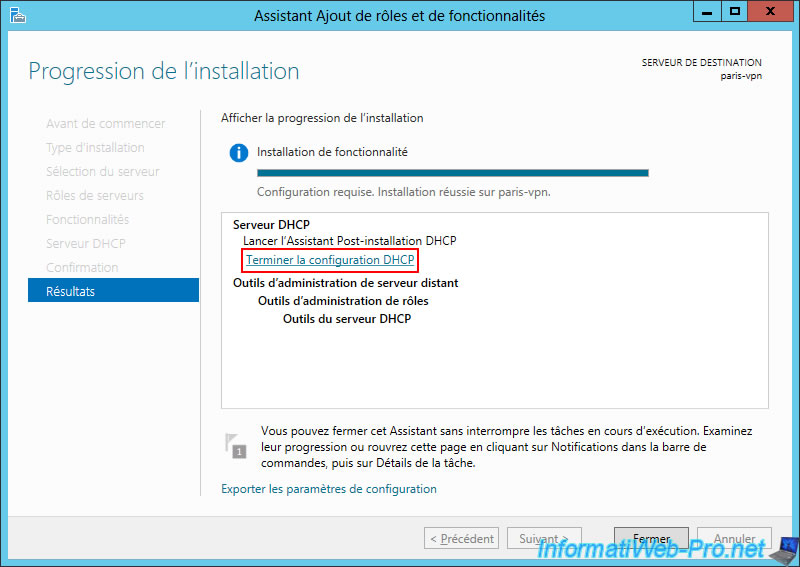
Once the DHCP server installation is complete, click the "Complete DHCP Configuration" link to automatically create the security groups needed to administer the DHCP server.
Next, create an IPv4 scope, this time specifying the IP address range used at this second site (Paris).
In our case, the IP address range is "10.0.2.50" to "10.0.2.100".
The subnet mask remains the same. This results in a network ID of "10.0.2.0" at site 2 (Paris).

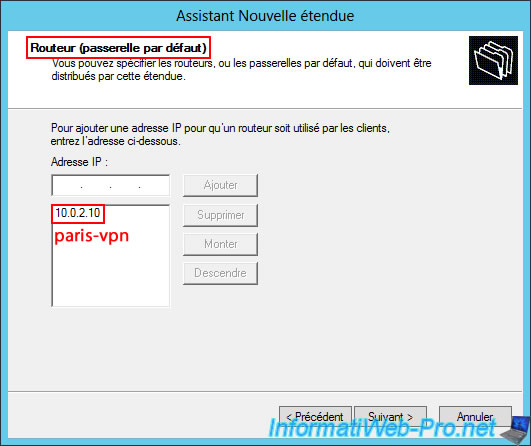
For the router's IP address (default gateway) at site 2 (Paris), enter the IP address of your local DNS server (at site 2).
In other words, the LAN IP address of the "paris-vpn" server.
In our case, "10.0.2.10".
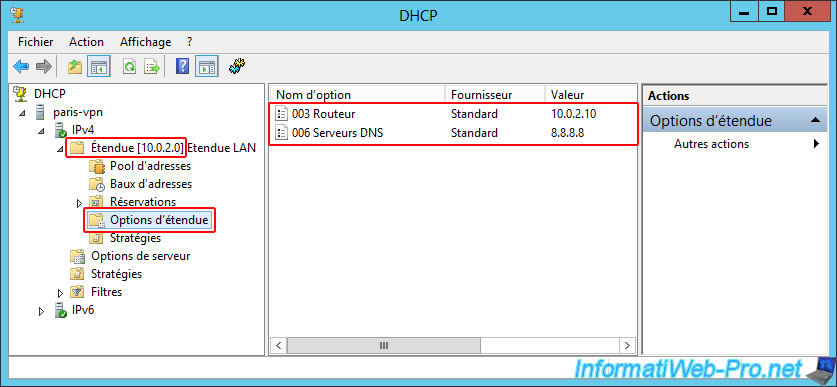
Once the scope is created and activated, go to the "Scope Options" section of it and you will again see the DHCP options "003 Router" and "006 DNS Servers".
Share this tutorial
To see also
-
Windows Server 8/8/2012
WS 2008 - NAT and network routing
-

Windows Server 4/22/2015
WS 2012 - NAT and network routing
-

Windows Server 12/3/2016
WS 2012 - Routing and VPN server
-
Windows Server 11/23/2017
WS 2012 / 2012 R2 - Dynamic routing (RIPv2)
No comment