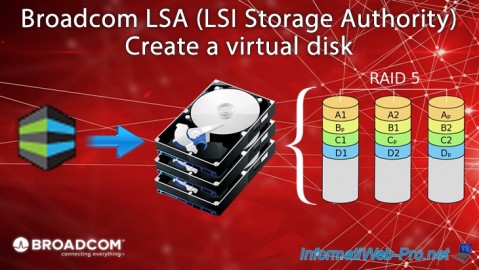
Create a virtual disk (from BIOS) on your Broadcom MegaRAID 9560-8i controller
- RAID
- 25 April 2025 at 11:24 UTC
-

- 3/3

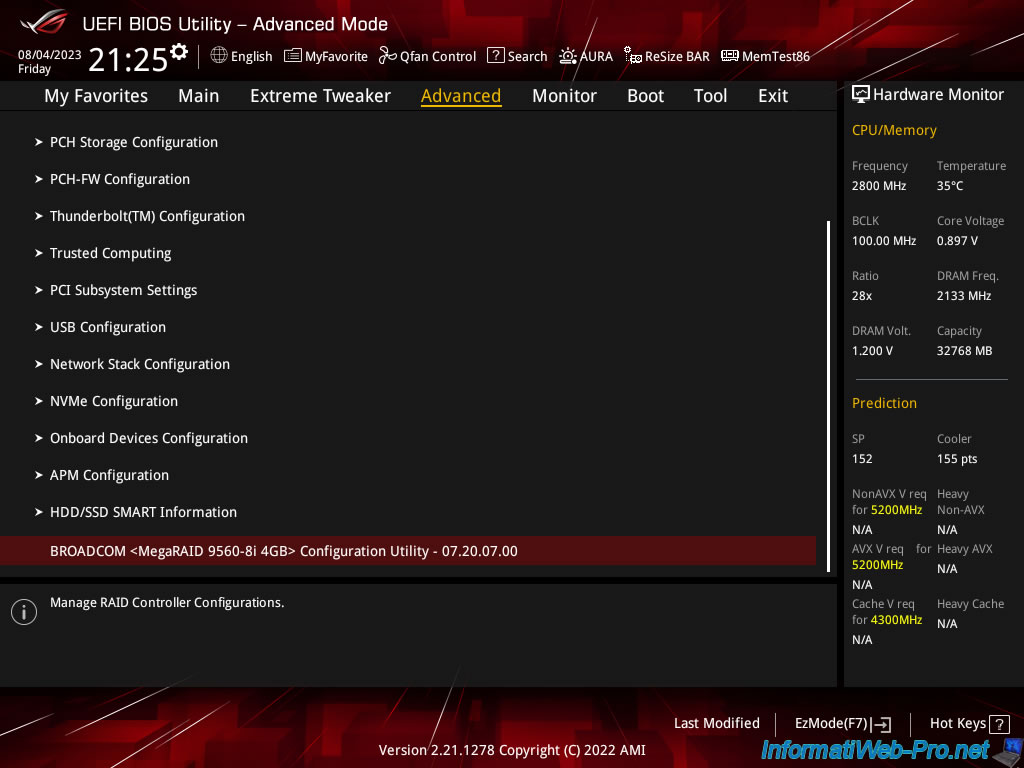
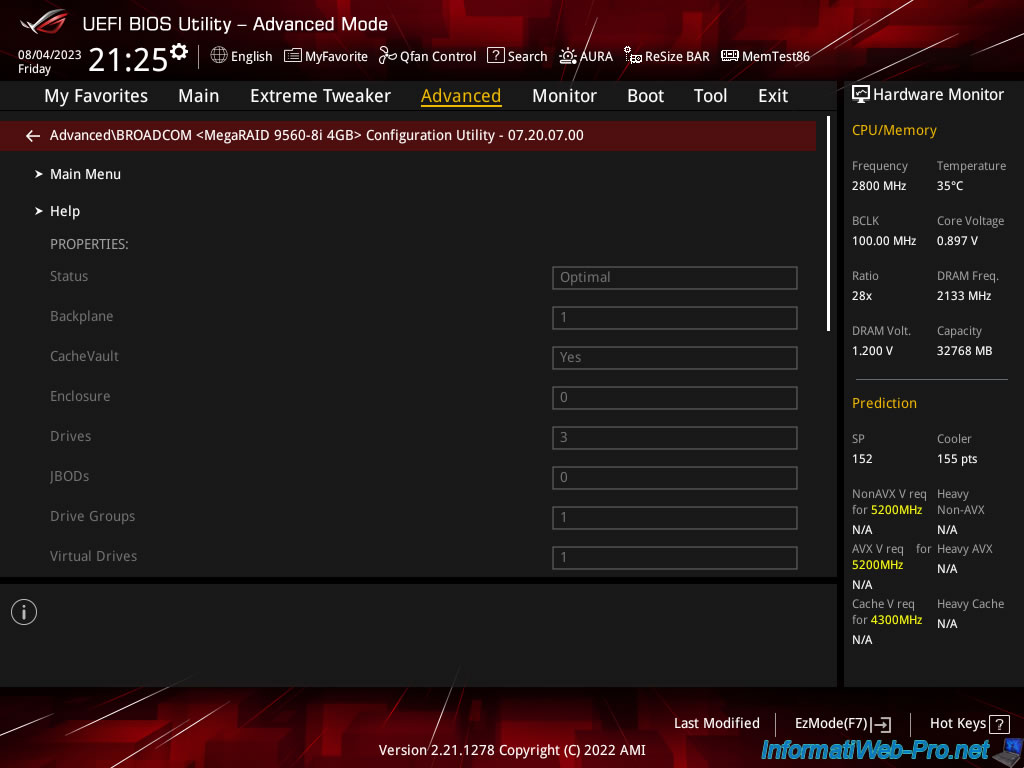
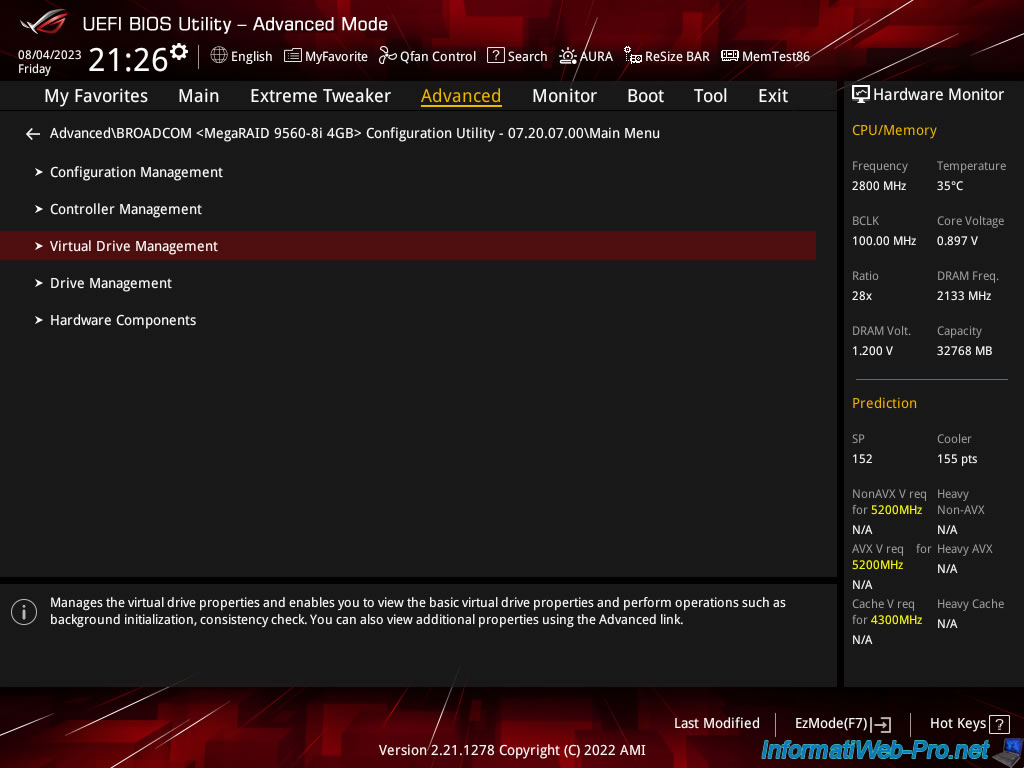
1.5. Broadcom MegaRAID controller information
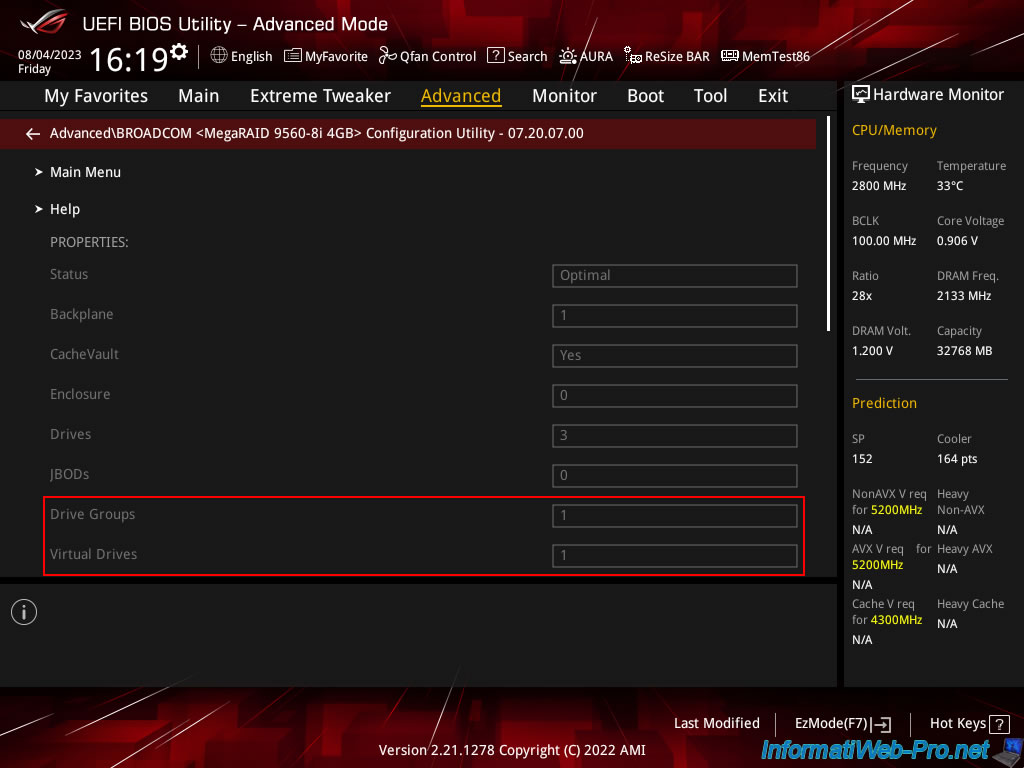
To have your Broadcom MegaRAID controller information updated, exit the Broadcom Configuration Tool (without exiting your motherboard BIOS, as this is not necessary).
Then, enter again: BROADCOM <MegaRAID 9560-8i 4GB> Configuration Utility".

As you can see, there is now:
- Drive Groups: a group of drives.
- Virtual Drives: a virtual disk.
Exit your motherboard BIOS without saving changes.
Indeed, changes made via the Broadcom tool are saved from this Broadcom tool.
However, the option to save your motherboard BIOS only concerns the motherboard BIOS settings (NOT those of the Broadcom tool running using HII).
In the BIOS of an Asus or Asus Rog motherboard, go to the "Exit" tab and click on: Discard Changes & Exit.
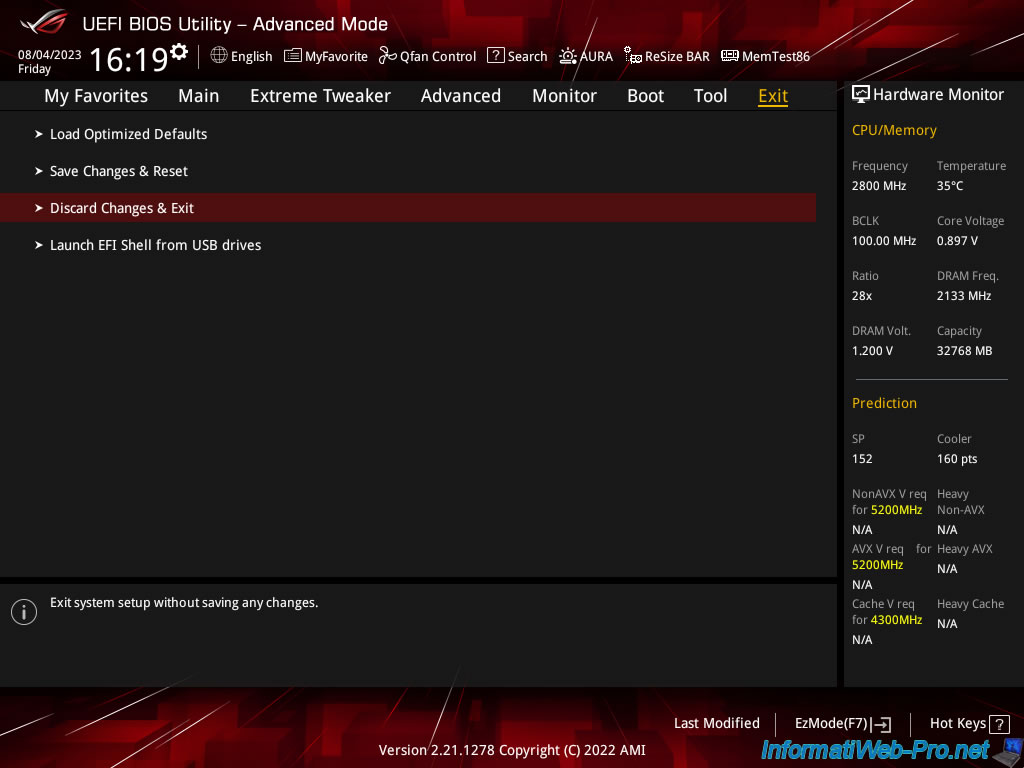
Click Ok.
If the error "BlInitializeLibray failed 0xc0000001" appears, simply press the "Reset" button on your computer.
This error will no longer appear.
This is most likely due to a bug when using certain menus and/or options in the Broadcom tool.
Indeed, the BIOS of your motherboard has no knowledge of how the Broadcom tool is designed.
If this tool is accessible via your motherboard BIOS, it is only thanks to HII.
![]()
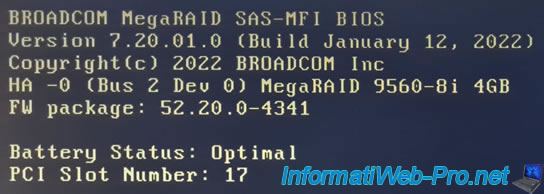
2. Controller information displayed at startup (Legacy BIOS mode only)
If you configure your computer's BIOS to boot in Legacy BIOS mode, you will see this appear.
However, you probably won't see it in your case, because the Broadcom configuration tool is only available when your computer boots in UEFI mode.
Plain Text
BROADCOM MegaRAID SAS-MFI BIOS
...
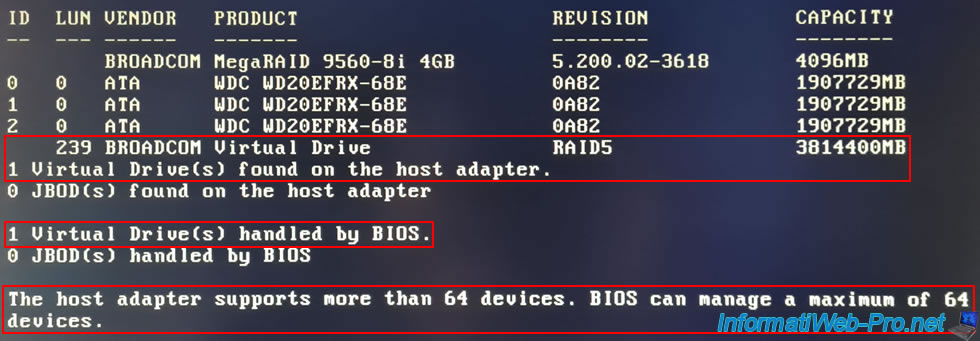
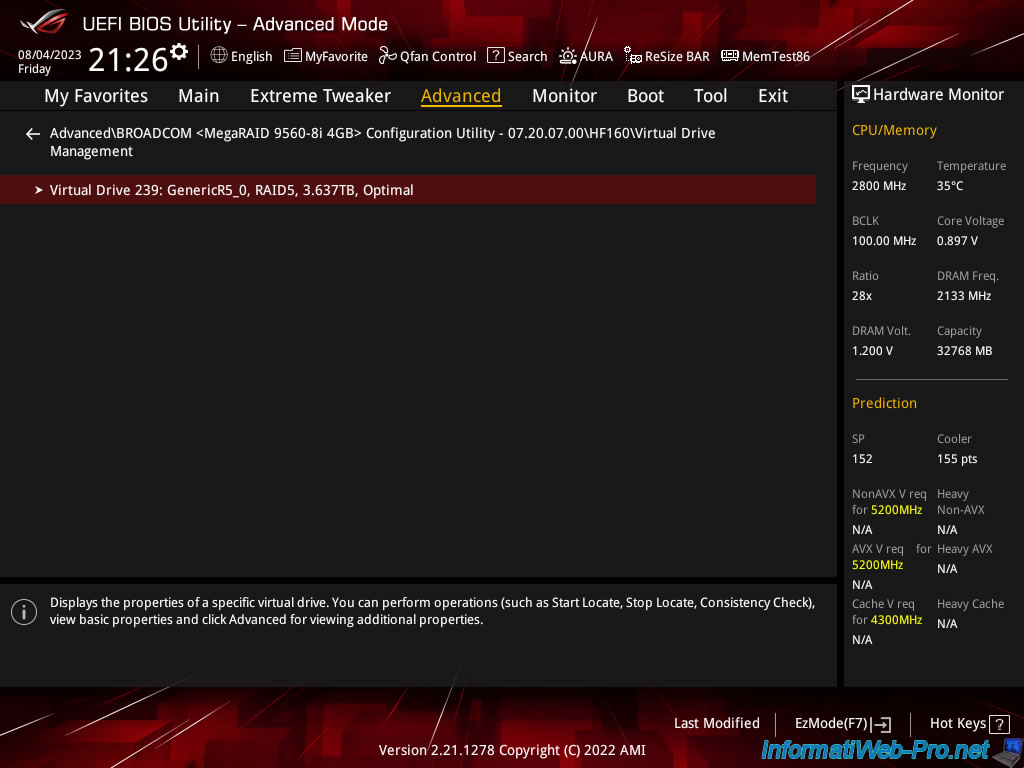
In the list of disks that appears, you will see your new virtual disk in RAID 5 (in our case).
Plain Text
239 BROADCOM Virtual Drive RAID 5 3814400MB.
You will also see that the number of virtual disks has increased and the Broadcom MegaRAID controller tells you that the host adapter can support more than 64 devices, but the BIOS can only handle 64 at most.
Plain Text
1 Virtual Drive(s) found on the host adapter.
0 JBOD(s) found on the host adapter.

1 Virtual Drive(s) handled by BIOS.
0 JBOD(s) handled by BIOS.

The host adapter supports more than 64 devices. BIOS can manage a maximum of 64 devices.
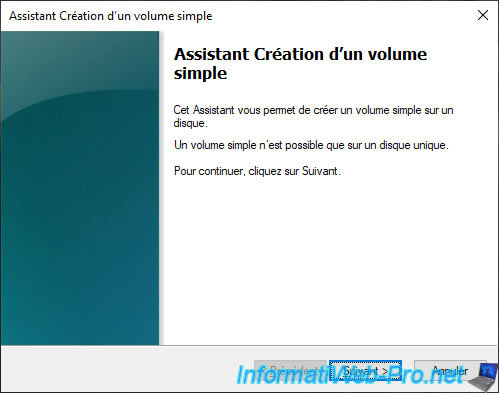
3. Partition logical disk RAID
To be able to store data on your RAID logical drive from Windows, you must first partition it.
To do this, in File Explorer, right-click "Manage" on "This PC".
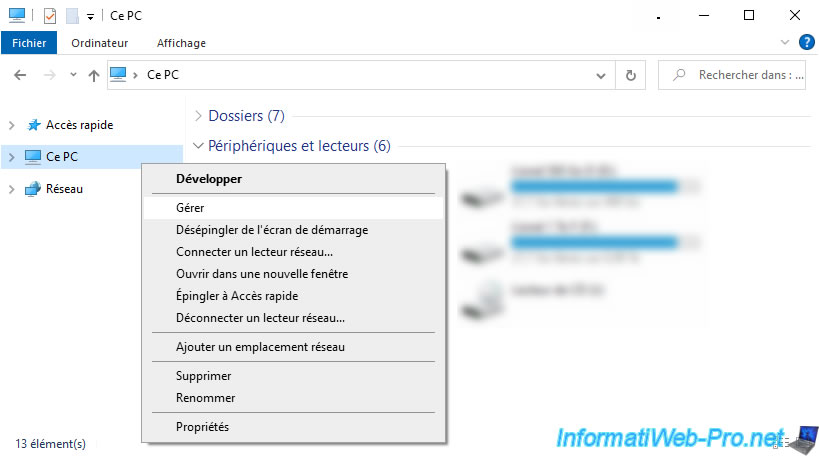
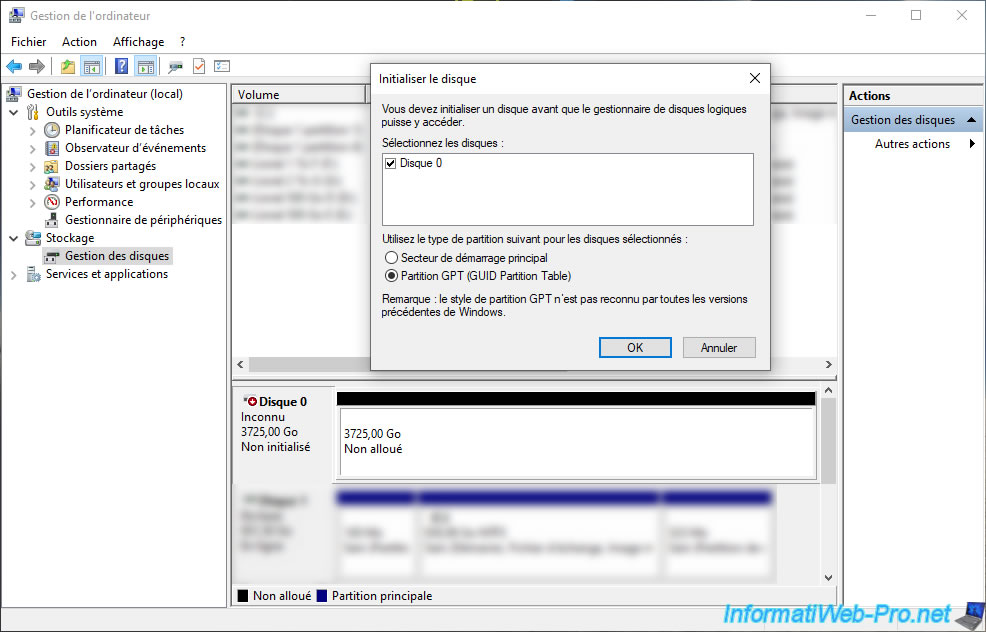
Go to "Disk Management" and an "Initialize Disk" window will appear.
Click OK.
Note: the GPT partition table is required if the disk has a capacity of more than 2 TB.
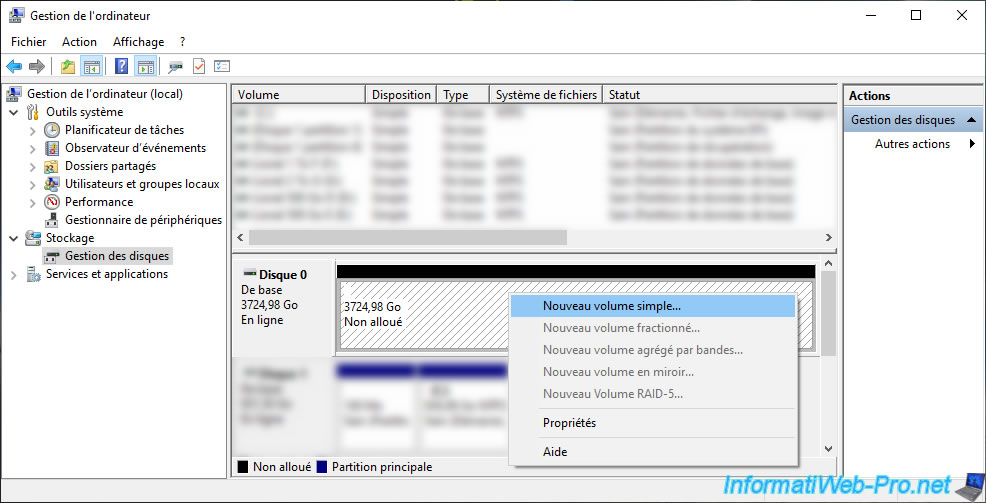
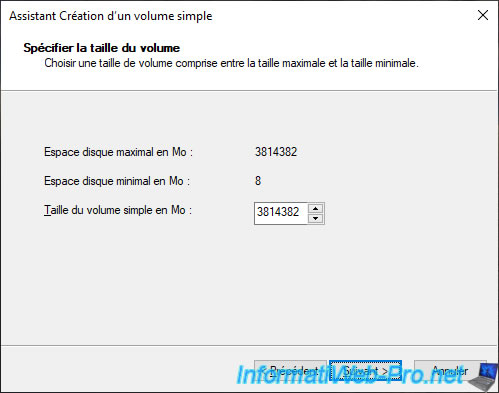
Partition logical disk as you wish.
To do this, right-click "New Simple Volume" on this disk.
The wizard appears.
In our case, we left the default size to create a single partition on this RAID logical drive.
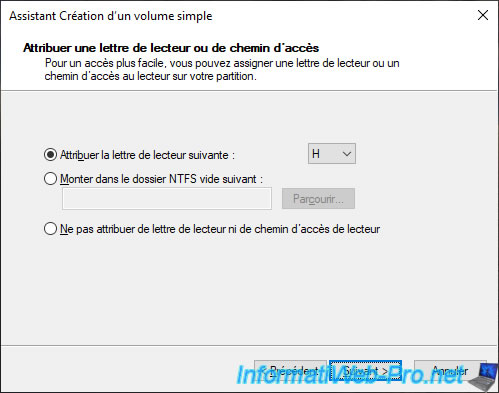
Change the letter if you wish.
Provide a volume name and click Next.
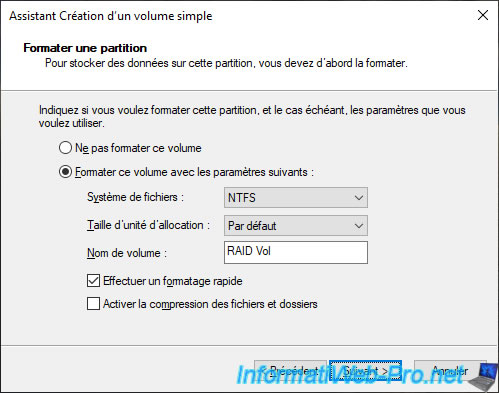
Click Finish.
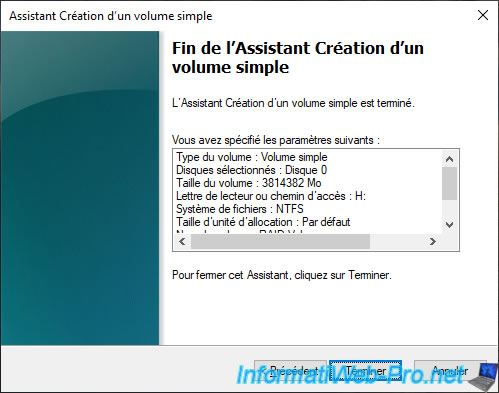
The RAID logical drive is partitioned.
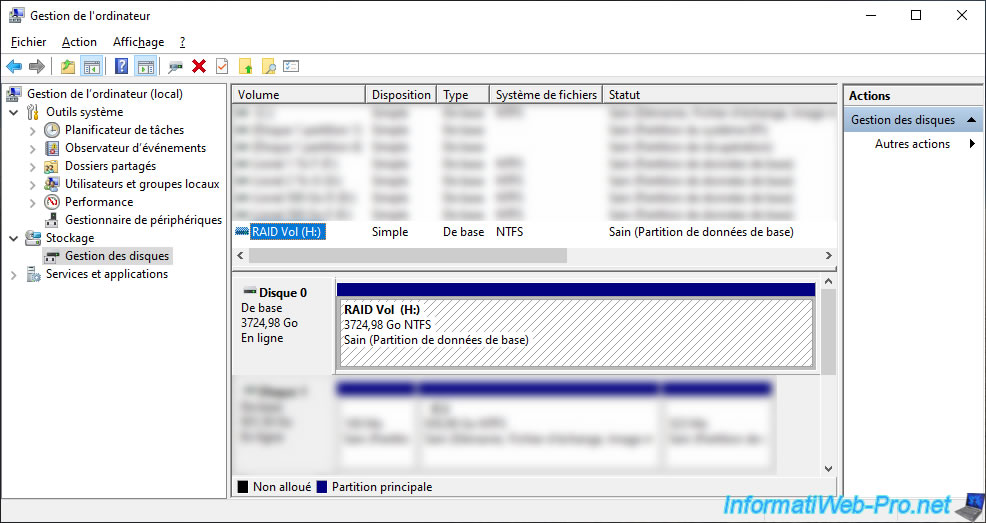
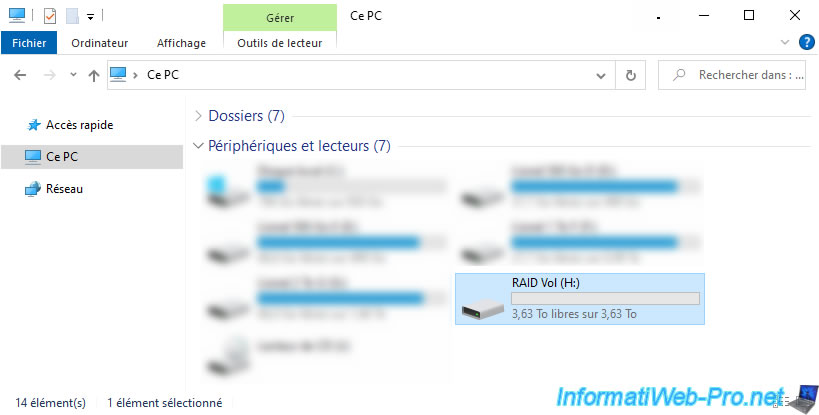
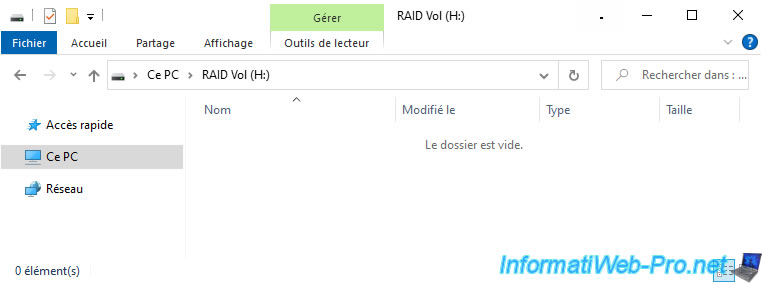
The created partition appears in File Explorer.
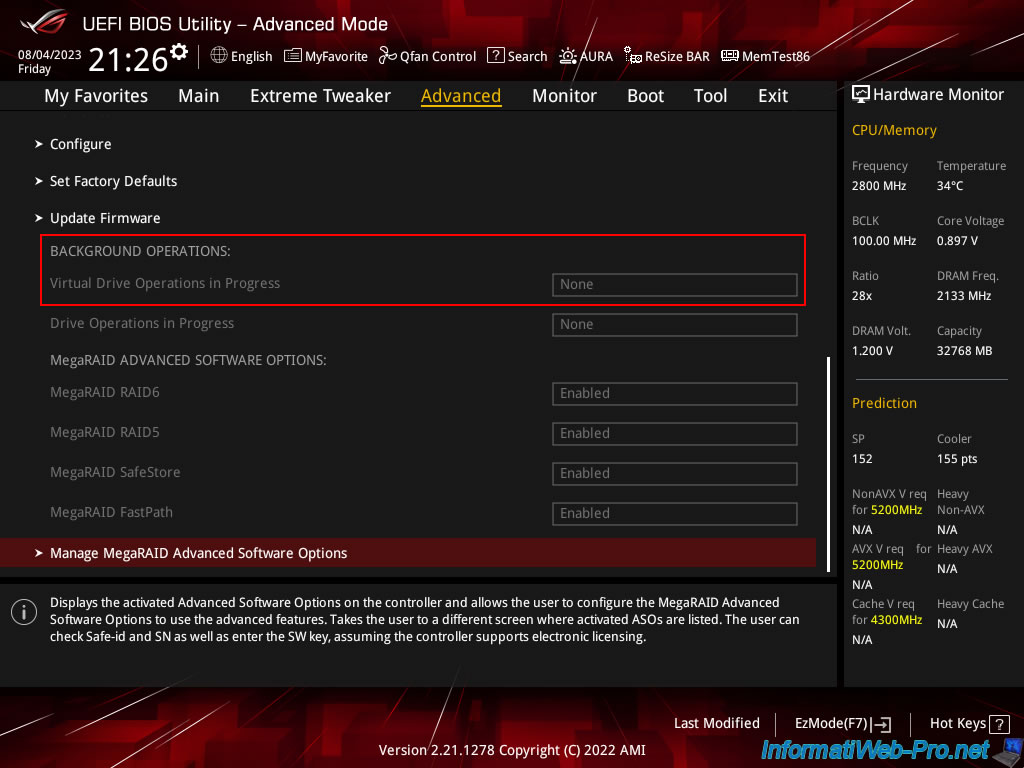
4. Initialization completed
To see the progress of the initialization of your RAID logical drive, return to the "Advanced" menu of your motherboard BIOS.
Then click: BROADCOM ... Configuration Utility.
The Broadcom configuration tool appears.
Scroll down the page and look at the "Virtual Drive Operation in Progress" field.
If the value is "None", the initialization of your virtual disk is complete.
At the top of the page, click on: Main Menu.
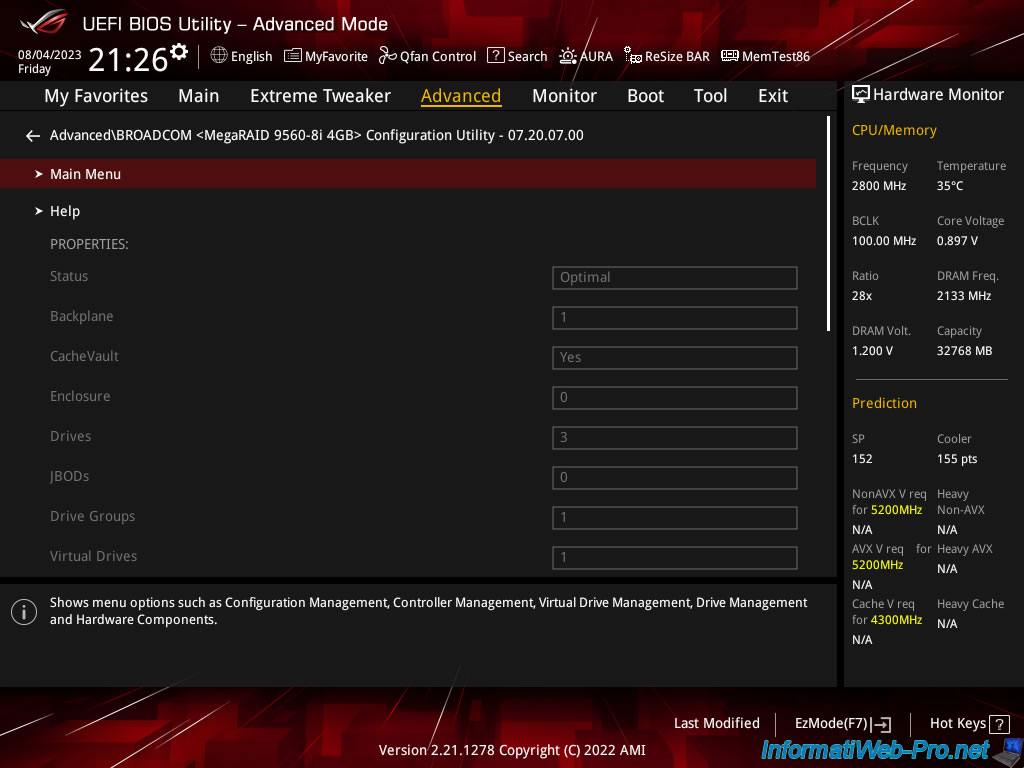
Then, go to : Virtual Drive Management.
The list of your virtual disks appears.
If the word "Initiailization" is no longer displayed at the end of these lines, the initialization of the desired virtual disk is complete.
Share this tutorial
To see also
-
RAID 5/2/2025
Broadcom LSA (LSI Storage Authority) - Create a virtual disk
-
RAID 5/1/2025
Broadcom LSA (LSI Storage Authority) - Download and install
-

RAID 4/18/2025
Broadcom MegaRAID 9560-8i - Buy a SATA drive cable
-
RAID 5/7/2025
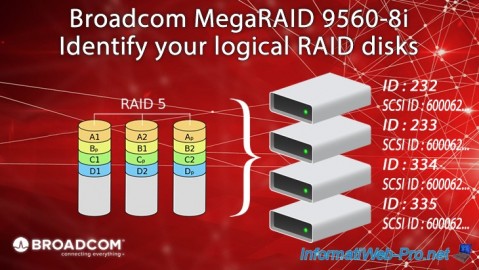
Broadcom MegaRAID 9560-8i - Identify your logical RAID disks
No comment