Presentation of the Adaptec Configuration Utility (ACU) of the Adaptec RAID 6405 controller
- RAID
- 21 March 2025 at 08:38 UTC
-

- 2/3

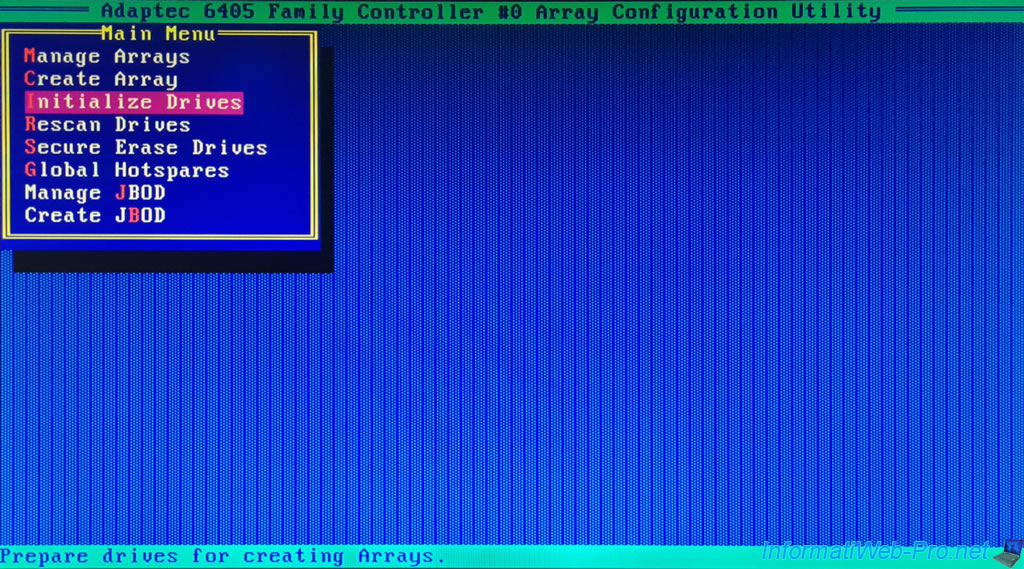
2.3. Initialize Drives
The "Initialize Drives" option allows you to initialize drives before using them in a RAID array.
Initializing a disk erases it completely. This also makes it possible to erase data that would be linked to an old RAID array that no longer exists, for example.
Important : Initializing a physical disk is strongly recommended before using a physical disk in a RAID array.
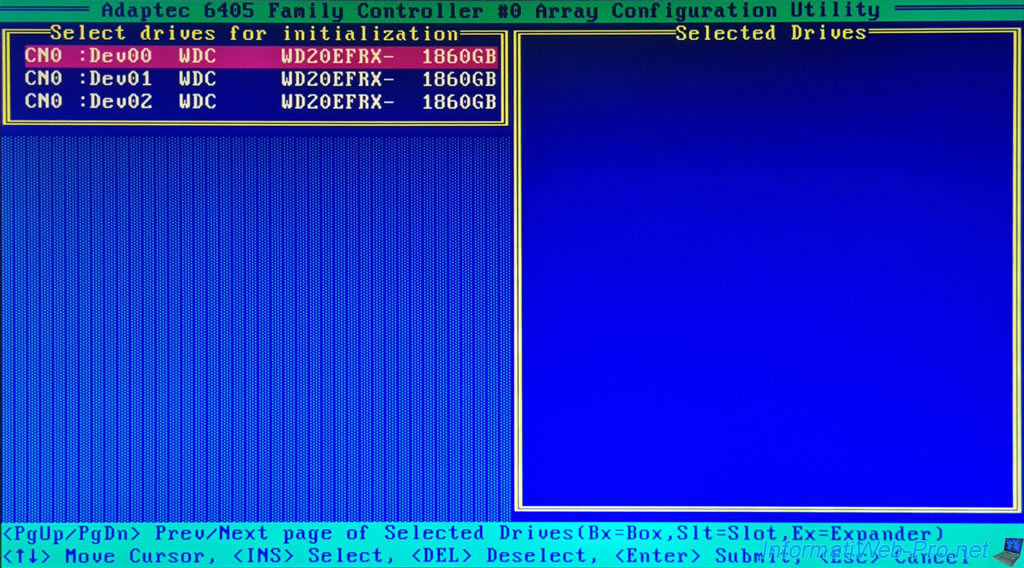
Warning : you should only initialize a disk if it is not already part of an existing RAID array on your Adaptec RAID controller.
To initialize disks, select them using the keyboard arrows, then pressing the "Insert" (<INS> Select) key each time to add them to the right column.
Then press "Enter" to move on to the next step.
2.4. Rescan Drives
The "Rescan Drives" option allows you to rescan the available disks to detect, for example, new physical disks that you have added hot.
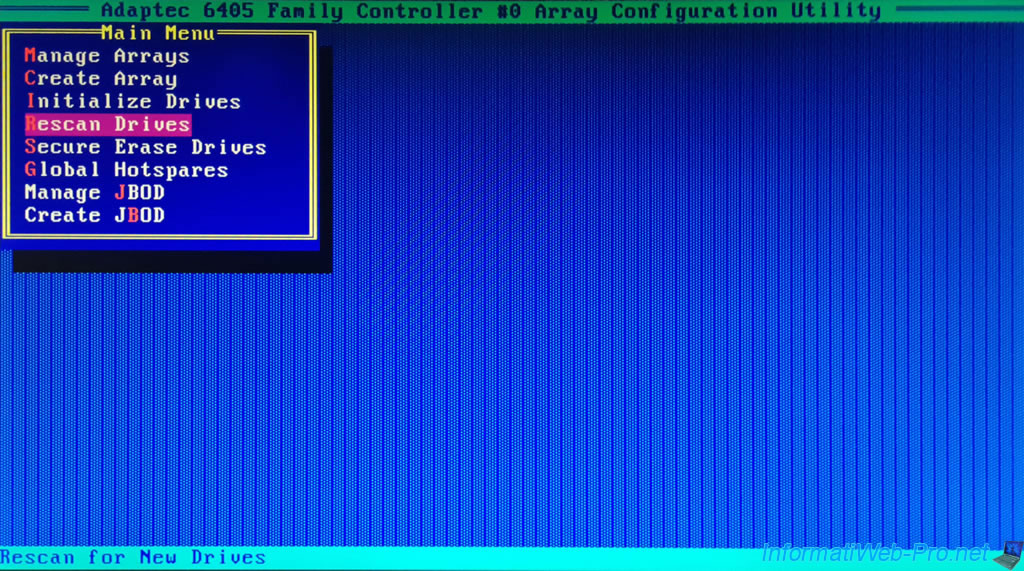
The message "Scanning for drives" will appear, followed by the message "Updating Drive Information".


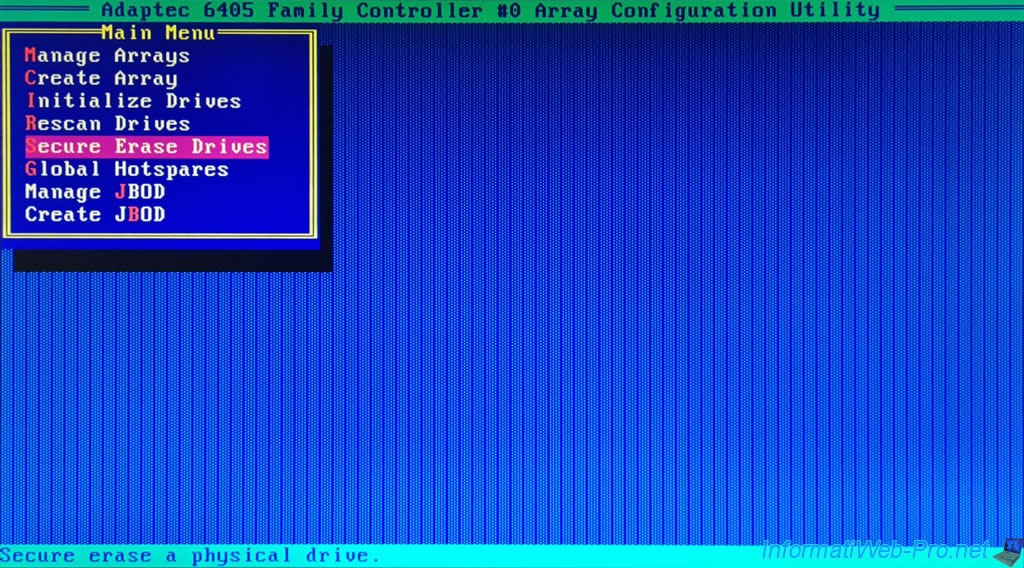
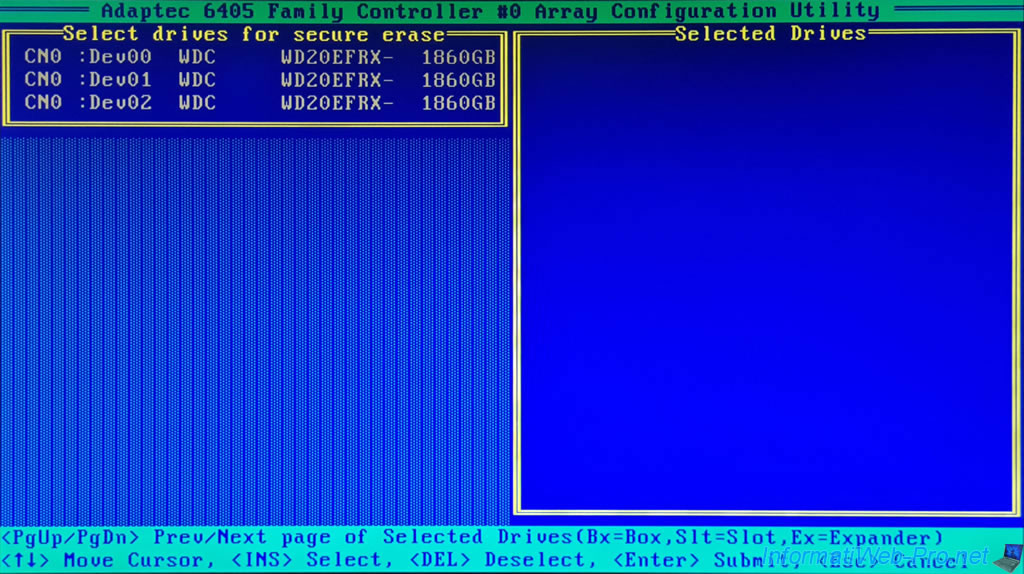
2.5. Secure Erase Drives
The "Secure Erase Drives" option allows you to securely erase disks by rewriting different data 3 times on the physical disk.
However, note that this takes up to 6 times longer than simply writing zeros to the physical disk.
Note: this prevents the use of data recovery software on erased disks.
To erase drives, select them with the arrow keys on your keyboard, then press "Insert" (<INS> Select) each time to add them to the "Selected Drives" list.
Then press Enter to start secure erase.
2.6. Global Hotspares
The "Global Hotspares" option allows you to manage physical disks which can be used automatically to rebuild a missing disk in the event of a physical disk failure on one of your RAID arrays.
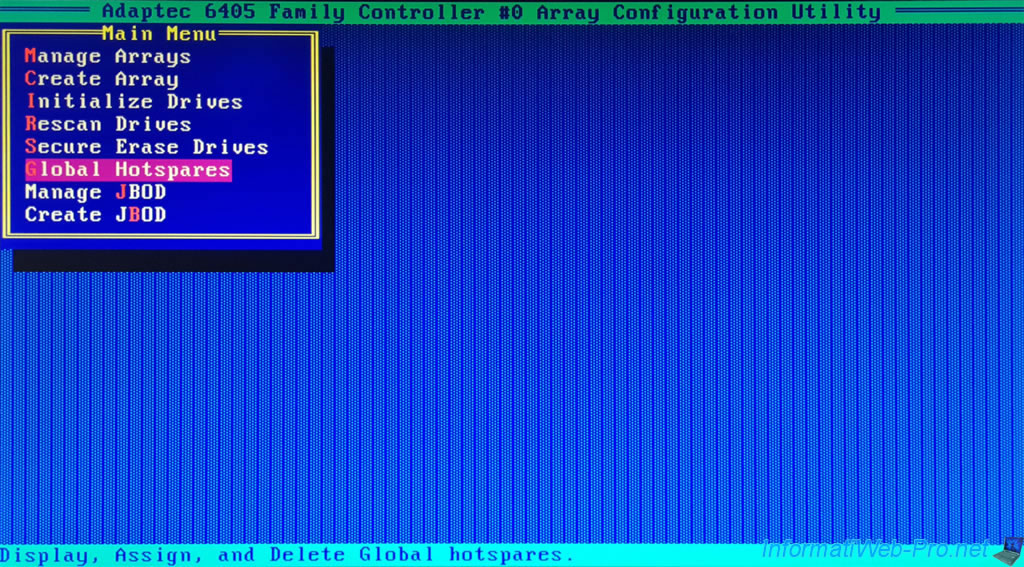
If you have not defined hotspares and there are no free (available) disks to be assigned as a hotspare, the message below will appear.
Plain Text
There are no valid free drives or assigned hotspares.

2.7. Manage JBOD
The "Manage JBOD" option allows you to manage your JBOD disks.
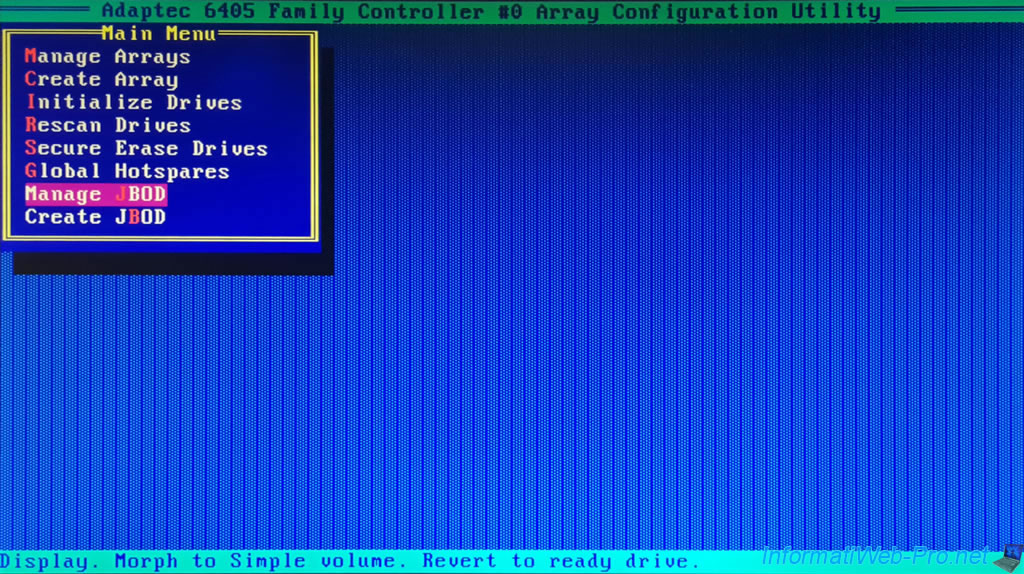
If you do not have any JBOD disks, the error below will appear.
Plain Text
No JBODs present.

2.8. Create JBOD
The "Create JBOD" option allows you to create a JBOD disk.
A JBOD disk being an aggregation of several physical disks which will be seen as a single logical disk in the eyes of the operating system.
Warning : there is no fault tolerance with a JBOD disk. If one of the physical disks used by this JBOD disk fails, the JBOD logical disk will be impacted and data will be lost.

If no physical disk is free or none of the physical disks have enough free space, the following message will appear.
Plain Text
No free space available. Please delete some.
Arrays/JBODs/Hotspares to free drive space.

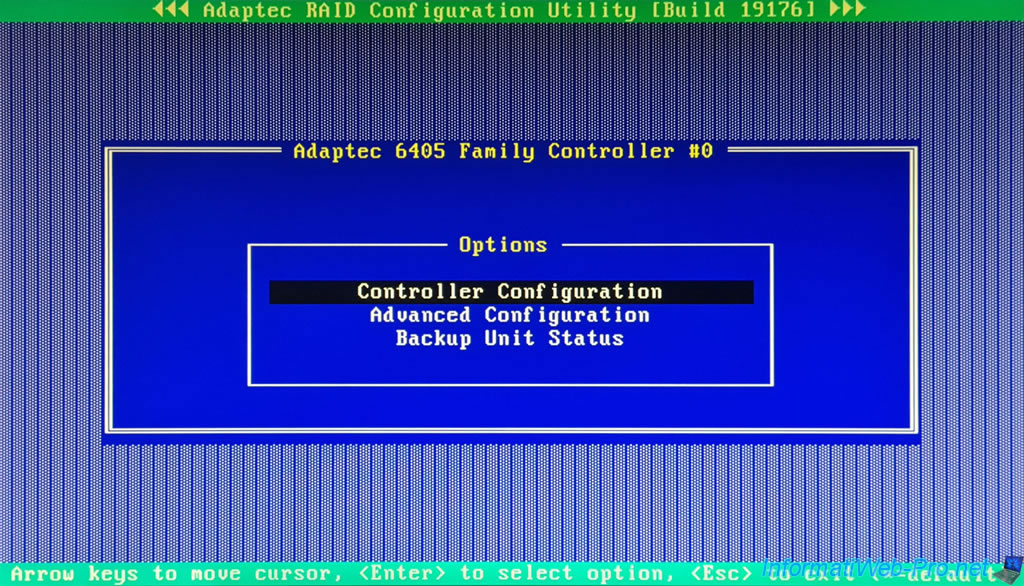
3. SerialSelect Utility (controller settings and battery status)
In the "SerialSelect Utility" section, you will be able to configure your Adaptec RAID controller settings, as well as view your battery status (ZMM) if applicable.
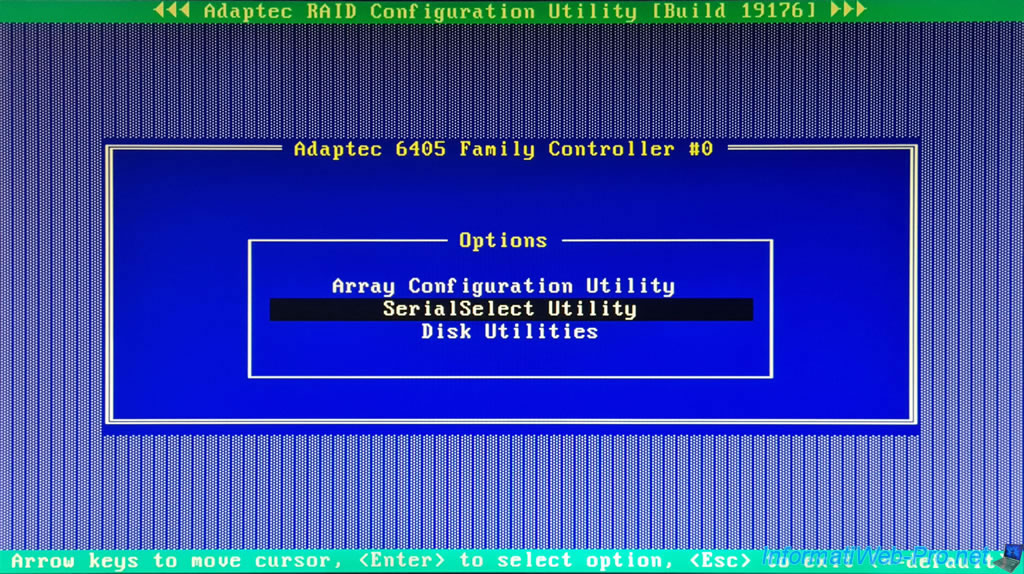
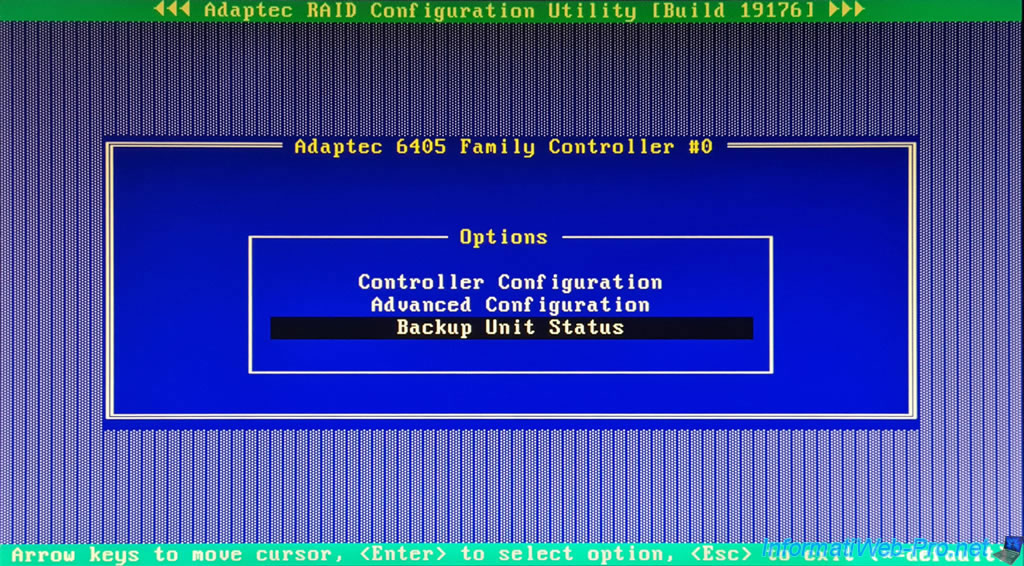
In this "SerialSelect Utility" section, you will find these 3 sections:
- Controller Configuration: allows you to configure general settings for your Adaptec RAID controller.
- Advanced Configuration: allows you to manage power and power saving settings when idle.
- Backup Unit Status: allows you to know the status of your battery (ZMM) if one is connected to your Adaptec RAID controller.
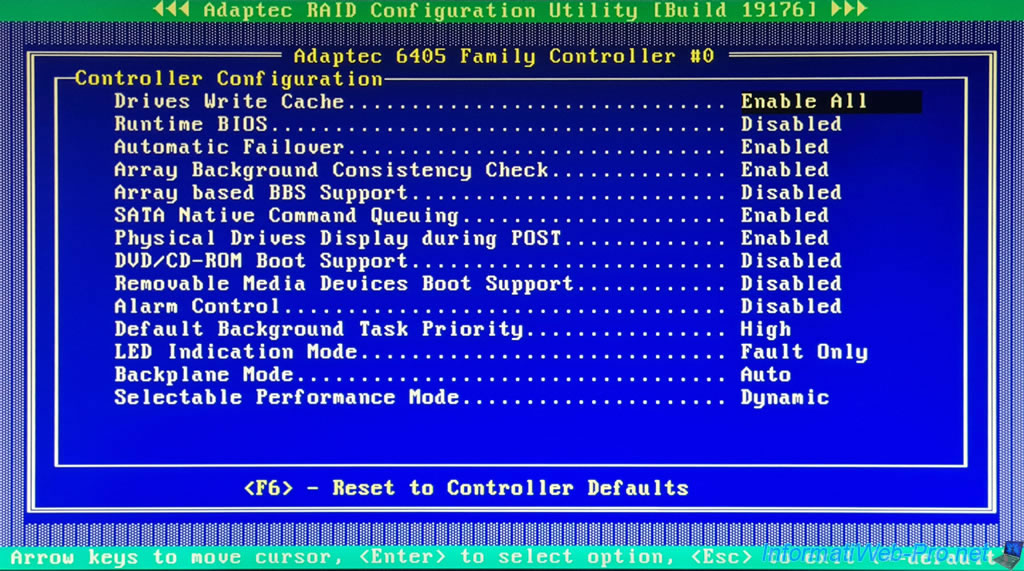
3.1. Controller Configuration (controller settings)
In the "Controller Configuration" section you will find these settings:
- Drives Write Cache :
- Disable All: allows you to disable write cache for all disks.
- Enable All: enables write cache for all disks.
- Drive Specific: enables write caching per disk using Adaptec Storage Manager.
- Runtime BIOS: allows you to boot your computer or server on a RAID logical drive on your Adaptec RAID controller. Enable this setting to make your Adaptec RAID controller part of your motherboard BIOS boot options.
Note: when you start your computer, the last line that appears on the Adaptec splash screen is "BIOS Installed Successfully" if this option is enabled. Otherwise, the message will be "BIOS not installed". - Automatic Failover: if enabled, your Adaptec RAID controller will automatically repair a failed disk in one of your RAID arrays when you replace it.
If you disable this setting, you will have to manually start rebuilding the missing disk.
To do this, you will need to go to the "Array Configuration Utility -> Manage Arrays" menu, select the RAID array to rebuild, then press the "CTRL + R" keys (as will be indicated at the bottom of the screen). - Array Background Consistency Check: enables continuous checking of your RAID arrays.
However, this has an impact on its performance. - Array based BBS Support: allows RAID arrays to be presented in the motherboard BIOS to be able to boot from it.
- SATA Native Command Queuing: allows you to enable or not the use of the "NCQ" (Native Command Queuing) functionality on SATA drives. This "NCQ" functionality allows these SATA drives to manage the read/write commands they receive to optimize and reorganize them if necessary.
- Physical Drives Display during POST: allows you to display the list of physical drives connected to your Adaptec RAID controller when your computer starts up.
For each physical disk, your Adaptec RAID controller will display its location (CN0: Dev X), manufacturer (ex: WDC), model, revision, speed, capacity and SMART error (if applicable). - DVD/CD-ROM Boot Support: allows the system to boot from a bootable CD.
- Removable Media Devices Boot Support: similar to the previous option, but for removable disks. Including CD players.
- Alarm Control: allows you to enable or disable the Adaptec RAID controller's audible alarm.
- Default Background Task Priority: allows you to set the default priority level for background tasks (such as creating or repairing a RAID array, for example).
Possible values are: Low, Medium and High.
Note that if you change the value of this setting, your Adaptec RAID controller will ask you if you also want to apply this change for any background tasks that are currently running. - LED Indication Mode: allows you to choose what the drive LEDs should indicate.
- Activity/Fault: allows you to indicate disk I/O activity, as well as its faults.
- Fault Only: allows you to indicate only your faults.
- Backplane Mode: allows you to specify the type of signal to use to communicate with the storage array.
By default, the "Auto" value allows the Adaptec RAID controller to automatically detect the type of signal to use.
Otherwise, you can force the use of an "SGPIO" or "IZC" signal or disable this feature by selecting "Disabled". - Selectable Performance Mode: allows you to adapt the operation of the RAID controller according to your use.
- Dynamic: by default, the Adaptec RAID controller adapts performance based on the use of your Adaptec RAID controller, the RAID level used, and the type of disk used.
- OLTP/Db: allows you to scale performance for database-based applications.
Note: OLTP stands for "Online Transactional Processing" and "Db" stands for "database" in French. - Big Block Bypass: allows you to override the write cache depending on the size of the inputs/outputs to be written.
Note: to reset these settings to their default values, press the "F6" key.
Also note that when you attempt to change the value of a setting, the asterisk in front of a value indicates the factory default value.
Sources :
- Adaptec RAID Controller - Installation and User's Guide (page 87)
- Adaptec RAID Controller - Command Line Utility - User's Guide (page 33)
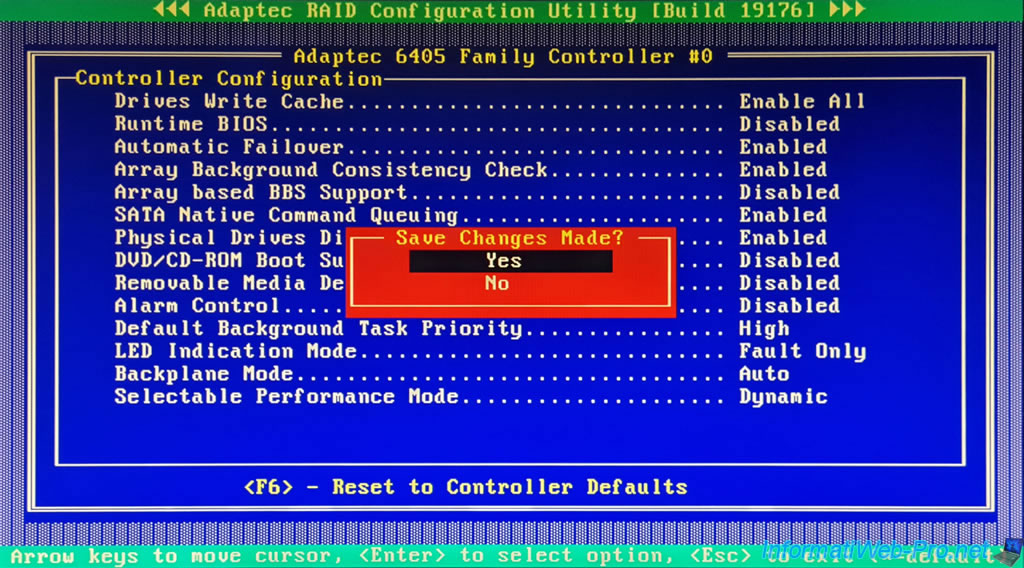
Once you have changed the settings you want, return to the menu by pressing "Esc".
ACU will ask you if you want to save the changes made (Save Changes Made), answer "Yes" if you want to save the changes.
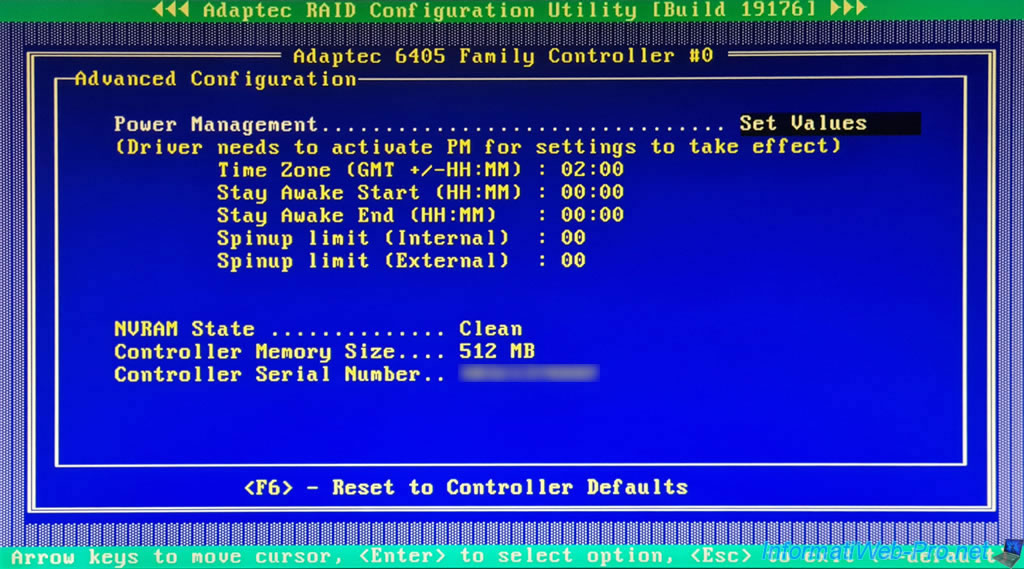
3.2. Advanced Configuration (power management)
In the "Advanced Configuration" section, you will be able to manage the power of your controller to save power in case of inactivity on a RAID array.
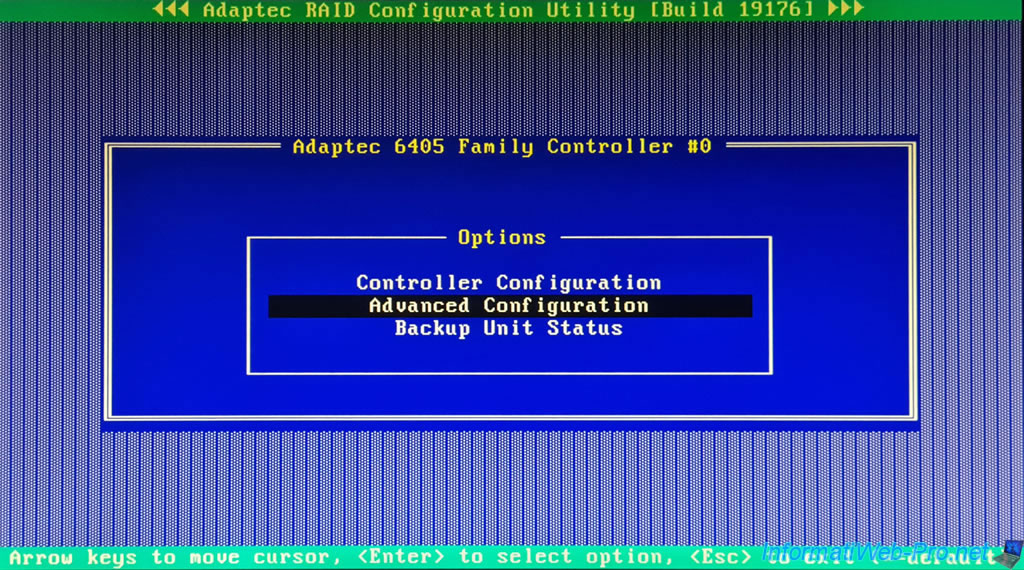
To enable power management, select the "Set Values" option to the right of "Power Management" and press Enter.
At the bottom of the screen, you will see:
- NVRAM State: the NVRAM state of your Adaptec RAID controller.
Normally, the value is "Clean". - Controller Memory Size: the amount of dedicated memory in your Adaptec RAID controller.
This memory is used in particular for the read cache and the write cache. - Controller Serial Number: the serial number of your Adaptec RAID controller.
Which is handy if you contact Microsemi support (which owns the "Adaptec" brand) if they ask you.
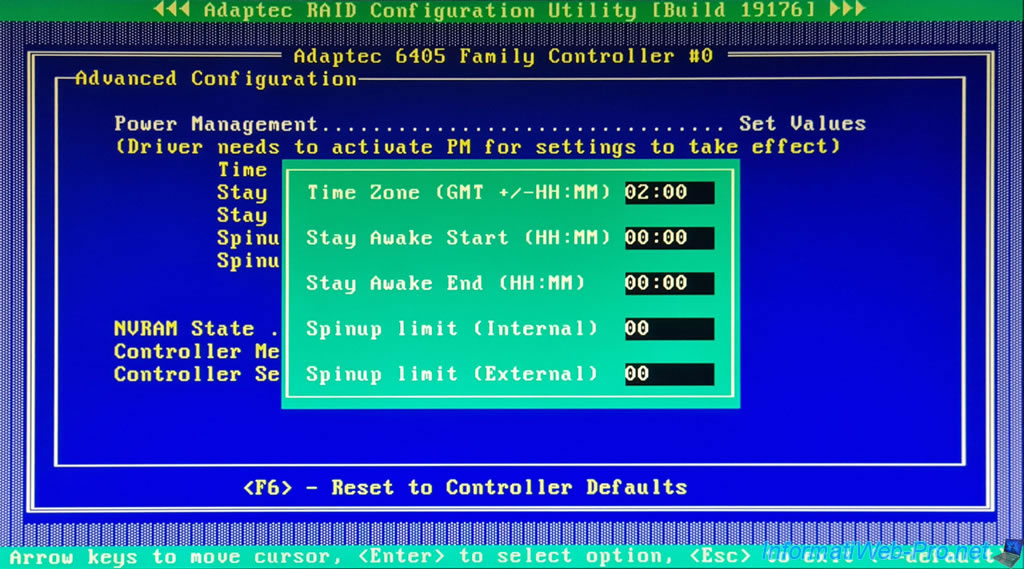
For the "Power Management" option, a window will appear with these parameters:
- Time Zone (GMT +/-HH:MM): allows you to choose the GMT time zone that your Adaptec RAID controller should use.
- Stay Awake Start (HH:MM): time from which the controller should operate at full capacity.
- Stay Awake End (HH:MM): time until which the controller should operate at full capacity.
- Spinup limit (Internal): the number of internal disks to boot at that time.
By default, the value "0" indicates that all disks will be started. - Spinup limit (External): similar to the previous option, but for external drives.
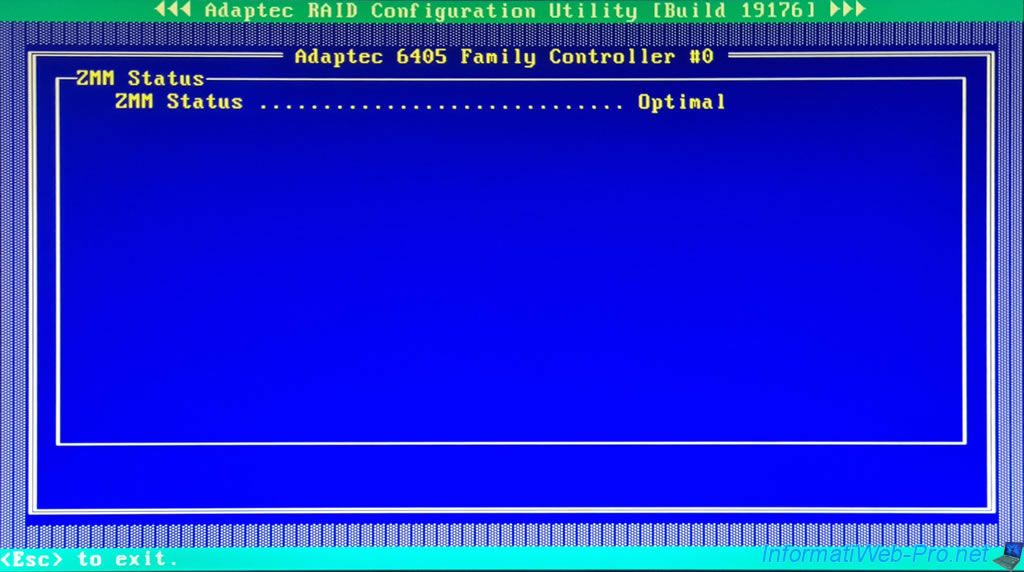
3.3. Backup Unit Status (ZMM battery status)
In the "Backup Unit Status" section, you will be able to see the status of your battery (ZMM) connected to your Adaptec RAID controller (if applicable).
The battery status (ZMM Status) can have 3 different values:
- Optimal: the battery (ZMM) connected to your Adaptec RAID controller is fully charged.
- Charging/Not Ready: your battery (ZMM) is charging.
Which is the case when you just plug in and start your computer or server.
However, this status is temporary. Once the battery is charged, the status will change to "Optimal". - Failed: an error has occurred with your battery.
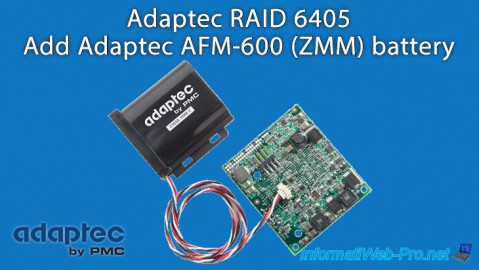
In our case, we have a "Adaptec Flash Module 600 (AFM-600)" battery.
Share this tutorial
To see also
-
RAID 11/16/2015
Adaptec maxView Storage Manager v1 - Presentation
-
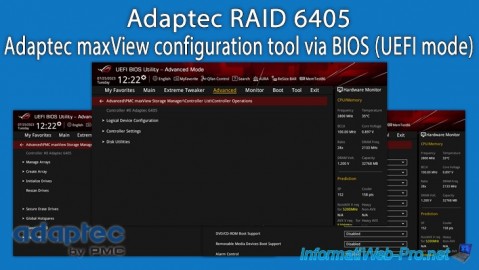
RAID 3/26/2025
Adaptec RAID 6405 - Adaptec maxView configuration tool via BIOS (UEFI mode)
-
RAID 1/14/2022
Adaptec RAID 6405 - Add Adaptec AFM-600 (ZMM) battery
-
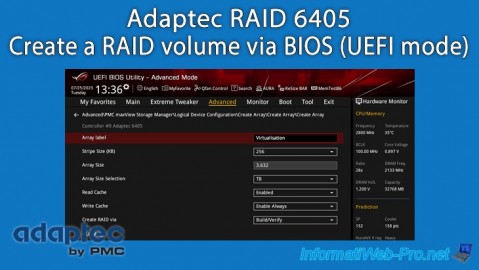
RAID 3/28/2025
Adaptec RAID 6405 - Create a RAID volume via BIOS (UEFI mode)
No comment