Presentation of the Microsemi Adaptec maxView Storage Manager v4 / v3 web interface
- RAID
- 19 May 2024 at 15:34 UTC
-

- 5/5

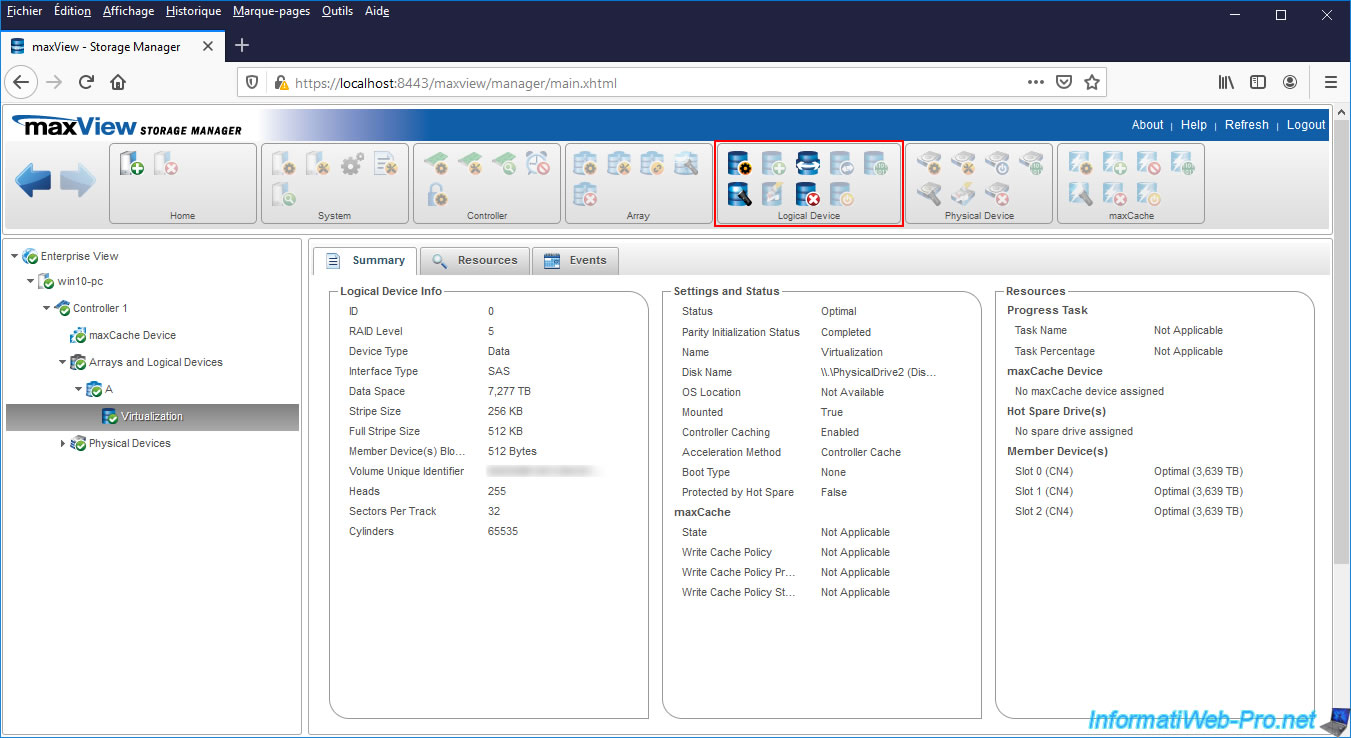
3.10.5. Logical Device
For the "Logical Device" block, you can :
- Set Properties : modify the properties of the logical device (such as its name, controller cache activation and boot priority).
- Create Logical Device : create a new logical device.
- Expand/Migrate Logical Device : extend a logical device or change the RAID level or strip size of a logical device.
- Move Logical Device : move a logical device from one array to another.
- Verify/Verify with Fix : detect inconsistent or bad data and fix them.
Warning: this option is no longer available in version 4. - Locate : flash the LEDs of the hard disks and SSDs making up this logical device to be able to locate them more easily.
- Erase : erase the data present on this logical device.
- Delete Logical Device : delete this logical device.
- Force Online : force it online (= make it usable by the operating system) in the event of a physical disk failure to be able to recover data from them.
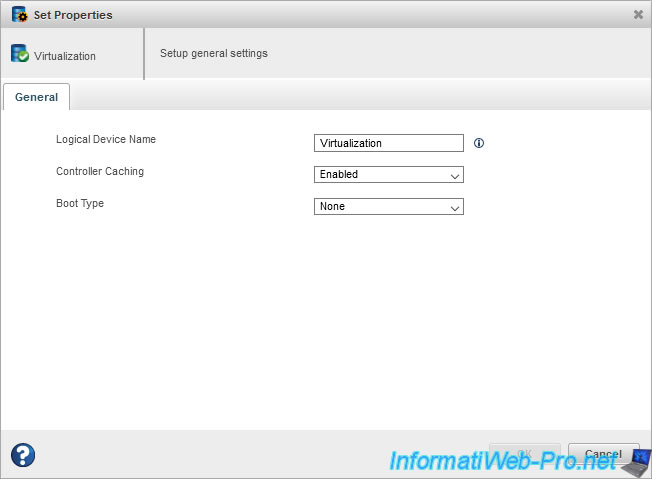
For the 1st icon (Set Properties), you can :
- change the name of the logical device
- enable or disable the controller cache
- set the boot priority on this logical device
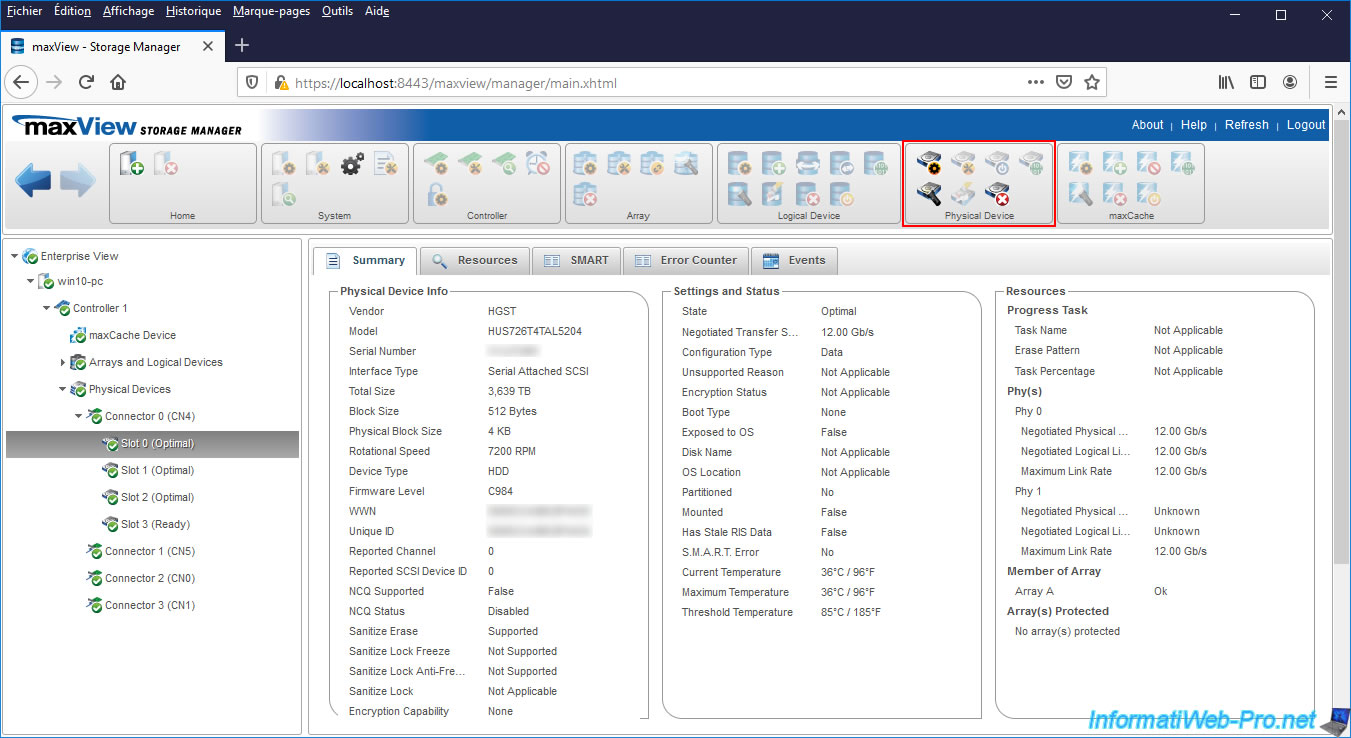
3.10.6. Physical Device
For the "Physical Device" block, you can :
- Set Properties : reset device error counter.
- Spare Management : manage the assignment of this physical disk as Spare for a particular array.
- Initialize/Uninitialize/Enable Erase Drive : reset this physical disk and erase all metadata, data, partitions, ... which may be on it before reusing it in another logical device.
This allows in particular to avoid strange behavior due to the presence of old data on it. - Verify/Verify with Fix : check the data and correct errors if there are any.
Warning: this option is no longer available in version 4. - Locate : easily find this physical drive in your computer / server by flashing its LED.
- Secure Erase : perform a secure erase of this physical disk.
- Force Offline : force this physical disk to be taken offline so that the controller considers it to be faulty.
Note that to bring it back online, you will be required to restart your computer / server. At start-up, it will be put back online automatically.
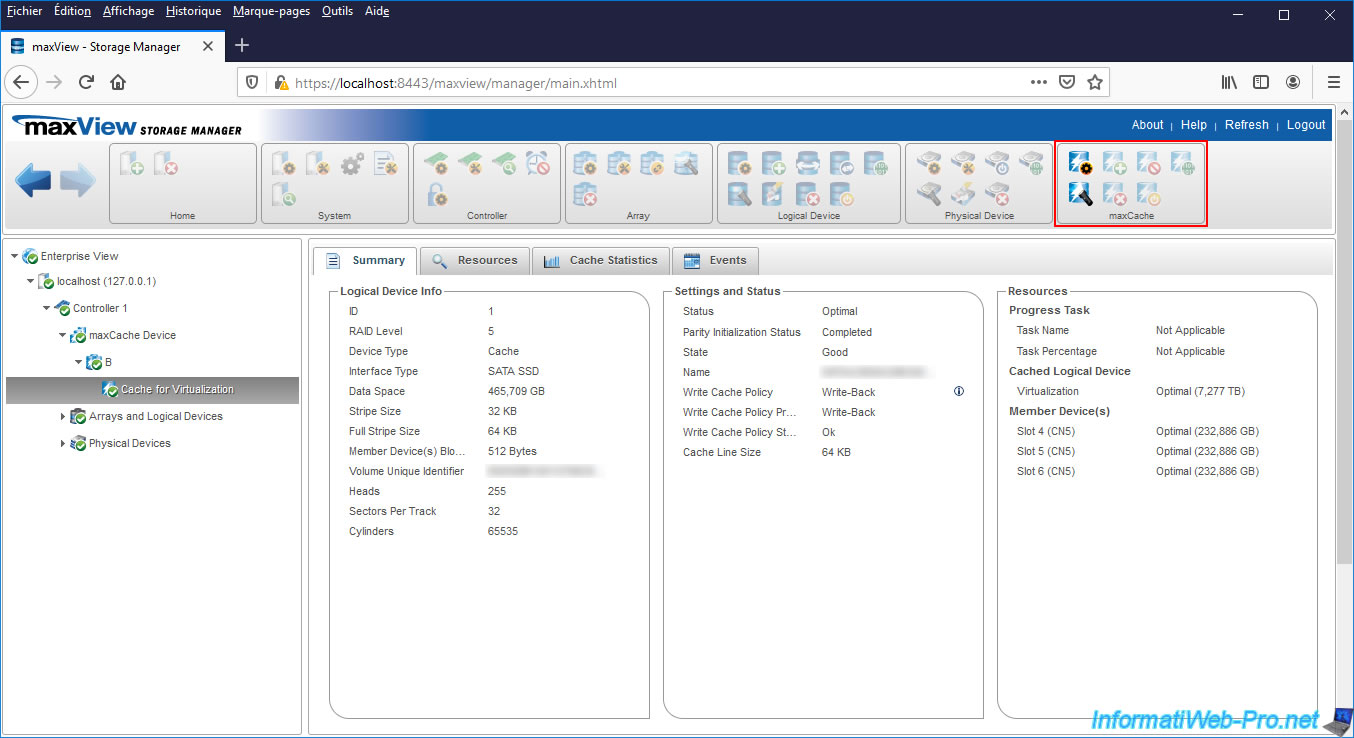
3.10.7. maxCache
For the "maxCache" block, you can :
- Set Properties : change the properties of this logical drive maxCache
- Create maxCache Device : create a new maxCache device (maxCache logical device) and assign it to a RAID logical device
- Disable Write Cache : disable write cache via the maxCache feature for all logical devices on the controller
- Verify / Verify with Fix / Coherency Check : allows you to check the validity and correct errors if there are any. Also allows you to check that the pages of the maxCache device are valid in relation to the data present on the logical RAID device to which it's linked.
- Locate : allows you to light the LED of the SSDs making up this maxCache logical device
- Delete maxCache Device : allows you to delete the selected maxCache device and free the SSDs so that you can use them to create a new array, a new logical RAID device, ...
- Force Online : allows you to force the maxCache logical device concerned to be online in order to be able to recover data from it despite the failure of one or more SSDs (depending on the RAID level of the maxCache logical device concerned)
Sources : Microsemi website and local help installed with maxView Storage Manager.
This local help is available by clicking on the "Help" link located at the top right of the "maxView Storage Manager" web interface.
Share this tutorial
To see also
-

RAID 4/20/2022
Adaptec maxView Storage Manager v3 - Create a RAID volume
-

RAID 4/8/2022
Adaptec maxView Storage Manager v3 - Download and boot on USB version
-

RAID 4/13/2022
Adaptec maxView Storage Manager v3 - Installation on Linux
-

RAID 4/15/2022
Adaptec maxView Storage Manager v3 - Manage an Adaptec SmartRAID controller on VMware ESXi 6.7
No comment