Create a gaming virtual machine (accessible via Parsec) on Unraid 6.9.2
- NAS
- Unraid
- 02 September 2026 at 07:39 UTC
-

- 6/7

13. Download and install Parsec (a remote desktop optimized for gaming)
Now that your virtual machine is configured and using your physical graphics card (in our case, the Nvidia GeForce RTX 3070), you'll need to download the free "Parsec" software, which allows you to remotely access a computer so you can play games as if you were physically in front of it.
While Remote Desktop works well for common tasks, it isn't optimized for gaming, as it uses a virtual graphics card (recognized as "Microsoft Remote Display Adapter" in Device Manager).
Conversely, Parsec uses the physical graphics card to manage graphics.
Your game will therefore launch using the graphics card (in our case, the Nvidia GeForce RTX 3070) assigned to your virtual machine.
Note that no configuration is required in your router or firewall for this to work.
Everything is automatic. You install a Parsec server in your virtual machine, create an account on the Parsec website, and then launch Parsec as a client on your regular computer to access your virtual machine using your Parsec account.
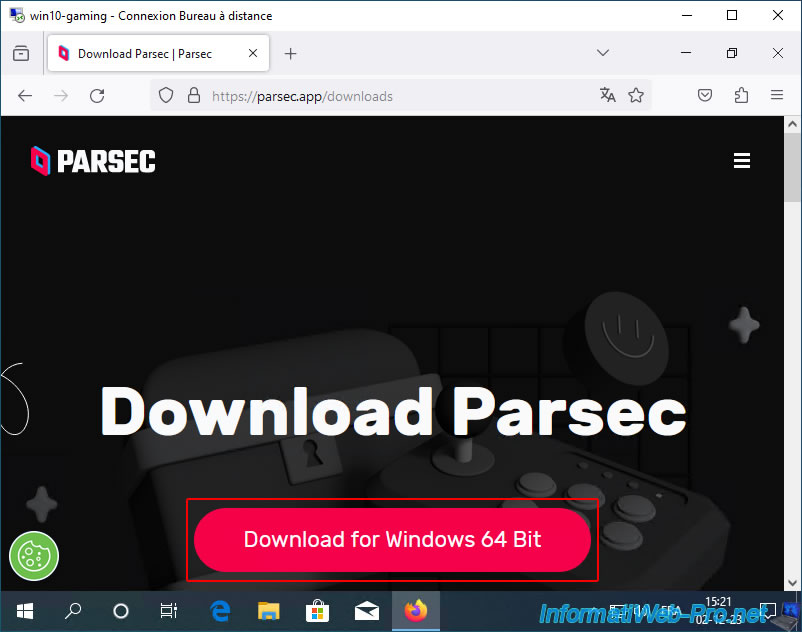
Launch the Parsec installation file and simply click Next.
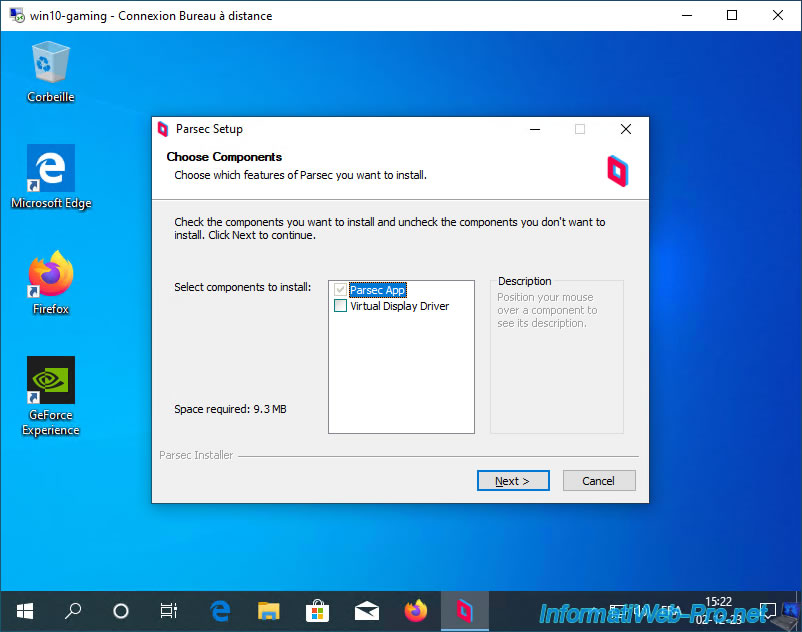
Note : by default, Parsec uses the physical graphics card you've connected to your virtual machine.
It is therefore essential that a display or HDMI dongle (referenced in the intro to this tutorial) be connected to the physical graphics card you've connected to your virtual machine.
Otherwise, you'll need the "Virtual Display Driver" provided here. However, connecting a display or HDMI dongle is preferable for better graphics performance.
Source : Error Codes - 14003 (Failed to Capture the Host Display) - Parsec.
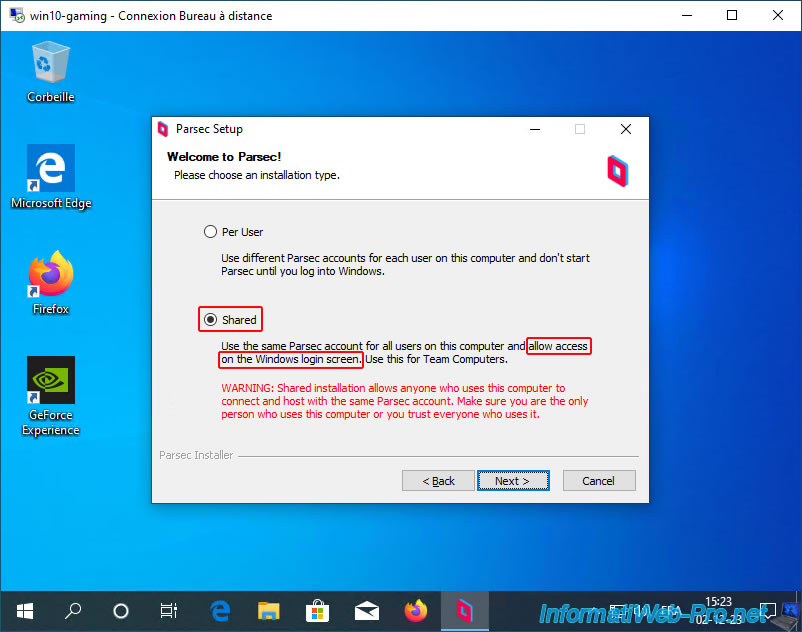
Warning : select the "Shared" installation type to run Parsec as a service.
This way, you can access your virtual machine simply by starting it.
Otherwise, you'll need to connect via Windows Remote Desktop to open a Windows session for Parsec to launch.
Plain Text
Shared.
Use the same Parsec account for all users on this computer and allow access on the Windows login screen. Use for Team Computers.
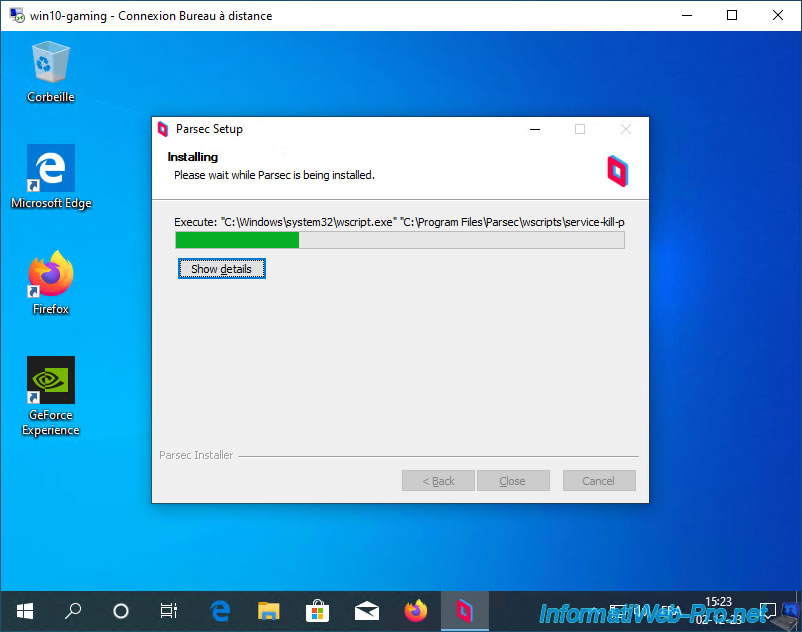
Please wait while Parsec is installed.
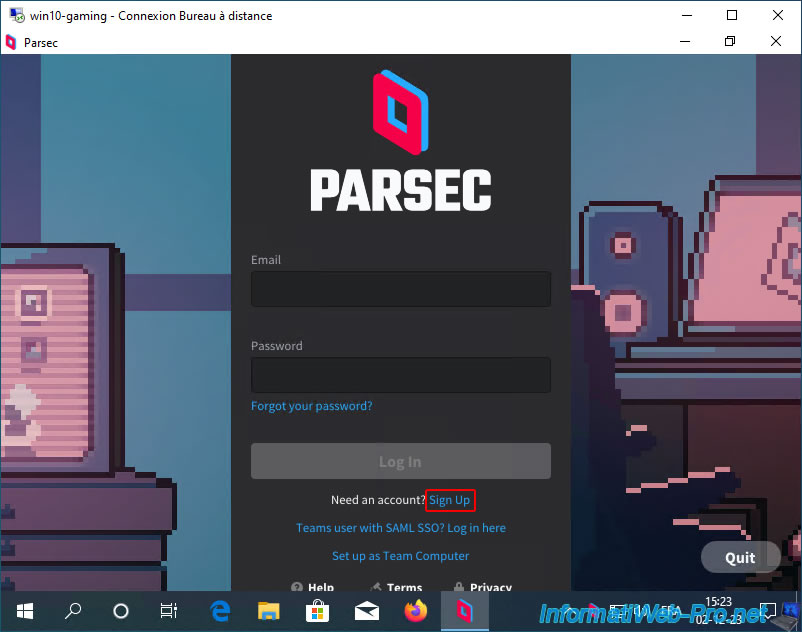
In the "Parsec" application that appears, click on the "Sign Up" link to create an account on the Parsec website.
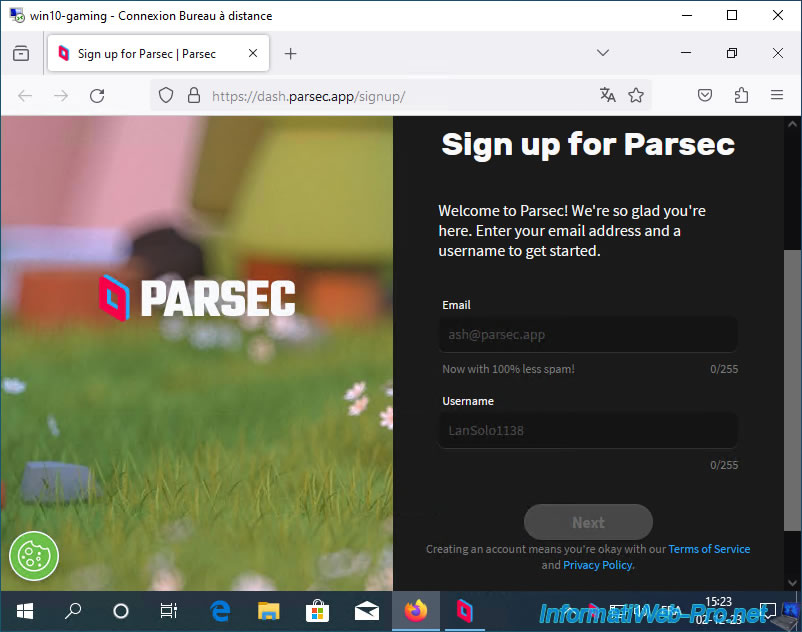
The Parsec registration form will appear in your default web browser.
Enter your email address and a username.
Warning : you must provide a real email address, as a confirmation email will be sent to you at the end of your registration.
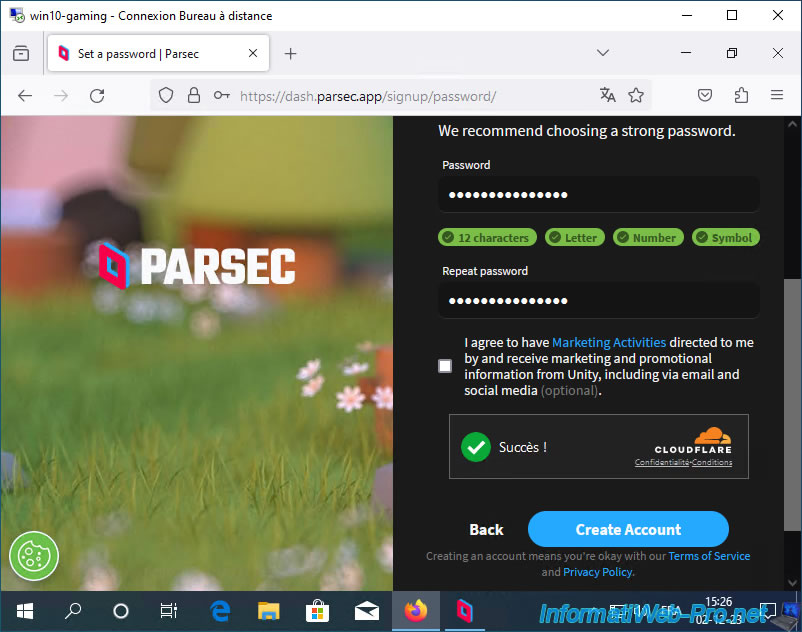
Enter a strong password, pass the anti-robot verification, then click: Create Account.
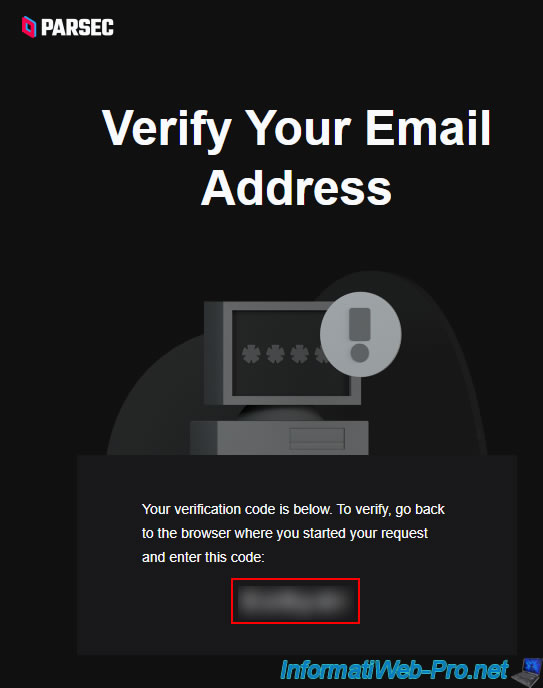
As mentioned earlier, the Parsec website has sent you a verification code by email which you must enter here.
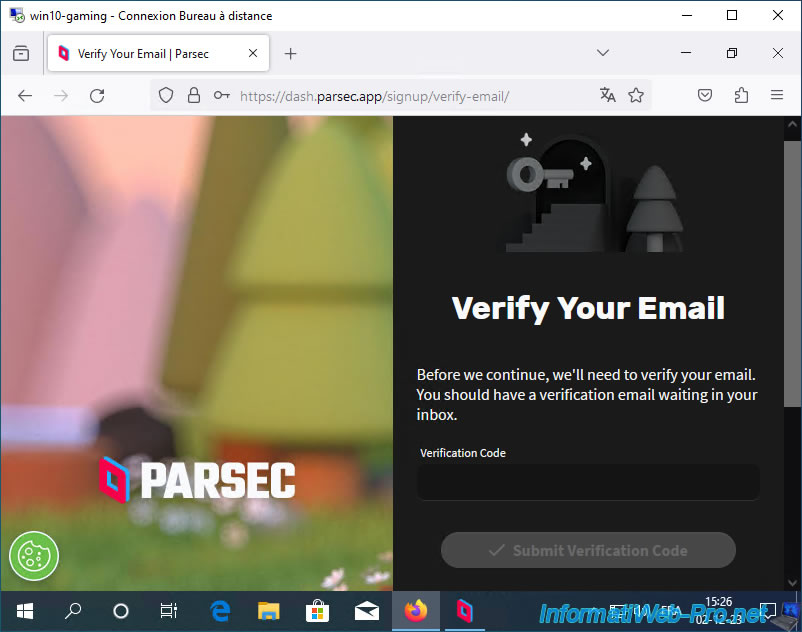
Copy the code received by email and enter it in your web browser.
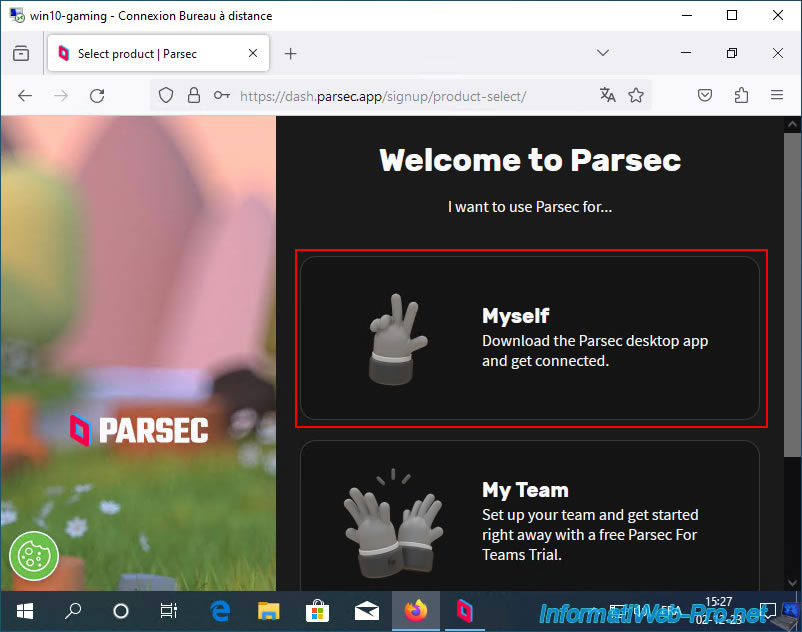
Then, click on: Myself.
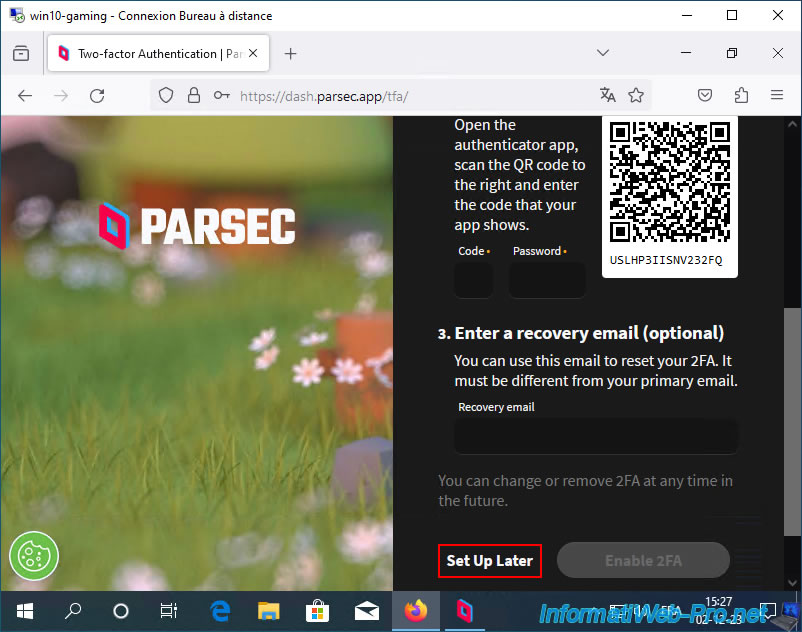
Skip 2-factor authentication by clicking: Set Up Later.
There you go, your Parsec account is created.
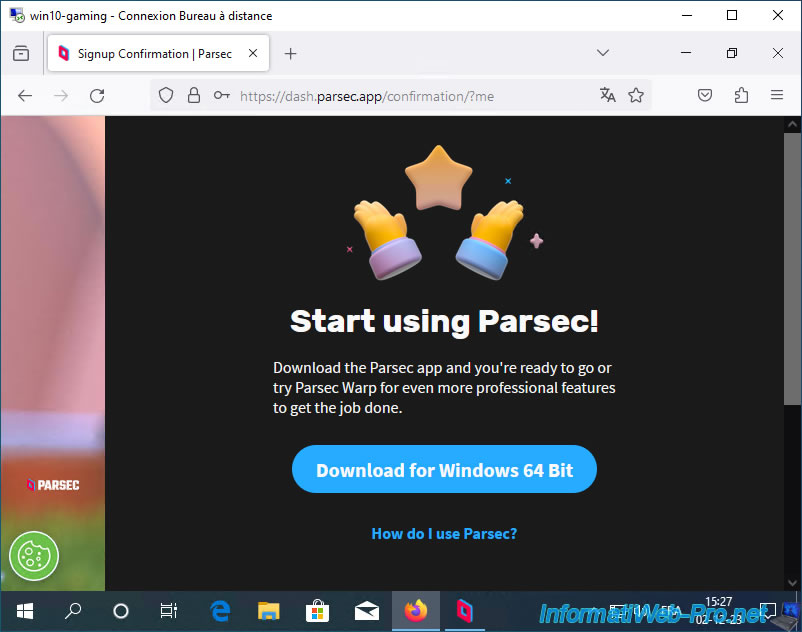
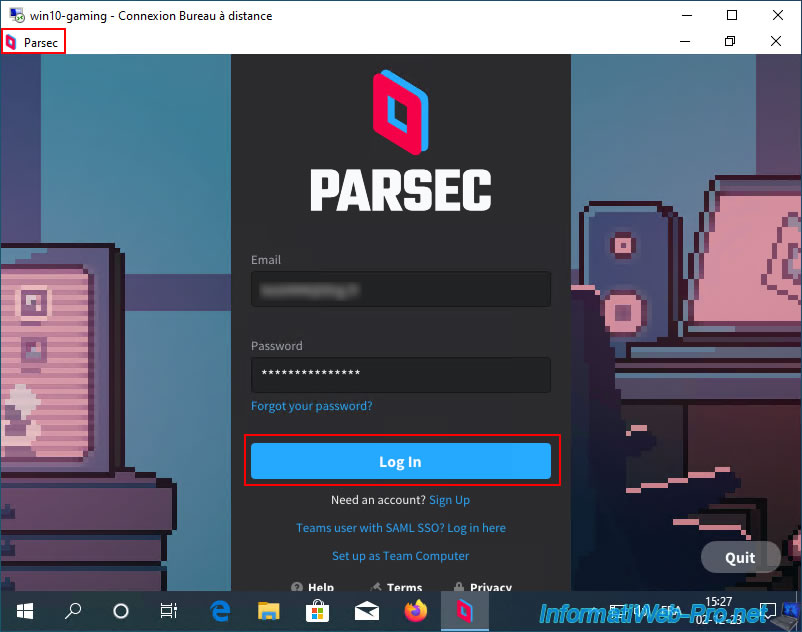
Log in to your Parsec account from the Parsec app you installed in your gaming virtual machine.
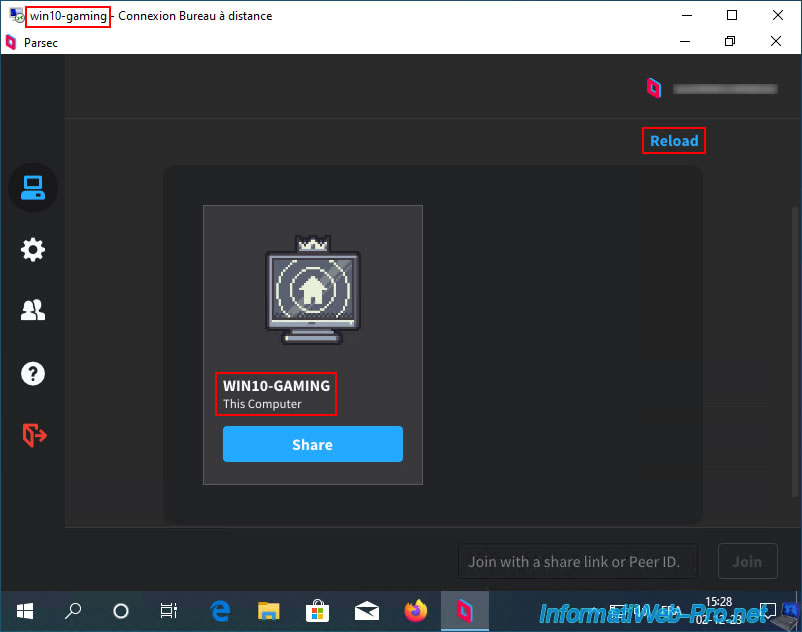
In the Parsec interface, you'll see your virtual machine appear with the label "This Computer".
If it doesn't appear, click "Reload" once, and it will appear.
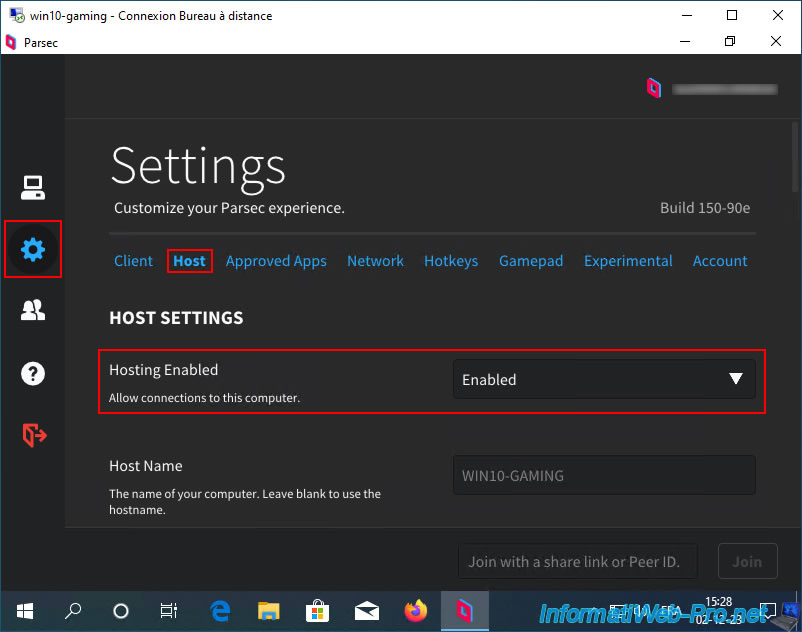
Go to the "Settings" section by clicking the gear icon on the left, then go to the "Host" tab.
In the "Host" tab, make sure the "Hosting Enabled" setting is set to "Enabled".
If so, the Parsec server is enabled.
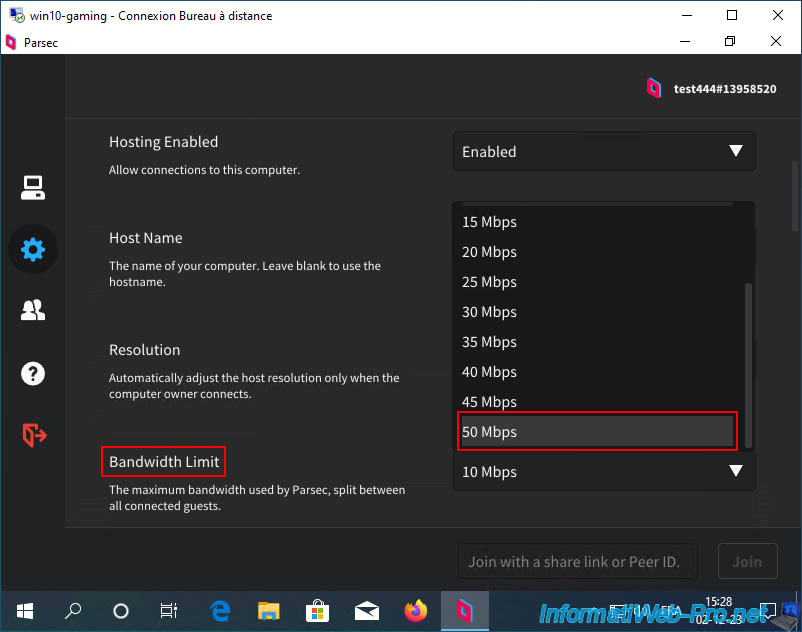
In the list of suggested settings, set the bandwidth limit to the maximum value.
The higher the allowed bandwidth, the better the graphics quality will be.
However, note that you may also be limited (throttled) by the bandwidth of your internet connection (that of the internet subscription used by your virtual machine, as well as that of the internet subscription from which you will access it).
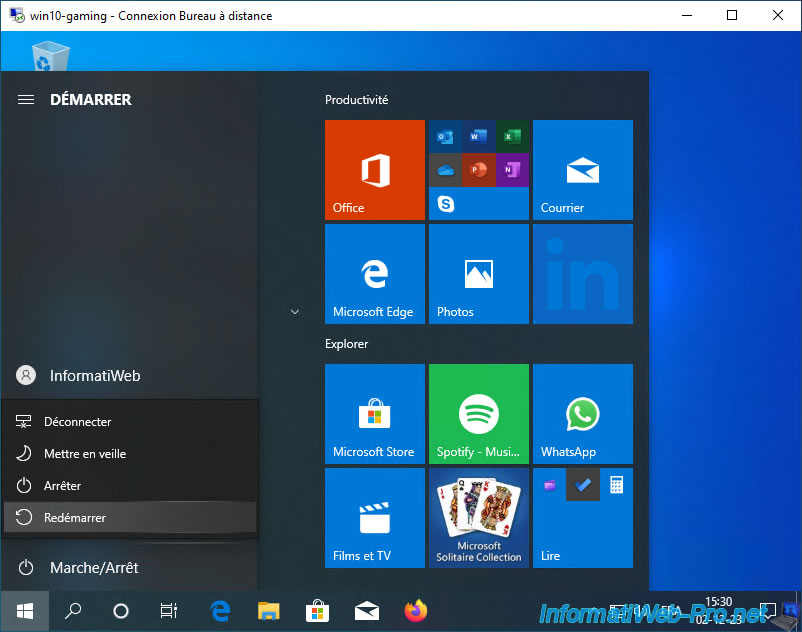
Finally, restart your virtual machine to check if Parsec runs when Windows starts (including without first logging into Windows).
Share this tutorial
To see also
-
NAS 2/4/2026
Unraid 6.9.2 - Change or reset root password
-
NAS 1/15/2026
Unraid 6.9.2 - Change the parity disk
-
NAS 5/27/2026
Unraid 6.9.2 - SWAG - Use a DDNS client (Duck DNS)
-
NAS 7/1/2026
Unraid 6.9.2 - SWAG - Use a personal domain with a dynamic WAN IP
No comment