Create a gaming virtual machine (accessible via Parsec) on Unraid 6.9.2
- NAS
- Unraid
- 02 September 2026 at 07:39 UTC
-

- 5/7

12. Download and install the latest driver available for your Nvidia graphics card
Since your virtual machine is connected to the internet and older drivers for Nvidia graphics cards are located on Microsoft servers, you'll see that Windows will automatically install the Nvidia driver for your Nvidia graphics card after a few seconds or minutes (depending on your bandwidth).
In our case, we can see that the name of our graphics card "NVIDIA GeForce RTX 3070" appears instead of the previously displayed "Microsoft Basic Video Adapter".
We can also see an "NVIDIA High Definition Audio" device in the "Sound, video, and game controllers" section.
You may even see a notification about the NVIDIA Control Panel, which was also automatically installed in the background.
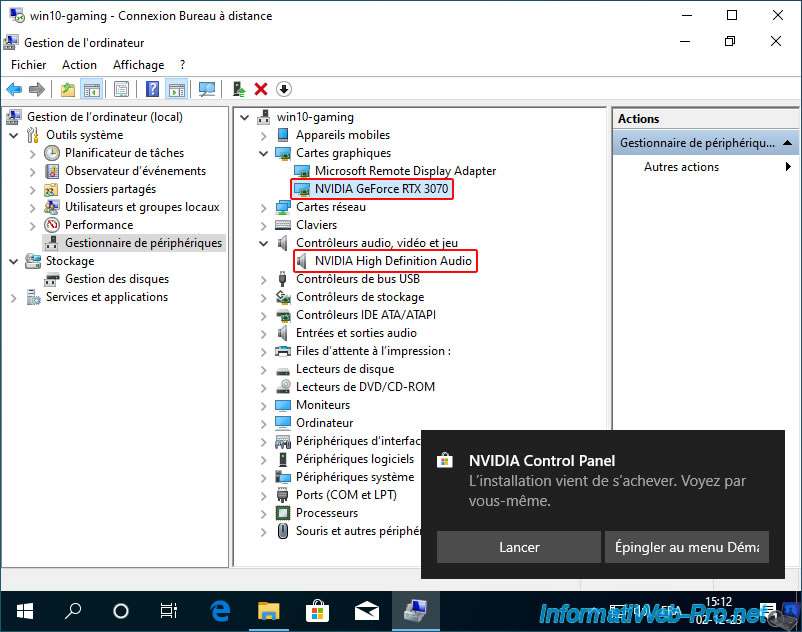
While this is convenient for getting a larger display with your Nvidia graphics card, you'll quickly notice that the installed driver is quite old.
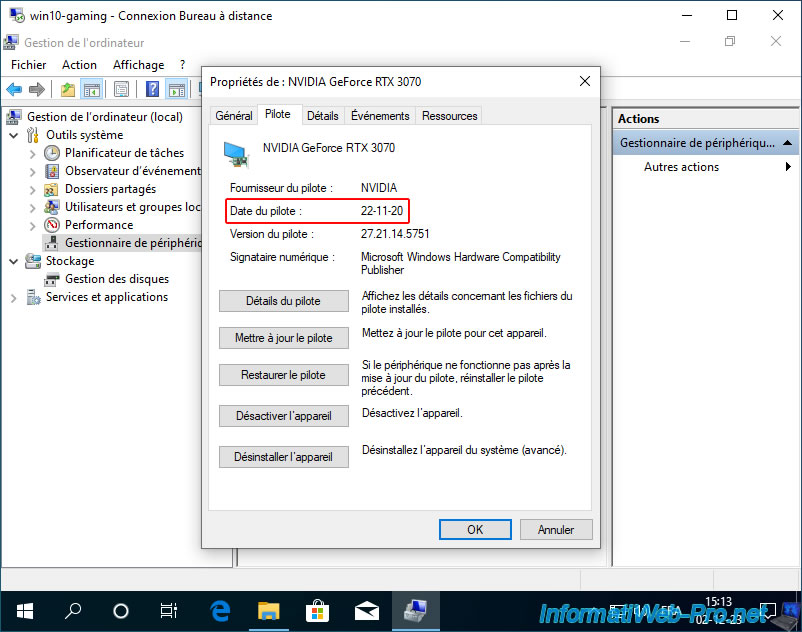
In our case, you can see that the installed driver is from 2020, whereas it's 2023 when I'm writing this tutorial.
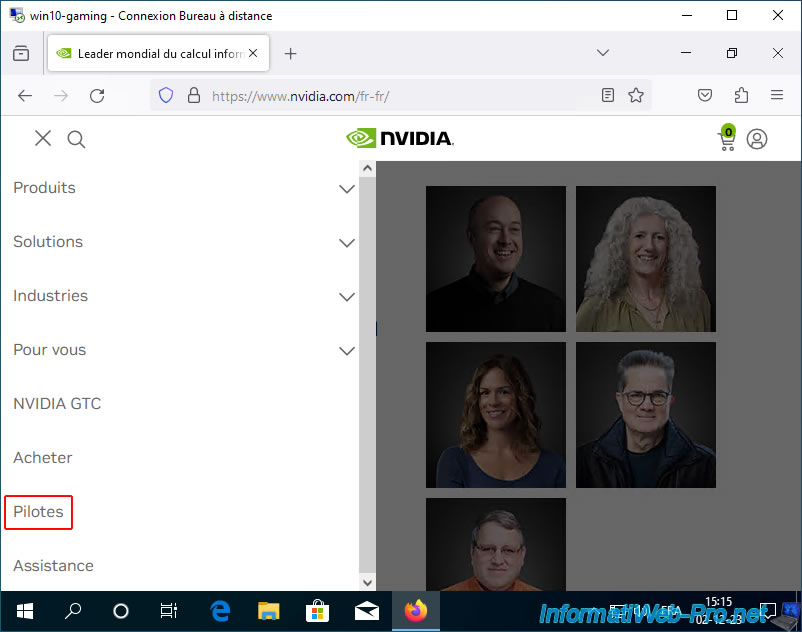
In your virtual machine, go to the "Drivers" section of the Nvidia website.
Find the driver for your Nvidia graphics card for your version of Windows.
In our case, the Nvidia Geforce RTX 3070 graphics card running Windows 10 (64-bit).
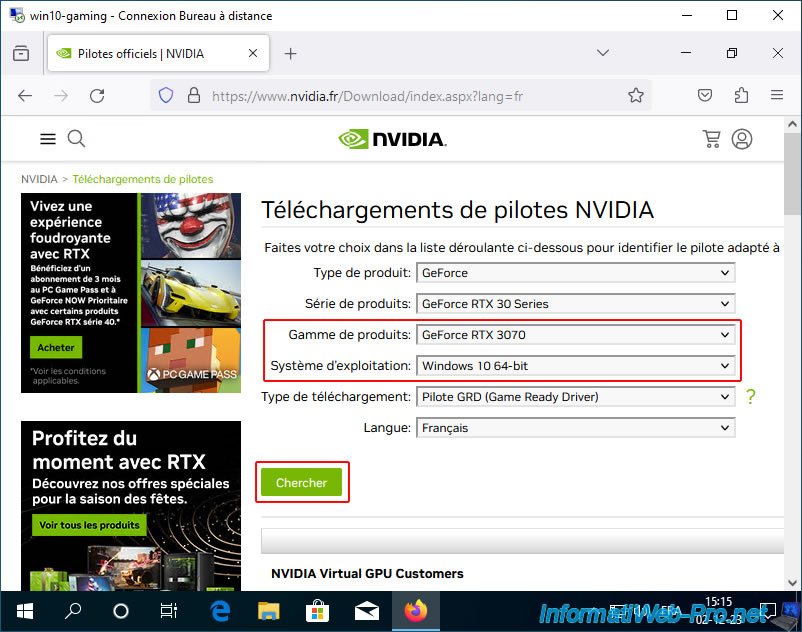
Download the suggested Nvidia driver.
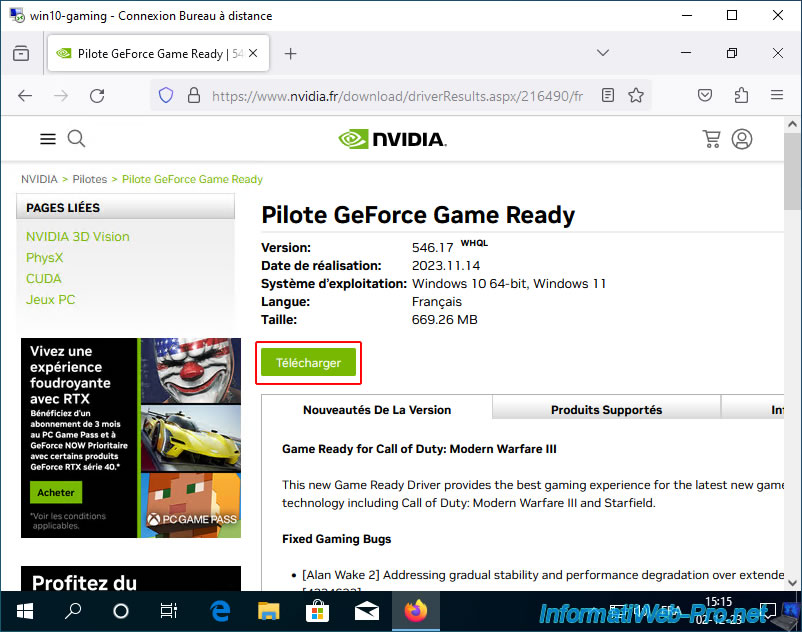
Once the driver is downloaded, launch the downloaded file.
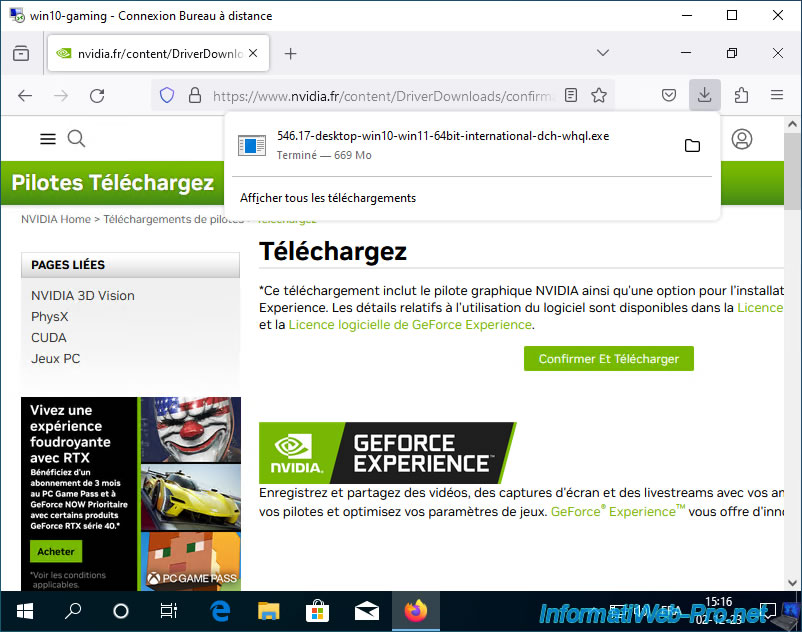
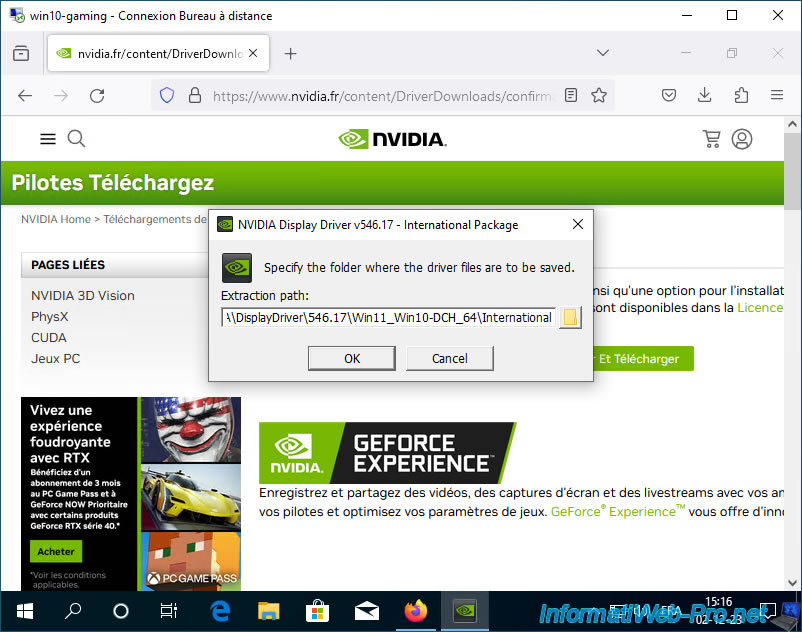
Click OK to extract the NVIDIA installation files.
In the NVIDIA installer that appears, leave the default option selected and click: ACCEPT AND CONTINUE.
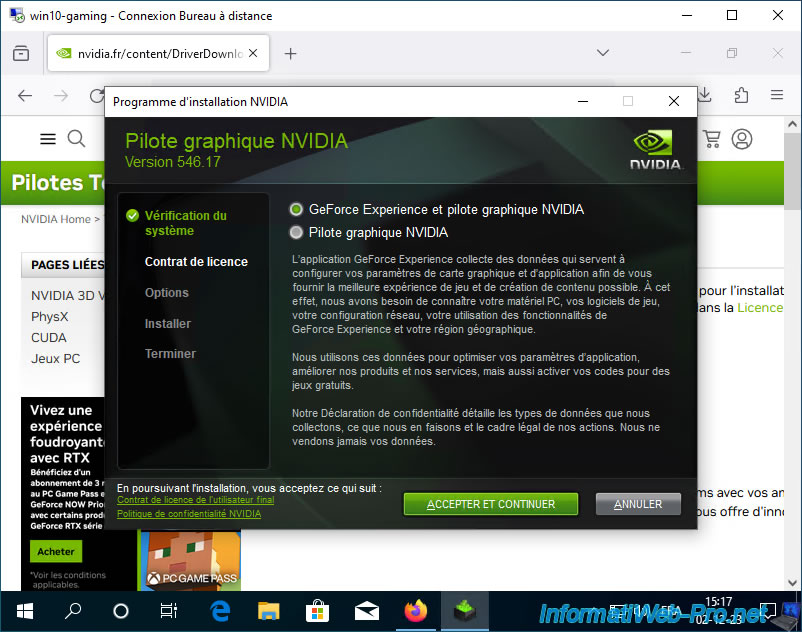
Click Next.
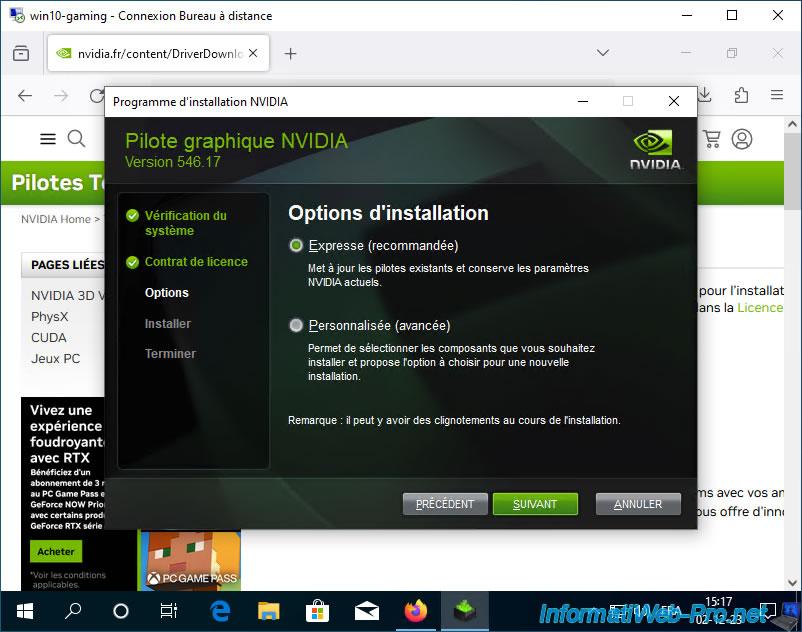
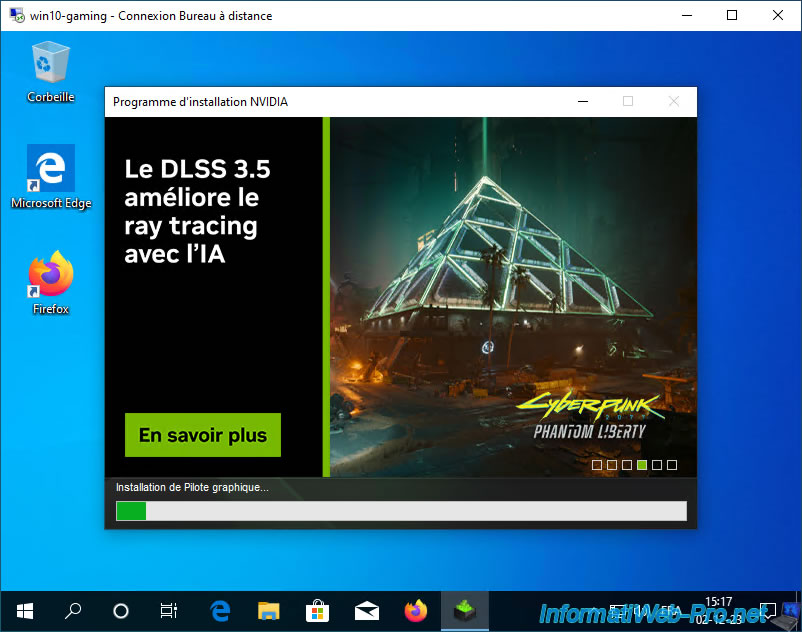
Please wait while the Nvidia graphics driver and associated Nvidia components are installed.
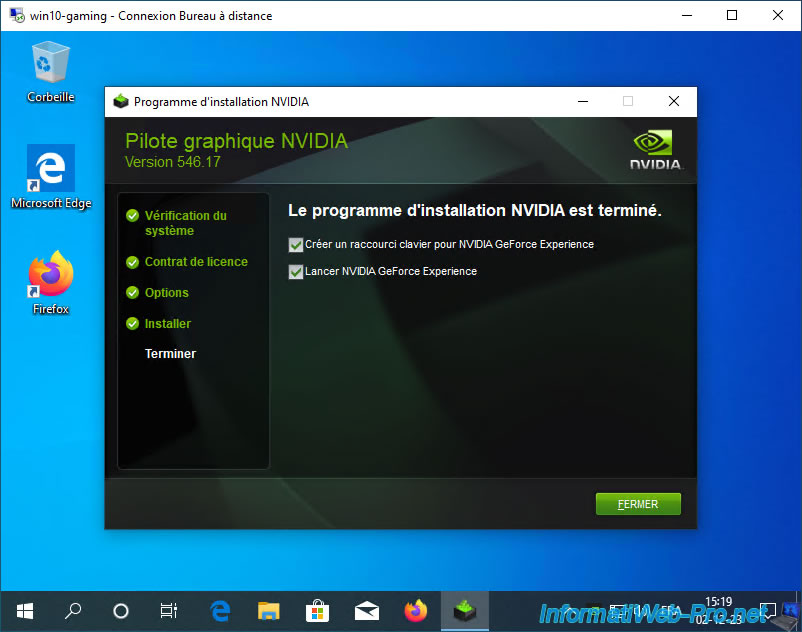
Once the NVIDIA installer is complete, click Close.
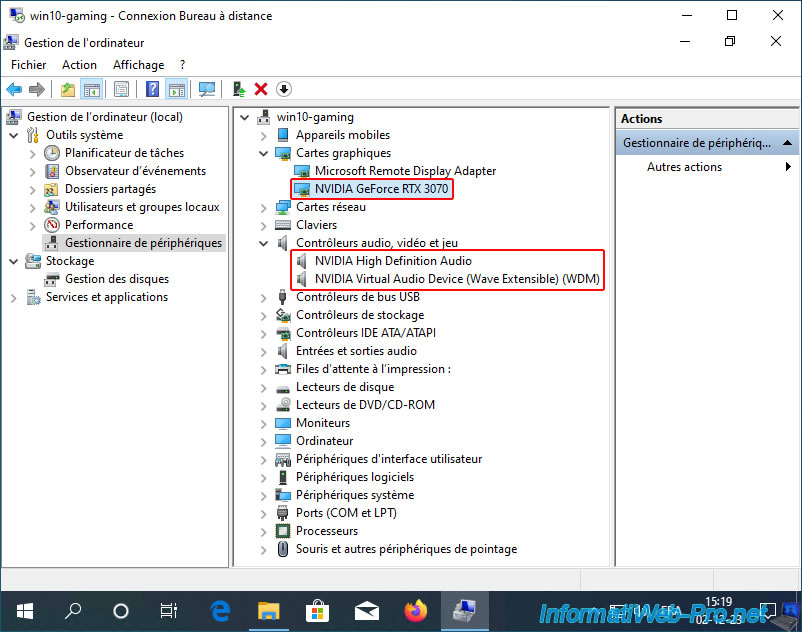
In Device Manager, you'll see that your graphics card (in our case, NVIDIA GeForce RTX 3070) still appears under the same name.
However, you may also see a new NVIDIA device appear in the "Sound, video, and game controllers" section: NVIDIA Virtual Audio Device (Wave Extensible) (WDM).
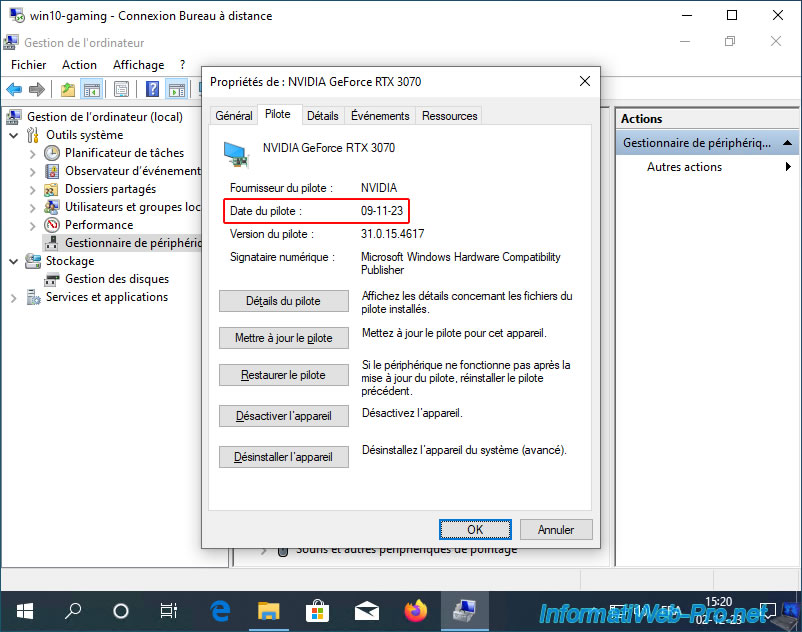
Double-click your NVIDIA graphics card driver and go to the "Driver" tab.
As you can see, the installed driver is much newer than the one that was automatically downloaded and installed by Windows 10.
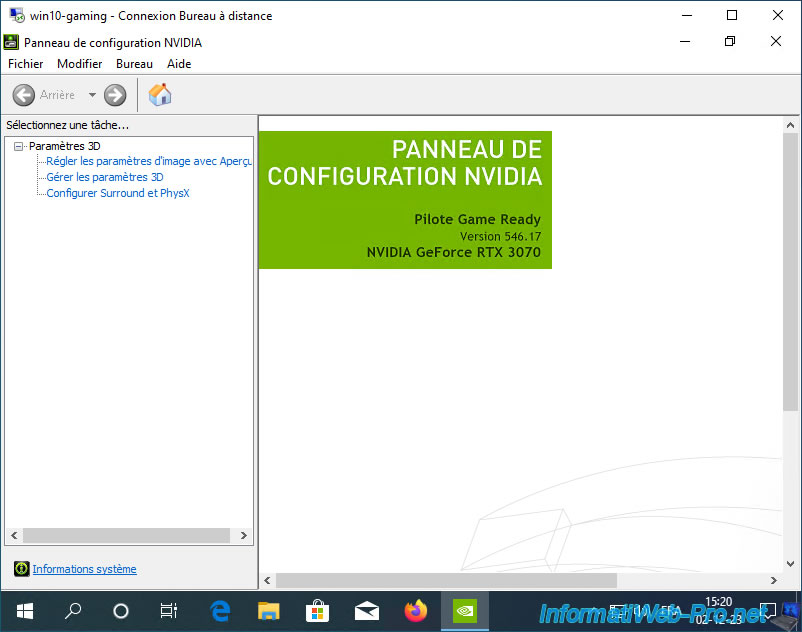
If you search for "Nvidia" in the Windows Start menu, you'll also find the "NVIDIA Control Panel" program.
And as you can see, it opens without any problems in your virtual machine, and you can see the name of your real NVIDIA graphics card.
Share this tutorial
To see also
-
NAS 2/11/2026
Unraid 6.9.2 - Customize the web interface
-
NAS 5/13/2026
Unraid 6.9.2 - SWAG - Locally access the reverse proxy (SWAG)
-
NAS 8/26/2026
Unraid 6.9.2 - VMs - Create a gaming virtual machine
-
NAS 9/16/2026
Unraid 6.9.2 - VMs - Hotplug USB devices (Libvirt Hotplug USB plugin)
No comment