Create a gaming virtual machine (accessible via Parsec) on Unraid 6.9.2
- NAS
- Unraid
- 02 September 2026 at 07:39 UTC
-

- 7/7

14. Install Parsec on the client PC
On the physical client PC or mini PC (if you prefer) from which you want to access your virtual machine, download Parsec again and launch the downloaded file.
Note: Parsec does not run as a client in a virtual machine.
This is because a virtual machine does not actually have a screen.
If you attempt to do so, an error will occur and the link below will be displayed by Parsec.
Source : Error Codes - 14003 (Failed to Capture the Host Display) - Parsec.
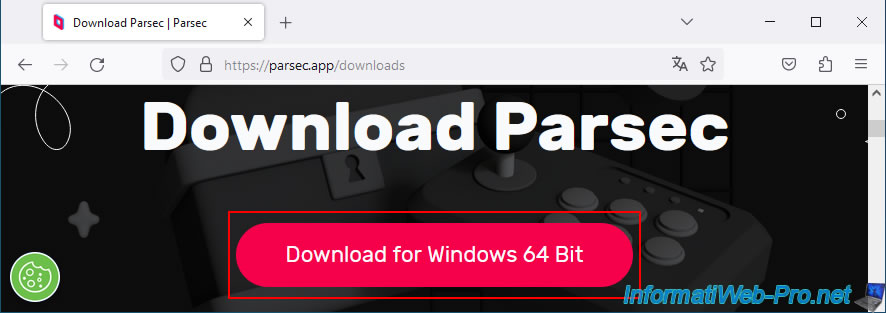
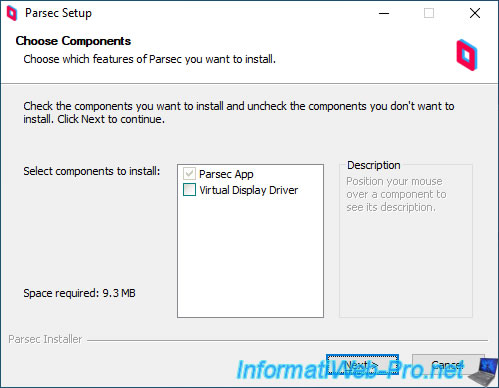
Leave the option checked by default and click Next.
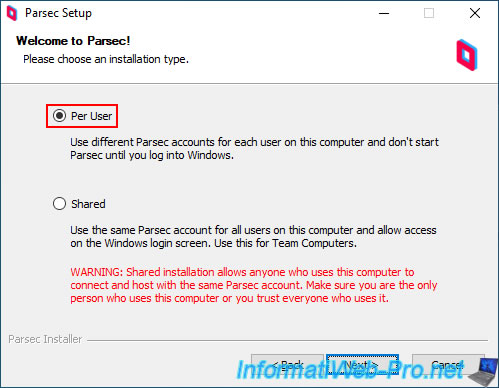
On the client PC, the installation type doesn't really matter.
However, if you're using a computer that's accessible to multiple people, we recommend selecting "Per User".
This way, Parsec will only launch on your Windows session, and the Parsec account will only be used for your Windows session.
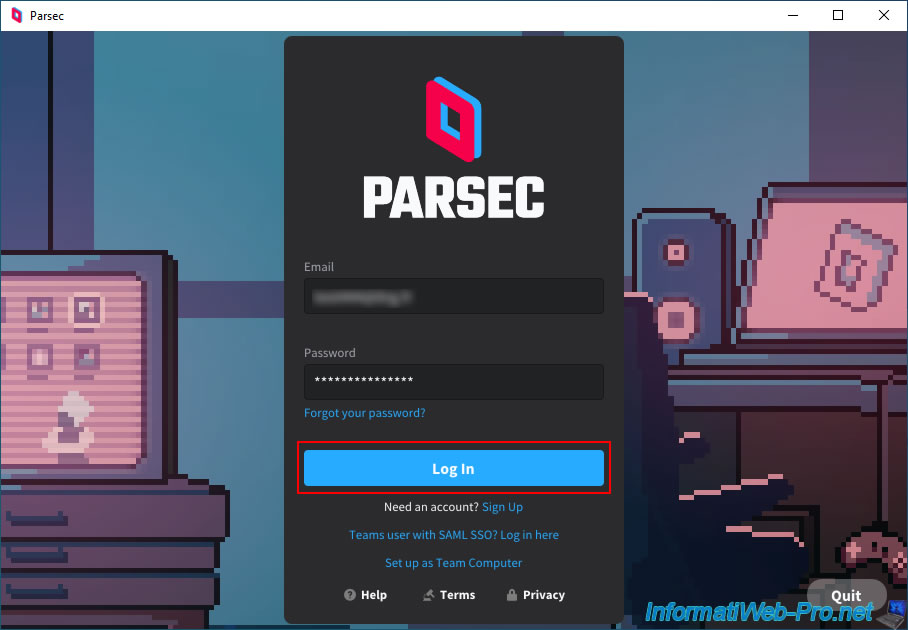
Once the Parsec application is installed, log in with the Parsec account created previously from your virtual machine.
In the "Parsec" application, you will see your virtual machine appear.
In our case: WIN10-GAMING.
Click the "Connect" button.
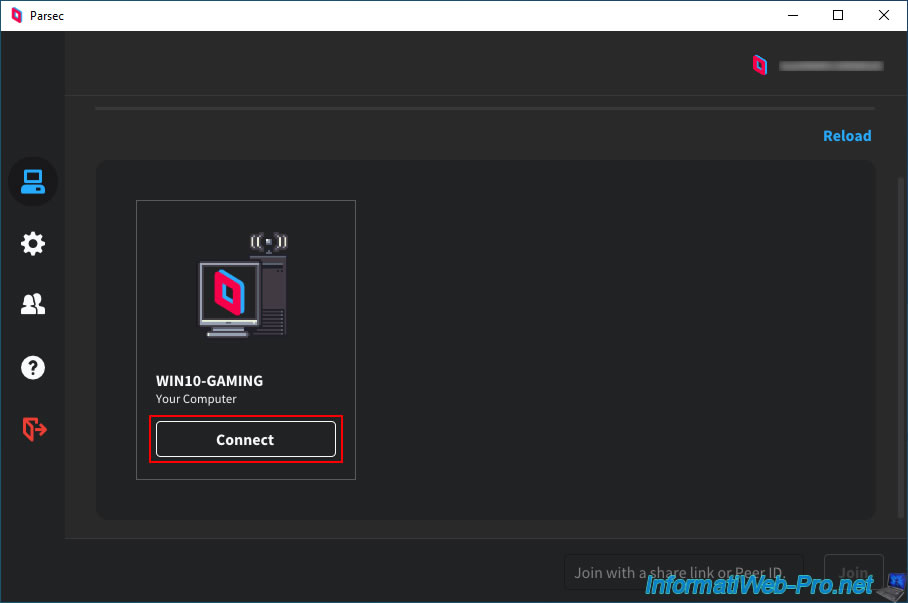
If you launched this Parsec client from a physical PC, you should have no problem accessing your gaming virtual machine.
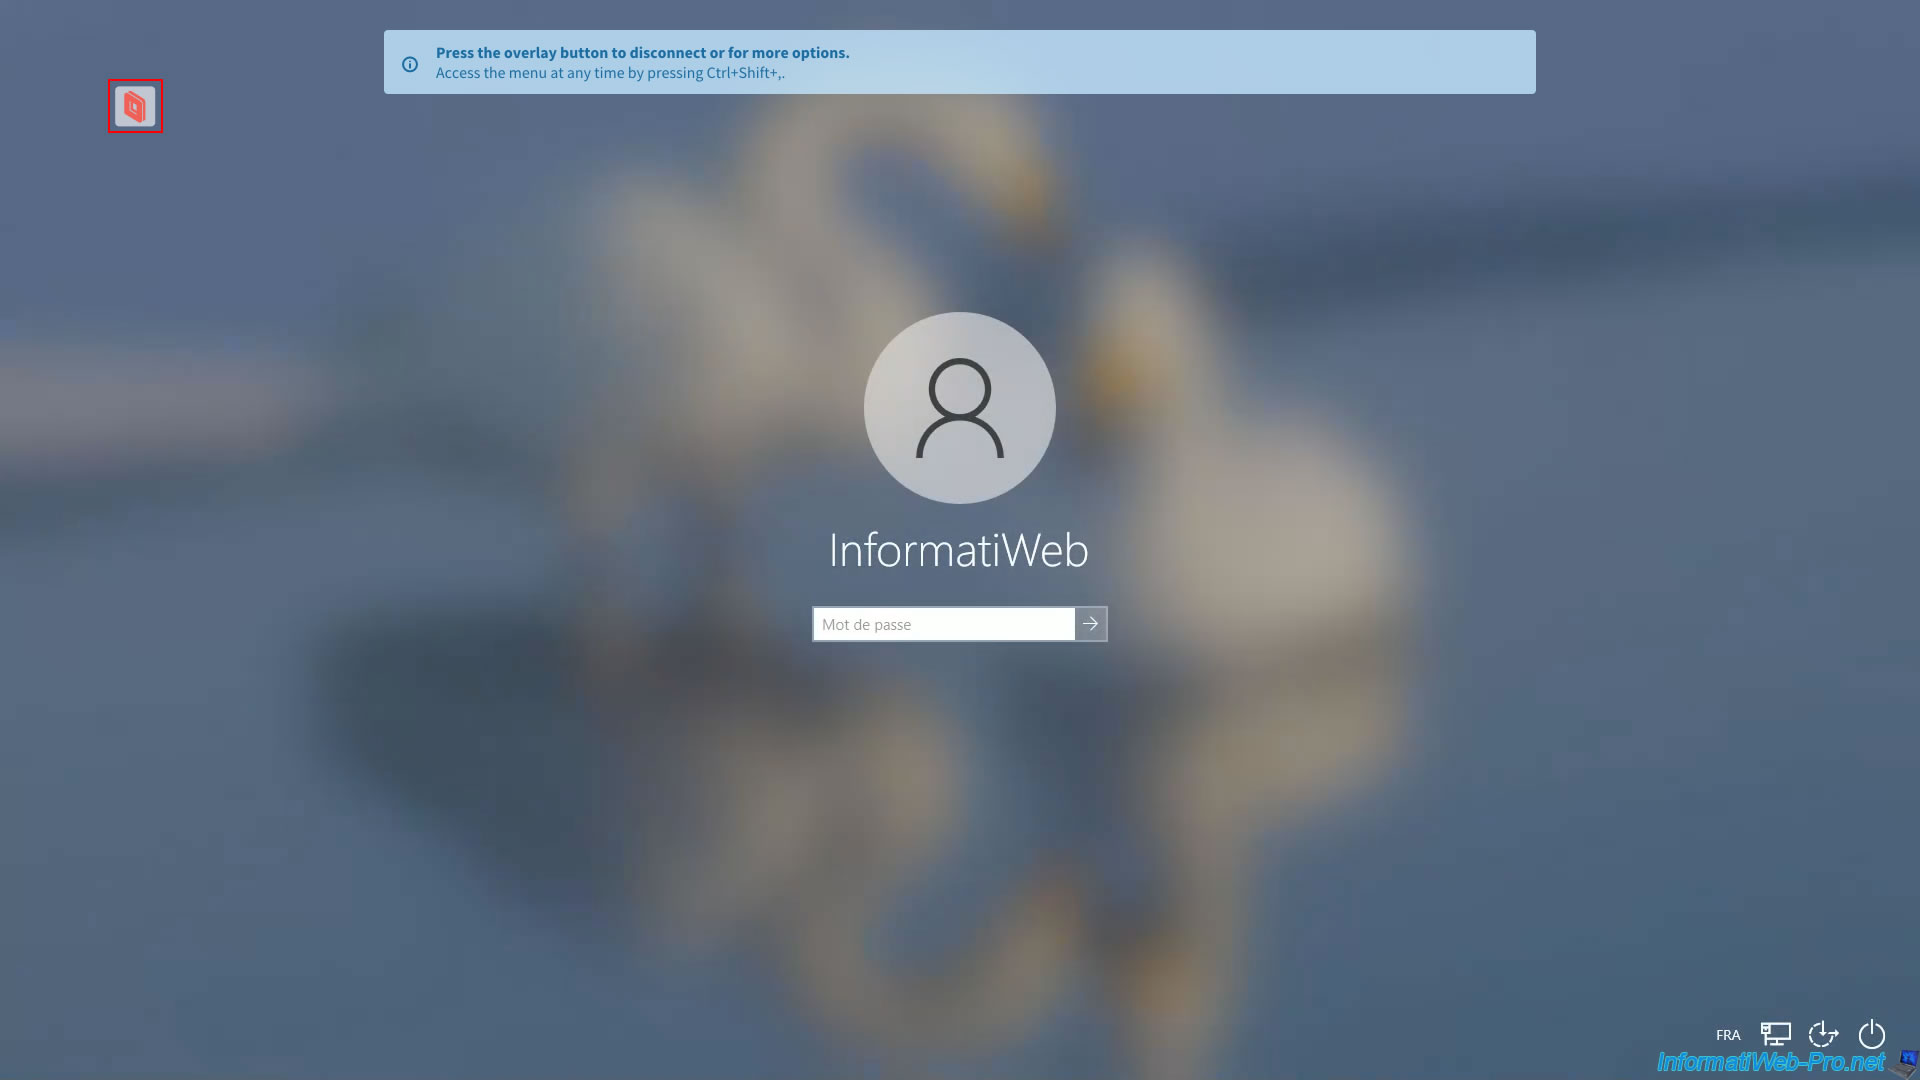
As expected, since we restarted our gaming virtual machine and installed Parsec in "Shared" mode, we see the screen for logging in to a Windows account.
Enter the password for your Windows user account for your virtual machine.
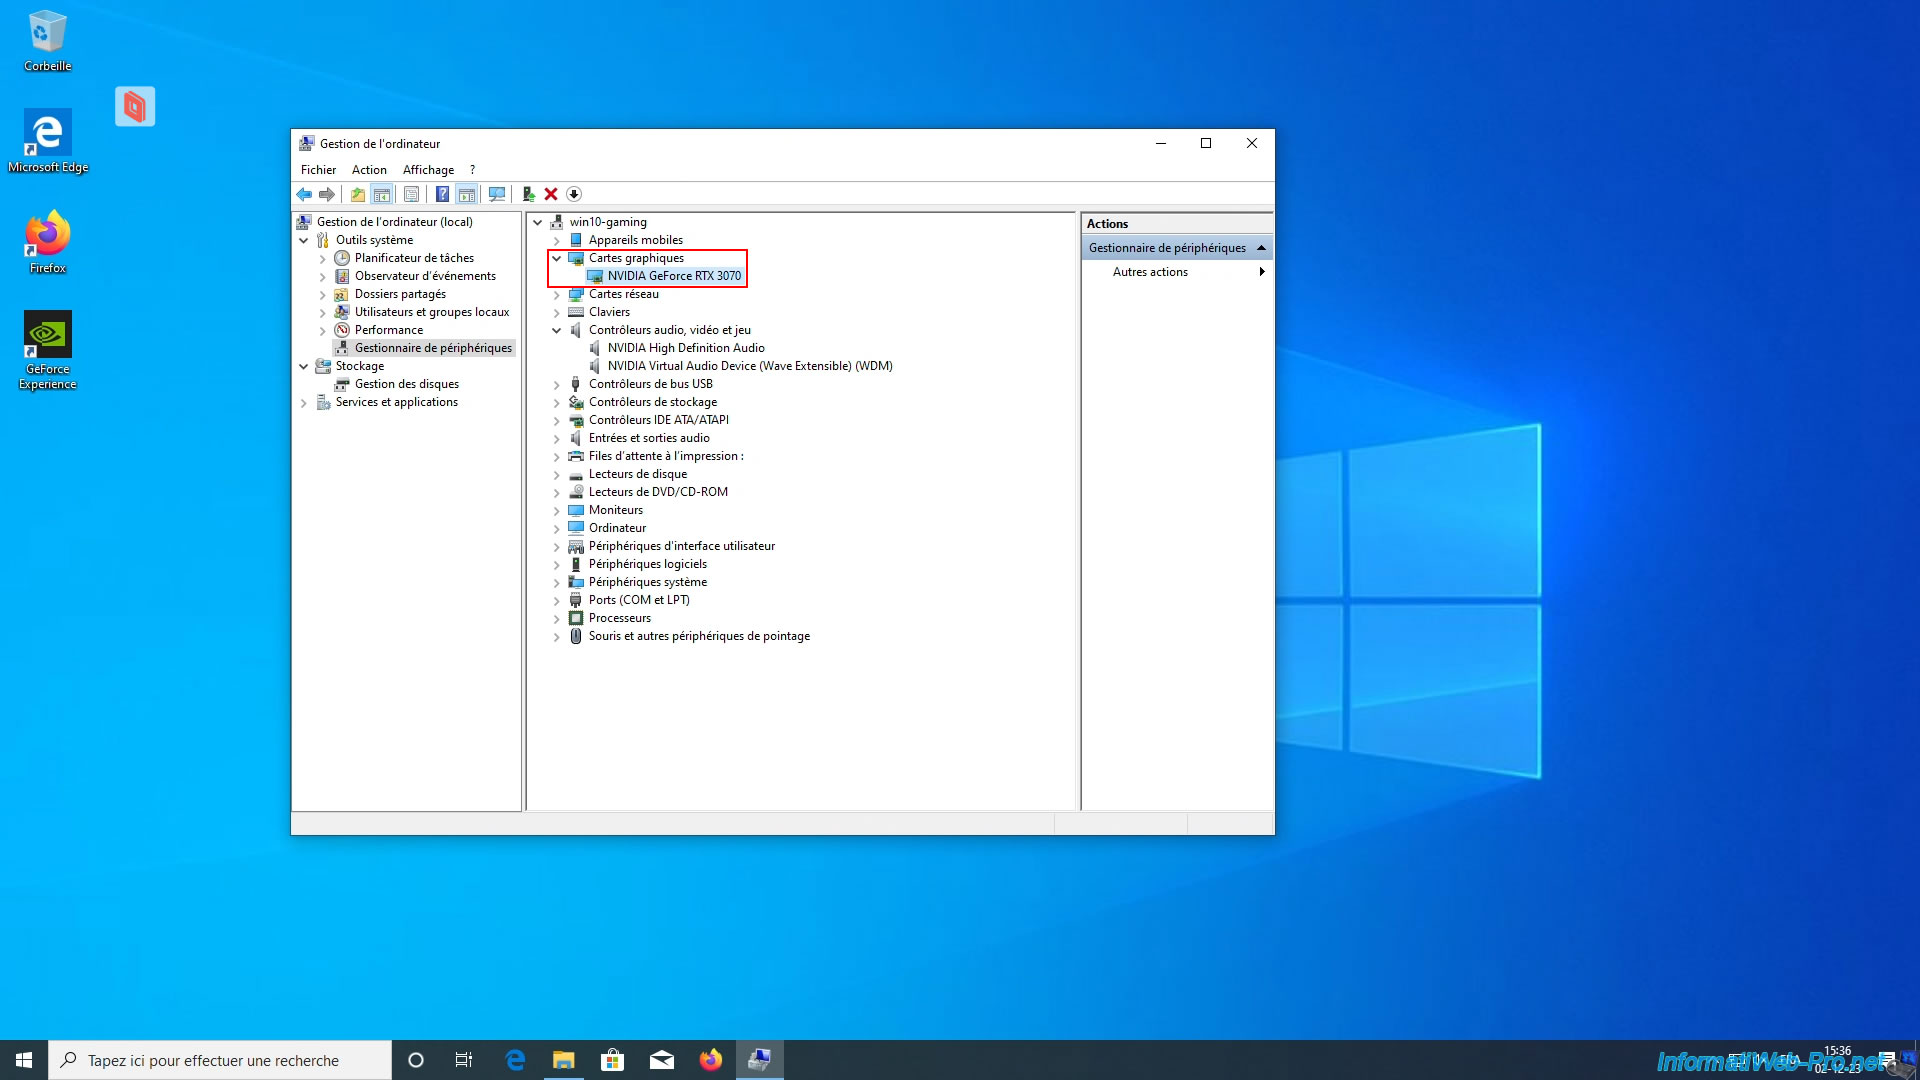
If you open the Device Manager, you will see that the only graphics card present is the physical graphics card (in our case: NVIDIA GeForce RTX 3070) passed to your virtual machine.
15. Install Steam and then install your favorite game
For this tutorial, we installed Steam, as we have a game that uses Ray Tracing supported by our Nvidia GeForce RTX 3070 graphics card.
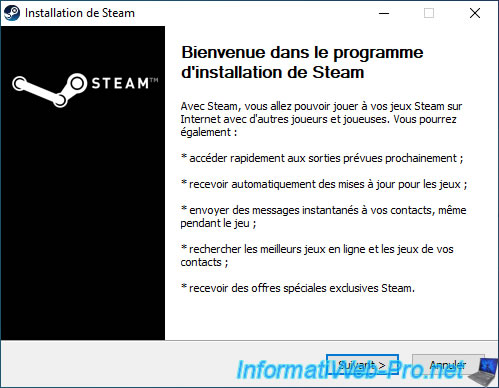
Once Steam is installed, configure it to store your games on your "Games (D:)" partition.
To do this, refer to step "13. Install Steam and install your favorite game" in our previous tutorial.
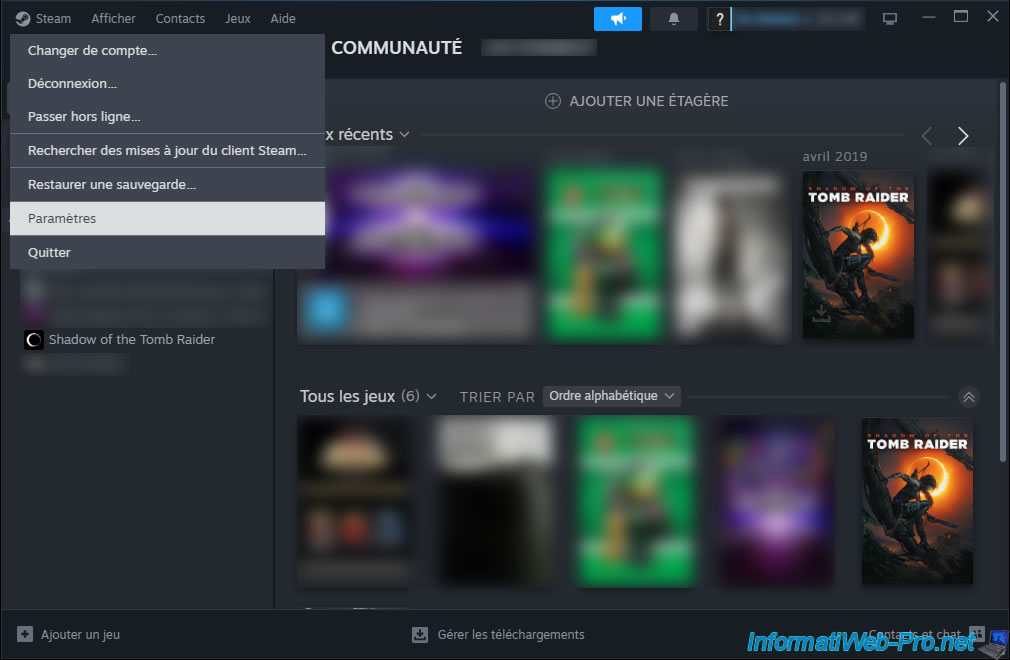
As expected, Steam is now configured to store games by default on our "Games (D:)" partition.
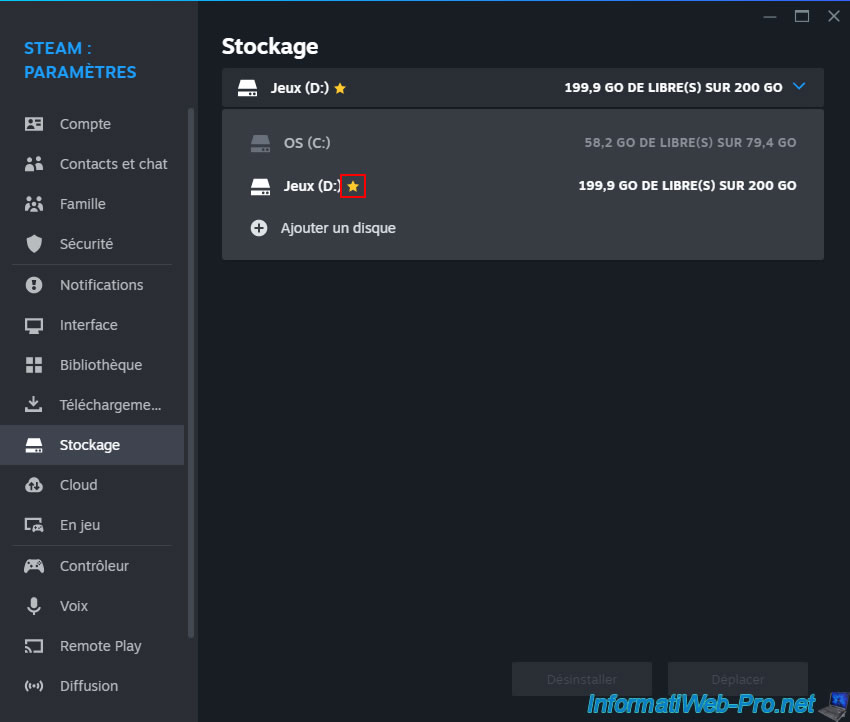
So when you download a game, it will be downloaded and installed by default on your "Games (D:)" partition.
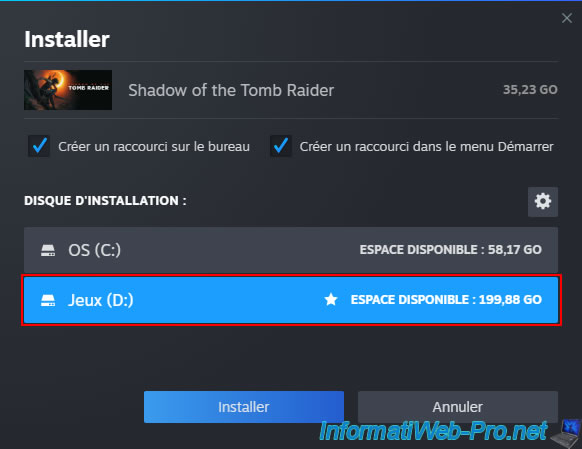
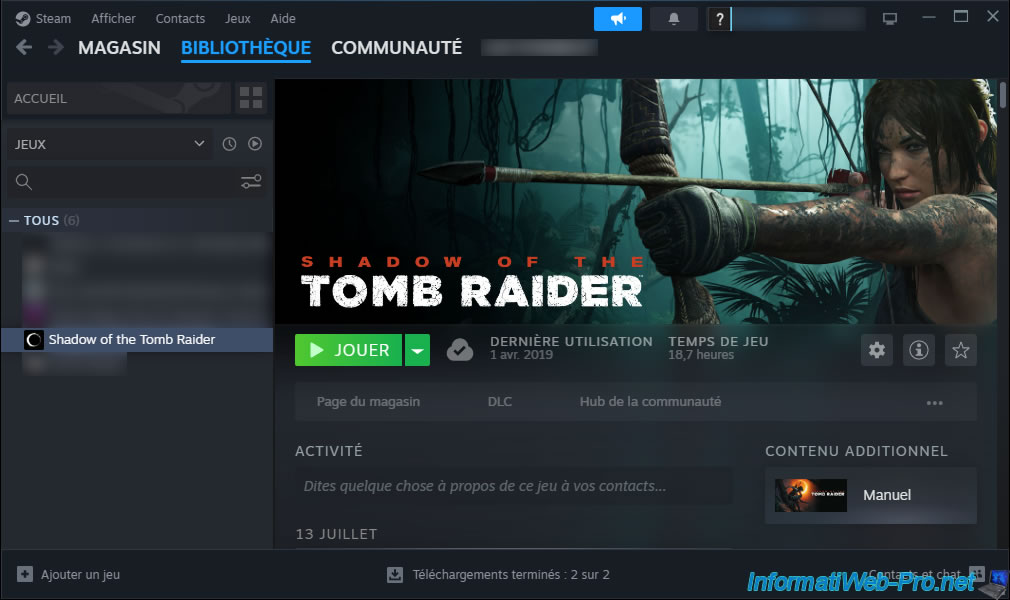
Your game is downloaded and installed.
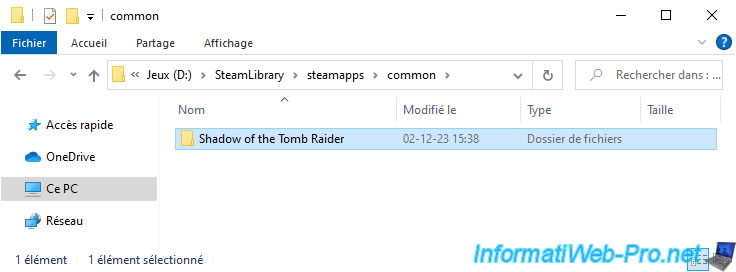
If you open File Explorer, you will see that a folder corresponding to your game (in our case: Shadow of the Tomb Raider) is located in the "SteamLibrary\steamapps\common" folder of our "Games (D:)" partition.
16. Playing Shadow of Tomb Raider on your Windows 10 virtual machine via Parsec
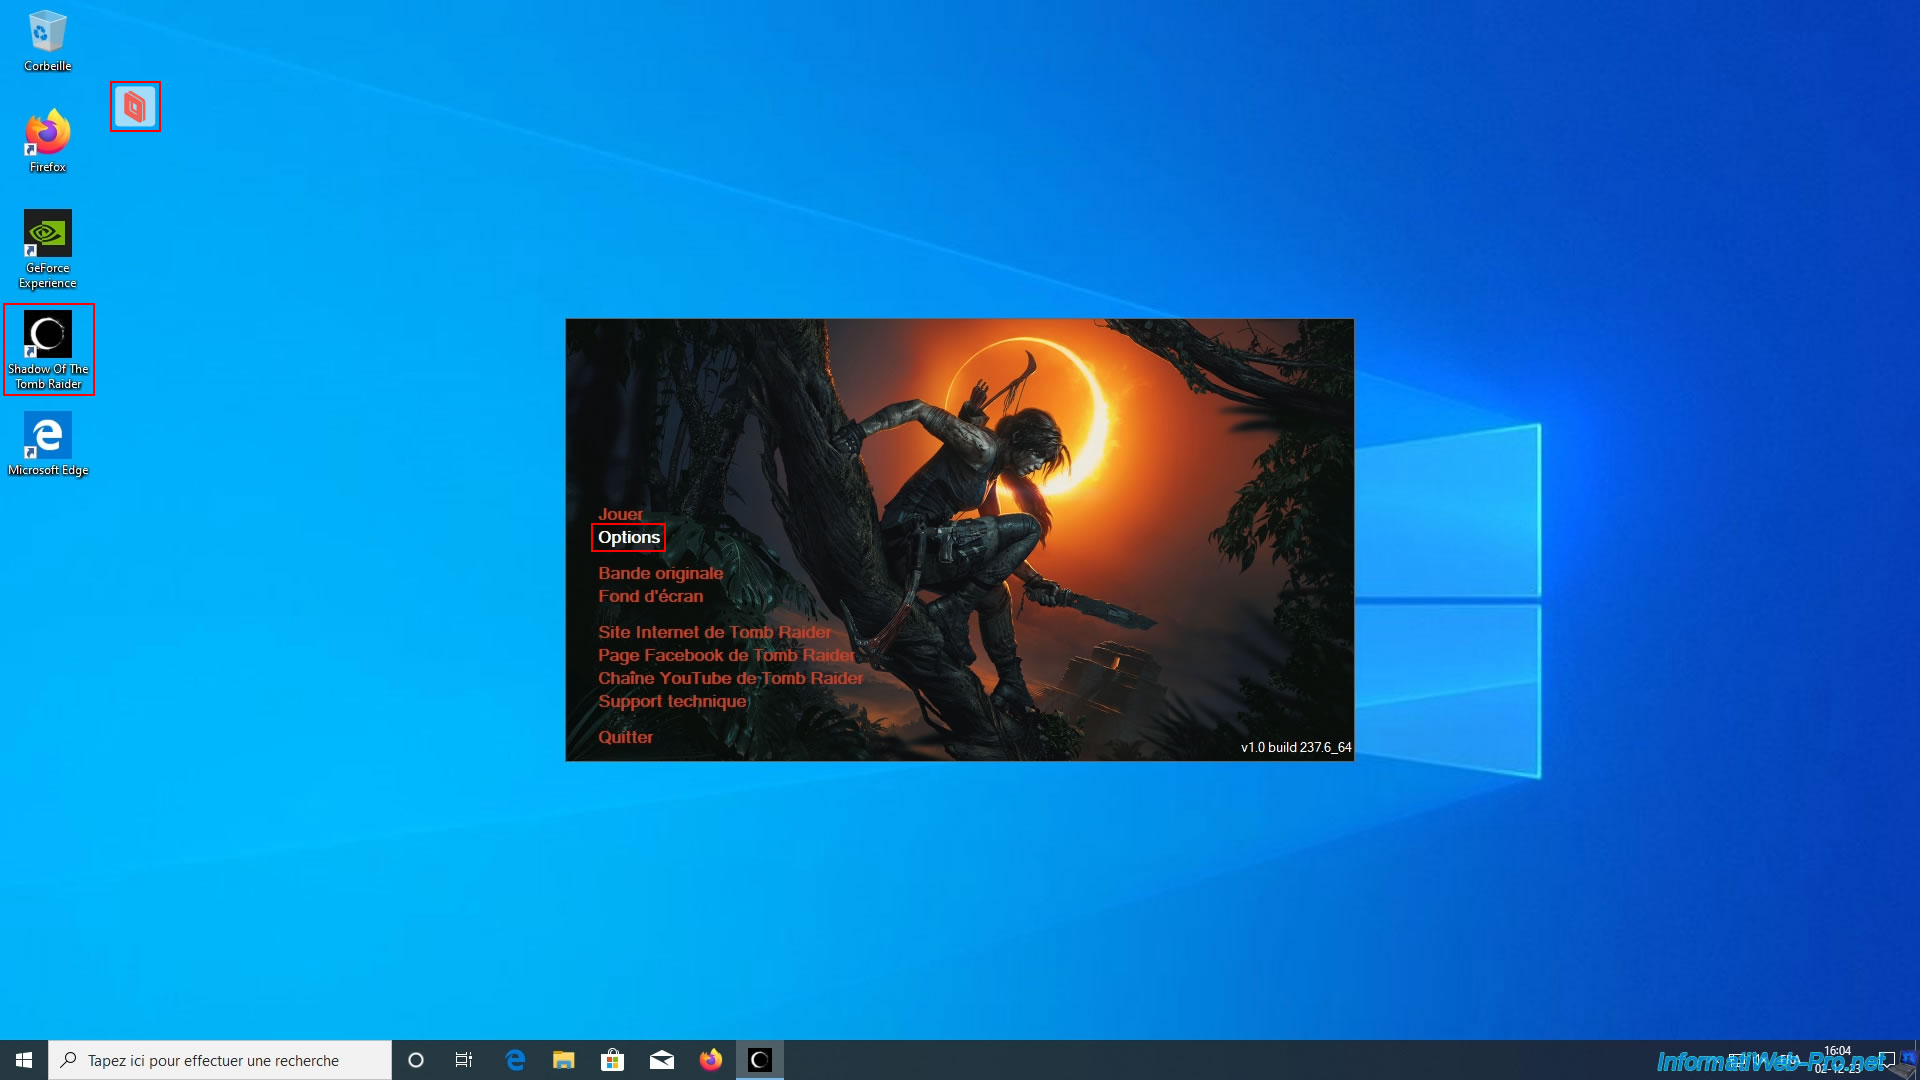
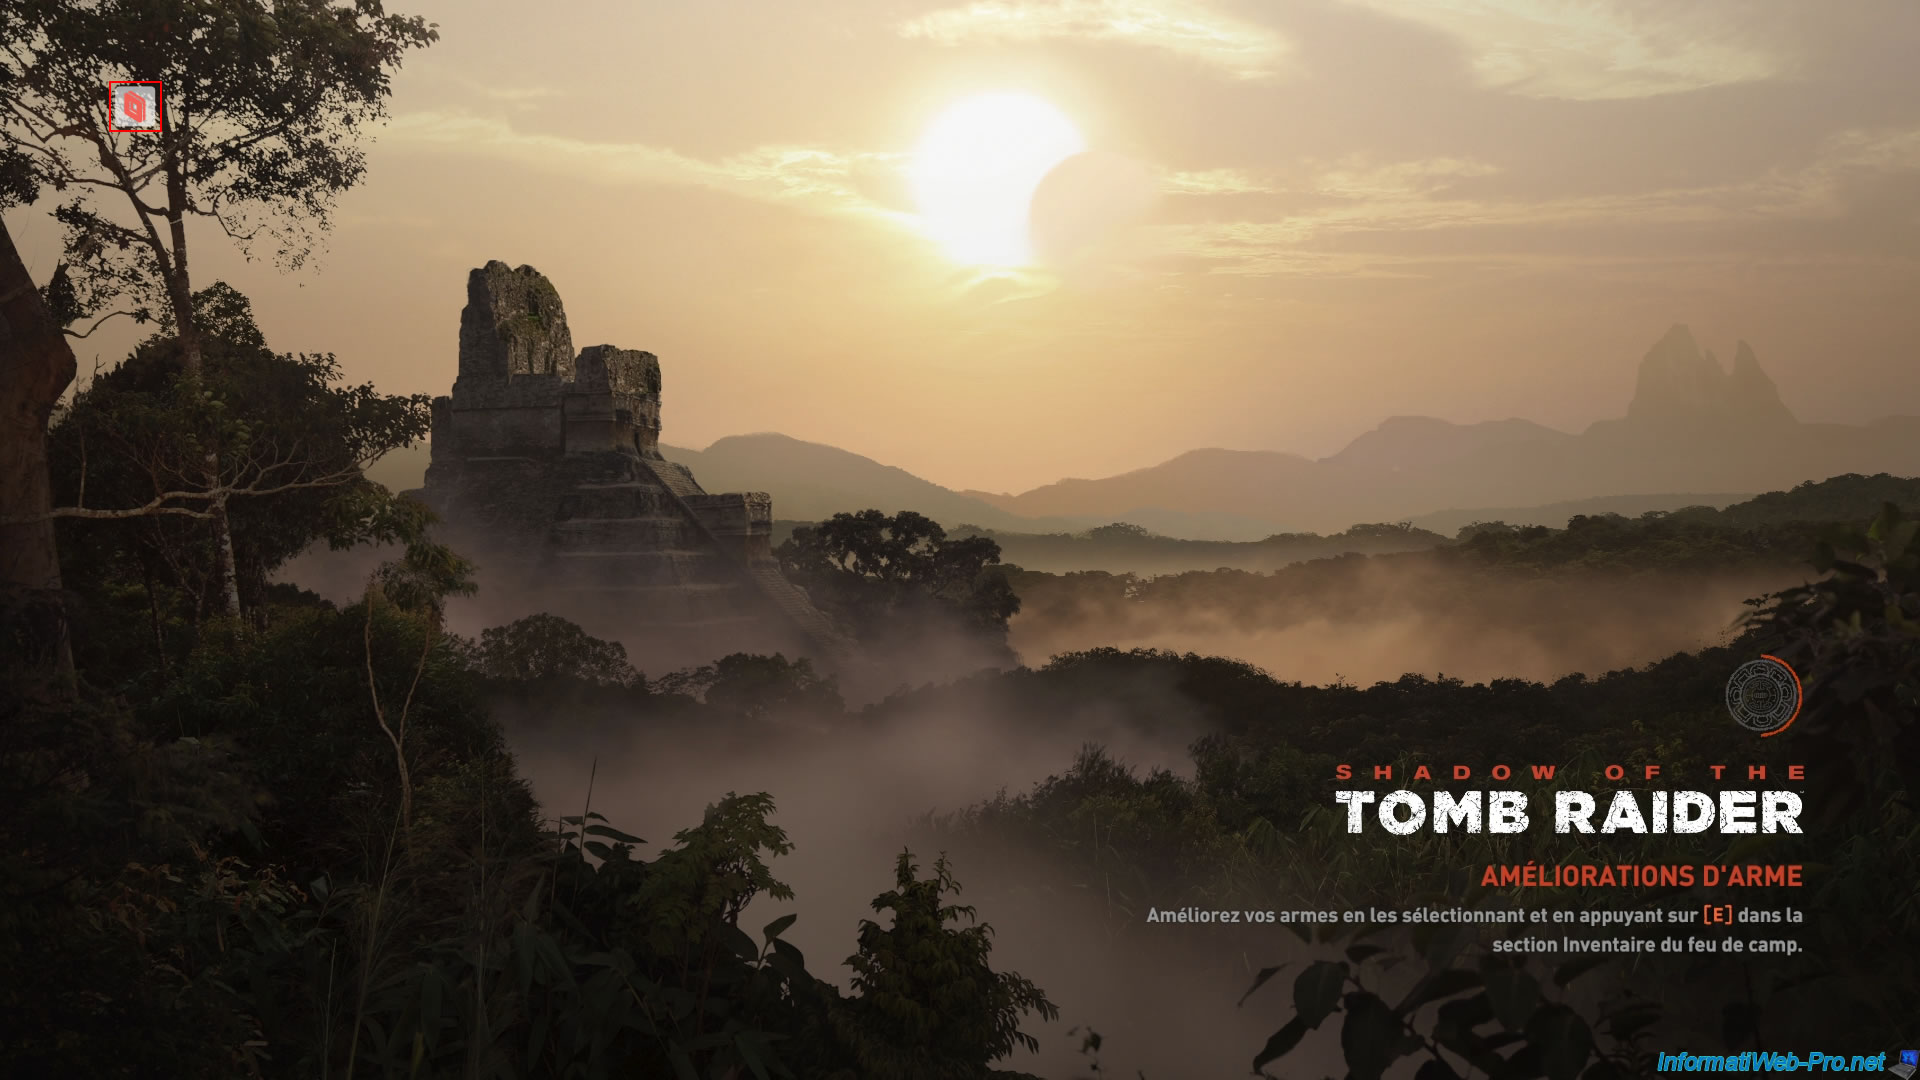
Launch your favorite game and as you can see, we are using our virtual gaming machine from our physical PC via the Parsec application (whose logo you can see in the top left corner of the screenshots below).
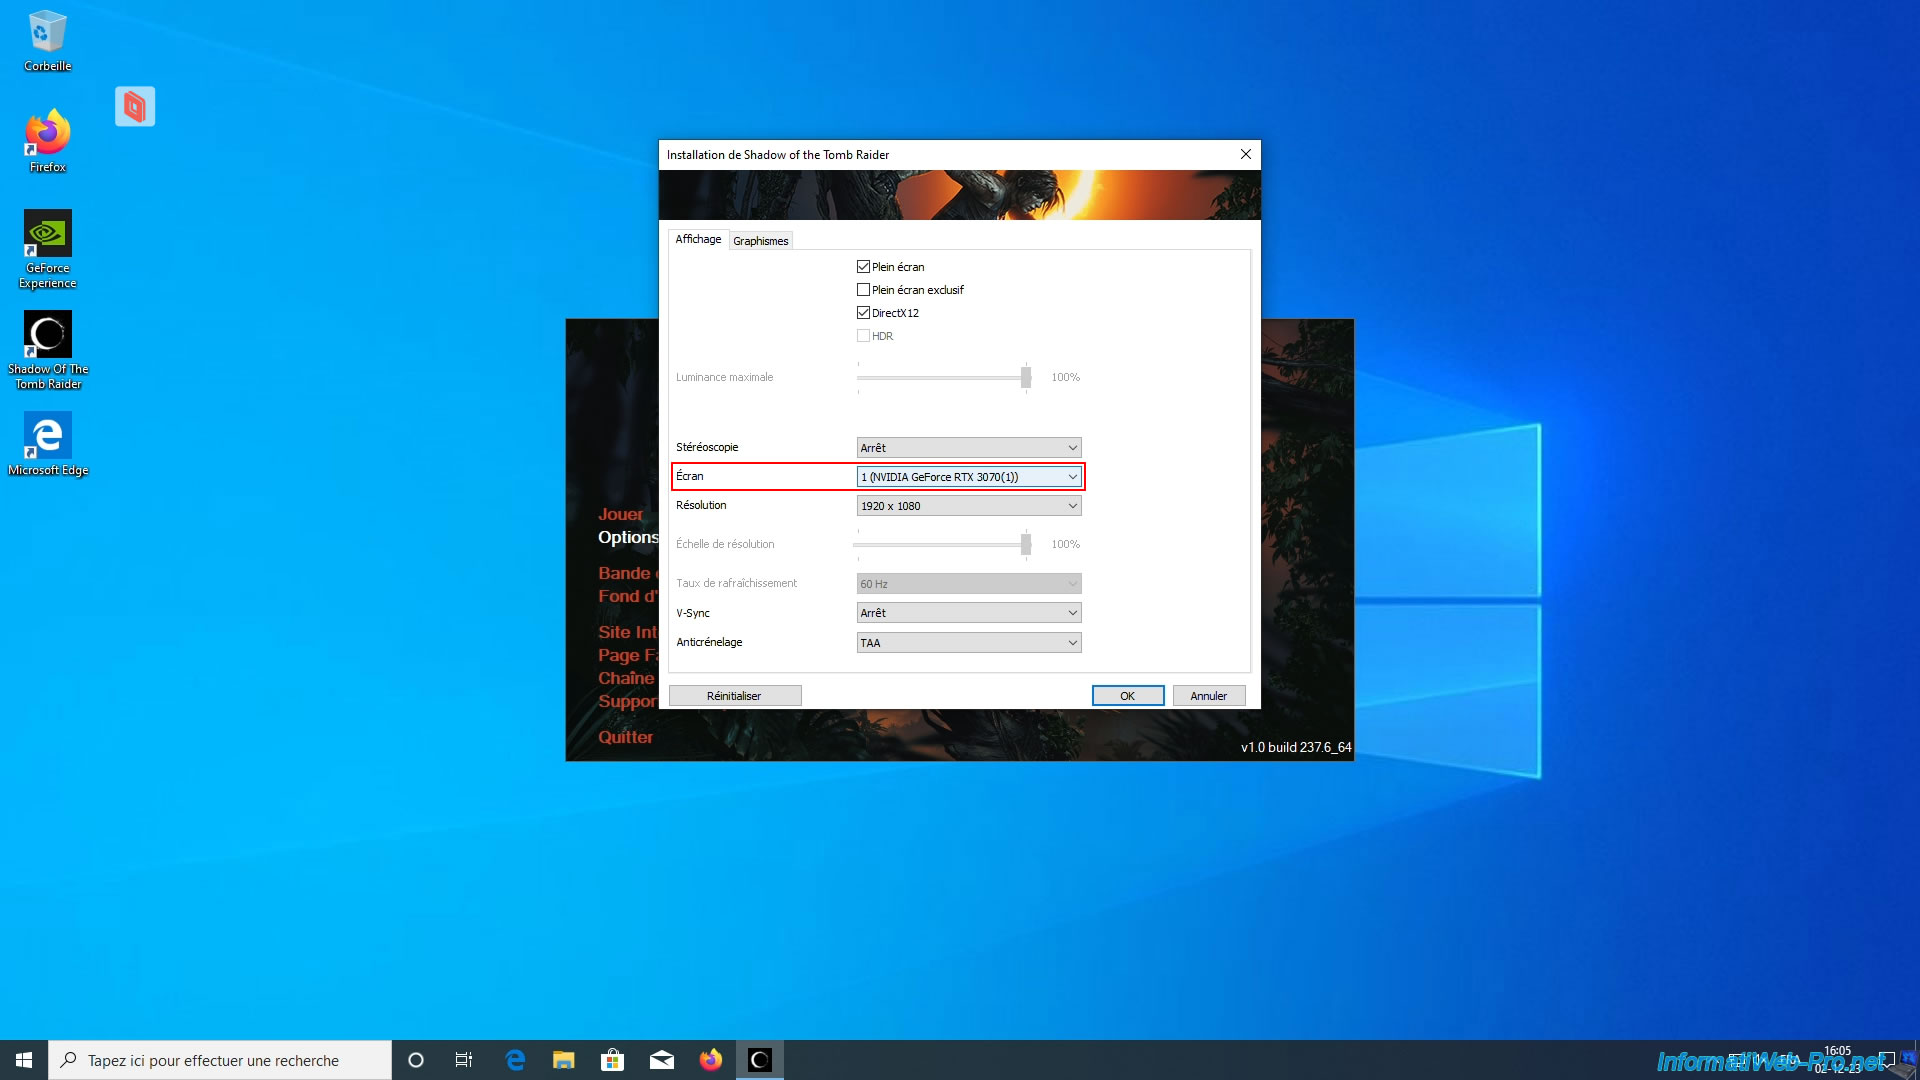
As you can see, the "Options" section of the game "Shadow of the Tomb Raider" that we are using for this tutorial does indeed use our physical graphics card "NVIDIA GeForce RTX 3070".
Launch your favorite game and it appears as if you were physically in front of your computer.
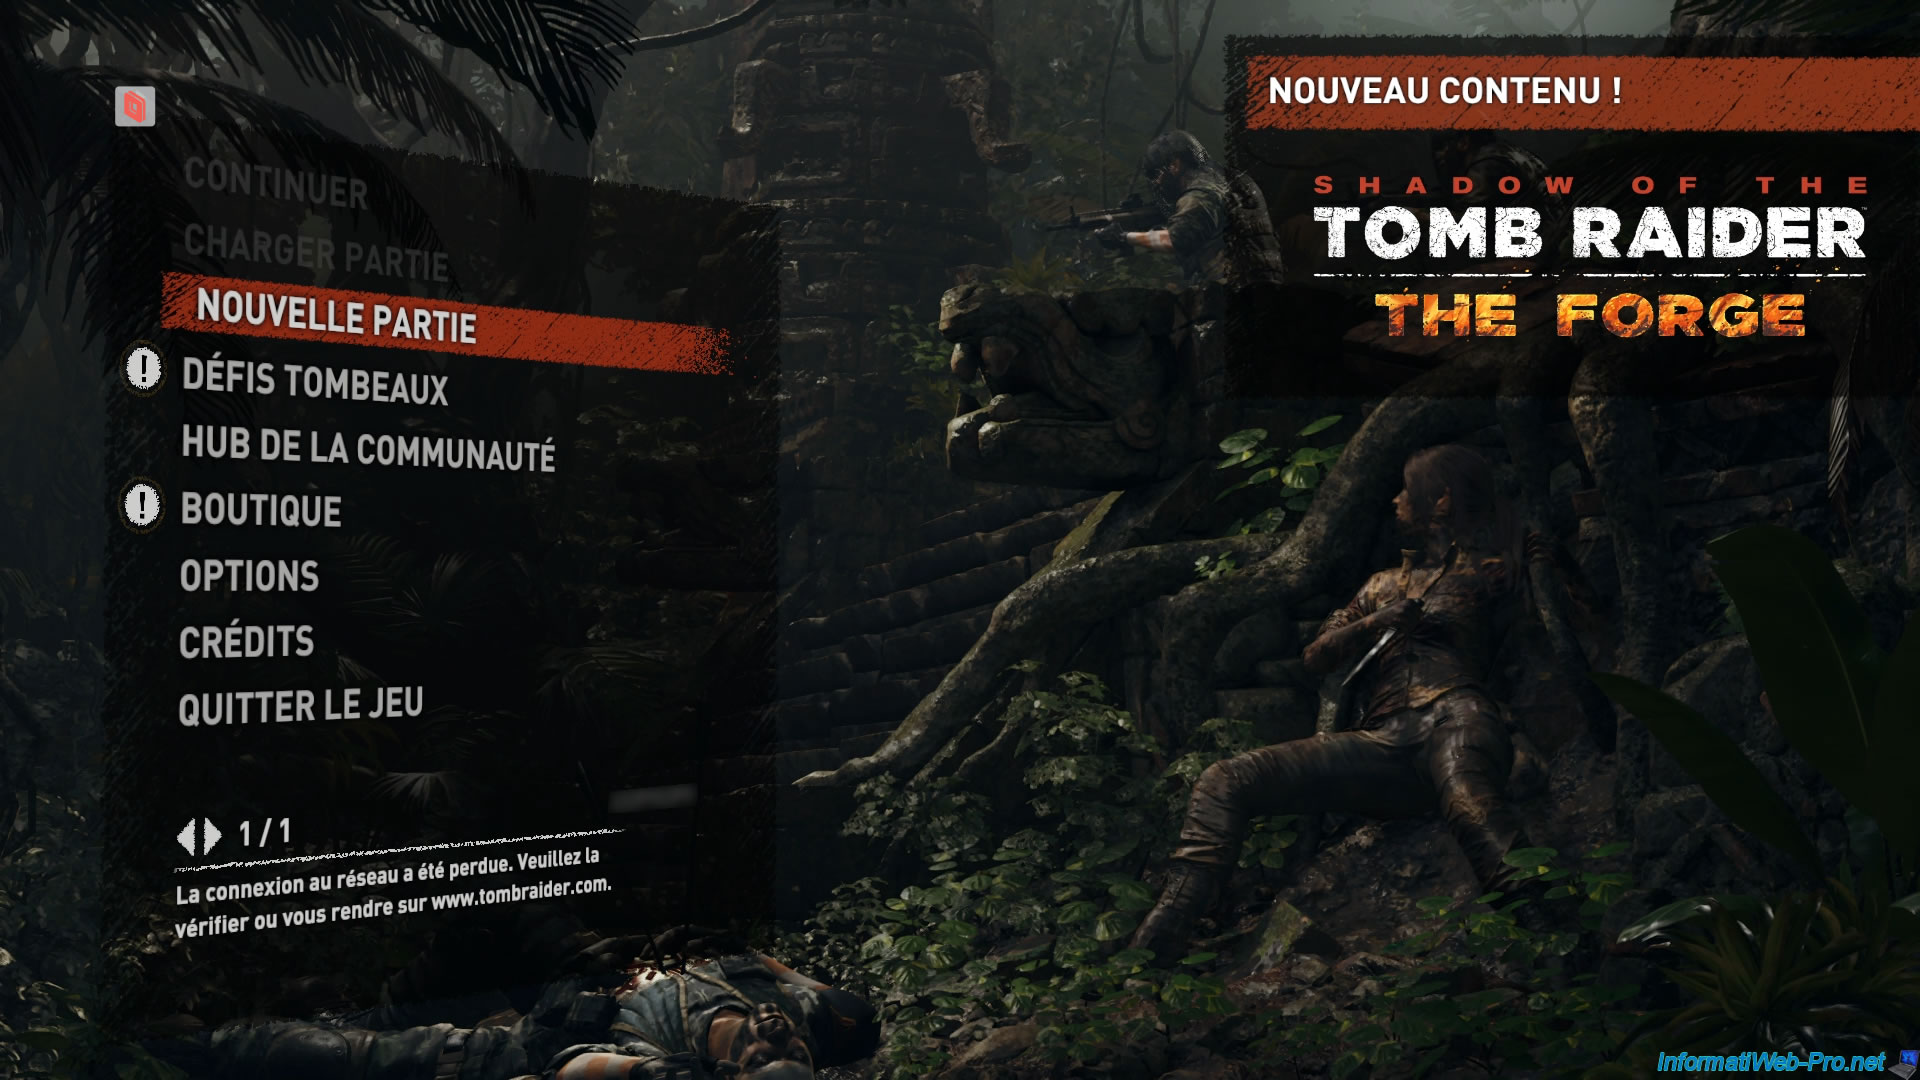
As you can see, the image quality is excellent (including the sun visible below) despite the connection being established via Parsec (whose icon is still visible in the top left).
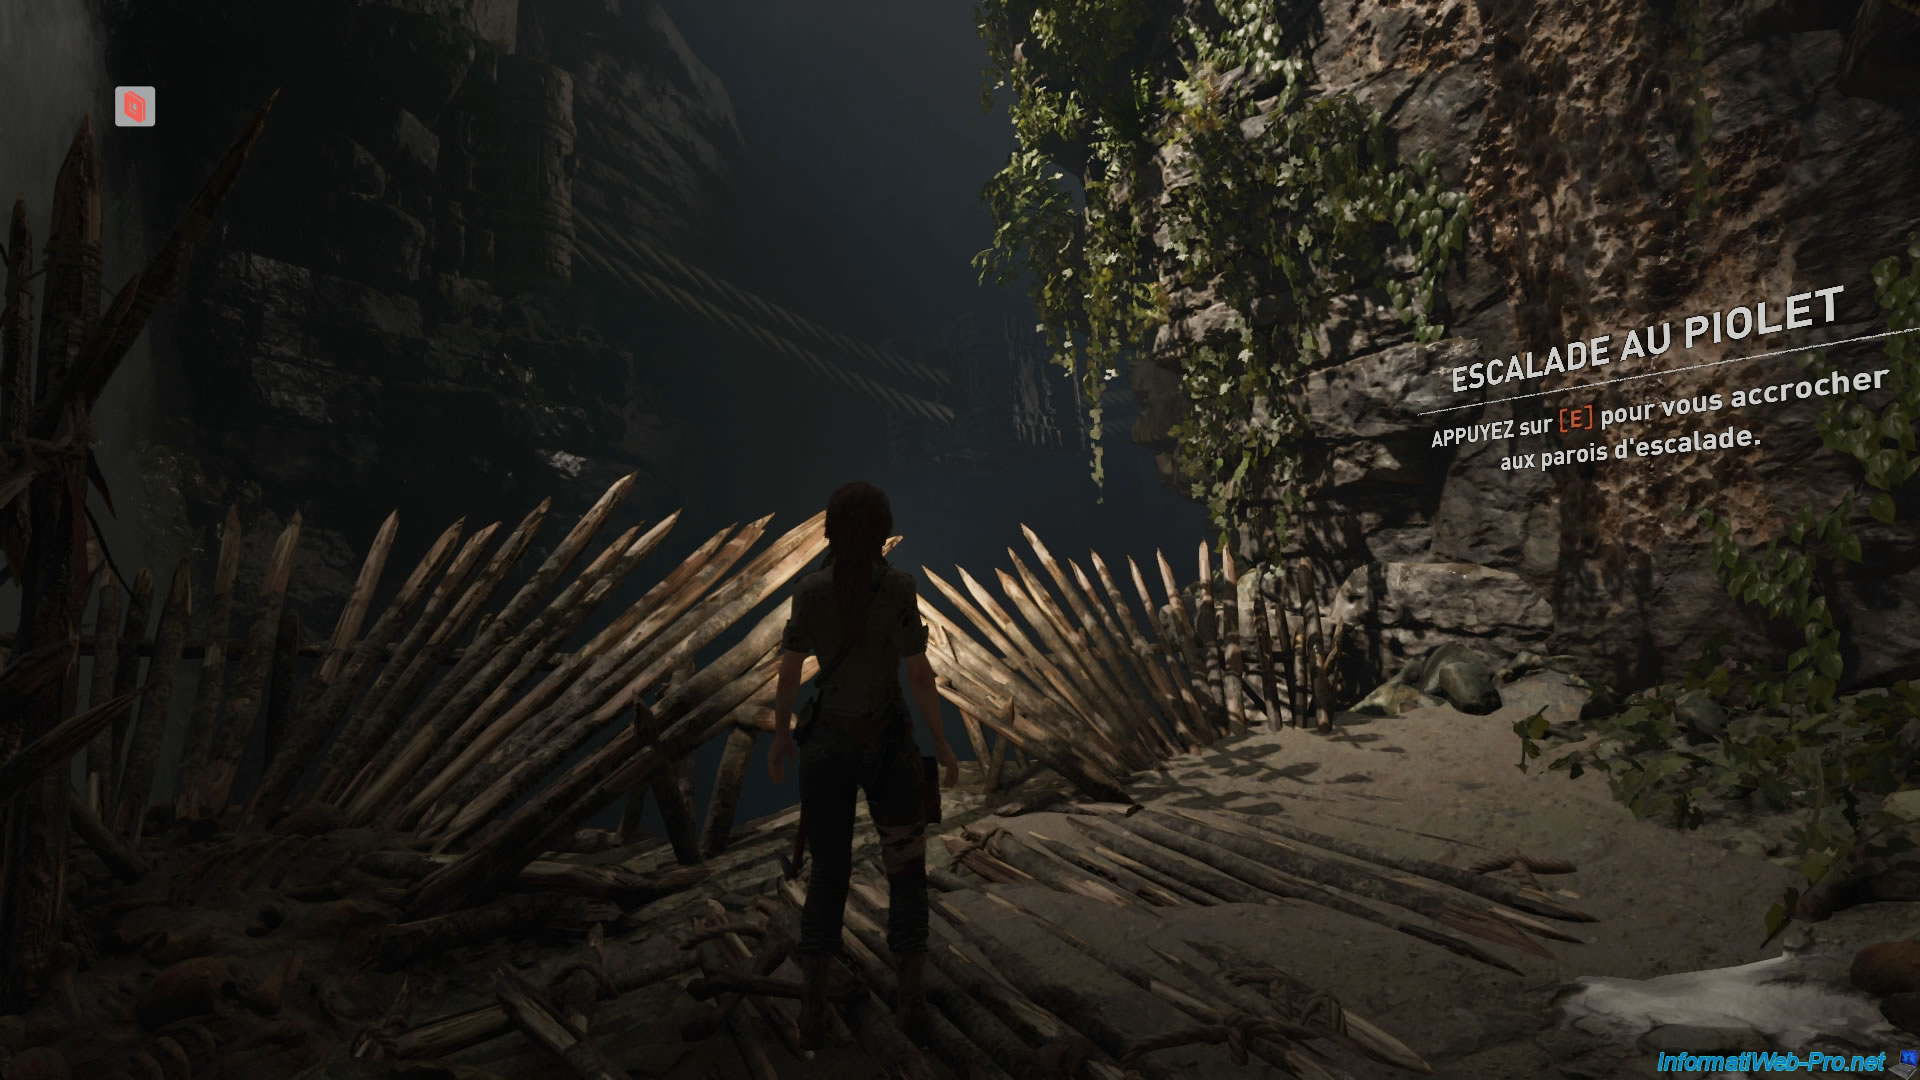
The quality is still as good in the game.
Share this tutorial
To see also
-
NAS 3/25/2026
Unraid 6.9.2 - Change web interface ports
-
NAS 1/1/2026
Unraid 6.9.2 - Disable flash network sharing
-
NAS 4/1/2026
Unraid 6.9.2 - Docker - Install a file explorer (CloudCommander)
-
NAS 8/26/2026
Unraid 6.9.2 - VMs - Create a gaming virtual machine
No comment