Create a gaming virtual machine (accessible via Parsec) on Unraid 6.9.2
- NAS
- Unraid
- 02 September 2026 at 07:39 UTC
-

- 2/7

5. Install Windows 10 on your virtual machine
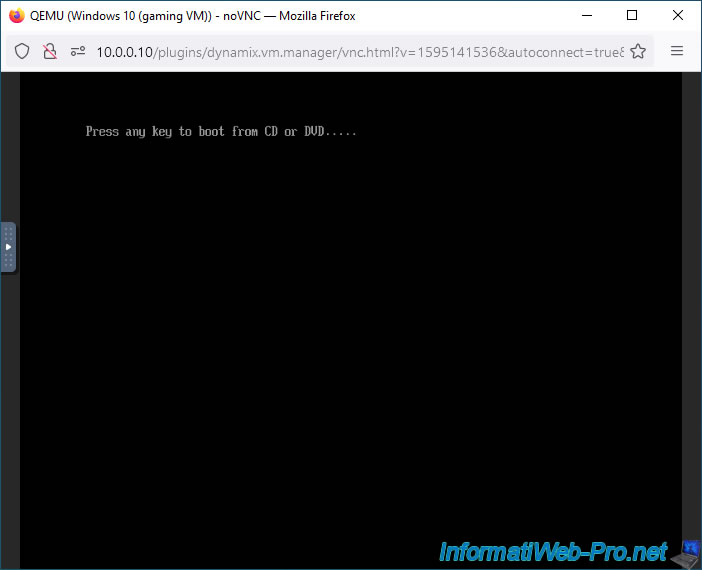
In the virtual machine console window that opened automatically, press any key if this message appears.
Note: if you missed this message, you will need to restart your virtual machine. To do this, click on the icon for your virtual machine (VM) in the Unraid web interface, then click "Force Stop".
Then, click on the VM icon again, and then click "Start".
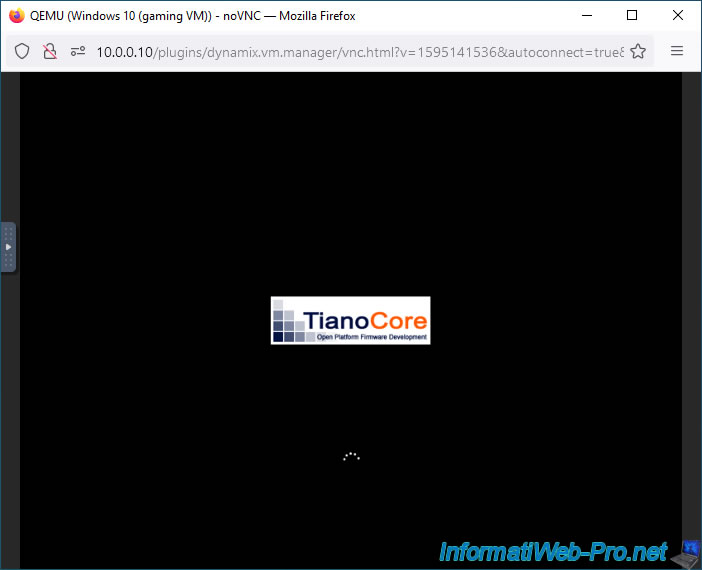
The Tiano Core logo appears because the VM is booting in UEFI mode (provided you have configured your VM correctly).
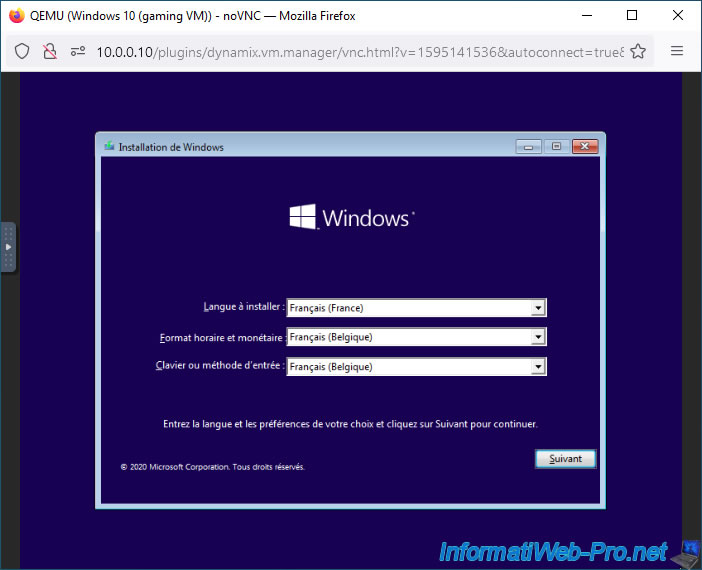
Next, the Windows 10 installer will appear.
Select your language and country, then click Next.
Note: if needed, please refer to our tutorial on formatting and reinstalling Windows 10, which can be found on our other website, "InformatiWeb".
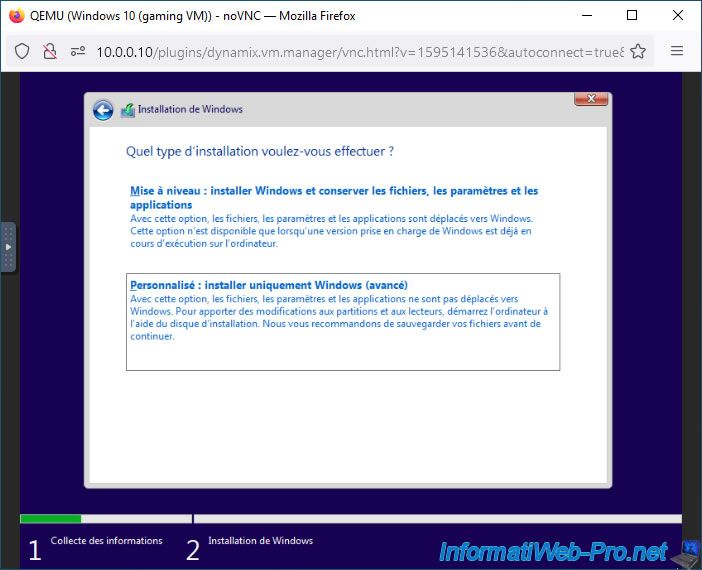
Click on "Custom: Install Windows only (advanced)".
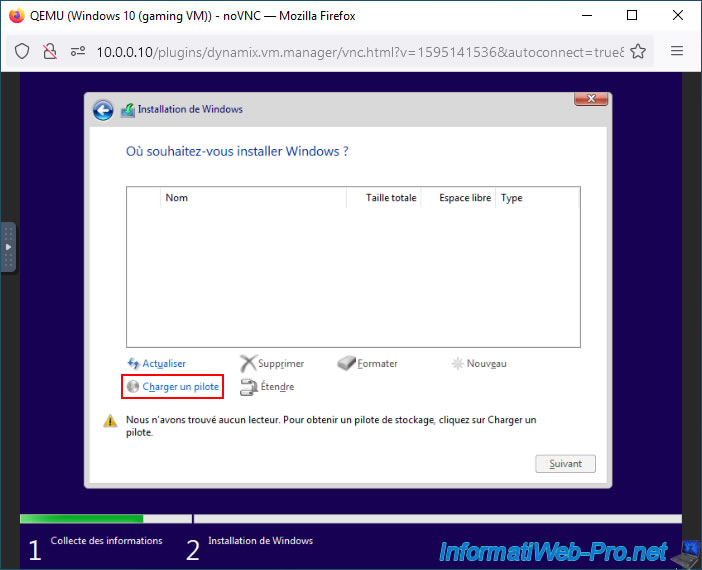
By default, the Windows 10 installer will not detect your virtual hard drives, because it does not recognize the VirtIO drivers.
To resolve this issue, simply click "Load Driver" and then "Browse".
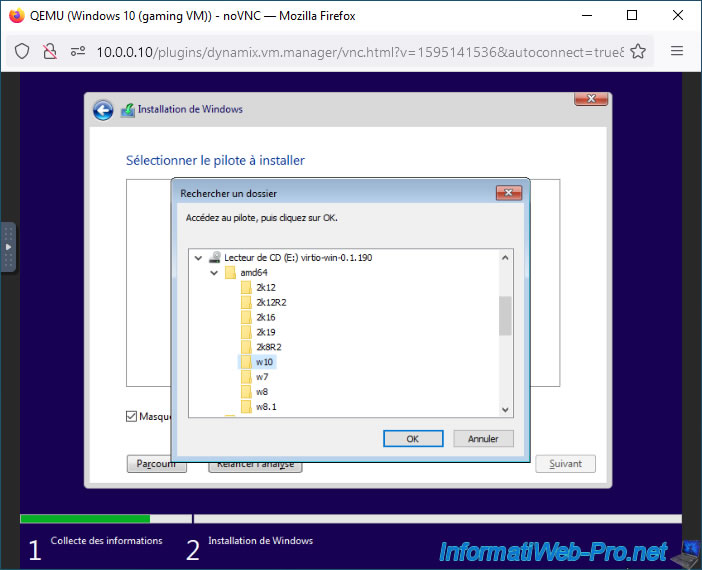
Go to "CD Drive (E:) virtio-win-x.x.xx", then select the "amd64\w10" folder and click OK.
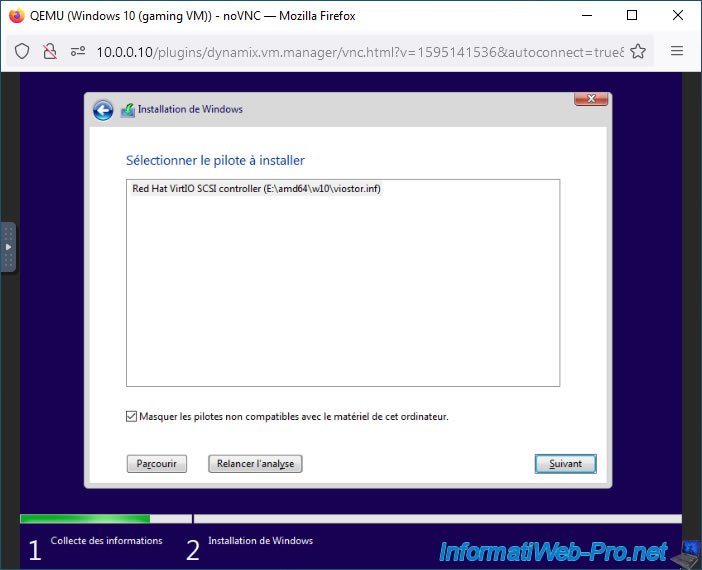
Select the "Red Hat VirtIO SCSI controller" driver that appears and click Next.
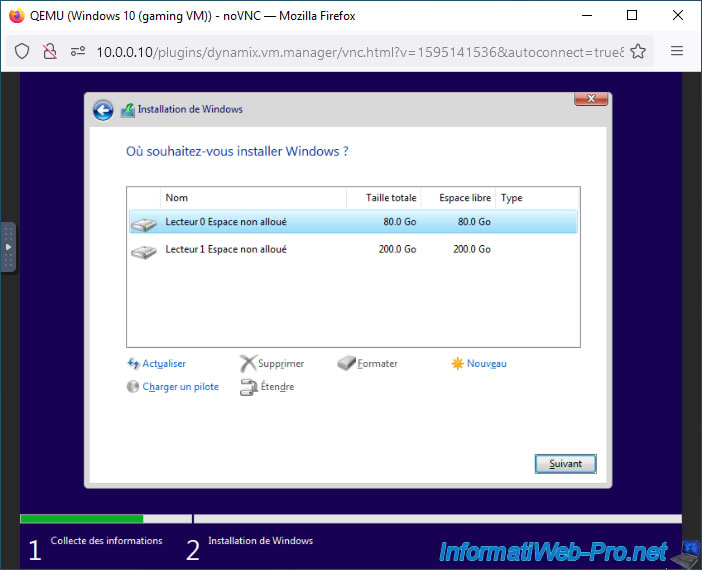
Select drive 0 (80 GB), which corresponds to the "Primary" virtual hard disk in your VM configuration, and then click Next.
Please wait while Windows 10 is being installed.
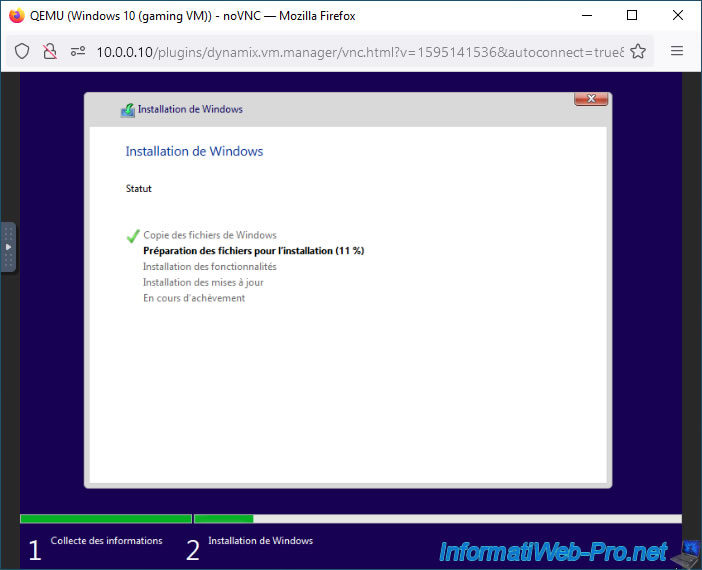
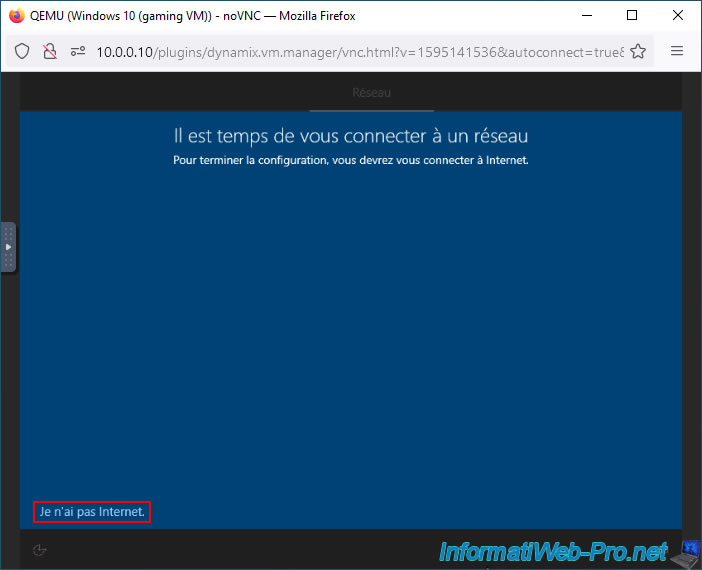
During the Windows 10 setup process, you will see a screen indicating that you have no network access twice.
This is normal, as Windows 10 does not recognize the network adapter due to the VirtIO driver (again).
For now, simply click "I don't have internet access" each time you see this message.
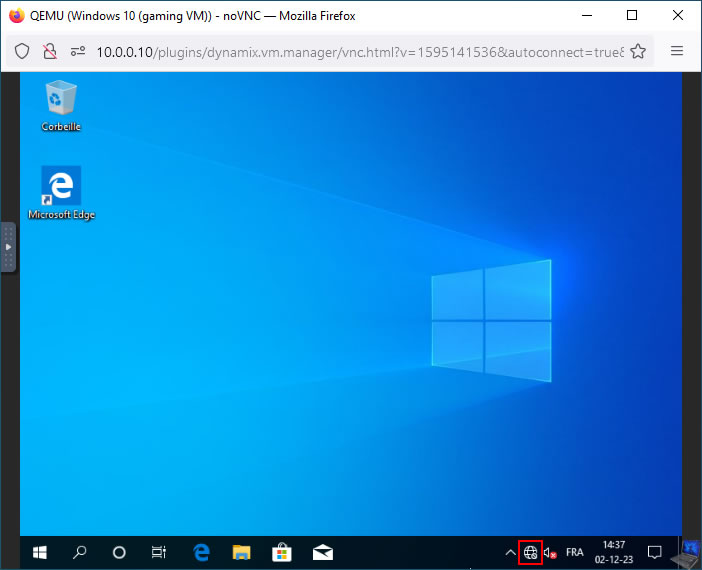
Windows 10 is installed, and the network icon in the taskbar is again indicating that you currently do not have internet access.
6. Install the drivers for your virtual machine on Windows 10
Open file explorer and right-click on "This PC" and select "Manage".
Then, go to the "Device Manager" section and you will see a warning icon next to 3 devices (including the virtual network adapter: Ethernet Controller).
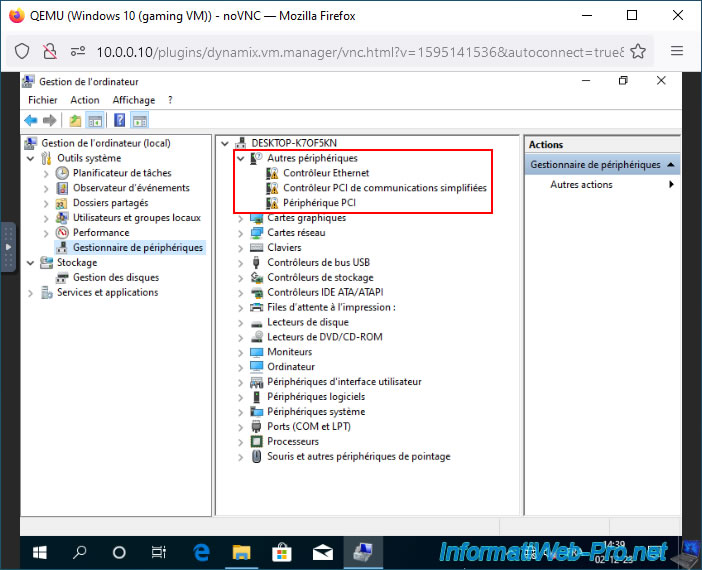
As explained in step "9. Install the drivers for your virtual machine on Windows 10" of our previous tutorial (mentioned earlier), you simply need to update these drivers using the "virtio-win" driver CD located in your CD drive "E:".
To do this, right-click on each of these 3 devices and select "Update driver".
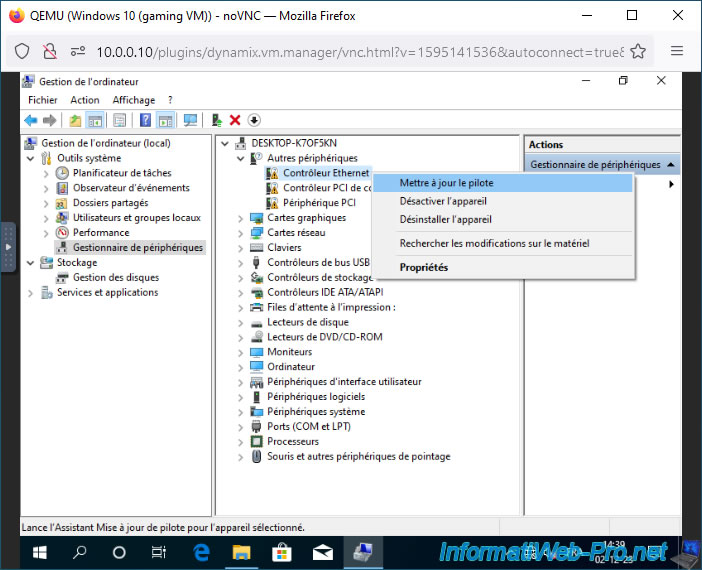
Choose to install the driver from your computer and select "CD Drive (E:) virtio-win...".
Then, click Next.
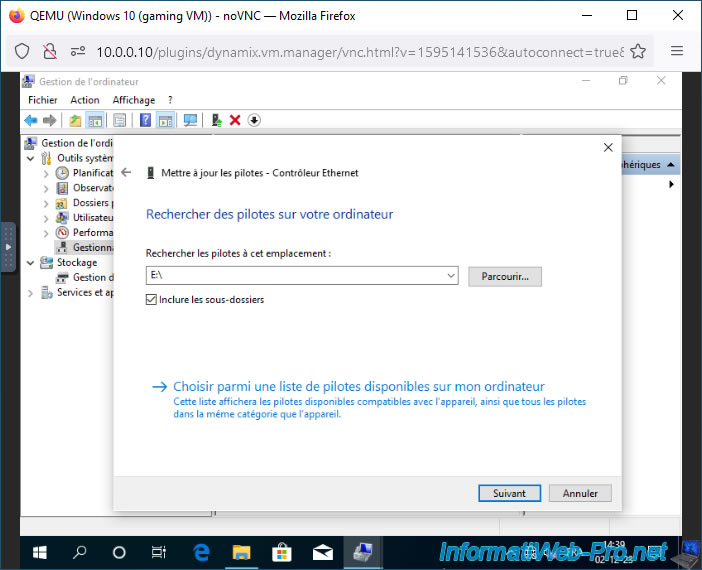
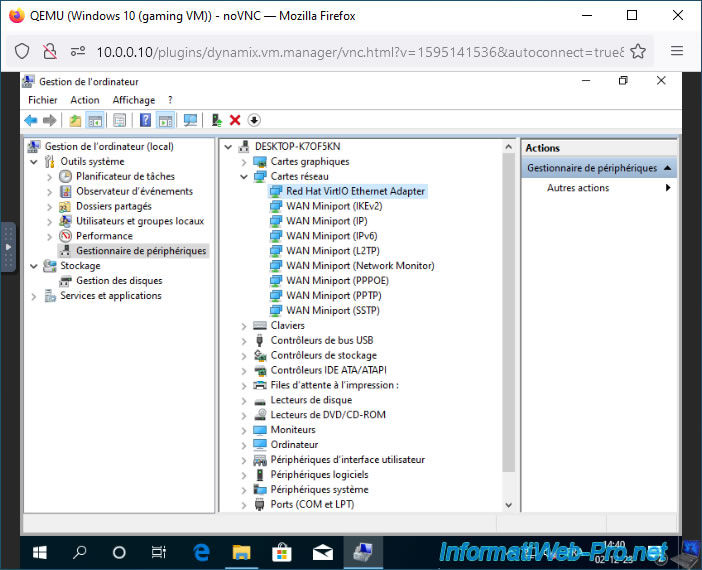
Do the same for the other two devices, and you will see that all three warnings will disappear.
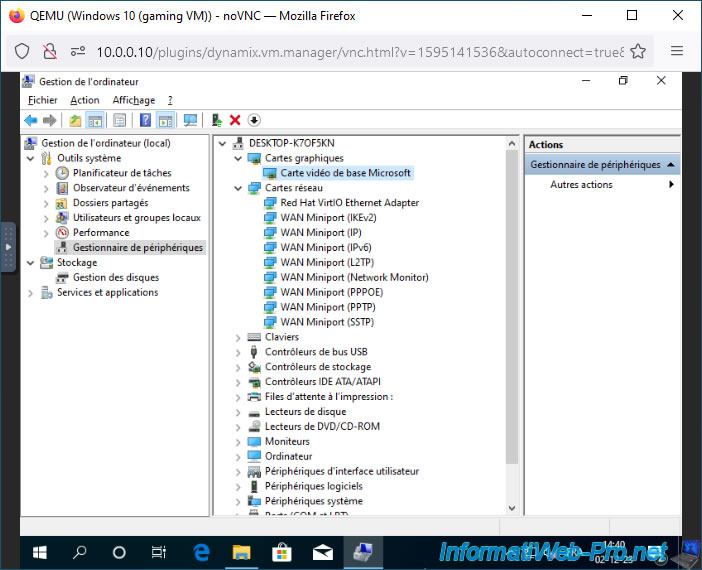
In the "Graphics Cards" section, you will see that a basic Microsoft video card is currently listed.
This device currently corresponds to the virtual graphics card used by VNC within the virtual hardware of your VM.
7. Partition the second virtual hard disk of your virtual machine
As explained in step "10. Partitioning the second virtual hard drive of your virtual machine" in our previous tutorial, you simply need to initialize and partition your second virtual hard drive using the Windows disk management console to make the partition appear in file explorer.
To do this, right-click on "This PC" and select "Manage".
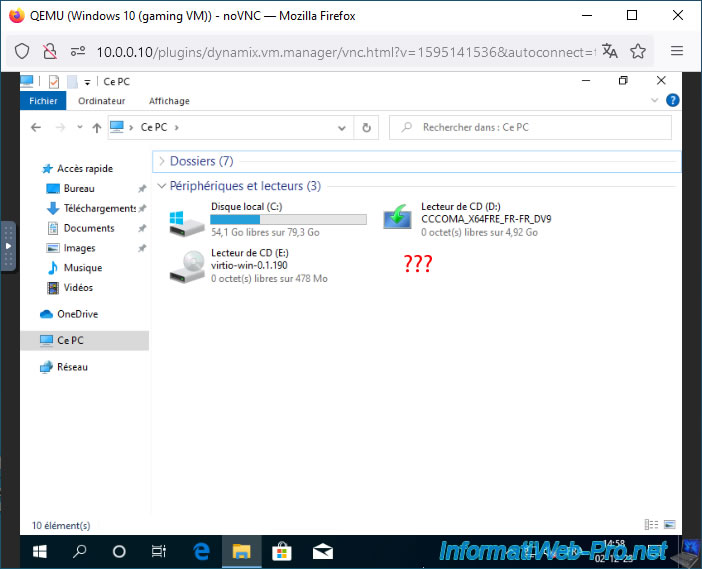
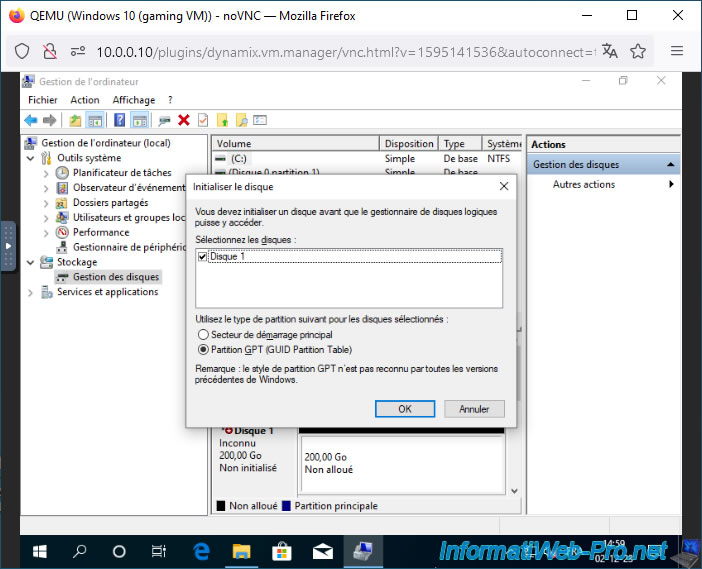
Next, go to the "Disk Management" section and initialize Disk 1 using the "Initialize Disk" window that will appear automatically.
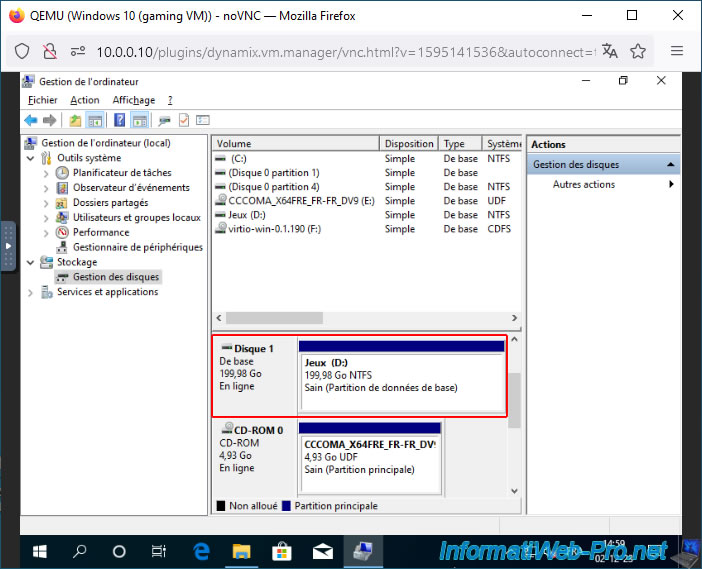
Change the drive letter of your virtual CD drives to free up the "D" letter, then create a "Games (D:)" partition on your second virtual hard drive.
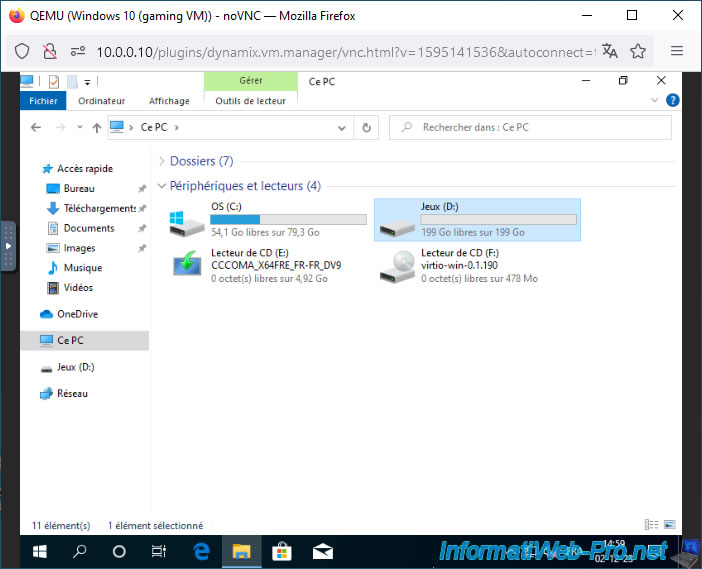
Now, the "Games (D:)" partition appears in the file explorer.
8. Physical processor as seen by the virtual machine
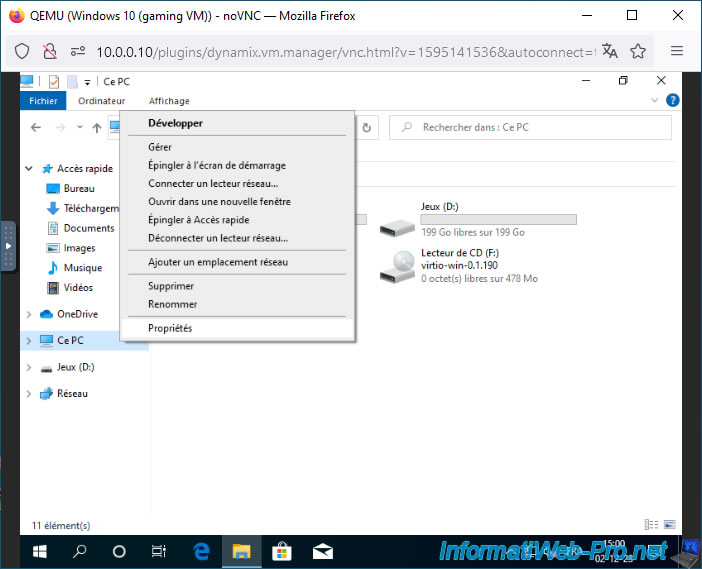
In file explorer, right-click on "This PC" and select "Properties".
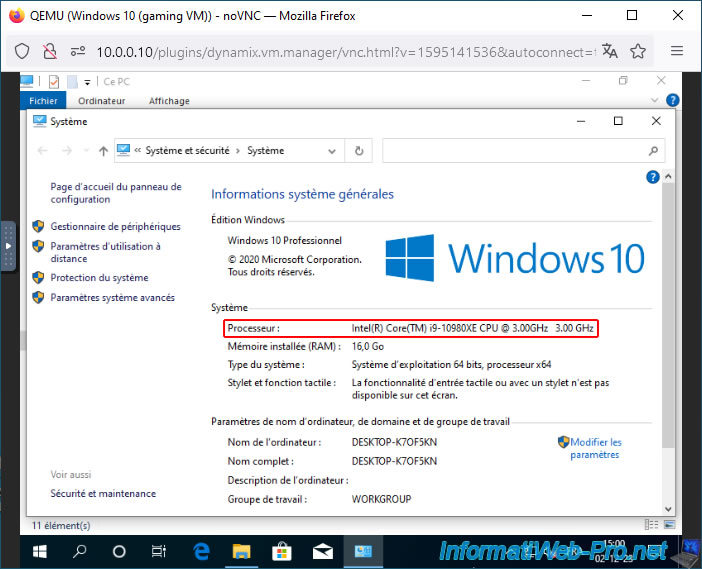
As you can see, the processor used by your virtual machine is the one on your Unraid server.
Note: only the number of cores previously specified in your virtual machine configuration will be available.
Share this tutorial
To see also
-
NAS 2/4/2026
Unraid 6.9.2 - Change or reset root password
-
NAS 6/17/2026
Unraid 6.9.2 - SWAG - Access Nextcloud via reverse proxy and personal domain
-
NAS 5/20/2026
Unraid 6.9.2 - SWAG - Locally access the reverse proxy (SWAG) via NAT reflection
-
NAS 9/16/2026
Unraid 6.9.2 - VMs - Hotplug USB devices (Libvirt Hotplug USB plugin)
No comment